An employee is a crucial component of a business. In other instances, the employee uses his personal funds to pay for business expenses. When a person travels for work-related assignments, such as field trips, it will cost money. In some instances, the business pays these costs. Since they are business expenses, the organization will pay the employee back for them.
The Odoo Expense module aids in effective expense management. This module aids with accurate expense tracking and employee expense approval. This additionally offered an effortless connection with other modules, such as payroll, accounting, etc.
Let's check how the employee expenses are managed using the Expense module.
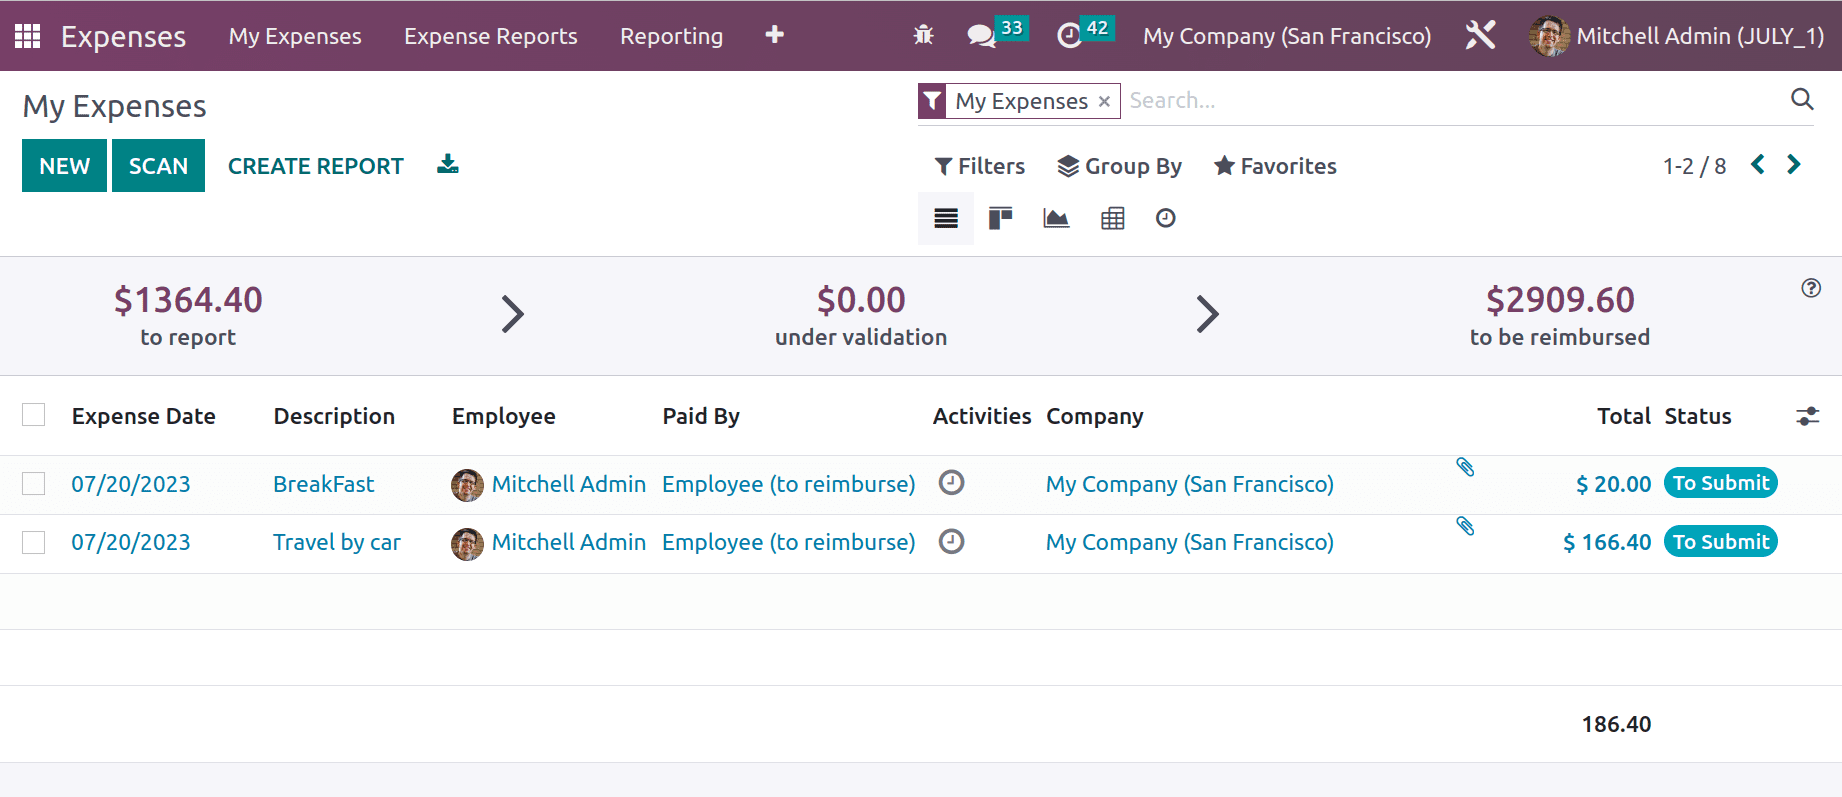
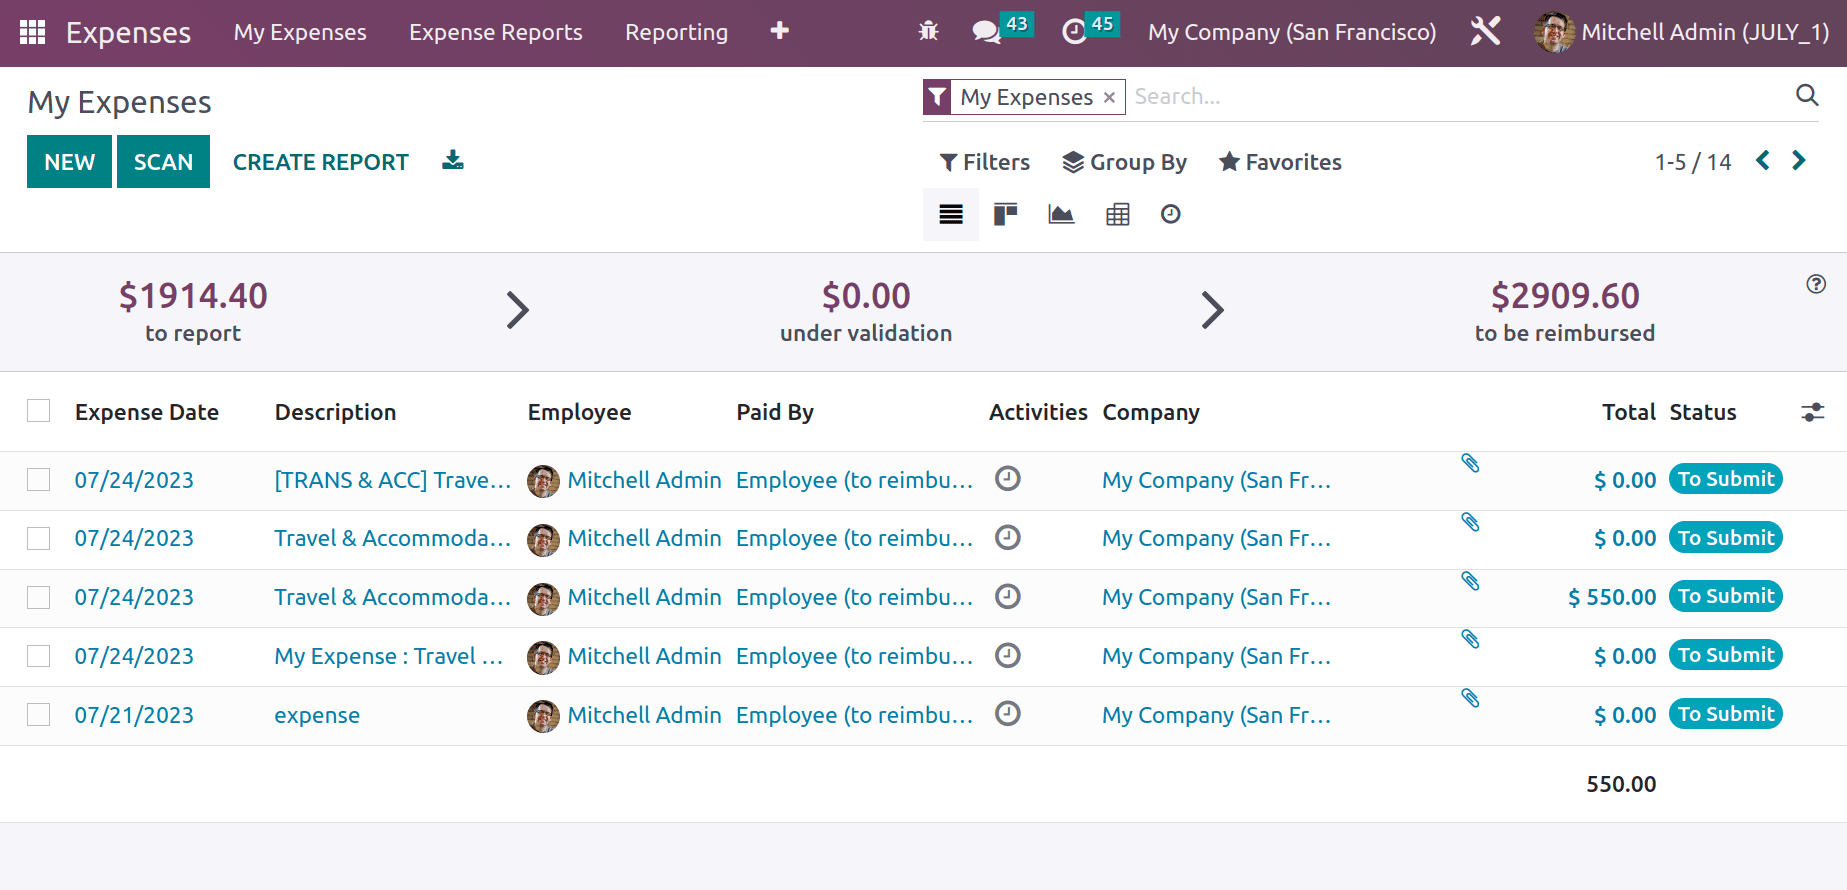
While opening the expense module, which shows all the created expenses of the user. A new expense can be created using the NEW button. It's also possible to SCAN the report. Filter, Group By, and Favorite options are available in this view.
Configuring Expense Category
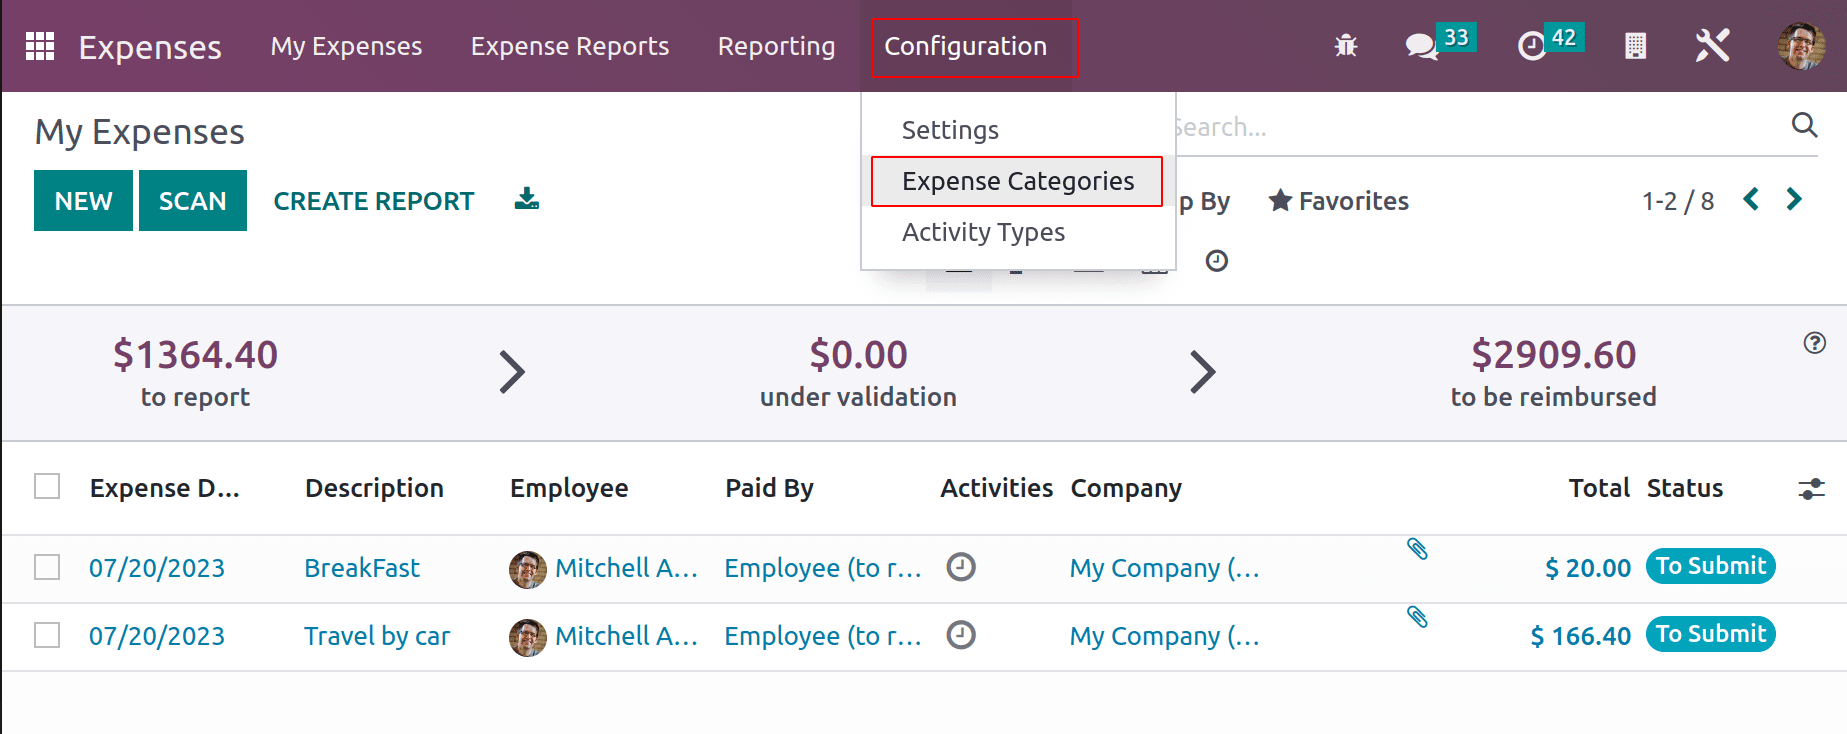
Users can choose a specific expense Category. Users have access to a variety of spending categories, such as Communication, Gifts, Travel & Accommodation, Others, etc. Such classifications are creatable. Select the Expense Category option from the Configuration menu to add a new category.
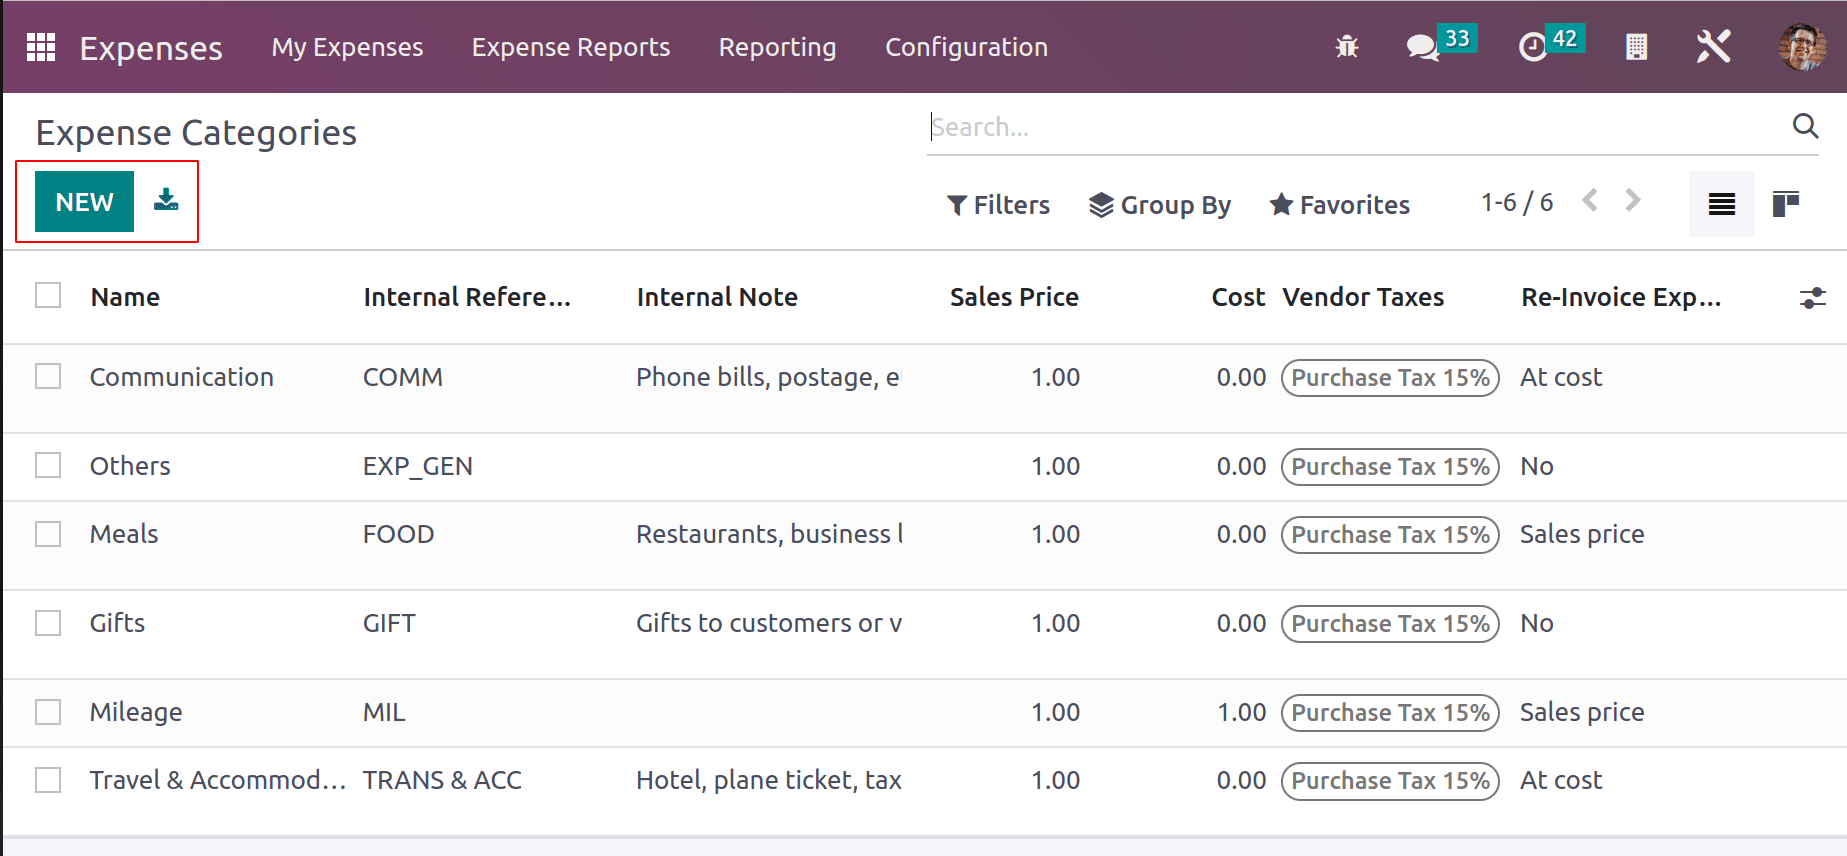
All the created categories are viewed here. The created category name, Internal reference, sales price, and Cost details are also available from this view. By clicking the New button the user can create a new one.
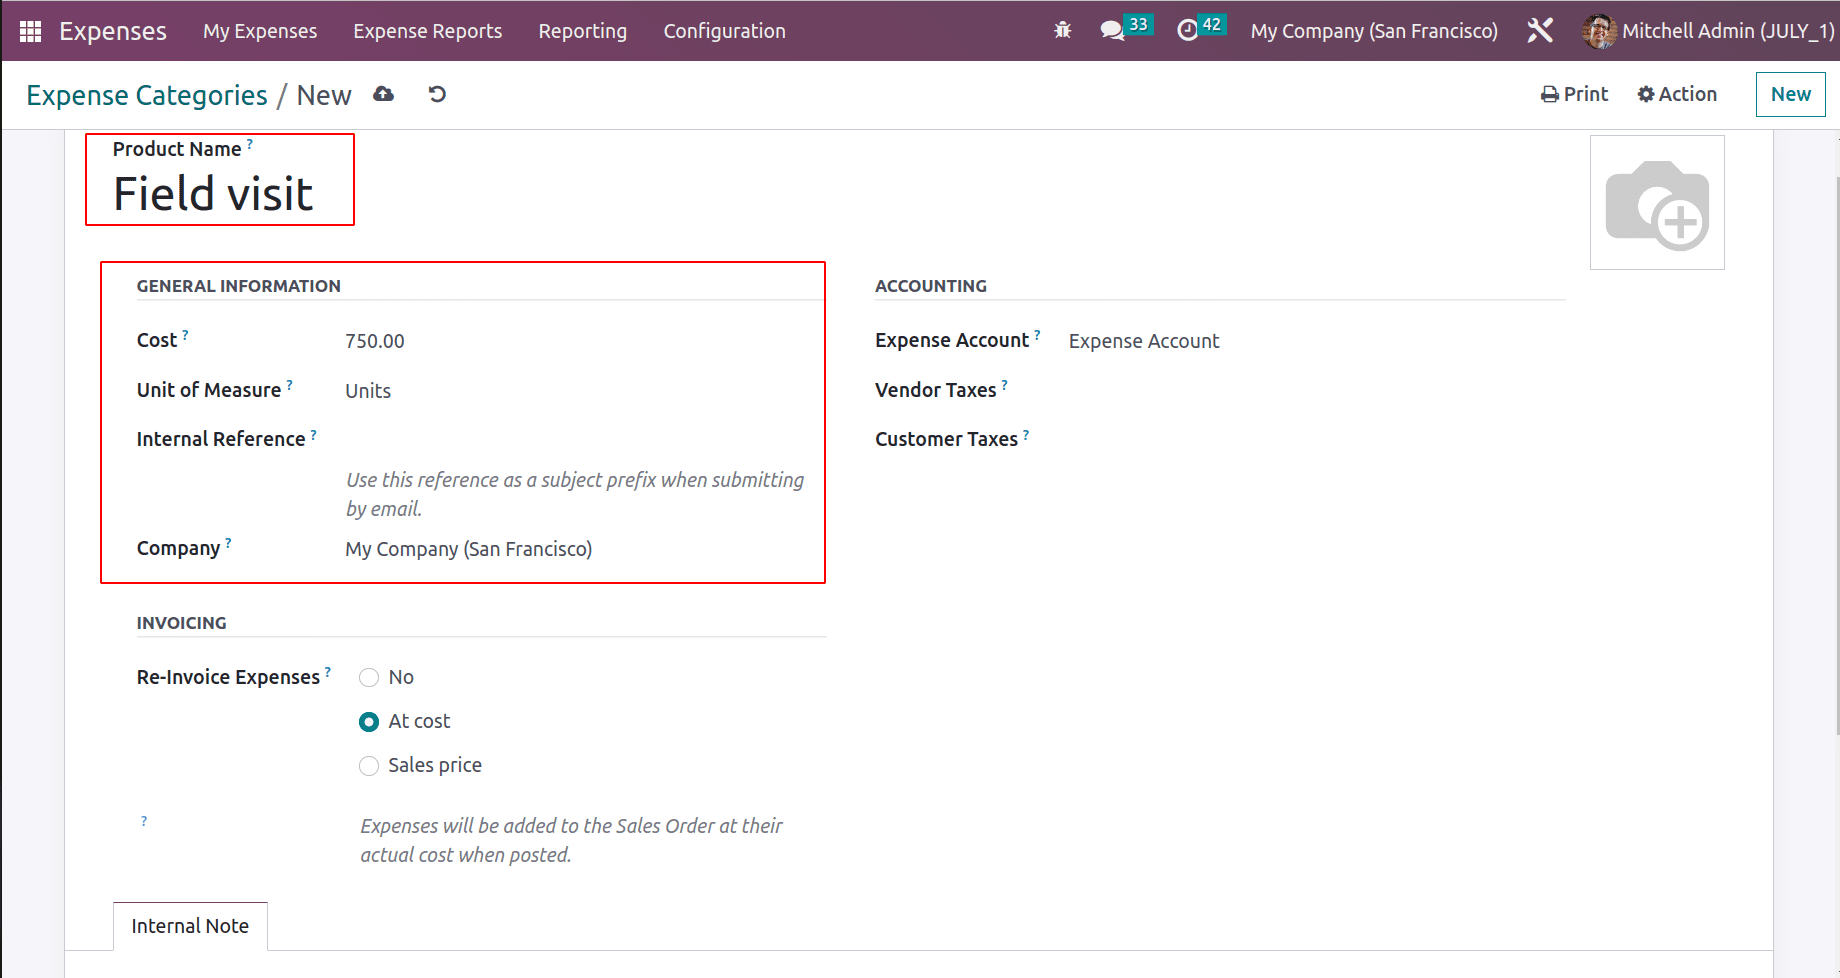
Here is the newly created product, named ‘Field Visit’. The general information about the product like Cost, Unit of Measure, Internal reference, and Company name.
While the Reinvoicing expense is on the basis of Cost, if the user adds a cost price more than zero, then the employee won't be able to change the expense amount at the time of expense creation. Employees can only change the quantity of the expense product.
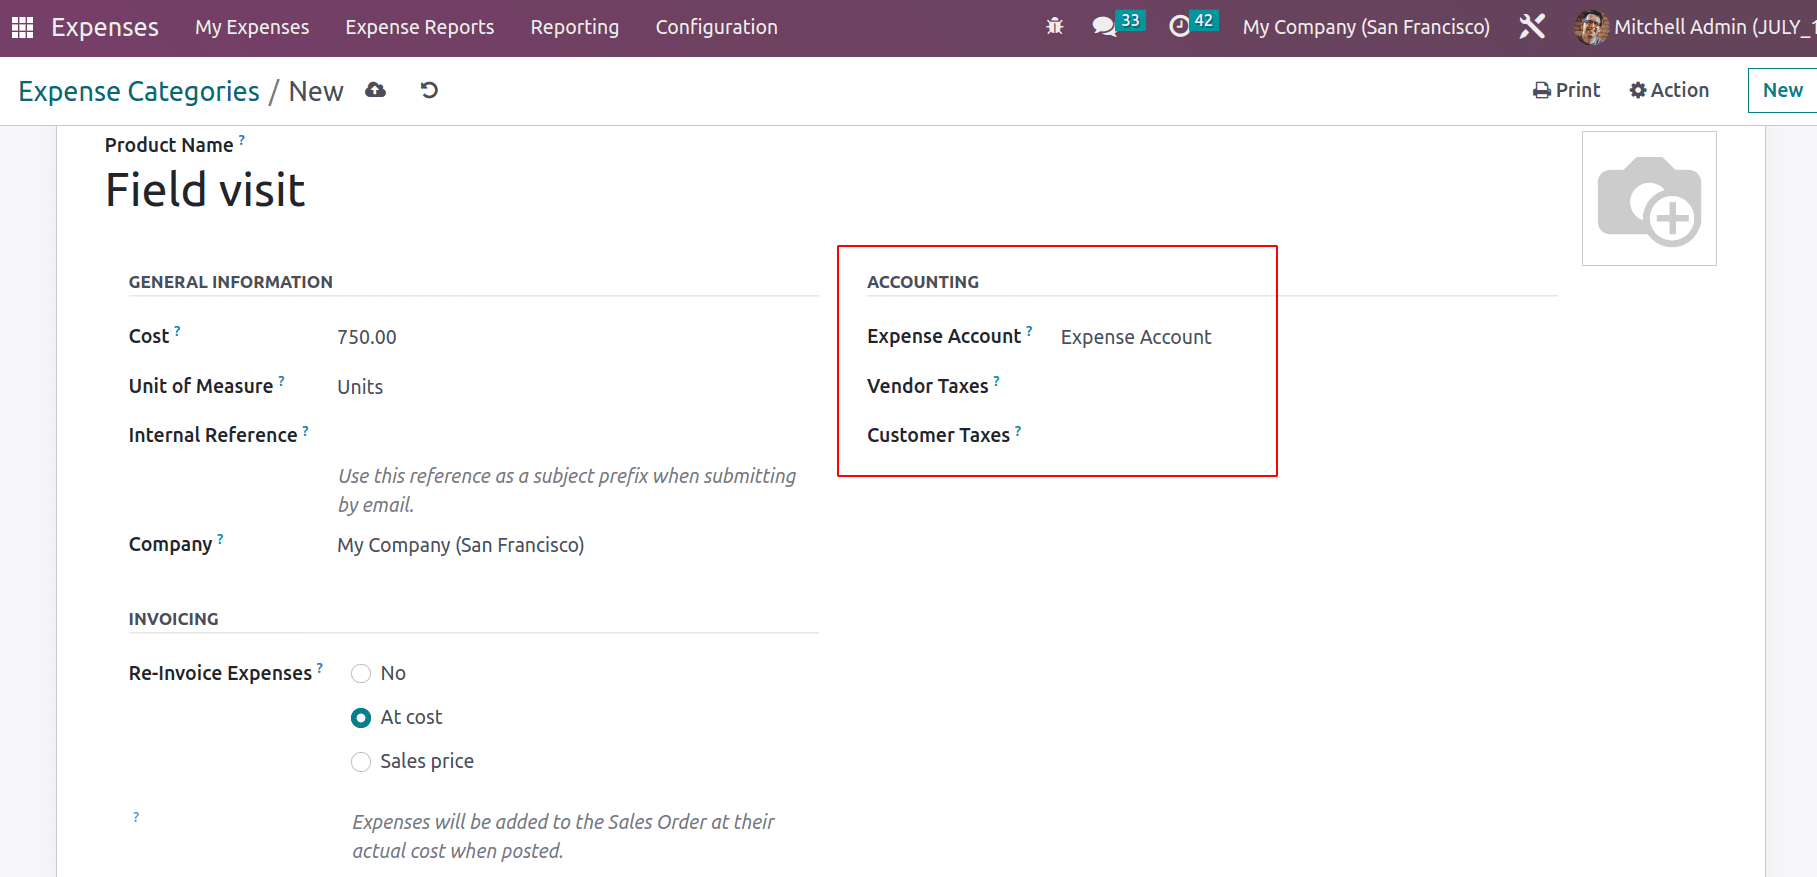
The Accounting details like Expense Accounts, Vendor Taxes, and Customer Taxes can be added to the product. If the user specifies the Accounting details, then these accounts will affect when an expense is created using this product. If a particular account is not specified here, then the account mentioned inside the product category will take.
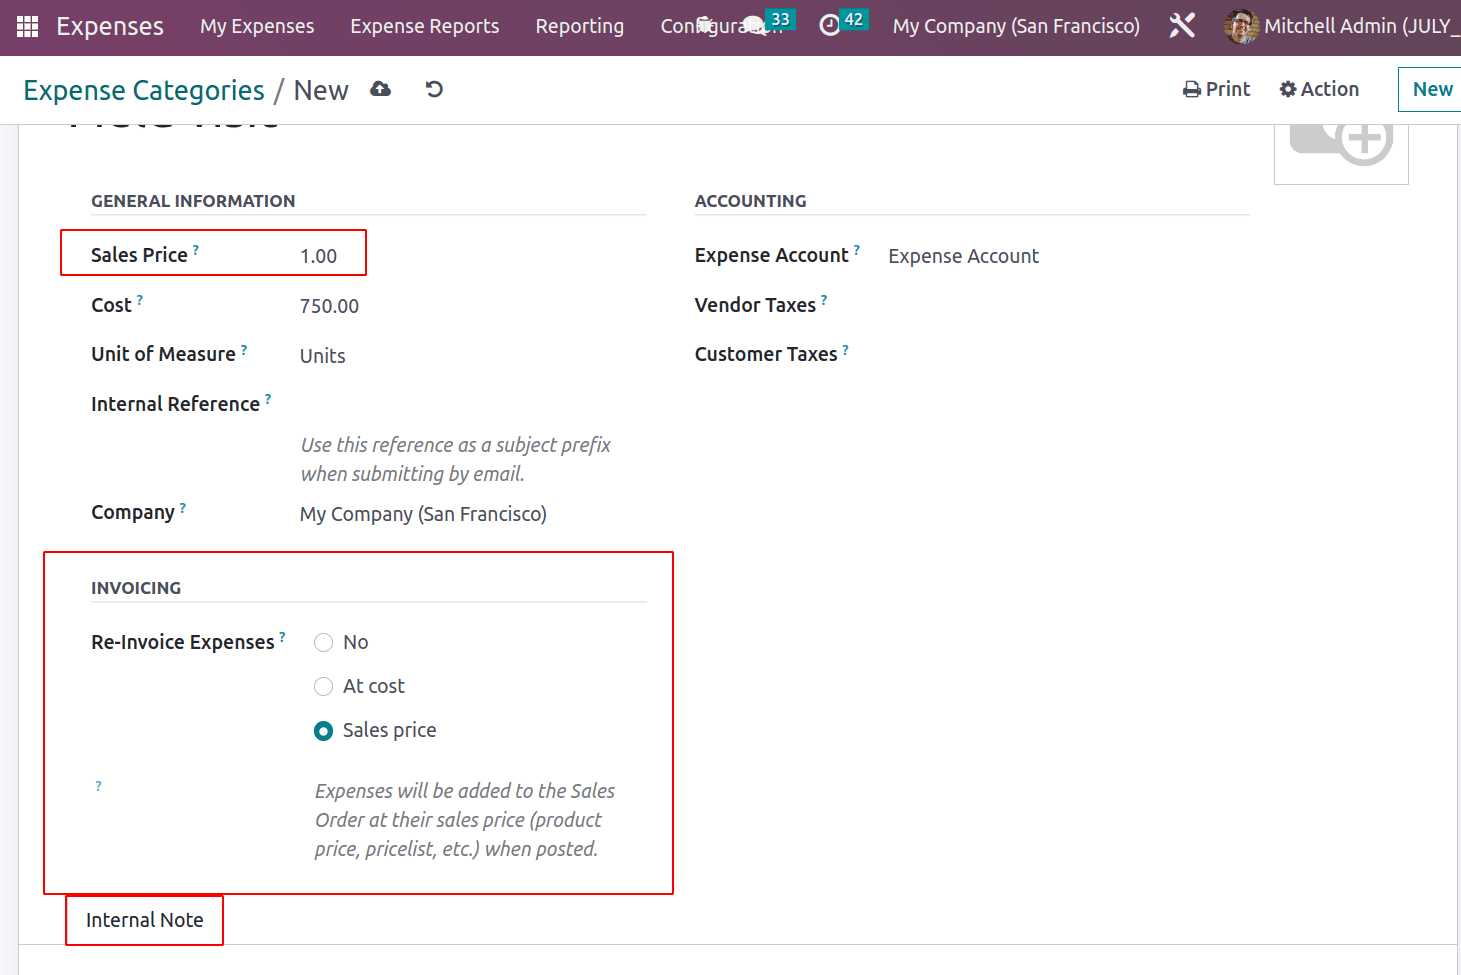
In the Invoicing section the user can define the product reimbursement is done on the which basis. Here three options are available. One is ‘No’, while choosing this option no reimbursement on this product to the employee. If the reimbursement is done on the basis of the product ‘At Cost’, the second option can be selected. If the user chooses the third option Sales Price then an additional field will add to the general information known as Sales Price. The expense will be re-invoice to the customer on that added Sales Price.
Additional notes can be added inside the Internal Notes tab.
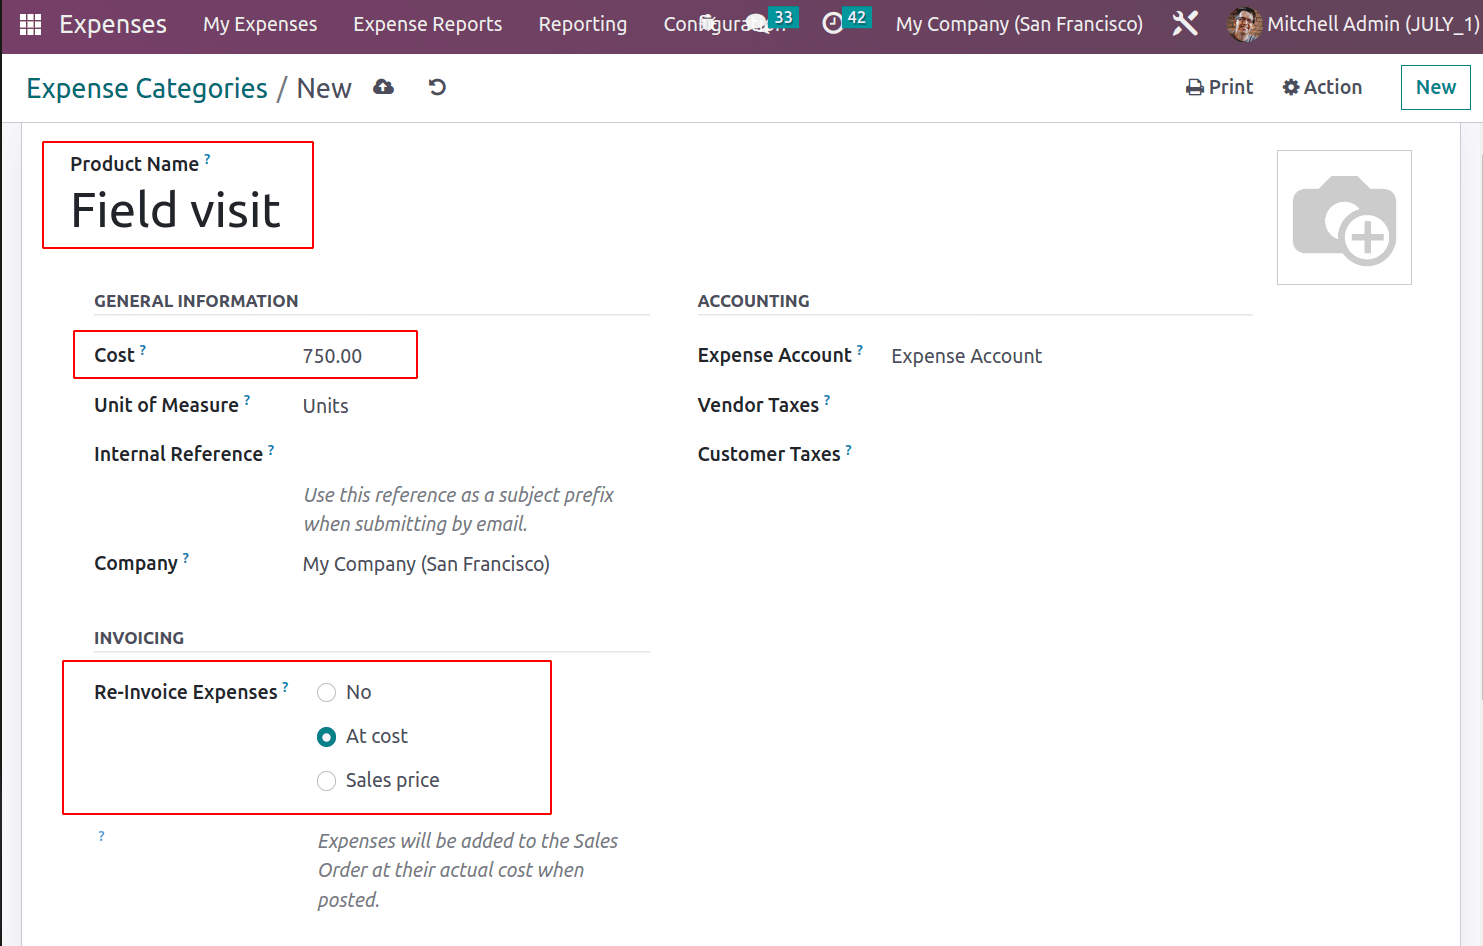
Here created a new Expense category, Field Visit, which is Reinvoiced on the basis of Cost. The cost price is added as $750. An expense account is added. Then save the category.
Creating Expense
Let's check how the expense is created. To add a new expense for the employee, go to the My Expense tab. From there, the user can add an expense in the configured category. To add a new expense, click on the NEW button.
While creating an expense first the user needs to add a description about the expense. Then choose the expense category, according to the chosen category the Total field will automatically be updated on the basis of quantity. Choose the employee, who spends the expense. Expense created date and Account to which the transaction recorded can be added. The employee can upload the document of the expense by using the Attach Receipt button.
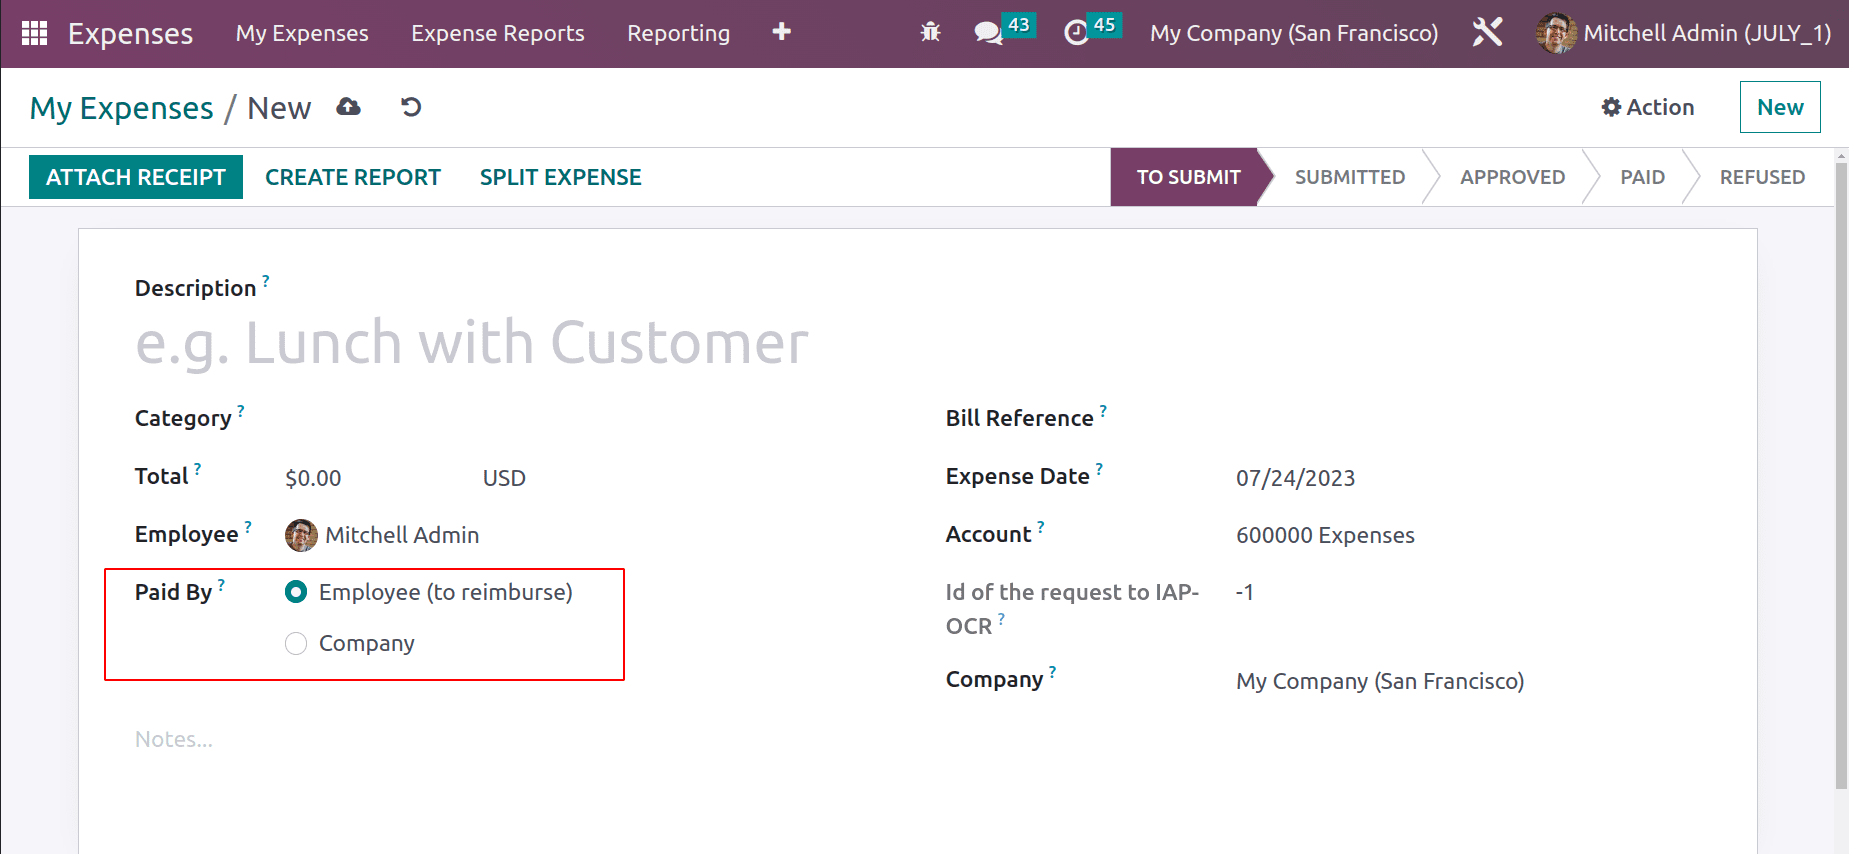
There are two options in Pay the Expense. Either the expense is spent by the employee. In such cases, the expense will reimburse the customer. The second change is an expense paid by the company itself.
Let's check each one separately.
Case 1: Paid By Company
Sometimes the expense to fulfill a task is given by the company to the customer. If there is a client meeting, the travel expense, the company will spend money for that travel expense in some company. For that, the expense to communicate with the client like Phone bills, postage, etc will be paid.
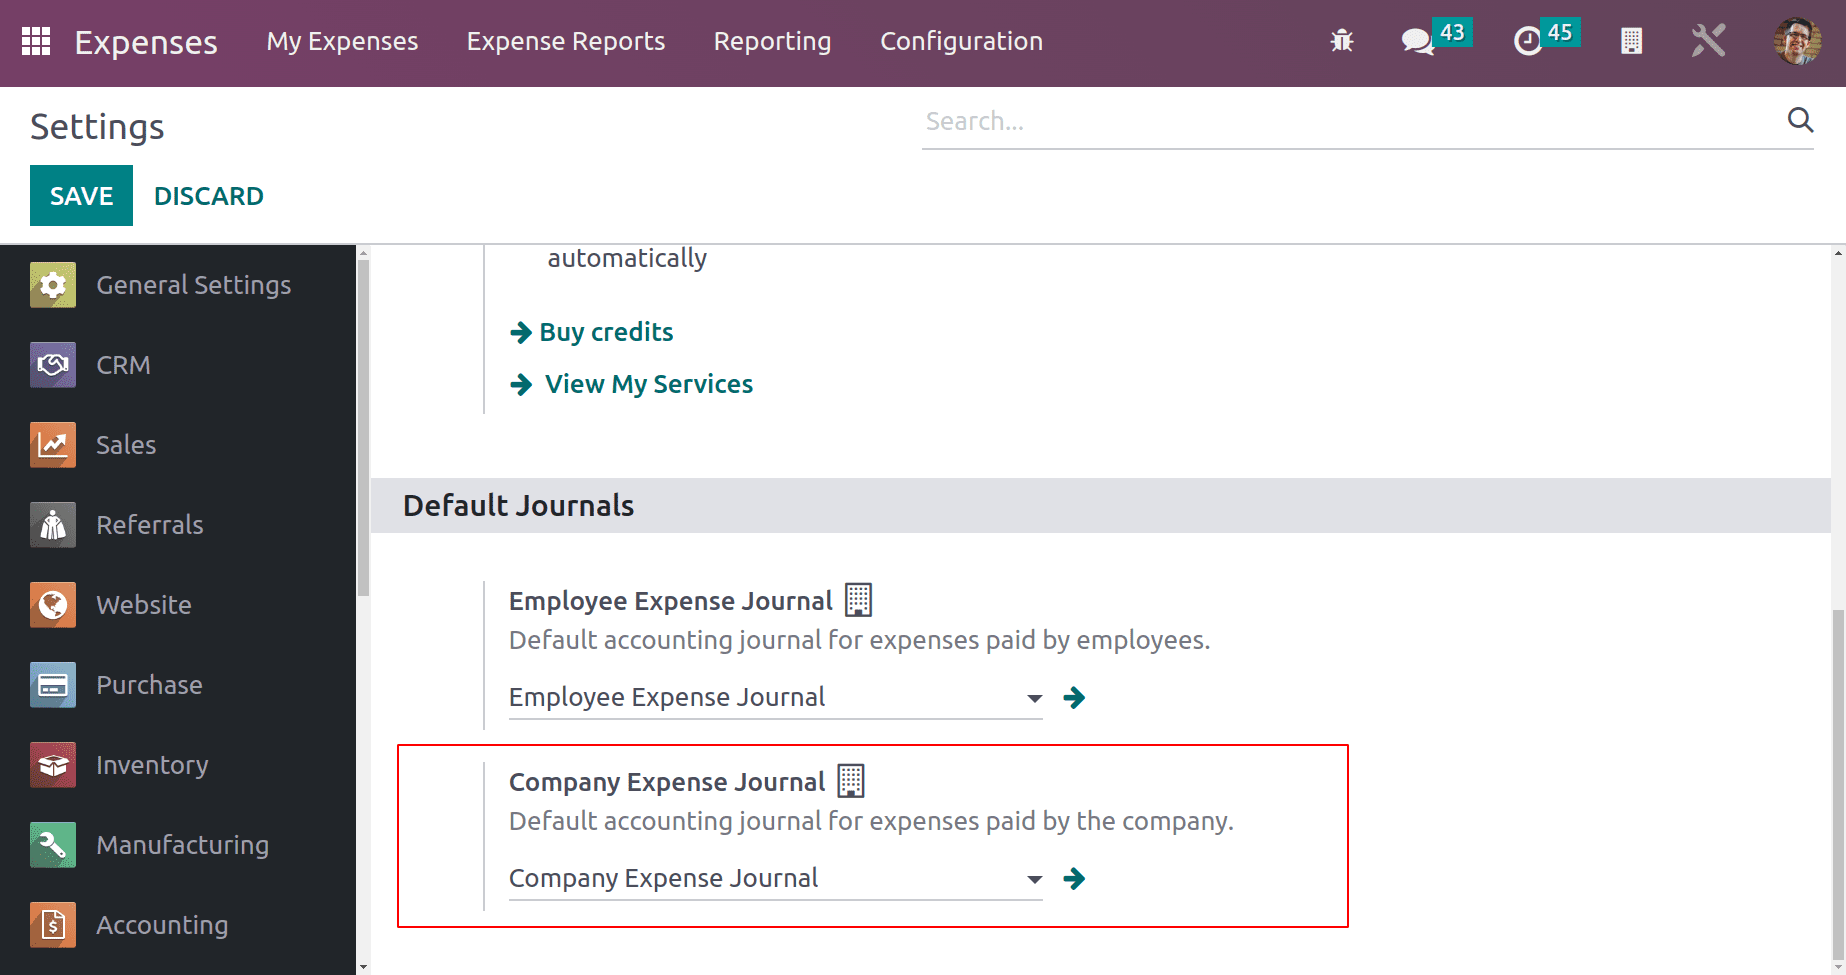
All the transactions that the expense paid by the company, are recorded in a specific journal. And the journal can be set inside the Configuration settings.
: Configuration > Settings > Company Expense Journal > Save
Let's see such a condition. Here is an expense created for the employee Mitchell Admin. Here the expense category is Communication, which means that this is the amount spent by the company for employees for the communication purpose with customers. That's why here, the Paid By is selected as Company. Total, Paid by Company and other details can be added there. If the amount wants to be re-invoiced by the customer, then the corresponding Saleorder number can be chosen inside the ‘Customer to Re Invoice' field.
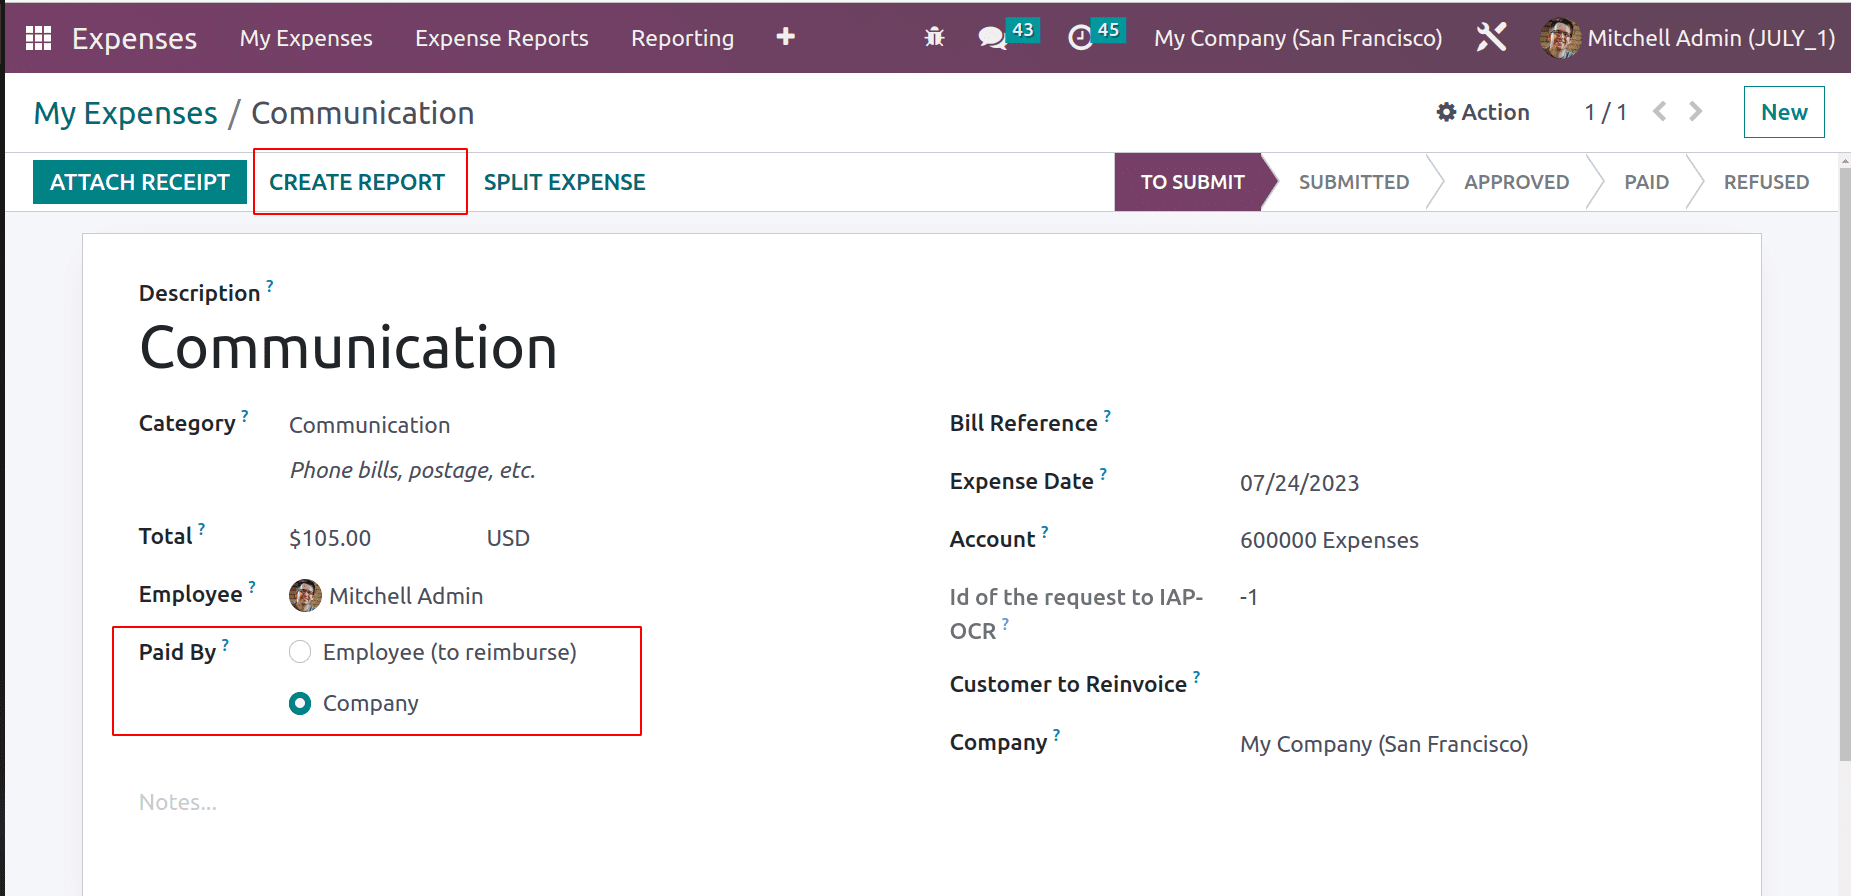
As said before, if the user wants to upload any document, which can be done by using the Attach Receipt button. Then click on the Create Report button.
Here the Expense Report is created. This can be viewed from the My Expense Report menu, chosen from the My Expense tab.
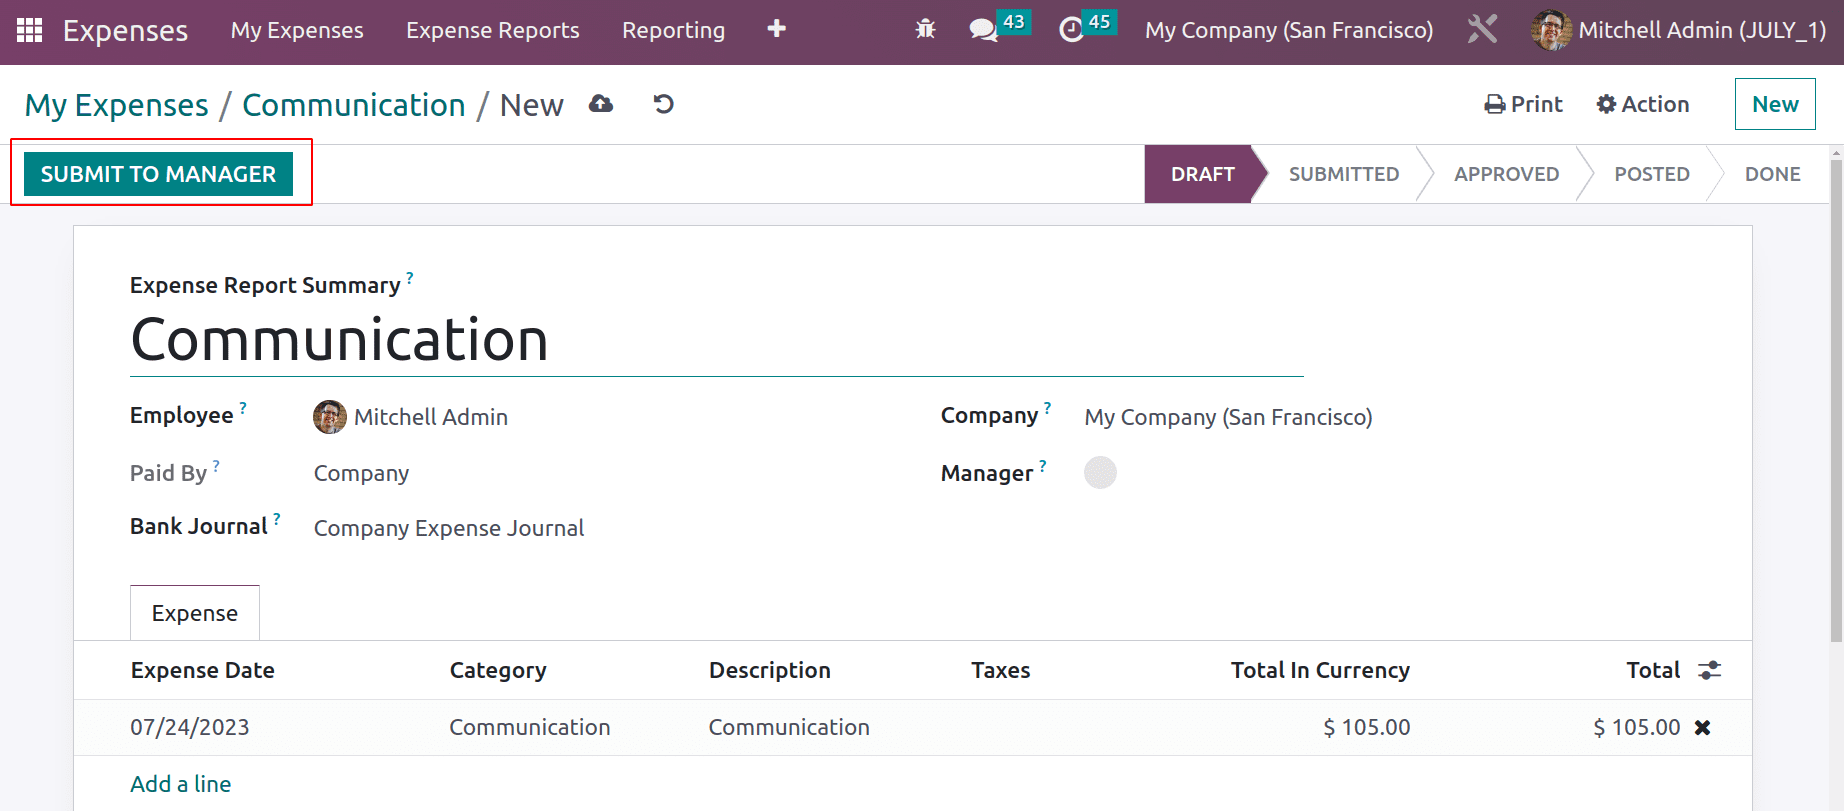
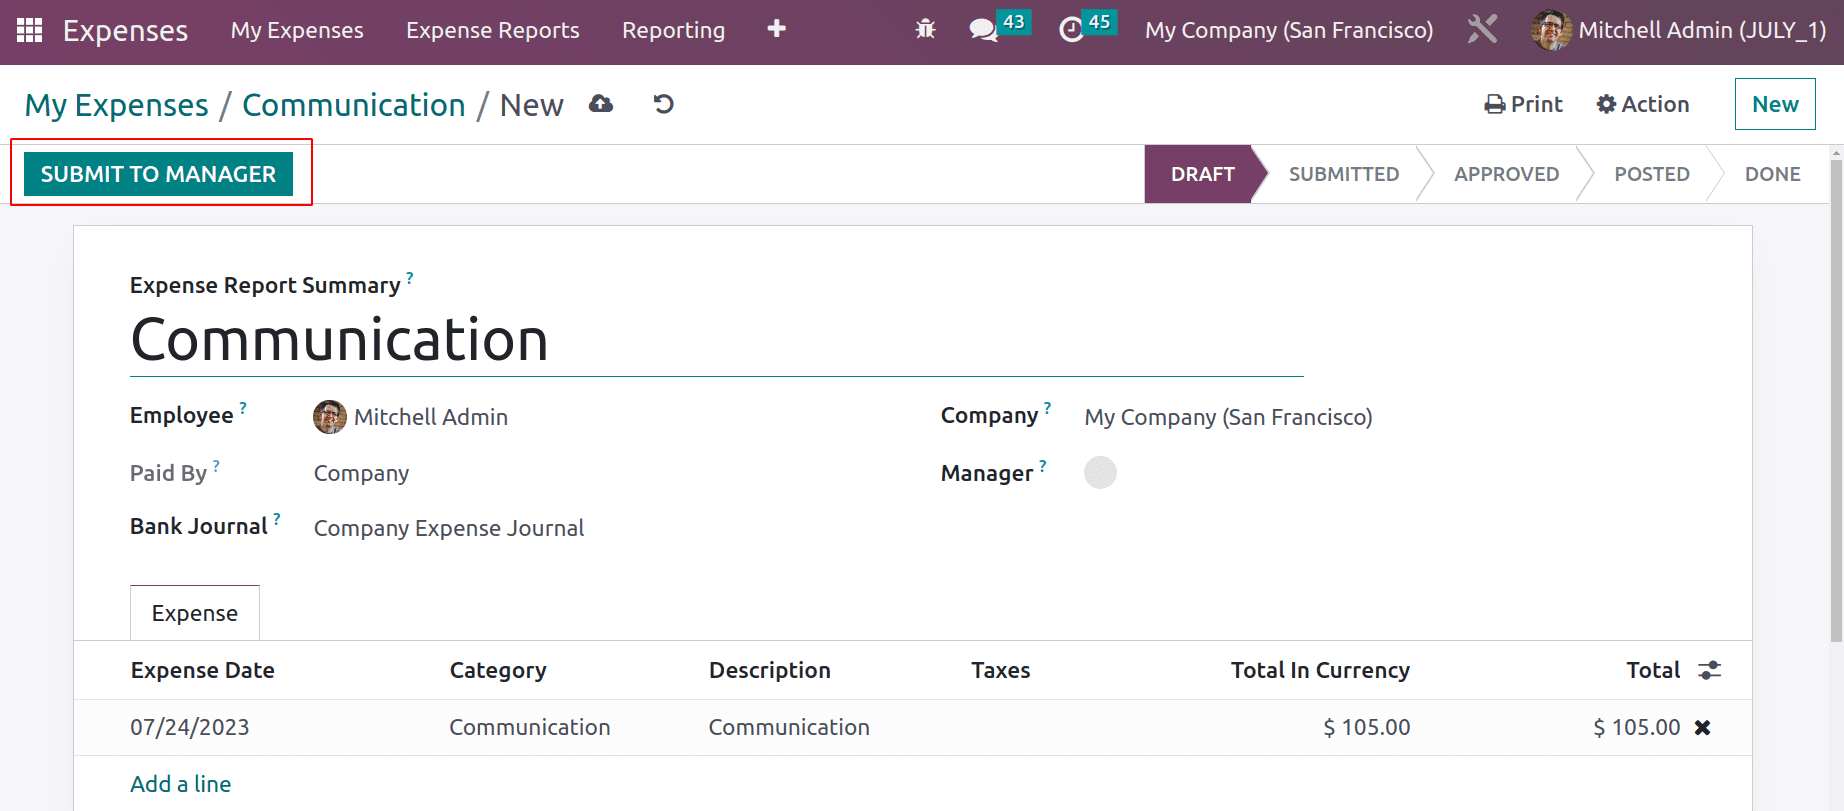
The expense report can be submitted to the manager's approval, by clicking the ‘Submit To Manager’ button.
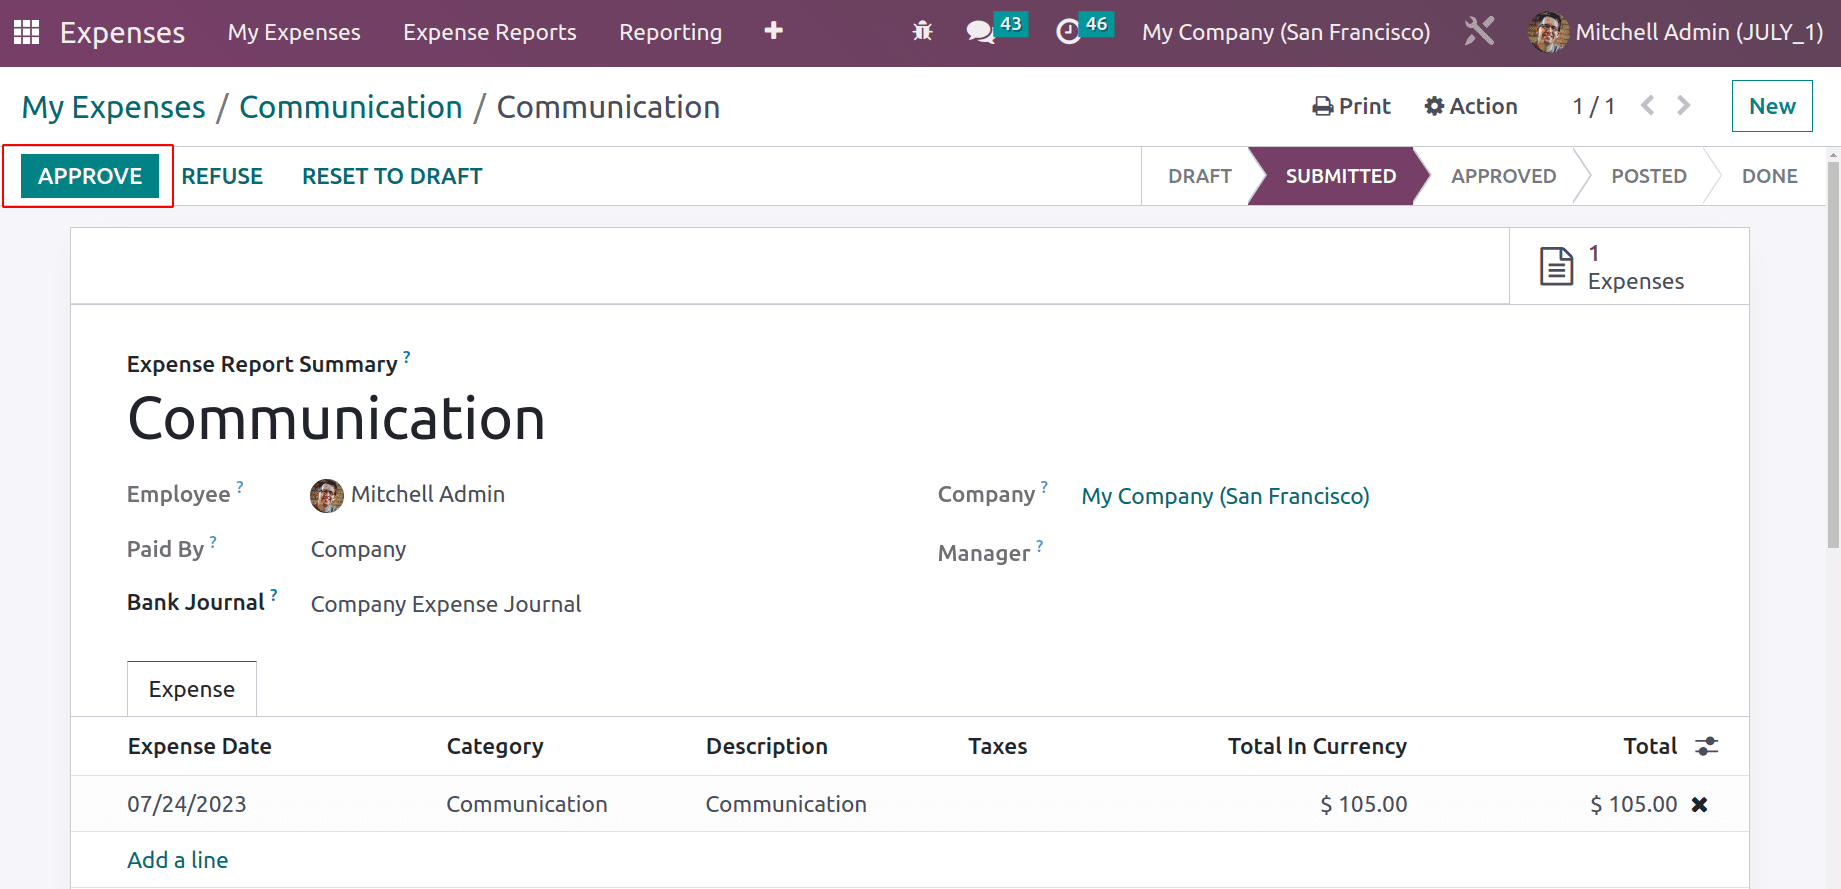
Then an Approved and Refuse button will appear there. By checking the expense report the manager either approved or refused the report.
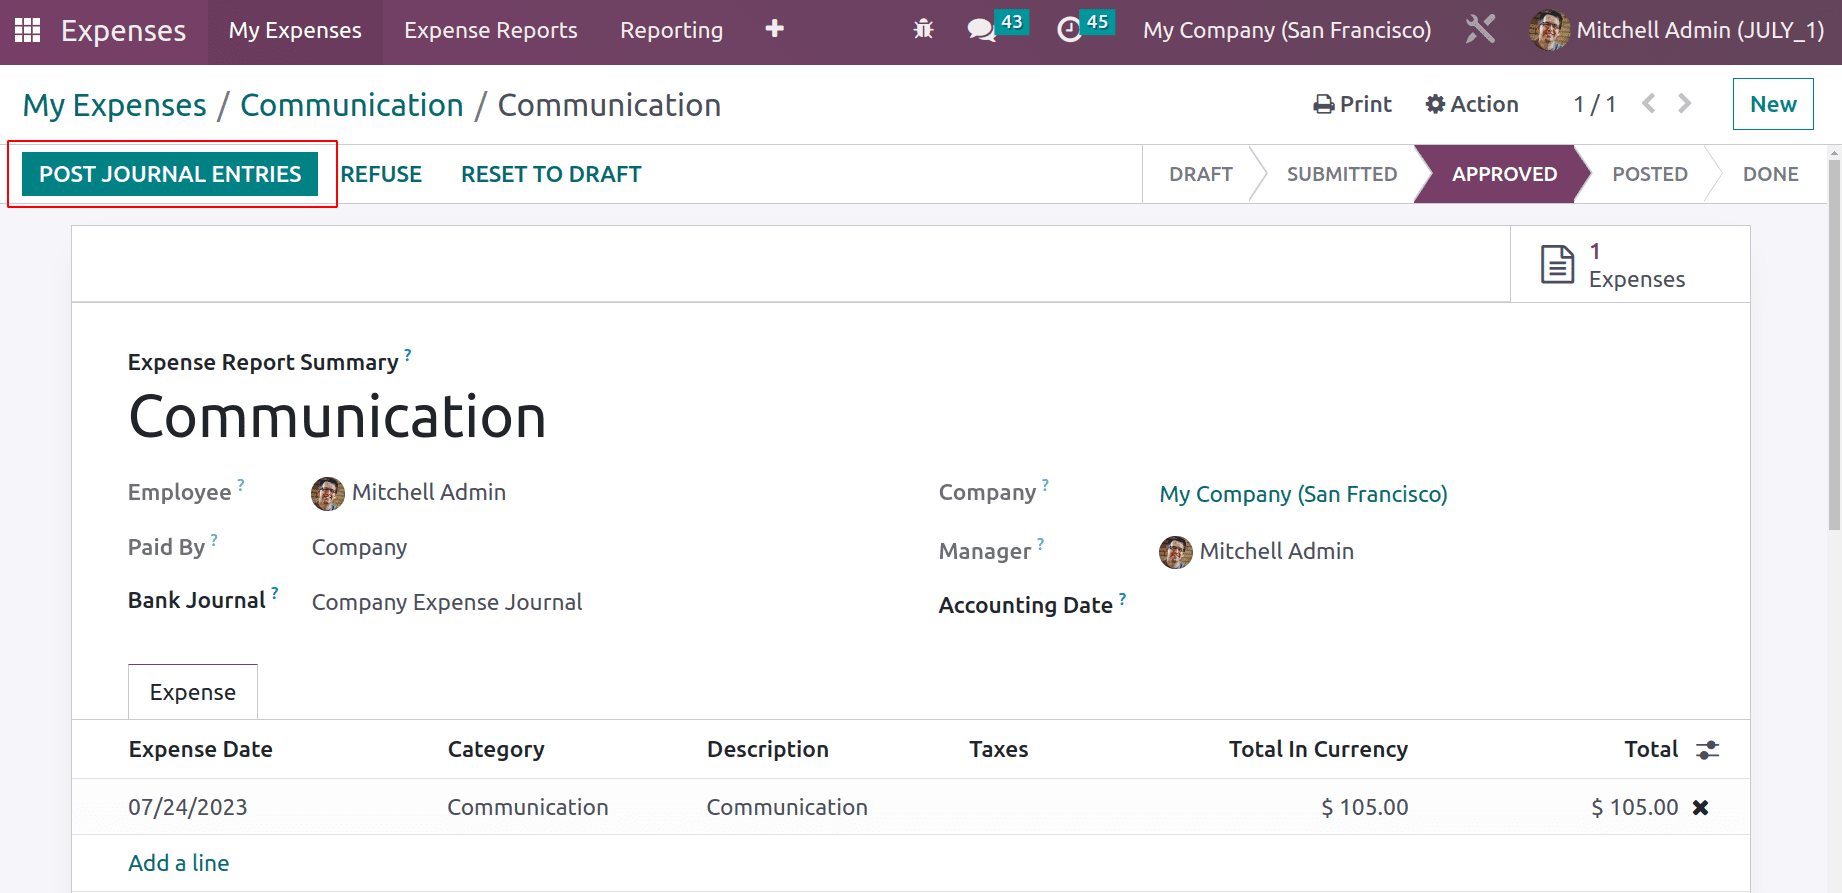
If the manager clicks on the Approve button then the report moves to the Approved stage and the user can post the journal entry to accounts.
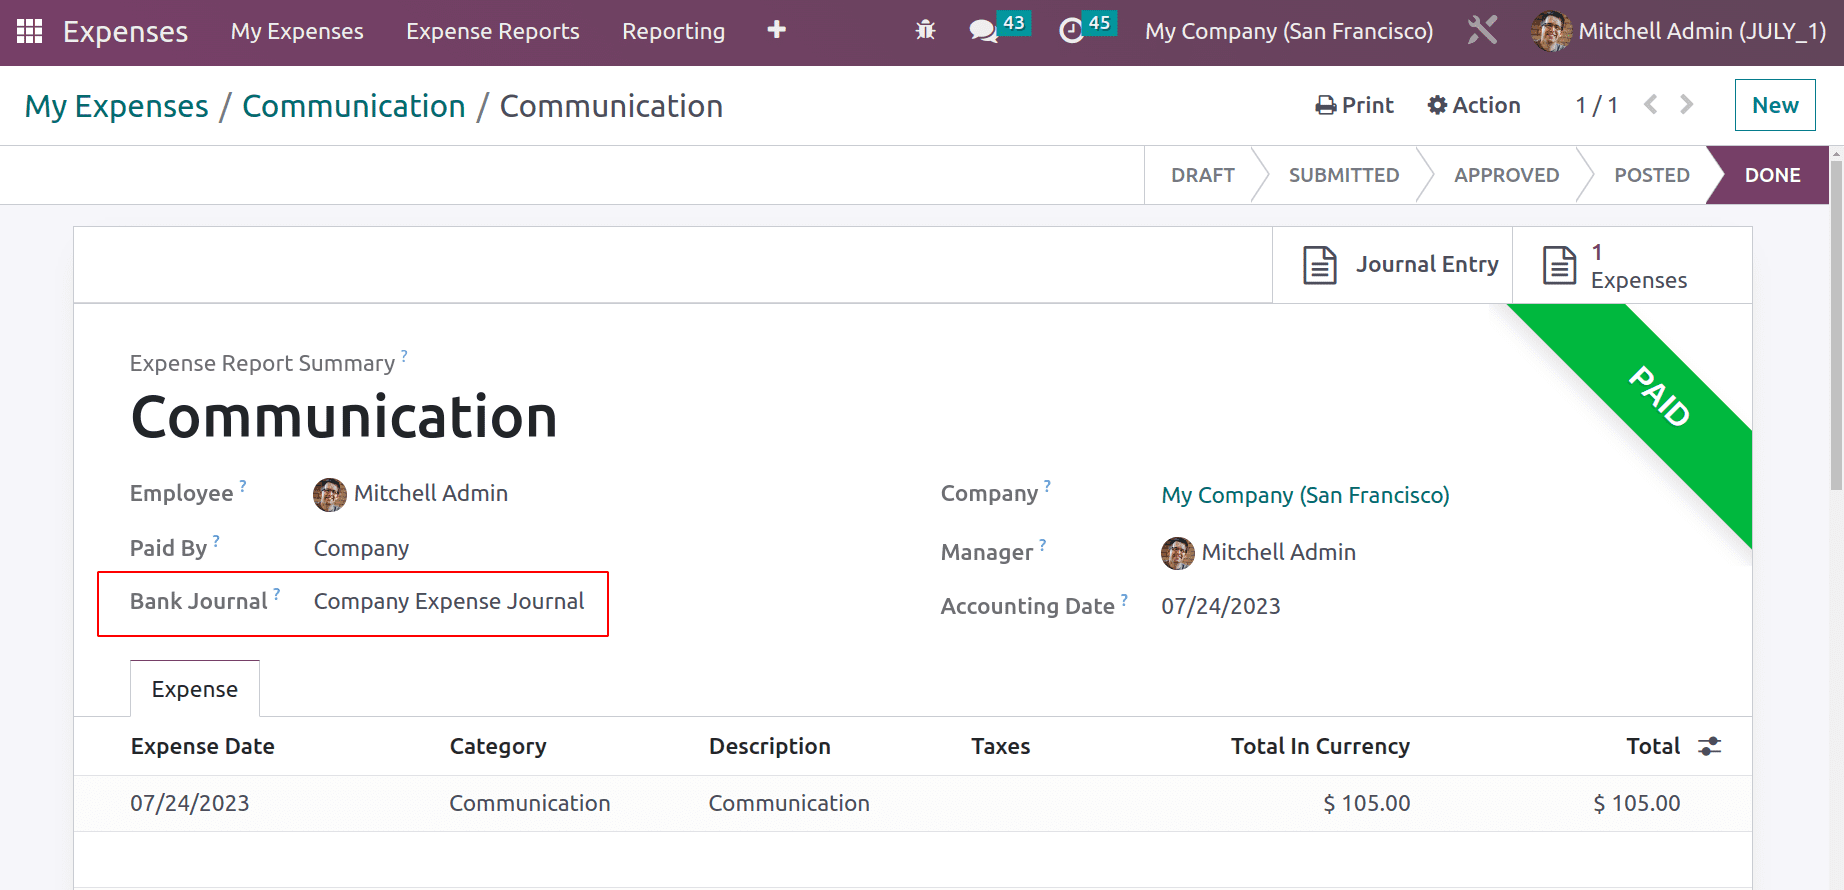
Then the expense report moved to the Done stage and a ribbon Paid will automatically appear on the report. There shows the Bank Journal, which is a similar one specified inside the configuration settings.
Let's check the journal entry created from the Accounting module. Go to Journal Entries on the Accounting tab. The created journal entry can be viewed under the journal entries in the Accounting module.
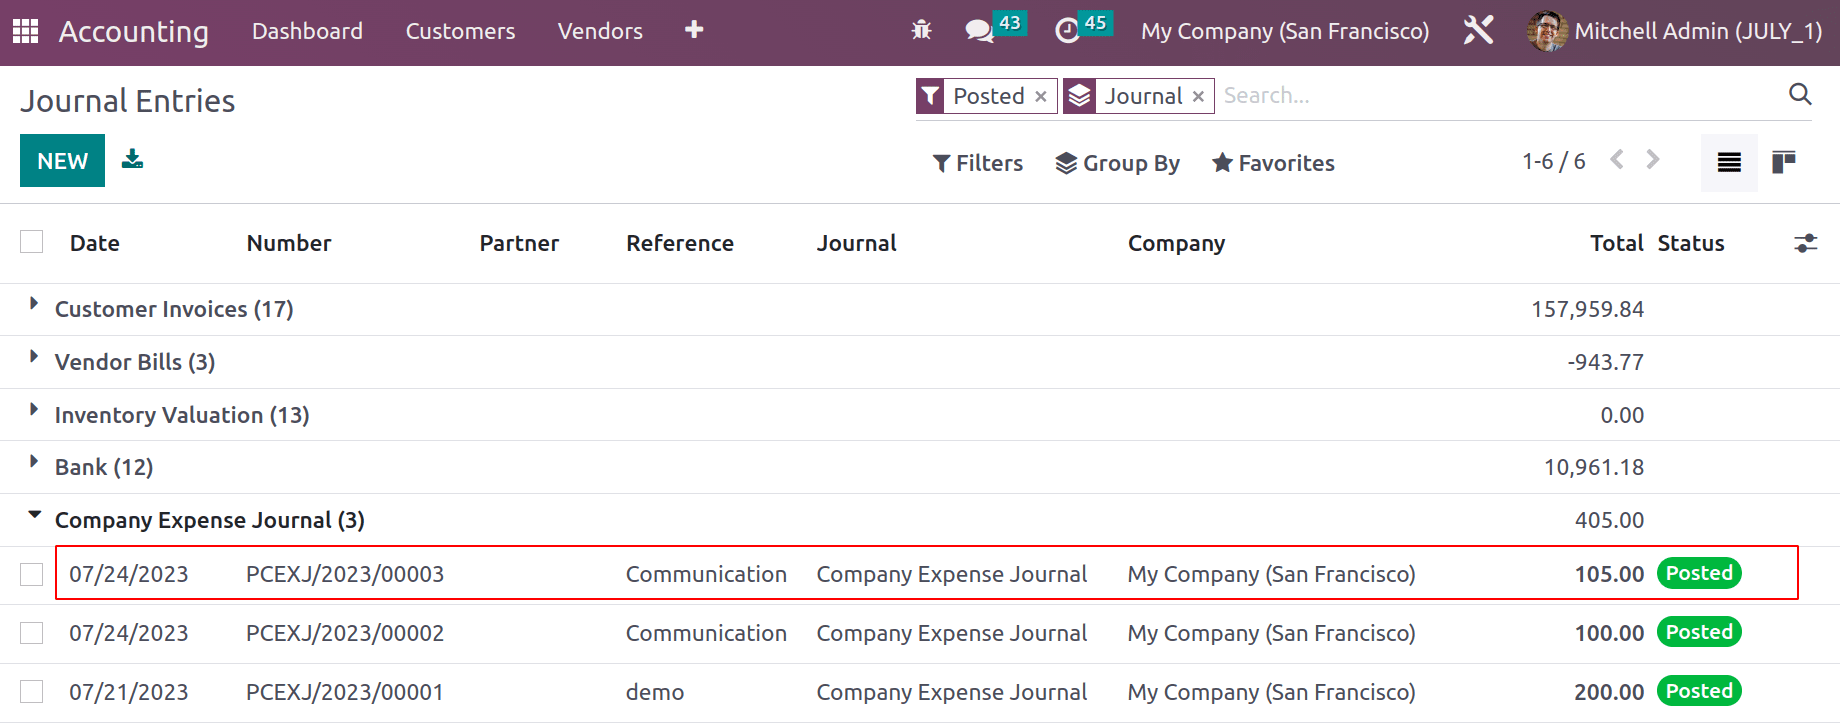
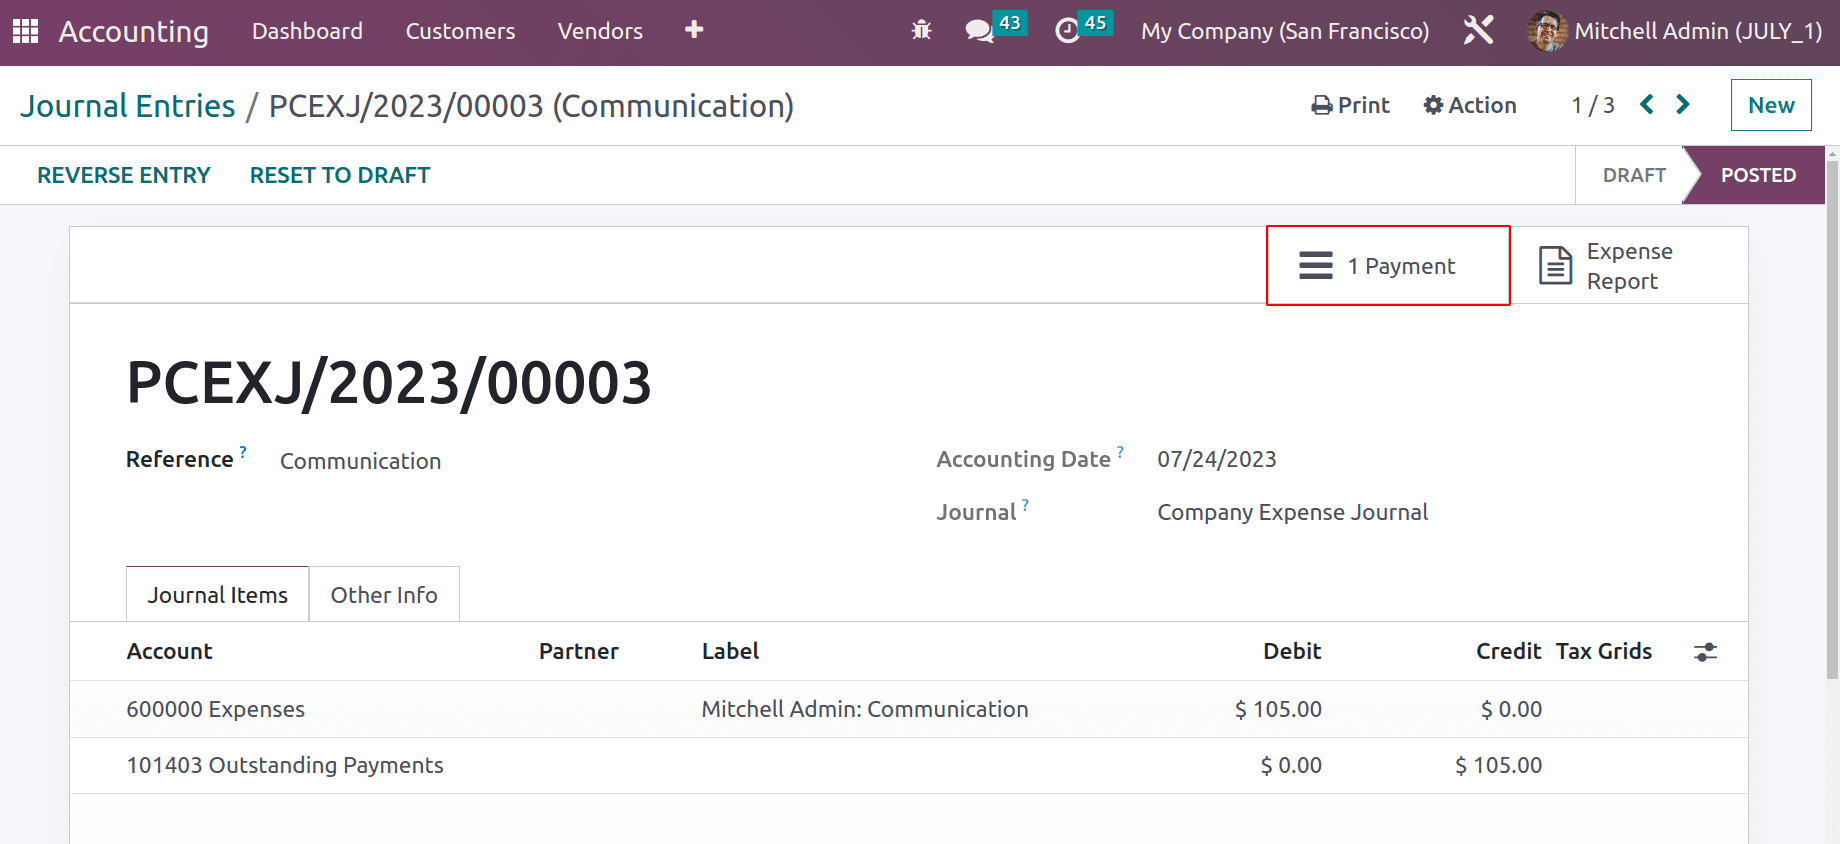
Open the journal entry to check the affected Accounts. Here the Expense Account is debited, here the expense increases so the expense account is Debited here. Outstanding Payment Account is Credited because the Liability is decreased.
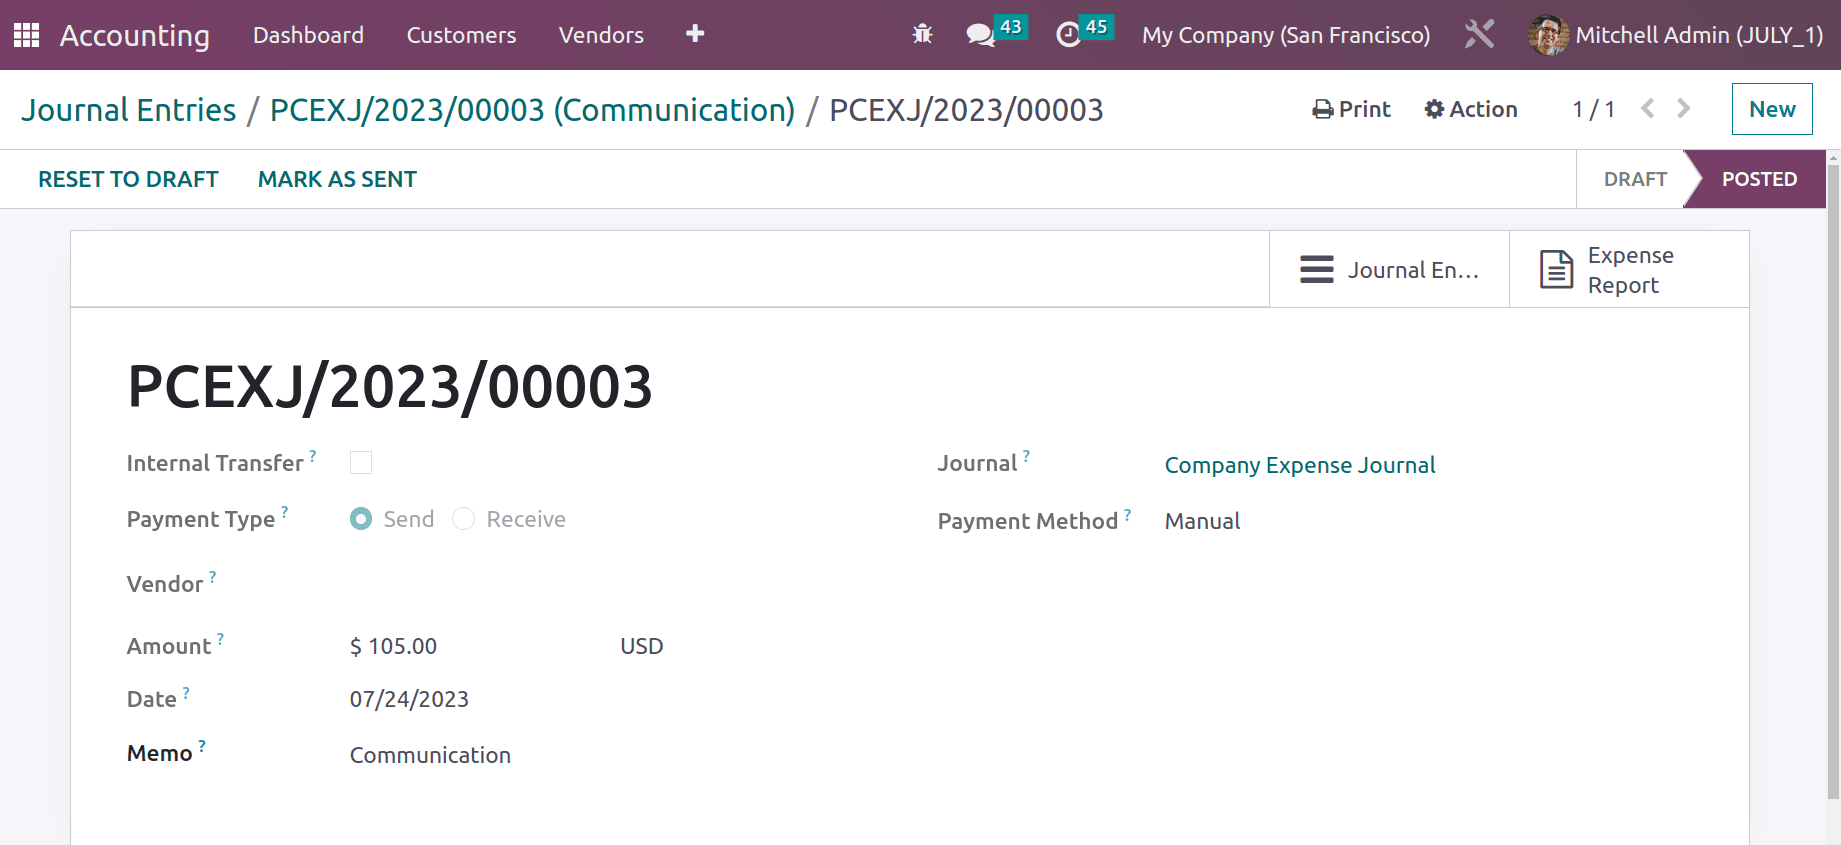
There is a smart tab named Payment. Open the smart tab. Created a payment on the expense amount there.
Case 2: Paid By Employee
An expense spent by the employee must be reimbursed to the employee. Sometimes the employee takes an amount to complete the task for the customer, if the amount is taken from the employee itself the company refunds the amount to the customer. The refund is in two types, one is to directly pay the amount to the employee and the second type is to pay the amount in the next pay slip.
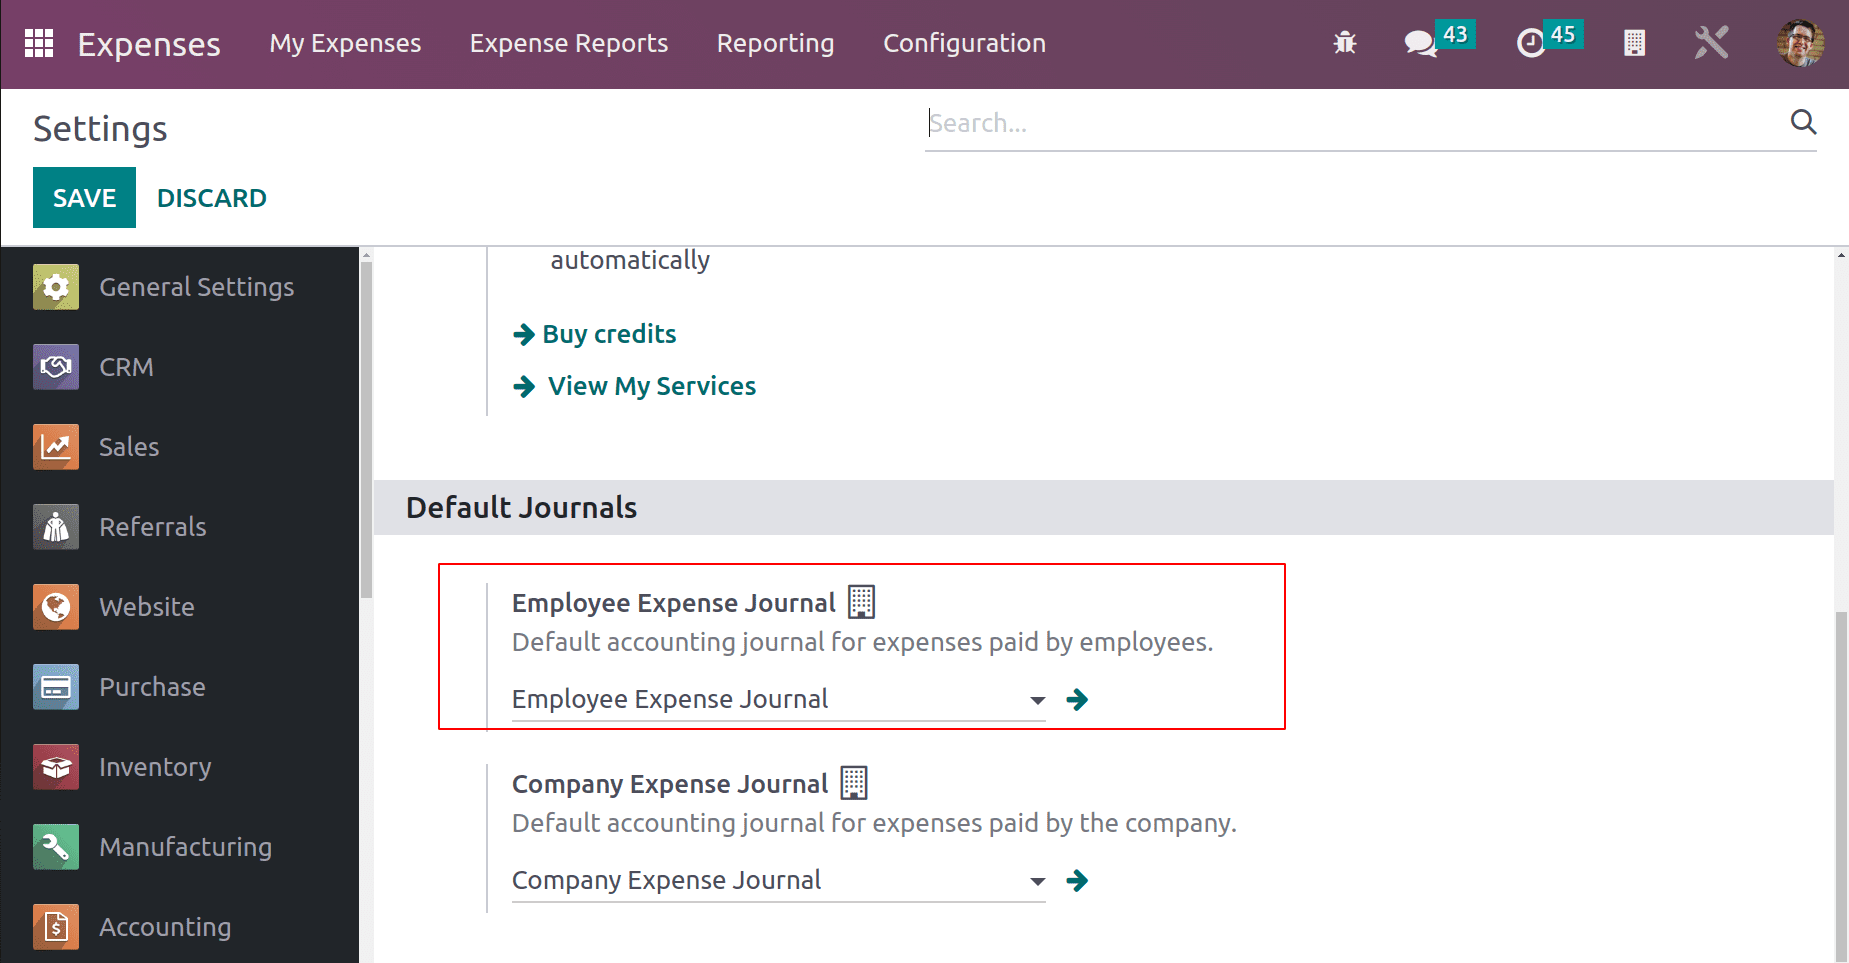
Let's check how the amount is paid back to the employee. It's possible to set up a separate journal to deal with the Employee Expenses. Move to the Configuration tab and Choose Settings again. Add the journal name and save it.
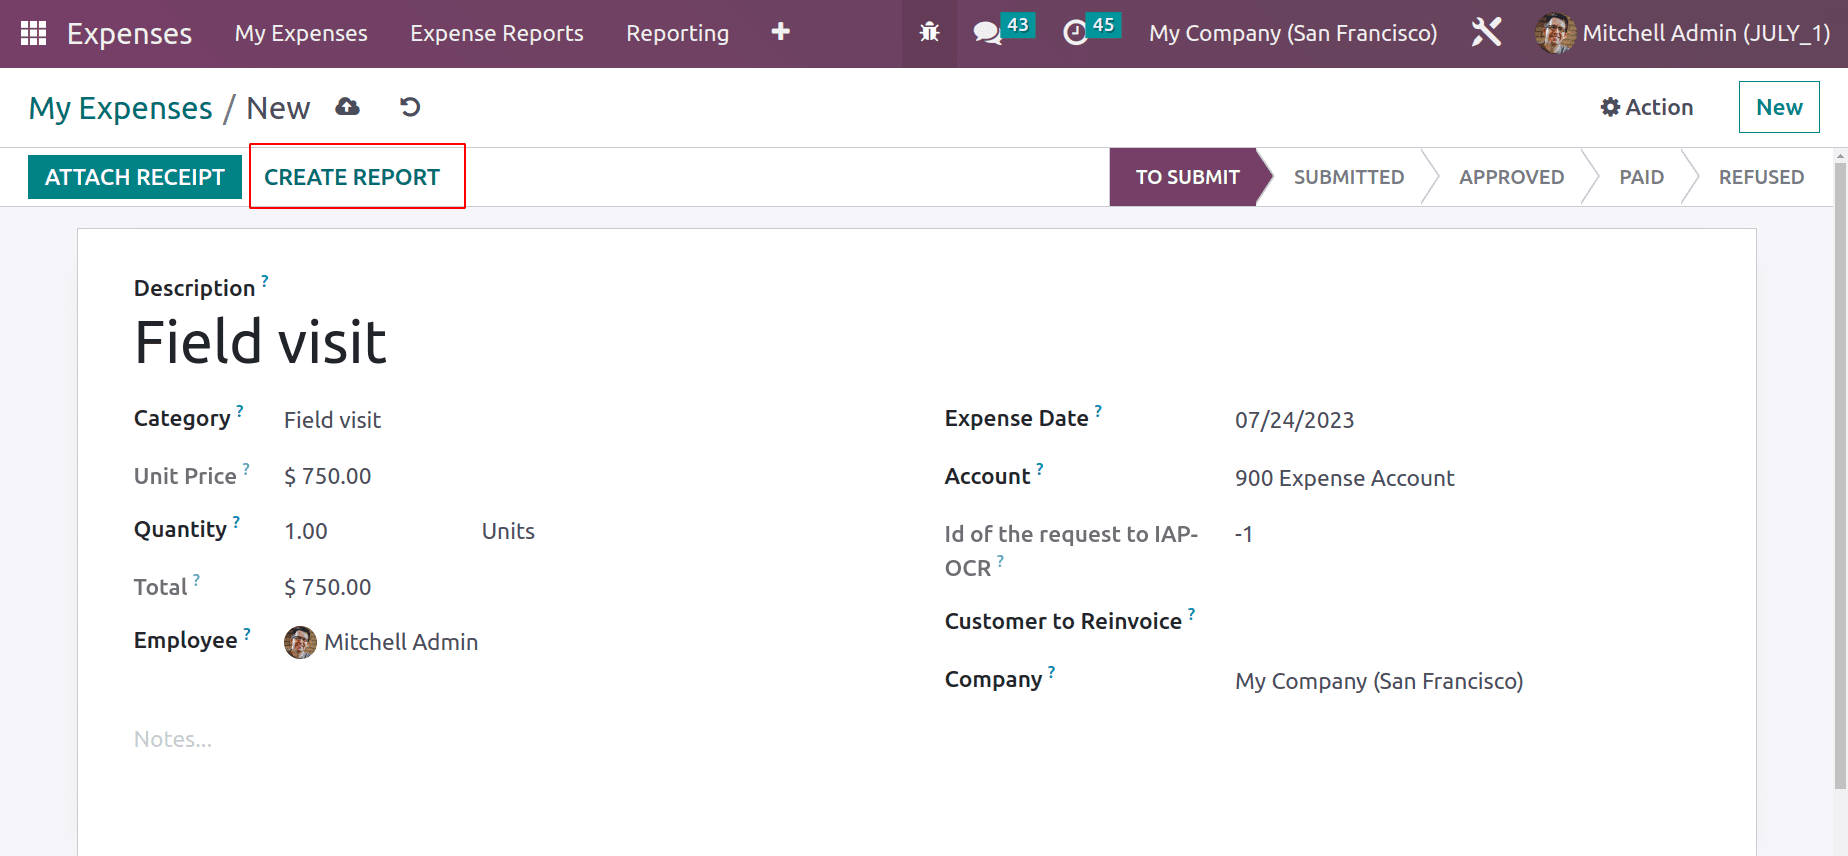
Create a new Expense for the employee Mitchel Admin. The previously configured Category is chosen here. This means the employee spent $750 to complete the Field Visit from his hand. So this amount has to be reimbursed to the employee. So the description was added as a Field Visit. According to the category, the total is added. As said before Attach Receipt is added to the uploaded document. Click on the Create Report button.
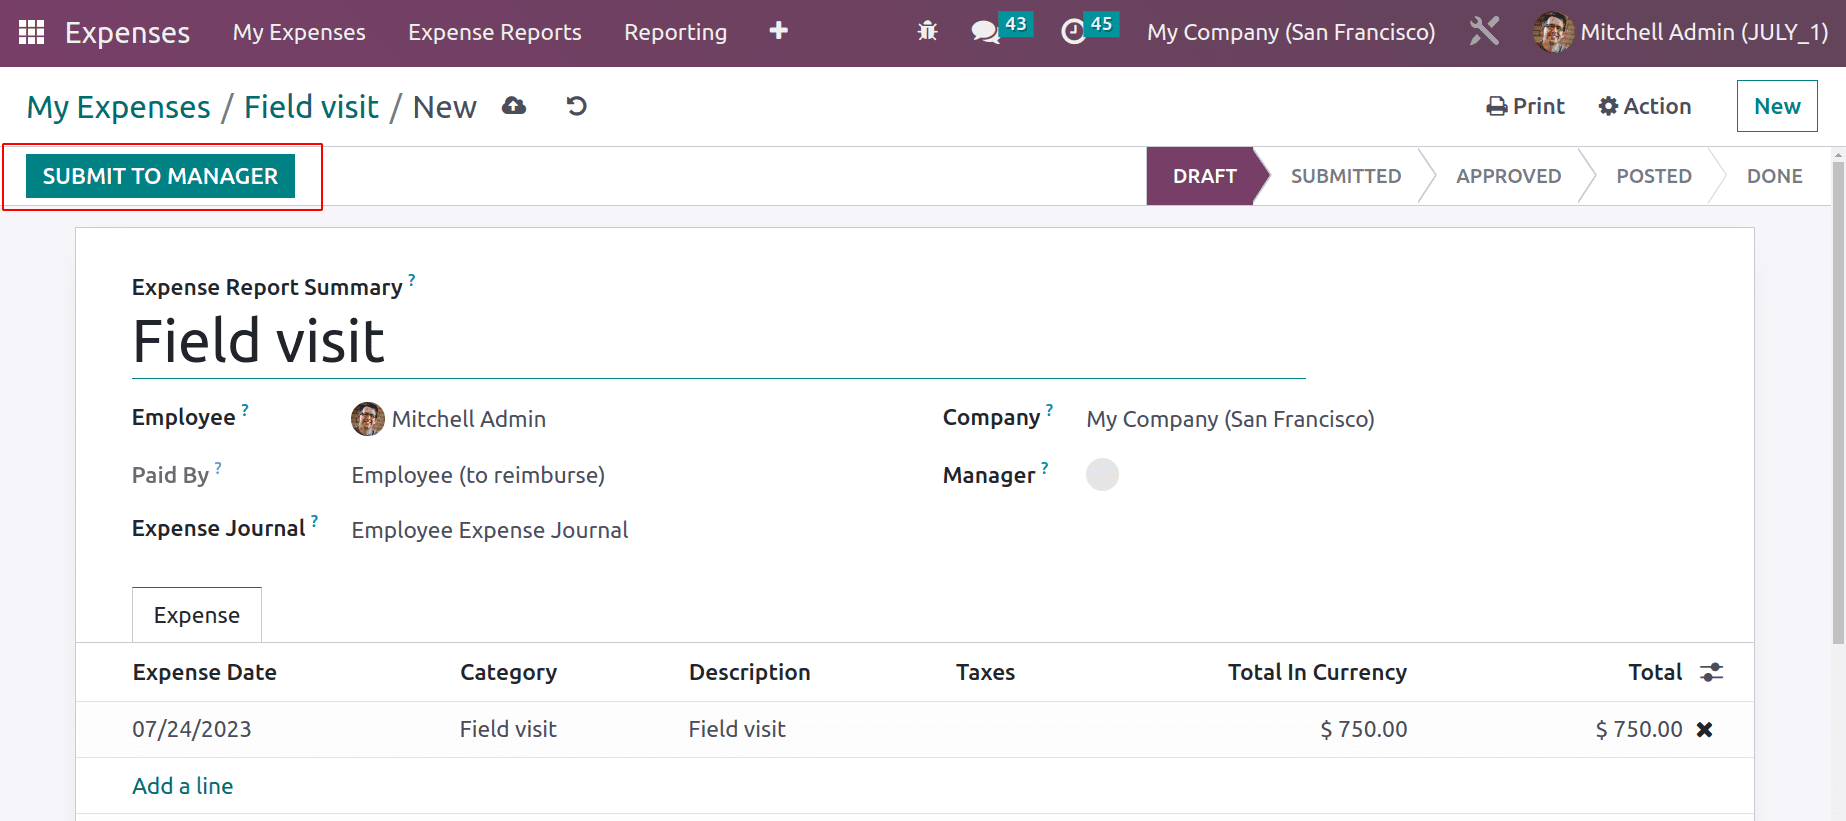
The report is created there then Submits the report to the manager. After checking, the manager will approve the report.
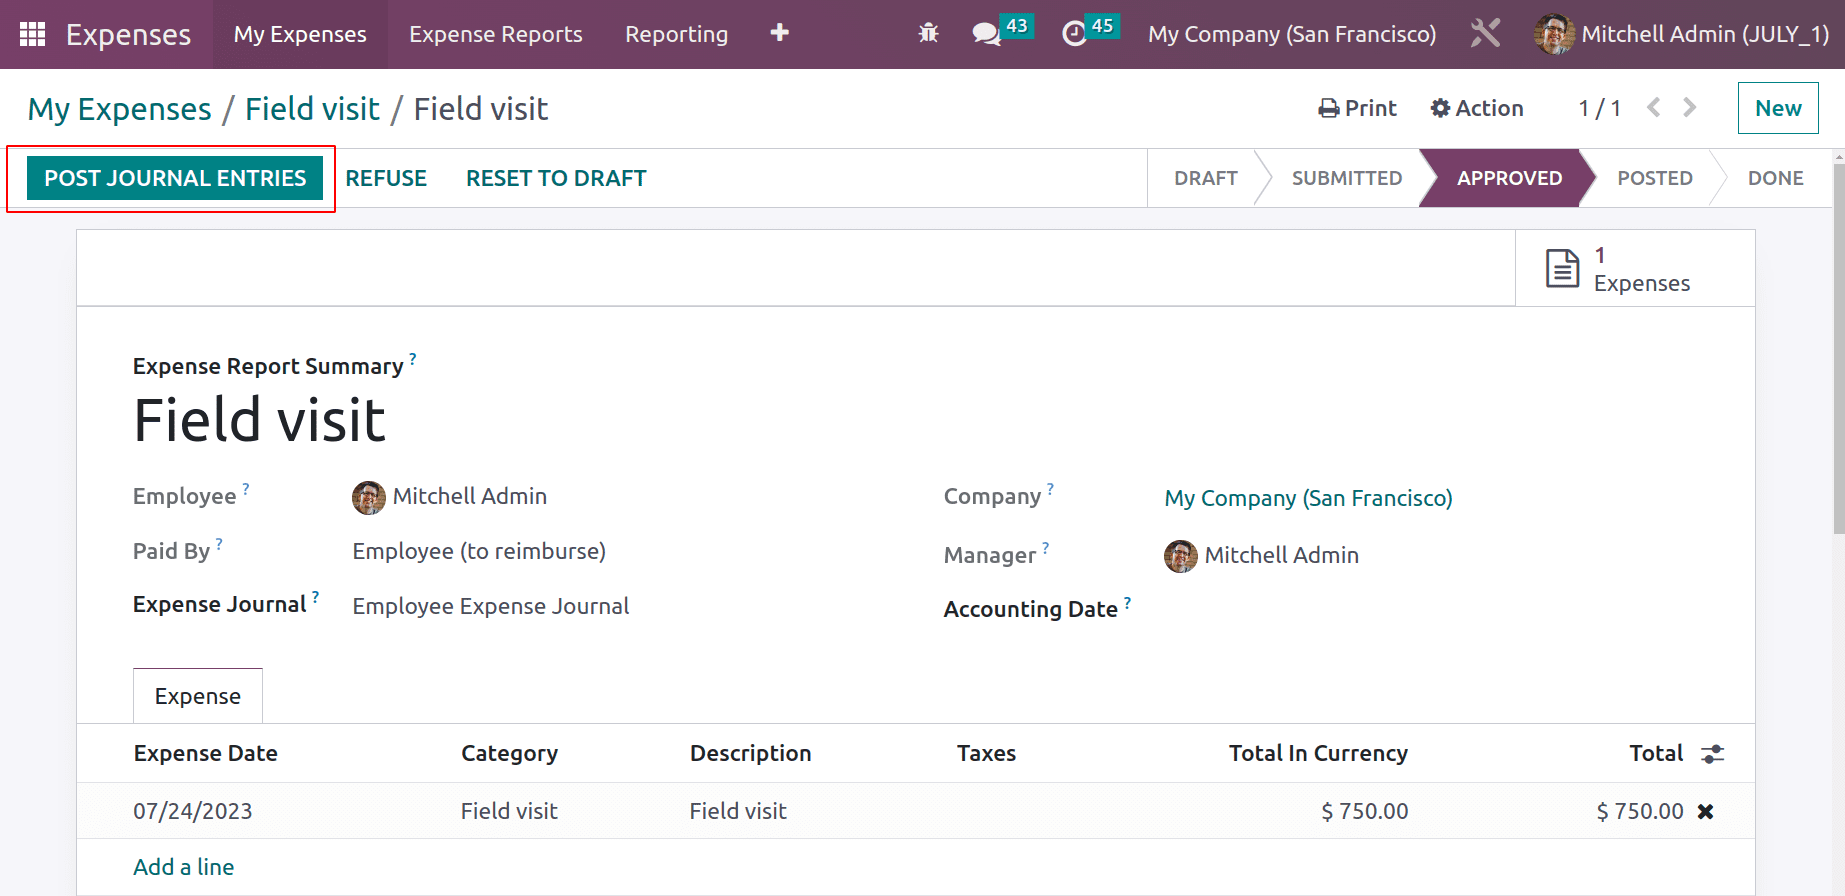
The user can post the journal entries of an approved expense report.
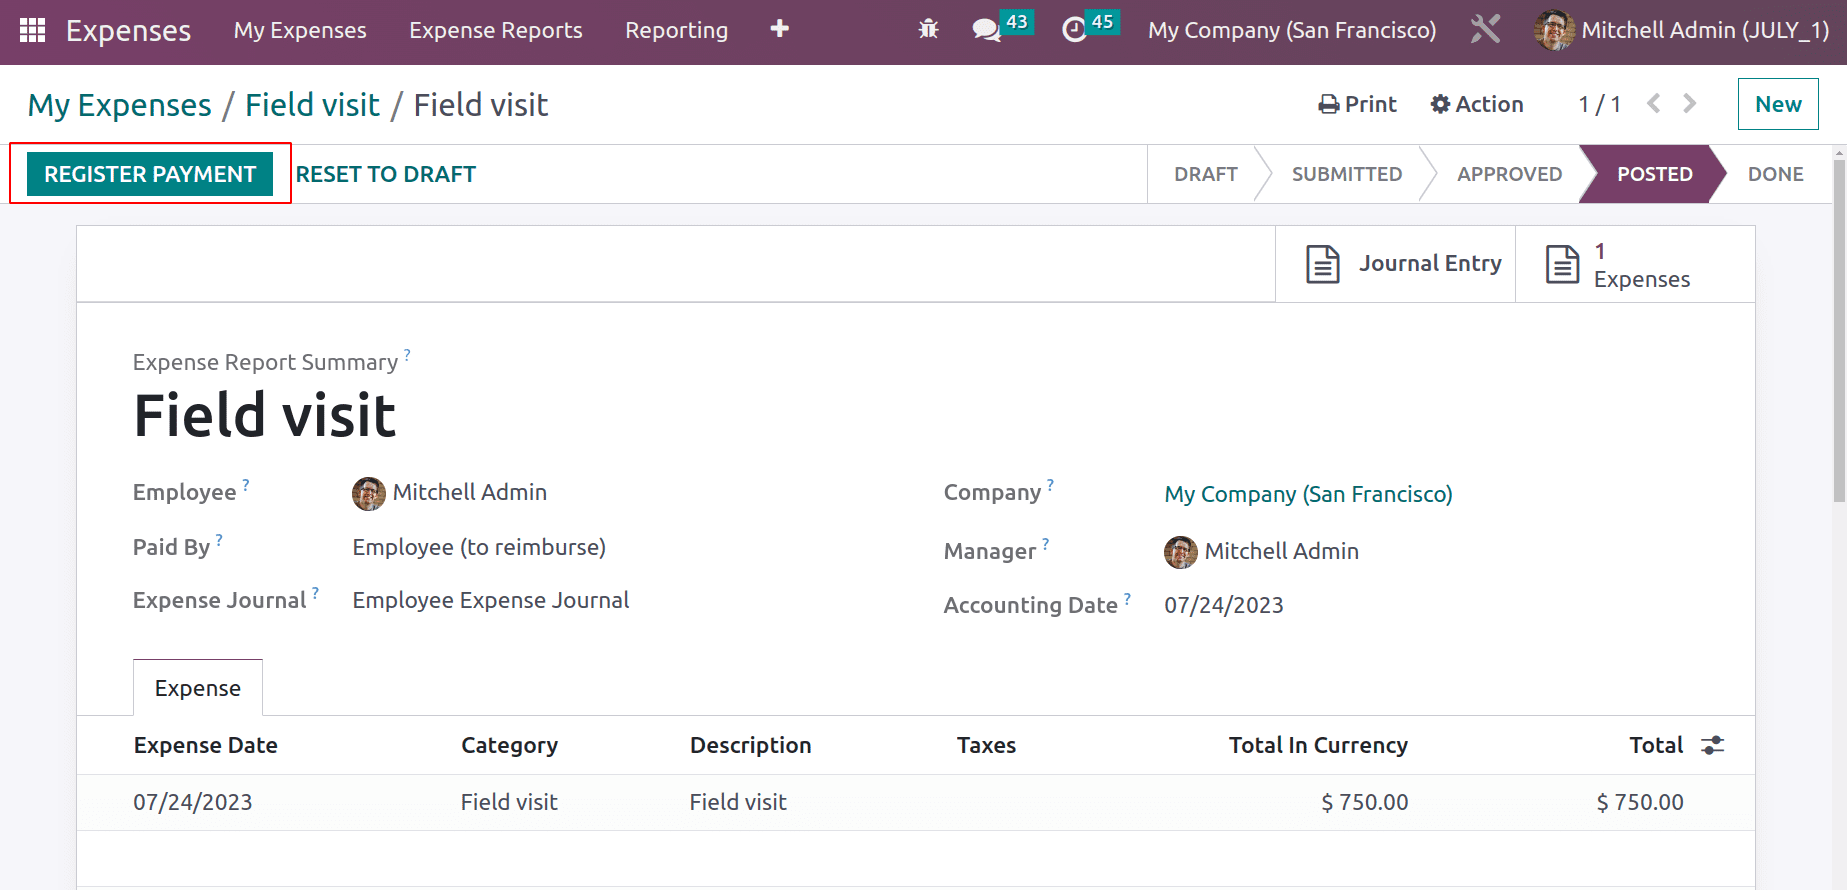
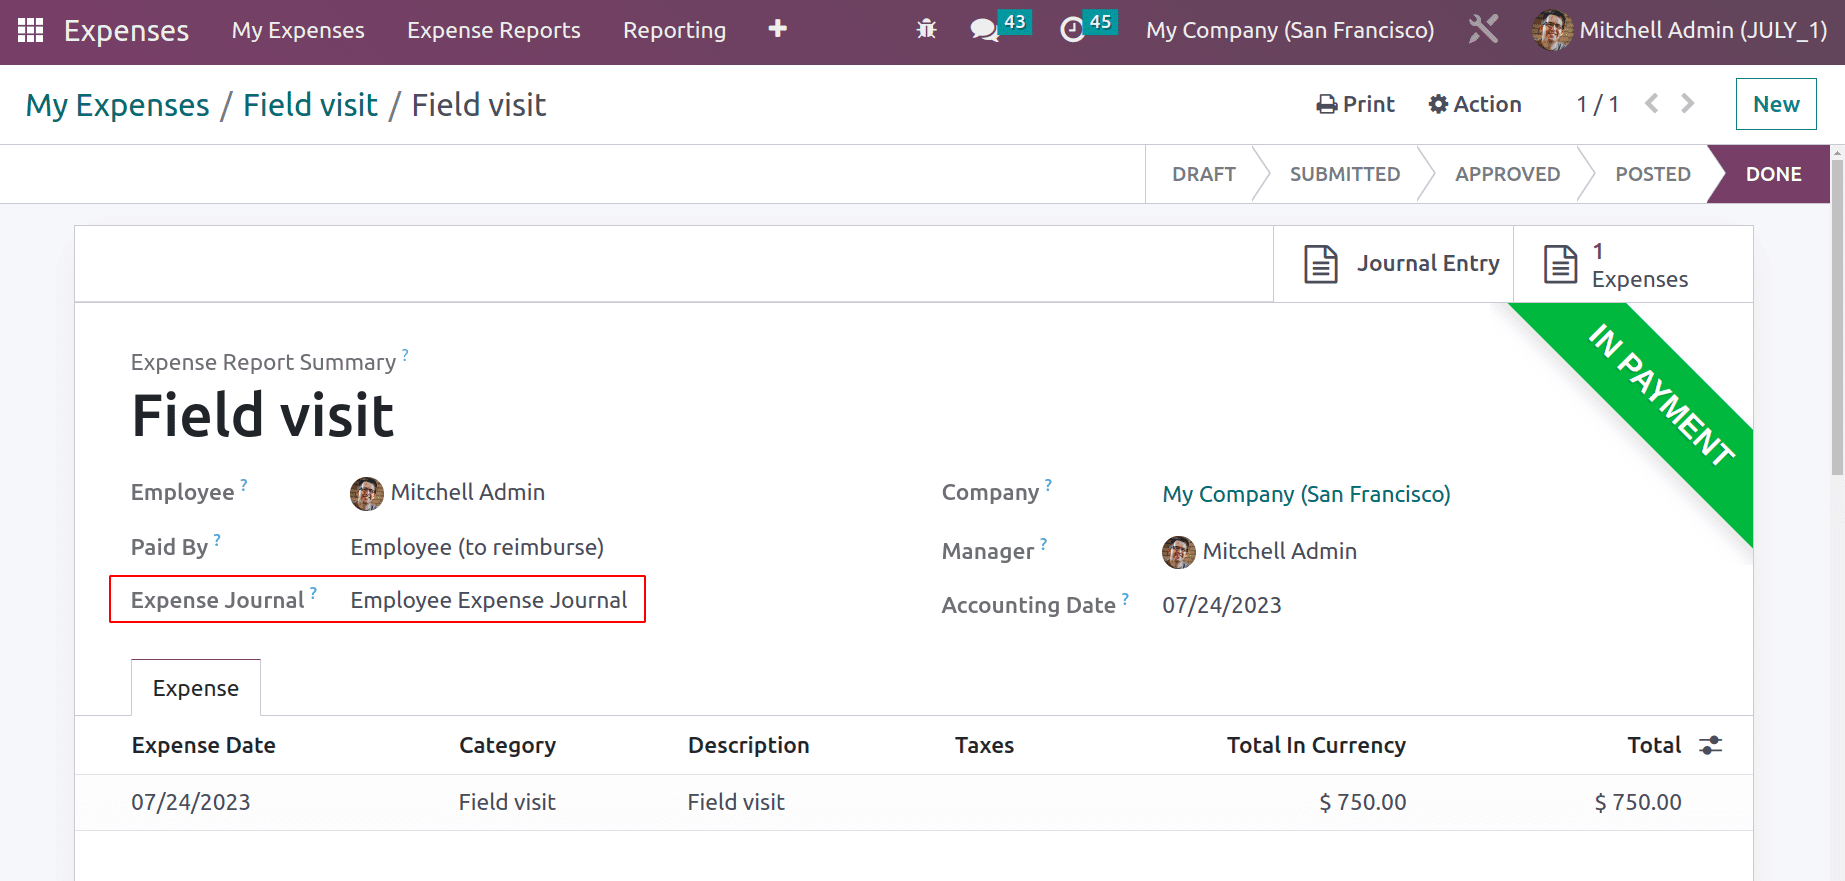
Here the report moved to the Posted stage, not directly to the Done stage. Because the amount is paid by the employee,so the amount wants to reimburse the employee. So click on the Register Payment button.
Another popup window will appear there to Register the payment. Journal, payment method, amount, and payment dates can be added there. The Expense description is added as Memo. Click the Create Payment button.

Then the expense is moved to the Done stage and a ribbon Inpayment is added there. The same journal mentioned in the Configuration, Settings is shown there.
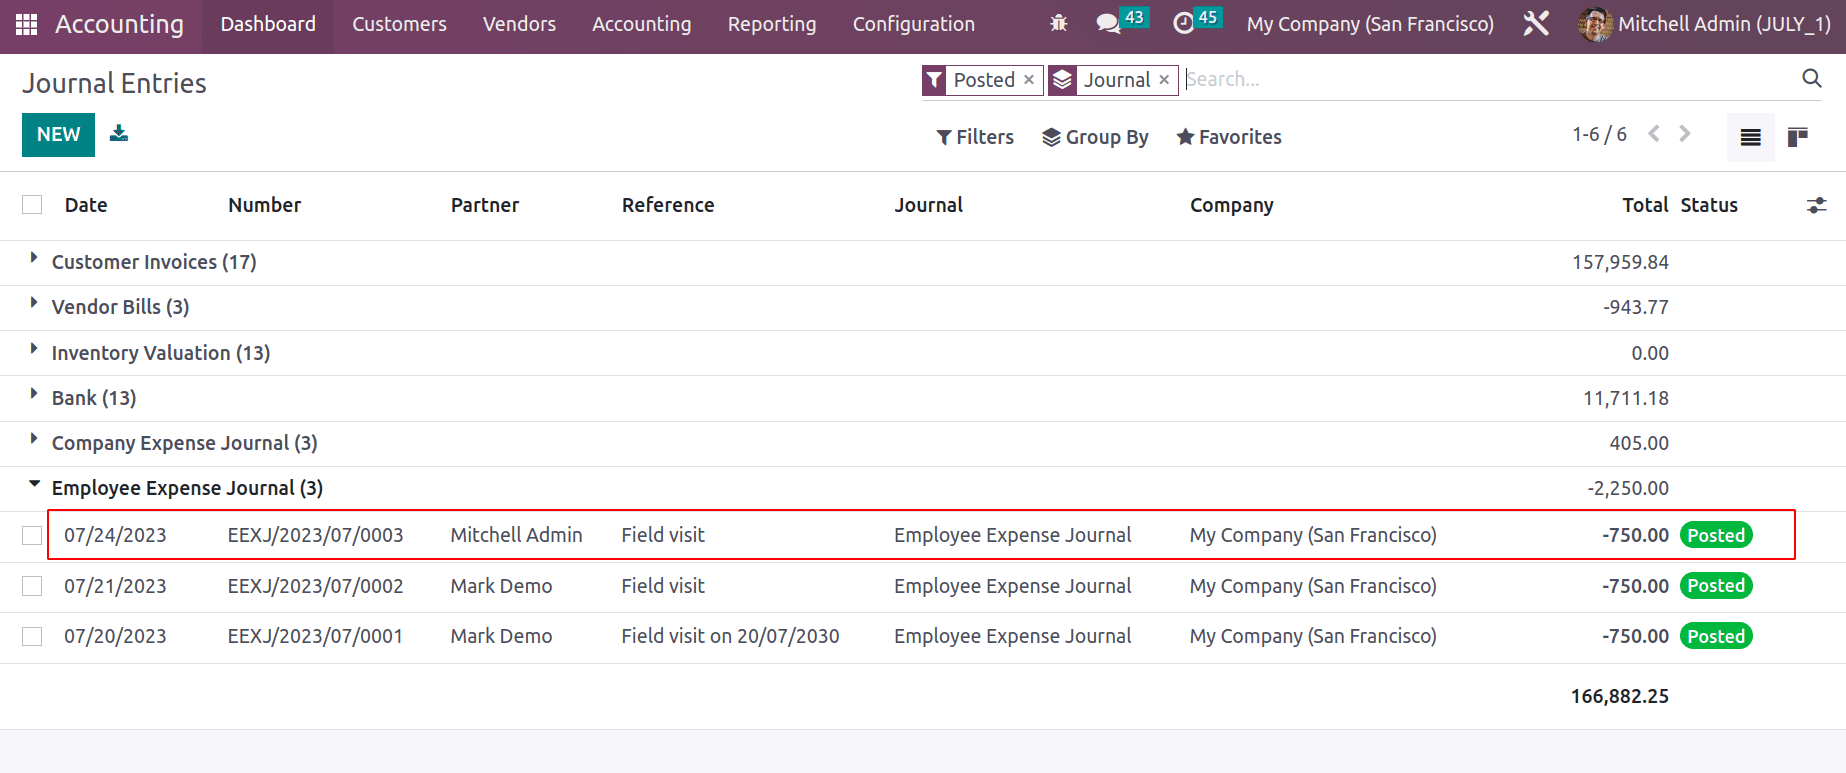
Let's check the journal entry again from the Accounting module. The amount shows as a negative value here. Because it is paid by the company to employees. Open the entry.
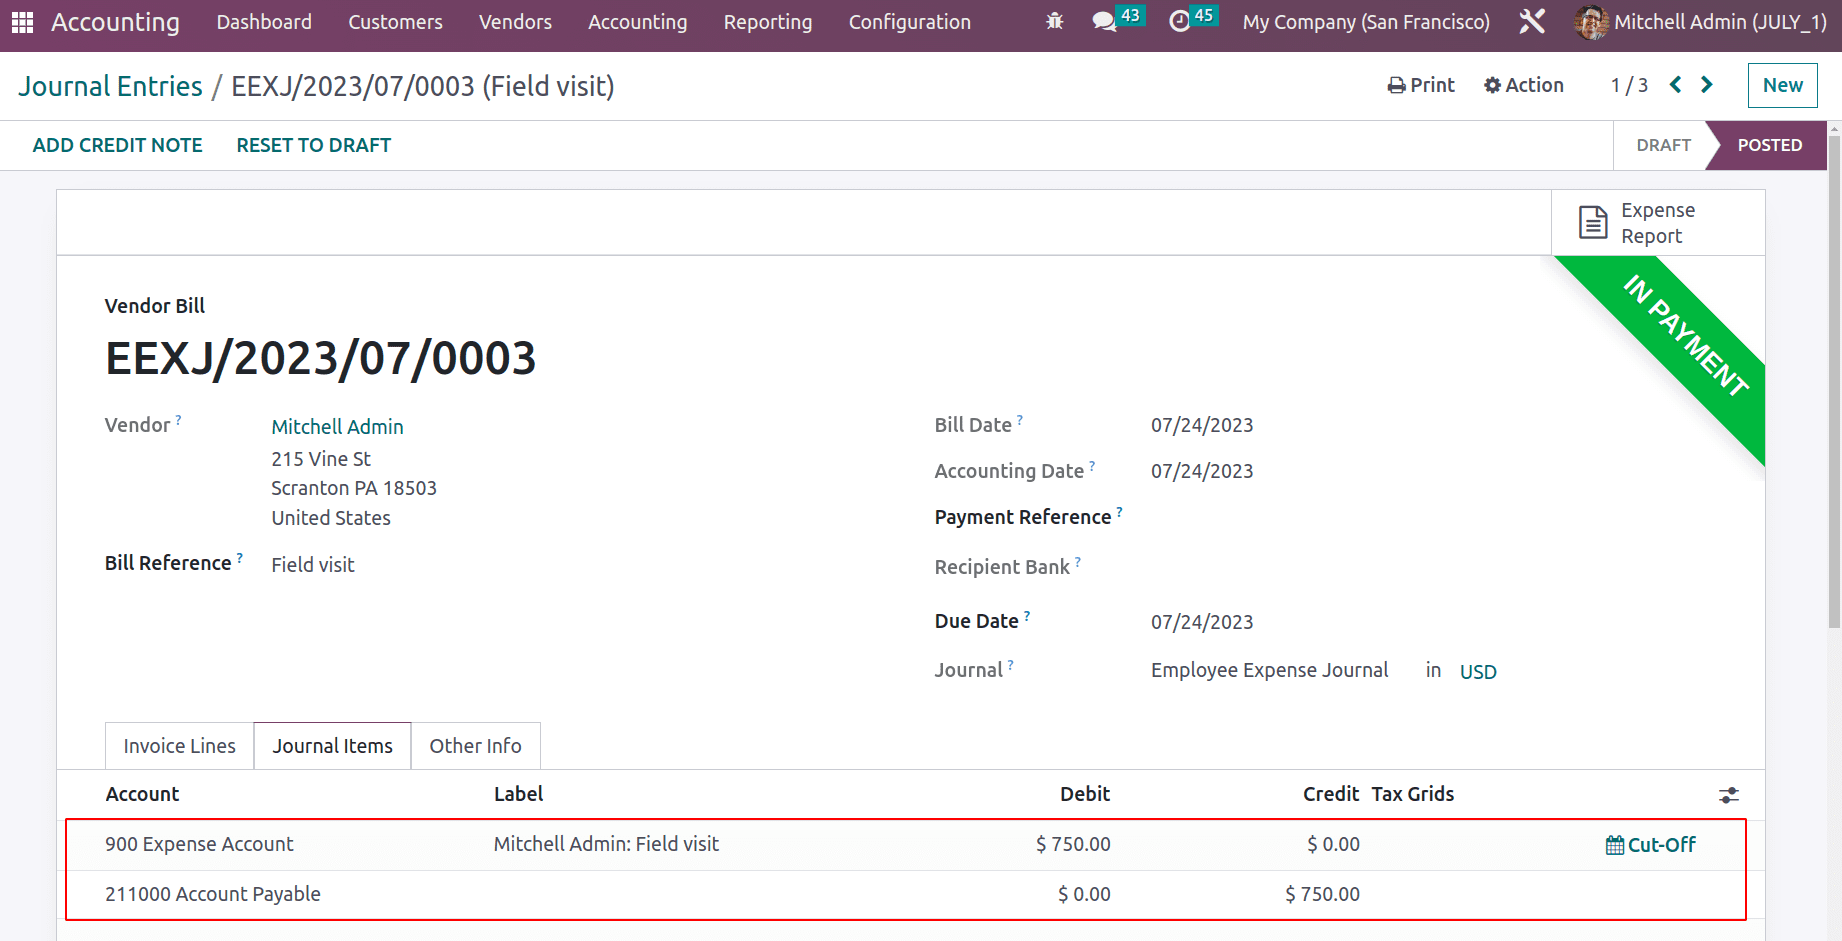
Which is a bill to the employee. The Journal entry tab shows that the Expense Account and Account Payable are affected here.
As said before the expense can be paid back to the employee through the next payslip also. Effective spending management is made possible by the Odoo Expense module. Accurate spending tracking and employee expense approval are made easier with the help of this module.