Efficient material tracking is essential for project management, ensuring accurate resource allocation, cost control, and timely execution. Odoo 18 simplifies this process by providing a feature to monitor material usage, improving project efficiency. This blog discusses how Odoo 18 enables businesses to track materials used in projects, helping teams maintain transparency and optimize resource management.
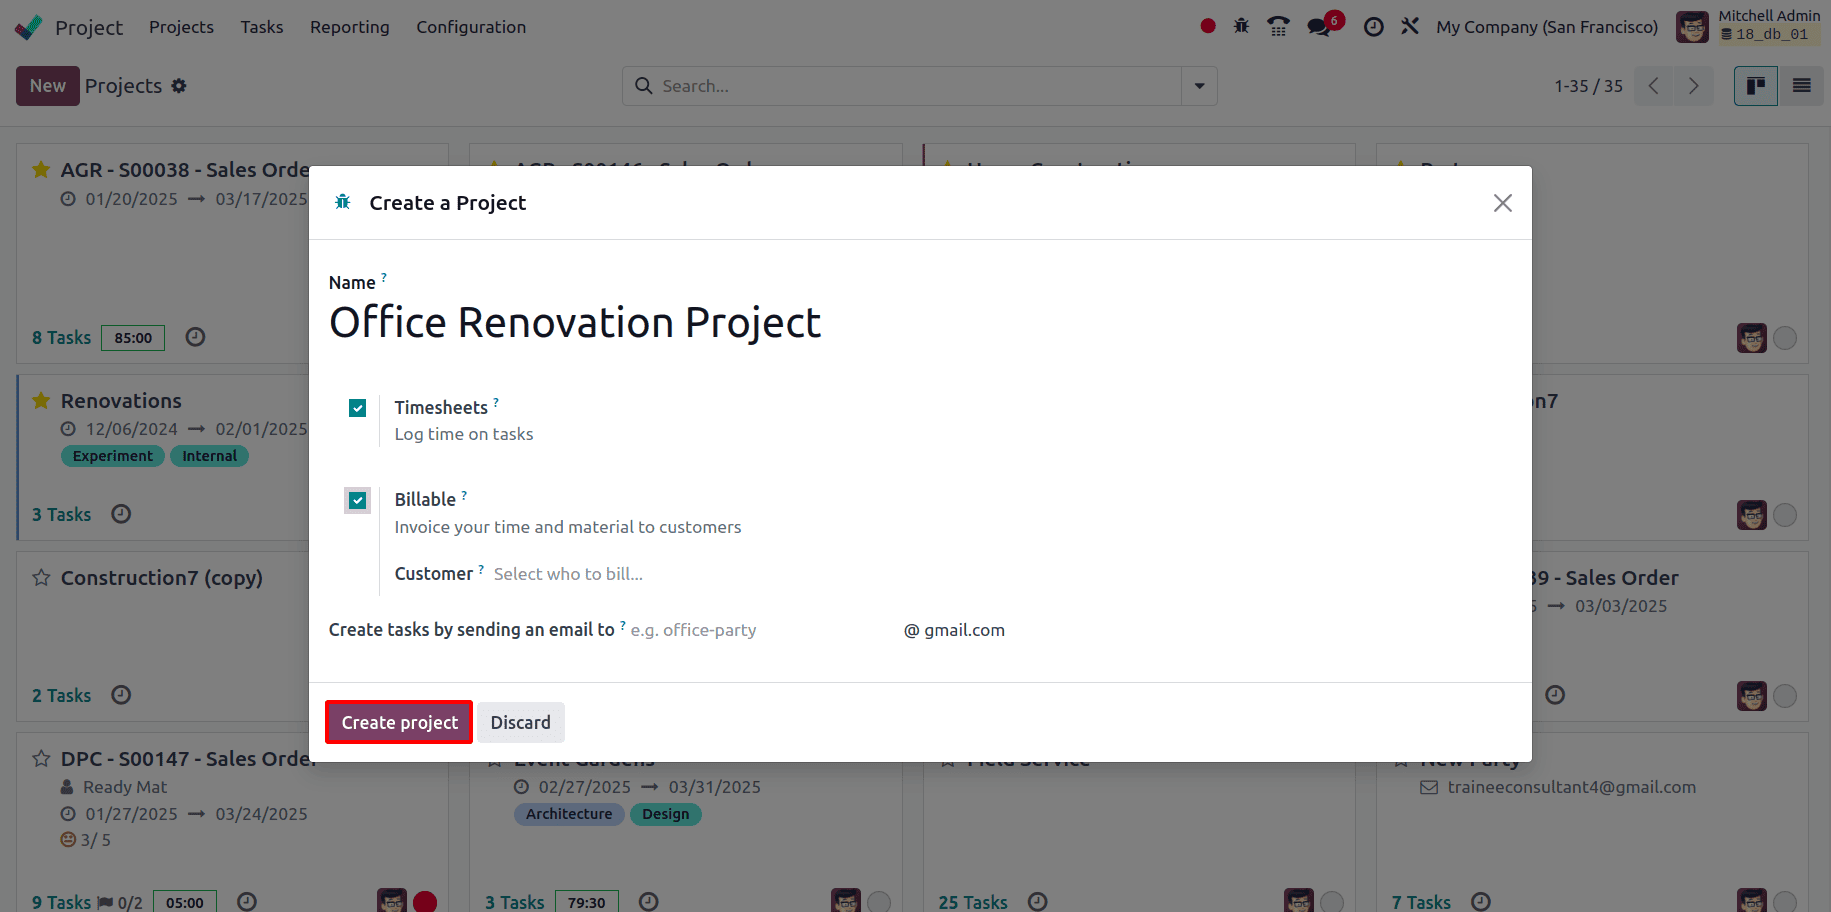
To see how to track materials used for a Project, first, let's create a new project. To do so, navigate to the Odoo 18 Project module. In the dashboard, all the projects that have already been created will be visible. To create a new Project, click on the New button. In the project creation form, enter all the necessary details, such as:
* Name: Specify the project's name.
* Timesheets: Enable this option to track time spent on tasks.
* Billable: Select this option to allow invoicing for time and materials.
* Customer: Link the project to a specific customer.
* Create tasks by sending an email to: Set an email alias to enable task creation via email.
After entering all the details, click the Create Project button to complete the setup.
Once the Create Project button is clicked, users are directed to a new page where the task stages can be added by providing the names of the stages in the given fields. Then click on the Add button.

Once all the required stages have been added, tasks for the project can be added under those stages. To add a new task, click on New at the top left corner. Add the Task Title and Assignee in the task form and then click on the Add button.
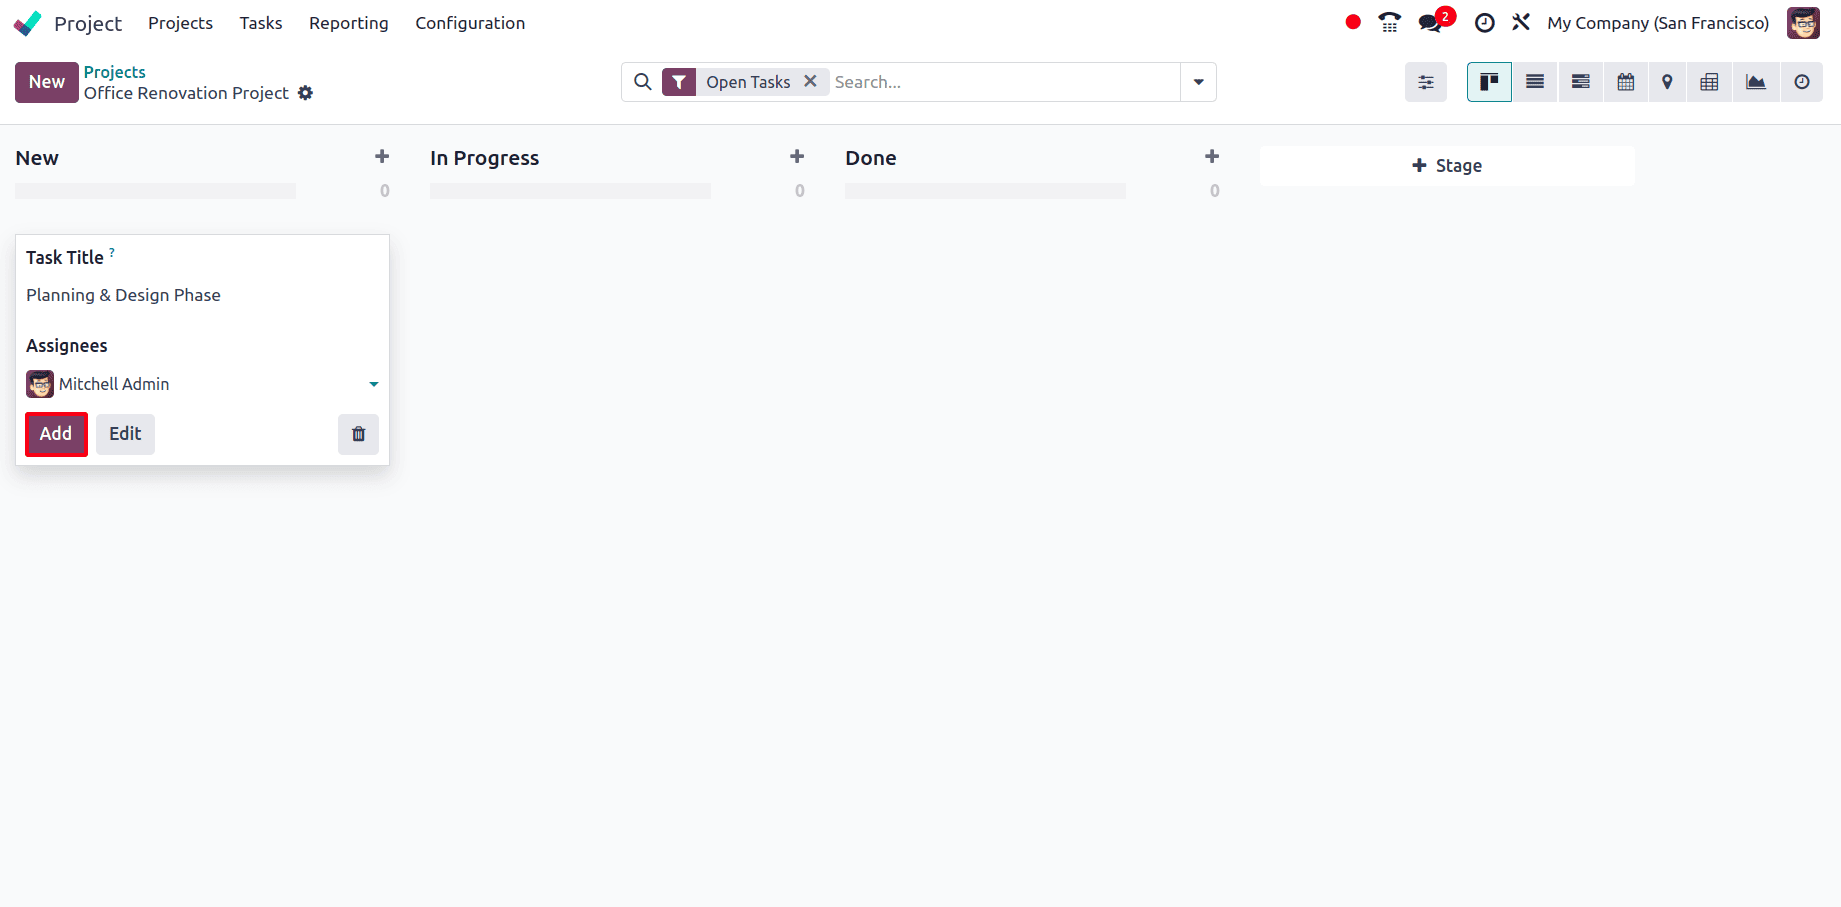
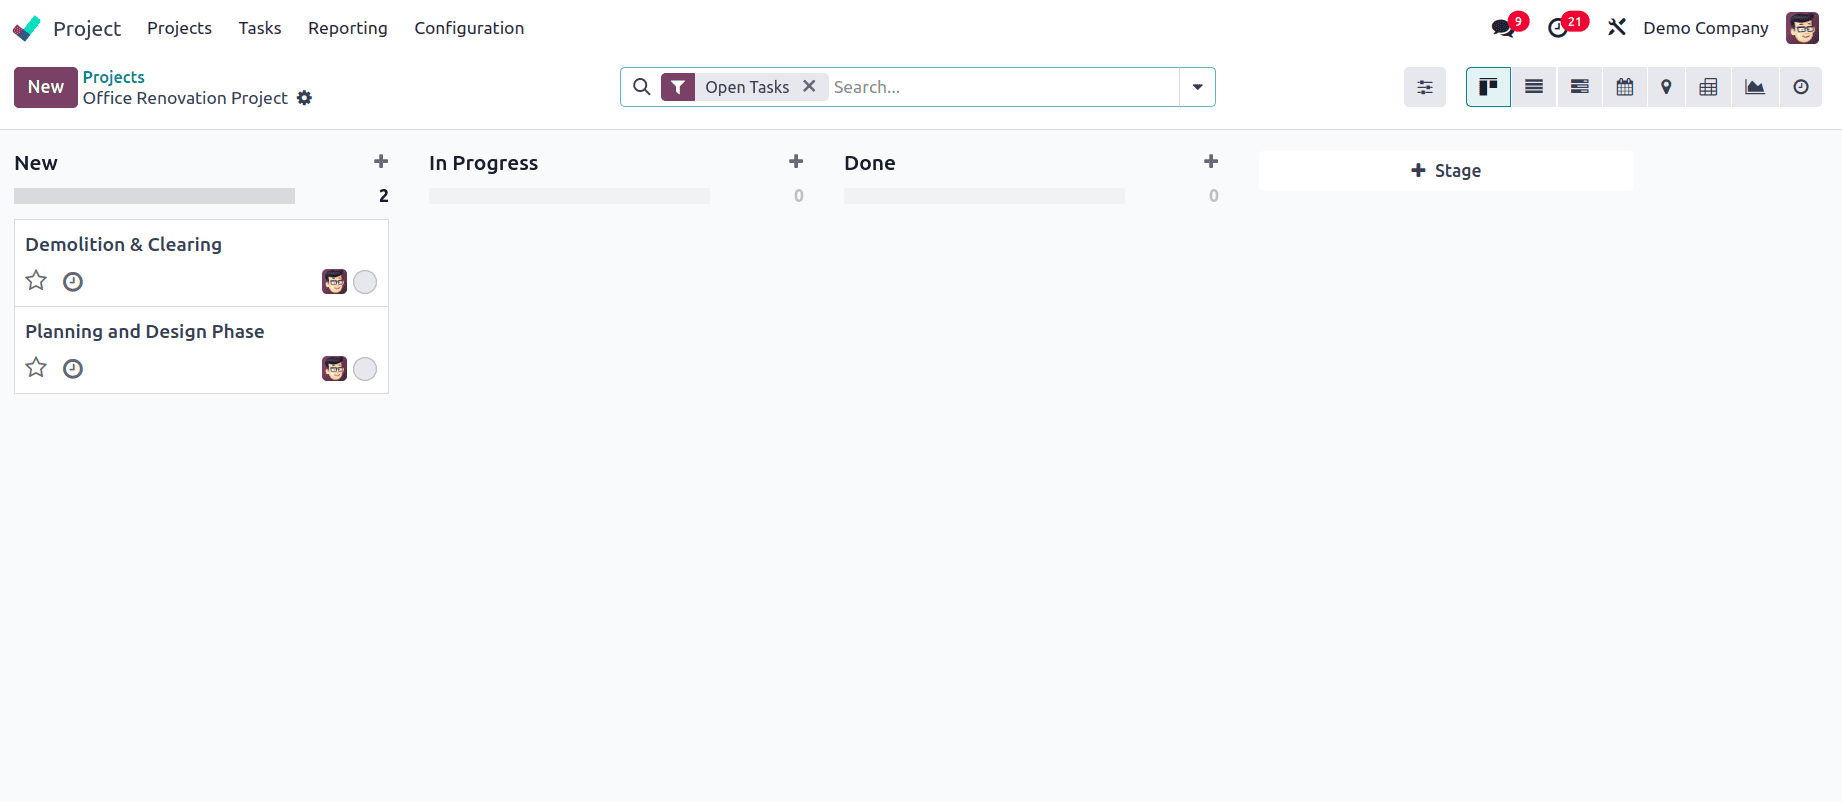
Add all the required tasks for the project.
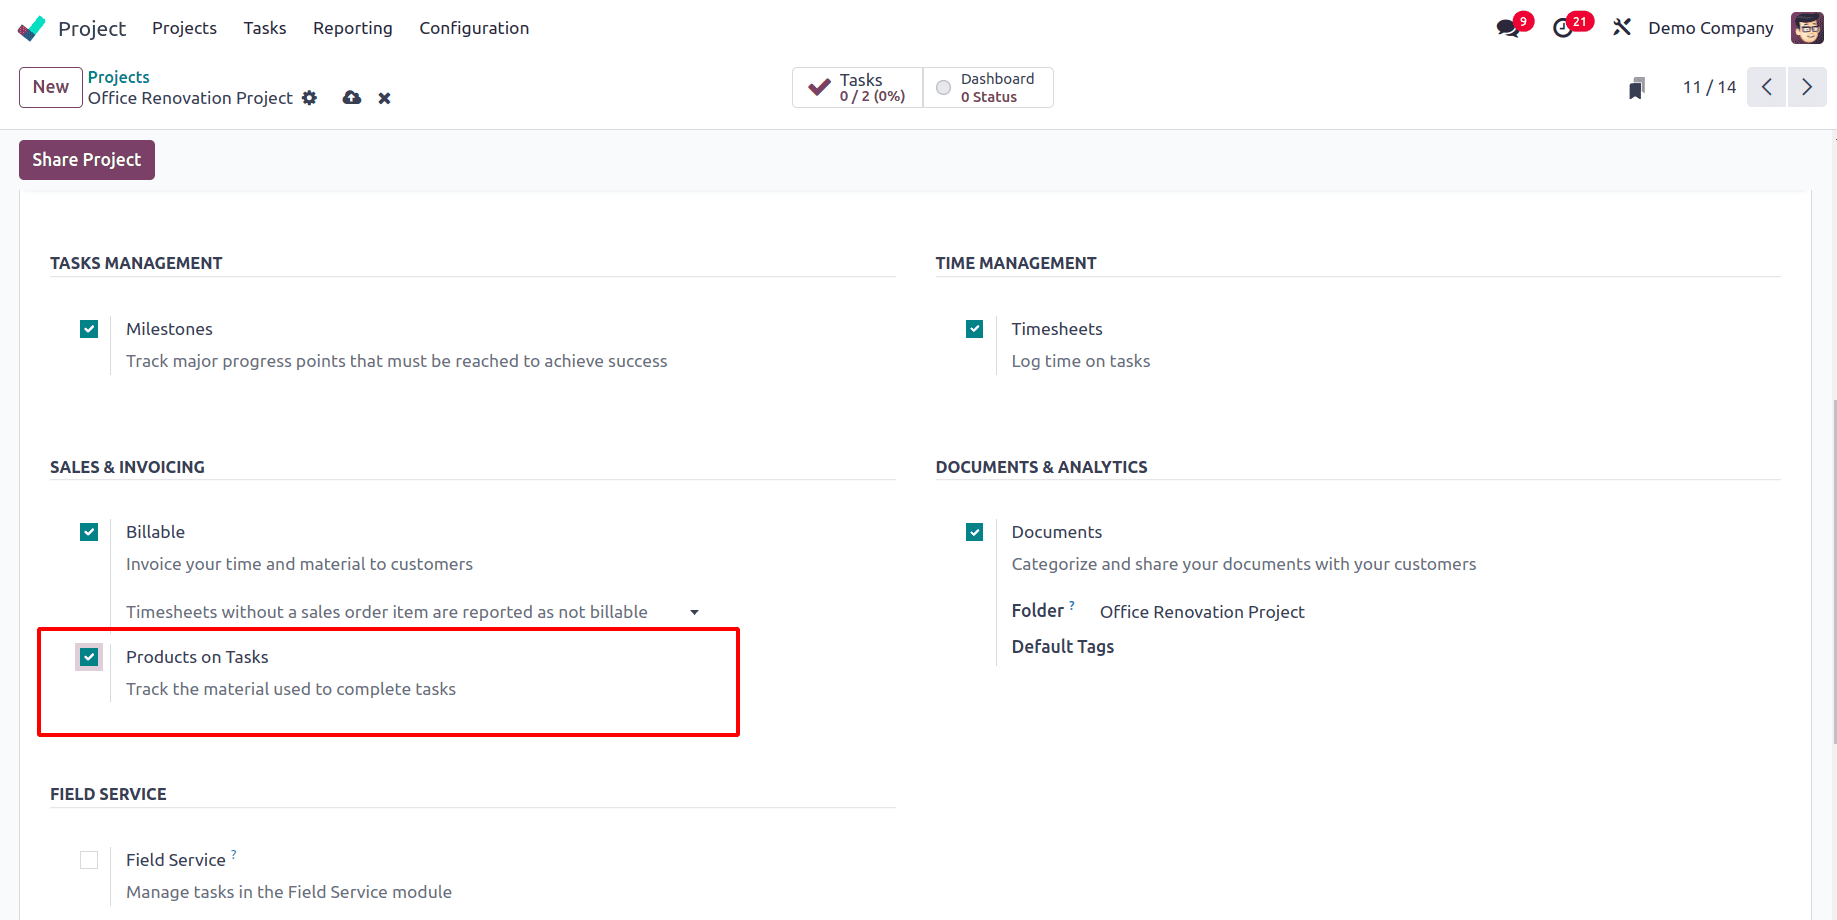
To track the products used for this project, the Products on Tasks feature must be enabled. This allows users to associate products with tasks, enabling better cost tracking, invoicing, and resource management. This feature is particularly useful for businesses that provide services, manage materials for tasks, or track billable work. It helps to track the materials consumed per task. To enable the feature, go to the settings of the project by clicking on the three vertical dots icon in the project card.

The detailed form view of the project is shown from there. Go to the settings tab, and under the Sales and Invoicing section, there is a feature called Products on Taks. Enable the checkbox to track the materials that have been used to complete the tasks. Also, make sure that the Billable feature is also enabled for the project.
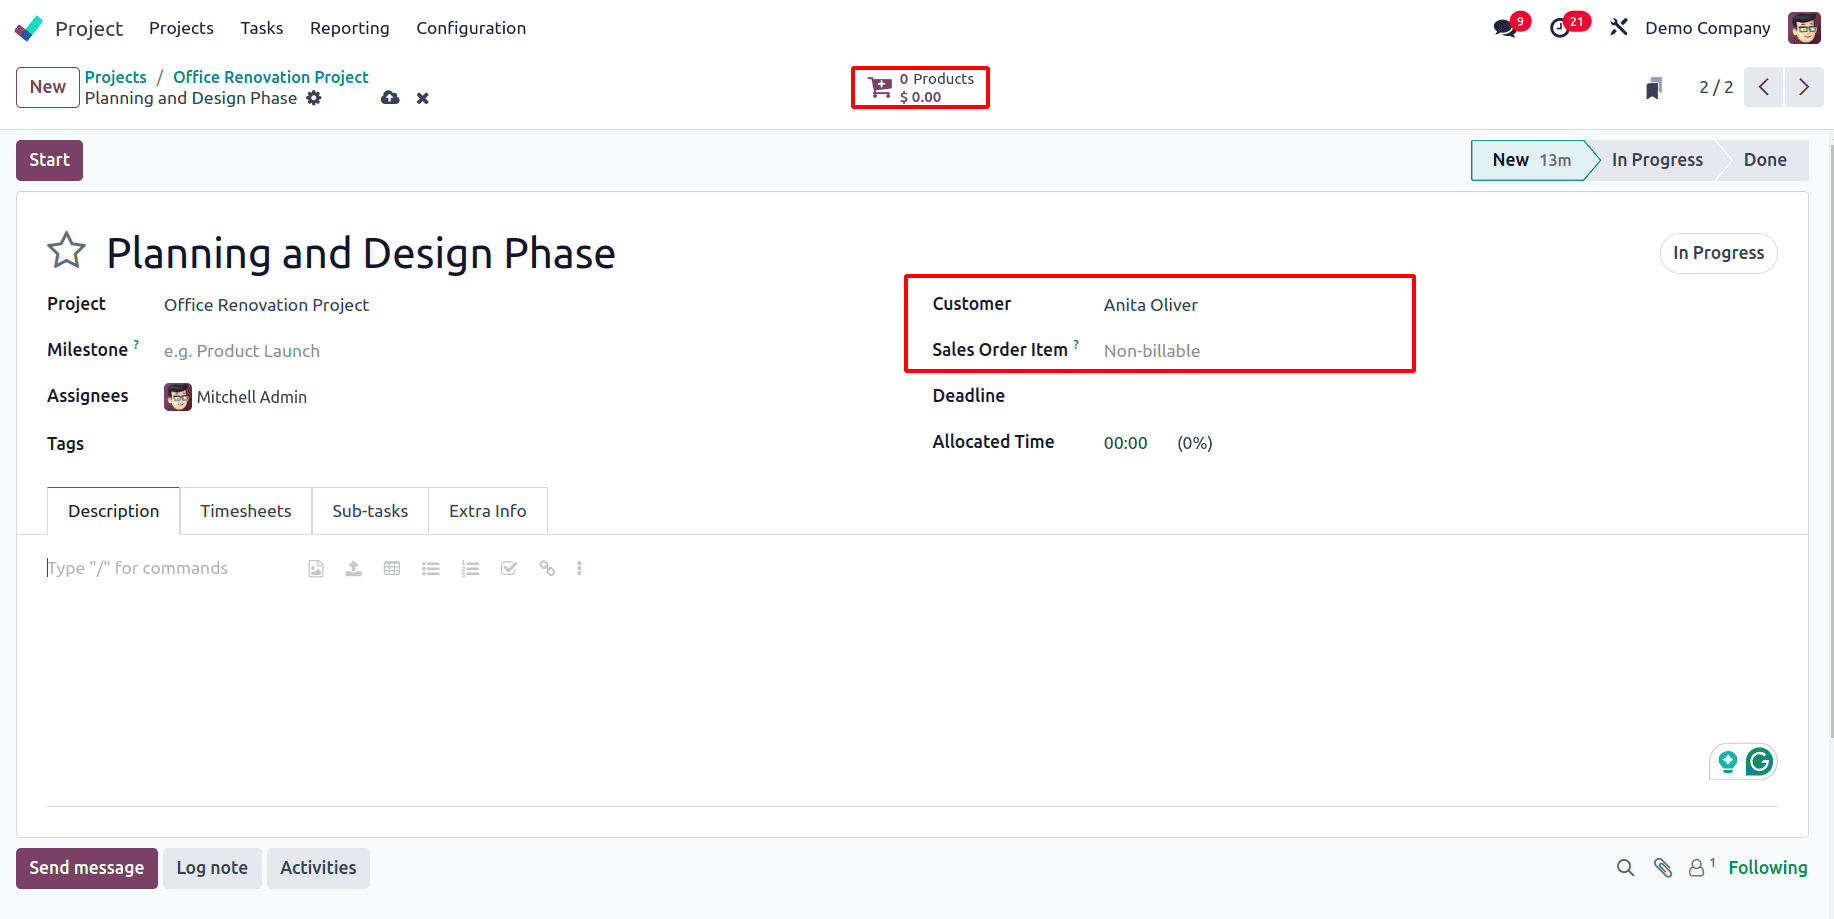
Now go to the task through the smart tab at the top for which the materials have to be used. And in the task form view, there is a field to add the Customer. Once the customer for the product has been added, a Products smart tab appears at the top, and a field called Sales Order Item also appears where a sale order associated with the customer can be linked to make the project billable.
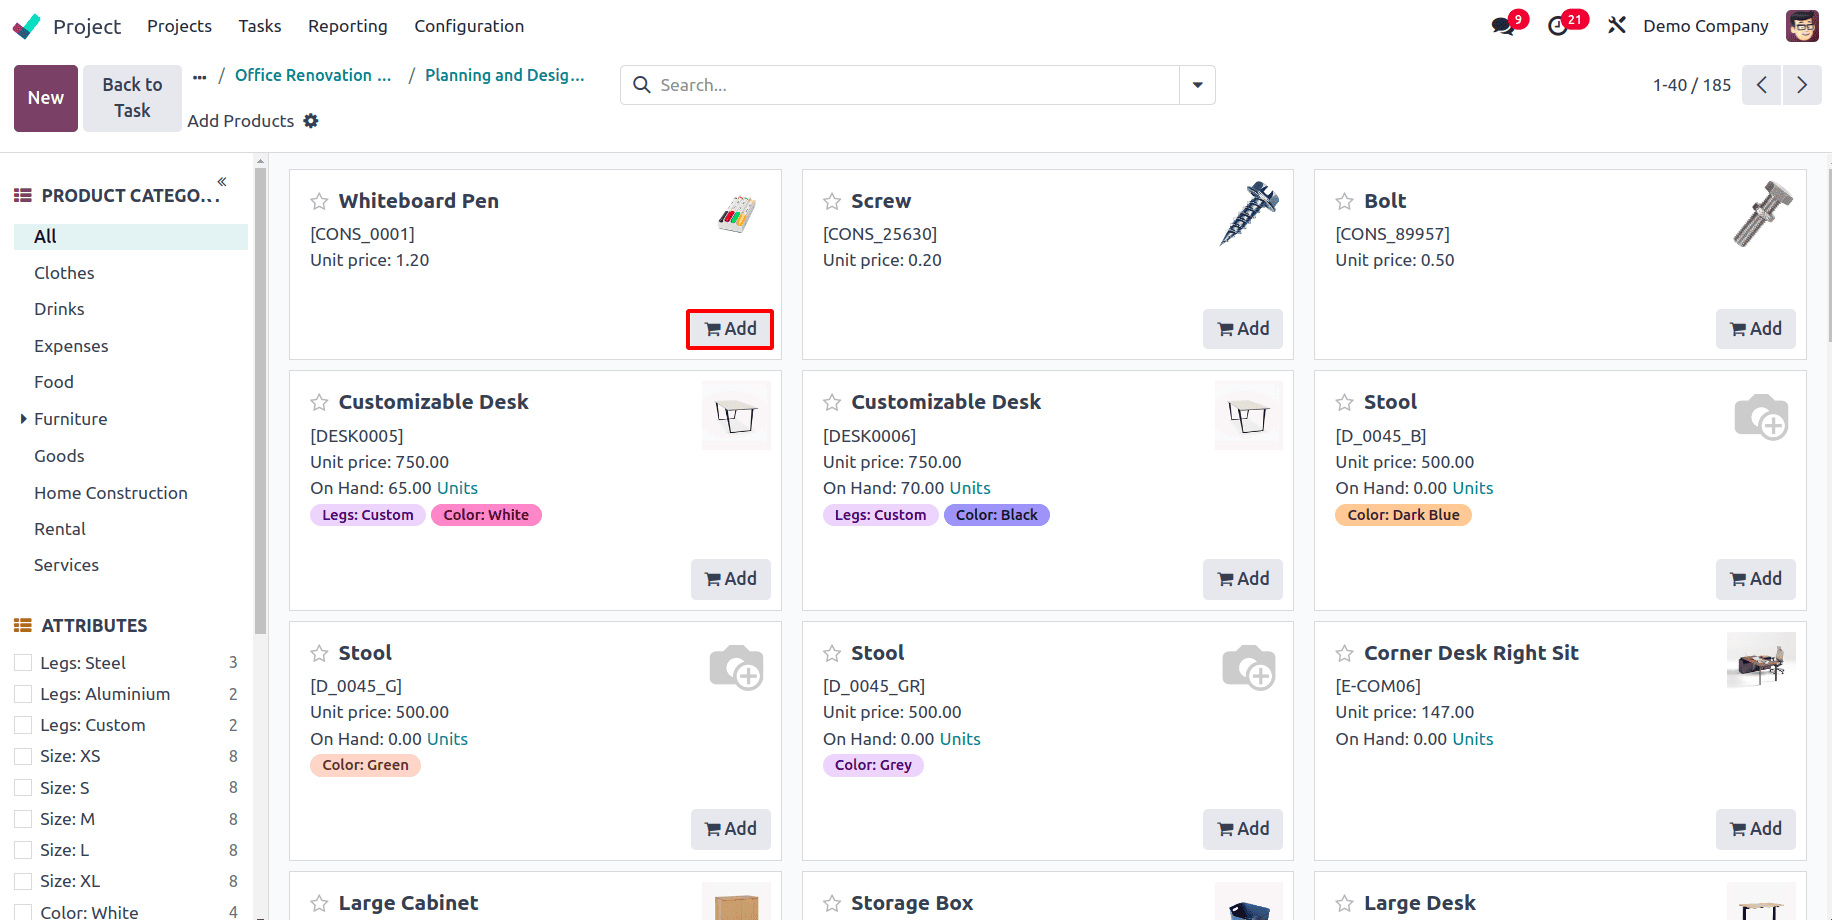
To add the product required to complete the task, go to the Products smart tab, and the product catalog will appear. Let's say for the task, ‘Planning and Design Phase’, two products, Whiteboard Pen and Measuring tape, are required. So, from the catalog to add the products, locate those products and click on the Add button.
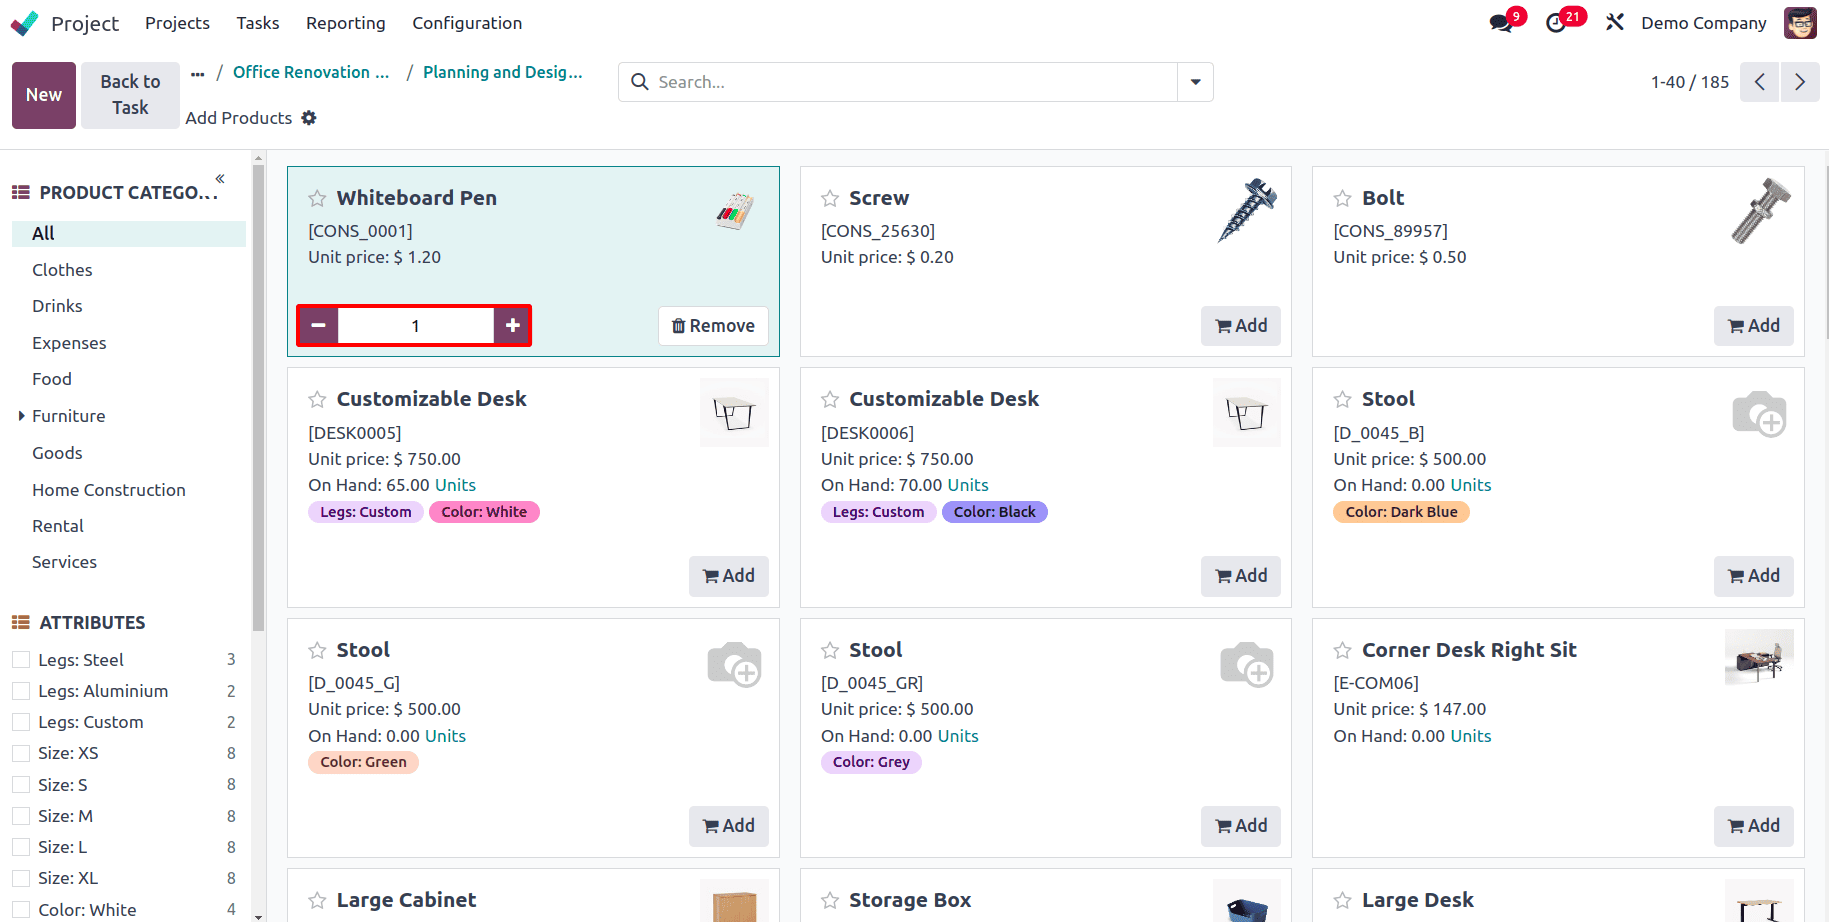
Also, the quantity of the product being added can also be updated from here, as shown in the below screenshot.
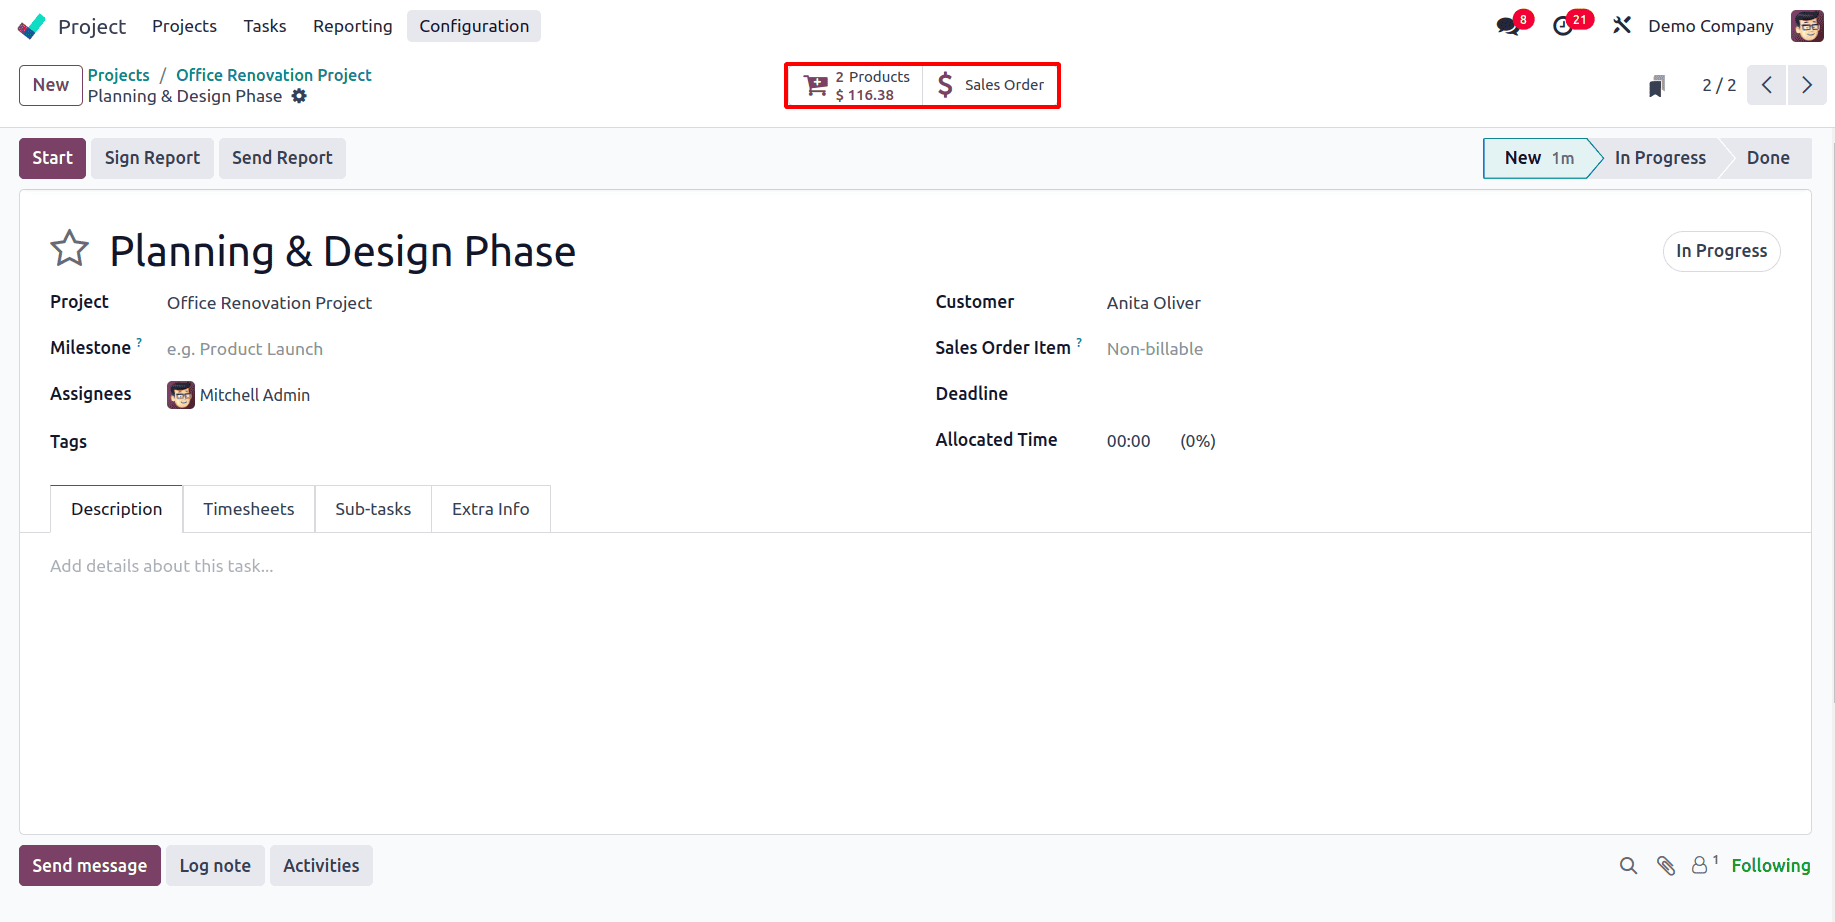
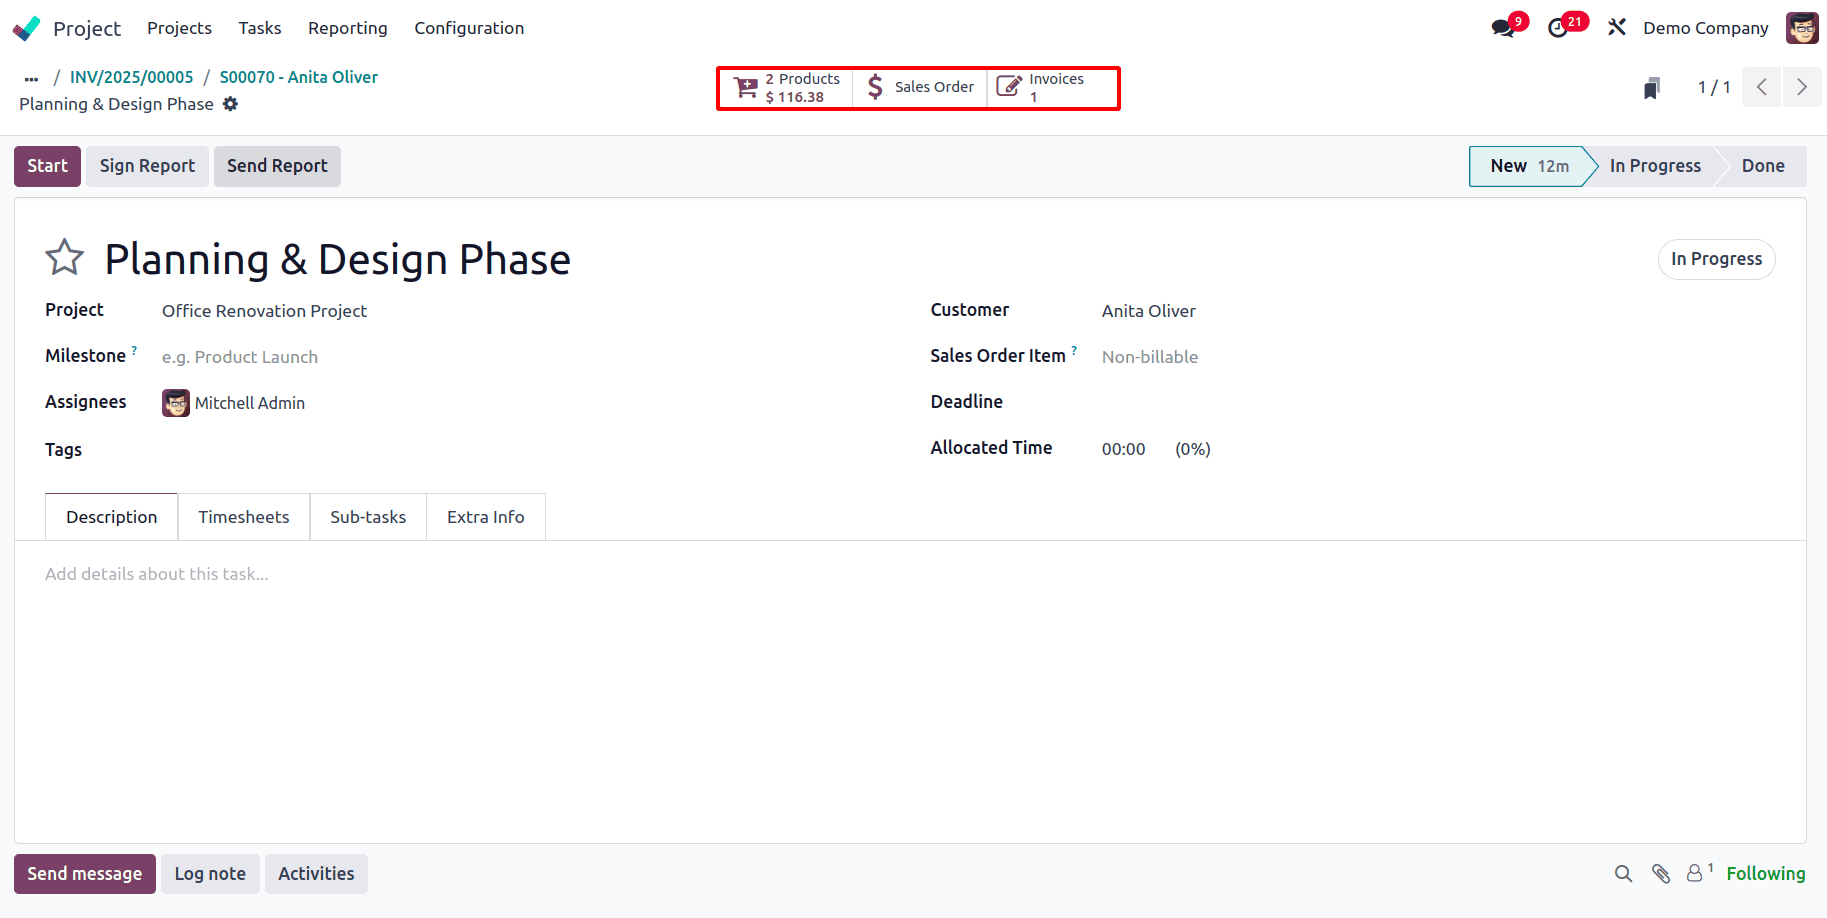
Once all the products are added, go back to the task. In the task, a Sale Order smart tab appears at the top, and the Products smart tab shows 2 Products, indicating two products have been added, and also the amount for the two products added is also shown.
Go to the sale order through the smart tab, and it can be seen that the products have been added to the sale order. and now a sale order can be created for the required products from here.
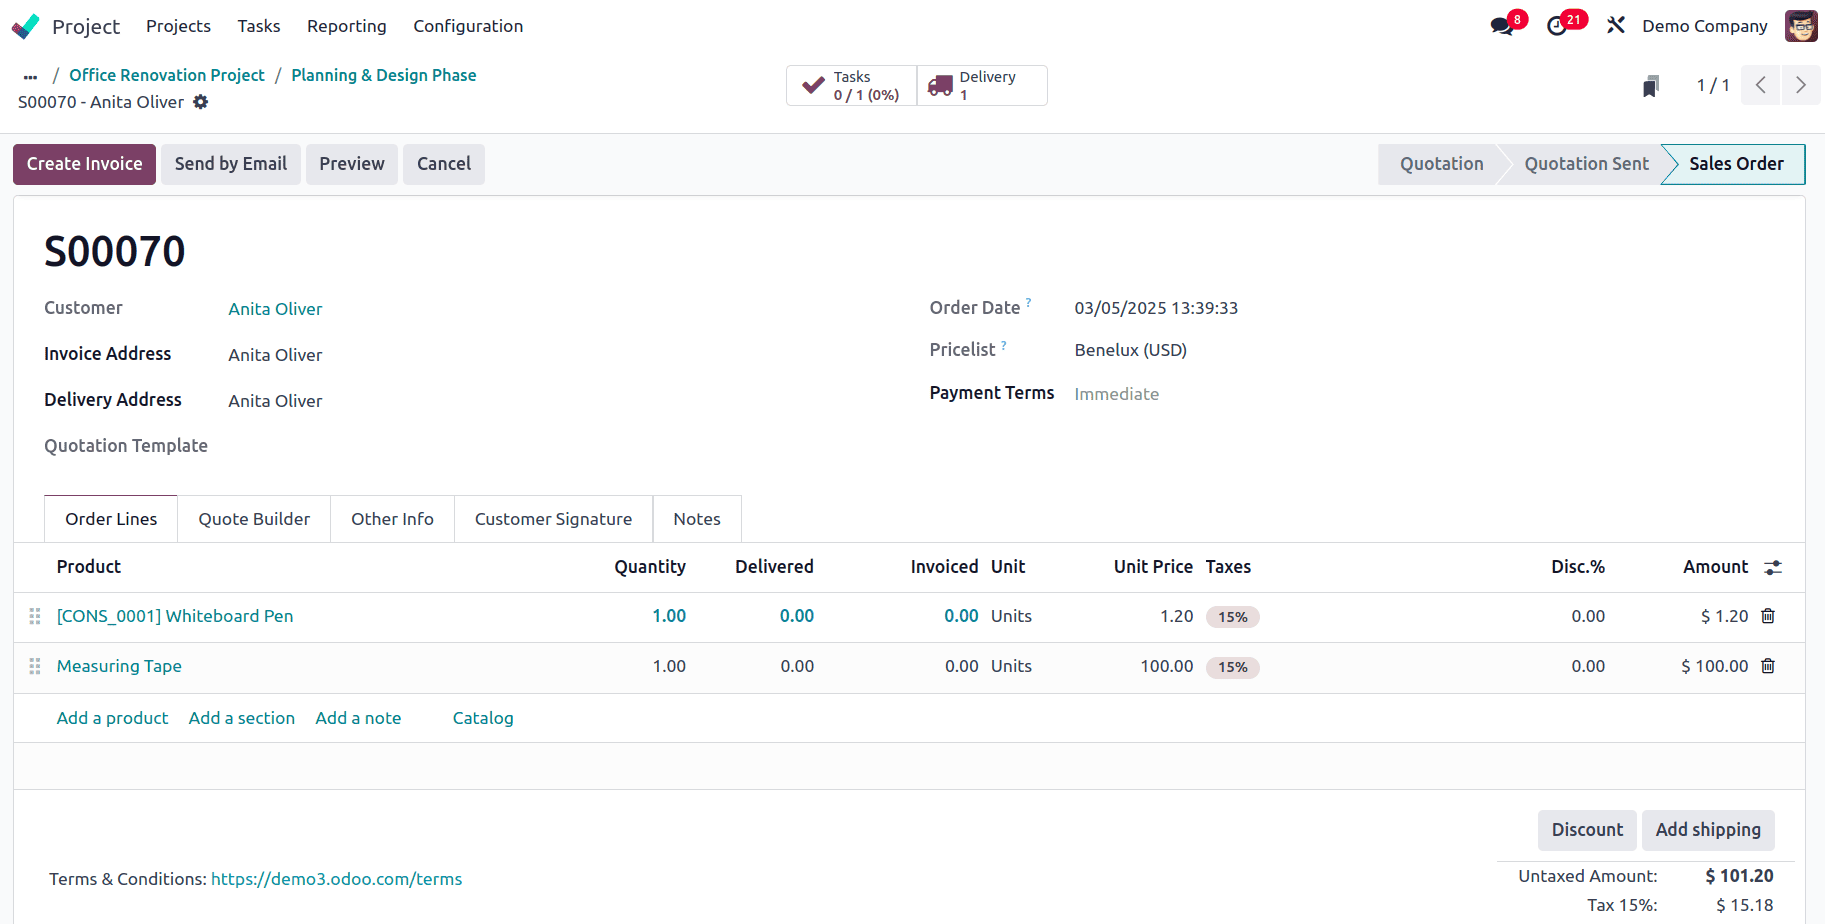
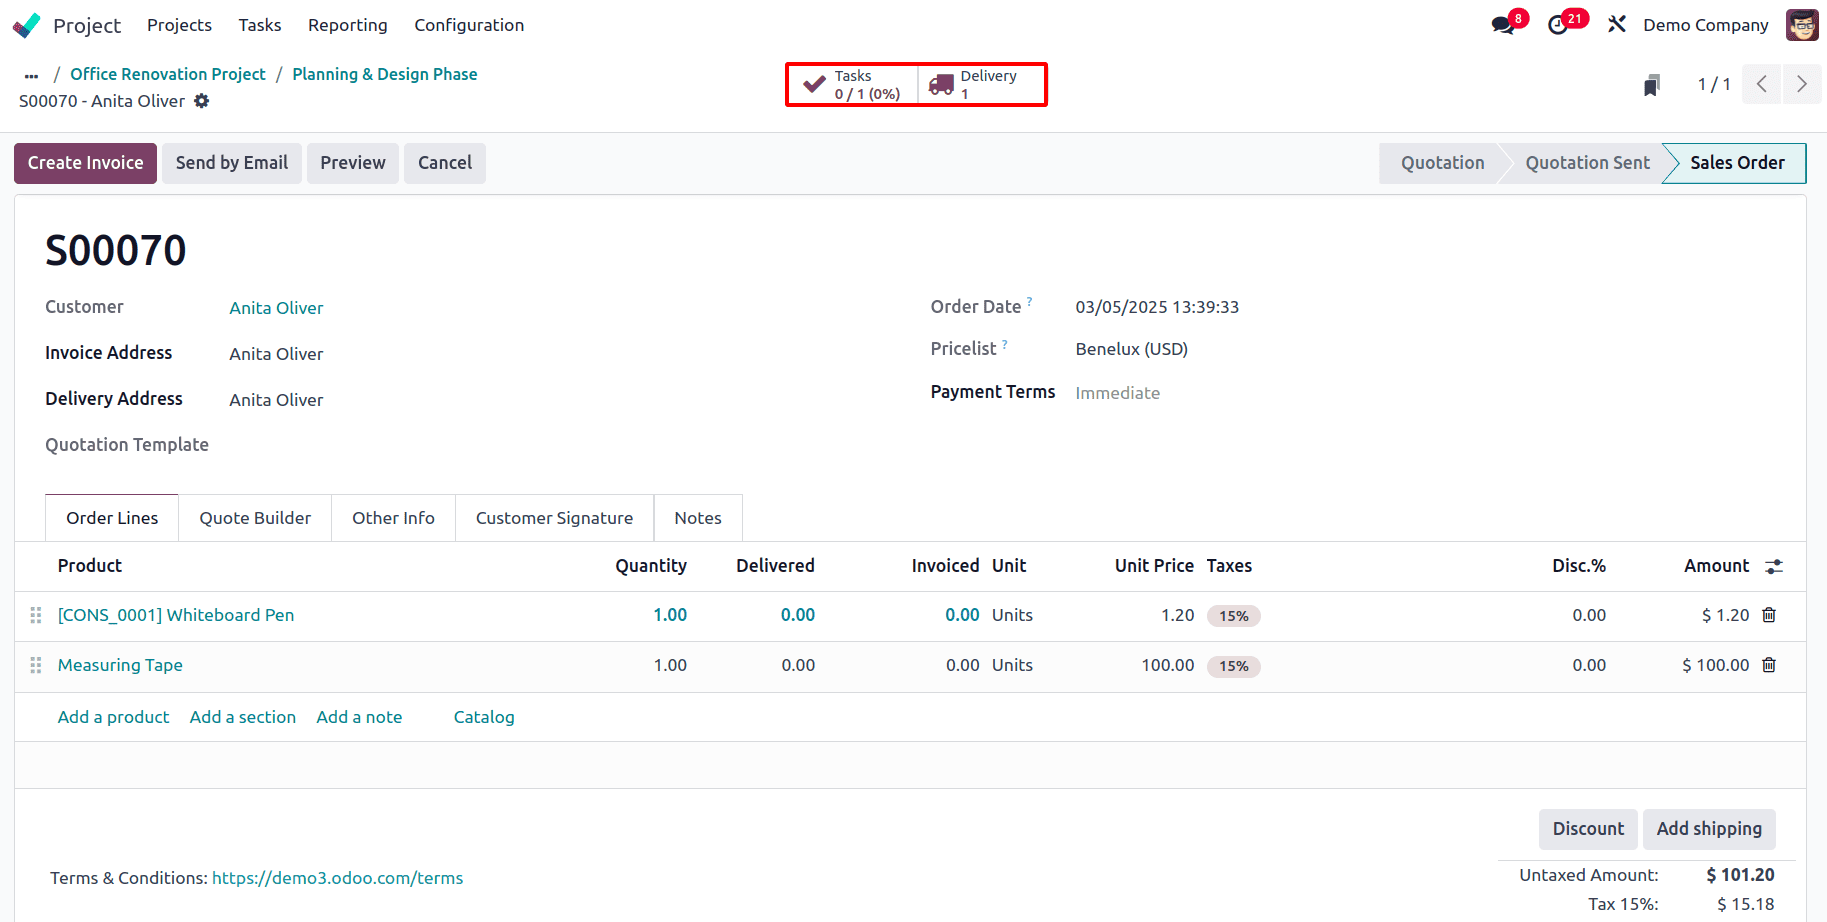
From the sale order, the smart tab for the associated task can be seen. Now, to make the delivery of the product, click on the Delivery smart tab.
And the delivery can be validated.
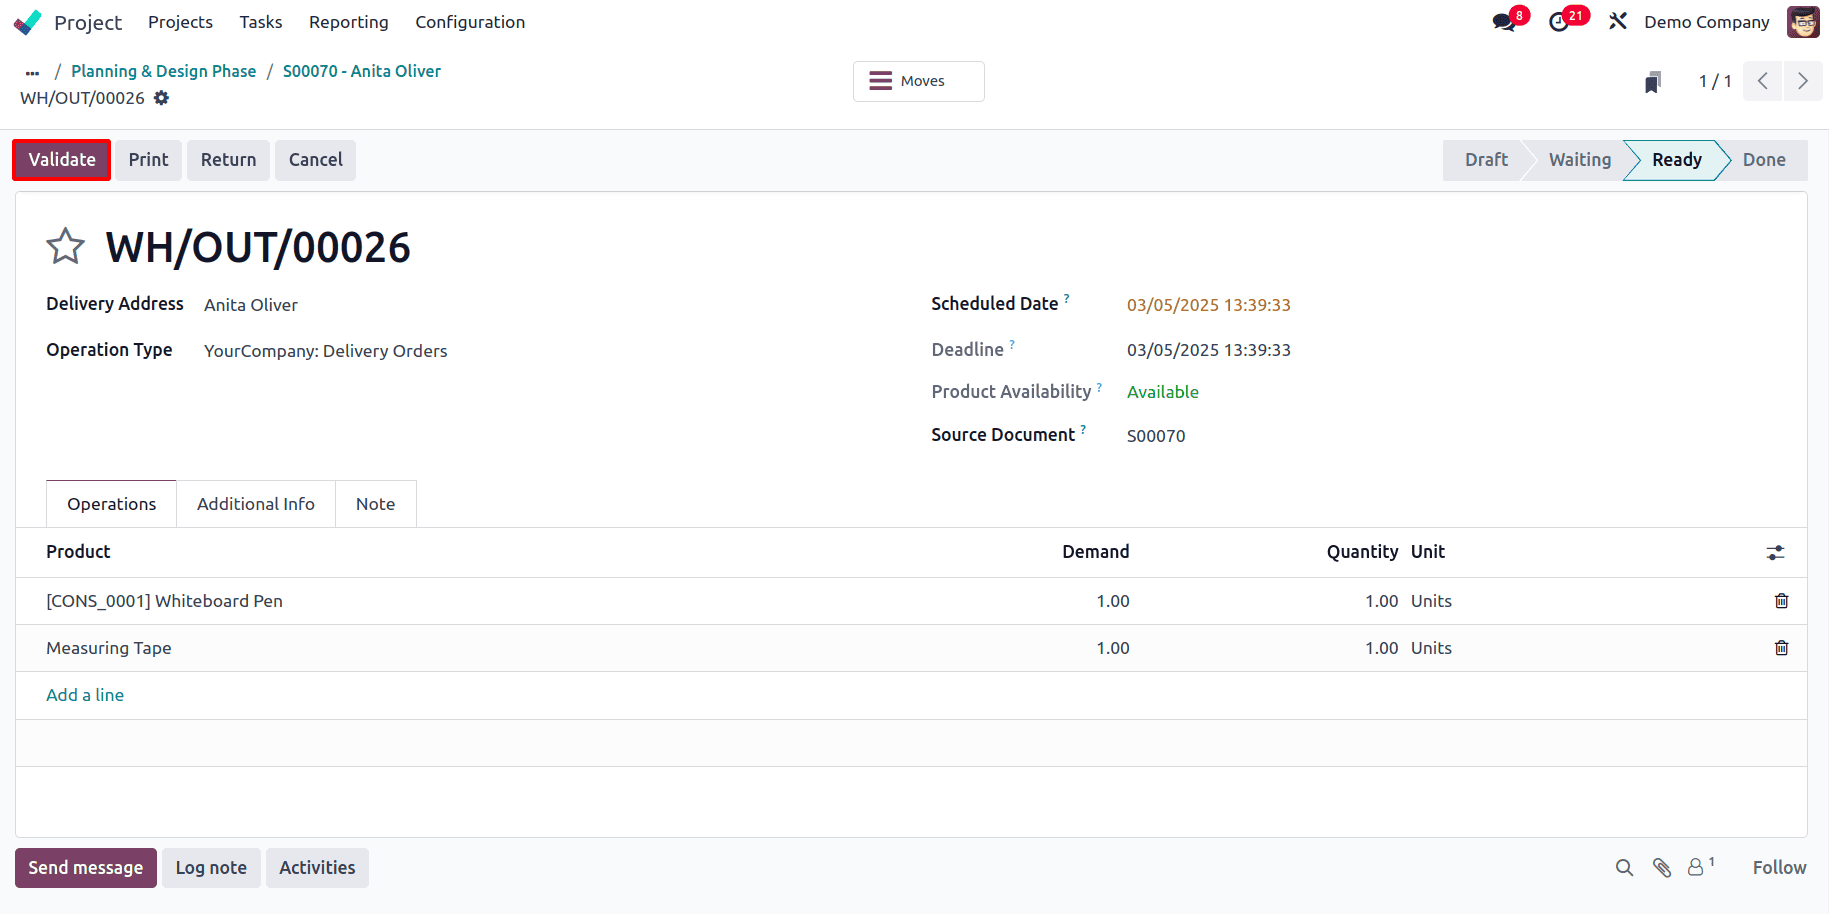
Once the delivery is validated, go back to the sale order and click on the Create Invoice button to create a draft invoice.
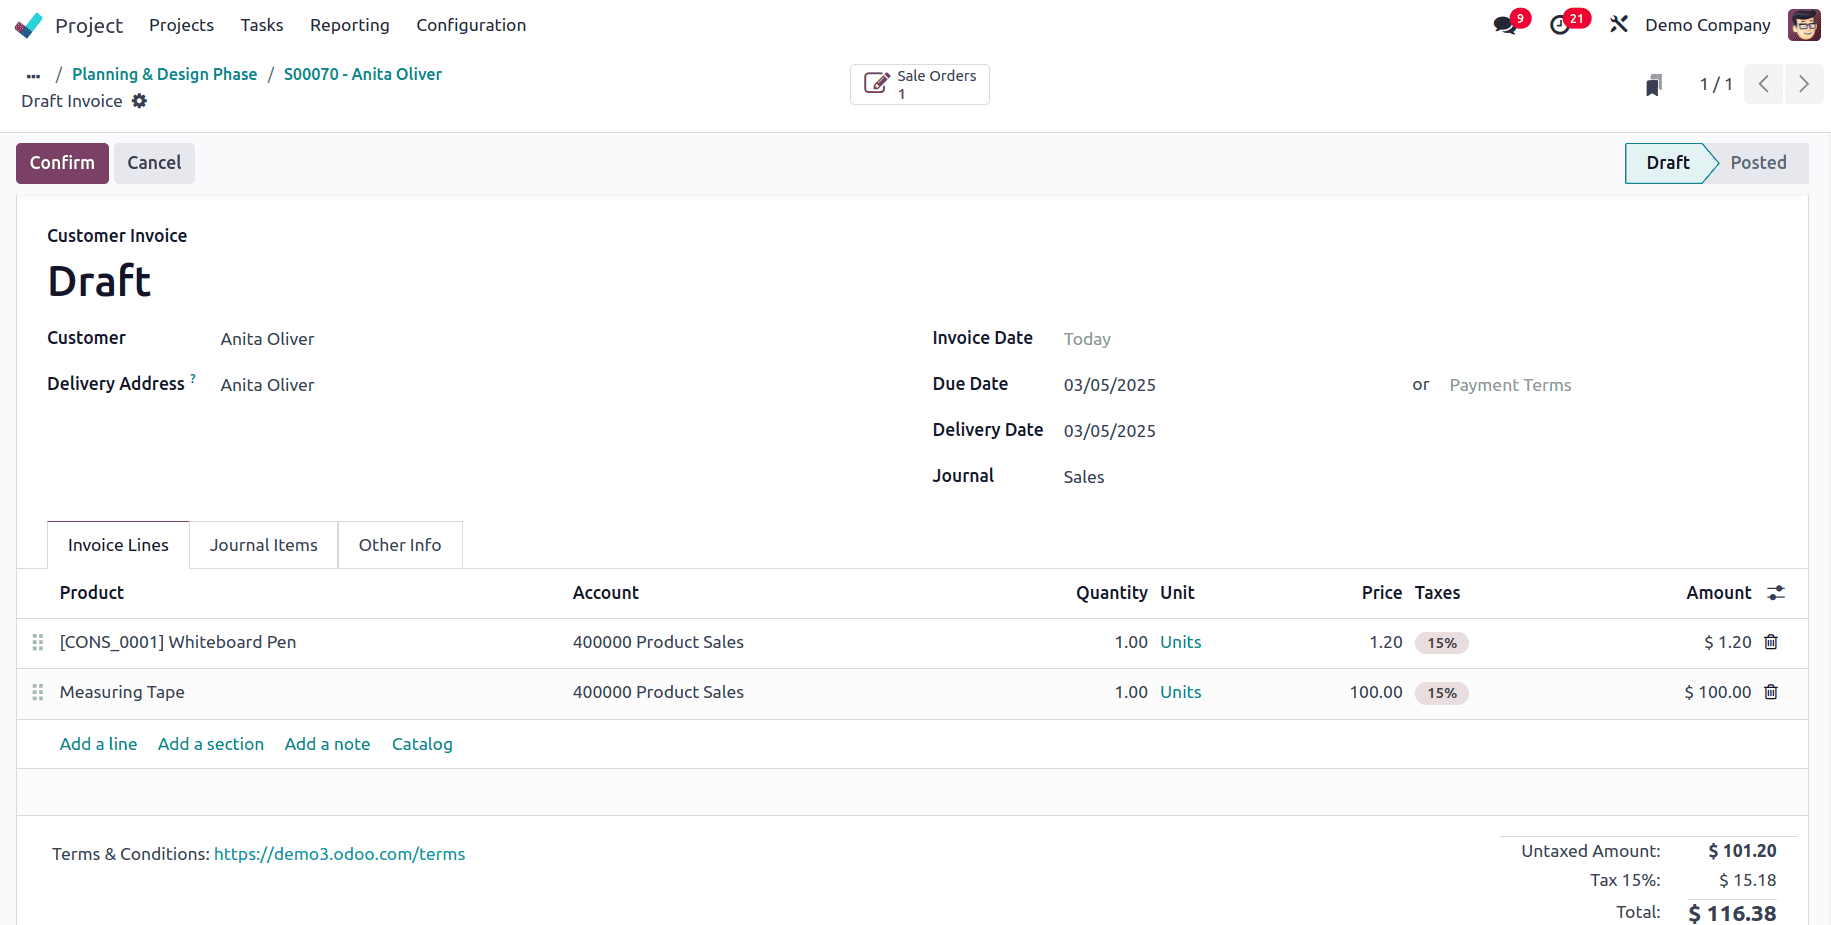
Then, the Confirm button can be clicked to confirm the invoice.
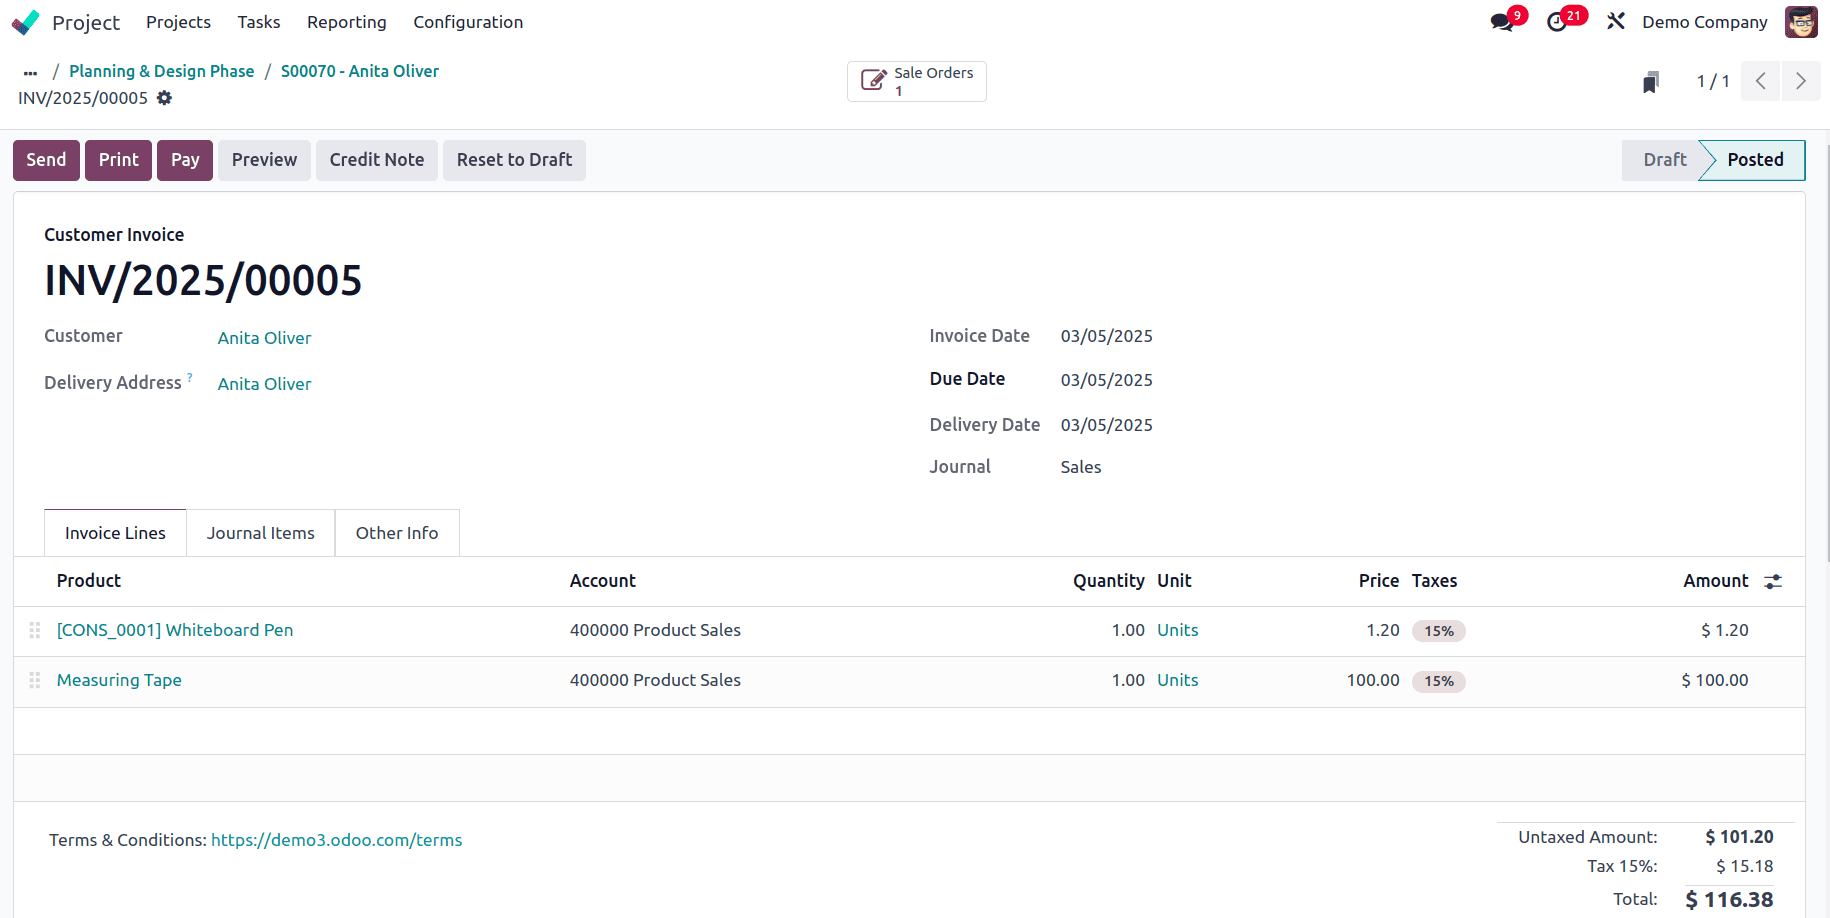
Go back to the task, and there it can be seen that the Invoices smart tab has appeared to show the invoice generated.
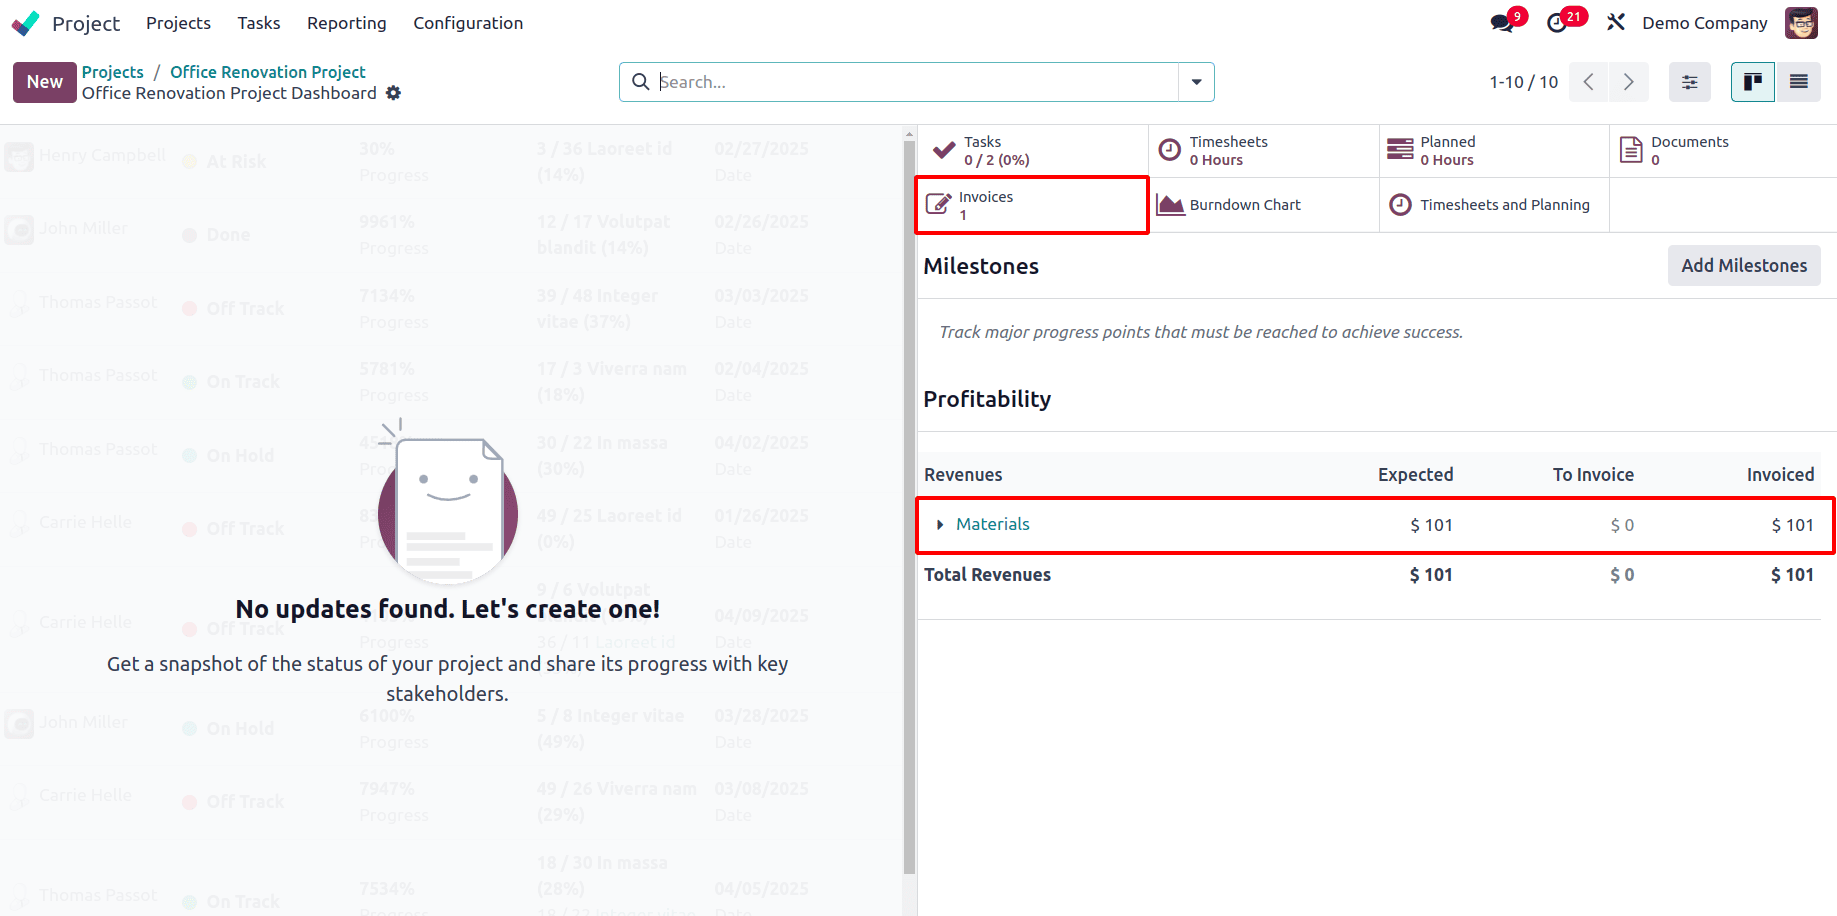
Also, in the project dashboard, under the Profitability, the Revenue generated by the Materials can be seen. The Expected Revenue shows the sum of the actual price of the materials used and since the invoice has been generated To Invoive as 0 and Invoiced shows the amount invoiced. Also, there is an Invoices tab, which shows the number of invoices that have been generated overall for the project.
This way, the businesses can manage the products they use for completing the task very efficiently, and also the products can be easily tracked. The efficient tracking of materials used in a project is also essential for cost control and smooth operations. Odoo 18 simplifies this process by providing clear insights into material usage, helping businesses manage resources effectively. With accurate tracking, project managers can reduce waste, stay within budget, and ensure timely project completion.
To read more about How to Invoice Time & Material for Odoo 17 Project, refer to our blog How to Invoice Time & Material for Odoo 17 Project.