Smart Buttons in Odoo are interactive components strategically placed within records, offering users a quick and contextual means to perform related actions or gain insights without navigating away from the current view. These buttons intelligently aggregate and display relevant information, transforming static data presentation into a dynamic user experience.
In Odoo 17, the smart button comes with a new stylish view, below is the contacts form view with some smart buttons in it. Let's see how to add smart buttons in the Odoo 17 Module.
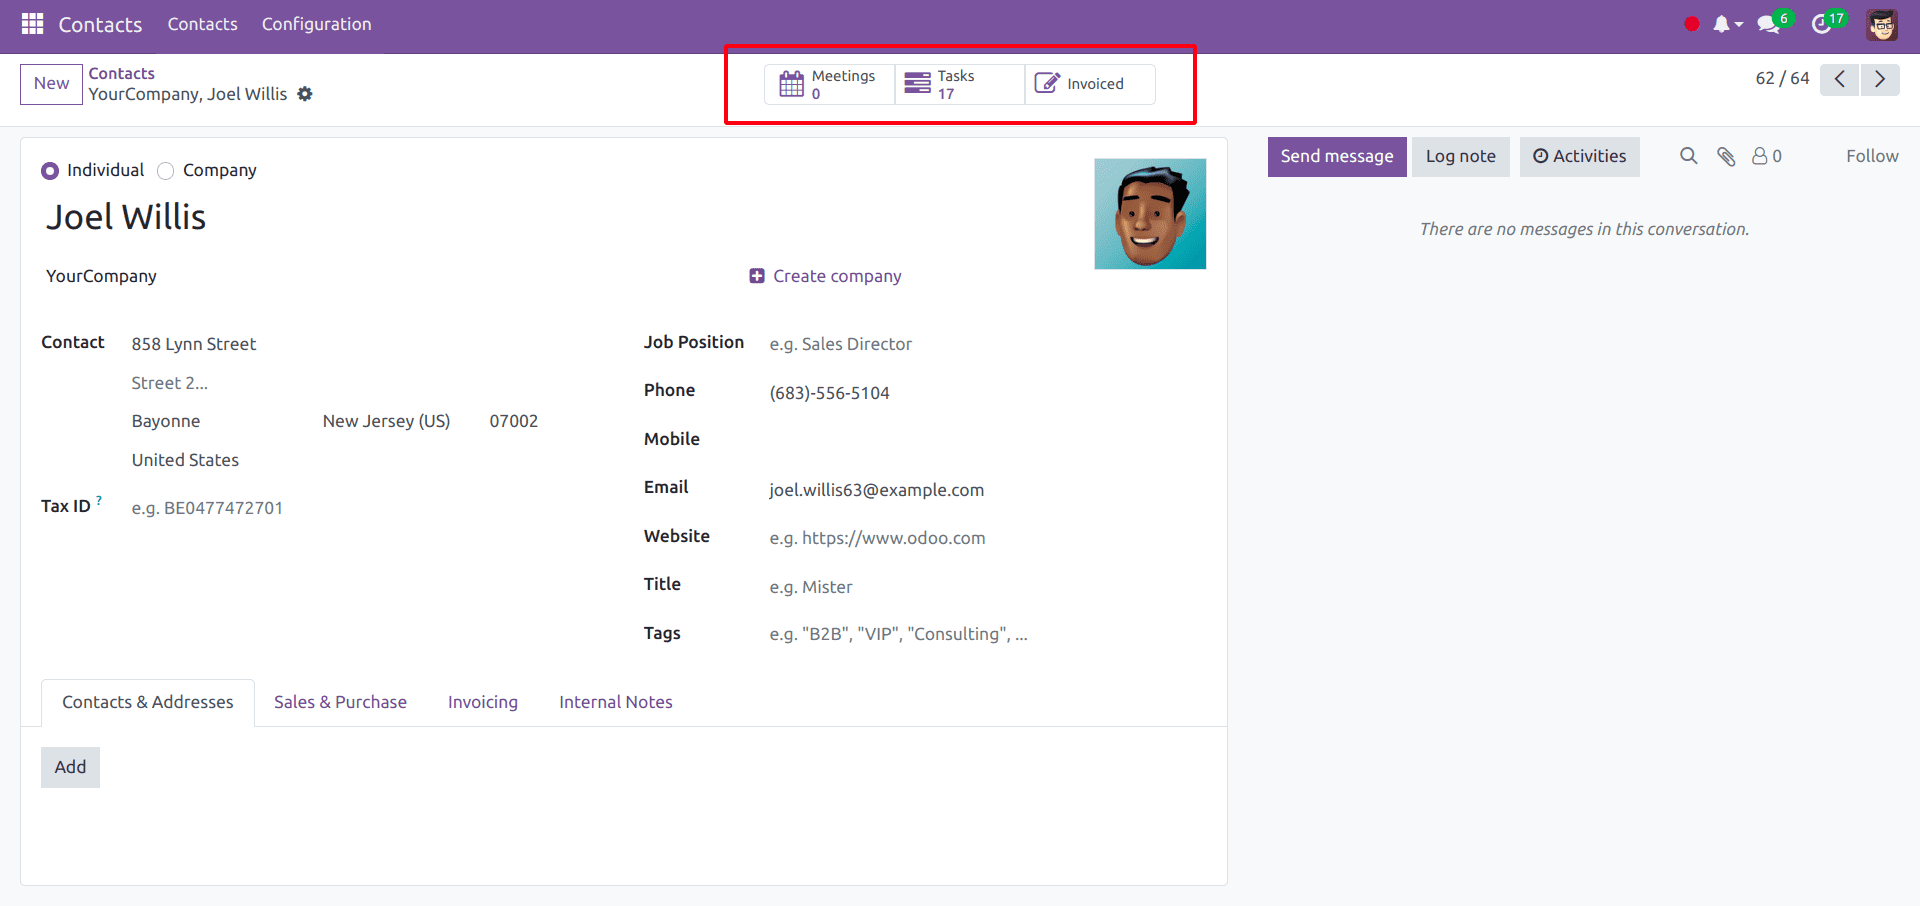
This Joel Willis contact form contains Meetings, Tasks, and Invoiced smart buttons. Also, we can see an icon and the related record count from the smart button. Now, we are going to add a new smart button on this form, which will show the assigned vehicle record for this partner from the fleet module.
Adding smart button in the form view
For adding a button along with other smart buttons, we have to inherit the form view and add the button inside a <div> with name “button_box”.
 <record id="view_partner_form" model="ir.ui.view">
        <field name="name">res.partner.form.inherit.my.blog</field>
        <field name="model">res.partner</field>
        <field name="inherit_id" ref="base.view_partner_form"/>
        <field name="arch" type="xml">
            <div name="button_box" position="inside">
                <button class="oe_stat_button"
                         type="object"
                         icon="fa-taxi"
                         name="action_get_vehicles_record">
                </button>
            </div>
        </field>
    </record>
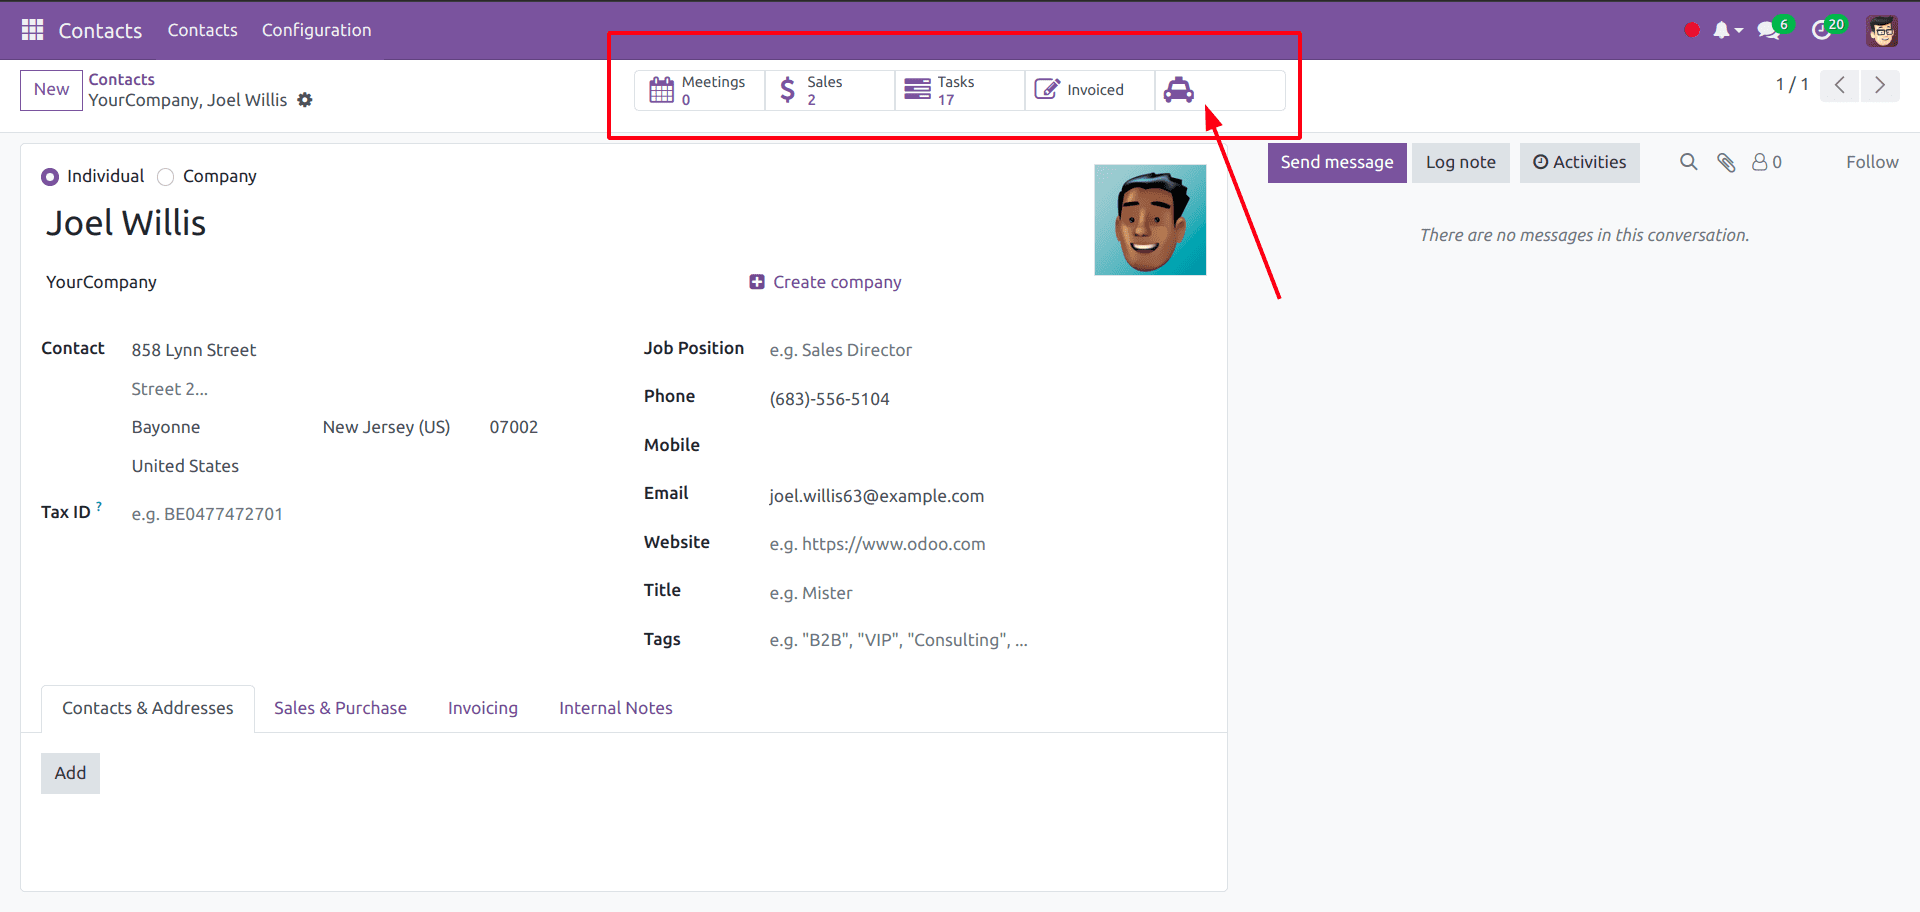
By adding this record and a function “action_get_vehicles_record” mentioned in the record on res.partner class, you will get a new smart button in partner form with a fa-taxi icon.
Name and data for the smart button
Now, we can add button names and record counts on this newly added smart button.
For that, inherit res.partner model and add a field and compute function like this.
class ResPartner(models.Model):
    _inherit = "res.partner"
    vehicle_count = fields.Integer(string="Vehicles",
                                   compute='compute_vehicle_count',
                                   default=0)
    def compute_vehicle_count(self):
        for record in self:
            record.vehicle_count = self.env['fleet.vehicle'].search_count(
                [('driver_id', '=', self.id)])
Make this data available on the smart button and update your XML record with the vehicle_count field in the button tag.
<div name="button_box" position="inside">
    <button class="oe_stat_button" type="object" icon="fa-taxi"
            name="action_get_vehicles_record">
        <field string="Vehicles" name="vehicle_count" widget="statinfo"/>
    </button>
</div>
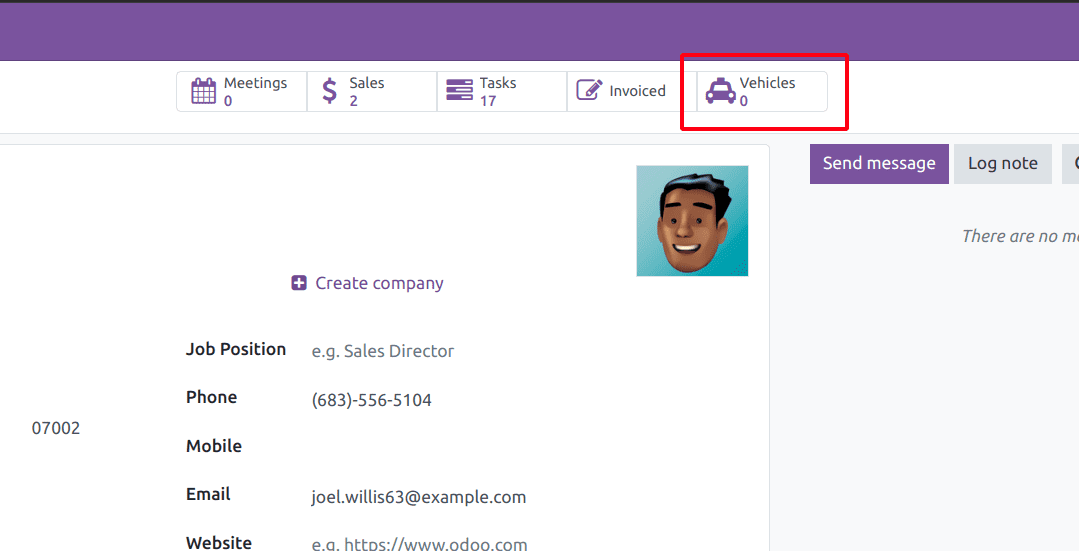
Then, you can see the smart button string and vehicle count.
Define action for smart button
Now, we can define the action for the smart button by updating the “action_get_vehicles_record” function to filter the view of vehicle records assigned to the partner.
    def action_get_vehicles_record(self):
        self.ensure_one()
        return {
            'type': 'ir.actions.act_window',
            'name': 'Vehicles',
            'view_mode': 'tree',
            'res_model': 'fleet.vehicle',
            'domain': [('driver_id', '=', self.id)],
            'context': "{'create': False}"
        }
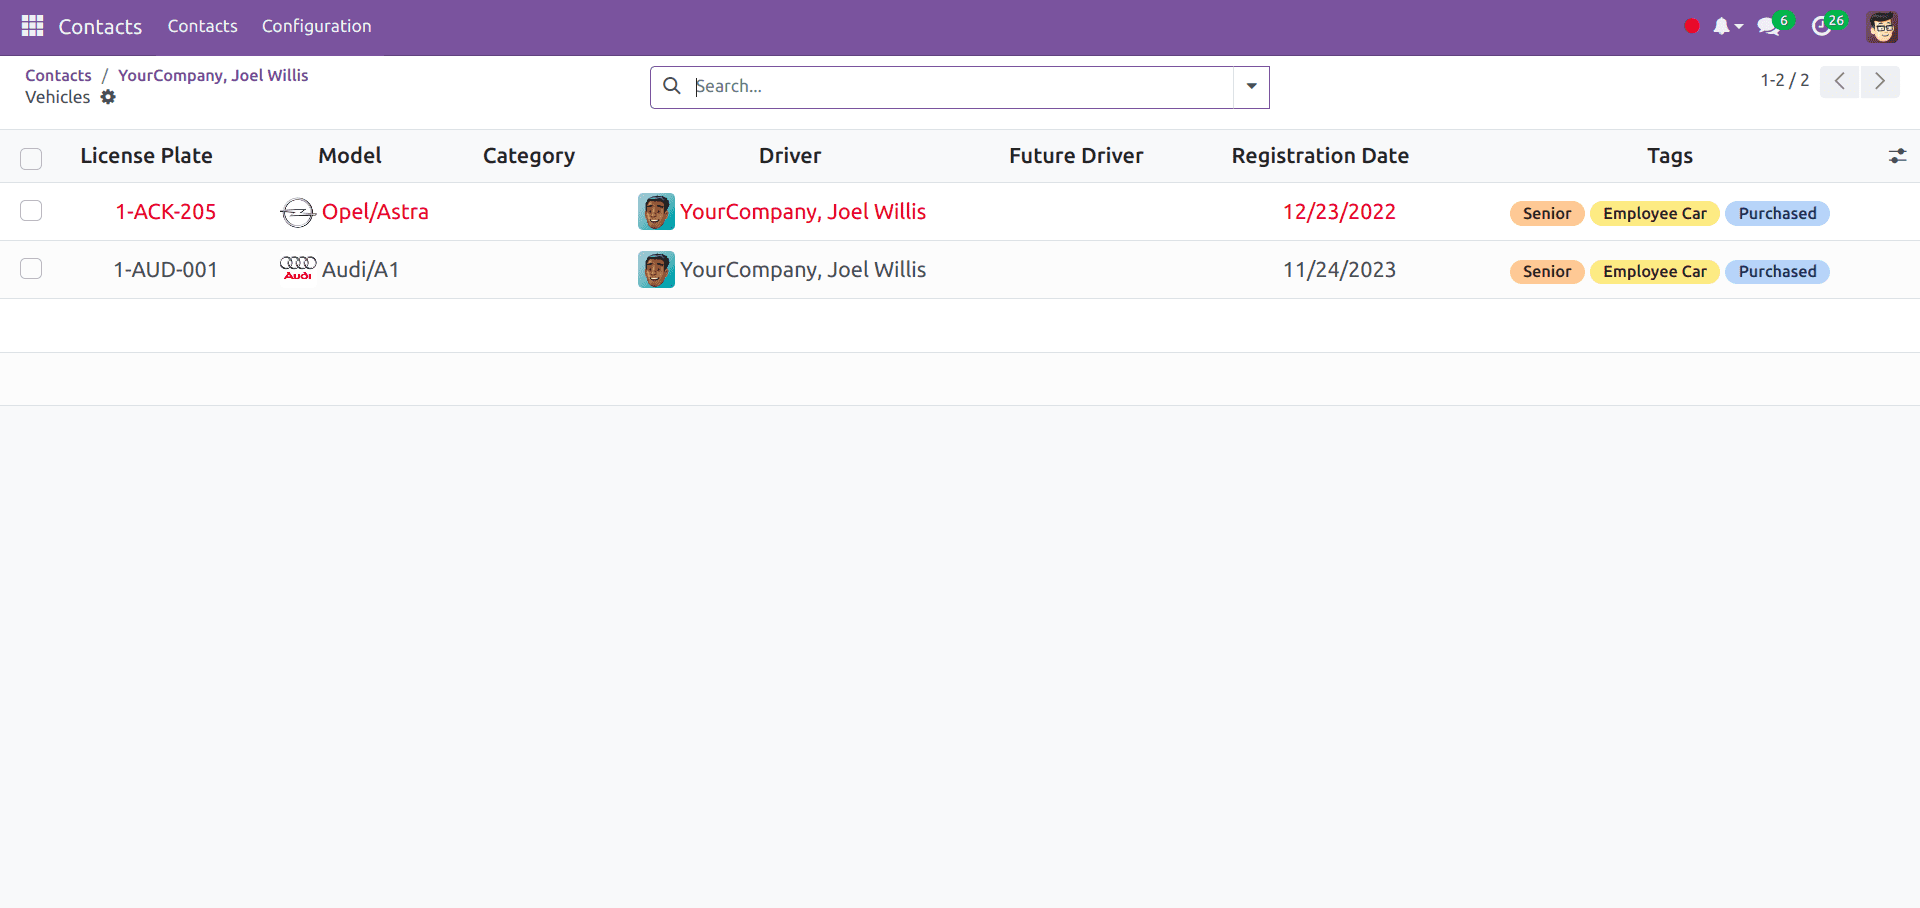
Add some vehicle driver as the current partner in the Fleet module and click the smart button.
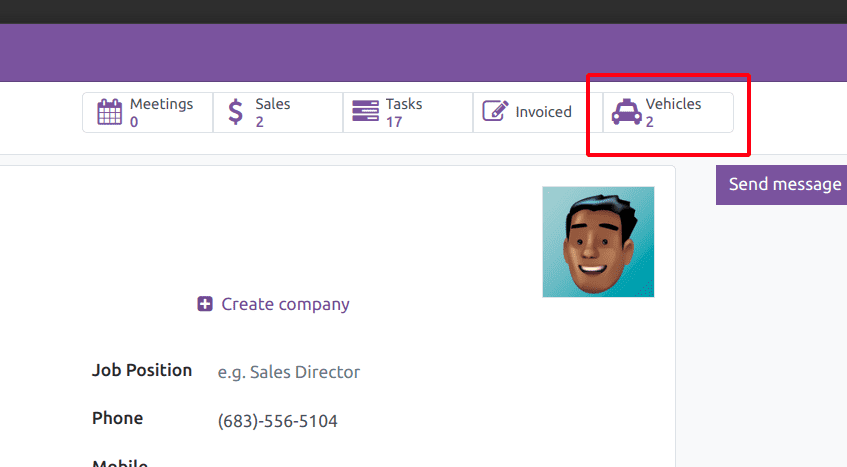
The related vehicles' view results will be as shown in the image below.
In Odoo 17, Smart Buttons enhance user experience by offering an efficient way to perform actions and access relevant information within record views, optimizing usability and adding a dynamic dimension to data presentation.