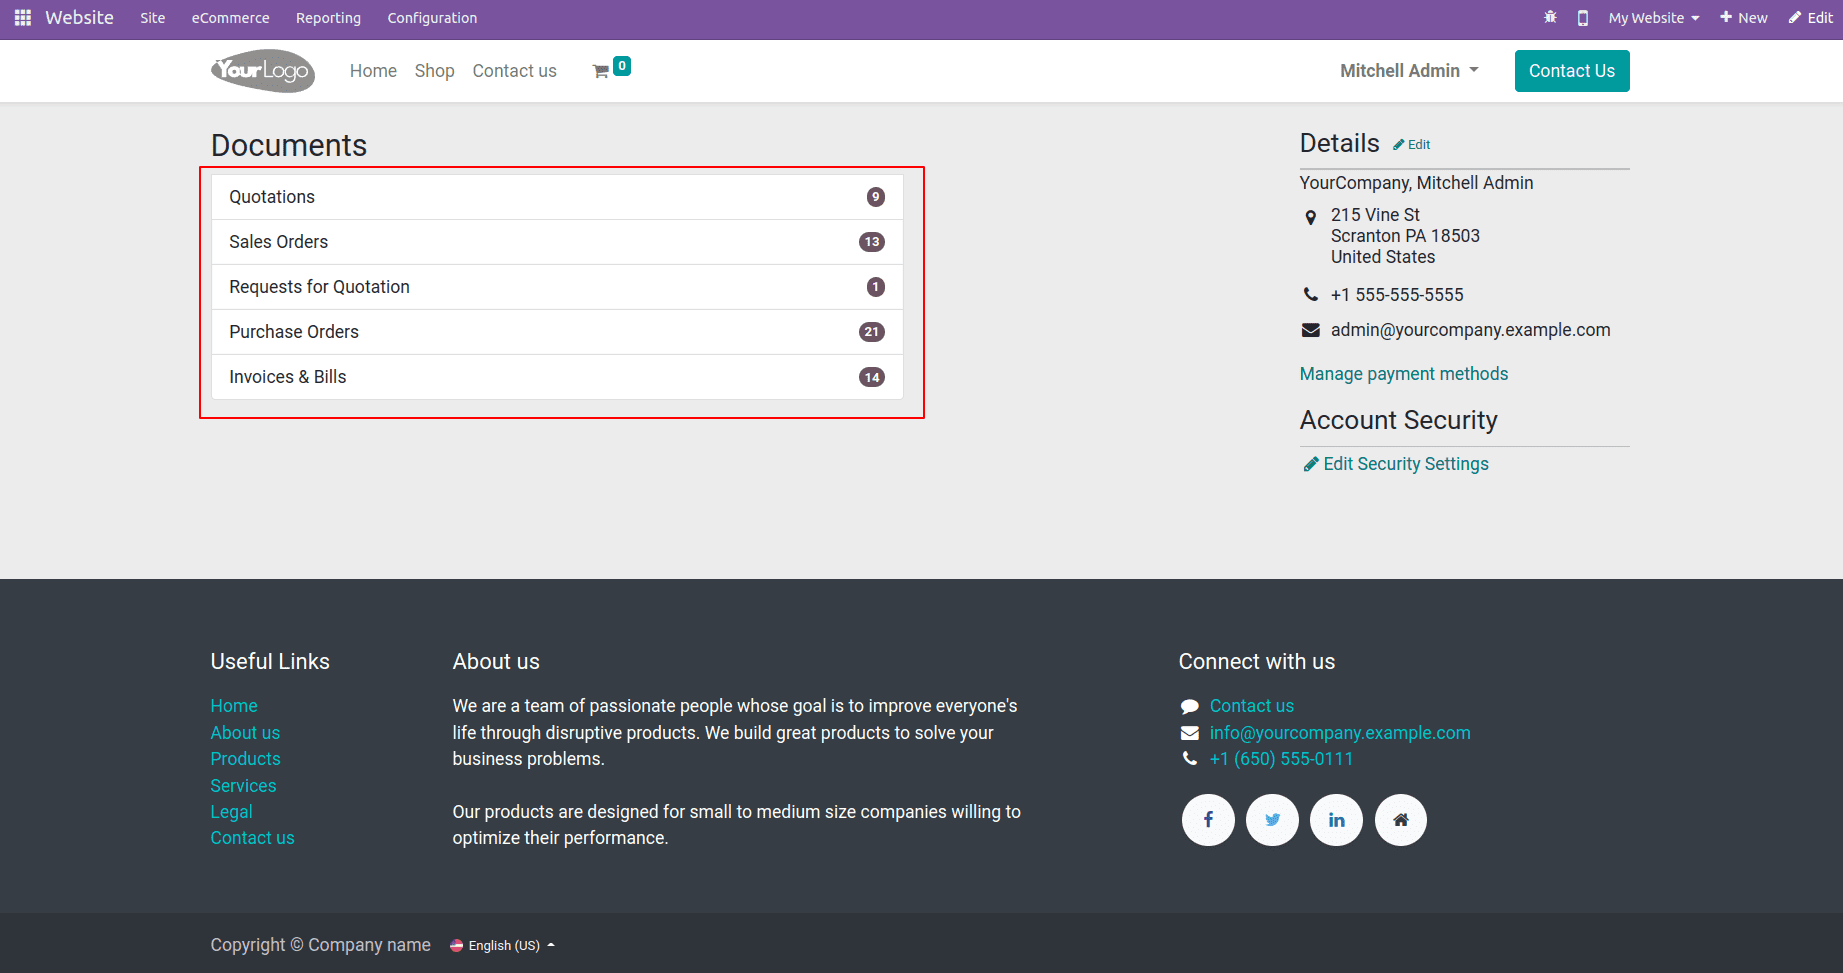
You can access your portal account by clicking on My Account and performing required actions such as purchasing, sales, and more. This blog shows you how to create a custom menu in the Odoo16 customer portal. We can get the information on the Invoices and Bills by tapping on the quotations on the portal. You may either accept or deny the quotation. The customer will handle the purchase order from this portal. Users can access order details and payment details from this portal.
Creating a New portal menu would help to maintain the details and information about the custom module that you are creating. The menu helps to secure the information of the client as it is displayed only to the user. The portal menu also gives up a count of every activity you do inside the created module for which the portal has been created.

In the customer portal, let's create a new custom menu. Create a directory named controllers and override the existing controller Customer Portal. You need to import CustomerPortal from odoo.addons.portal.controllers.portal,so that you can override the controller of the existing Portal.
from odoo.addons.portal.controllers.portal import CustomerPortal
After importing the CustomerPortal now you need to override the existing function _prepare_home_portal_values. Overriding the function will allow you to add features to the already existing function. This can be achieved by supervising the function after inheriting its class.
class PortalAccount(CustomerPortal):
   def _prepare_home_portal_values(self, counters):
       values = super()._prepare_home_portal_values(counters)
Here, I am creating a new custom portal menu for my custom module Loan Management. The Loan Management Portal shows all the details of the approved loans in the portal. In the portal, the user can access his personal information regarding his loan management and other details for which he has applied. I need to check the count of the approved Loan Management.
if user.has_group('partner_loan_management.partner_loan_manager'):
   if 'loan_count' in counters:
       loan_count = request.env['loan.request'].search_count(
           [('state', '=', 'approved')])
       values['loan_count'] = loan_count
else:
   if 'loan_count' in counters:
       loan_count = request.env['loan.request'].search_count(
           [('partner_id', '=', user.partner_id.id),
            ('state', '=', 'approved')])
       values['loan_count'] = loan_count
return values
As mentioned above, I have given the condition where the user can only see the approved Loan only by the user, and the other condition specifies that the logged-in manager can see all the loans approved. By providing conditions to the portal, the information can be recorded in a more secure manner.
Now we can create a template for the portal menu. The template created for the portal menu gives an easier and more accessible look to the portal, where you can specify tables to record each and every record that you are creating.
<template id="portal_my_home_loan" name="Partner Loan"
         customize_show="True" inherit_id="portal.portal_my_home">
   <xpath expr="//div[hasclass('o_portal_docs')]" position="inside">
       <t t-call="portal.portal_docs_entry">
           <t t-set="title">Partner Loan</t>
           <t t-set="url" t-value="'/my/loan'"/>
           <t t-set="placeholder_count" t-value="'loan_count'"/>
       </t>
   </xpath></template>
Here, the template portal.portal_my_home is inherited and inserted into the class o_portal_docs. Now the template portal.portal_doc_entry and give the title for the new customer portal that you are creating. You can also specify the value for the count inside the template of the customer portal that you are creating.
After creating the custom menu for the custom module, if you go to the website portal of the logged-in user, the custom menu that we created will be displayed with the title that we have mentioned above.
In the custom portal menu that we created, the count of the custom menu will be increased when new records are created.
