VS(Visual Studio) Code is one of the widely accepted coding IDEs used by developers. Its simple user interface and extensions' functionality make development much simpler. It's also easy to set up the Odoo development environment in VS Code. However, there are some conditions that must be satisfied first.
Before configuring the Odoo development environment with Visual Studio Code, the following prerequisites must be met:
Step 1: Install Python 3.8 along with some important python packages and libraries on Ubuntu with Apt.
Run the following commands with root access to update the package list and set up the prerequisites:
sudo apt update
sudo apt install software-properties-common
Add the dead snakes PPA to the sources list on your system:
sudo add-apt-repository ppa:deadsnakes/ppa
When prompted with ‘Press Enter to continue
Press [ENTER] to continue.
Install Python 3.8 once the repository has been enabled.
sudo apt install python3.8
The following code can be used to install the required Python3 packages:
sudo apt-get install python-dev python3-dev build-essential libjpeg-dev libpq-dev libjpeg8-dev libxml2-dev libssl-dev libffi-dev libmysqlclient-dev libxslt1-dev zlib1g-dev libsasl2-dev libldap2-dev liblcms2-dev
Next, we have to install the web dependencies:
sudo apt-get install -y npm
sudo ln -s /usr/bin/nodejs/usr/bin/node
sudo npm install -g less less-plugin-clean-css
sudo apt-get install -y node-less
For creating Odoo reports, we have to install a package called wkhtmltopdf.
sudo wget https://github.com/wkhtmltopdf/wkhtmltopdf/releases/download/0.12.5/wkhtmltox_0.12.5-1.bionic_amd64.deb
sudo dpkg -i wkhtmltox_0.12.5-1.bionic_amd64.deb
sudo apt install -f
Step 2: Next, we have to install PostgreSQL:
sudo apt-get install postgresql
After the installation, create a Database User Role for Handling Odoo Databases.
sudo su - postgres
createuser --createdb --username postgres --no-createrole --no-superuser --pwprompt odoo16
It will ask for a password in this step. Please enter a password, and remember it. You'll need it in the following steps.
Now we have to make the defined user a superuser, which can be done using the following command.
psql
ALTER USER Odoo16 WITH SUPERUSER;
And now we can Exit from psql and also from Postgres user
\q
exit
Step 3: Let's install Visual Studio Code if you haven't already.
The following command can be used to accomplish this easily:
sudo snap install --classic code
Or you can check this link for other downloading options.
Step 4: Download the Odoo 16 source code.
Directly from the Odoo Github repository, you can download the Community Source Code for Odoo 16
Otherwise, you can clone it from git. For that, you have to install git. Follow the below commands:
git clone https://github.com/odoo/odoo.git --depth 1 --branch 16.0 --single-branch odoo16
Odoo required some Python packages to be installed, which are listed in the file requirement.txt inside the Odoo16 directory.
cd odoo
Now using pip, we can install the dependencies inside requirements.txt
sudo pip3 install -r requirements.txt
or
sudo pip3 install -r <path to inside odoo directory>/requirements.txt
It is important to install each component correctly; otherwise, Odoo may give you errors in the future.
Step 5: Now that the requirements for the Odoo development environment have been met, we can begin configuring Odoo in Visual Studio Code.
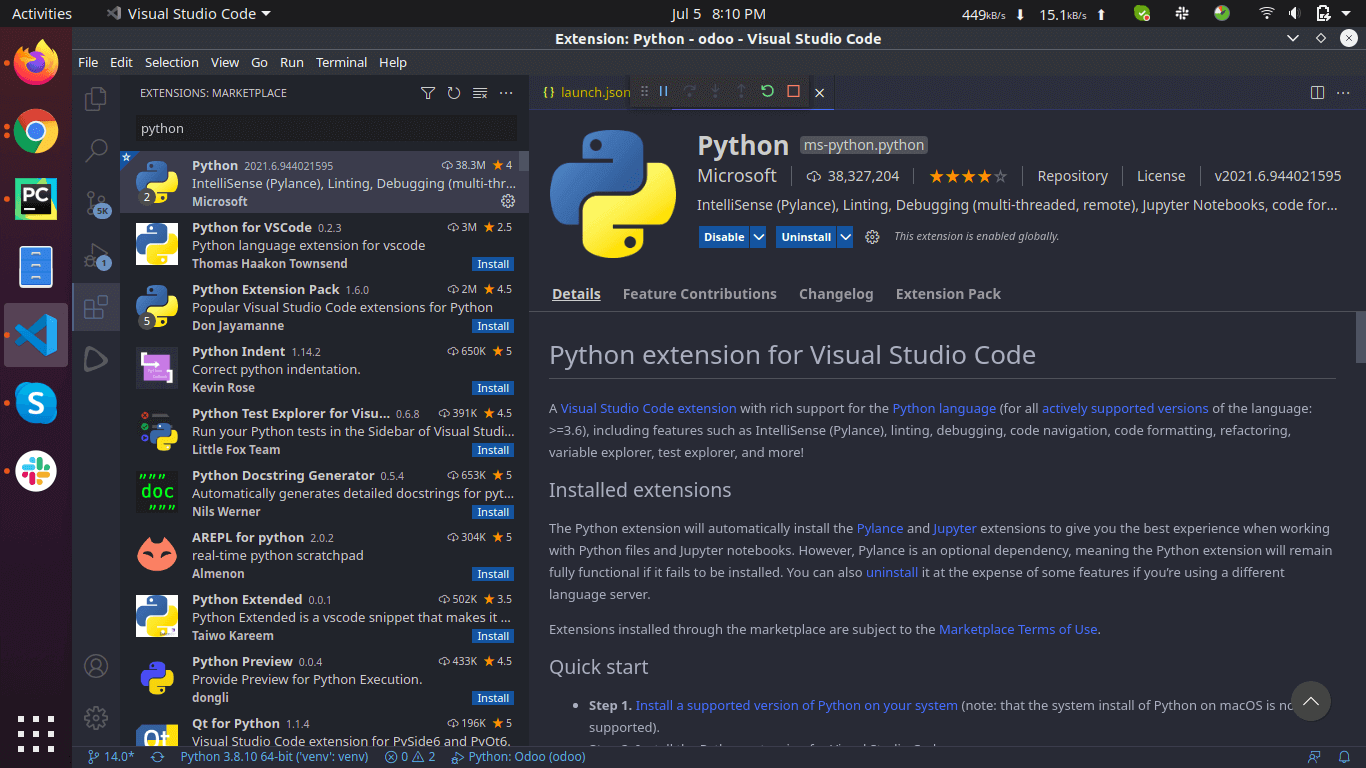
Installing extensions like Python, PyLance, and other tools will enable us to code more effectively and quickly. This can be done as shown in the following image.

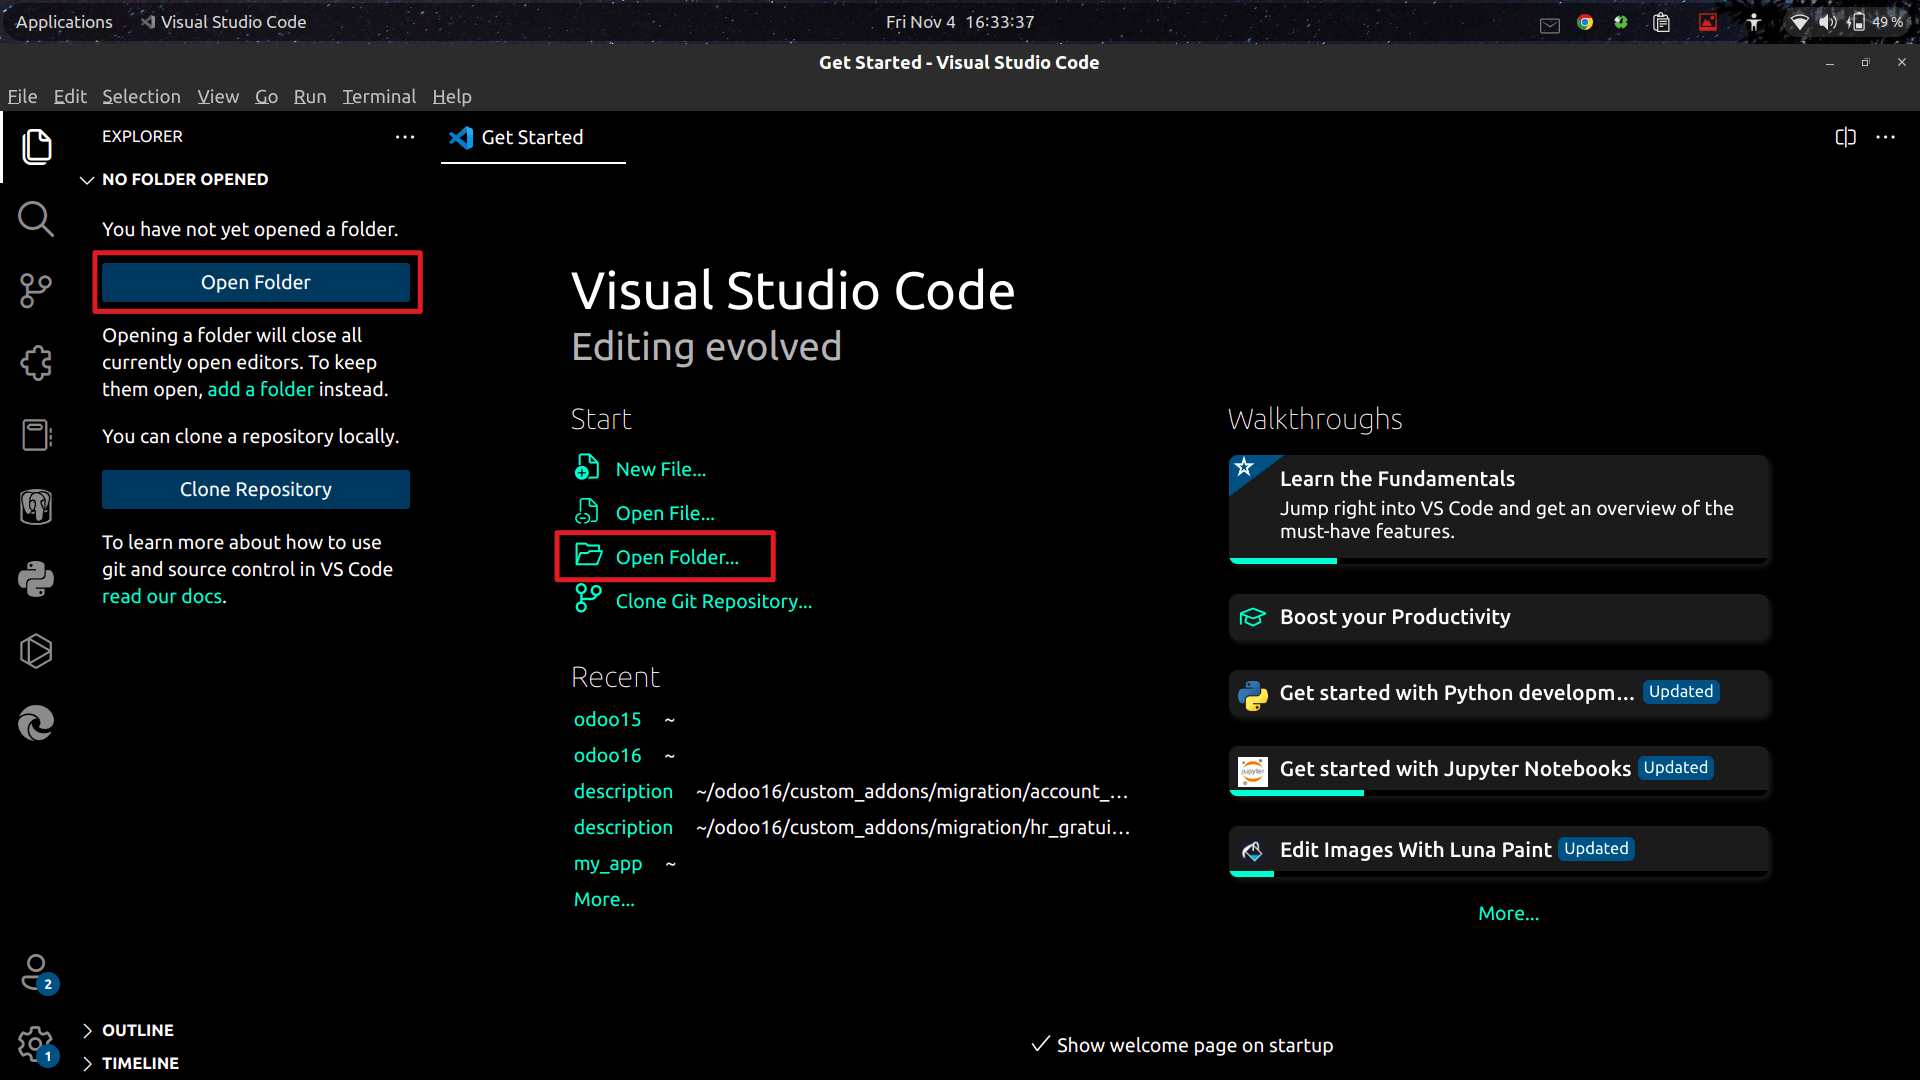
Step 6: Open Odoo16 Project Folder in VsCode

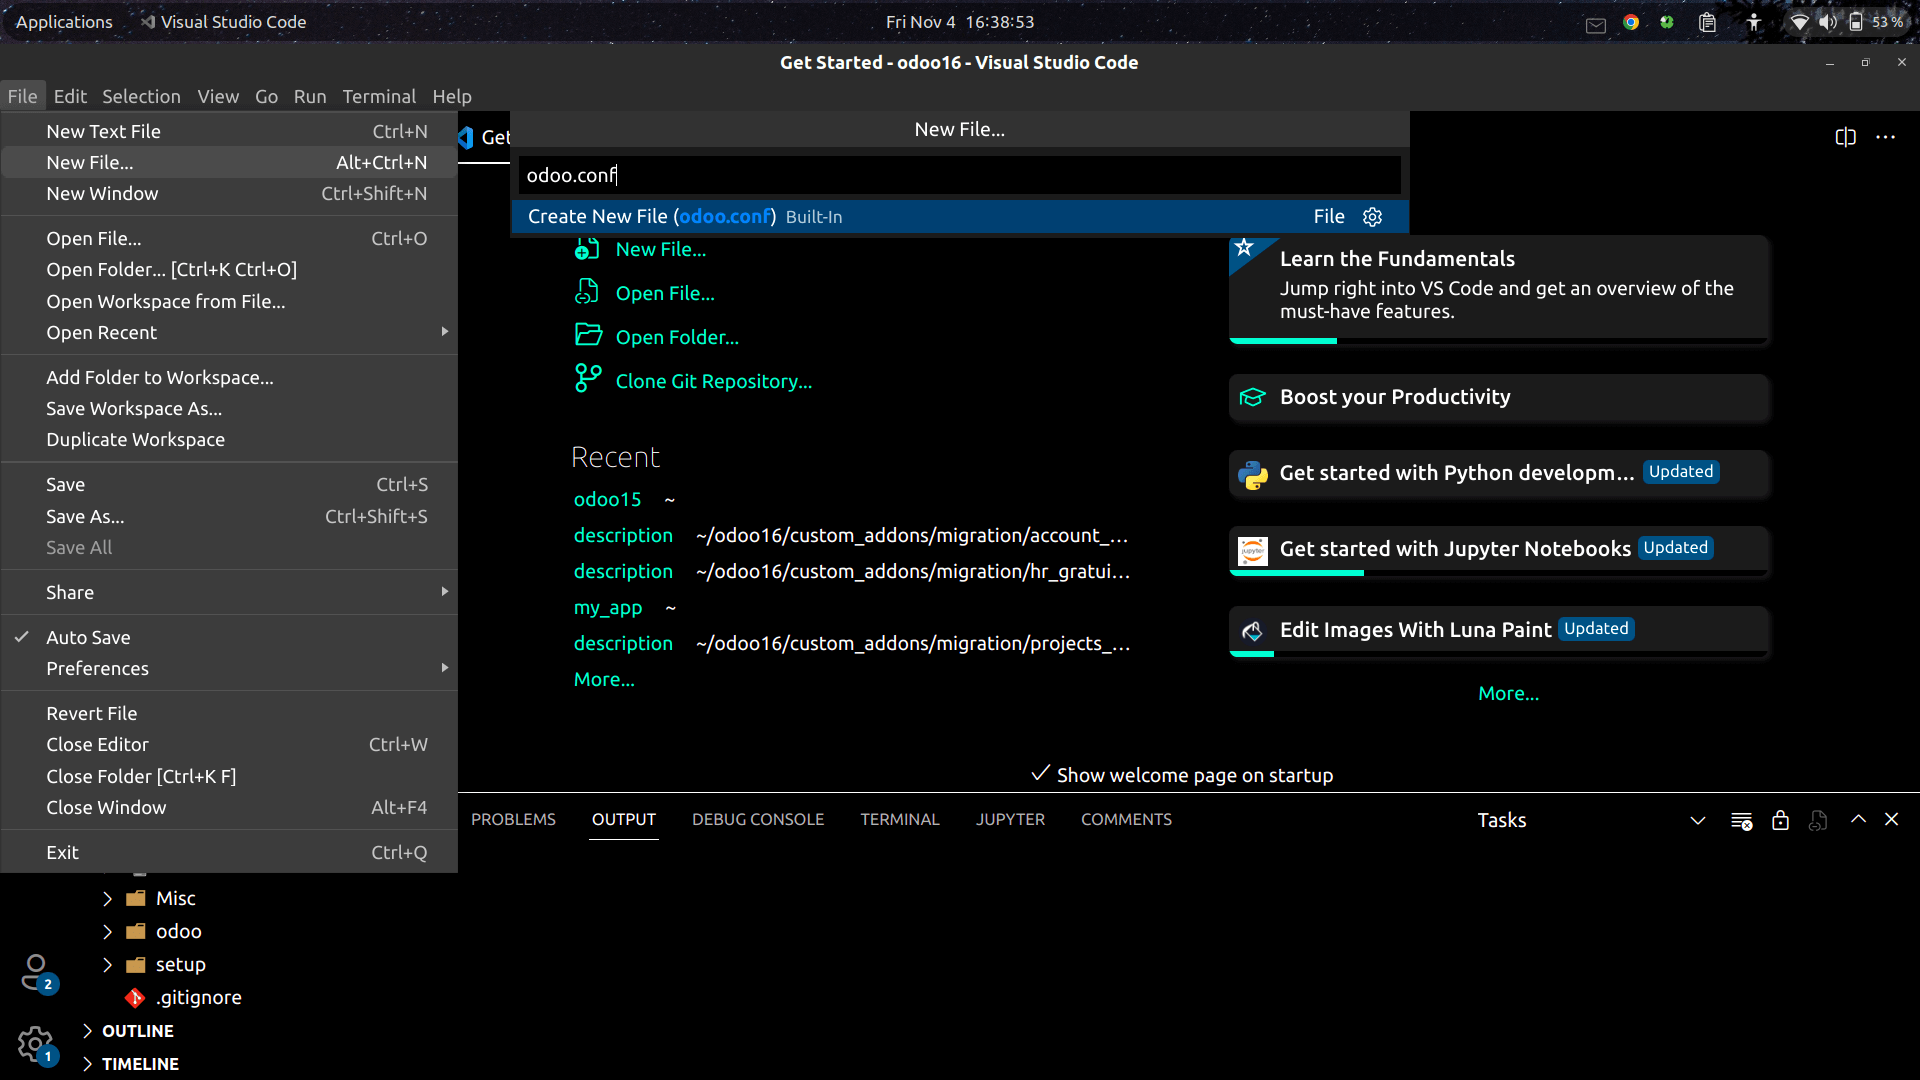
Step 7: Create odoo.conf File inside odoo16 Directory
While Inside the directory, Select File -> New File -> odoo.conf. Press enter.

Paste the following block into the file odoo.conf, and you should change the db_password, which is the password you set for the database user Odoo16 in the earlier step.
[options]
; Is This The Password That Allows Database Operations:
admin_passwd = admin
db_host = localhost
db_port = 5432
db_user = odoo16
db_password = False
addons_path = /home/user/odoo/addons
xmlrpc_port = 8016
In this configuration, you have to modify the db_password with the password that you gave for the ‘Odoo16’ user. And also, change the addons_path value with the actual path of the addons directory inside Odoo16.
Step 8: launch.json configuration for vs code
Now go to Run > Add Configuration >Node.js. This will open ‘launch.json’, where we have to add some configuration details for running Odoo. ( The file will be inside your_odoo_directory/.vscode )
Clear the entire lines of code inside launch.json
And then, Paste the lines given below in ‘launch.json’.
{
  "version": "0.2.0",
  "configurations": [
    {
      "name": "Run Odoo",
      "type": "python",
      "request": "launch",
      "stopOnEntry": false,
      "console": "integratedTerminal",
      "program": "/home/cybrosys/odoo16/odoo-bin",
      "args": [
        "--config=/home/cybrosys/odoo16/odoo.conf"
        // "--database=db_1_name,db_2_name",
        // "--update=module1_name,module2_name"
      ]
    }
  ]
}
In the program: parameter, we have to give the path to Odoo-bin inside our Odoo16 project.
In the –config: path to the odoo.conf file, which is our configuration file
In the –database and – update parameters, we can provide the names of the databases and modules we want to filter out and upgrade, respectively. We can now run Odoo using VS Code after saving the file.
Have a look at the following blog to explore more about Odoo 16 Installation. Odoo 16 Installation