What is the Reordering Rule?
The reordering rule is an important function of an inventory management module. Inventory is the place where the business stores the finished products. We may also have to store semi-finished products. The availability of the product and the requirement of the product is calculated with the help of proper inventory management software.
Let us first check the definition for reordering rules. The reordering rule can be termed as a group of rules used to ensure a sufficient quantity of product availability in an inventory. This helps to avoid running out of stock of the product. It also supports the user to avoid excessive purchase or storage of a product.
In short, the Reordering rule helps the business to ensure the availability of the minimum quantity of a product.
This feature helps the business to avoid the unavailability of a product when a customer raises demand. Such a facility will support the business to ensure the supply of all the products whenever the customer raises a request for the product. This feature comes to the rescue of the investor in the eCommerce business, point of sale, and also while managing sales and invoice management. As the inventory module is an integral part of any product-related business, setting reordering rule also plays a crucial role in the efficient management of the business.
Benefits of Reordering Rules
The reordering rule plays an important role in efficient inventory management. Unlike the manual calculation of stock, reordering rules in the ERP support the automated calculation of stock. It also alerts the investor whenever the product or raw material runs out of stock. Let us first find out the key benefits of reordering rules.
- Ensures to maintain minimum stock level
- Supports the management of minimum raw material level
- Helps to set rules to calculate the minimum stock level
- The minimum quantity can be set for selected products only.
- Helps to automatically manage replenishment
- Controls the inventory in an effective way
- Can be used to manage different types of inventory
How to use the reordering rule in Odoo 14
As we have already gone through the benefits of reordering rules we can now dive into the use of the rule.
To make use of this functionality we have to first install Odoo Inventory.
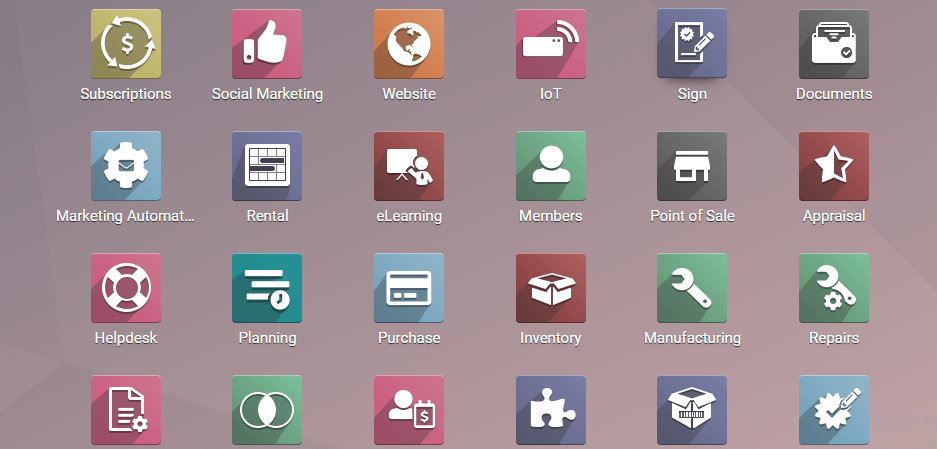
On completing the installation process we can move on to the dashboard of the inventory.
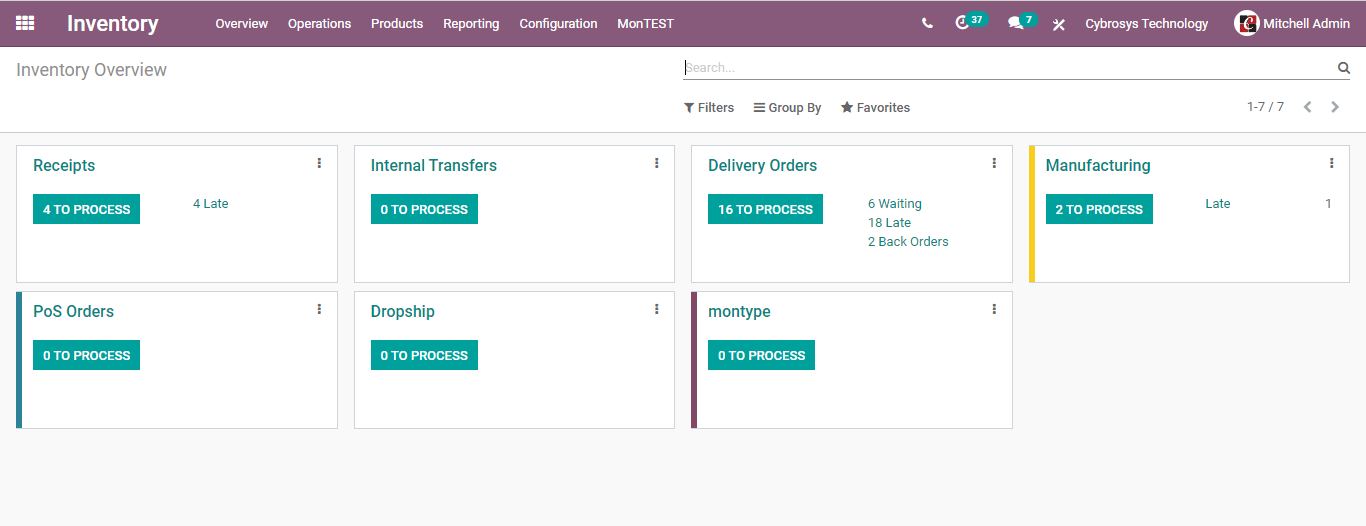
Here, the user can choose Products

In the next step, we will get a page where a number of products will be displayed.
We can choose any one of the products from here.
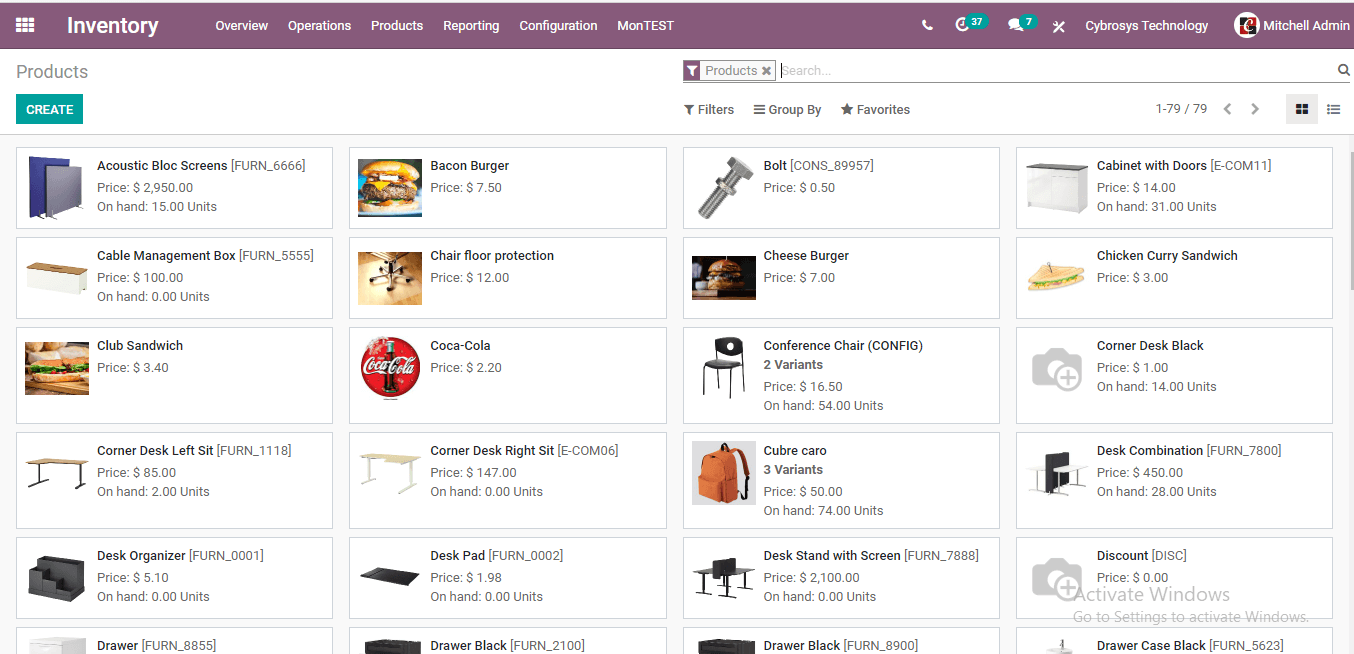
I am going to choose the corner desk Right Sit.
To choose the product we can click on the product and then we get the following image
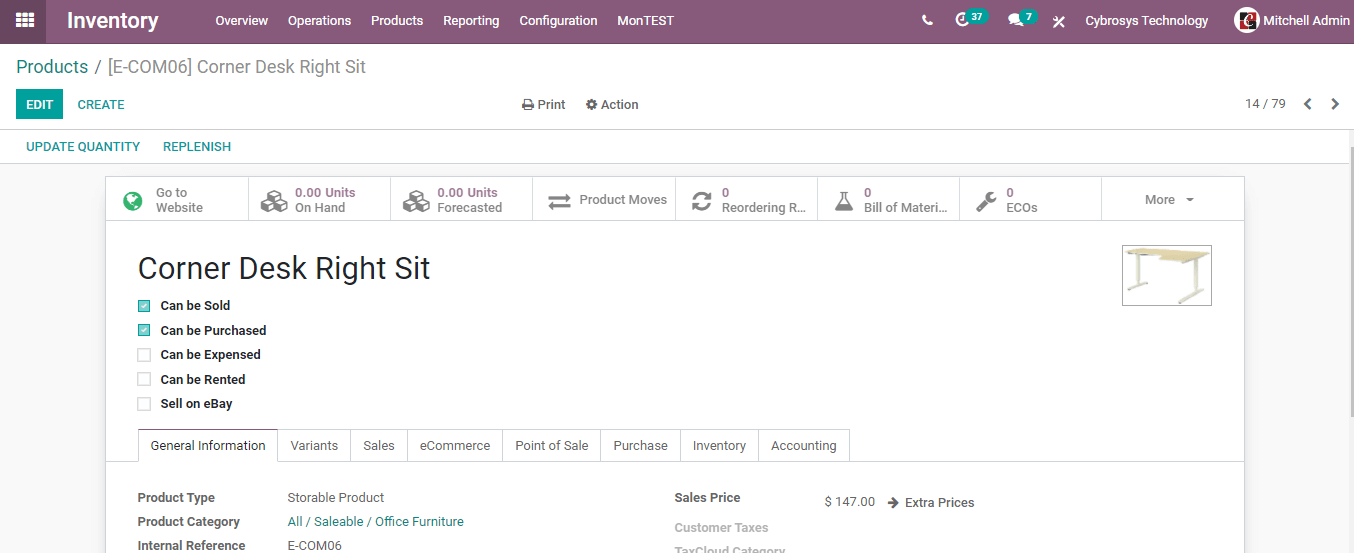
Here, we can see that the product on hand is 0. Now enable Edit Option.
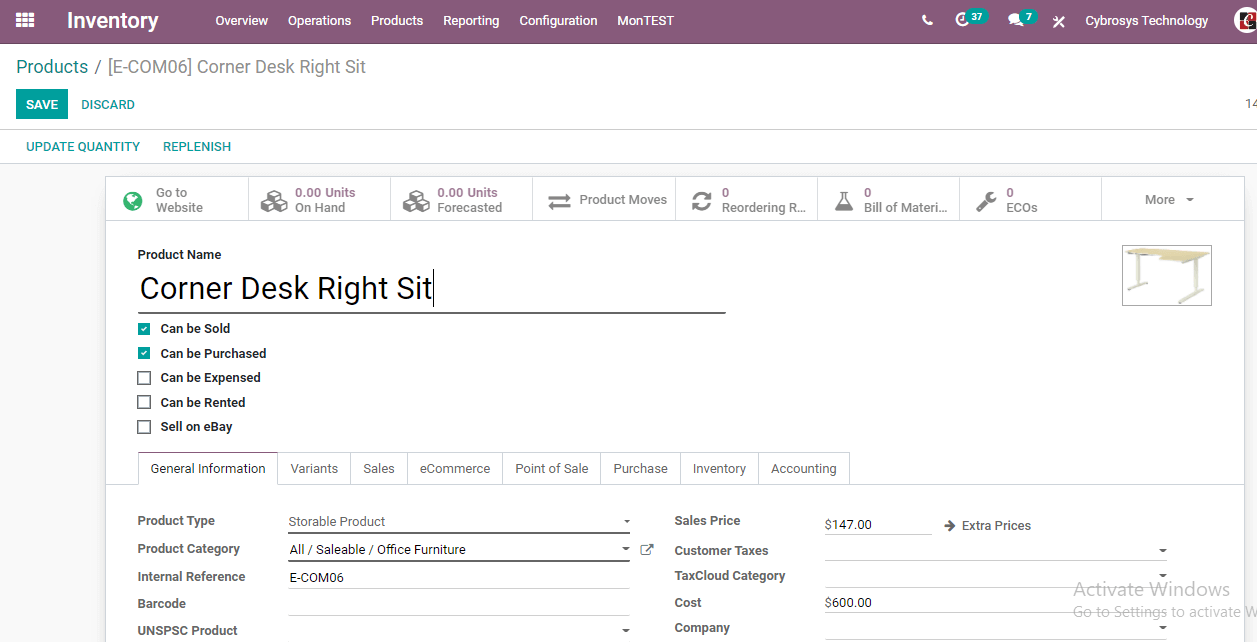
Before setting the reordering rule we have to make sure that the product is storable. We can also choose the vendor.
To choose the vendor we have to go to the purchase tab.
Click on the Purchase tab and we will get the field to add vendor details.
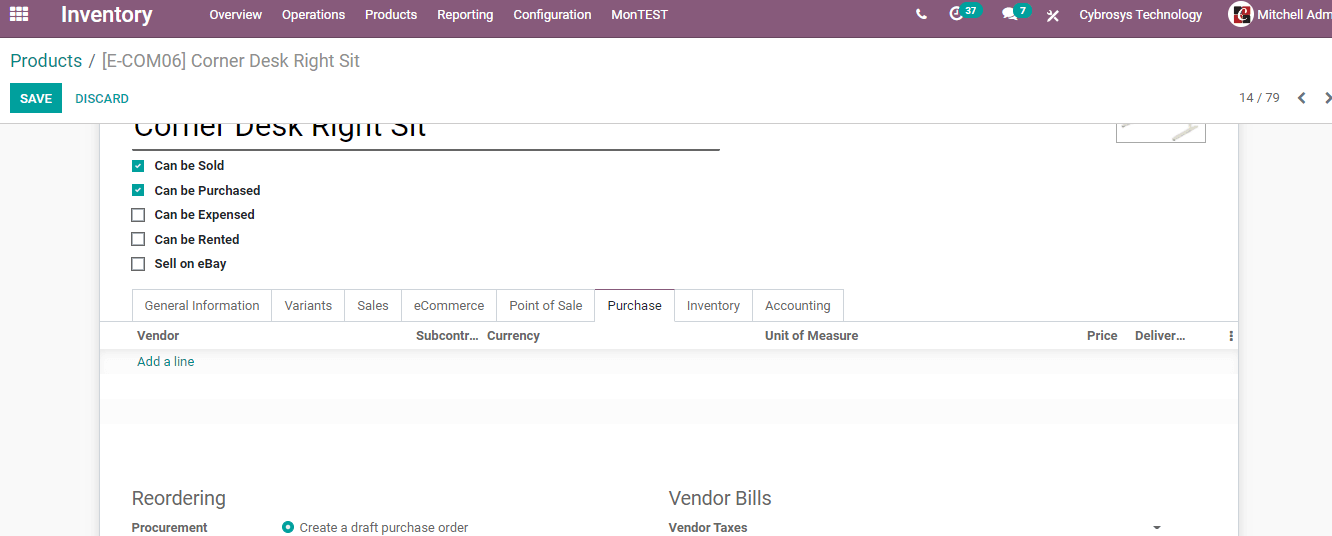
Now we can go ahead to create a reordering rule.

In the above image, we can find the icon to set the reordering rule. Click on the icon.
We get a page as given here on clicking the reordering rule.
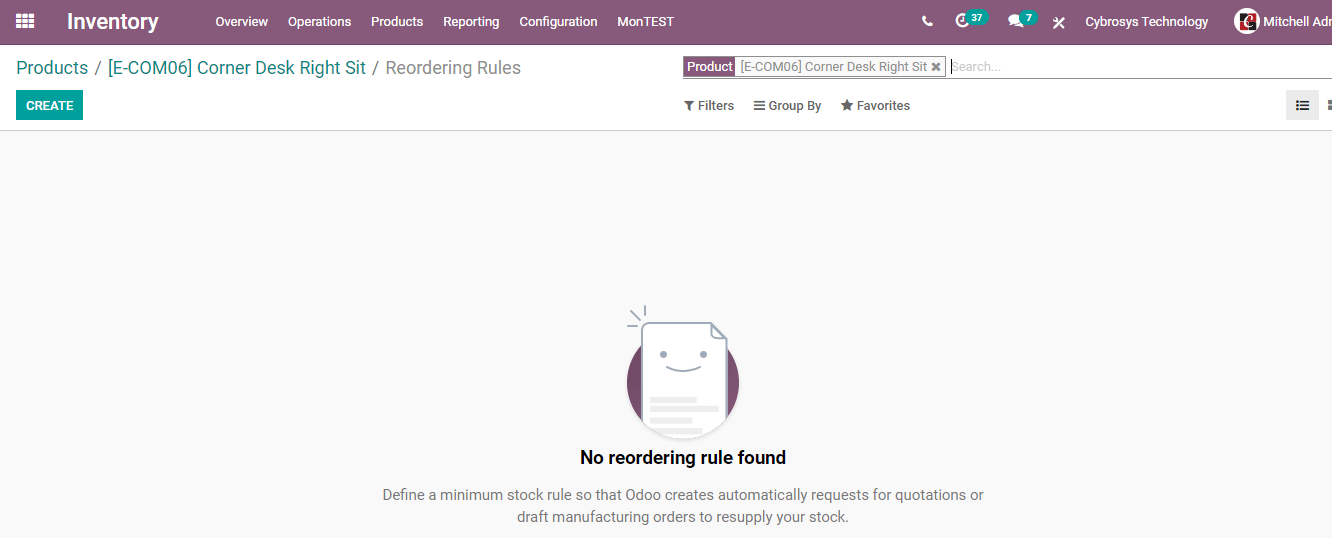
Here we can find the CREATE option and use this option to set the reordering rule.

On this page we have to set the minimum quantity, maximum quantity, and multiple quantities
Minimum Quantity: The minimum quantity of products you want to purchase
Maximum Quantity: Maximum quantity of products that you want to purchase
Here, we can set the minimum quantity as 10. That means if the product stock goes below this 10 or the minimum quantity set here the reordering rule will be triggered.
Now we can examine the fields here.
Location: it is the inventory location
Preferred route: This can be termed as the route which is used to collect the product.
Here we can find different options like buy, drop-ship, manufacturer, etc.
Trigger: Trigger can either be manual or auto.

Here, in the above image, we have set the location as WH/Stock, preferred route as Buy, and Trigger as Manual. The minimum quantity is set as 10 and the maximum quantity is 100. We have also set multiple quantities as 3.
Now, we can save the changes and go to Inventory > Operations > Replenishment
Here, we can see all pending orders. In the Corner Desk Right Sit line we can find ORDER Once Option. Then click on the option. Then the order will be placed.
Now, if we go to the purchase module and check the RFQ (Request for Quotation) we can find the recently created order to purchase.
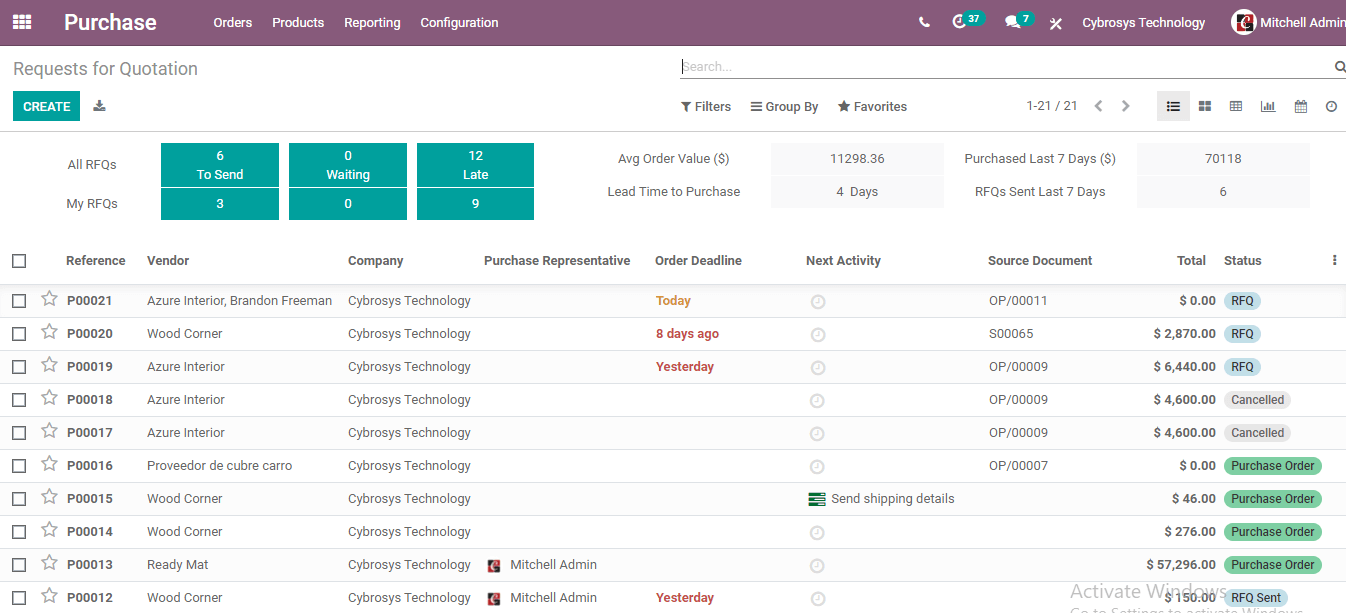
Now we can click on the RFQ to confirm the order
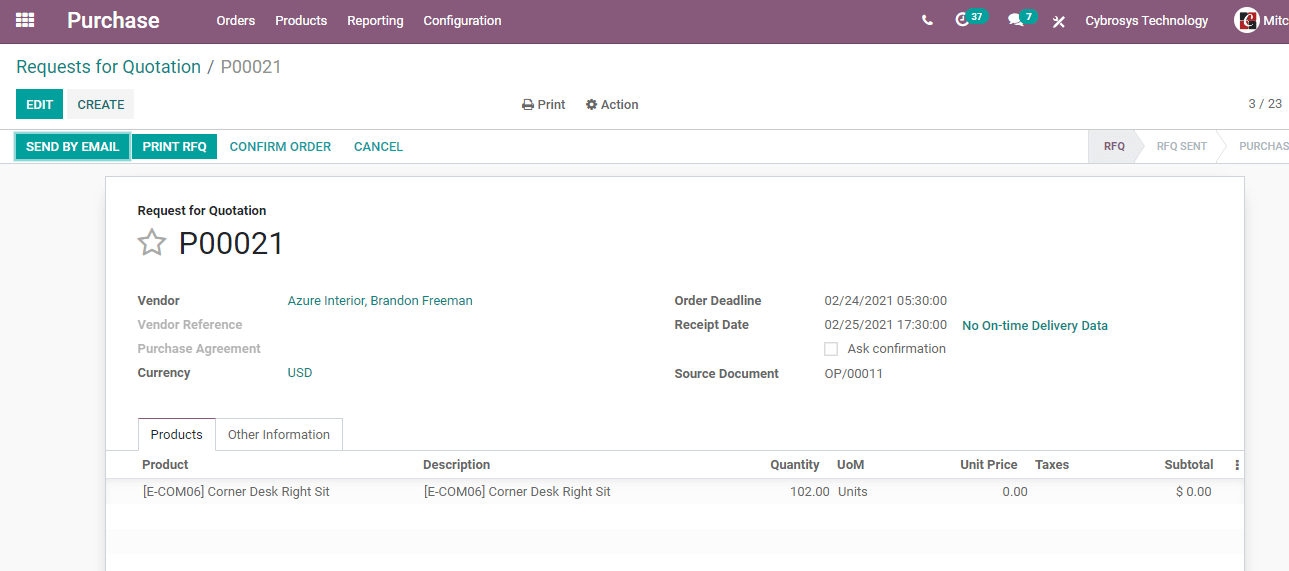
Here we can click Confirm Order
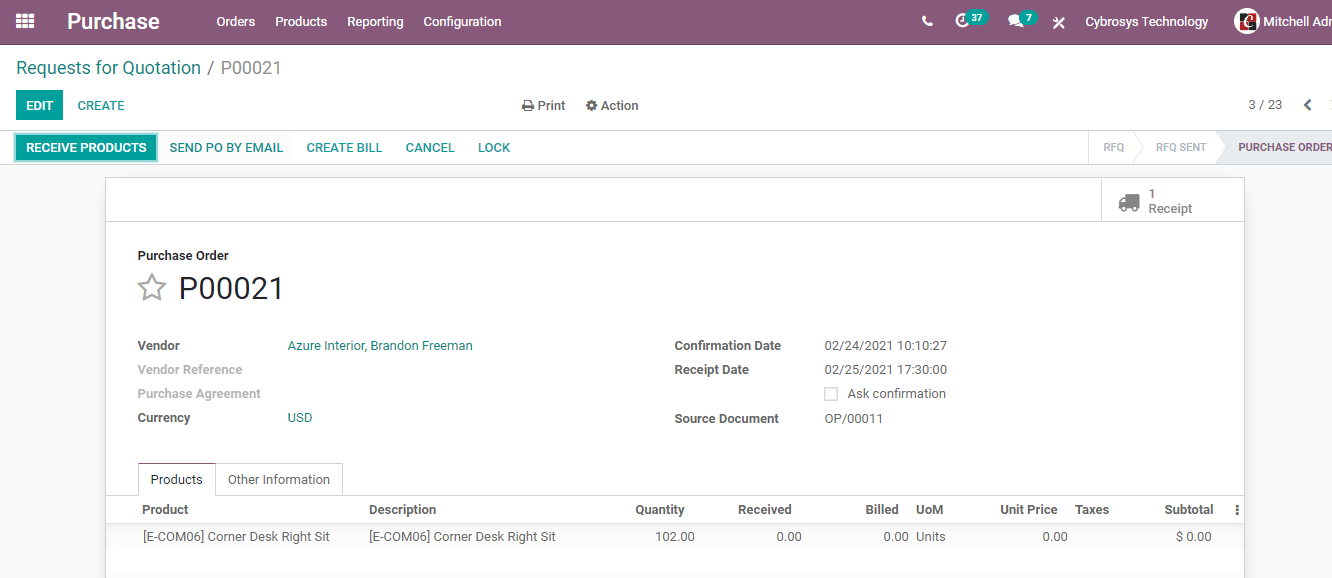
Then click Receive Products
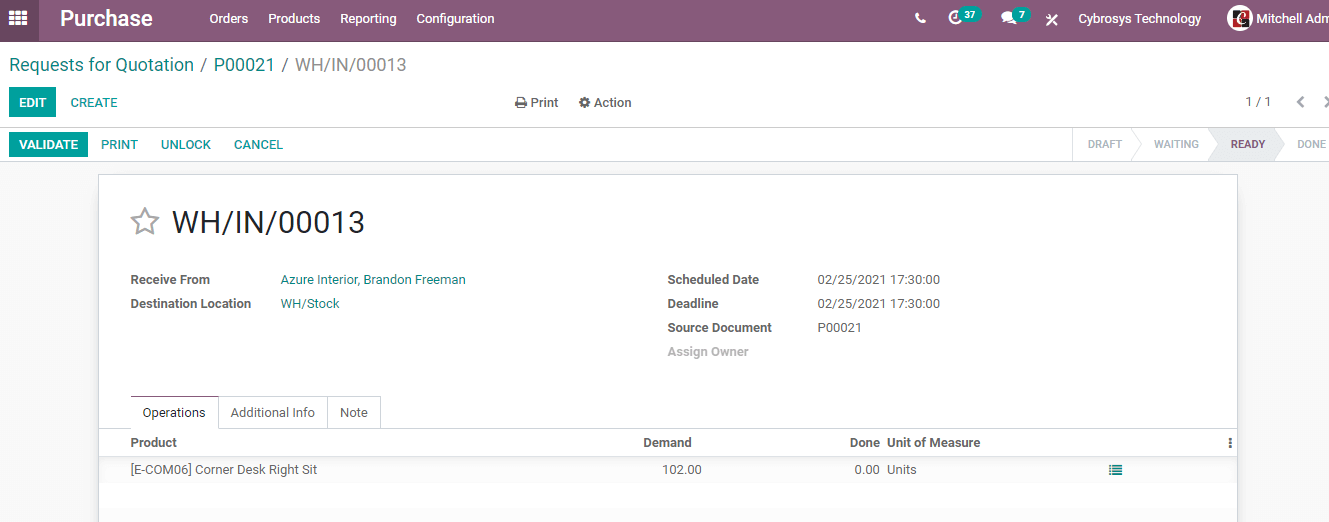
Then complete the Validation process.
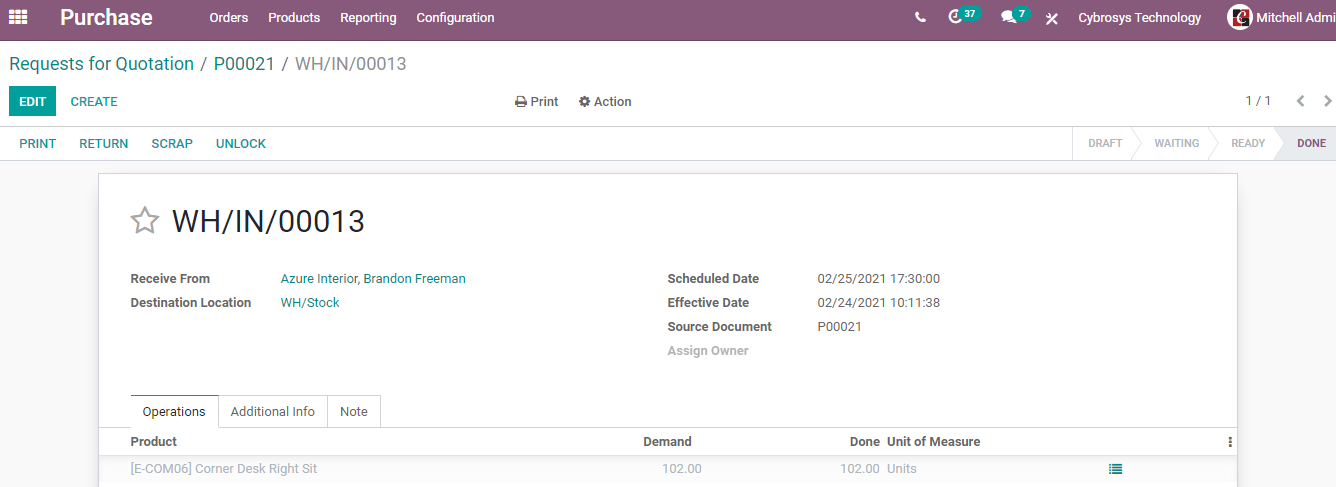
Here, we can see the status as done.
Now let us go back to the inventory again and check the product quantity on hand
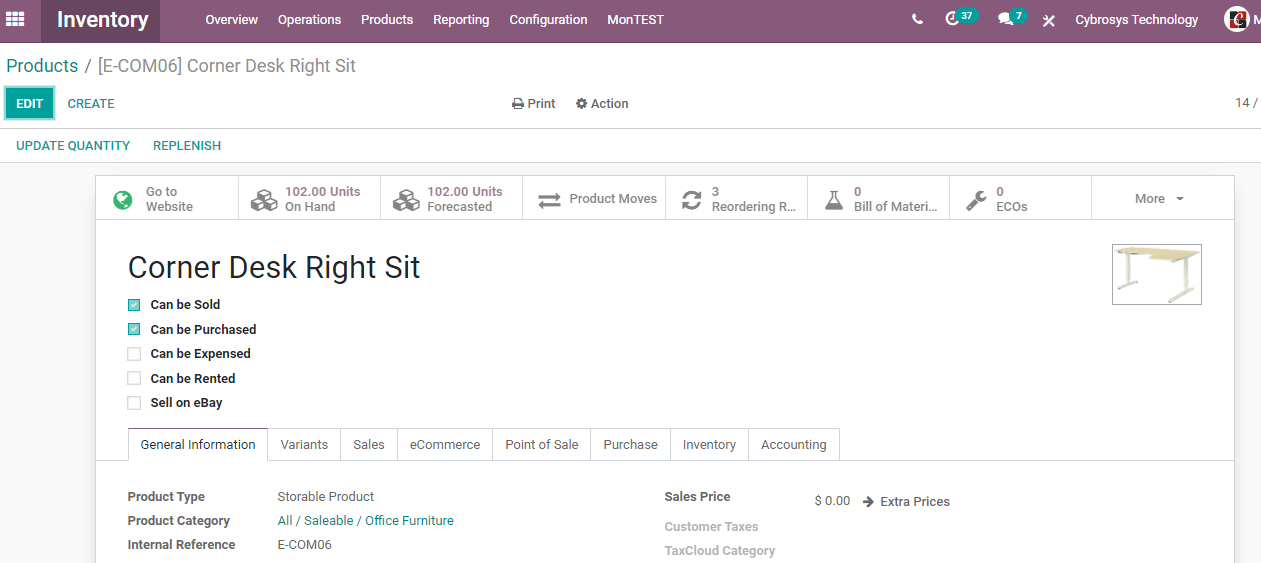
In the above image, we can see the product on hand as 102. That means we have replenished the product using a reordering rule.
This is based on the manual trigger and manual intervention is required to replenish the stock.
Now, let us check what happens if you are selecting the Auto Trigger option.
For this, we have to create a reordering rule again.
Here I will select a different product so that it will be easier for you to understand.
I will choose a desk organizer here.
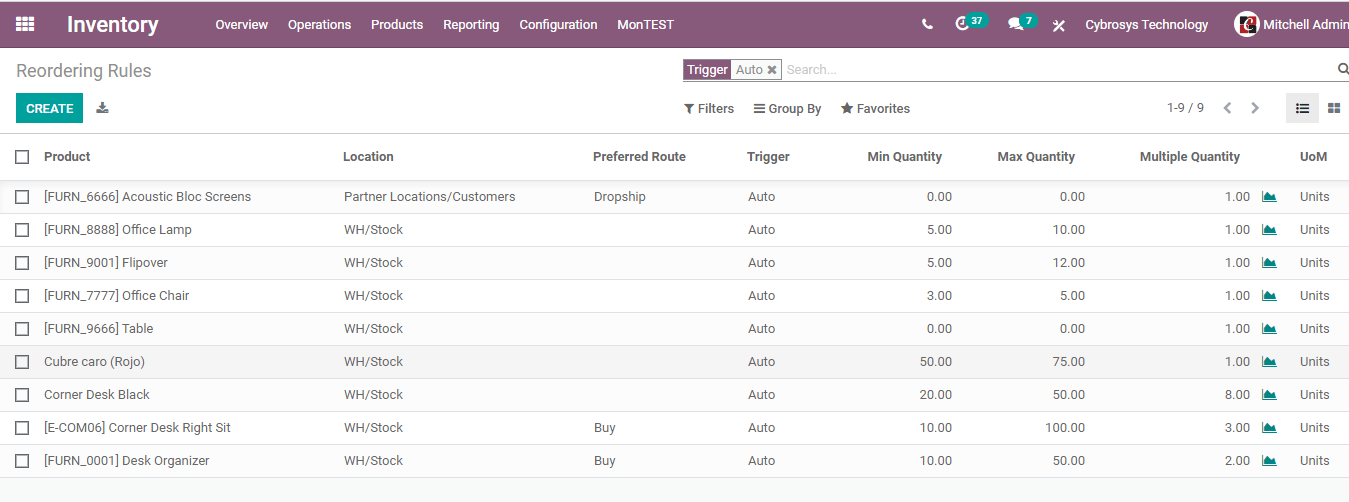
You can find that I have selected the preferred route as Buy and Trigger as Auto here. (The last one in the list)
When we go to Replenishment we cannot see the entry as the trigger selected was automatic.
WE can then use Run Scheduler option by going to Inventory > Operations > Run Scheduler
So, let us directly go to the Purchase module.
Here we can see that RFQ has been automatically generated
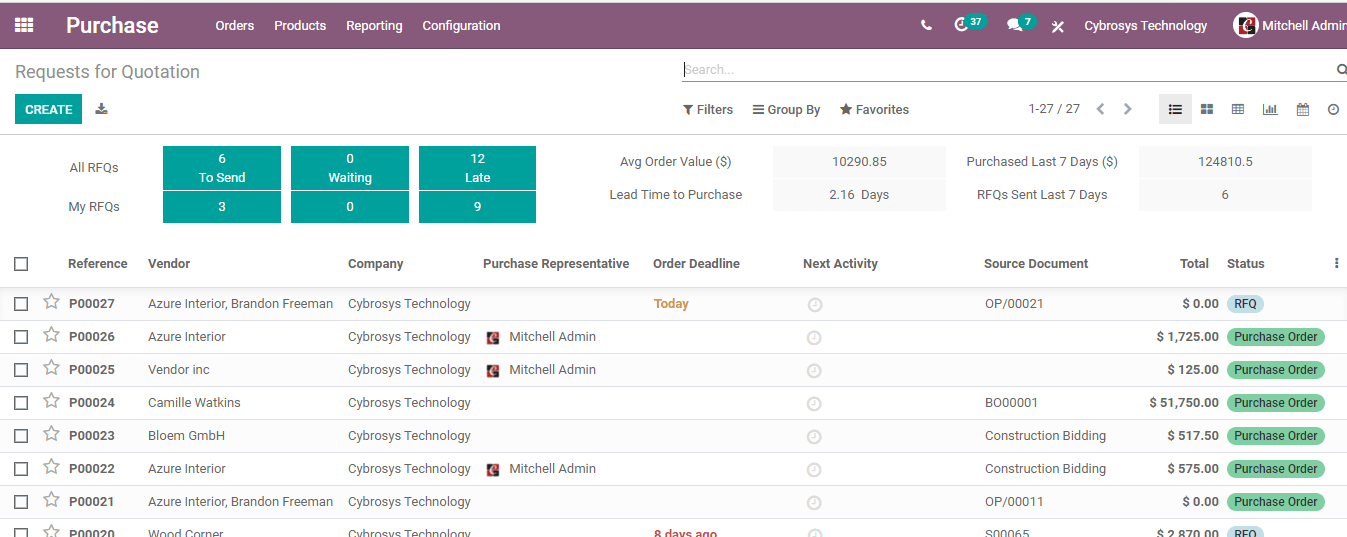
Now we can continue the process by clicking on the RFQ.
We can confirm the order, Receive products, and complete Validation
After going back to the inventory we can check the product quantity.
Inventory > Products > Desk Organizer
We can find the On Hand quantity as 50
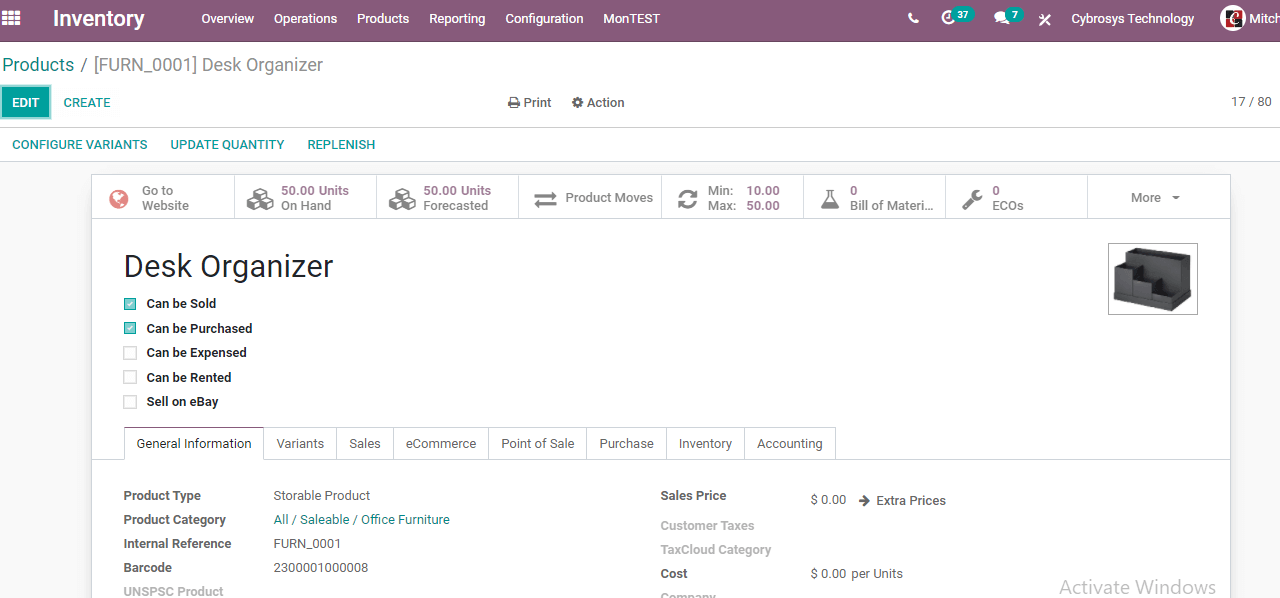
This way we can make use of the reordering rule to maintain the minimum stock of a product.