The creation and management of events become easier through the Odoo ERP system. Event organization in a business leads to maintaining relationships with customers and a large audience. The companies can start new business opportunities through these events and it raises the growth of a firm through various promotions. Moreover, the sales of a product or service increase in a huge manner after conducting any event. The attention of customers grabs easily by scheduling conferences, seminars, projects, social services, and tournaments.
To implement an event, the company can use the Odoo Events module to manage the sales, website, and participants. High responsibility is necessary to organize any activity of a firm and the management team faces difficulties to lead an event. You can send reminders and automate the ticketing functions of an event through Odoo 15 Events module.
This blog assists you in how to invite participants and publish events in Odoo 15.
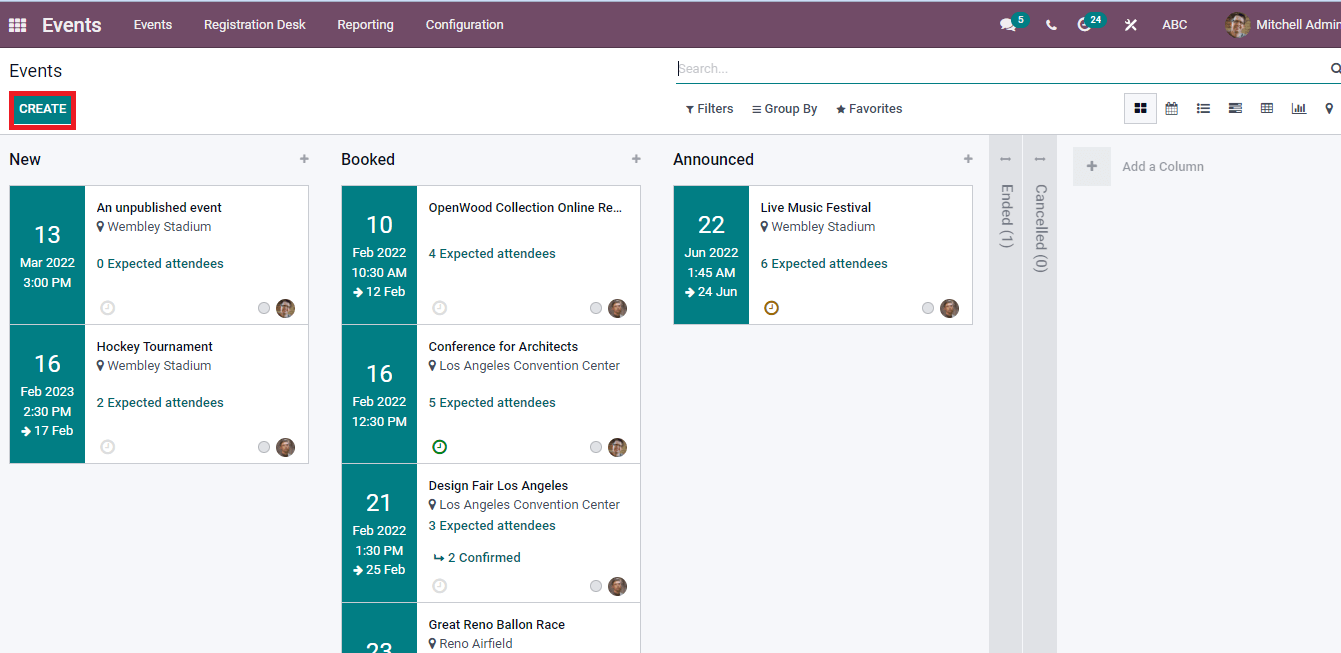
To create a new event, the user can select on Create icon in the Events dashboard of Odoo.
To Publish an Event on a Website
It is essential to publish an event on the website after the creation. Choose the Event that you want to publish on the website. After that, click on Go to Website icon on the Events window.
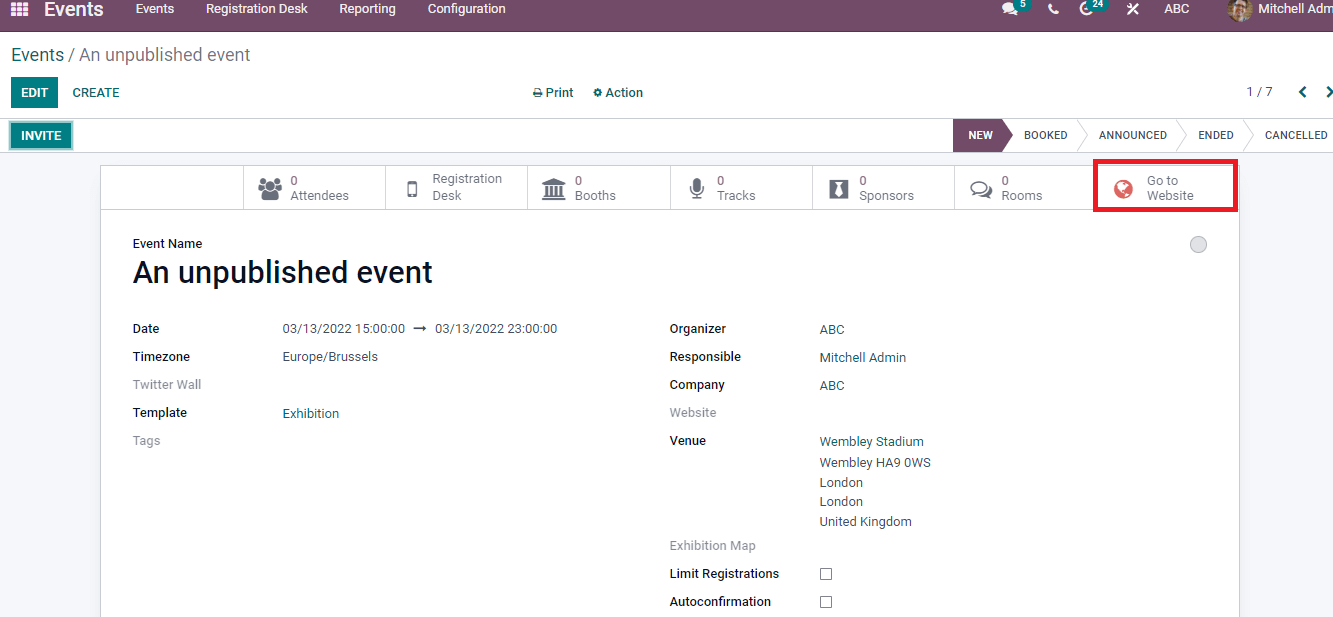
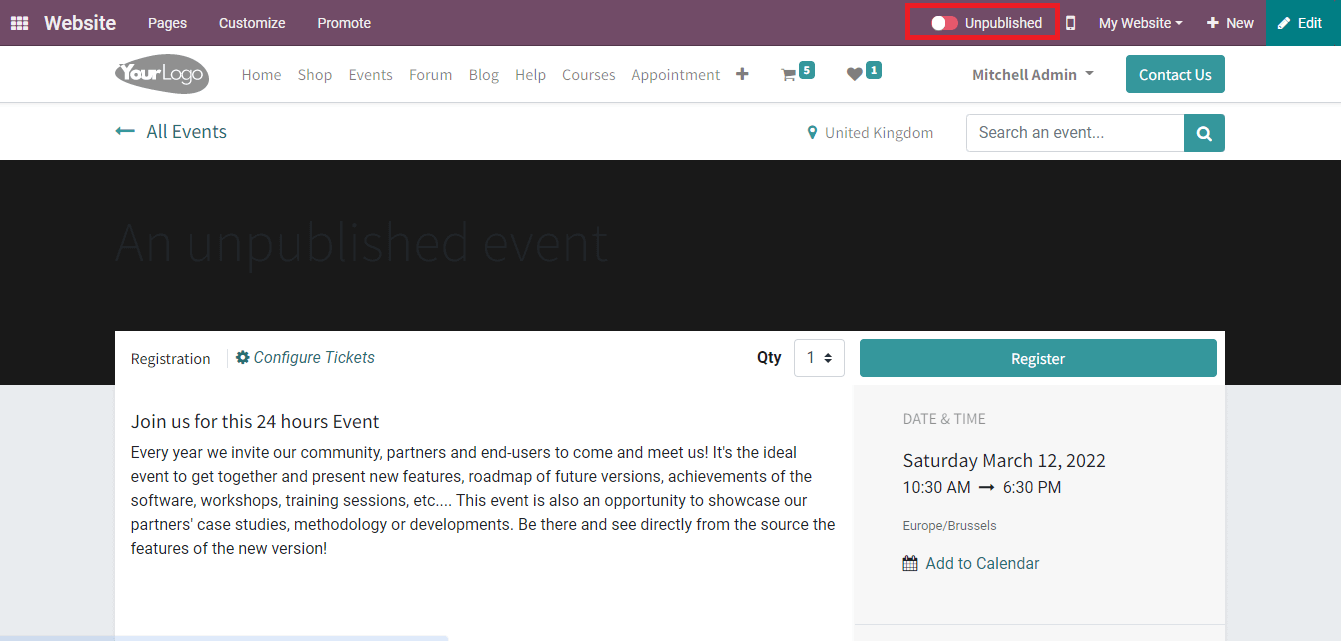
The information about your event is visible to you on the Odoo website. We can see the status of the event as Unpublished shown in the screenshot below.
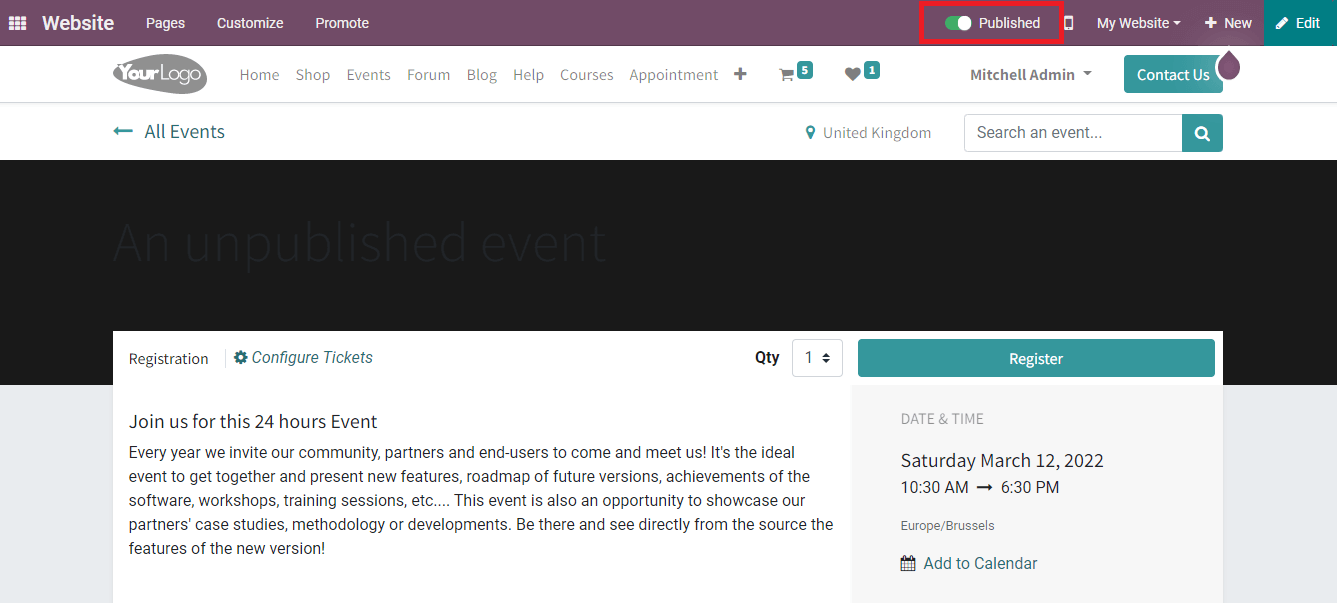
Change the Unpublished button into Published by selecting the same button.
The visibility of a website increases by making changes in the display. Edit icon in the window assists to make changes in the website display of your event.
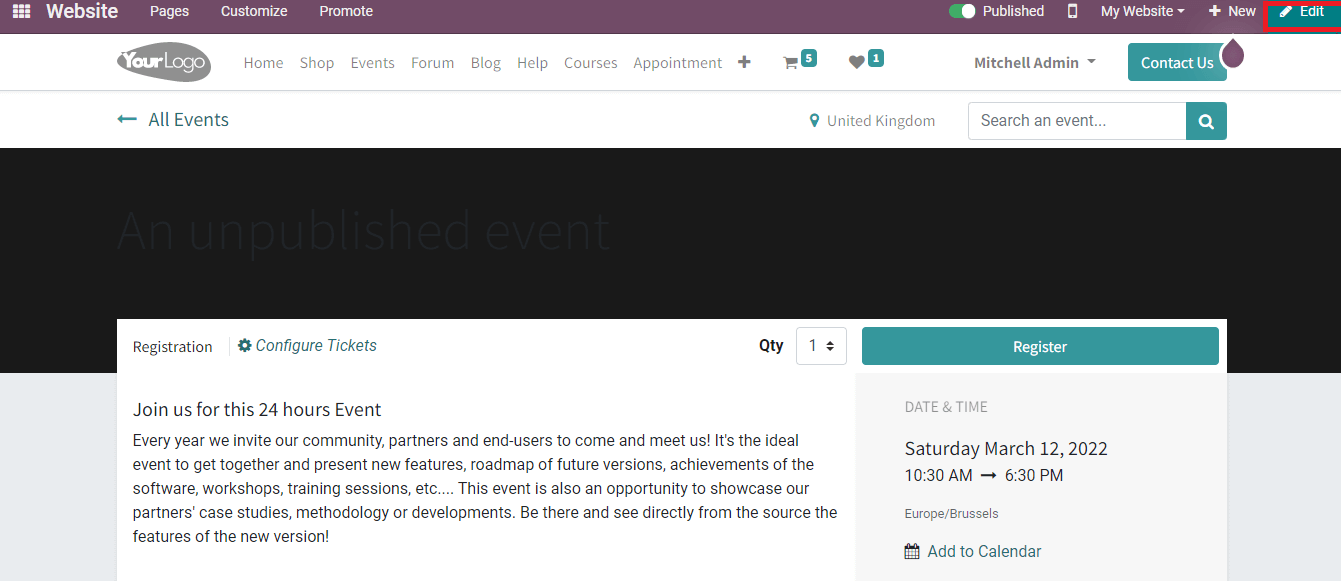
It is possible to change the content on the website page. You can edit the banner, title, style, and format using the editing tool at the right end of the window. We can also change the alignment, and text style according to your wish. Save your edits after making the changes to the website.
How to Book an Event in Odoo?
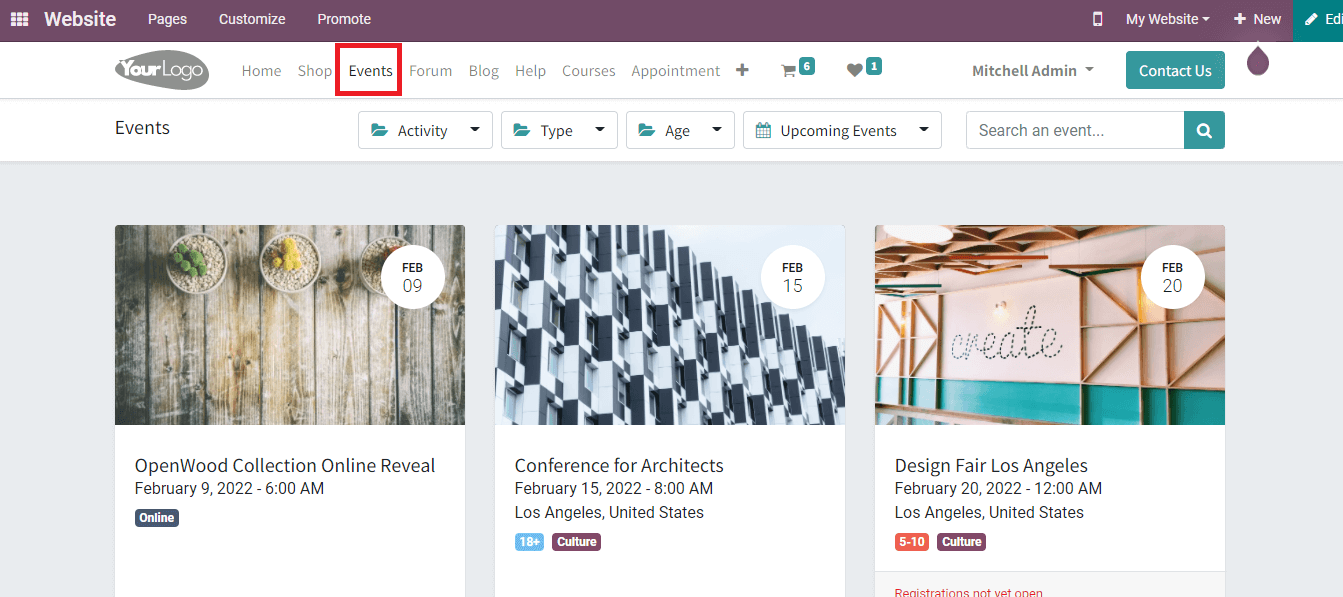
In the website window of Odoo, you can see the published events under the Events tab.
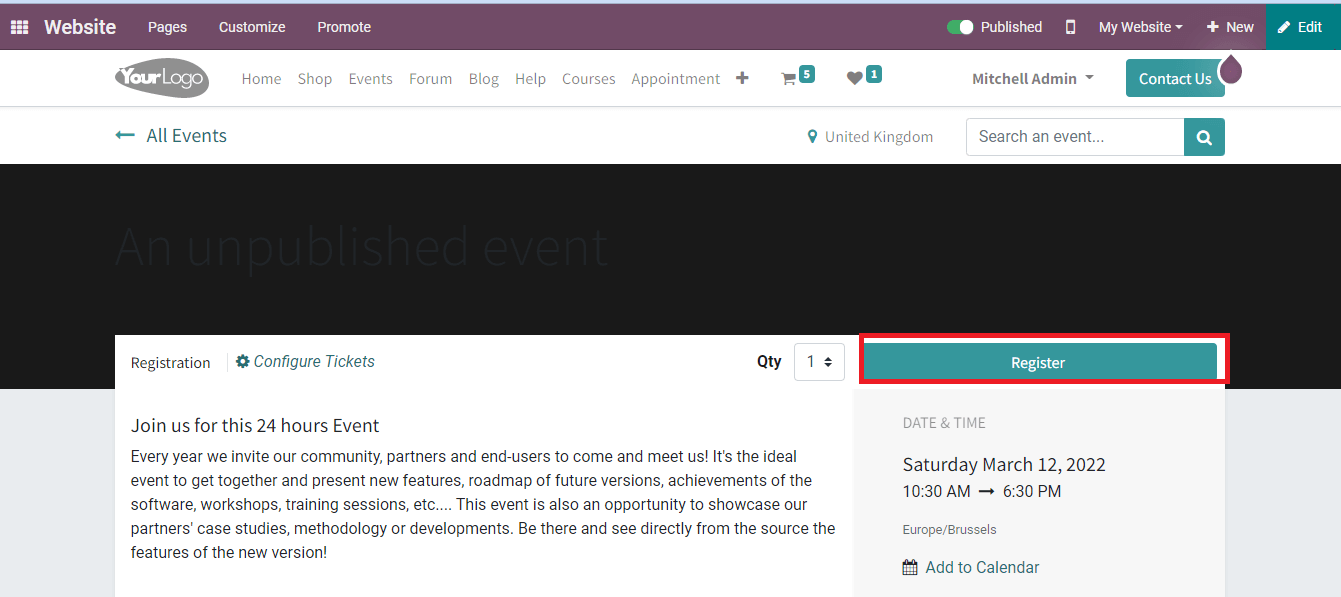
Select the type of ticket and number you want in the website window. The ticket types are arranged into Standard and VIP. You can also create more types of tickets at the time of creating an event. To book or participate in an event, choose the event from the website window and select on Register icon. Choose the ticket to register for your event.
A new window opens before you after clicking on the register icon. In the new window, you can enter details of attendees according to the number of tickets you have created. Enter the email, name and contact number of attendees in the pop-up window.
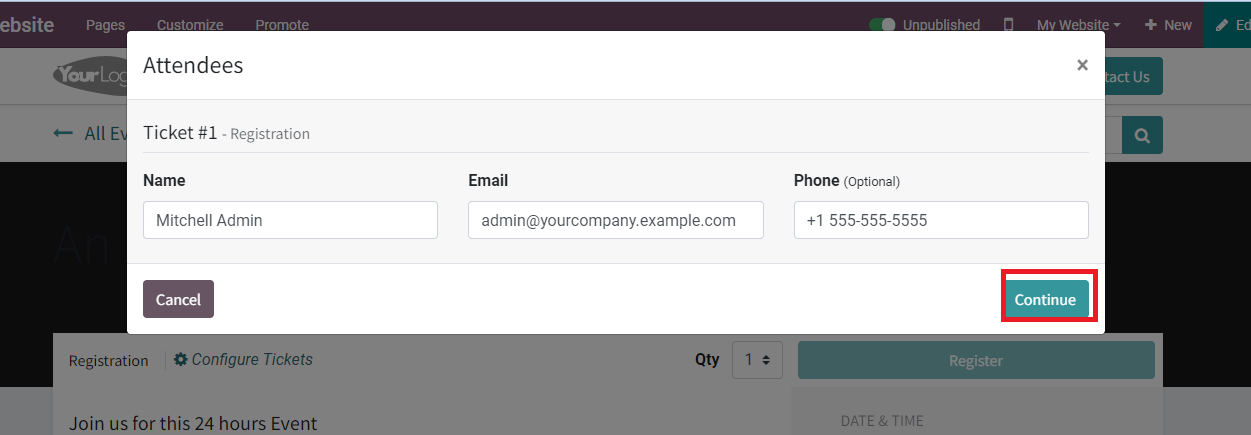
For the next payment procedures, select on Continue button. After that, confirm your address for the payment. Choose your method of payment and select on Pay Now icon. We can see that the registration is confirmed.
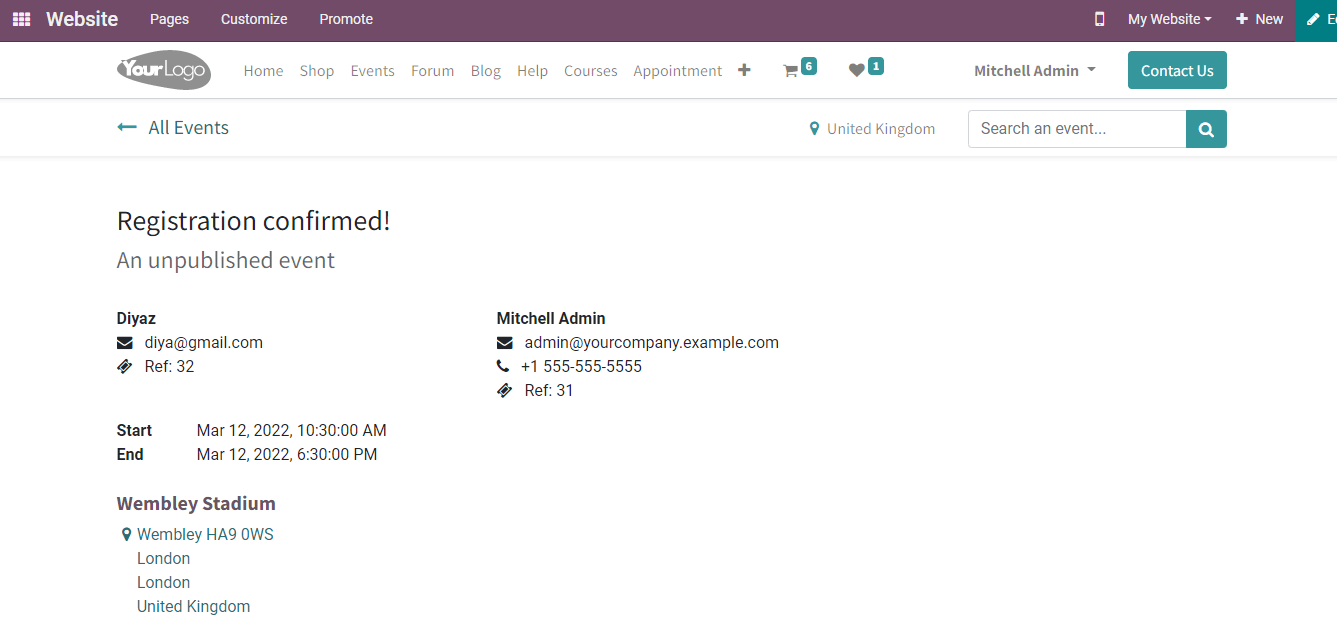
After confirming the registration, it is visible as Registered in the events window. The registration details are automatically generated in the events window. You can see the attendee's number and published website in the respective Events window.
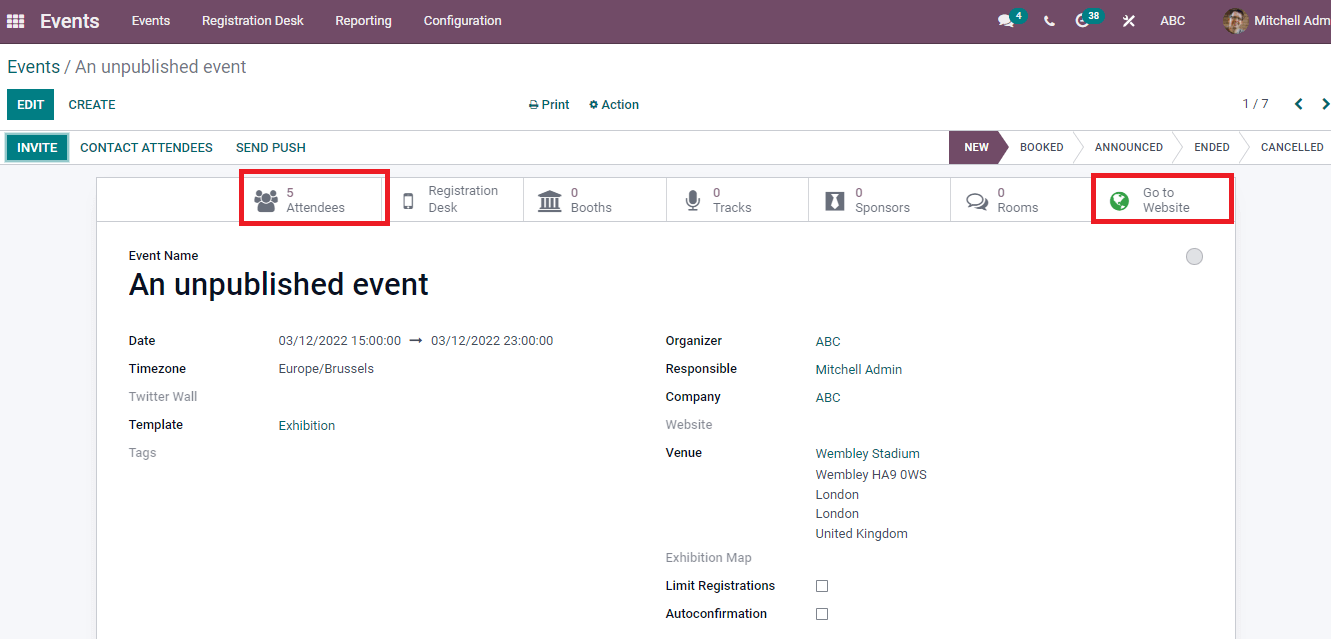
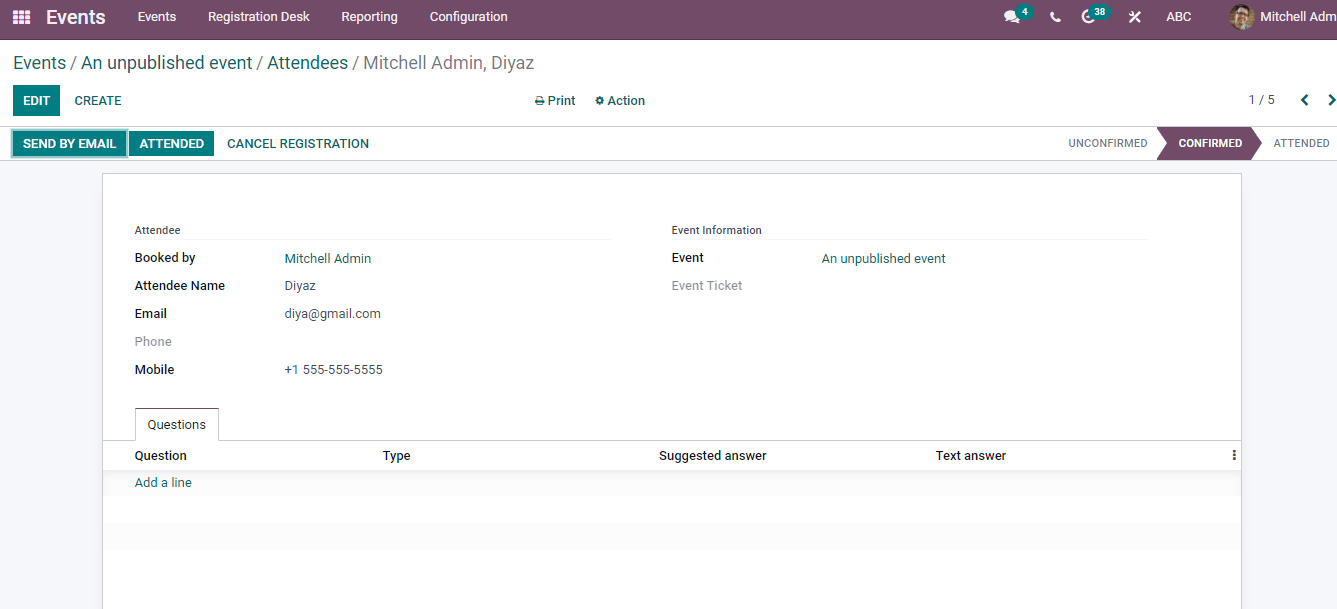
The detailed information of data is available after clicking on the attendee's button. Choose one of the customers from the attendee's window to know about registration details.
Click on Edit icon to make changes in the details of Attendee. The Create button assist to develop a new registration for attendee.
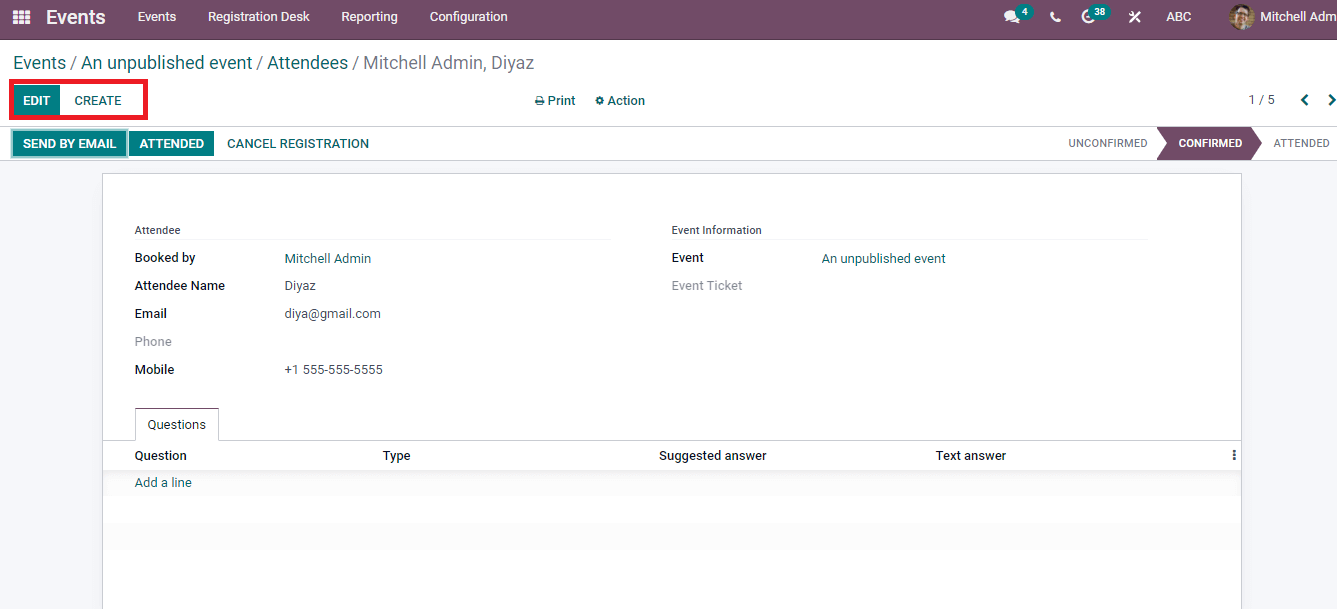
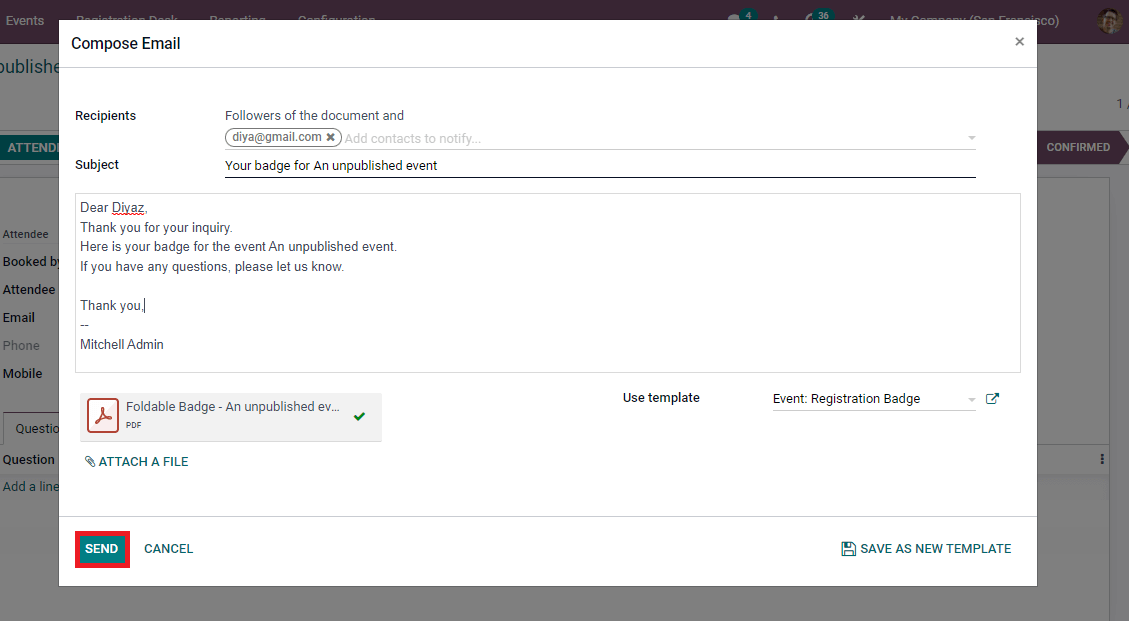
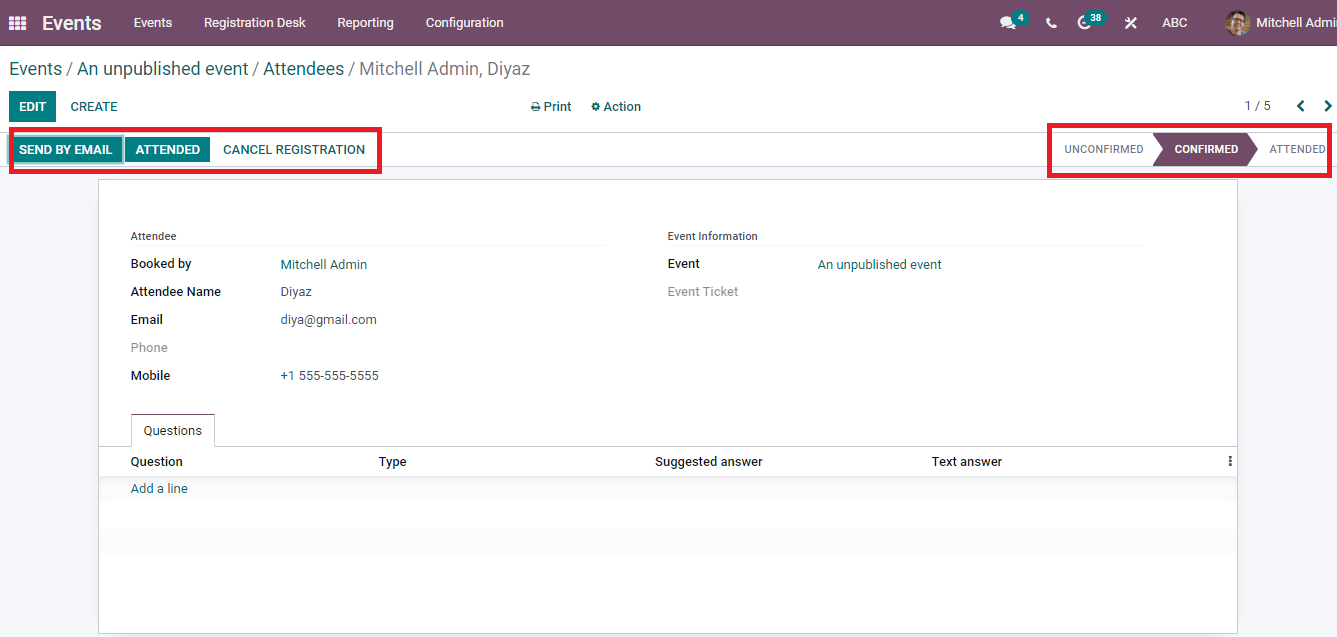
Specify the attendee name, contact number, and Email in the new Attendees window after clicking on create icon. Apply the Ticket and Event name under the Event information. We can see some sub-menus below the Edit button. These are Cancel registration, Send by Email, and Attended. A new Email box opens before you after clicking on Send by Email and enter details such as Subject, description/Recipients address. You can also attach the files relating to the event for participants and select the Send button.
We can discard the registration by selecting Cancel Registration. The several stages of attendees depict at the right end of the window.
To Invite Participants to an Event
We can invite the visitors to an event using the Invite icon in the main event dashboard.
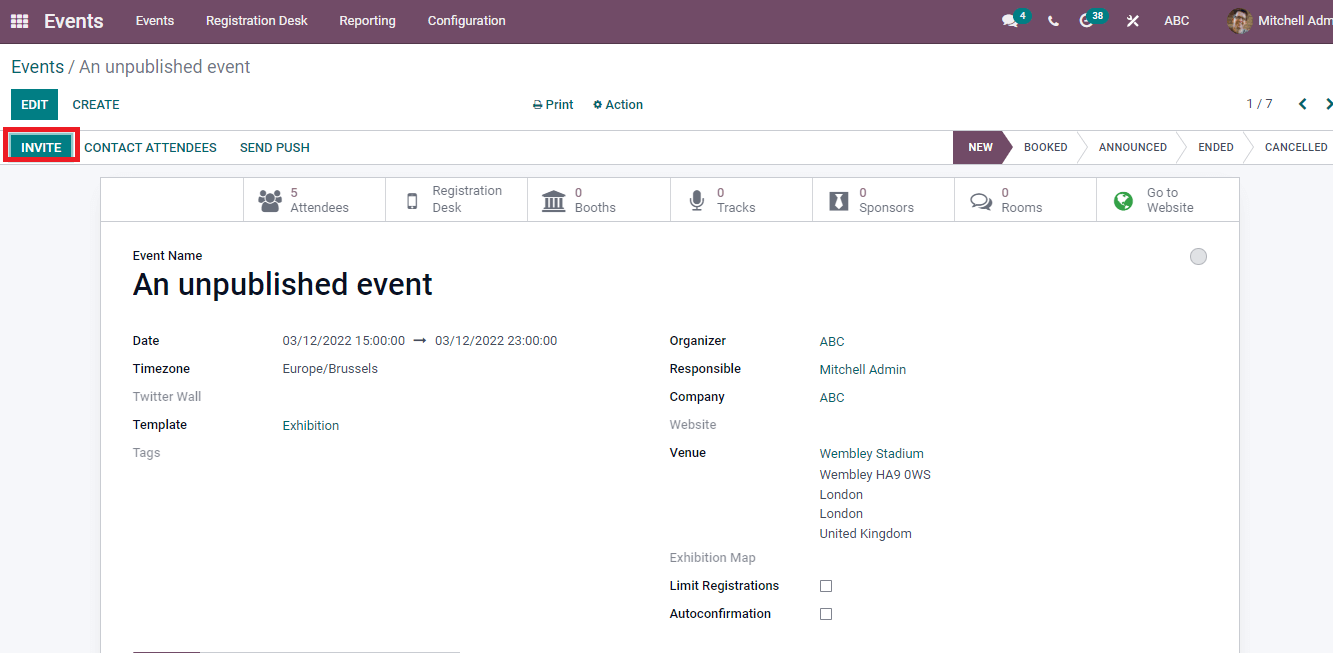
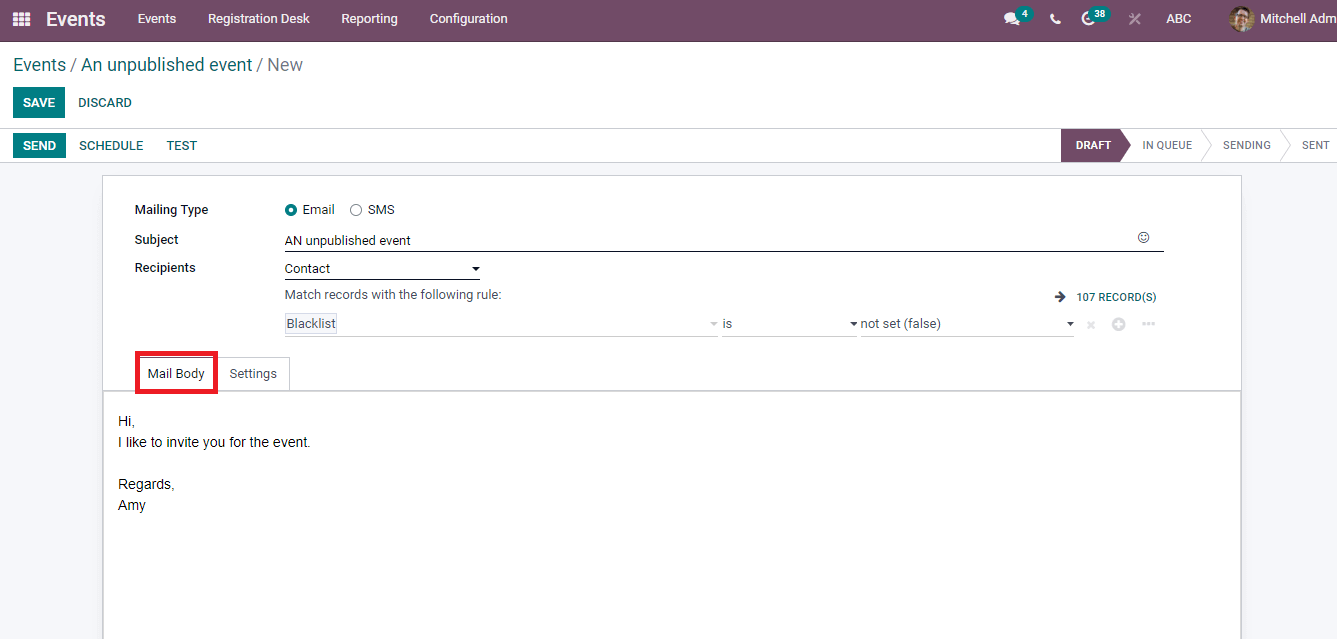
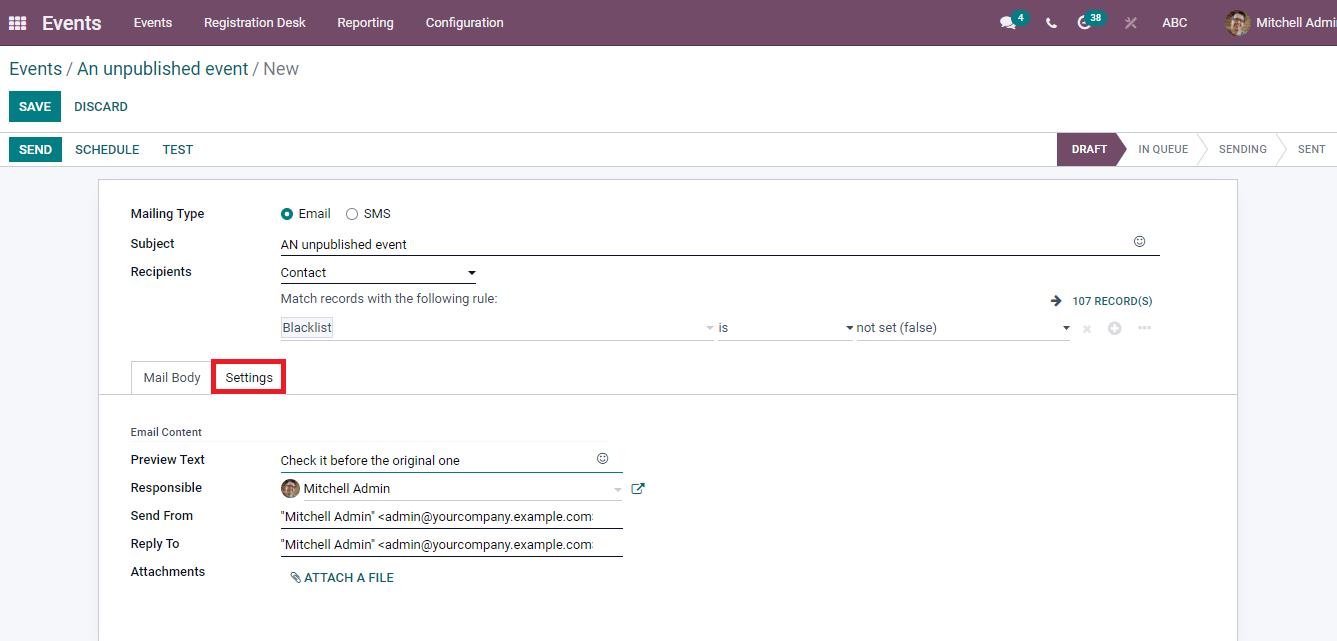
A new window shows before you after clicking on the Invite icon. Add the Subject and Mailing types as SMS/Email. Choose single/multiple recipients from the drop-down menu. Inside the Mail body tab, you can see a variety of templates and select any one template. Enter your description of the event in the Mail body section.
In the Settings tab, apply the description of your Email content. It includes Send/From address, Responsible person, Attachments, and Preview Text.
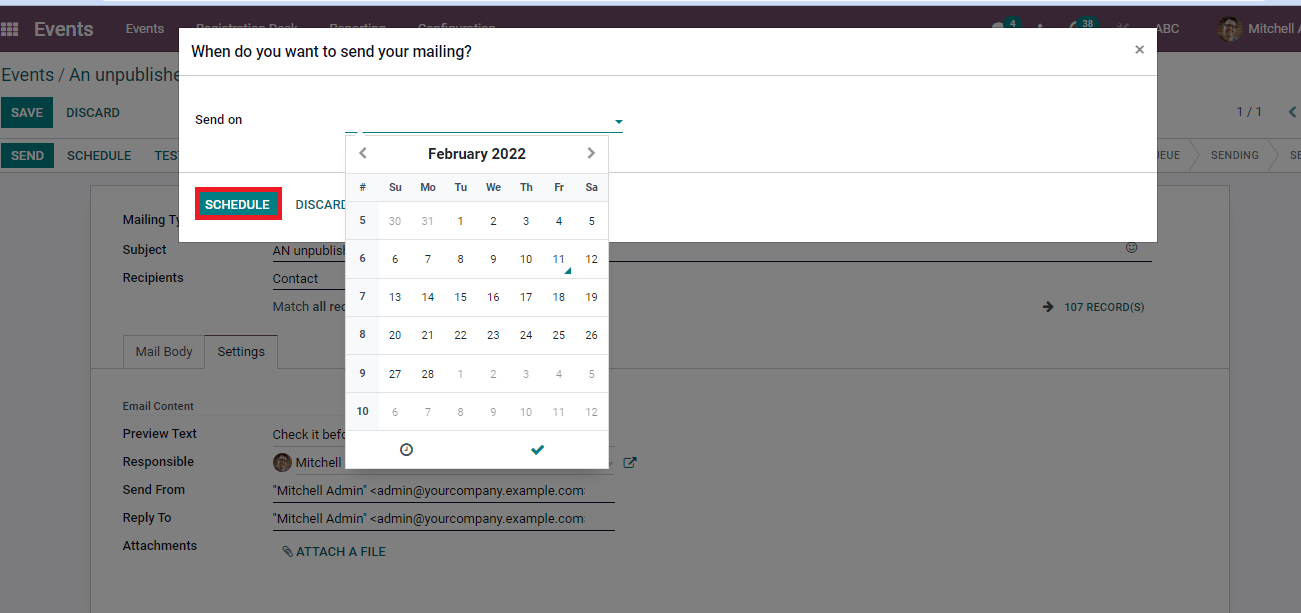
You can set a date to send the email to participants by selecting on Schedule icon. In the new window, select the date to Send the email and select the Schedule icon.
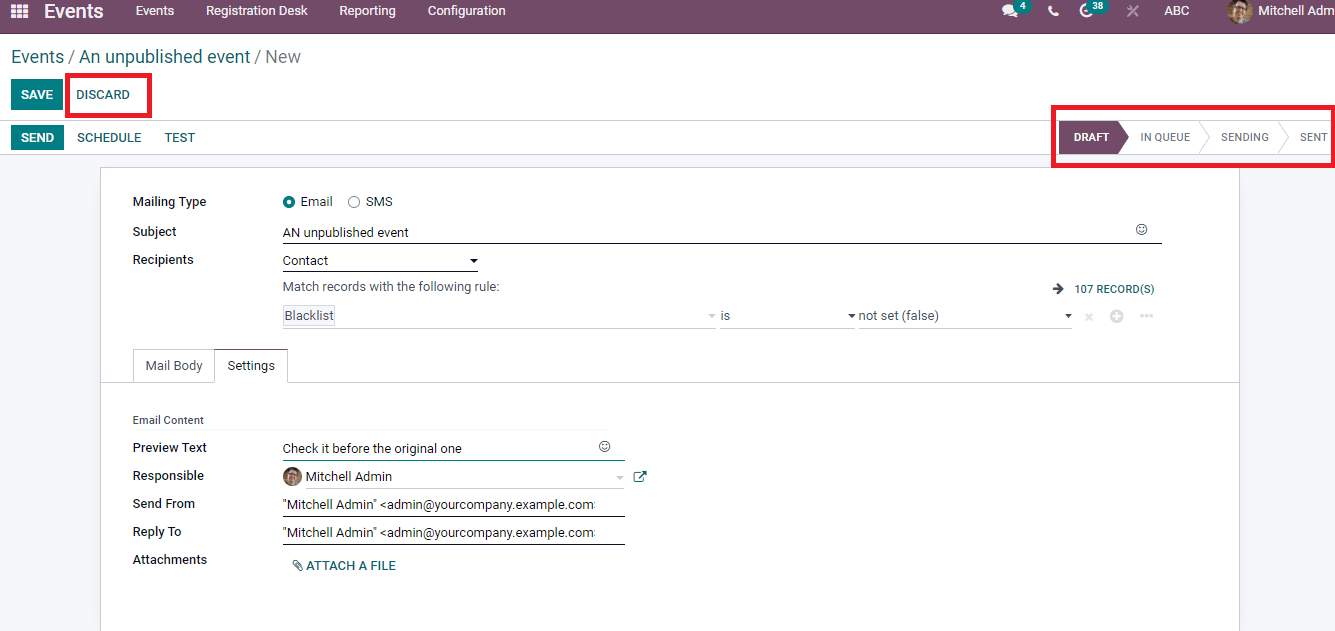
We can several stages of the process at the right end of the window and it is possible to delete the email sent by selecting on Discard icon.
Odoo is a user-friendly channel that helps users to manage events through the Events module. There are several steps to organize any program in a firm and Odoo 15 Events module makes the processing of programs easy way. Apart from these, you can create a new event and invite participants to your event through the advanced features of the Events module. We can also book an event and register the ticket to participate in the program. The ticketing process becomes smoother using the website module of your event. Hence, the users can manage all details regarding the event in an organization with the help of the Odoo 15 Events module.