Notes are important aspects of any office administration; it reminds people of various details and can be passed among each other as a mode of transfer of information. Moreover, the people allocated with the notes can contribute their own content to them and pass along. The Odoo platform knows the importance of this aspect in an office surrounding and has allocated a separate module for the purpose. The platform allows the users to create notes, minutes of meetings, to-do lists, and create customized notes variants as per the company.
The user can share the created notes with the other employees or with the customers in need. Moreover, the user is provided with the provision to create and schedule activities under the notes created thus informing the responsible to work on the details being provided. The Odoo platform helps the users to list the notes described in the platform via various views such as kanban view and list view and provide the better user interface visual aid for the user.
This blog will describe how the users can create various kinds of notes such as
minutes of meetings,
to-do lists, and
important notes in the Odoo platform.
How to create notes in Odoo?
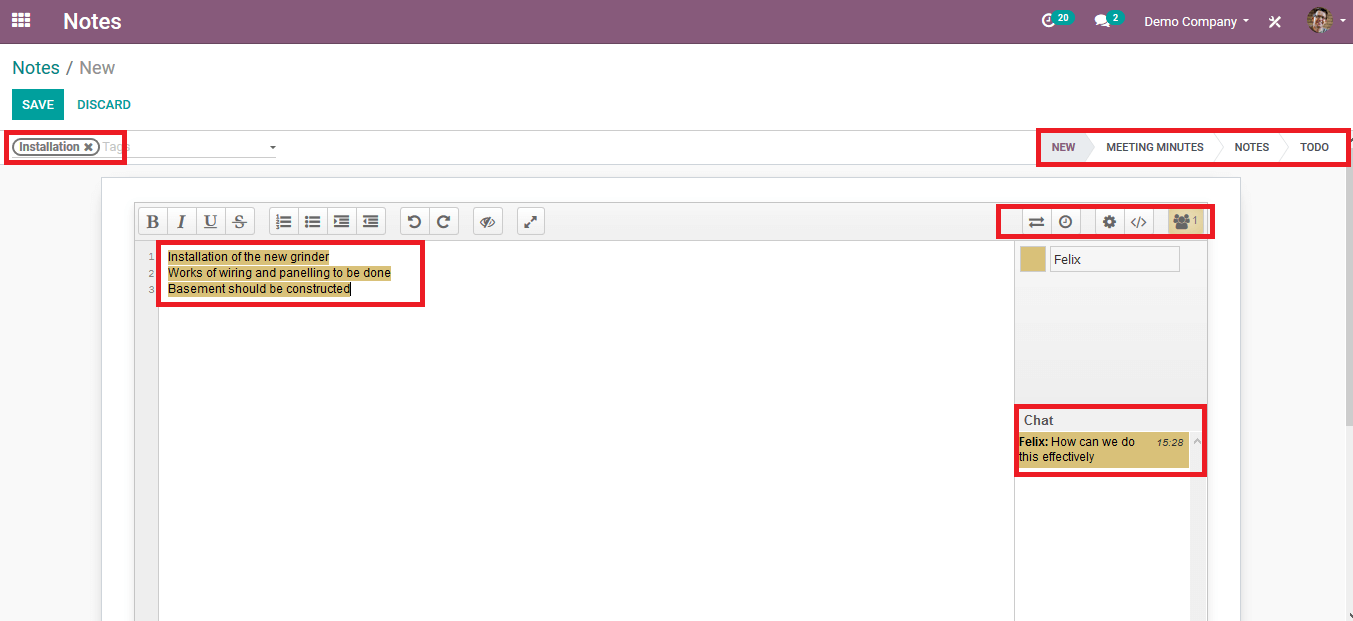
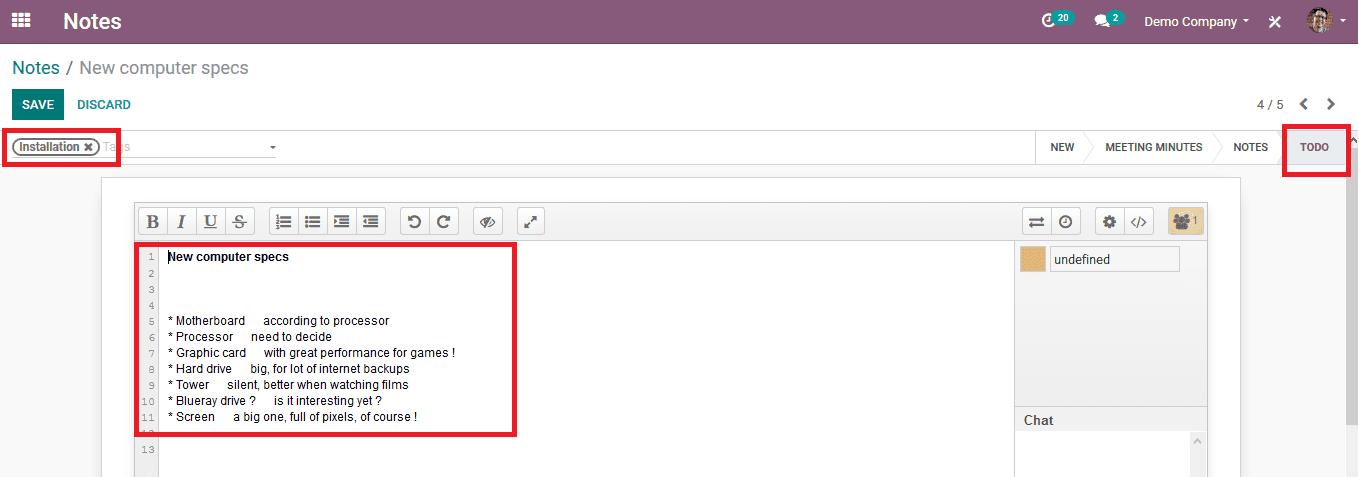
The user can create notes in the notes module of the platform and upon opening the module and selecting the option to create a new one. The option to create a window as shown below opens up where the user should initially create a tag name for the note to make the search and interface much easier.
In the description box, the user can provide all the details to be allocated in the note. The description box can be enlarged by selecting the enlarge option. All the word operations can be conducted in the description box such as setting the alignment listing out the points etc. On the top right side of the module, the user can assign the note to be a new note, minutes of the meeting, normal notes, or a to-do note.
On the top right side, there are various options available for the user in which the first one allows the user to export and import data from external platforms and export them. The clock icon option allows the user to play the description box data and view the editings done on them.
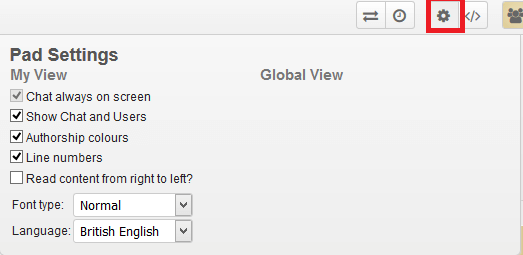
Upon choosing the settings icon available in the dashboard the user is depicted with a pop-up window as shown in the below image. The user can enable and disable various chat options and can modify the font and language.
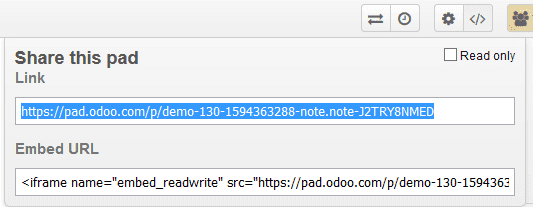
Upon selecting the share option the one next to the settings icon the user can generate the share link for note and can be sent away to other employees or customers. The user can restrict them from unnecessary editing the notes by enabling the read on feature available.
When the link to view the note is available to another employee or the customer he/ she can view it in the browser and edit them if permission is provided. Else the employee can chat with the other people allocated with the note in the chat menu.

Minutes of meetings in Odoo
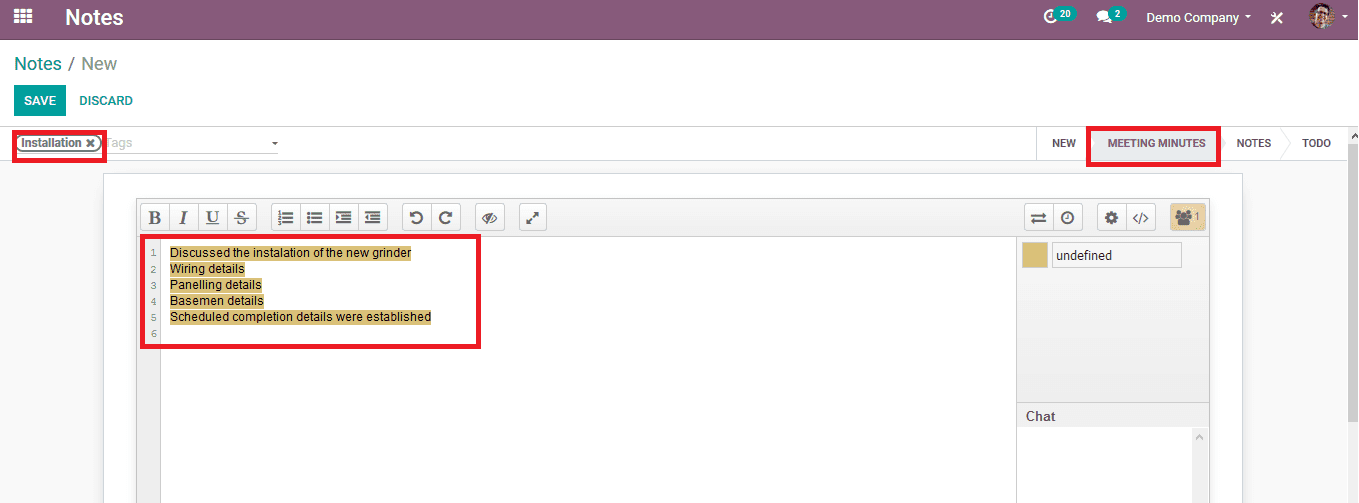
If the user wants to create the minutes of the meeting for a meeting already conducted the user can simply choose the option minutes of meeting from the top right corner while creating a note. On choosing so the note will be registered as the minutes of the meeting note.
To-do list in Odoo
At instances that the user wants to create a to-do list, he/she can do so by enabling the todo option available at the top right corner of the notes menu while creating one. Thus the note will be enlisted as a todo note.
Notes dashboard in Odoo
The below image depicts the notes dashboard, where the user can create various notes by selecting the option to create. The status of the various notes can be viewed on the colors of the Kanban view. The user can simply change the status of a note by dragging them to the respective locations. The dashboard can be viewed in kanban mode and the list view where the kanban view has more advantages and more user interface than the other option

To assign a color to the note to indicate and provide a visual representation the user can do so by selecting the note and availing the options by clicking the three-dot icon. There is also a provision for the user to delete the note.
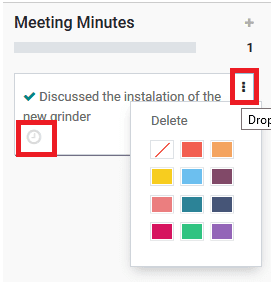
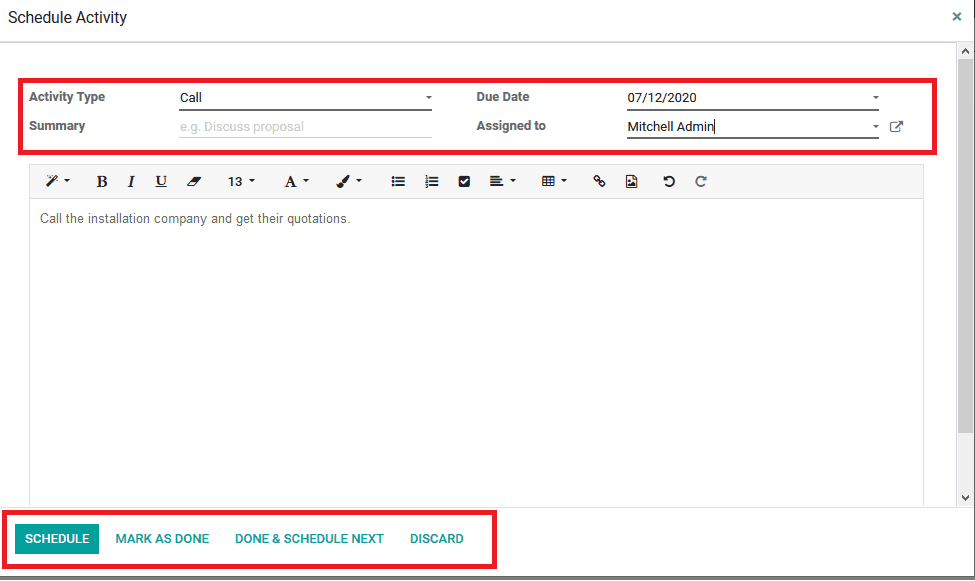
To schedule an activity the user can select the clock icon available in each note enlisted on the dashboard and select on the creative activity icon. On selecting to create an activity the window as depicted in the below image pops up.
The user can select the activity type from the listed ones such as emails, calls, meetings, etc. The user can choose one, provide a custom made description, and assign a responsible person or employee from the company to do so. Upon finishing with the description opt for the schedule option, if the finished mark as done, and to cancel the entry discard.
For all the activity types the options are the same except in case of the meetings since it should be scheduled by looking at the calendar the user is provided with the provision to select the calendar and choose an activity date. After providing the details the user can opt to open the calendar for scheduling the date and time.
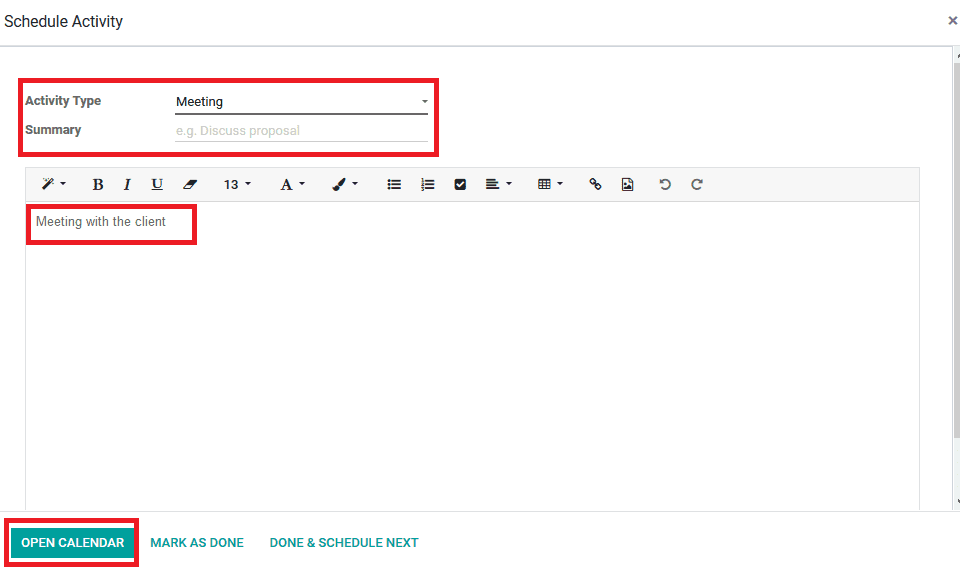
After choosing the date pop-up window appears as shown below where the user can edit the information in the summary or else discard the entry.
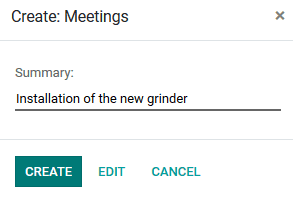
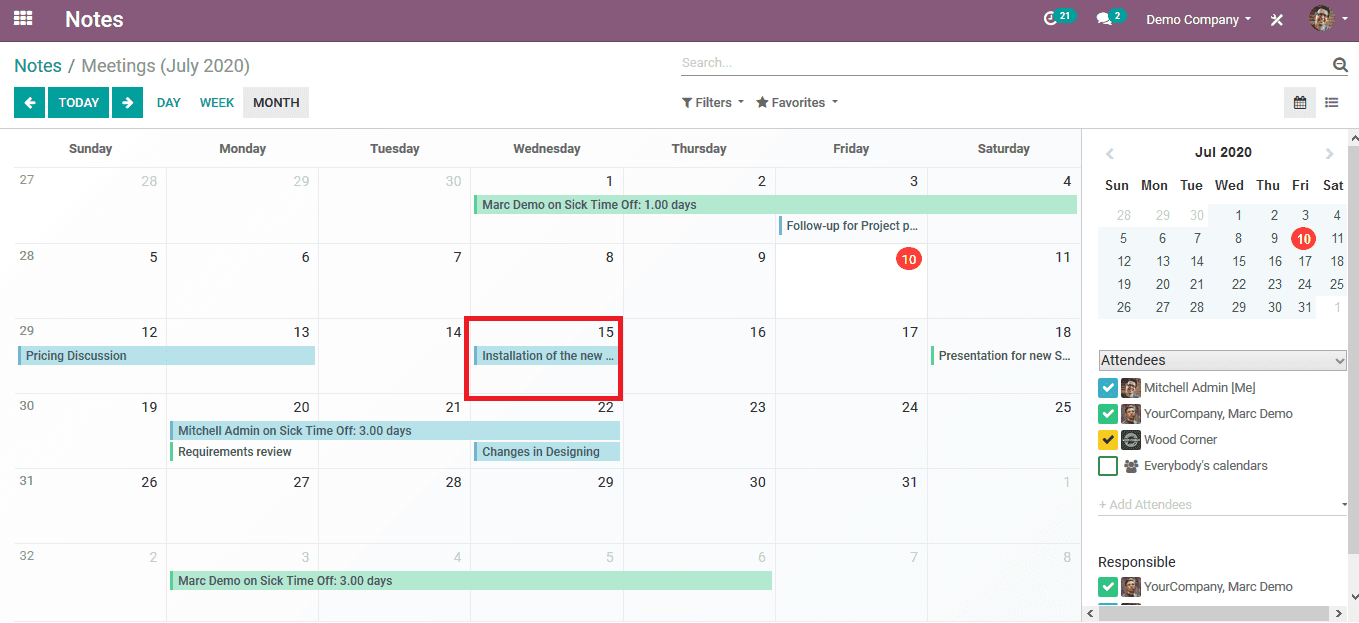
If the date is finalized and chosen it's depicted in the calendar as shown in the below image. The user can also assign the respective employees who should be attending the meeting.
The note in Odoo can be served as a multifunctional tool helping the users from passing information to notifying people of the status of certain tasks and scheduling activities. Additionally, the notes functionality can help the office administration to reduce the paper waste generated and store all the information in a secure server.