This blog helps to create snippet options. The Options allow publishers to edit snippets using the website builder UI. You can easily and automatically add snippet options to the UI by using the website build functionality.
Now here we will check how to create snippet options in Odoo 15.
<?xml version="1.0"?>
<odoo>
    <template id="custom_snippet_options" inherit_id="website.snippet_options">
        <xpath expr="." position="inside">
            <div data-selector="section.trending">
                <we-row string="Padding">
                    <we-input t-att-data-apply-to="apply_to" data-css-property="padding" data-unit="px"
                        data-select-style="0" />
                </we-row>
                <we-select string="Width">
                    <we-button data-select-class="w-25">25%</we-button>
                    <we-button data-select-class="w-50">50%</we-button>
                    <we-button data-select-class="w-75">75%</we-button>
                    <we-button data-select-class="w-100" data-name="so_width_100">100%
                    </we-button>
                </we-select>
                <we-select string="Custom Options">
                    <we-button data-select-class="new">new</we-button>
                    <we-button data-select-class="d-none">None</we-button>
                    <we-button data-select-class="custom">custom</we-button>
                </we-select>
            </div>
        </xpath>
    </template>
</odoo>
Here we can just create an XML file for creating the snippet option. Inside the XML file, we can add the template id we have to provide id for this template, and then we can add the inherit id that we have to inherit the model website.snippet_options, and adding these options inside, and under the data selector, we can specify the class or id or tags that want to apply this option. Here we can set three kinds of options ‘Width’, ‘Padding’, ‘custom options’ In the options containing width we can set up the width size of our custom snippets and choose to pad we can change the style of the snippets then we can see an option custom option it included the three kinds of selections we can simply select as likewise. Then we can check, first move on our website page and click the edit button,
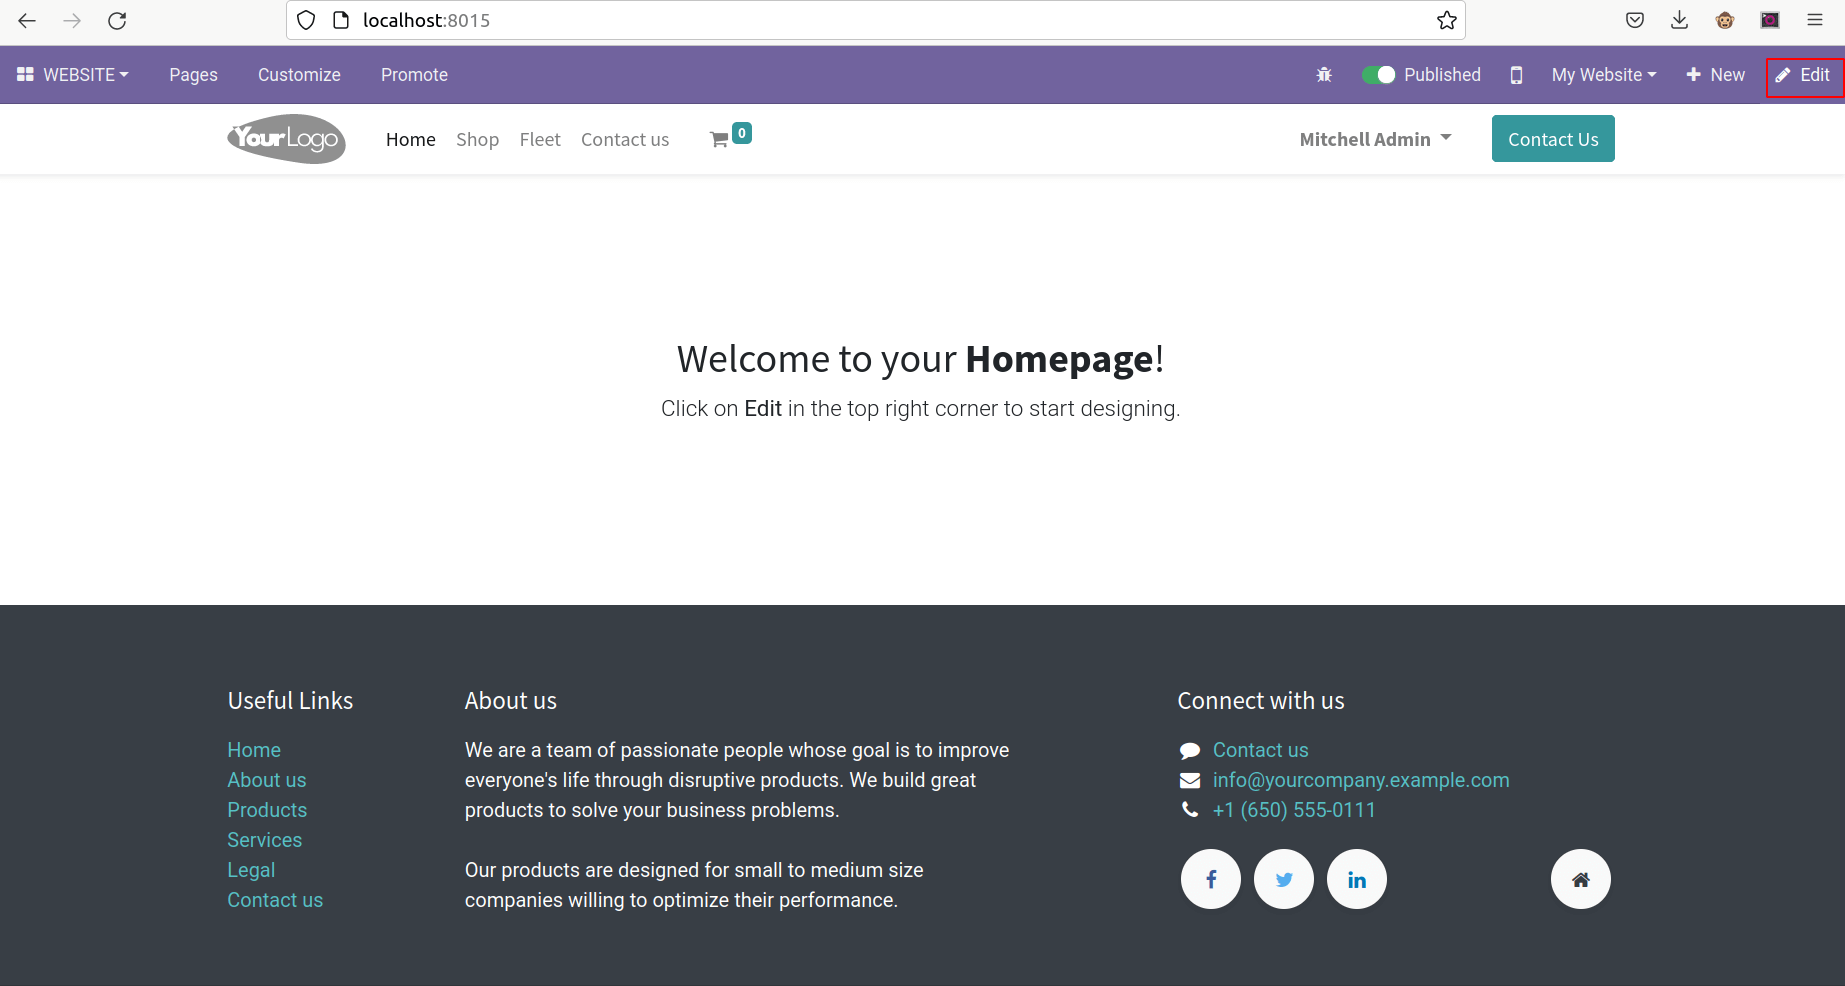
After that, we can choose a snippet, here we can see how to create a snippet. First, we can add the snippet views,
<odoo>
    <data>
        <template id="event_snippets" name="Events">
            <section class="trending">
                <div class="container">
                    <center>
                        <b>
                            <h1>Latest Four Events!!!!!</h1>
                        </b>
                    </center>
                </div>
            </section>
        </template>
    </data>
</odoo>
Then add the custom snippet, here we can create just a custom snippet, likewise, we can customize our snippets.
<odoo>
    <data>
        <template id="custom_snippets_web_snippets" inherit_id="website.snippets" name="Custom Snippets">
            <xpath expr="//div[@id='snippet_structure']" position="inside">
                <div class="o_panel_body">
                    <t t-snippet="snippet_option.event_snippets" />
                </div>
            </xpath>
        </template>
    </data>
</odoo>
Now we can see our custom snippet, we can drag and drop our custom snippet here.
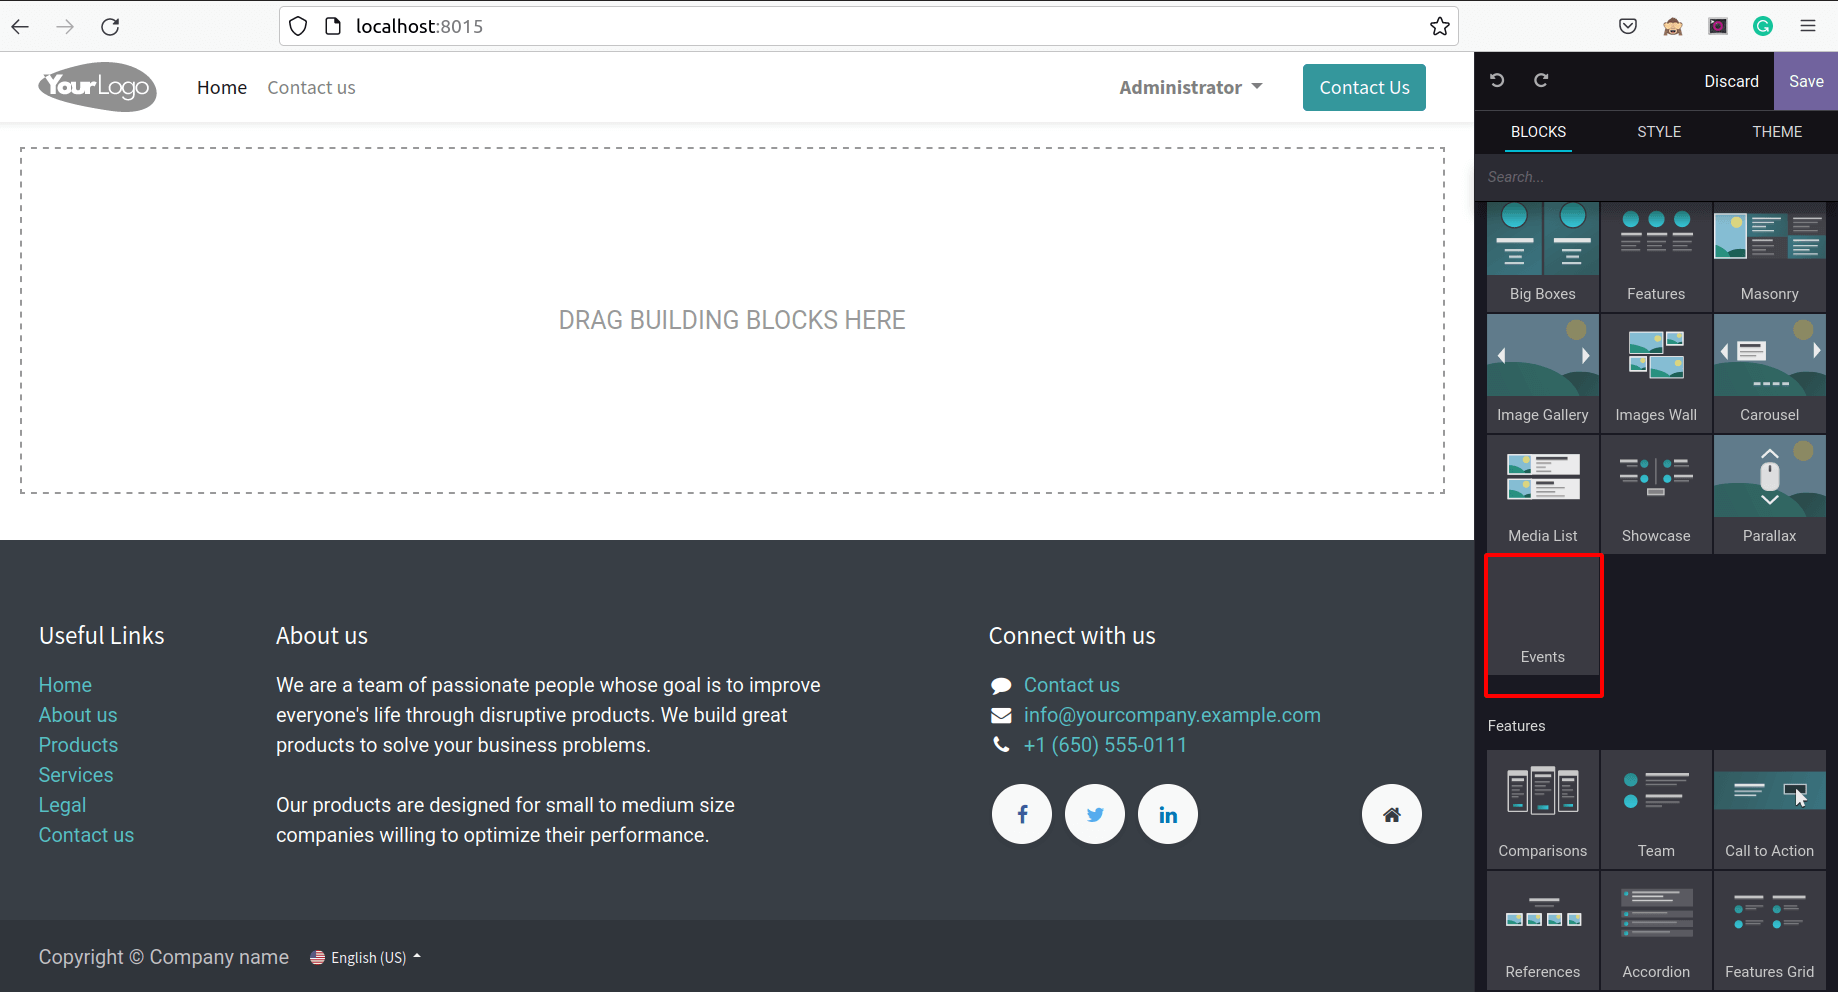
Choose our custom snippets.
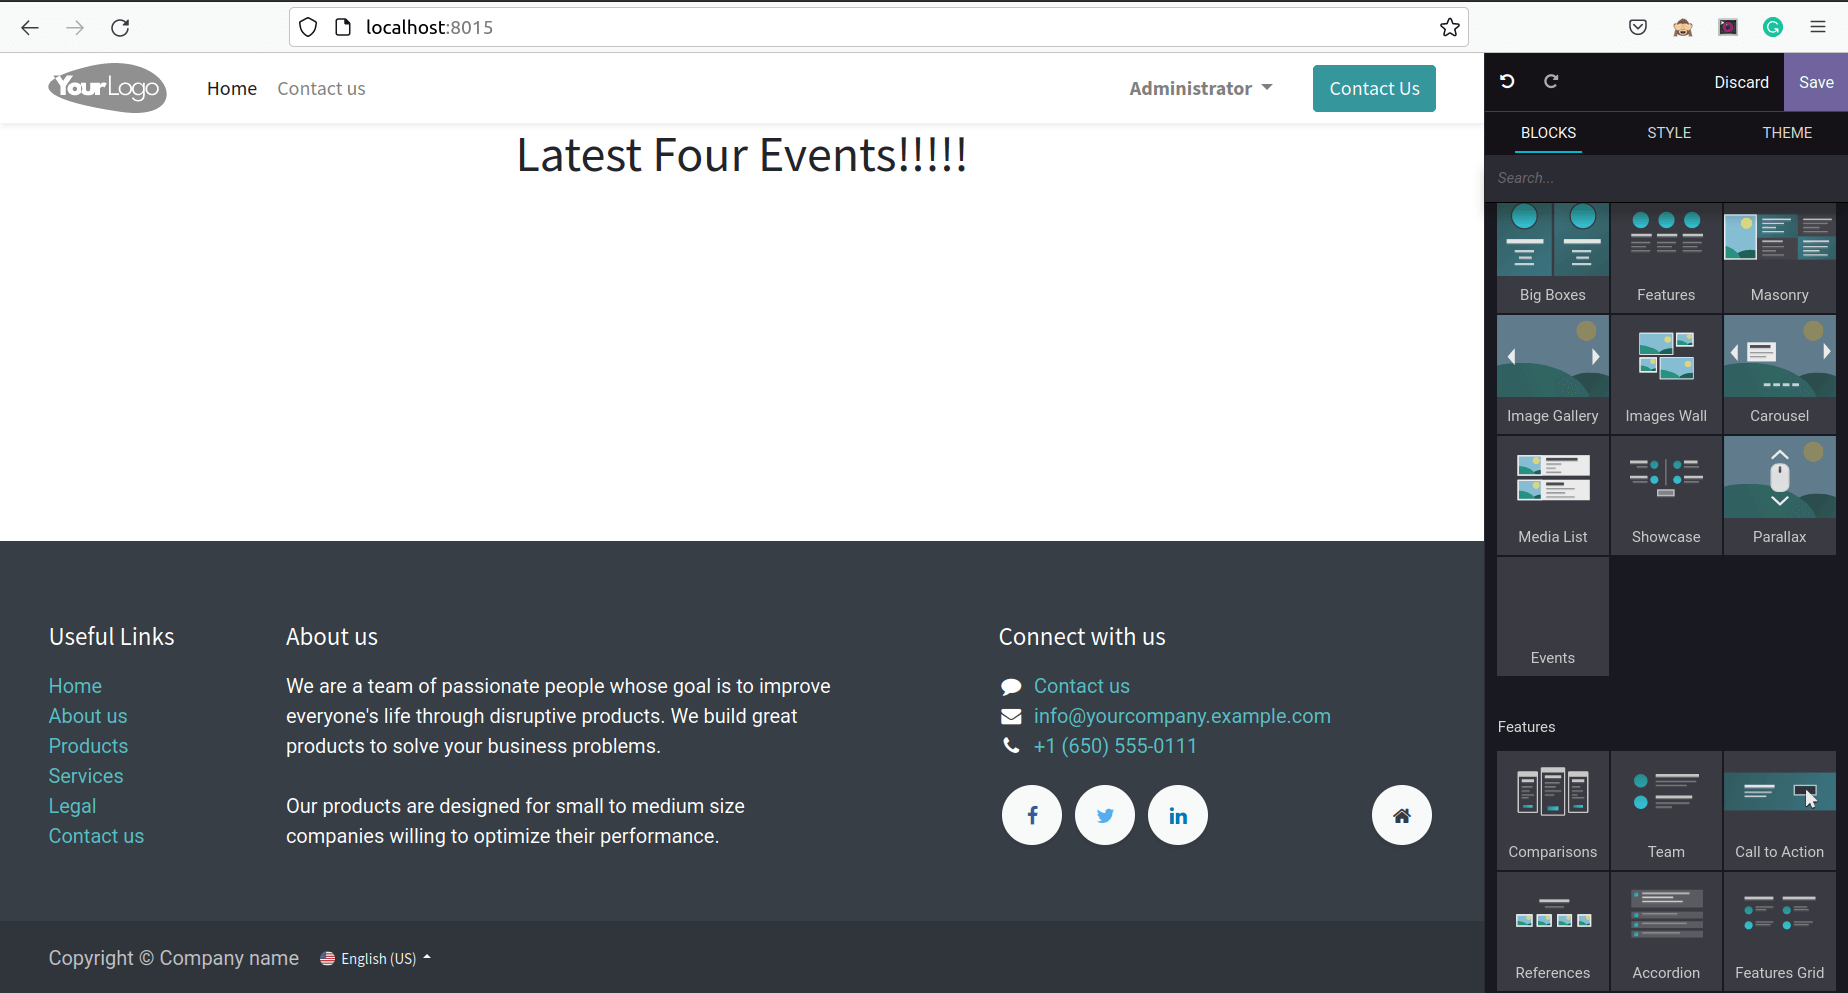
See the snippet option in the below screenshot.
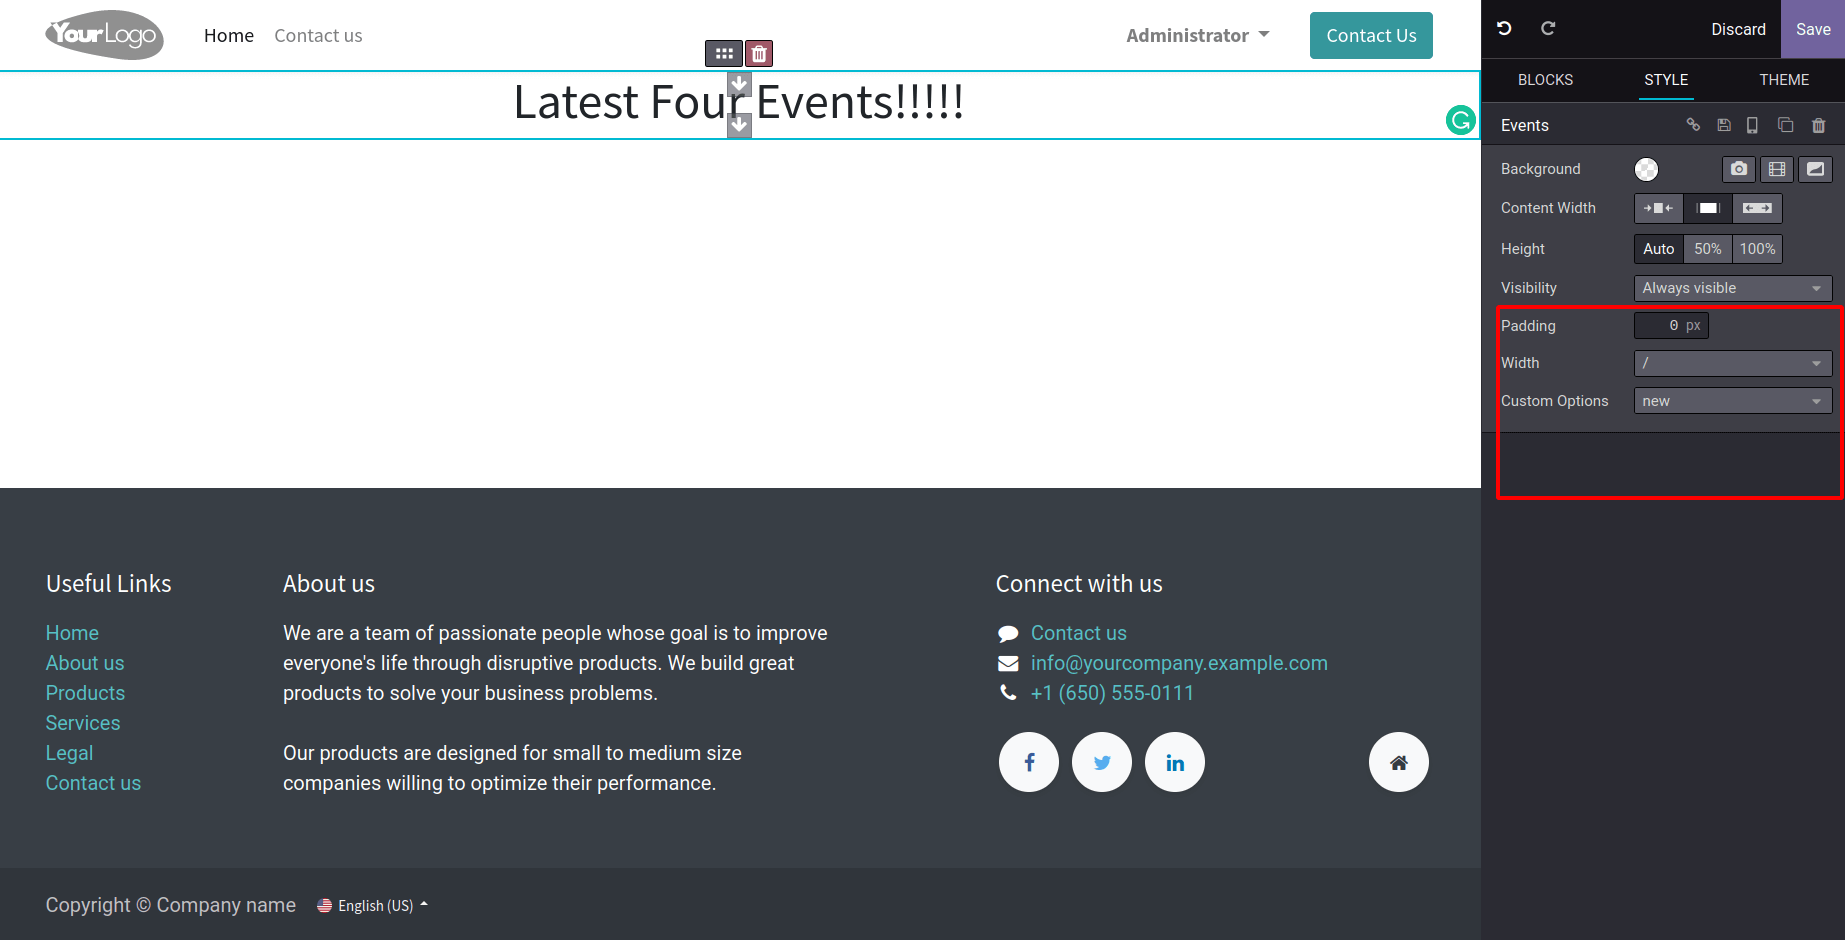
These are our snippet options, here we can see the width, padding, and custom options for designing our custom snippets.
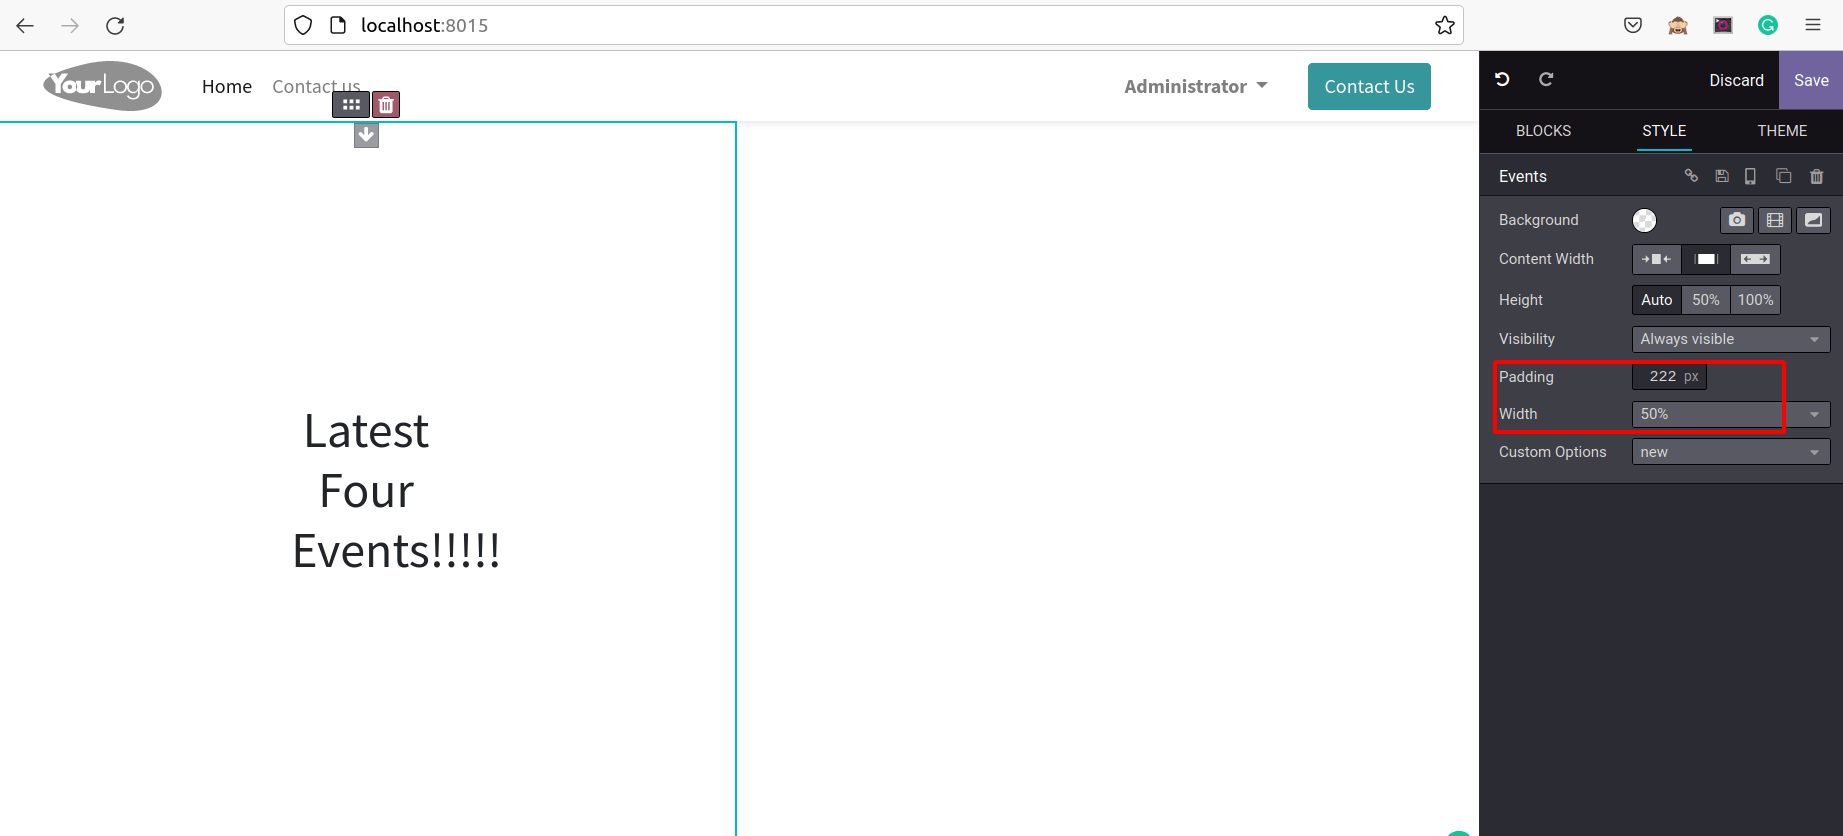
Here we can set the padding and width of the snippets, and then we have another option ‘custom snippets’.
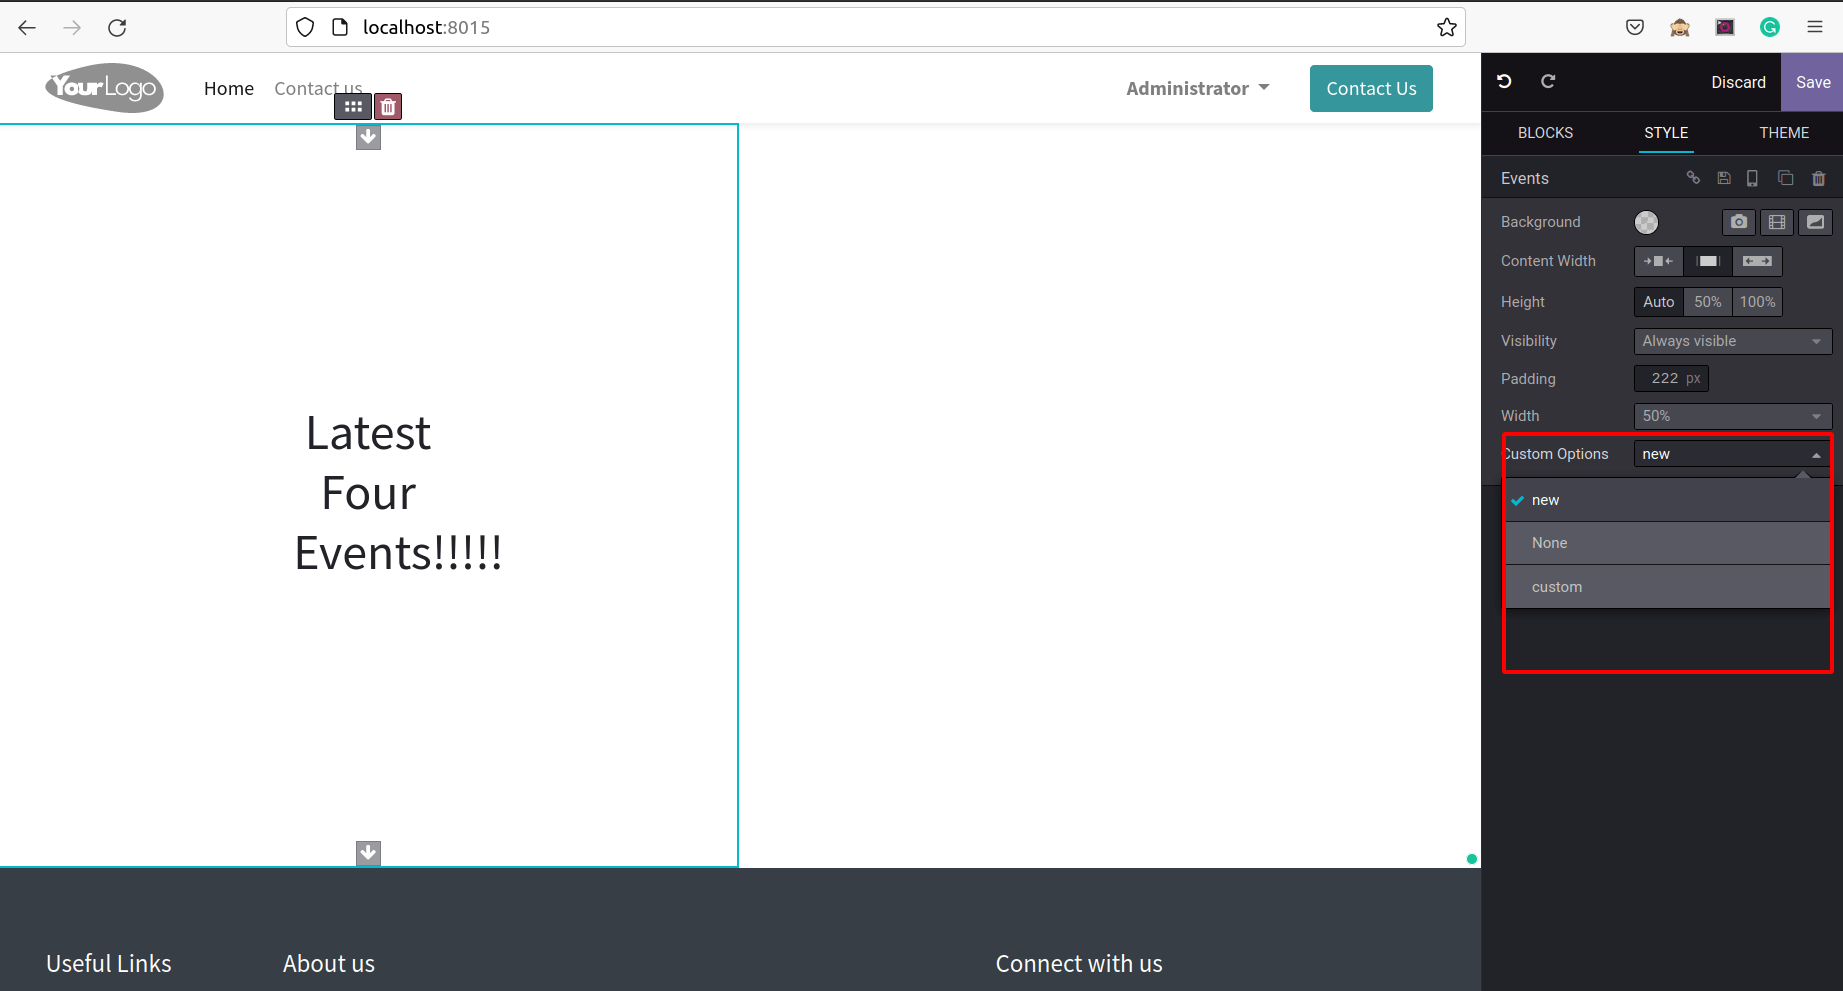
Here we can simply select one by one. We can choose the design and likewise will be changing the style of the snippets. Additionally, Odoo offers a Website Builder tool that allows us to create a unique website that meets your unique business needs. But one may also quickly add snippets by using the drag-and-drop feature, which makes the entire Odoo application more user-friendly and adaptable. We might need to add some additional features in addition to the default ones we already have depending on our business circumstances. The user can change the way the snippets look by using the snippet options. You can also include your own alternatives.