The Odoo ERP solution made the processes of creating and organizing events easier than ever. In the field of business, conducting various events is essential to engage with customers and the audience. It helps to generate recognition for your company and you can make use of such events to create new business opportunities and partnerships. This will be also helpful in marketing your company's product as a part of a new business strategy. As you can see, several business conferences, seminars, cultural activities, and charity programs are being conducted by different organizations to grab the attention of potential customers.
Using the Events module in Odoo, a company can effortlessly manage all the activities related to the implementation of an event. In the case of organizing the events within a company, the responsibility is high. The event management team in a company often finds it difficult to manage all the steps in carrying an event successfully. But the Odoo events module reduced all these stresses by introducing easy steps to create and publish events. Once you publish your event details on the website, you can sit back and relax because Odoo automates booking tickets online and sending confirmation emails and reminders to the participants.
We have already discussed how to create a new event and arrange tickets to the event in our earlier blog 'Creating New Events in Odoo Events Management Module'. If you want to learn more about the creation of a new event by using the Events module you can refer to the above-mentioned blog using the following link:
In this blog, we will describe how to publish the event on the website and invite people to the newly created event in the Odoo Events module.
After installing the module, you can use the 'Create' button given in the home dashboard of the Events module to create a new event as shown below.
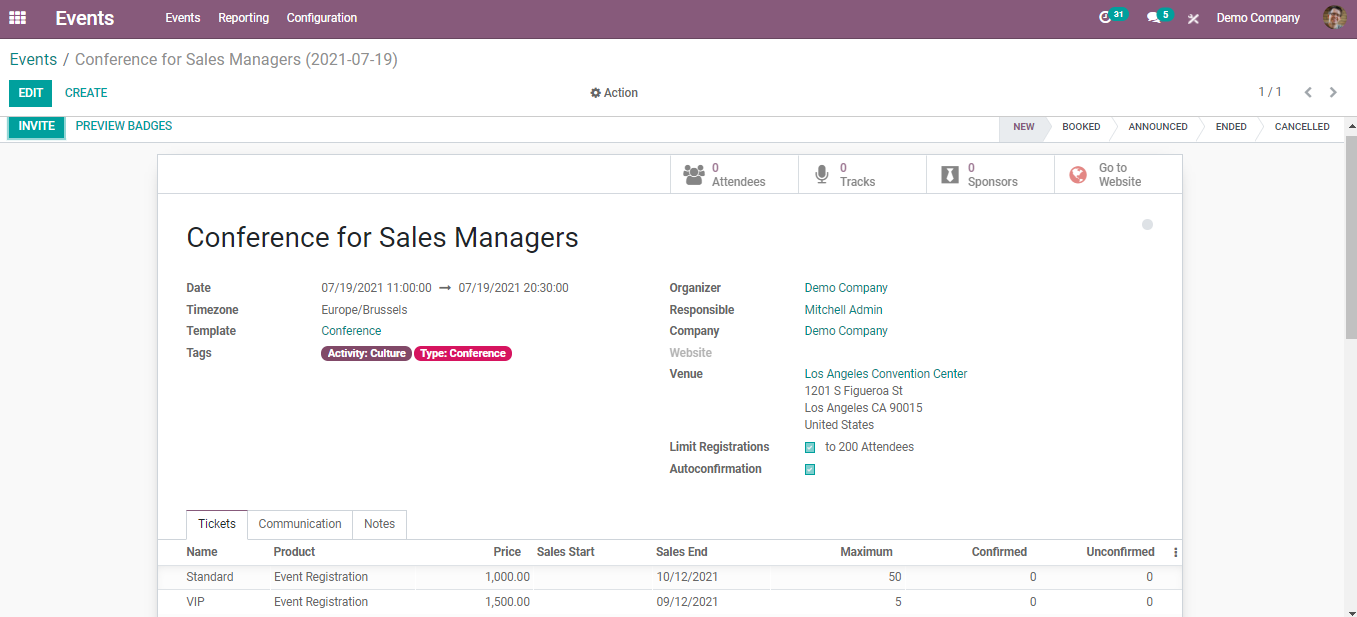
Publish on the Website
After creating a new event, all you have to do is publish the event on your Odoo website so that people will be able to register their booking for the event. To do so, click the 'Go to Website' option.
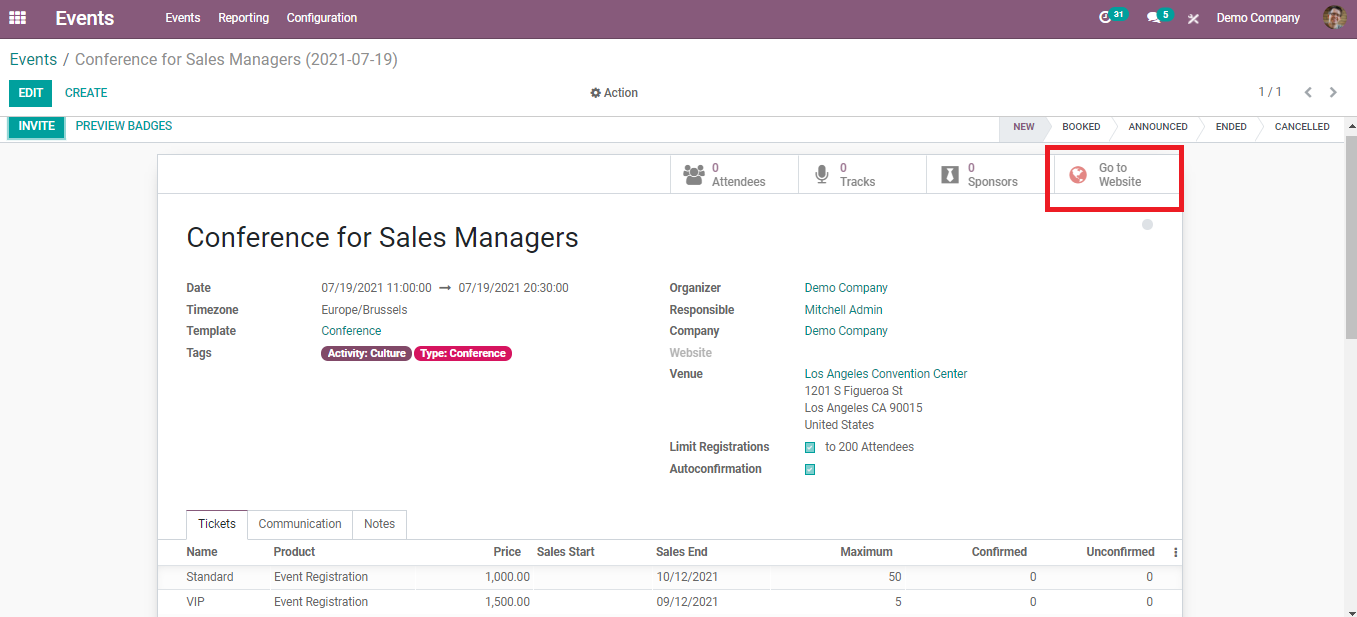
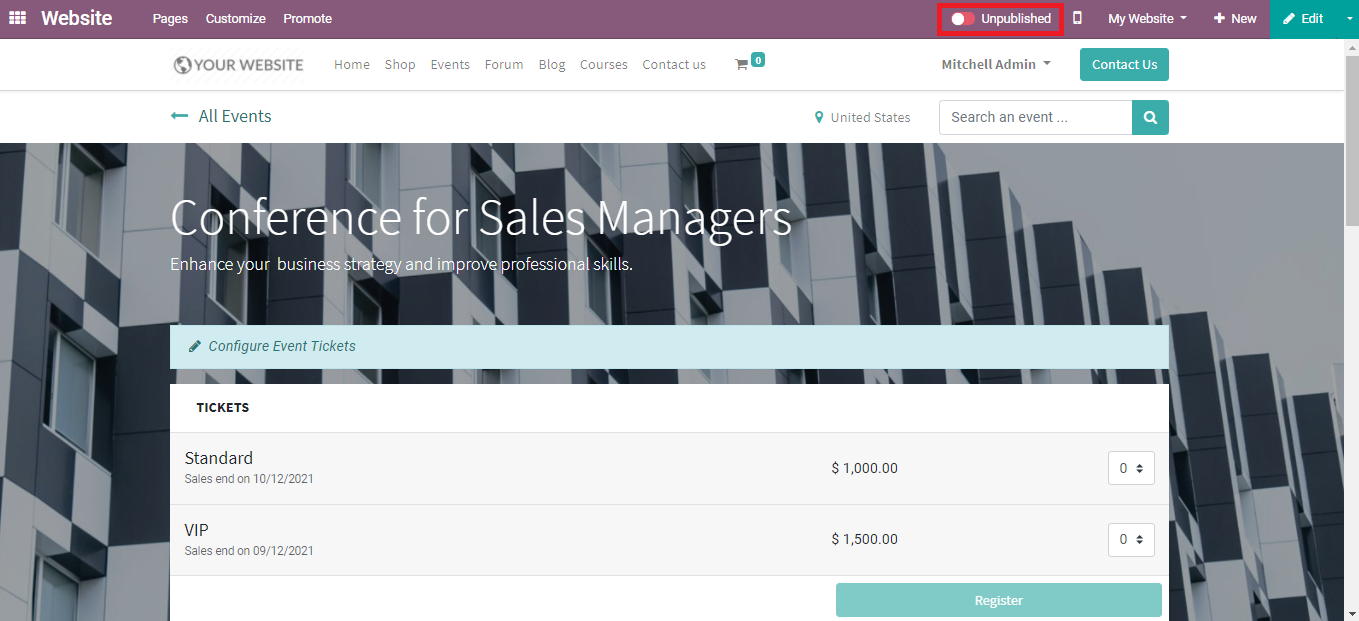
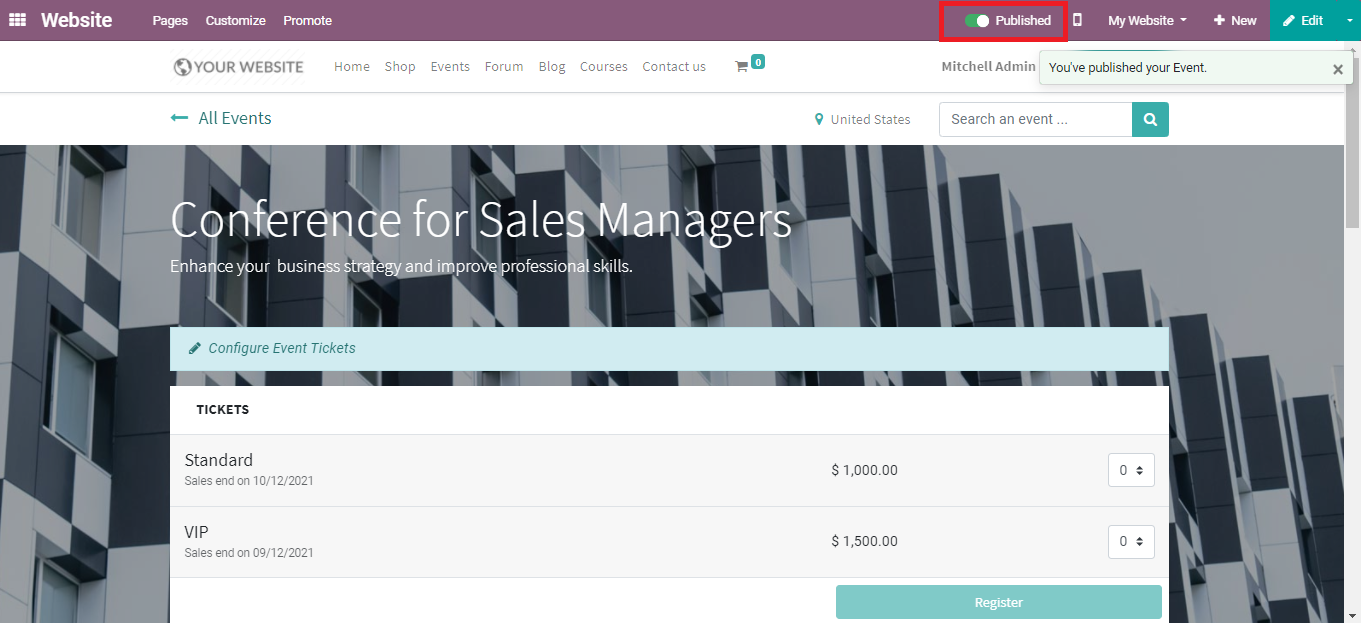
This will direct you into the window of your Odoo website where you can see the detailed view of your event. The status of your event is shown as 'Unpublished' and change this into 'Published' by clicking on the respective buttons.
Unpublished:
Published:
You can also enhance the website view by using the edit option available on the screen. Click the 'Edit' button to change the web page display.
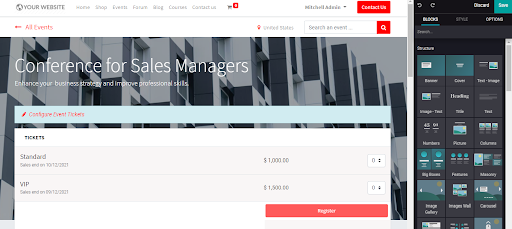
You can edit or change the content inside the web page view. Using the editing tool given on the right side of the screen, you are able to edit the format, style, title, banner, and everything else to improve the view.
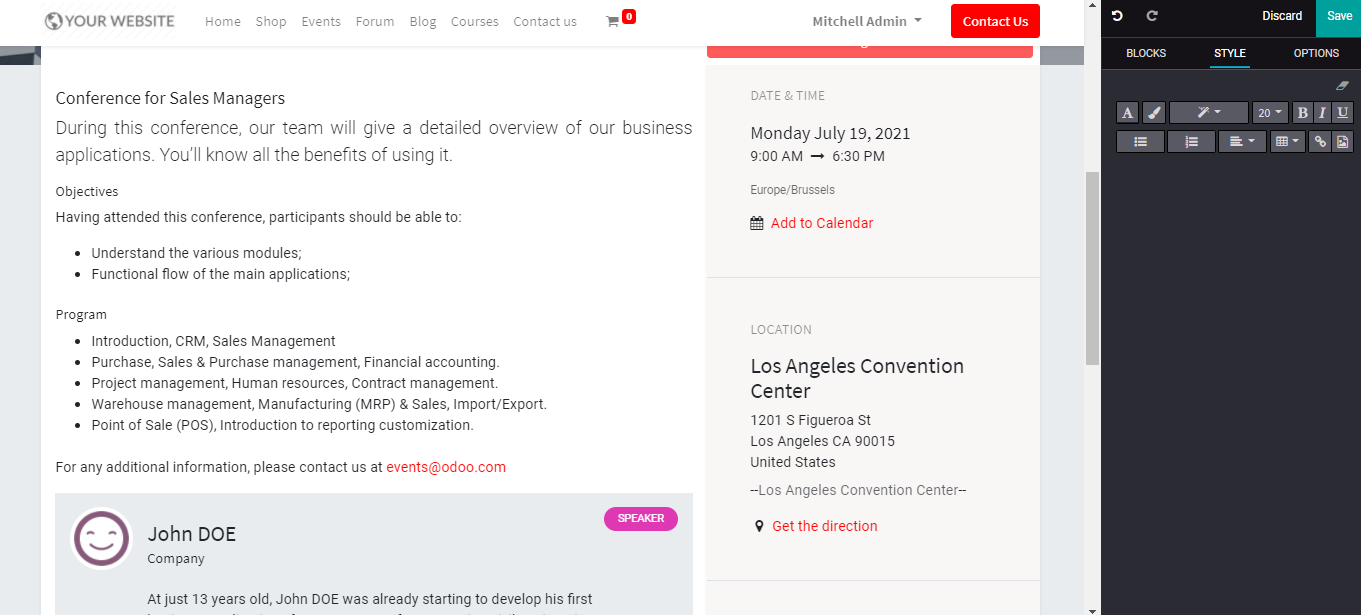
Change the font style, size of the text, and adjust the alignment according to your need. After adding changes to the website page of the event you can save the edits.
Booking an Event
The Odoo website includes the list of all published events under the 'Events' tab.
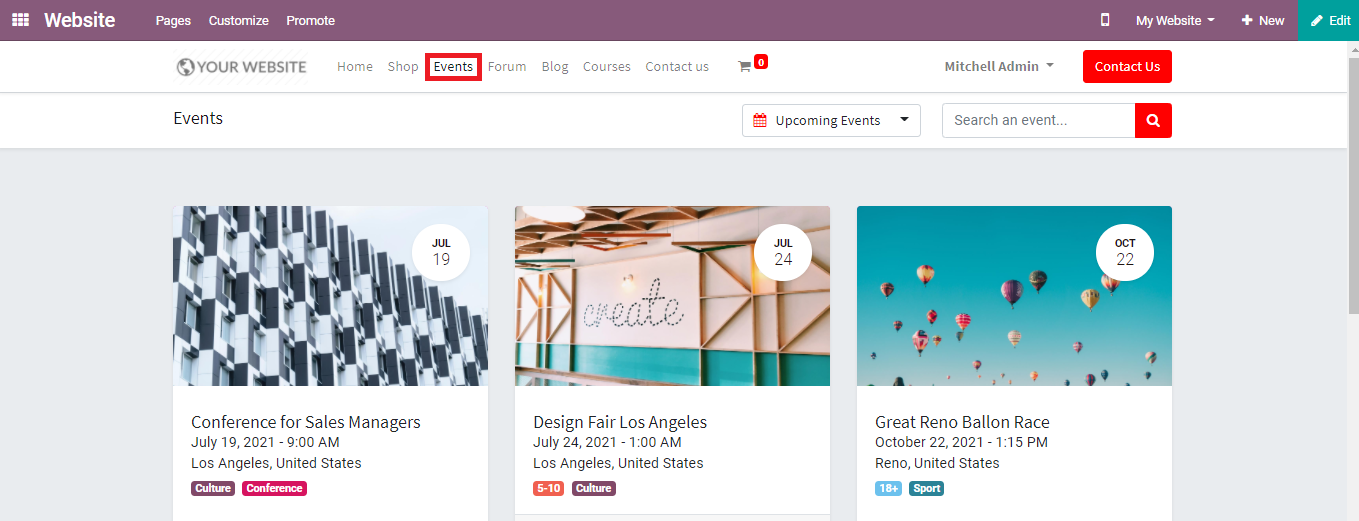
If you want to participate in an event or book your registration for an event, you can select the event from the Odoo website and click on the 'Register' button. Before that, you have to select the ticket type and the number of the tickets. Here, you can see two types of tickets are available, Standard and VIP. You can select the type of tickets that fits your budget.
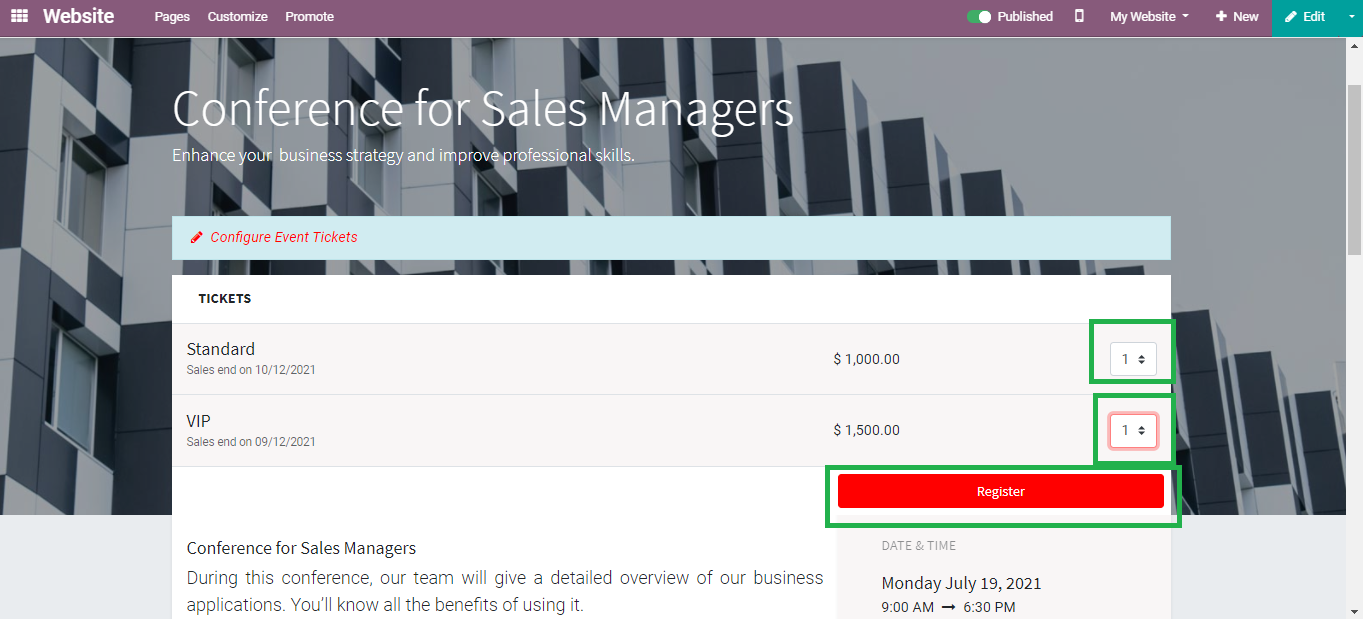
A pop-up window will appear after clicking on the 'Register' button. You have to type your name, email address, and phone number. If you have selected more than one ticket then the pop-up window will include as many forms according to the number and type of the tickets you have selected.
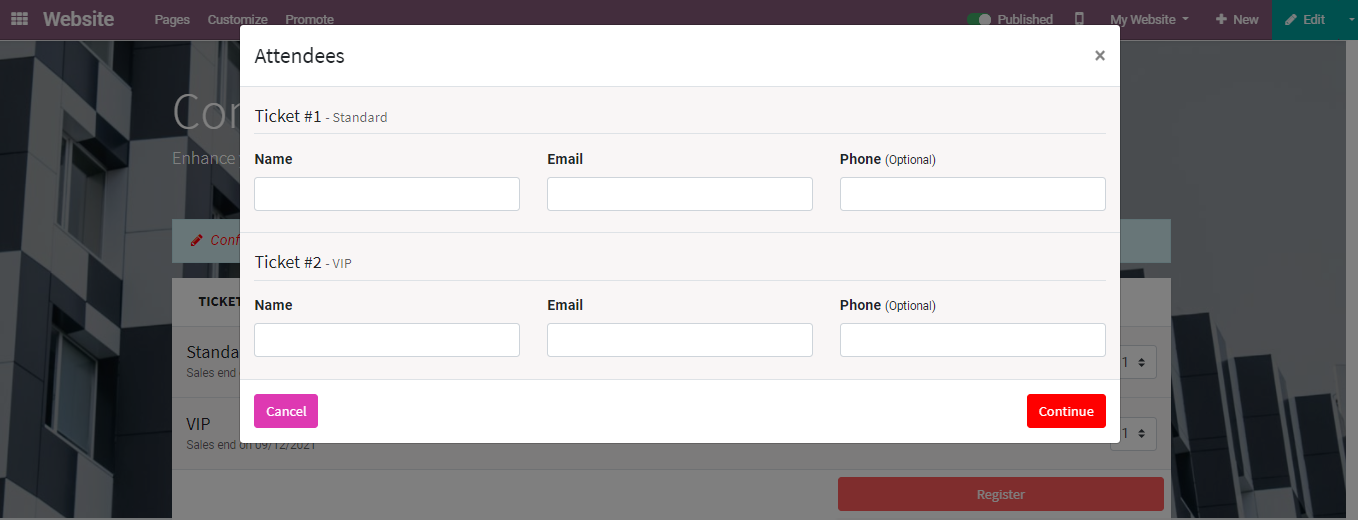
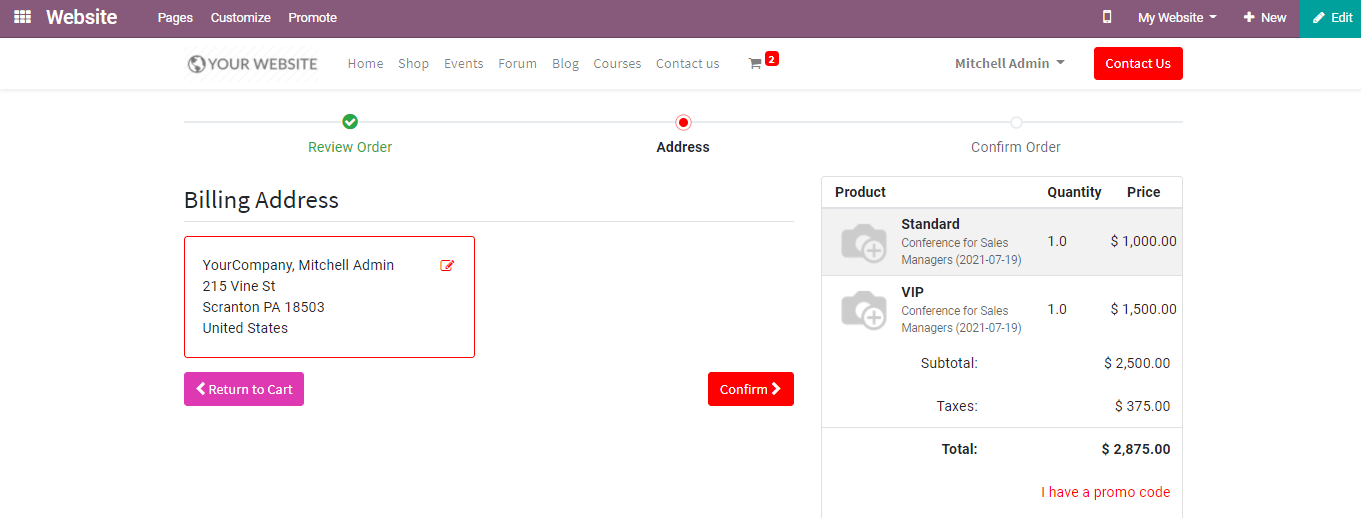
Clicking on the 'Continue' button will lead you to the payment procedures. You have to confirm the billing address to continue the payment process
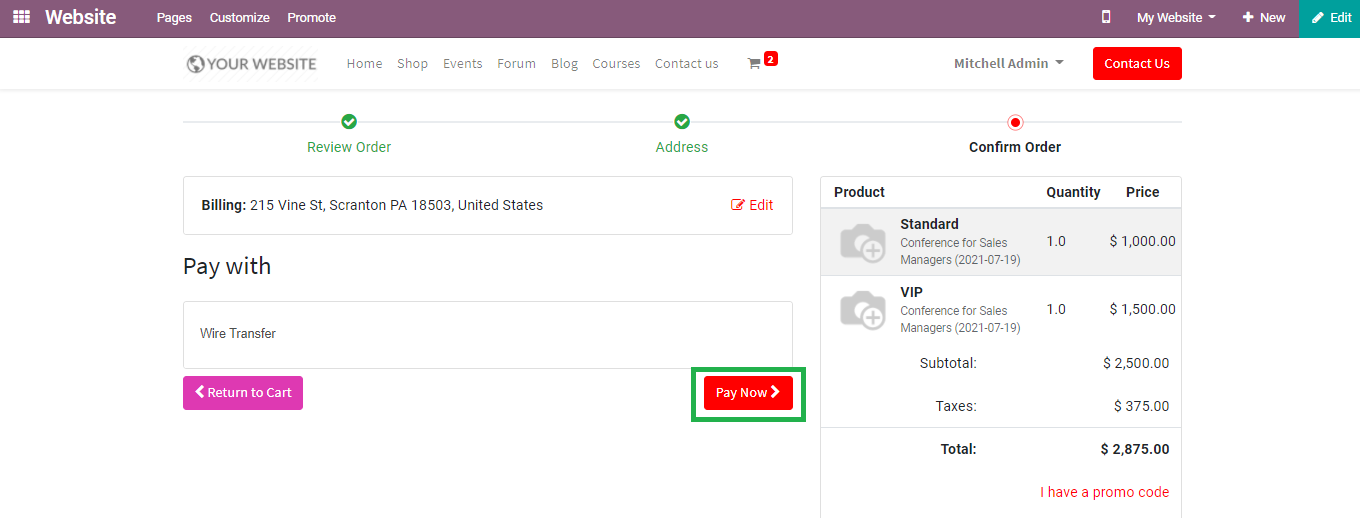
You can select your payment methods and click on the 'Pay Now' button to confirm your order as shown below.
You can see it as 'registered' on the respective event which confirms your registration for the event.
When you go back to the Events module the registration details will be automatically integrated into the module. On selecting the respective event you will get the number of attendees registered for the event and sales of tickets.
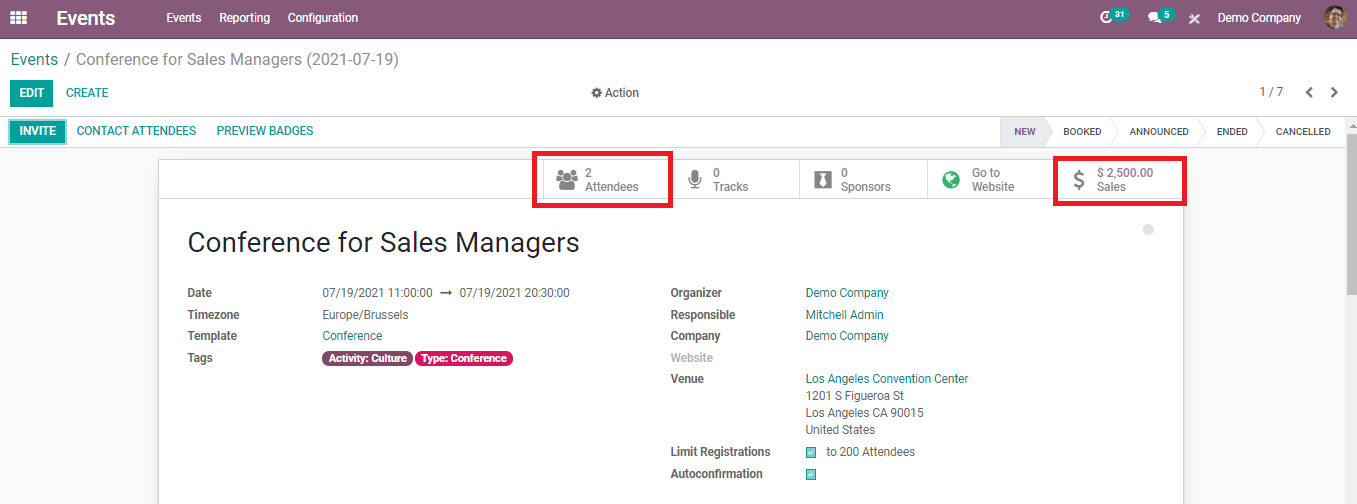
Clicking on the 'Sales' and 'Attendees' will give detailed data if the registration respectively as shown below.
Sales Order:

Attendees:

Here you select a customer to get more details about their registration.

If you want to edit the form you can select the 'Edit' option or if you want to create a new registration form for an attendee, choose the 'Create' button.

On creating a new attendee you have to mention the Name of the Attendee, Email, Phone, and Mobile number. In the event information field, there are fields to add the event name and type of ticket you choose.

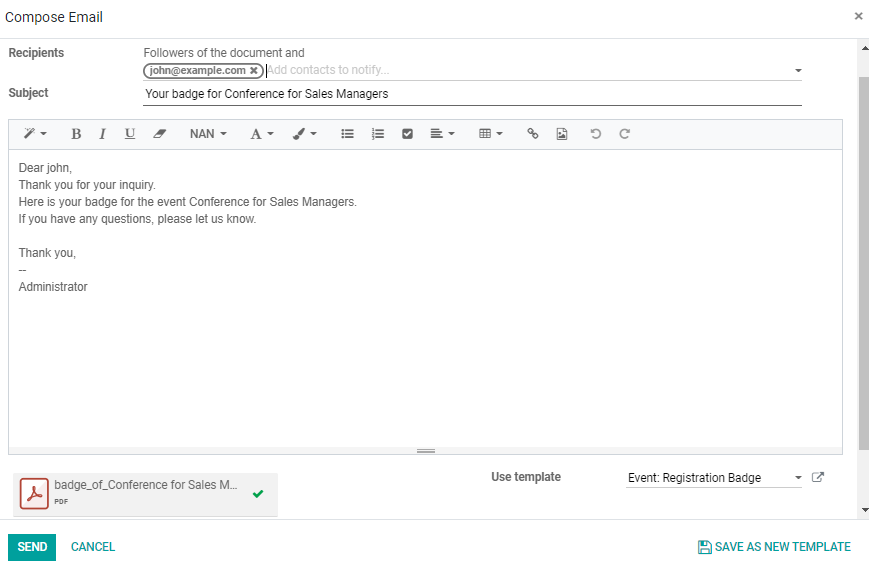
This page also includes options to cancel the registration and mark the event as attended. Clicking on the 'Send by Email' will allow you to send badges to the events for the registered customers.
Inviting Participants
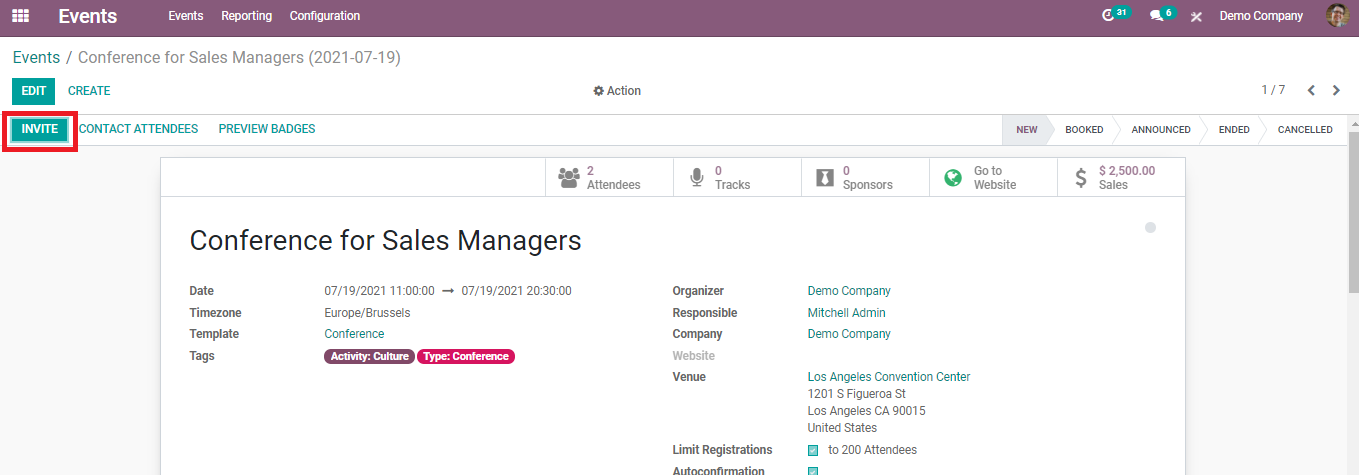
It is easy to invite participants and send mail to them using the Events module. On the main page of a published event, you can see an option called 'Invite' which helps you to invite customers to the particular event.
Click the 'Invite' button and you will get a mailbox to add a subject, preview text, and name of the recipient. You can select multiple recipients to send this mail. You are allowed to select the mail body from the given choices.
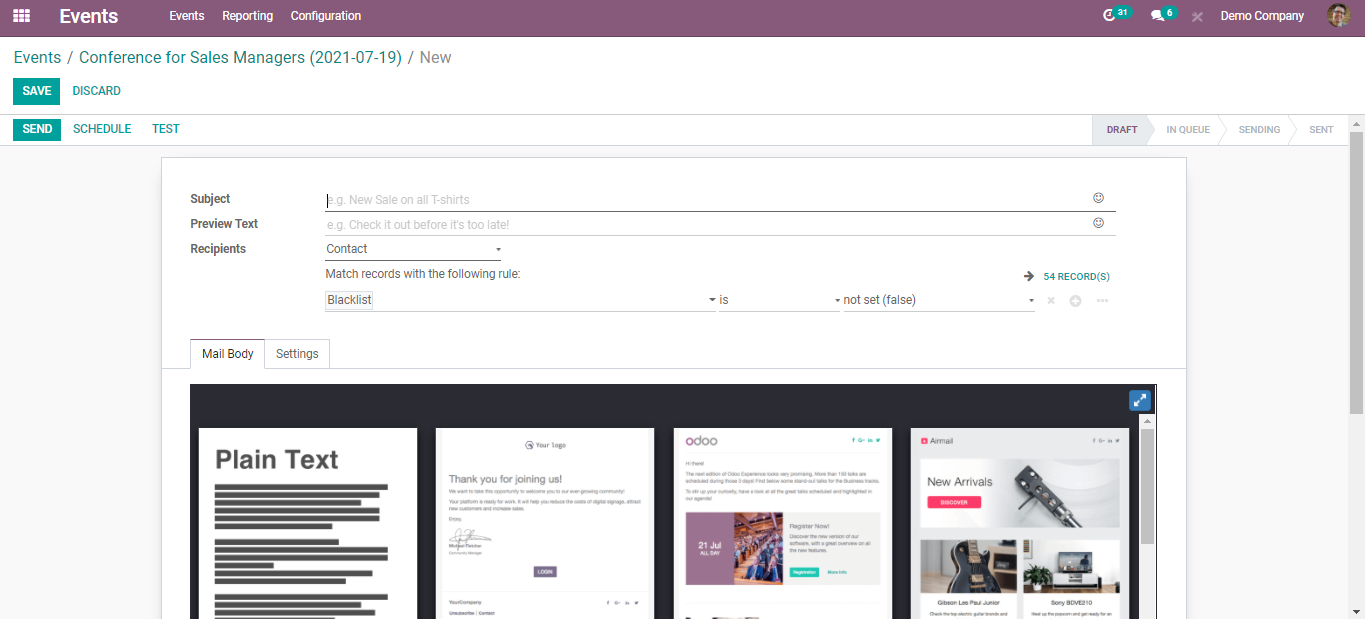
This module also enables you to schedule a time to send the invitation mail to the customers. This option can be seen in the invitation mail window.

Set a time to send the mail and Odoo will automate the sending procedure. The Events module simplifies the process of publishing and booking events by integrating with the Odoo website.