Managing the day-to-day expenditures of the company workers has never been a simpler task. Be it the travel expenses, office supplies or other employee expenses. The Expense management in any company helps to record their day to day expenses so that they can analyze them in order to increase the revenue of the company and for reducing company losses.
Sometimes the expense may be taken from the employee on behalf of the company and they reimburse the payment to the employees in a particular period of time. Keeping a record of the expense is necessary.
Obtaining all bills and expense requests from your employees are created and verify or reject them in a single click can be done by Odoo.
Recording expenses can be done in two ways: either employee can create the expense and send it to managers for approval through their portal or else they can manage them by sending mail.
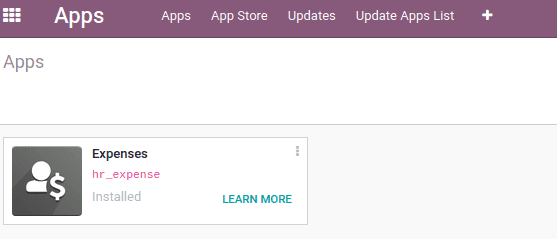
Firstly install the Expense module from Odoo apps store.
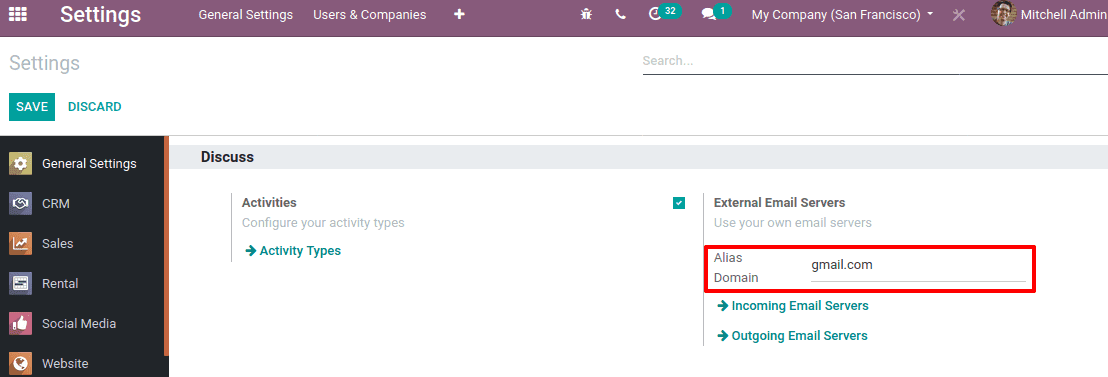
To create an automatic submission of expense, first, we have to set an email alias to receive expense mails and an incoming mail server.
Go to settings > Discuss, Add the Domain Alias and save changes.
After that Go to Expense module > Configuration > enable Incoming Emails.

Add the Alias email id in the specified field and save. So all-expense emails sent by the employee to this mail id will create an expense record.
Only authorized mails are accepted in order to evade security concerns. Employees with the correct information and a working email will be accepted and in order to select the product and prices from the mail, the email needs to have a written format also.
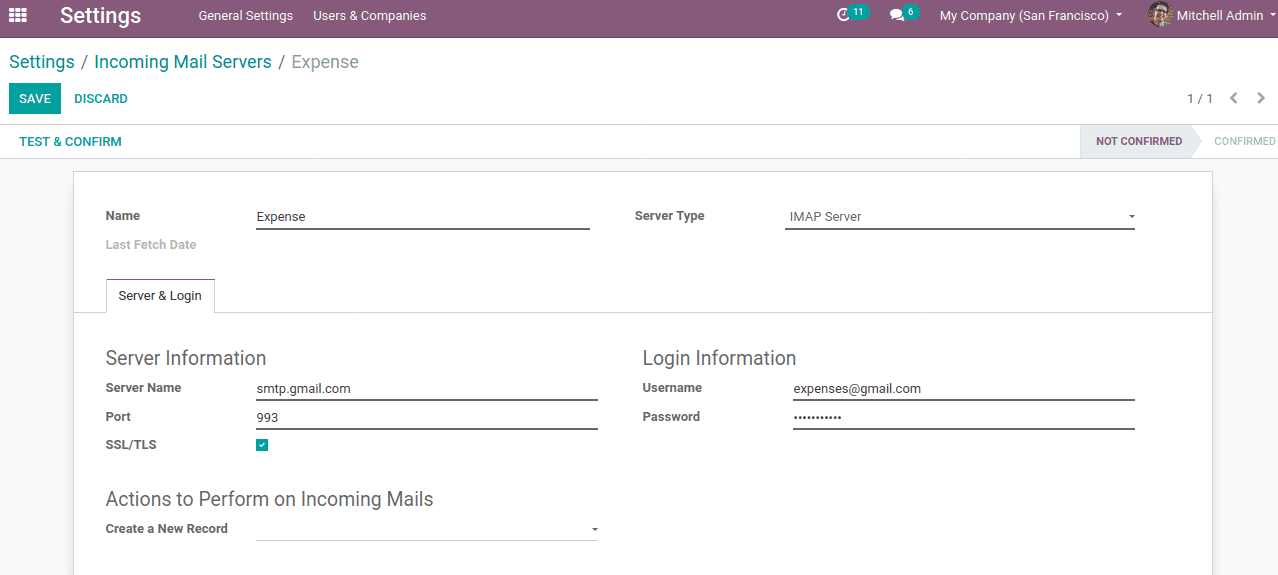
Set up the incoming mail server
Activate developer mode and set incoming mail server, Settings > Discuss > Incoming Email Server.
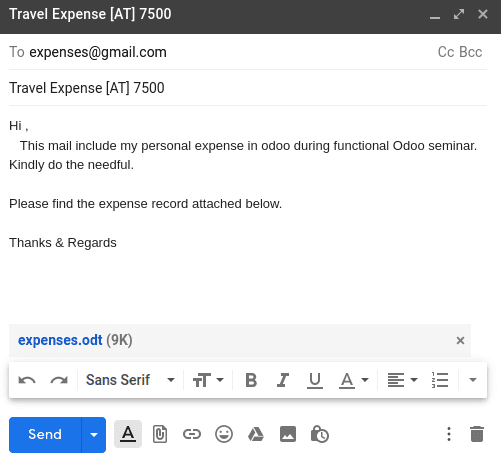
While creating an email, we should ensure that to include the internal reference of the expense in the subject content. So that the expense product can be easily identified. Mail with the correct subject may create an expense record in the submitting state.
Thus a corresponding record is generated in the expense. AT stands for the internal reference of the product. You can find the expense record under ‘To approve’, whose current status is submitted.
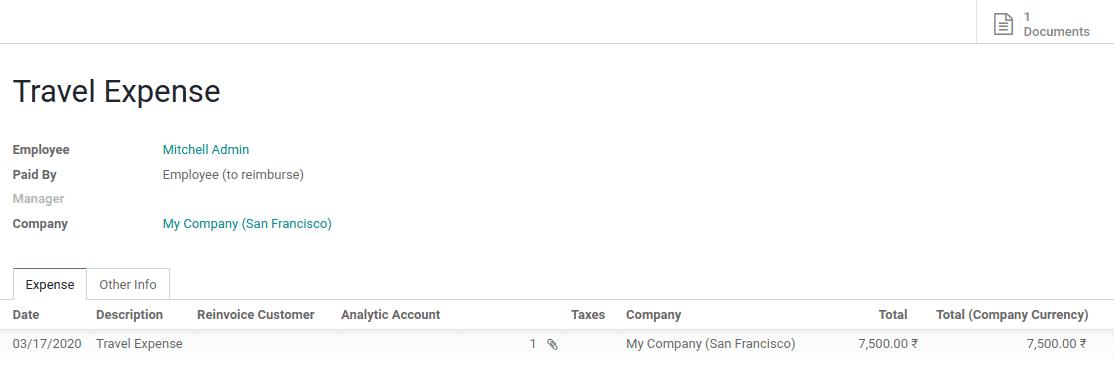
For manually entering the expenses, the employee can directly create through his dashboard. Click on the CREATE button, to create an expense.
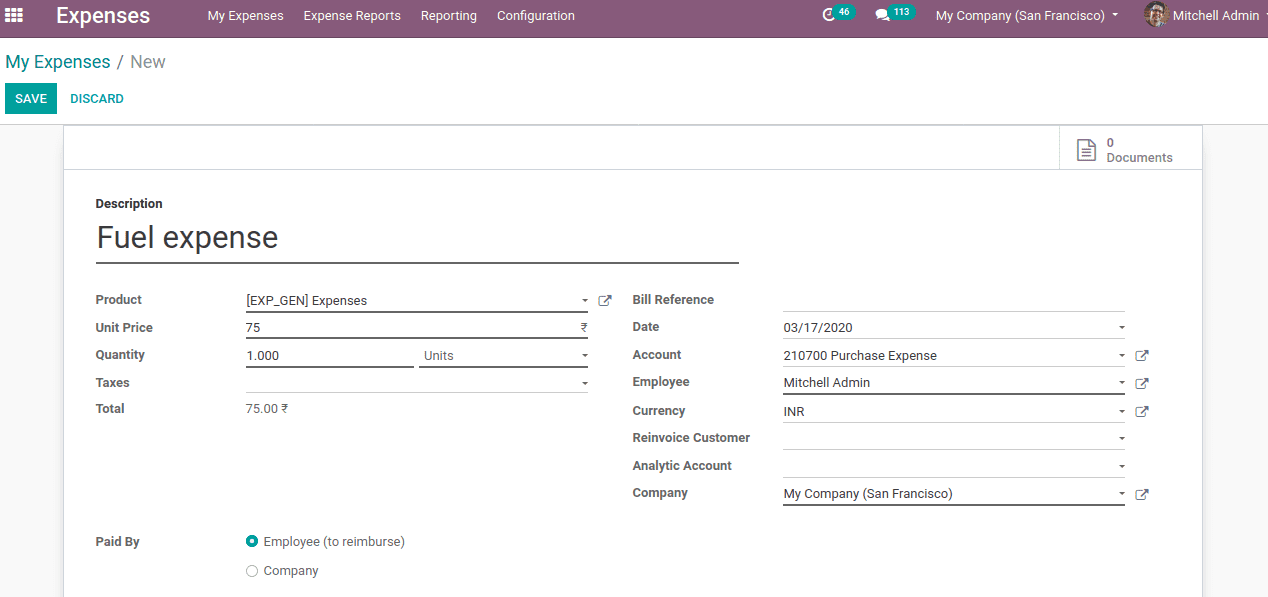
Add expense description, Product, it’s cost, quantity, whether it is paid by company or employee etc. If an employee is paid it may reimburse or expense is paid by the company, it must record as well. Also, add reference bill num if any, employee details, company etc. click on save. You can also attach documents if any and create a report.
Under ‘Other Info’ one must add an expense journal.
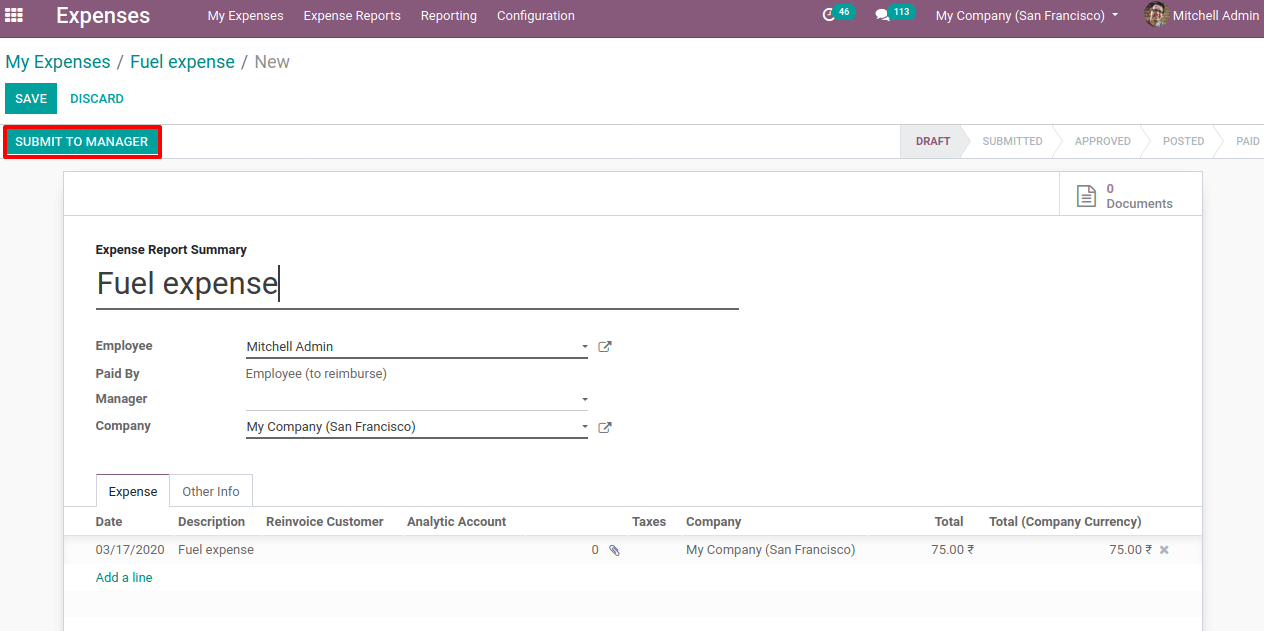
Now submit to the manager for approval.
The manager may reject the expense report or approve it.
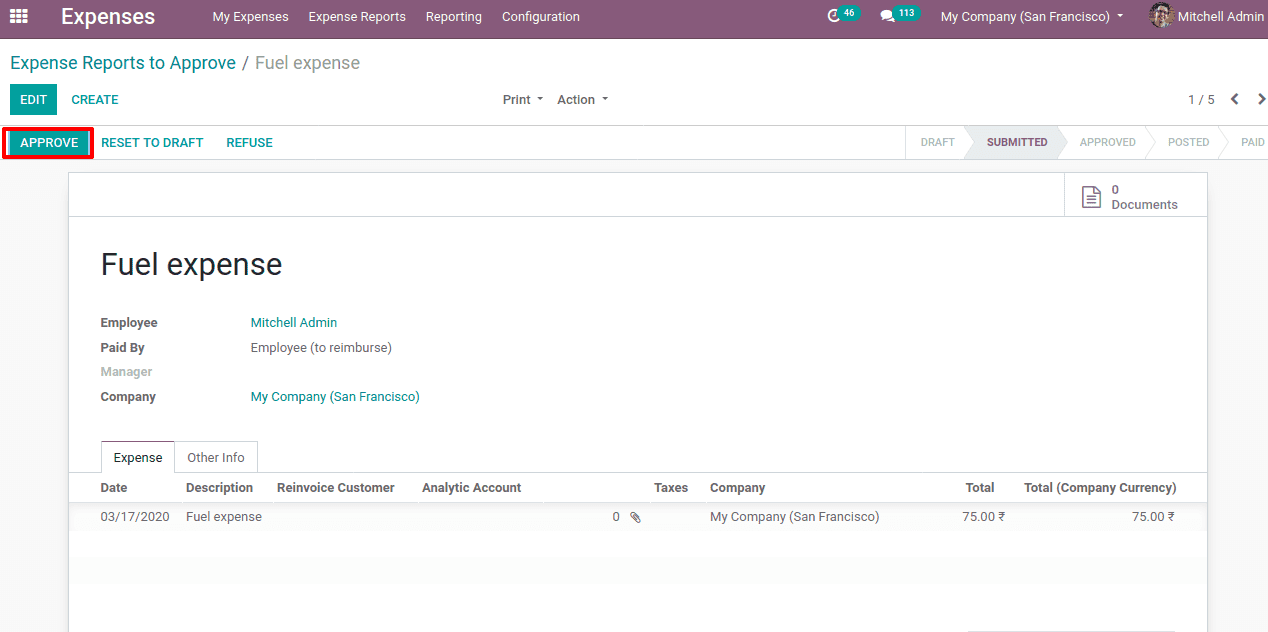
Once the approved the expense report, you can see this expense entry in the expense report to post.

Now post the journal entry after approval.
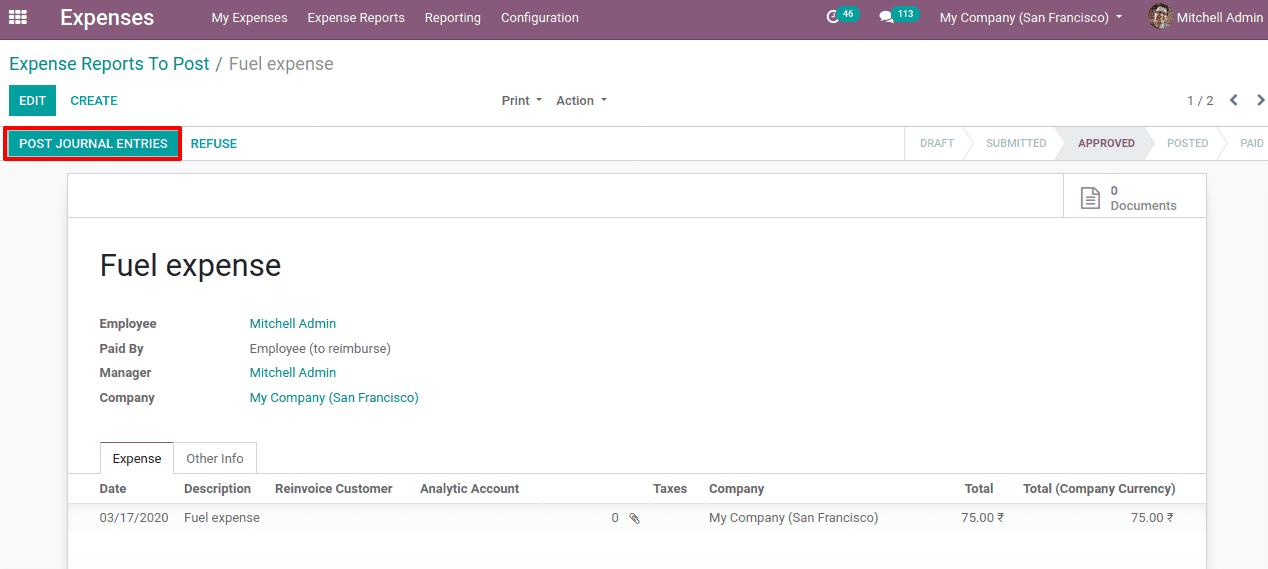
Click on POST JOURNAL ENTRIES. From this stage also the manager can refuse the expense report.
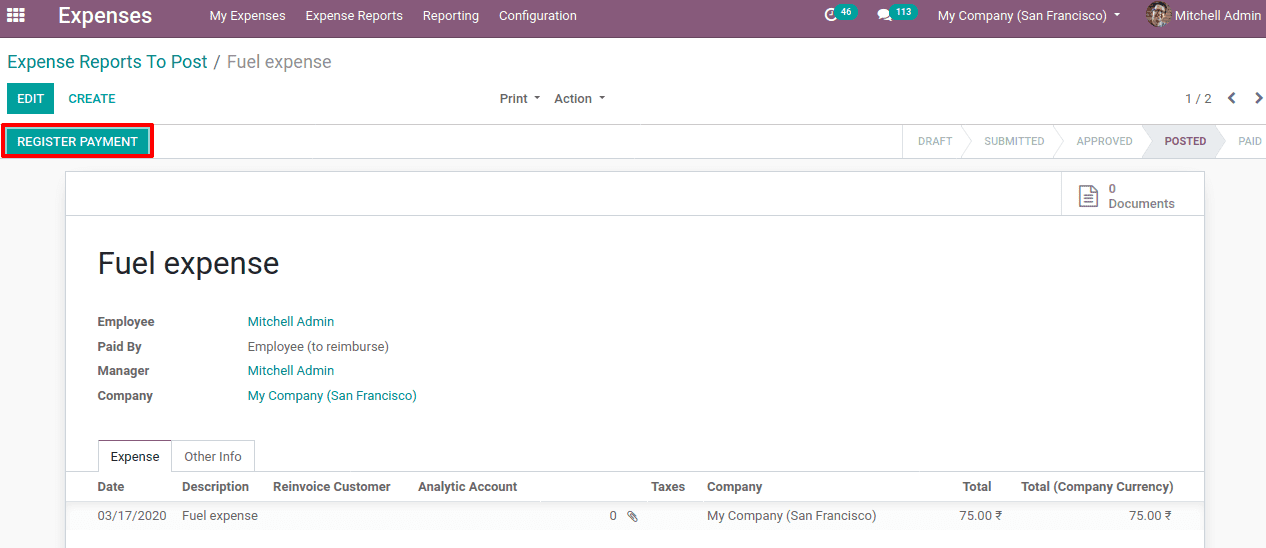
Once the journal is posted, the status also changes to posted and then register the payment for the employee.
The employee can see the expense reports and it’s status through, Expense module> My Expenses > My Expense Reports

This all about creating expense reports through employee email and manually.