The enterprise version of Odoo inventory has some integration facilities with the shipping connectors like:
* Shipping connectors using DHL
* Shipping connectors using UPS
* Shipping connectors using FedEx
* Shipping connectors using Temando
* Support of Barcode Scanner
Shipping integration using DHL
The first thing we have to do is that we need to install the modules of Inventory and DHL shipping.
In order to use the DHL service, we need the DHL site ID, an account number and password.
For a country other than the US need DHL Site ID and Password, they have to contact the DHL account manager and have to request for integration with XML Express API
How to get Site ID and Password for the US
First of all, make a request of XML to DHL.com with full details of the account in order to get API. Meanwhile, the credentials are given in the demo data, the Site ID, Account Number, and Password can be tested.
Now we have to install the Inventory management module and DHL shipping module.
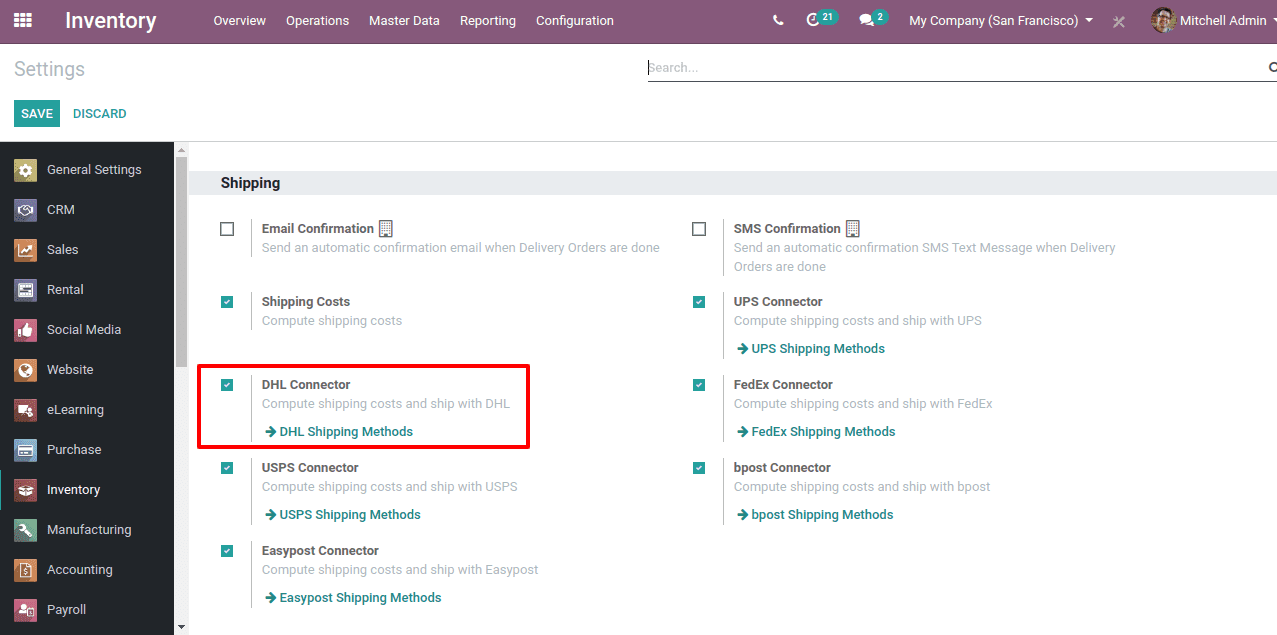
Under settings of Inventory,
We can enable the DHL shipping method.
Now create a shipping method under DHL. Click on the ‘create’ button.
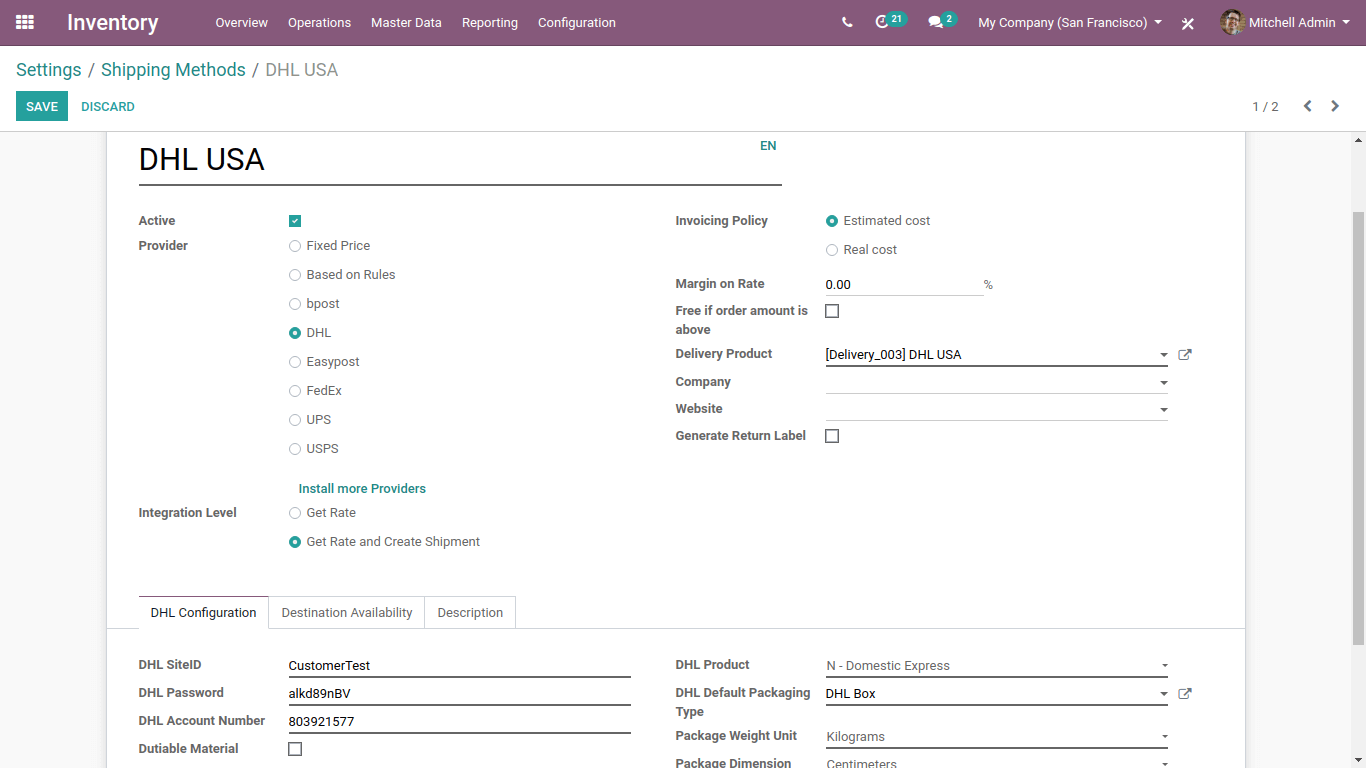
So we have created a DHL shipping method.
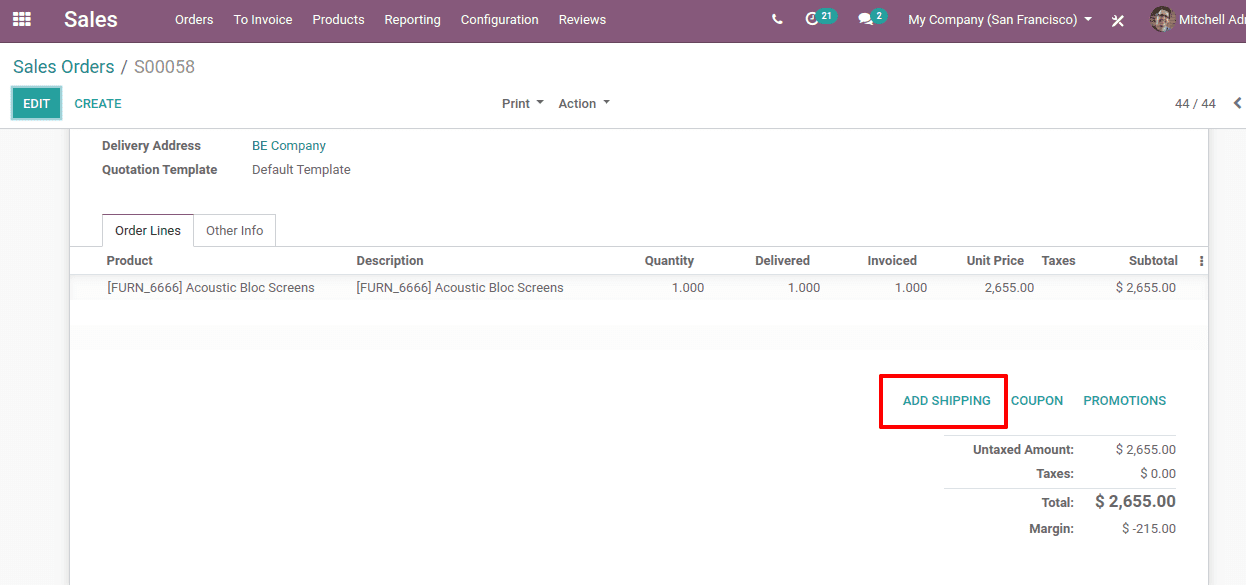
Now we can proceed to create a sale order and select the delivery method as DHL USA.
For that on the “Add Shipping” button.
A new pop up wizard appears there and we can add the Shipping Method.
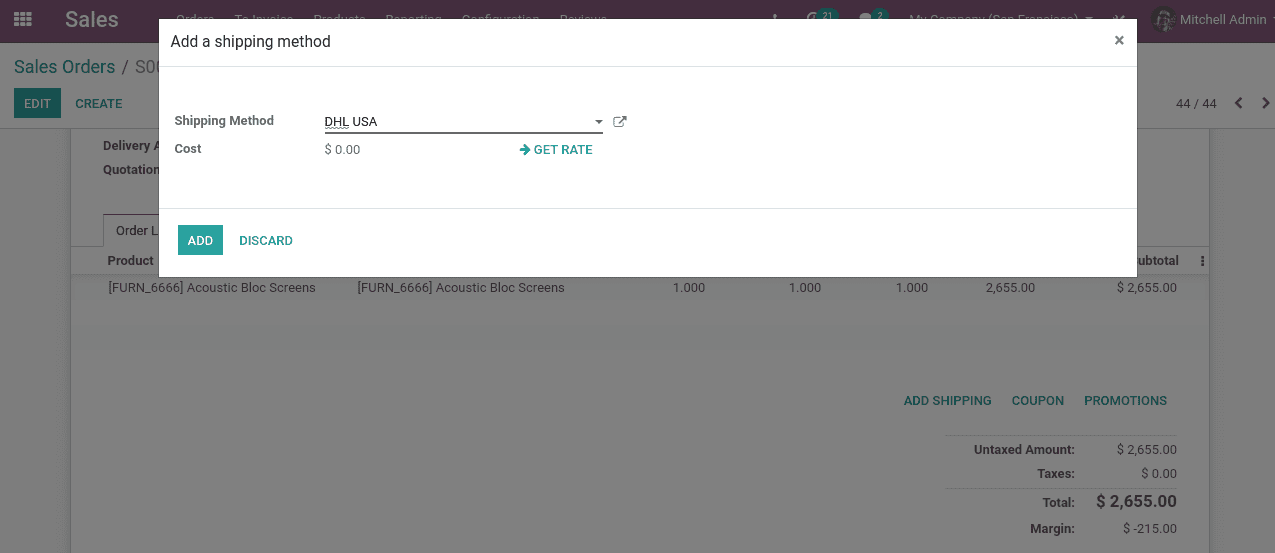
So we have added the shipping method ‘DHL USA’. now confirm the sales order.
After having confirmed sales order we can go to the Delivery of the product and there we can find the option of “Tracking”.
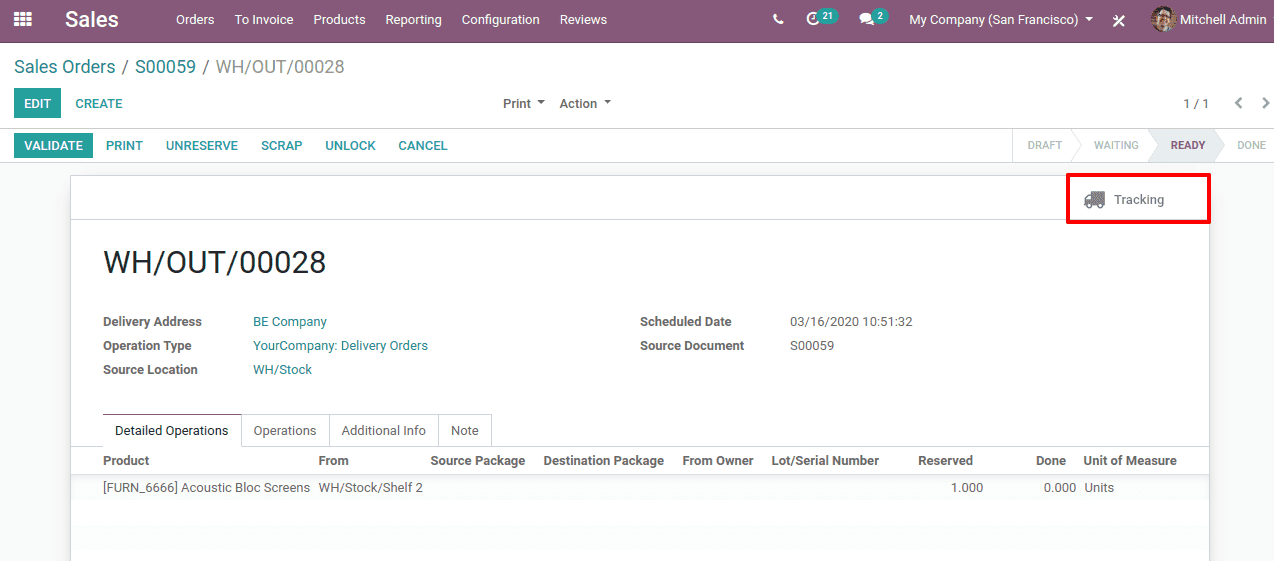
Clicking on it we will be redirected to the page of DHL where we can find the shipping of the product we delivered.
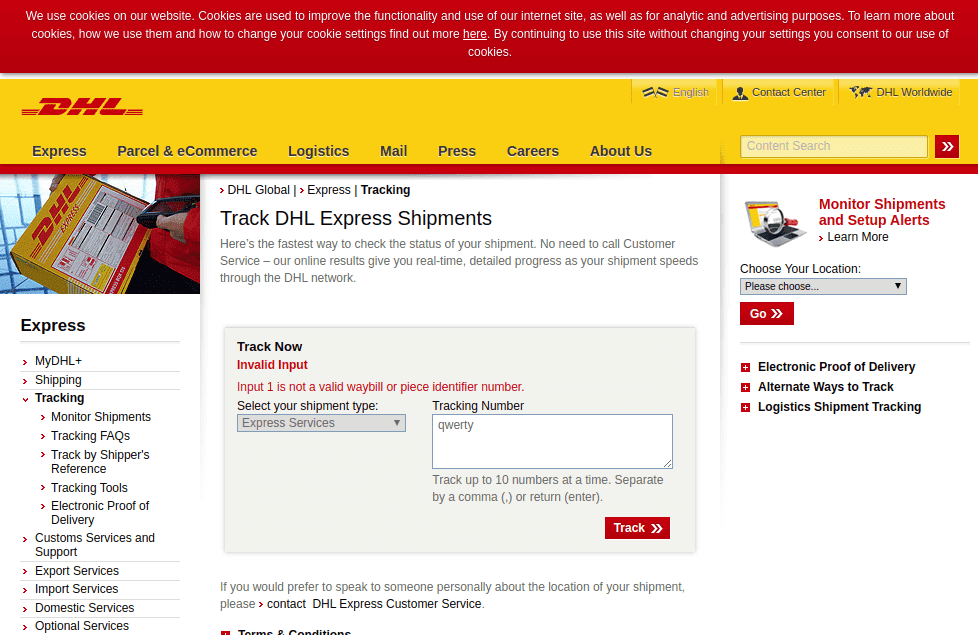
From here we can track the Order we have made.
Shipping integration using UPS
To have access to the UPS API we need a UPS ID, password and Access key number. The access key number is 16 digit code which allows access to UPS API.
Creating a UPS account
The UPS account is only for US residents and if a person from outside the US wants a UPS account he or she has to contact the UPS customer service to take a UPS account.
Follow the steps to open a UPS account.
Take the UPS website and click on the New User link.
Now Register in the ‘My UPS’ account button and complete the Registration Process.
After registration login to your account user ID and Password.
In the UPS account information section of the website, click the Add an Existing UPS Account link.
Insert the UPS account number, account name, and postal code details into the Add New Account page. The country defaults on the U.S.
Continue clicking on the Next button.
Get an access key.
Having created a UPS account, you can request for the Access key.
For that click on the ‘Request Access Key’ link after logging in to your page. Verify the contact details and request for the access key.
Then the access key will be provided to you on your page, also an email will be sent to you with the access key.
To use all the shipping methods like FedEx, Temando, USPS and so on, one can follow the same procedures.
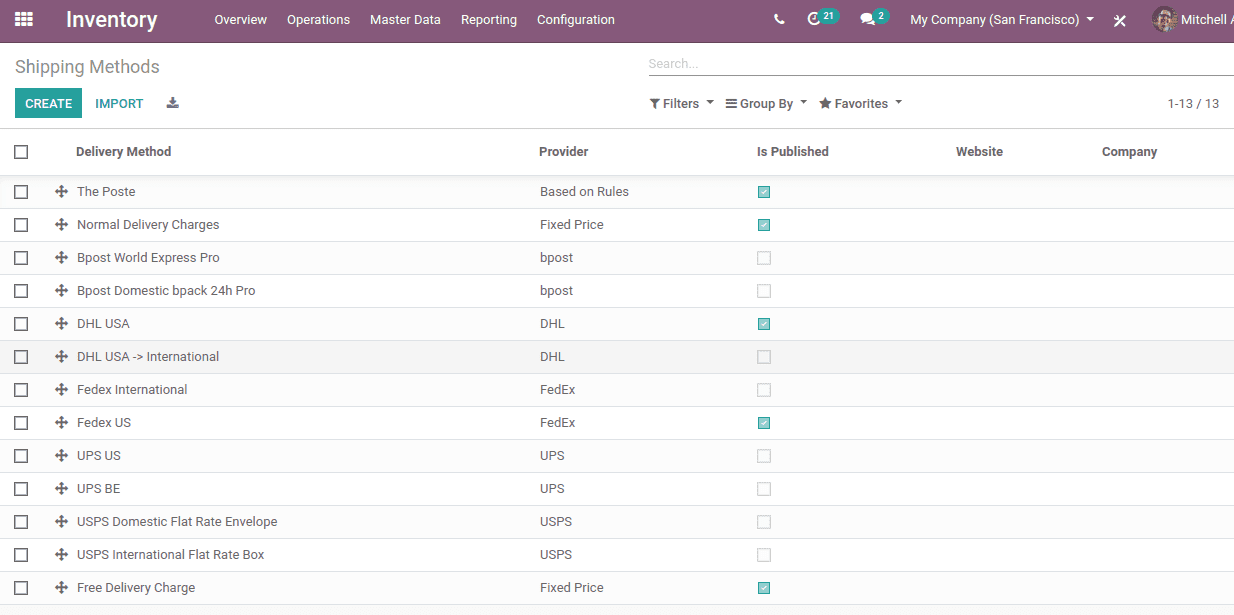
Now when we create a sale order we can choose any shipping method as we wish.
Configuration of Barcode Scanner
After installing the inventory module we can also install the Barcode module.
Select the Barcode application.
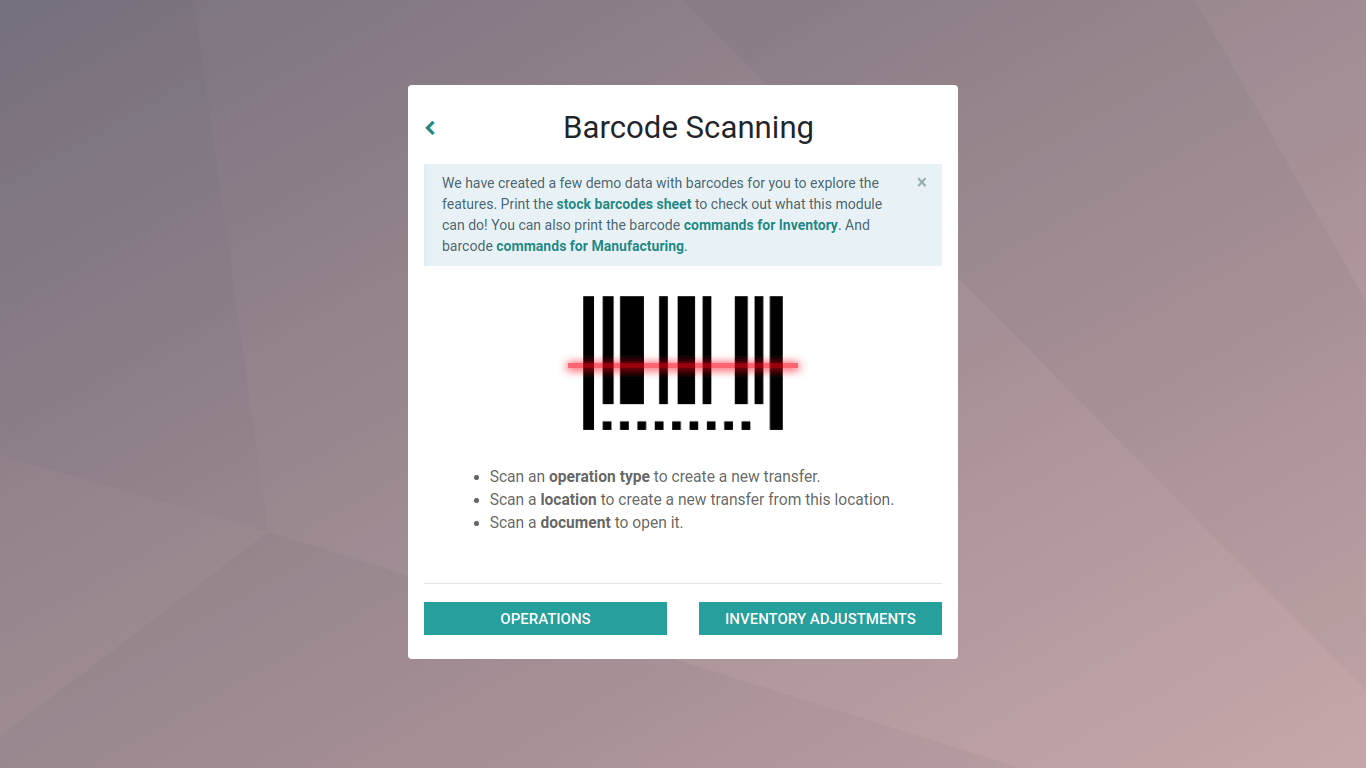
This is the barcode interface. From here one can manage the operations and inventory.
Clicking on the operations,

You will get all the operations that can be managed through the barcode.
Selecting any of them we can manage it, make adjustments and so on.
So this is all about ‘Odoo 13 Enterprise Features of Inventory and shipping method configuration’.