It is necessary to transfer data while migrating or Integrating one platform to another. Usually we use Api for this integration. So the question is if our data is stored in MySQL database is there a need for the Api integration? We can link Python with MySQl using Mysql connector. Which offers us to save time, since we should configure only a few aspects to initiate a connection to MySQL. That is the host, user, password and database name.
This blog will describe the MySQL Connector.
The benefit of connecting mysql with python moreover, we can fetch data from sql and update the table simultaneously. It’s much faster than other data transfer methods. While integrating in other ways, we may have large lines of code however, using a mysql connector we could compress it by lesser lines of code. Let us see how to make connections between Python and MySQL.
Before connecting with MySQL, we must install Mysql and create tables in the database.
To install MySQL you can use the following command:
$ sudo apt update
$ sudo apt upgrade
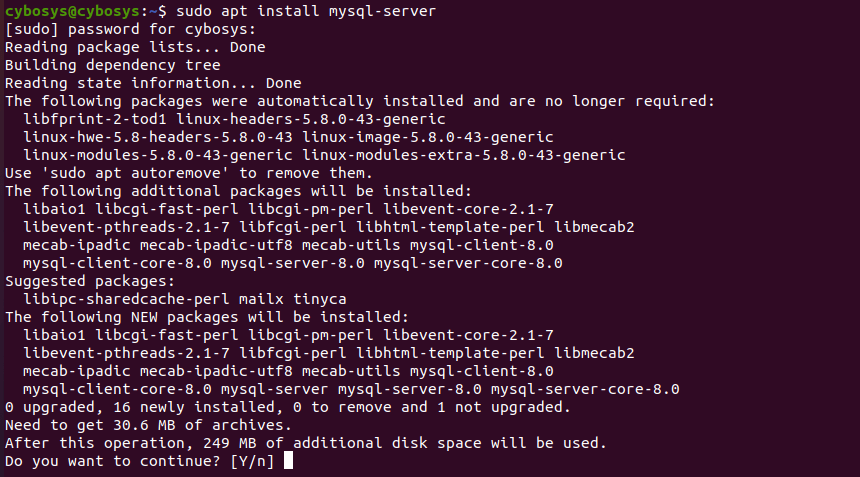
After, we will install the package of ‘mysql-server’ you can execute the following command:
$ sudo apt install mysql-server

Now let's move on to secure the configuration of MySQL
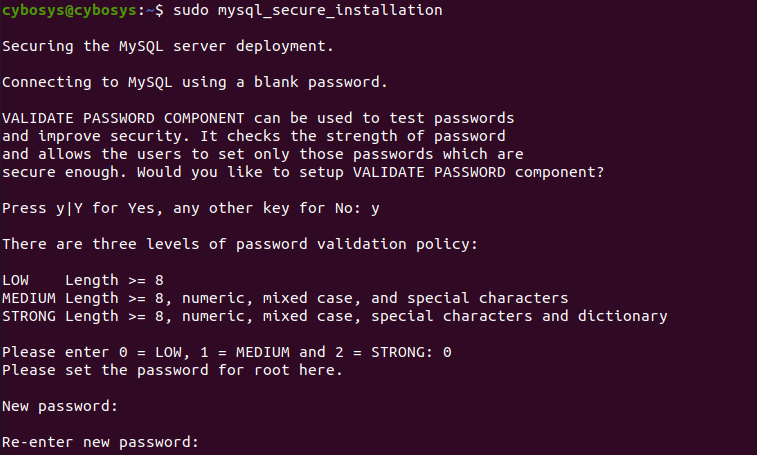
Use the following command for secure configurations:
$ sudo mysql_secure_installation

You will press ‘y’ to allow the installation of the ‘validate password plugin’. There are three different levels of the password validation policy which are low, medium, and strong. Please choose as you wish.
In the next user prompt, you need to confirm the following questions:
1. Do you want to remove the anonymous user?
2. Restrict root user access to the local machine?
3. Remove the test database?
4. Reload privilege tables?
You should type ‘y’ to answer all questions and proceed further.
Login to MySQL
Use the following code to login to the MySQL.
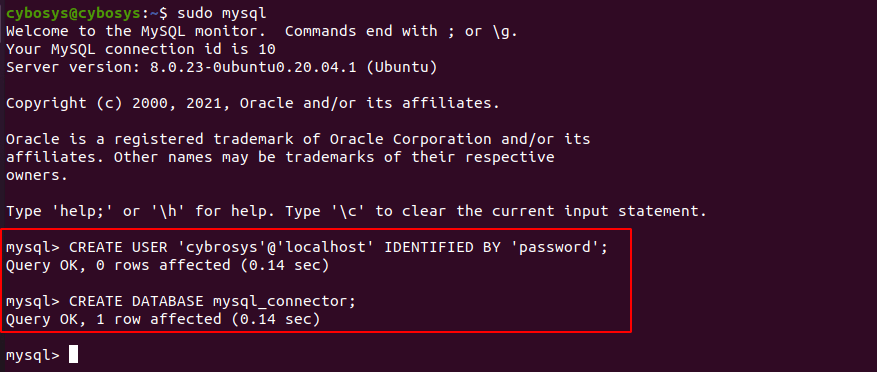
$ sudo mysql
You can create a new user account that will have certain privileges to the database. The syntax is as below:
$ CREATE DATABASE databasename;

To GRANT ALL privileges to a user, allowing that user full control over a specific database, use the following syntax: mysql> GRANT ALL PRIVILEGES ON database_name. * TO 'username'@'localhost';

Now we are going to make connections between them. Before you connect and fetch data from mysql database please ensure we must have a table and records inside it.
Here, for the testing purpose i’m restoring a database dump file into my local database using the following command. Otherwise you can follow basic queries for creating records.
mysql -u [user] -p [database_name] < [filename].sql
Note:
Replace [user] = your mysql username
[database_name] = database name
[filename] = backup file name
With entering your user password

Let us see how to make connections between Python and MySQL.
We should install the mysql-connector-python package into our local. To install use the following command.
pip3 install mysql-connector-python
Login to Python
$ python3
Declaring Import package in python
>> from mysql import connector
Now we can connect with MySQL by following code
>>
mydb = connector.connect(
host="localhost",
user="cybrosys",
password="password",
database="mysql_connector")
host = “your host name ”
User = “mysql user”
Password = “ user password”
Database = “database name”
Presently we can start querying the database using SQL statements and fetch data from SQL as follows,
>> cursor = mydb.cursor()
>> cursor.execute("SELECT name FROM product LIMIT 10")
>> cursor.fetchall()

While trying to create a server to server connection, if the connection does not work properly, there is a chance of the firewall to block it. So we should enable firewall for corresponding IP. Moreover, we can fetch a huge amount of data in very less time. With this data we can create records in python. If we have a large amount of data to create a record, instead of using python if we use a query, the system can work more efficiently.