Expense re-invoicing means charging customers for costs paid on behalf of the company while providing a service. This is useful for businesses like consultancies, project-based companies, and service providers that need to recover these costs.
Odoo 18 makes this process easy by linking expenses directly to sales orders and invoices. This saves time and ensures clear billing. For example, a consulting firm pays for an employee’s travel and hotel stay while working on a client’s project. With expense re-invoicing in Odoo 18, these costs can be added to the client’s invoice automatically, ensuring the firm gets reimbursed. In this way, when an expense has been taken by an employee or a company on behalf of a client, it can be easily reimbursed back to the employee or the client.
Configure Expense Categories for Re-Invoicing
Each expense category should be linked to an appropriate re-invoicing rule so that the expense can be re-invoiced to customers accordingly.
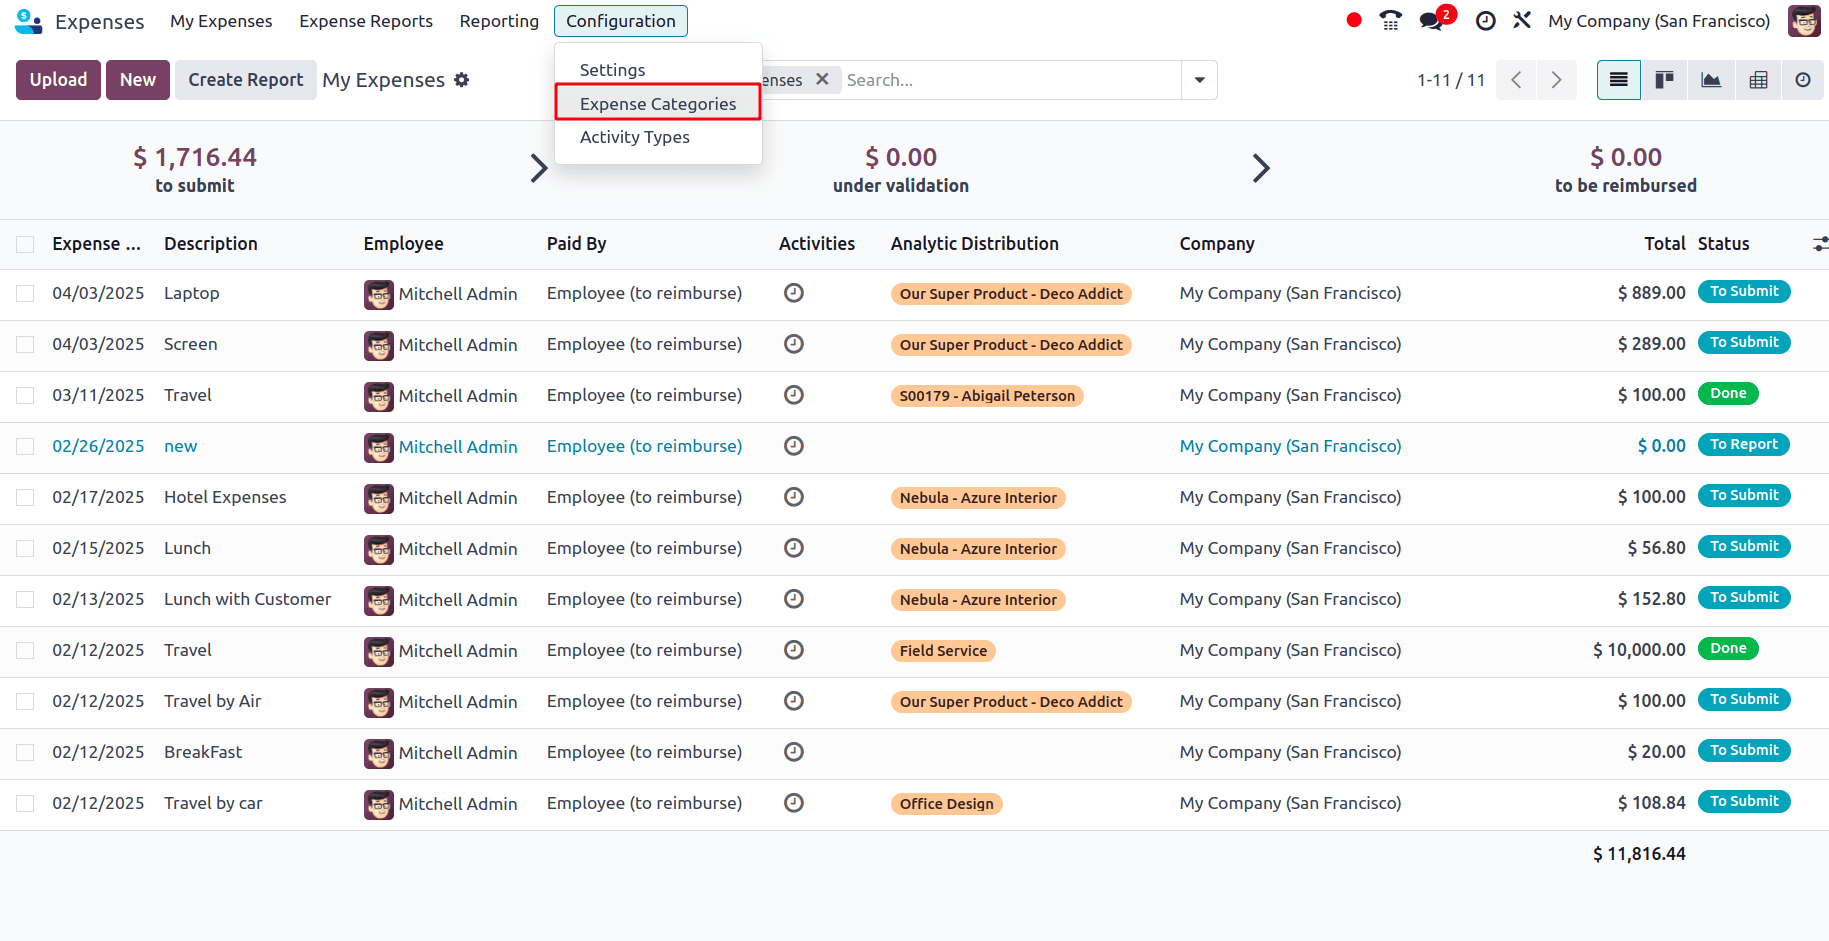
Go to Expenses > Configuration > Expense Categories.
Create a new expense category by clicking on the New button or edit an existing expense category under which the expense that needs to be re-invoiced comes. Under the Invoicing section, there is an option called Re-invoice Costs to choose how the expenses will be charged back to the customer:
* No - The expense is recorded but not billed to the customer. When this is selected, there will not be a field called Customer to Reinvoice in the expense creation form, where the customer to whom the expense has to be re-invoiced can be added.
* At Cost - The exact cost of the expense is billed. If the cost has been given as zero in the expense category form, the amount that is provided as the total in the expense creation form is taken to re-invoice the customers.
* Sales Price - If this option is selected for re-invoicing, an extra field for the sales price is added, and the price that has been added as the Sales Price in the expense category form will be invoiced to the customer.
At Cost
Select the Re-invoice Costs as At cost.
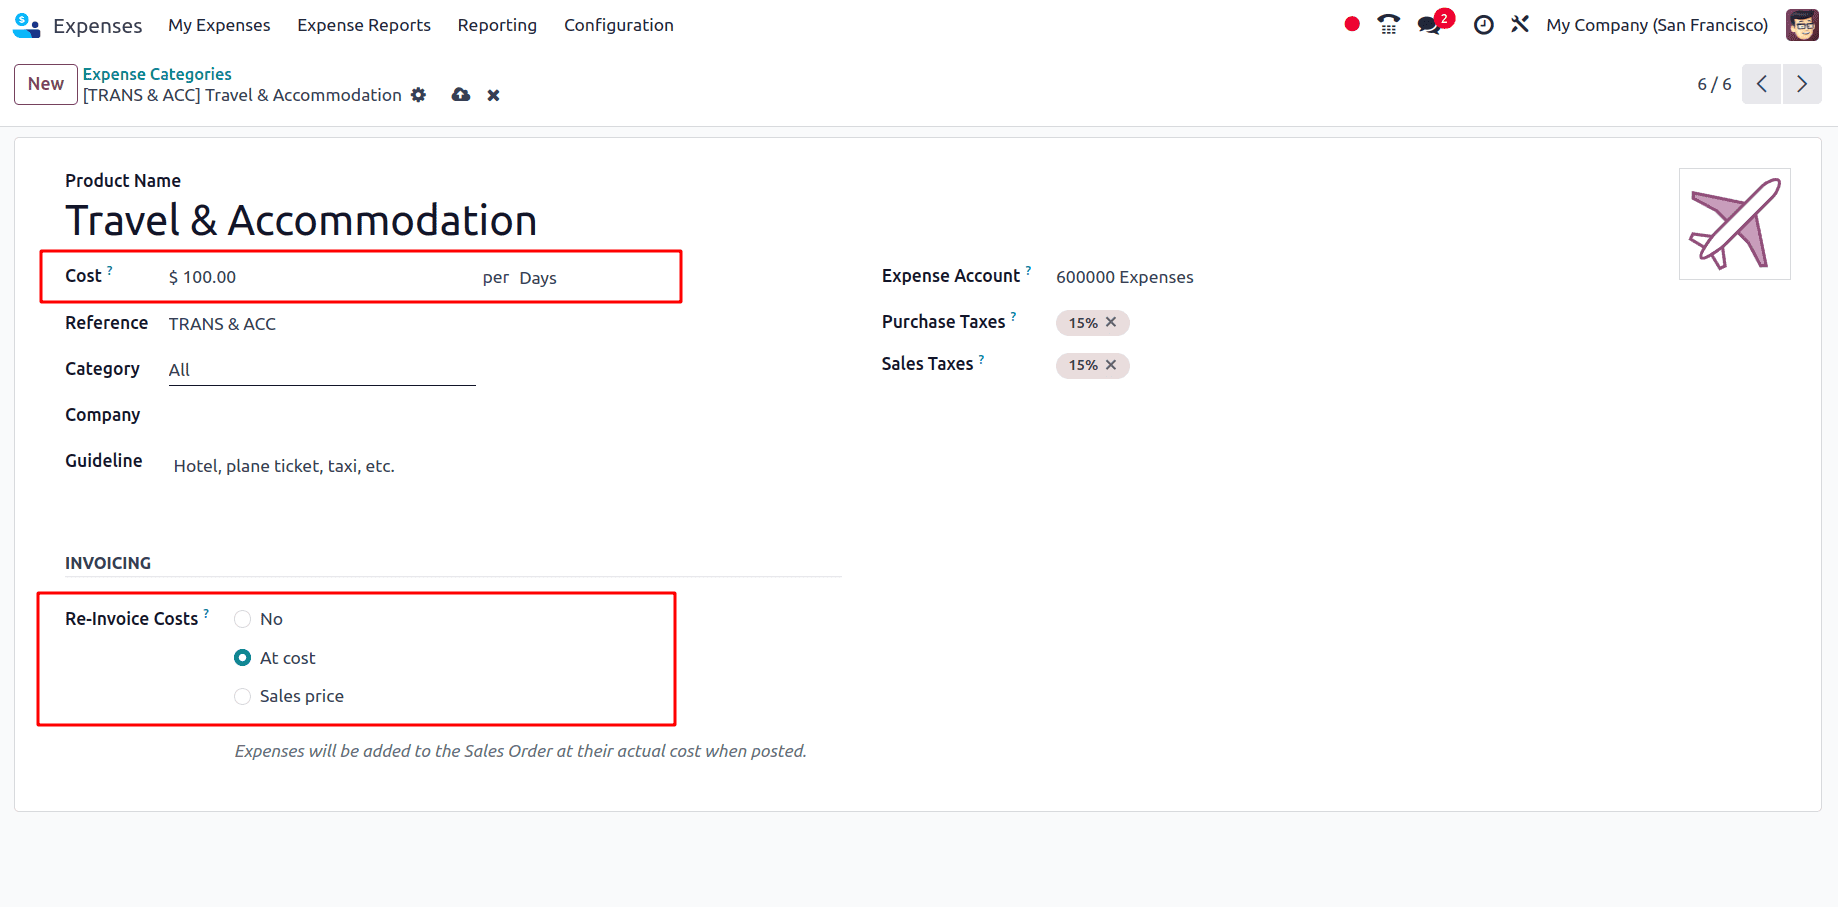
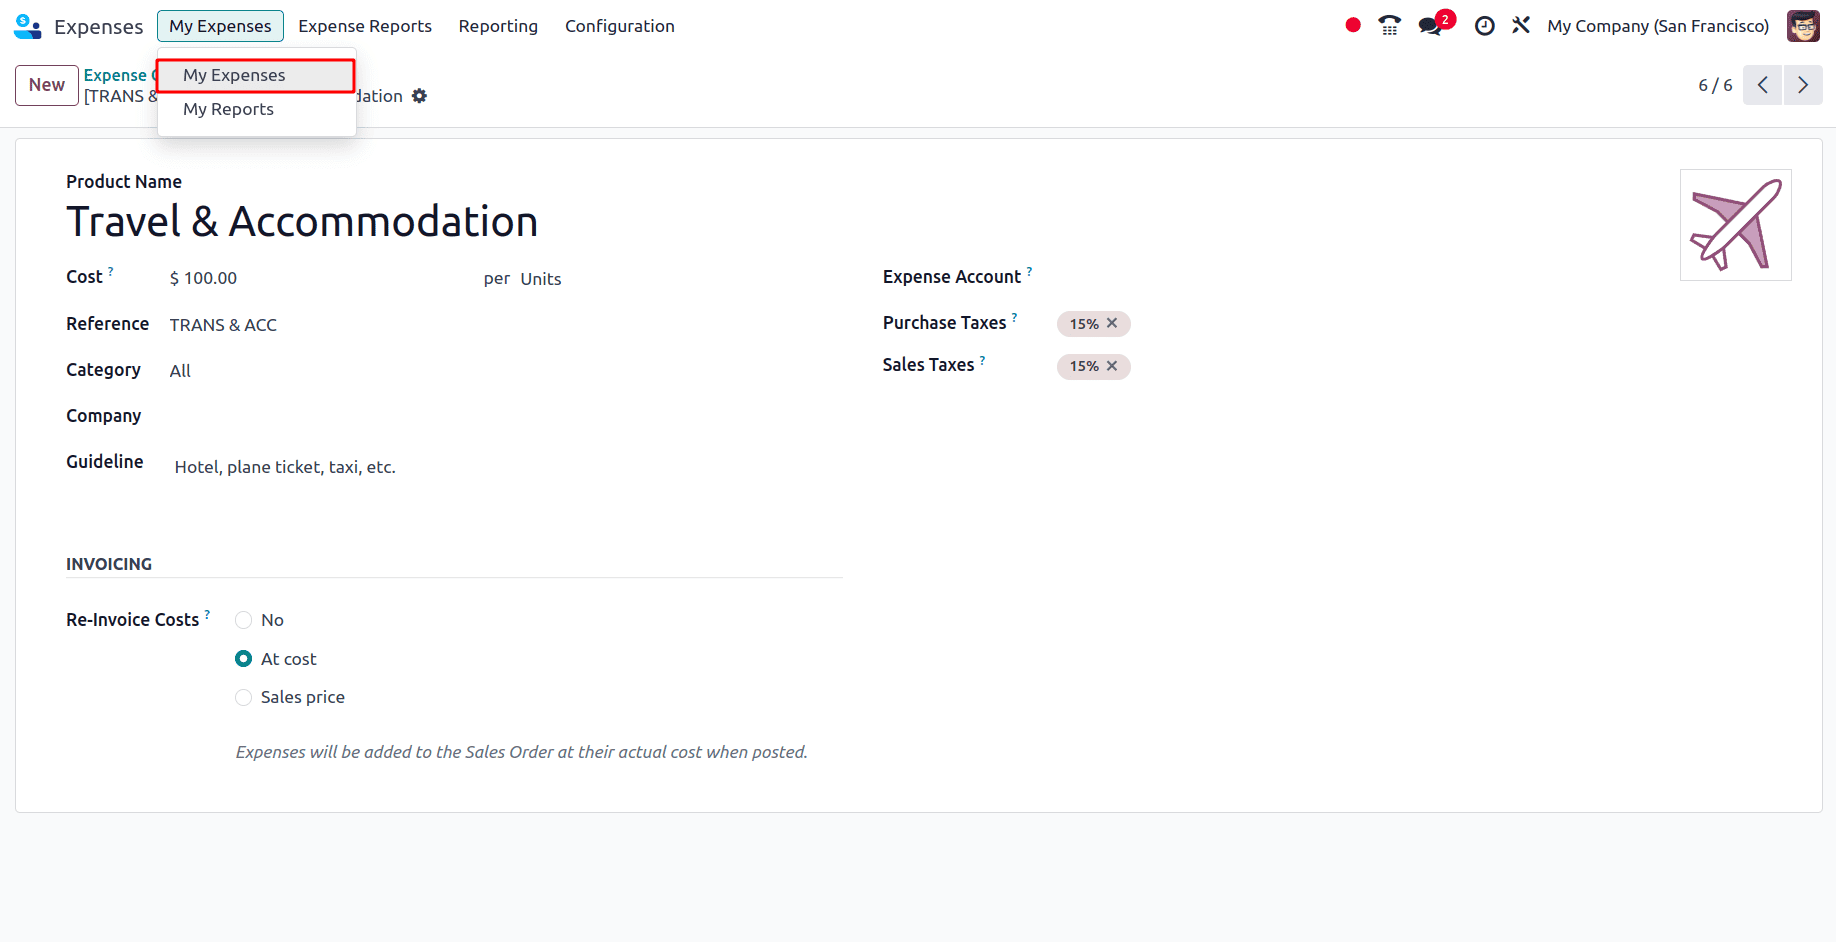
Add the Cost of the product at which the customer must be re-invoiced in the Cost field. If a cost other than zero has been added, then the cost of this product cannot be changed in the expense. Now, to create an expense, navigate to My Expenses > My Expenses.
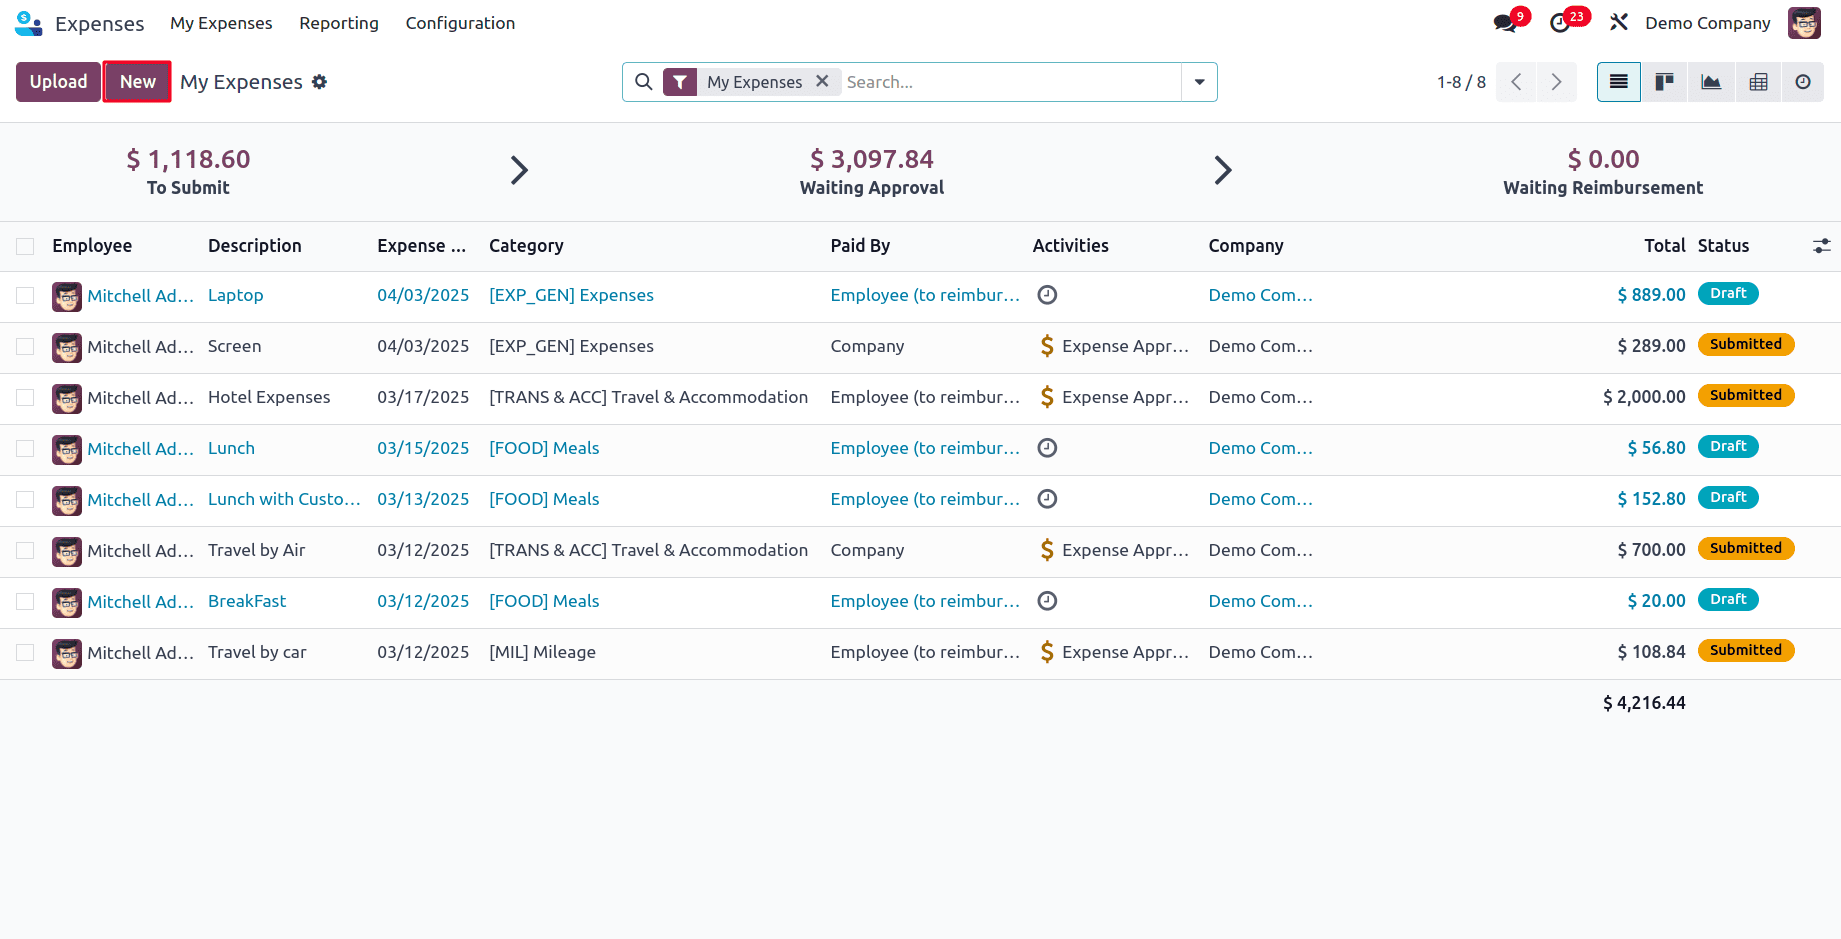
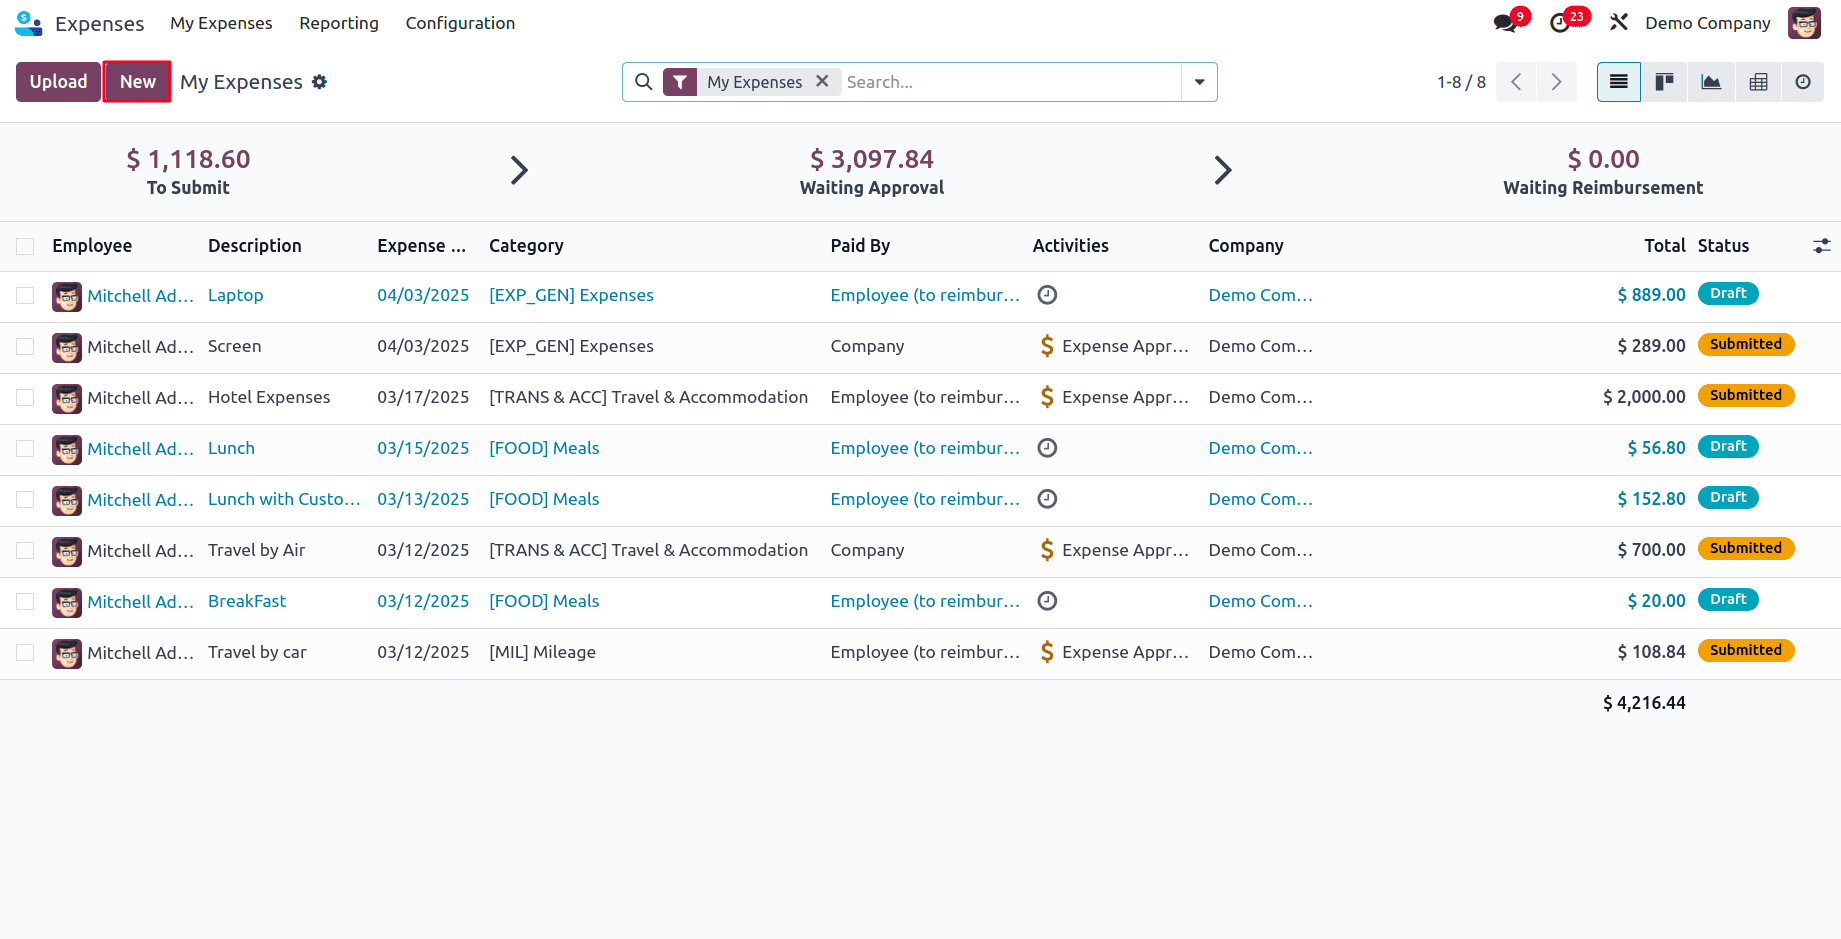
Click on the New button to create a new expense.
A new expense creation form appears. In the form, add all the following details:
* Description: A brief explanation of the expense (e.g., “Lunch with Customer”).
* Category: Defines the type of expense (e.g., Travel, Meals, Office Supplies).
* Total: The total amount of the expense.
* Included Taxes: Displays the tax amount included in the total expense.
* Employee: The name of the employee submitting the expense.
* Paid By: Defines who paid for the expense:
1. Employee (to reimburse): The employee paid out-of-pocket and is requesting reimbursement.
2. Company: The company directly covered the expense.
* Expense Date: The date when the expense was incurred.
* Account: The account where this expense is recorded.
* Analytic Distribution: Used for cost allocation to different projects or departments.
* Company: The company to which this expense belongs.
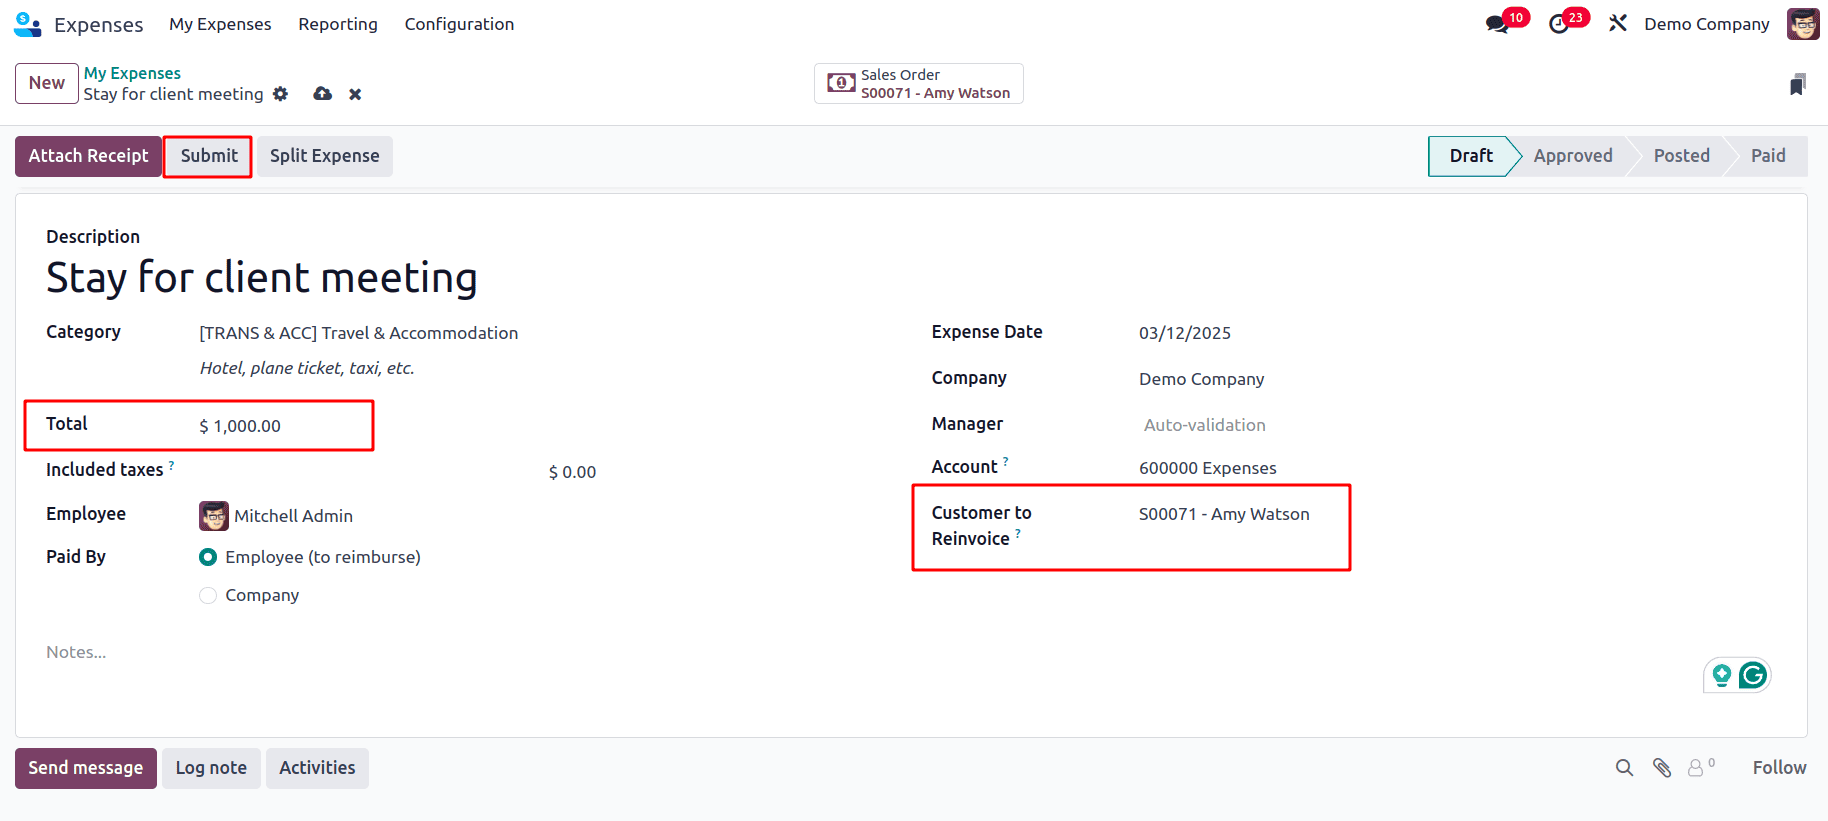
Here, while creating the expense, in the Customer to Reinvoice field, add the sale order linked with the customer to whom the expense must be reinvoiced. Once the sale order has been added, a sale order smart tab appears at the top, which directs the users to the sale order.
Here, since the cost has not been added in the expense category form, the cost of this expense can be added in this form, and since the reinvoicing is based on the cost, that cost price can be reinvoiced to the customer. After adding all the details, click on the Submit button so that the expense created is submitted to the manager, and he can approve the expense after reviewing it. Once the expense has been approved, click on Post Journal Entries button to post the journal entries for the expense.
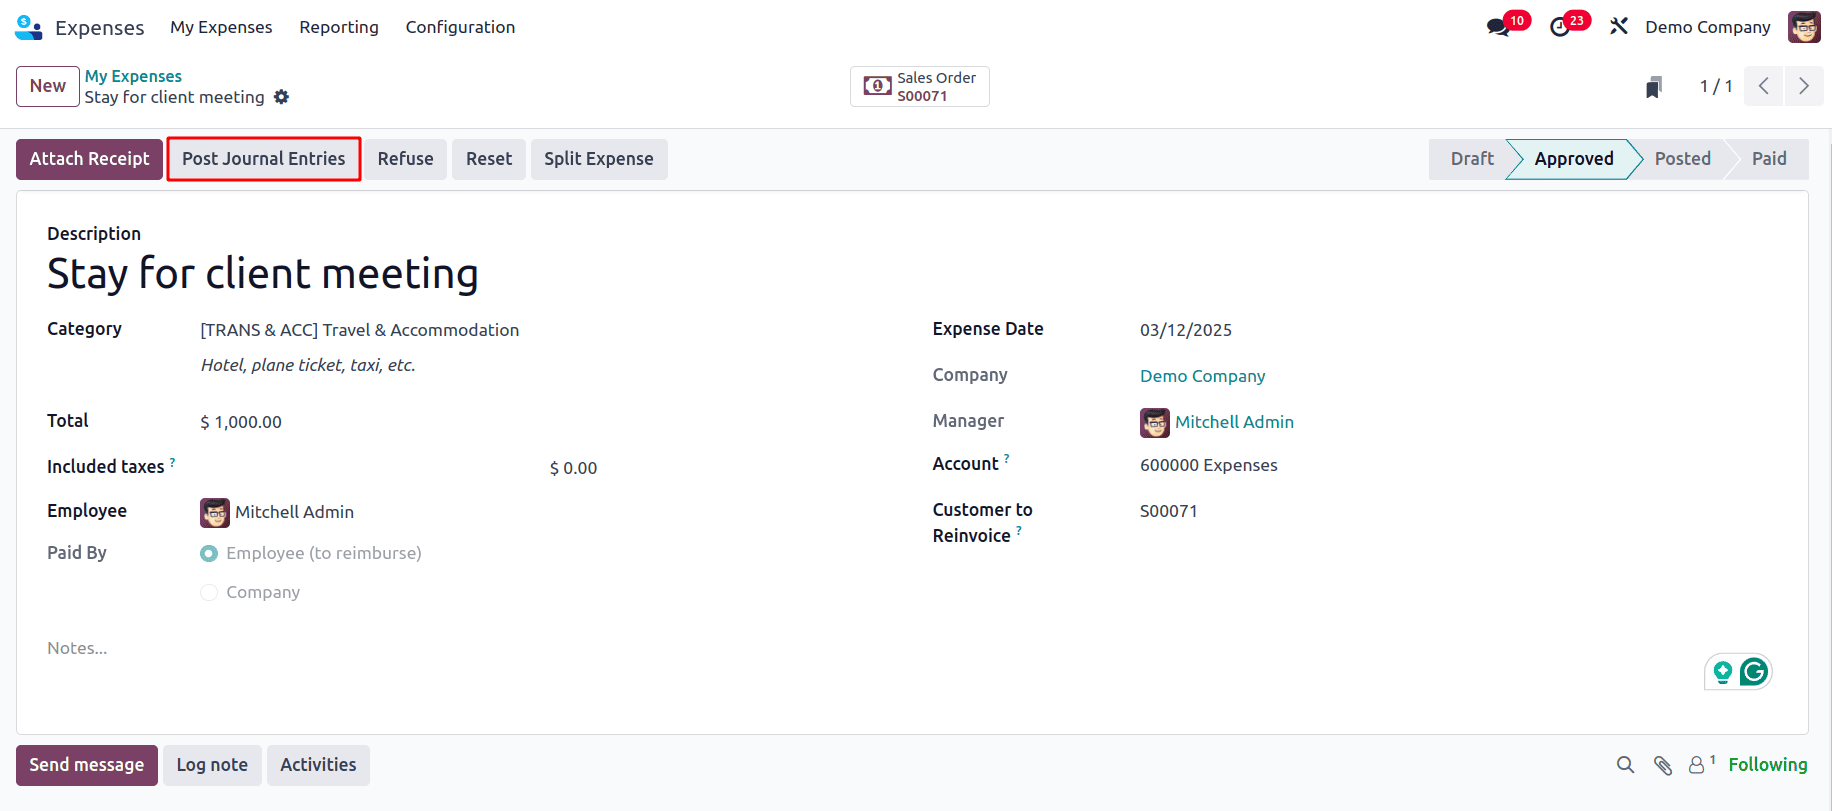
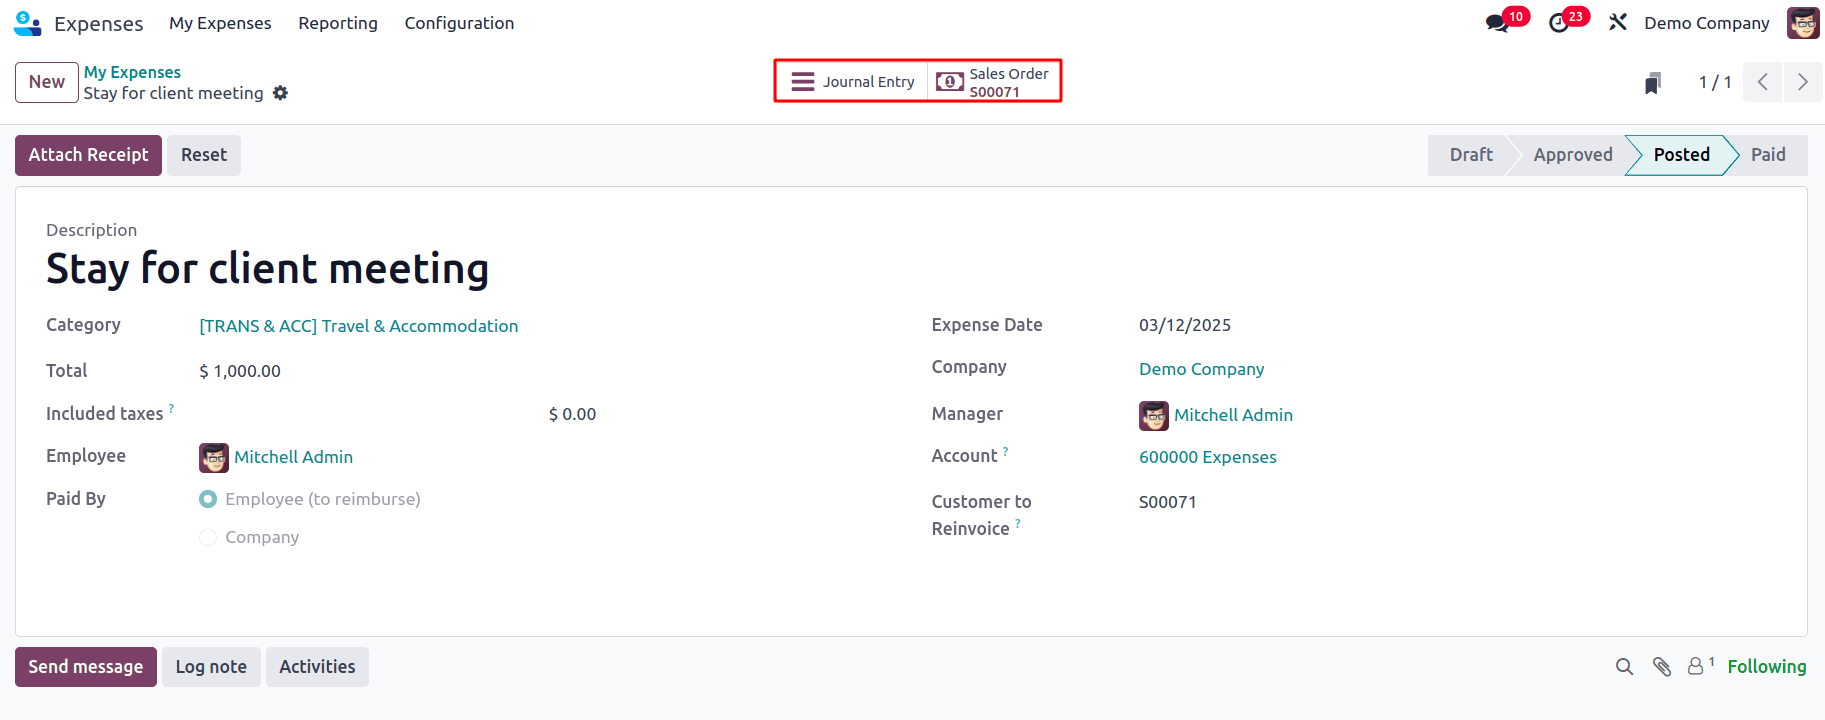
When the journal entries for the expense have been posted, a smart tab for the journal entry appears at the top, and the expense will also be added to the sale order. To check that, go to the sale order by clicking on the sales order smart tab.
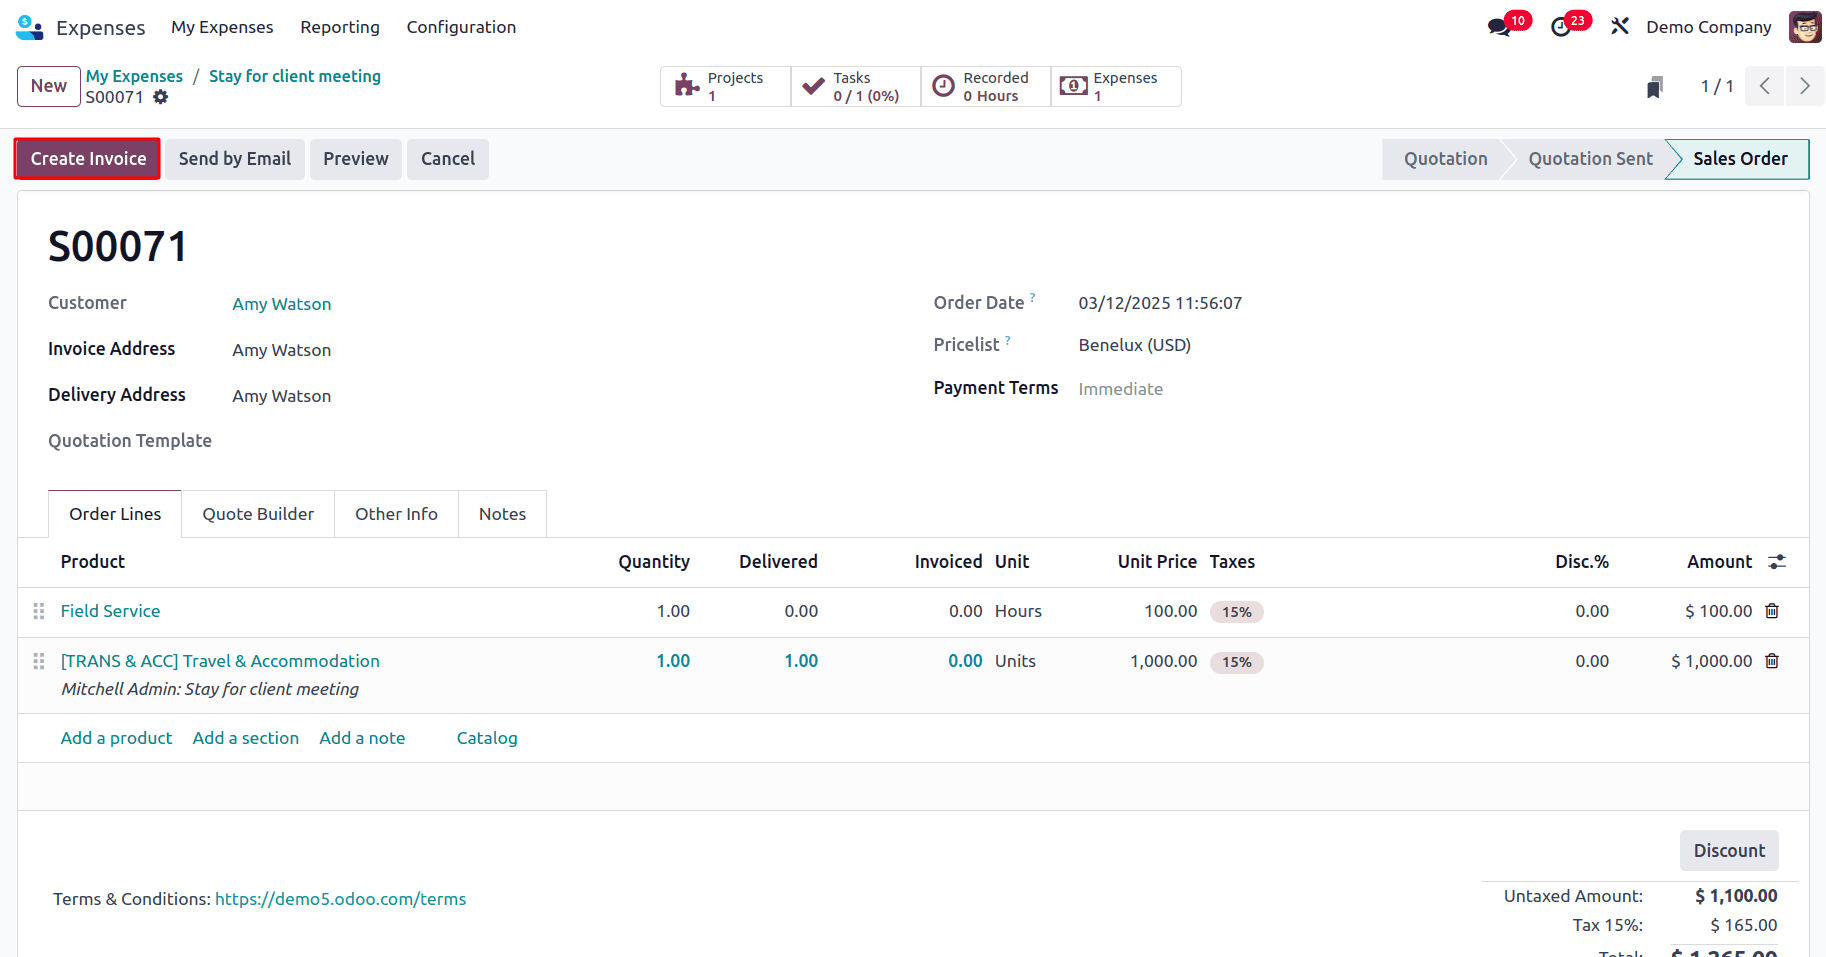
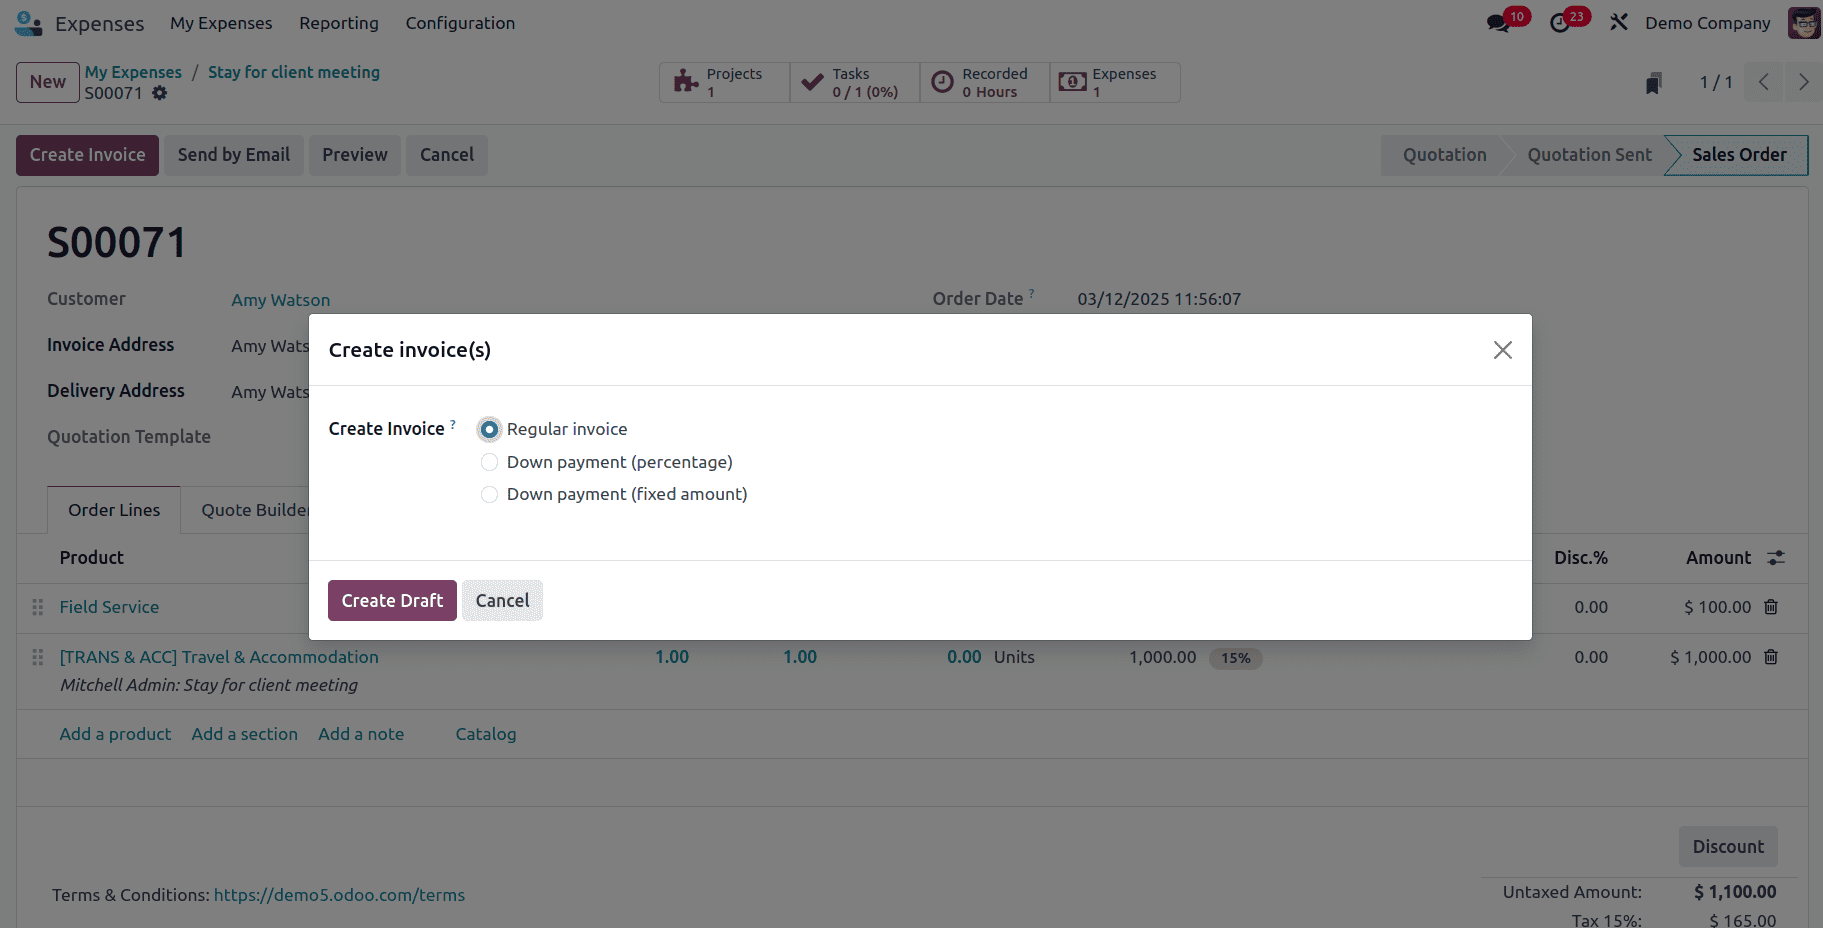
In the sale order, it can be viewed that the expense has been added to the order lines, and the unit price can be viewed here, which is the price added as the cost price for the expense. Now, an invoice can be created for the customer so that the expense that is taken on behalf of the customer by the employee or the company can be reimbursed. Click on the Create Invoice button.
A pop-up appears, asking whether to create a Regular Invoice, Down Payment (percentage), or Down Payment (fixed amount). Select the type of invoice that needs to be created and then click on the Create Draft button to create a draft invoice.
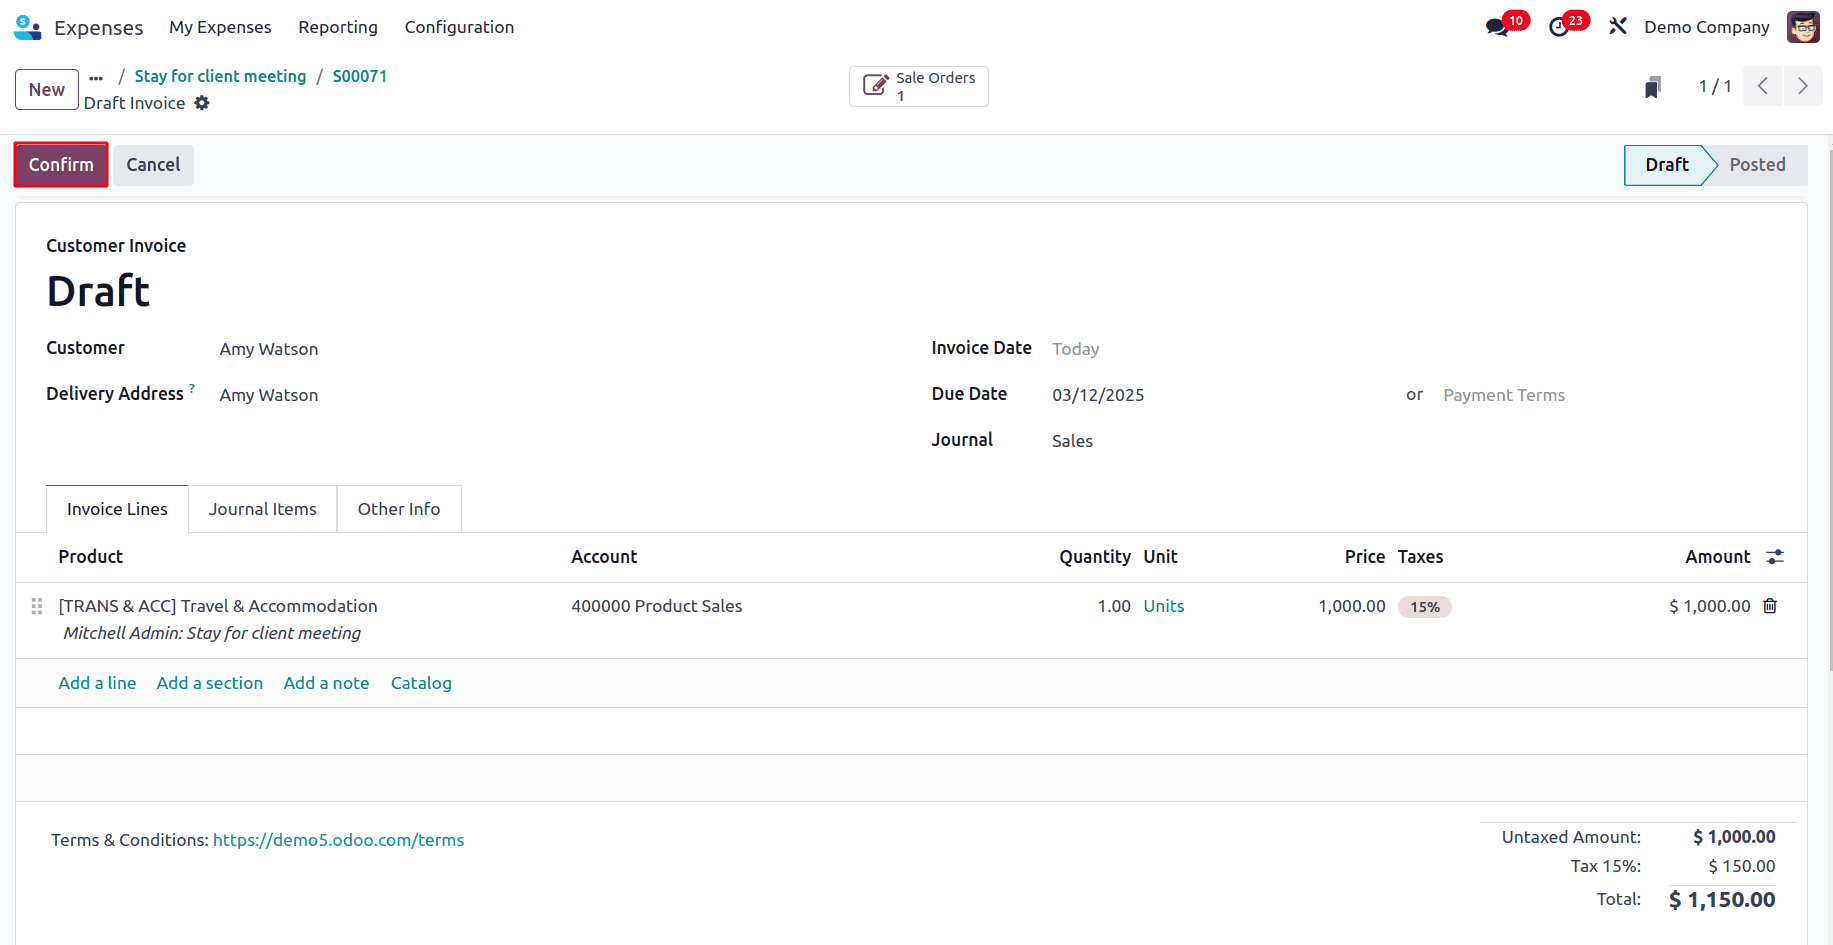
A draft invoice is created, and here it can be viewed that the invoice has been generated for the expense that was created. So, when the payment is made by the customer, the expense can be reimbursed to the company or employee who has made the payment on behalf of the customer. Then click on the Confirm button to confirm the draft invoice.
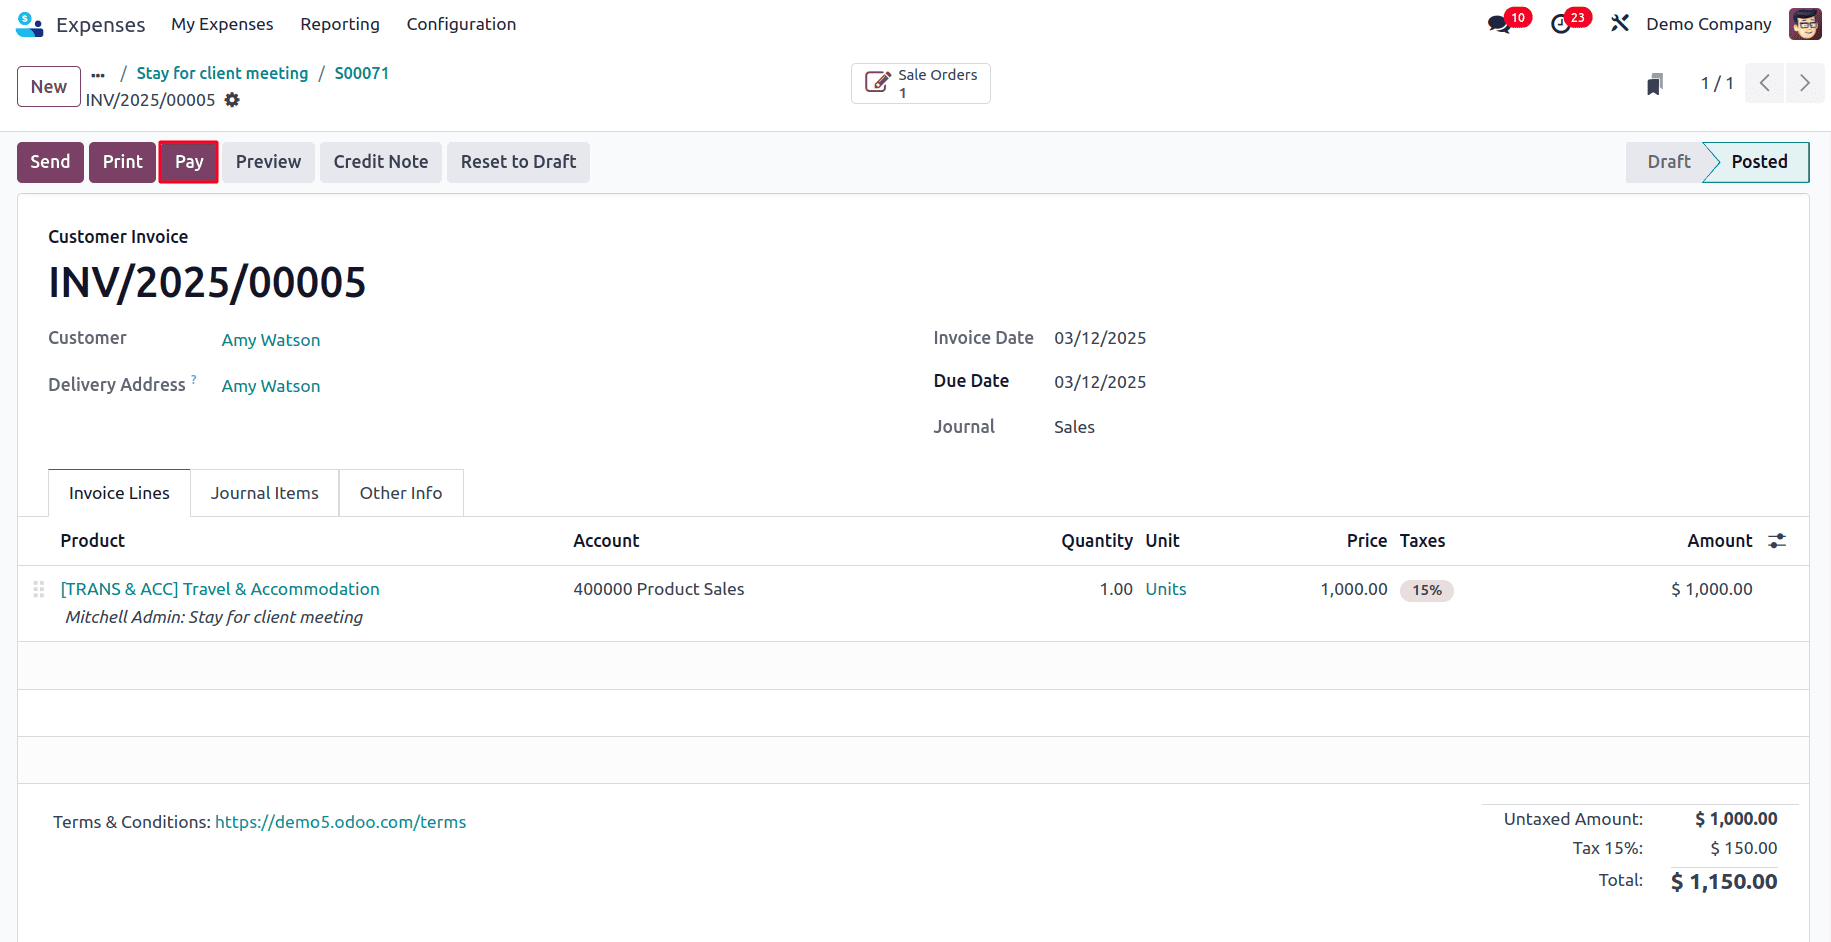
Once the invoice has been posted, payment can be made. To do so, click on the Pay button, select the journal for the payment, and click on Create Payment.
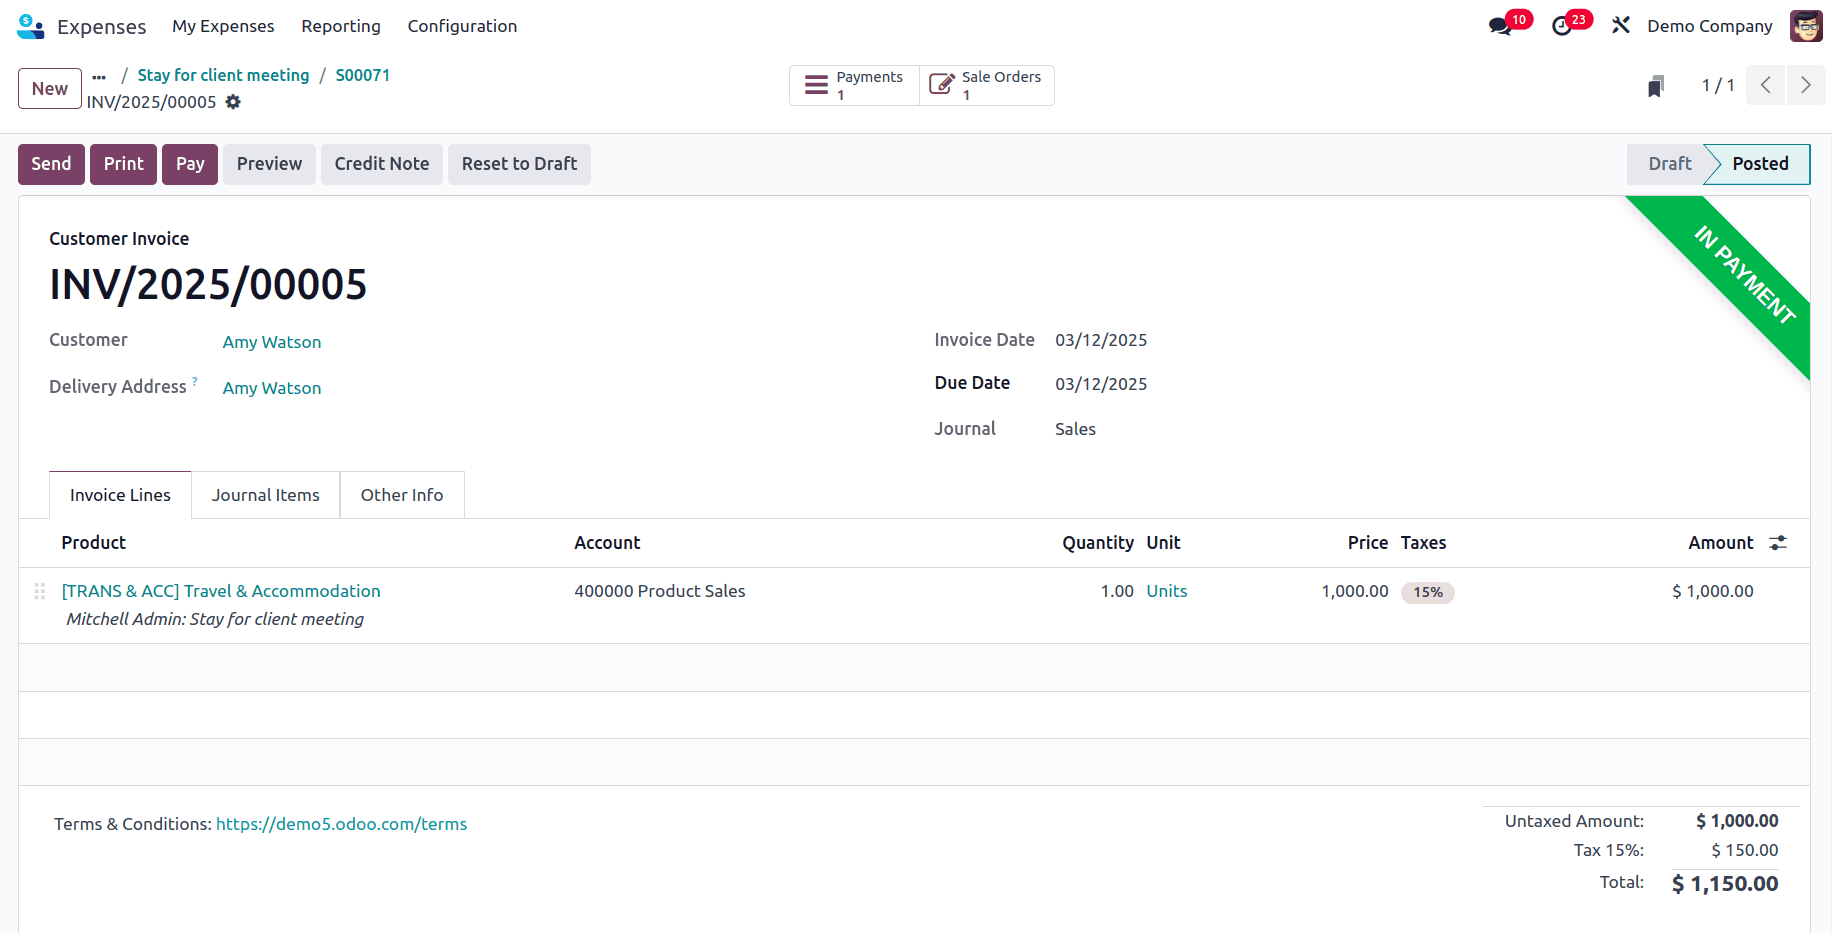
And the payment can be made.
Sales Price
To re-invoice the customers based on the Sales price, the Re-Invoice Costs under the expense category for which the expense is being created must be set as Sales Price. Go to expense categories and select an expense category under which an expense has to be created with and select Re-invoice Costs as Sales Price.
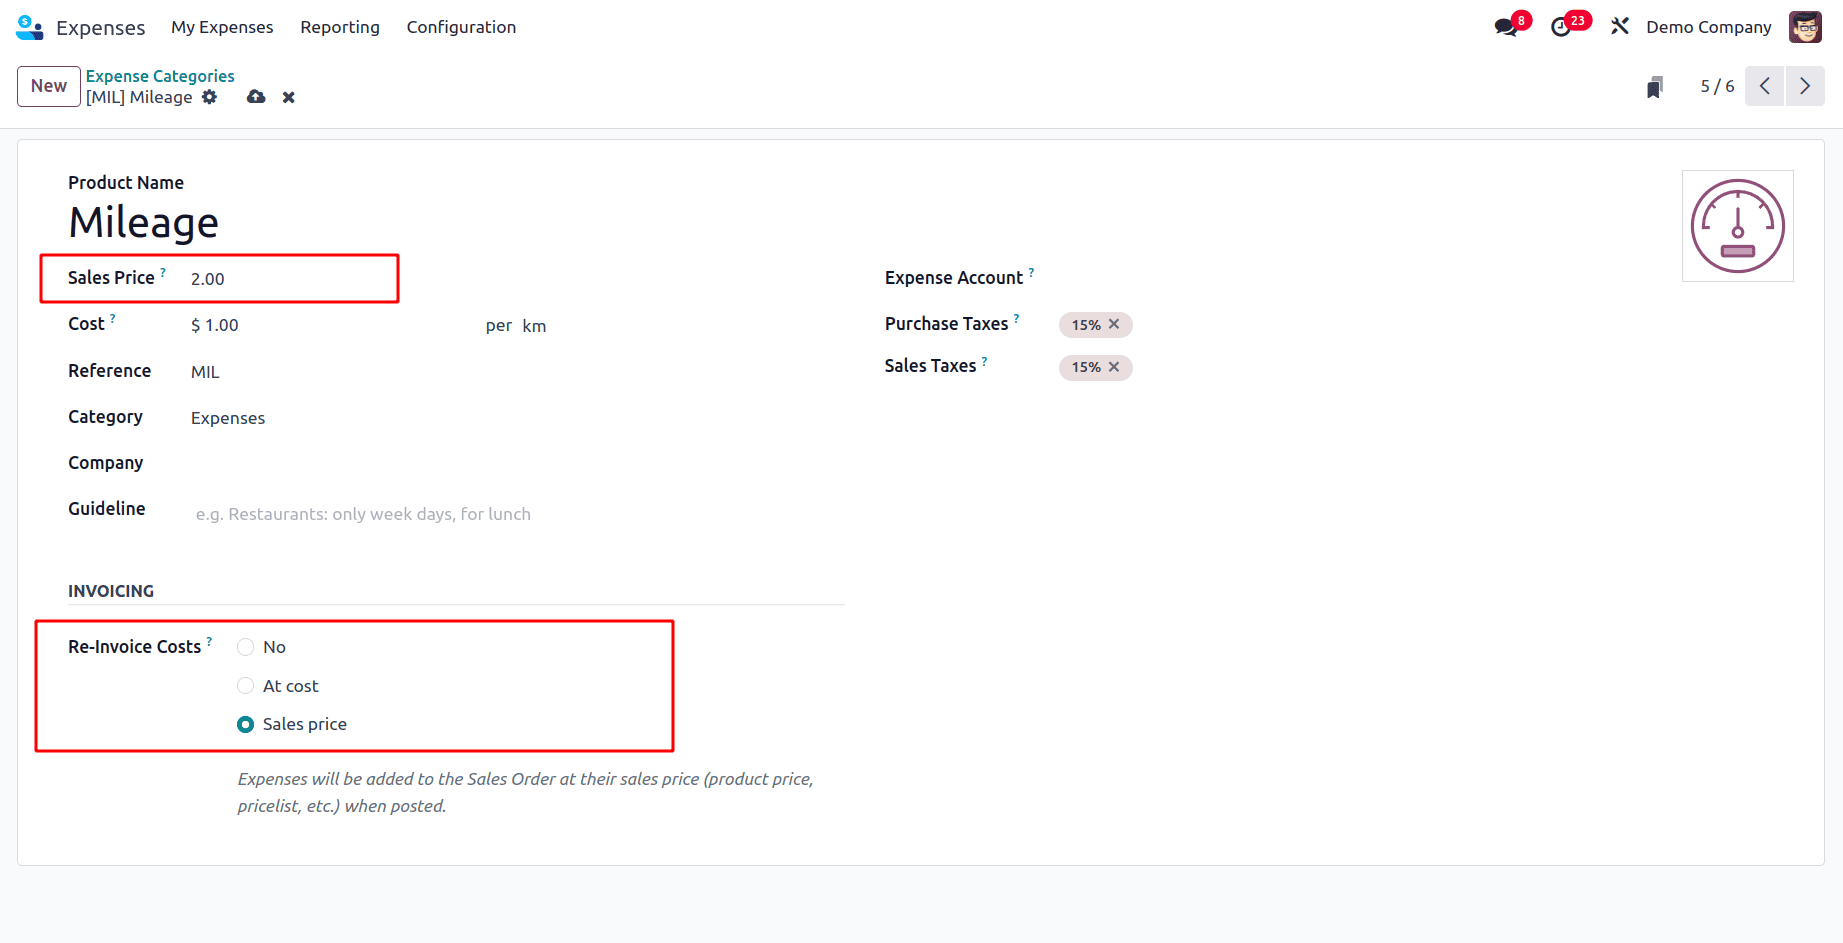
Here, a field for Sales Price has been added where the sales price that needs to be invoiced to the customer can be added. The sales price has been given as 2 Dollars, and the cost price has also been set. So, since the cost price has been set, when using this product, the price of the product cannot be changed; only the quantity can be changed while creating an expense.
Now, create an expense. To do so, go to My Expenses > My Expenses and click on the New button. The expense creation form appears with following fields:
* Description: A brief summary of the expense (e.g., "Lunch with Customer").
* Category: Specifies the type of expense, such as Travel, Meals, or Office Supplies.
* Total: The total amount spent on the expense.
* Included Taxes: Displays the tax amount included in the total cost.
1. Employee: The name of the employee submitting the expense report.
2. Paid By: Indicates who covered the expense:
* Employee (Reimbursement Required): The employee paid out-of-pocket and is requesting reimbursement.
* Company: The company directly covered the expense.
* Expense Date: The date the expense was incurred.
* Account: The financial account where this expense is recorded.
* Analytic Distribution: Used for cost allocation across different projects or departments.
* Company: Specifies the company associated with the expense.
Add all the required fields and also set the Category as Mileage for which the sales price has been set as 2 dollars and Re-Invoice expense has been added as Sales Price. The unit price has been set as the cost price that has been added in the expense category form, and the quantity is given as 30. In the Customer to Reinvoice field, add the sale order linked to the customer to whom the expense should be invoiced. And that associated sale order’s smart button appears at the top.
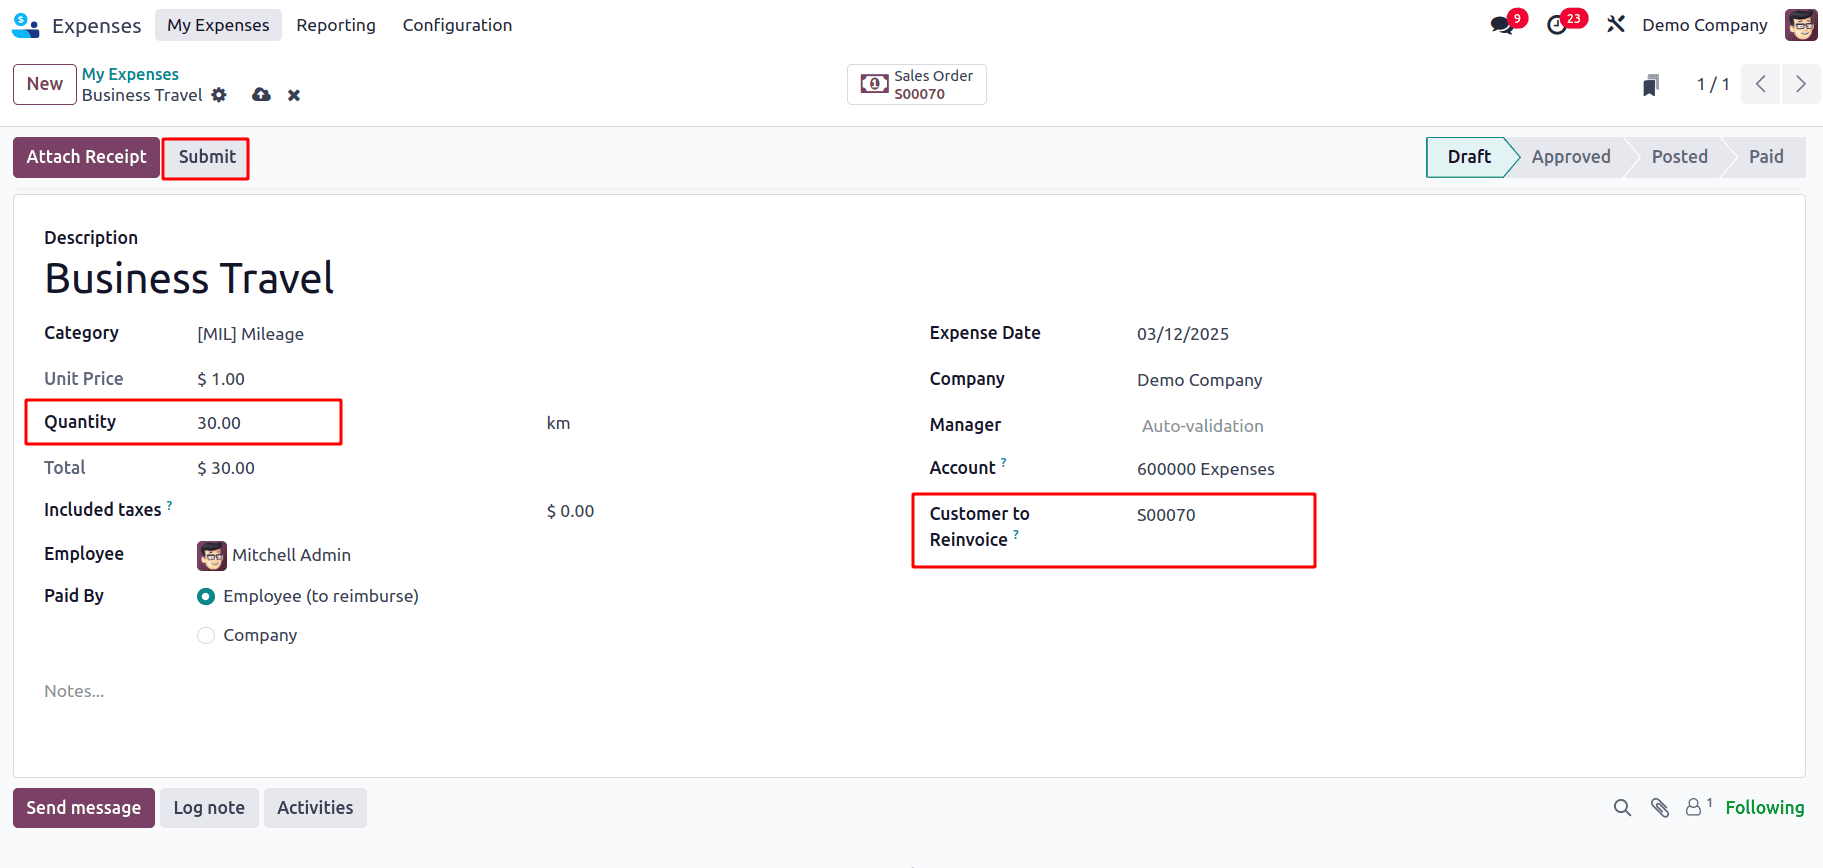
After adding all the required information, click on the submit button to submit the expense for approval. Once the expense has been approved, the journal entries have to be posted. To do so, click on the Post Journal Entries button.
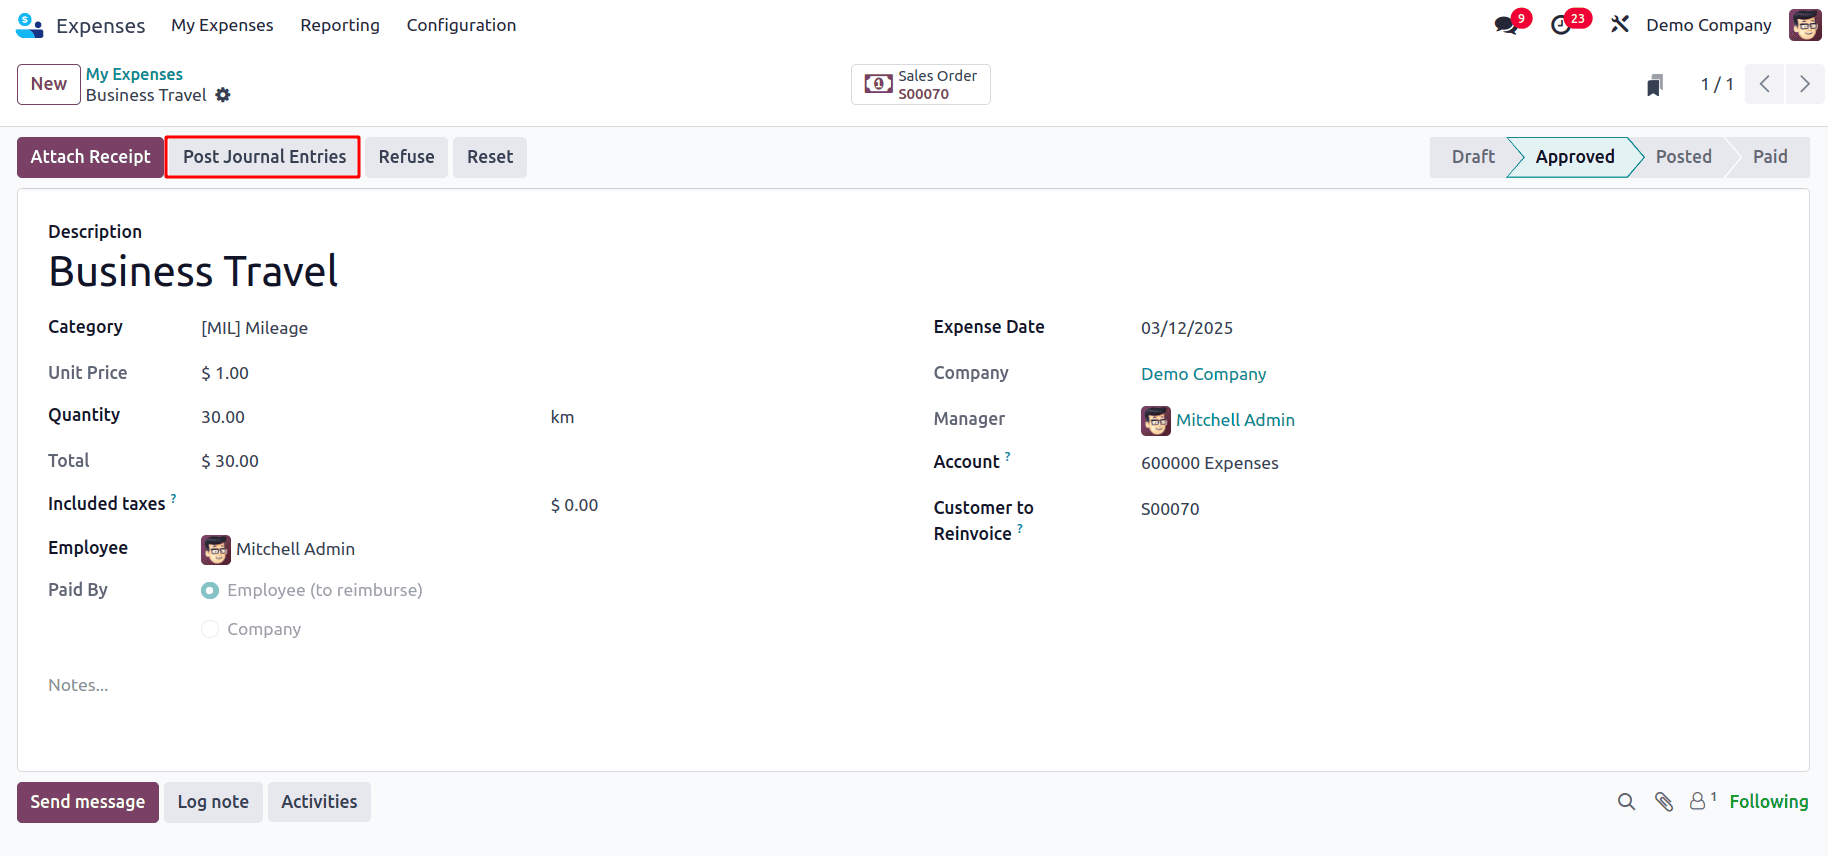
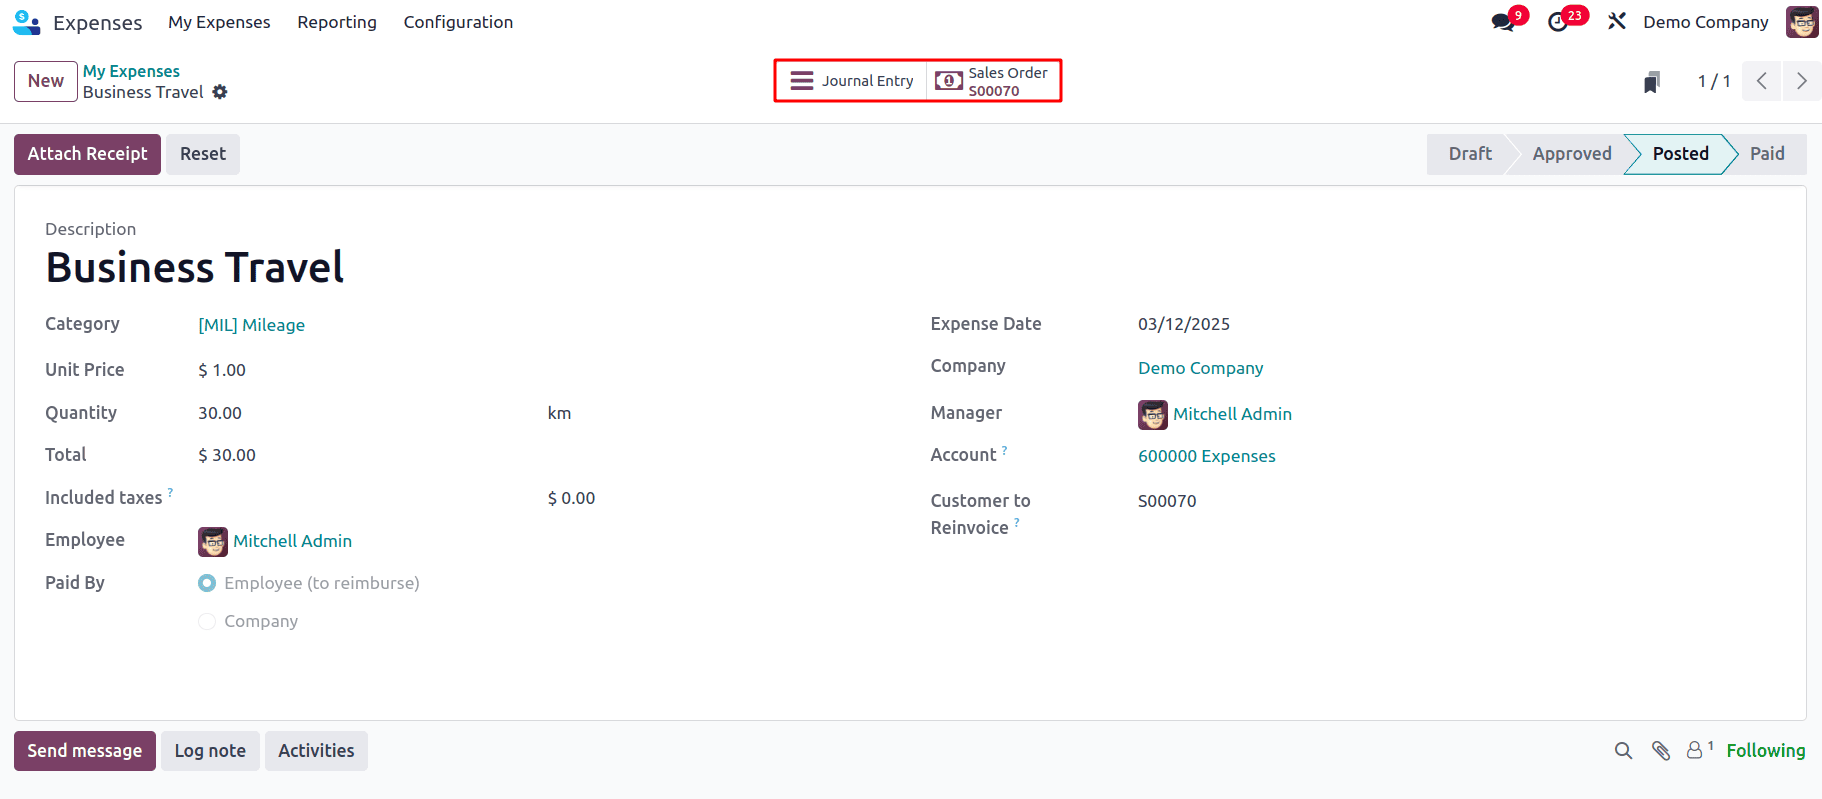
Once the journal entry has been posted, the expense will be added to the sale order so that it can be invoiced to the customer. Also, the journal entry smart tab appears, and it can be viewed from there. Click on the Sales Order smart tab to view the sales order.
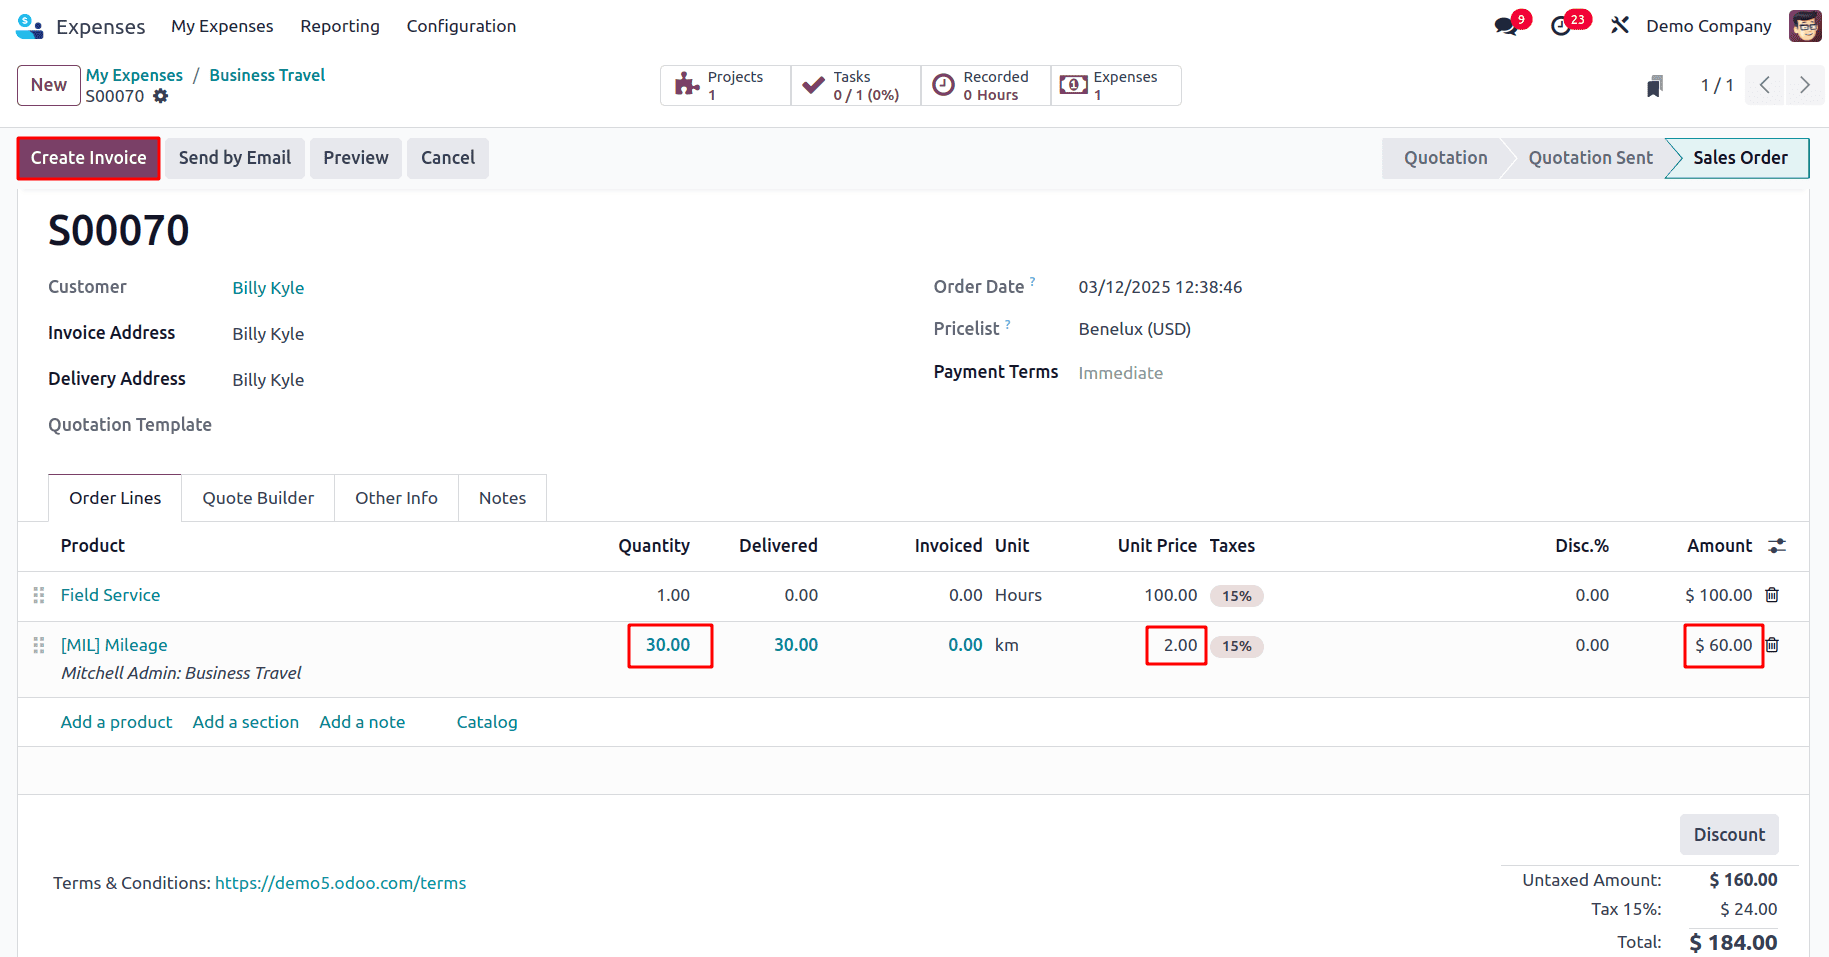
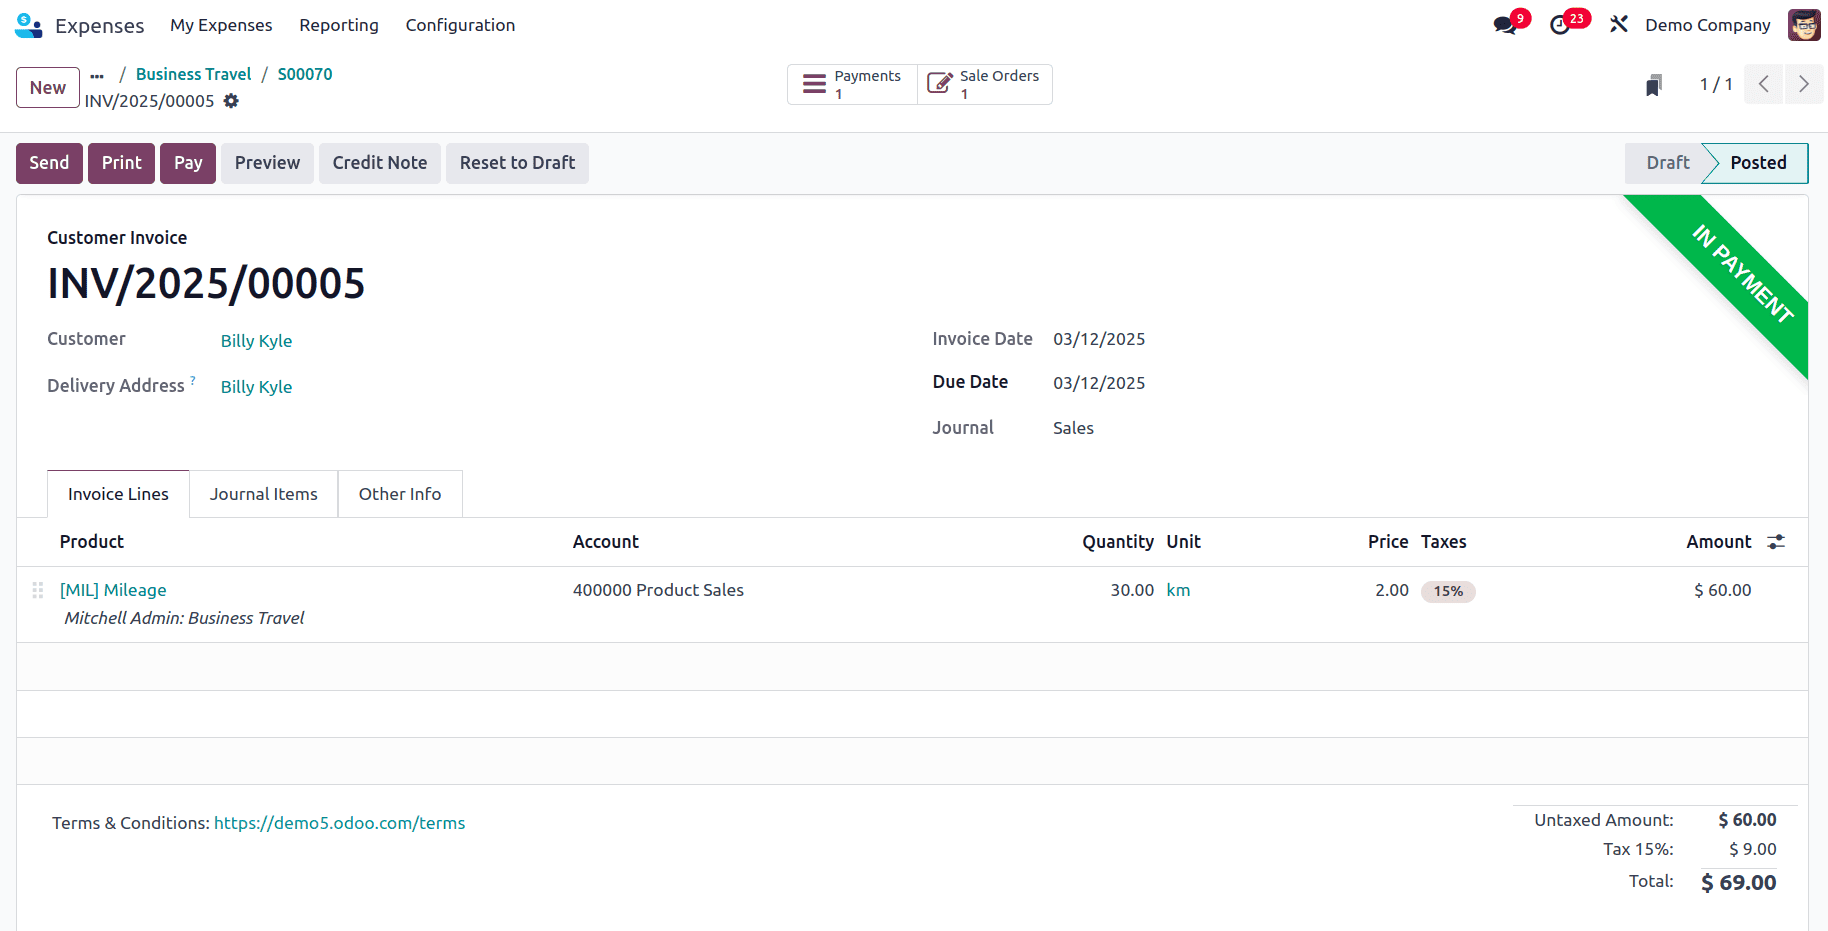
In the sales order, it can be viewed that the expense has been added, and the quantity that has been provided in the expense form has been given as the quantity with the unit price set as the sales price given in the expense category form. Now, to create an invoice for this, click on the Create Invoice button.
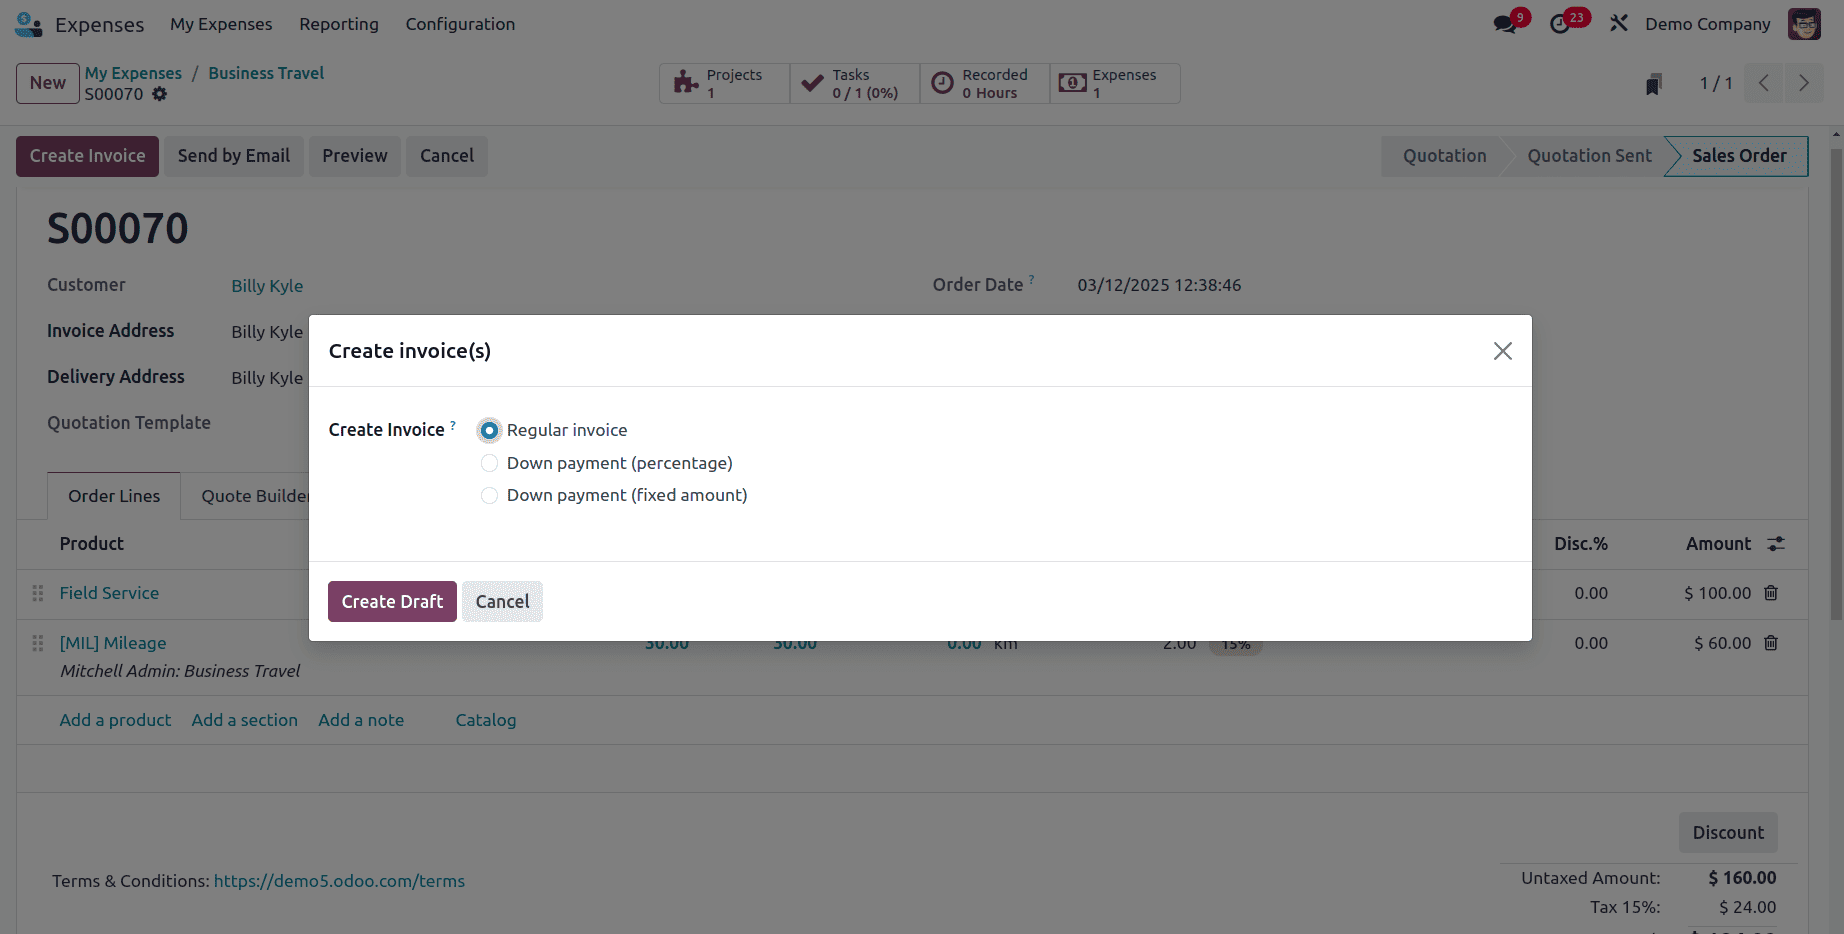
A pop-up appears asking whether to create a Reguar Invoice, Down Payment (percentage), or Down Payment (fixed amount). Select one and click on the Create Draft button to create a draft invoice.
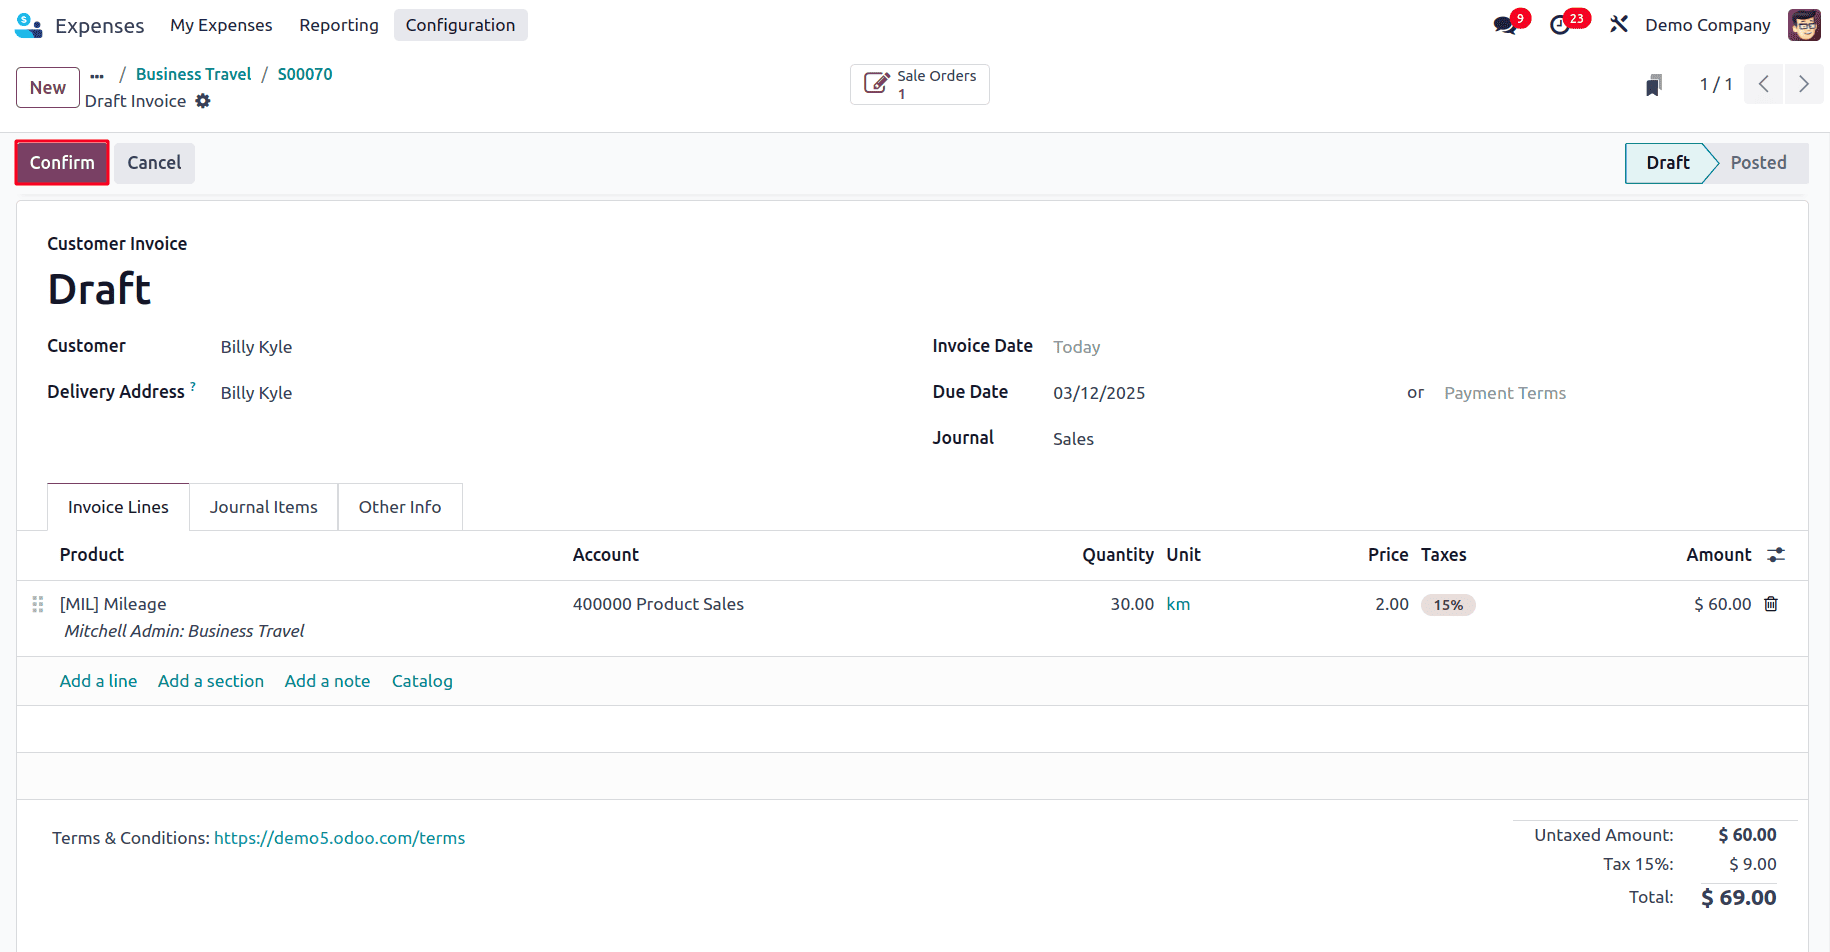
Here, it can be viewed that the invoice has been created for the expense that was created based on the sales price. Now click on the confirm button to confirm the draft invoice.
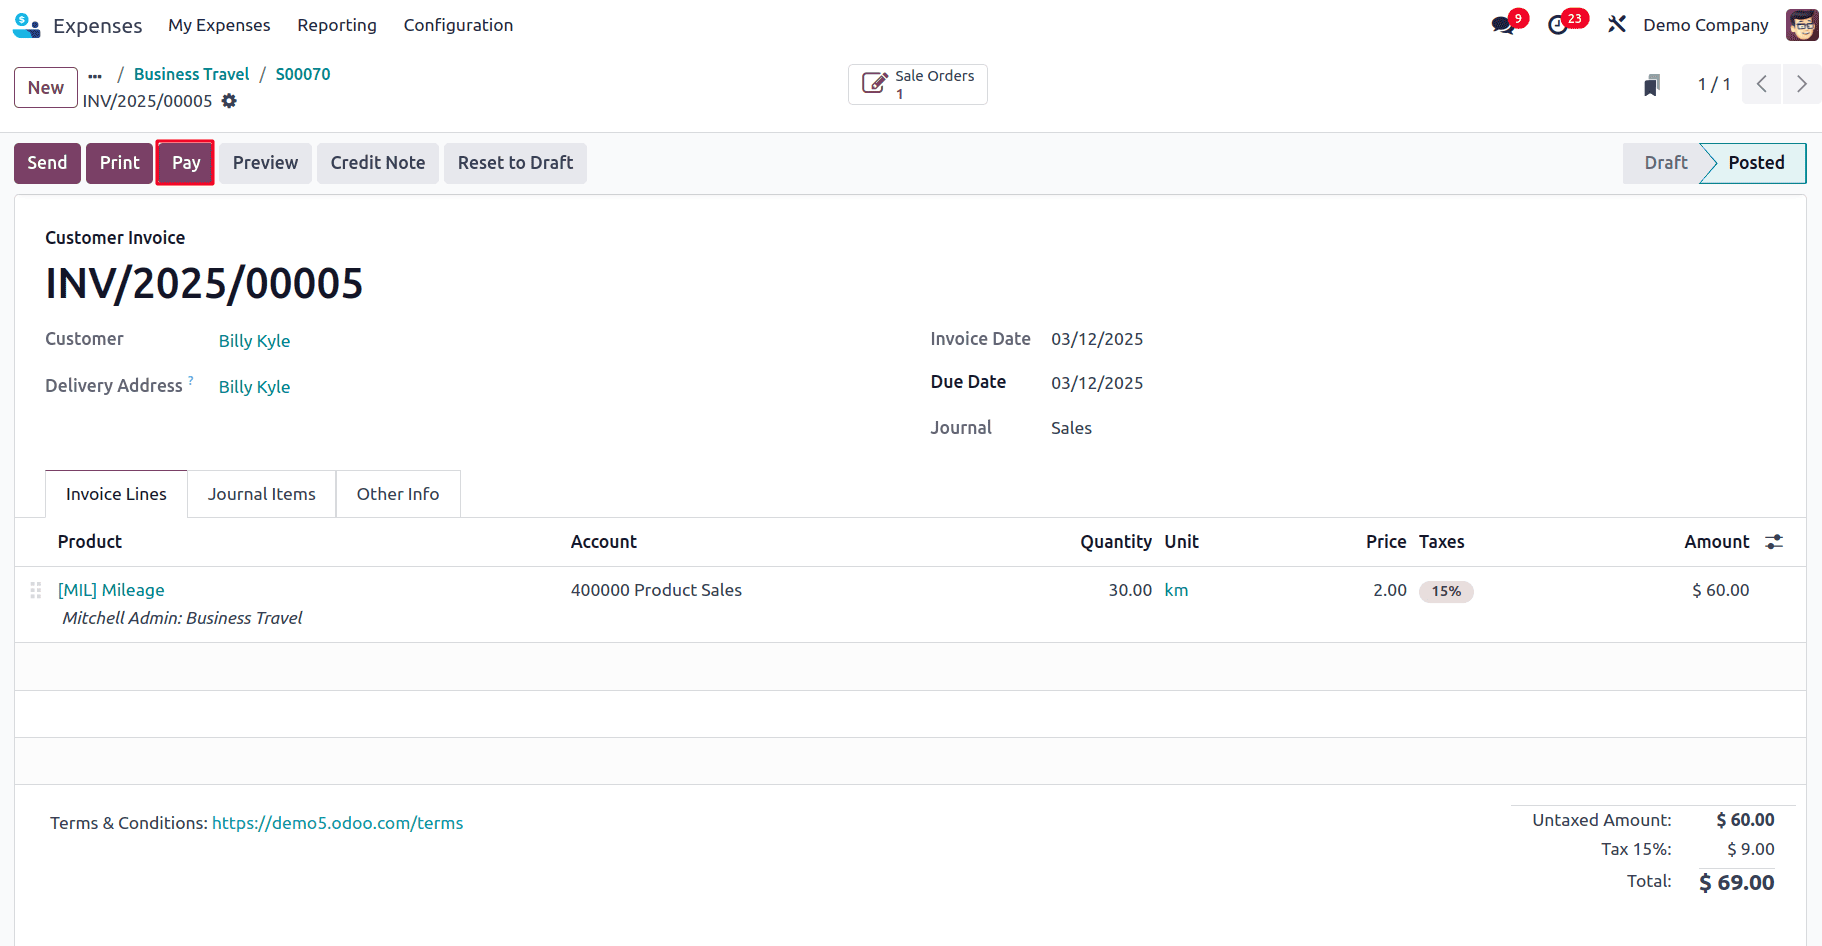
To create the payment, click on the Pay button.
And the payment can be made.
No
Go to expense categories and select the expense for which the expense has to be created, but there is no need to invoice customers. In the Re-Invoice Costs field, select ‘No’. So, expenses created under this category cannot be invoiced to customers.
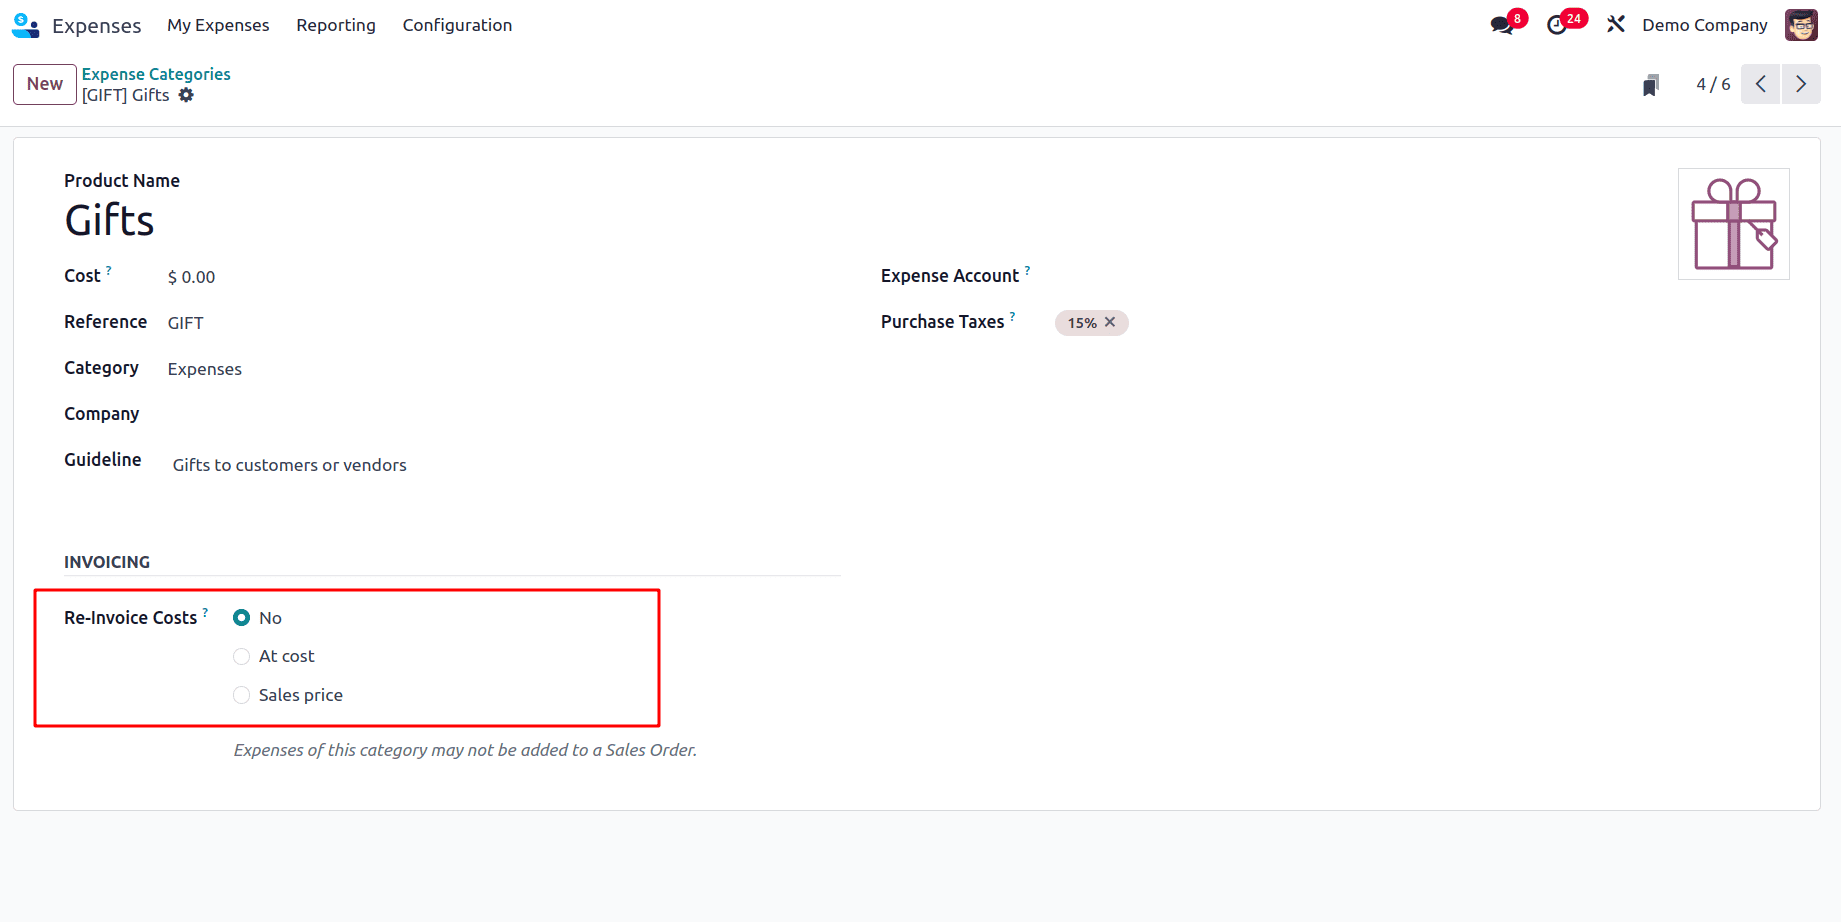
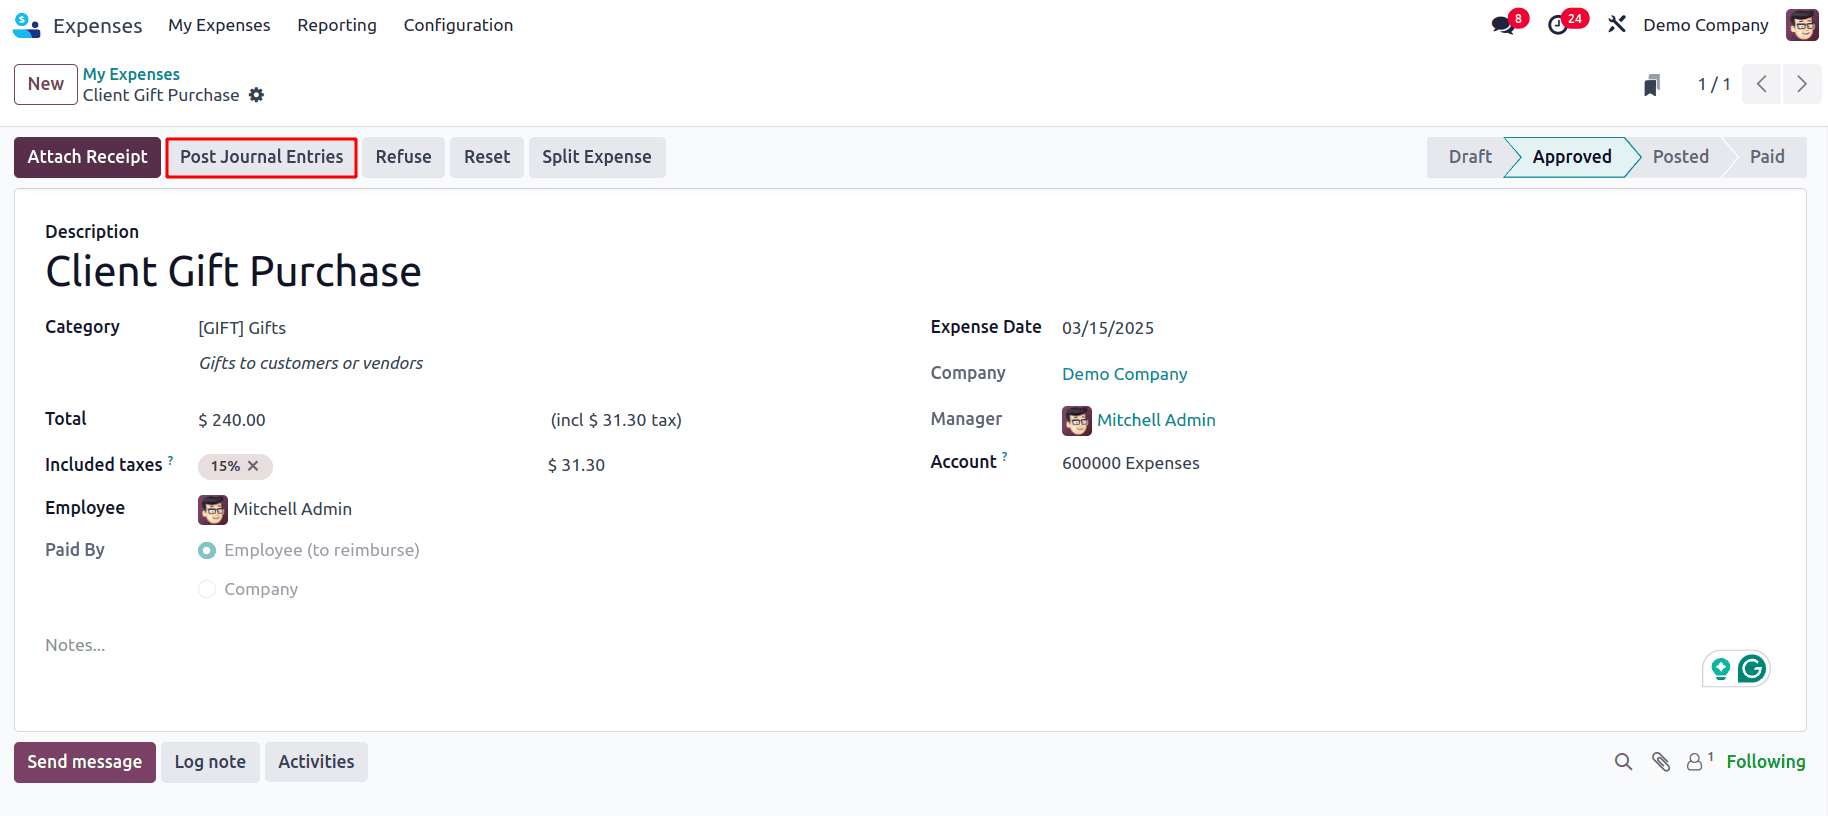
In this case, if gifts or similar items have been purchased for clients, these expenses should be recorded as company expenses since the money has been spent, but they do not need to be invoiced to customers. To record this expense, go to My Expenses > My Expenses and create a new expense by clicking on the New button.
In the expense creation form, add all the required fields and make sure to select the Category properly. Here, there is no field to add customers since there is no need to invoice the expense to the customers.
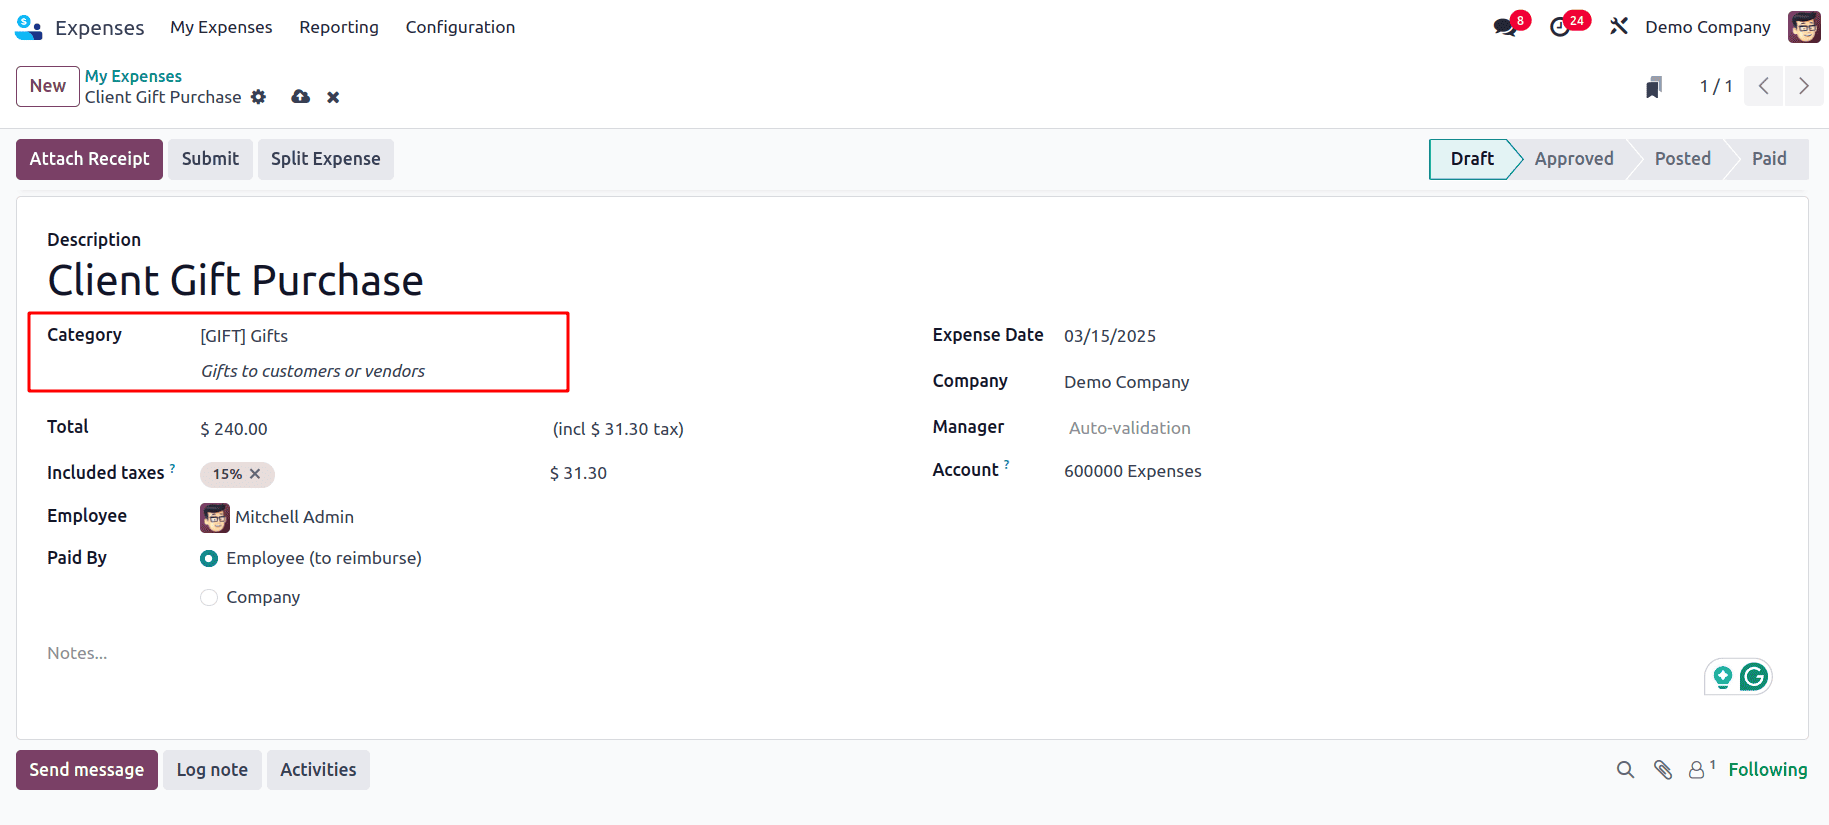
After creating the expense click on the Submit button to submit the expense to the manager for approval. After the expense has been approved by the manager, the journal entries for the expense can be posted by clicking on the Post Journal Entries button.
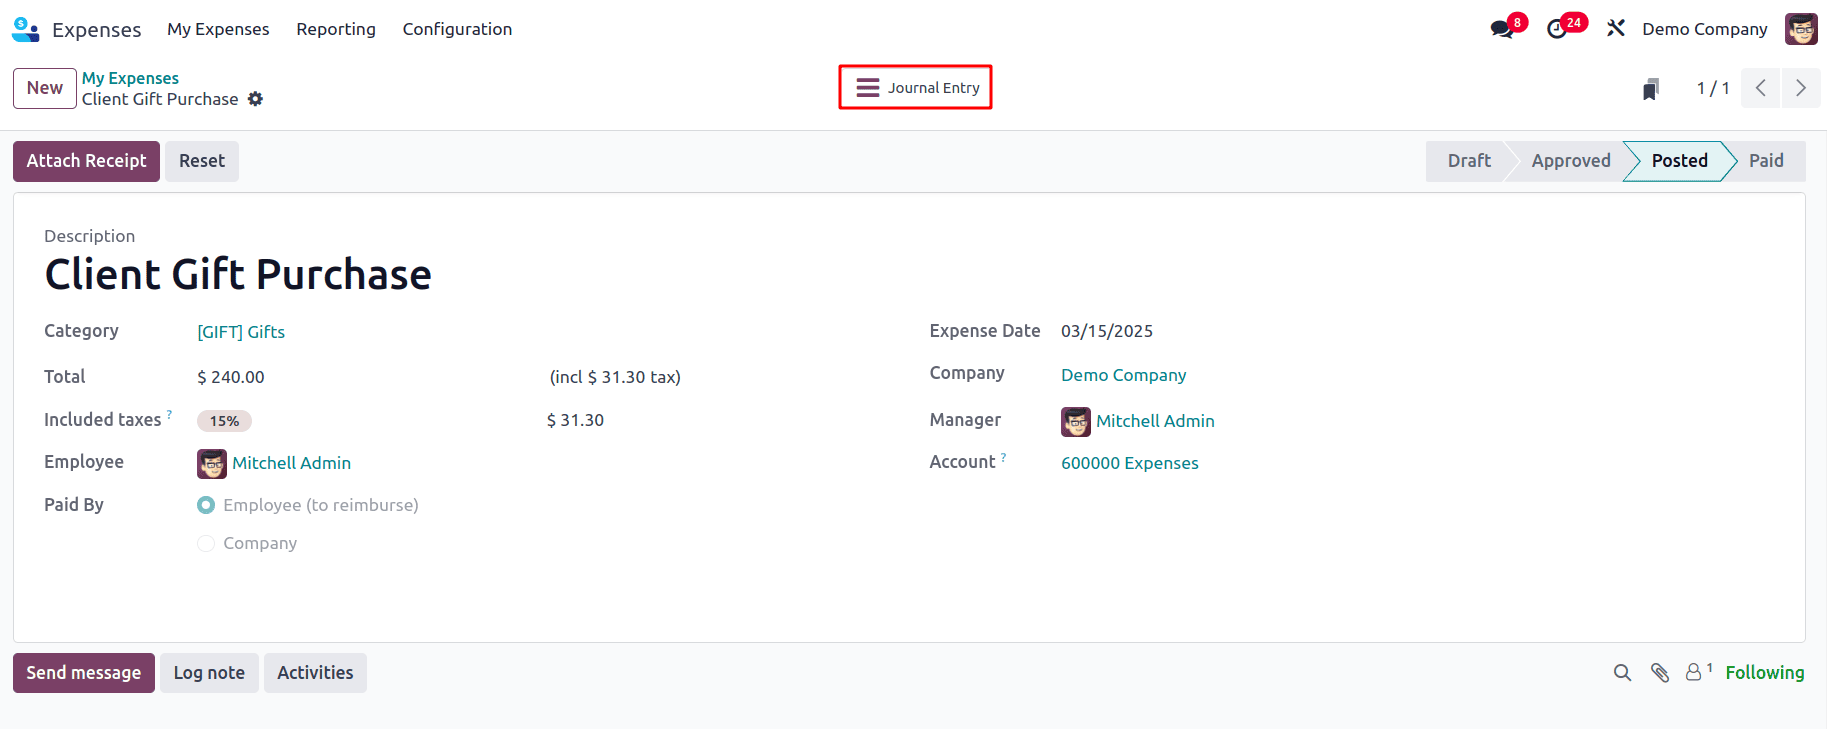
Once the journal entry has been posted, the Journal Entry smart tab appears.
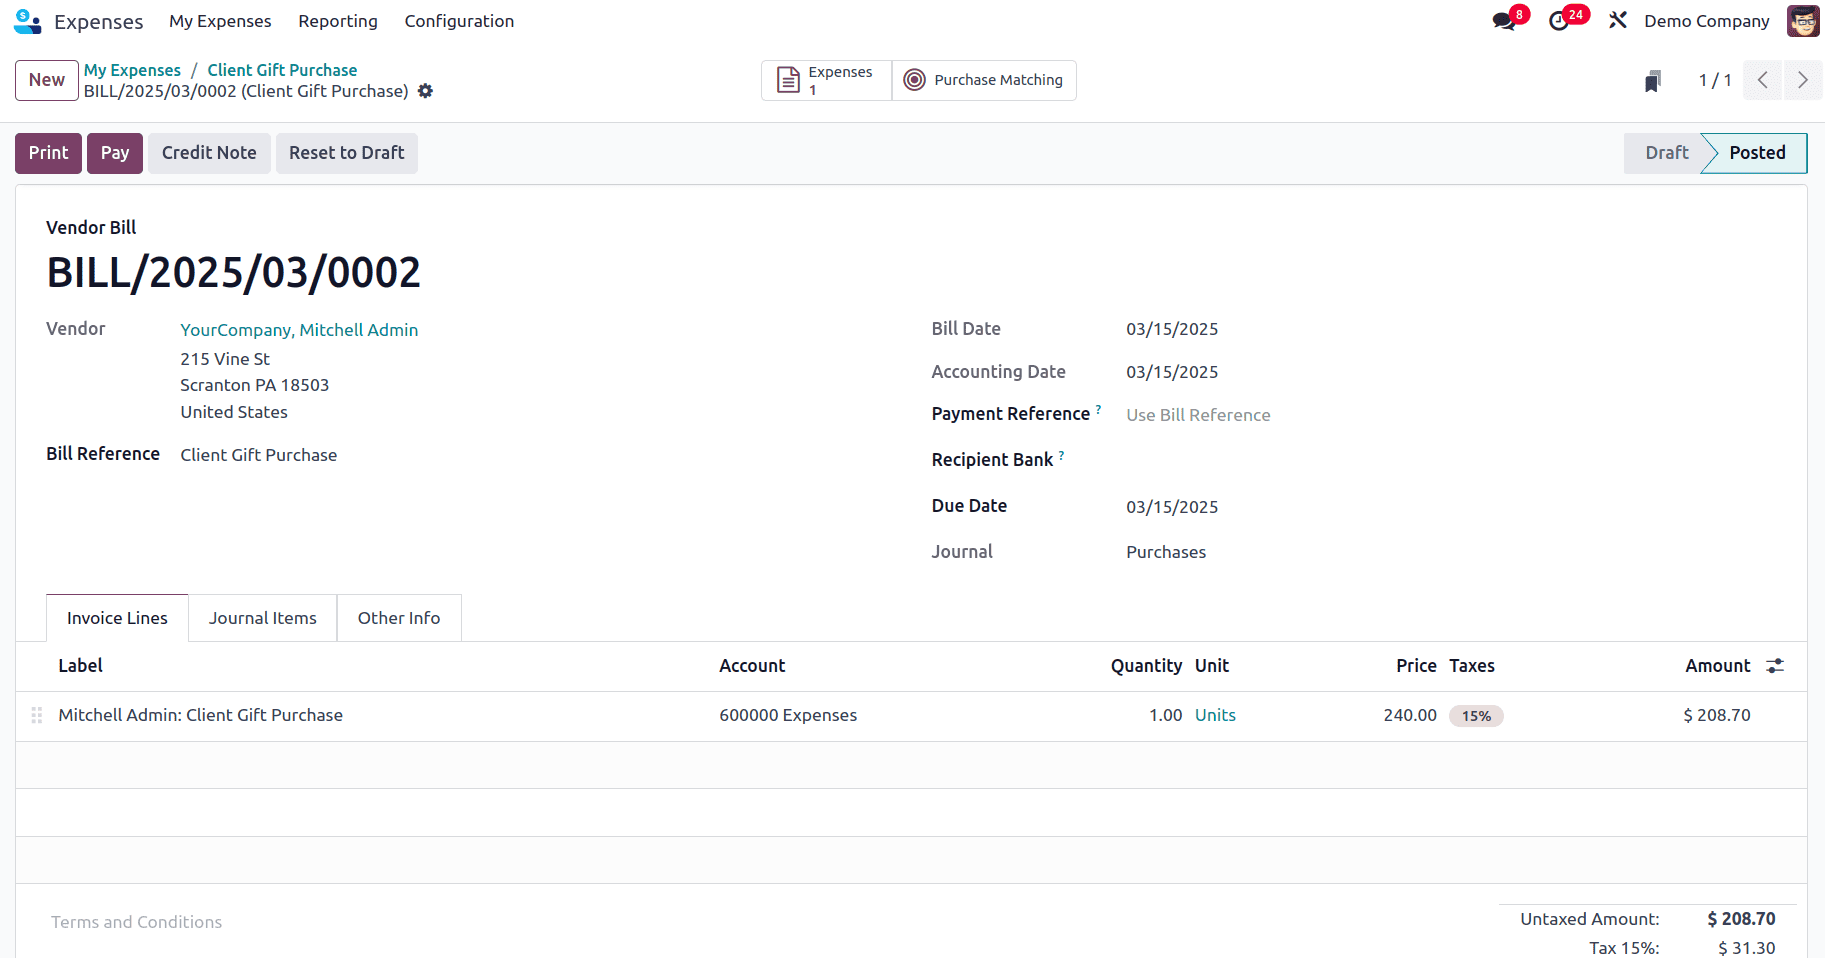
When clicked on that the vendor bill that has been created for the expense is shown.
With this feature, it is very easy to manage the re-invoicing of expenses in Odoo 18, allowing businesses to charge customers for the incurred expenses.
To read more about An Overview of Re-Invoicing Expenses in Odoo 17, refer to our blog An Overview of Re-Invoicing Expenses in Odoo 17.