You can track your financial activities and maintain correct accounting books by managing your accounts in Odoo 17 Point of Sale. This is necessary to make wise business decisions and guarantee the financial stability of your company. Additionally, this will support you in creating and implementing fresh business plans to increase sales. You may accomplish this by automating a lot of the accounting-related operations with Odoo 17 Point of Sale, which can help you save time and money. You may save time and effort by having Odoo 17 Point of Sale automate a lot of the account management chores. You will therefore have more time to concentrate on other facets of your company.
You may increase the precision, effectiveness, and scalability of your accounting procedures in Odoo 17 Point of Sale by setting up accounts for partners, products, default accounts, and journals in payment methods. This might assist you in making wiser business decisions and guaranteeing the stability of your company's finances.
The Point of Sale module's configuration settings include an accounting section where you may set up the accounting details.
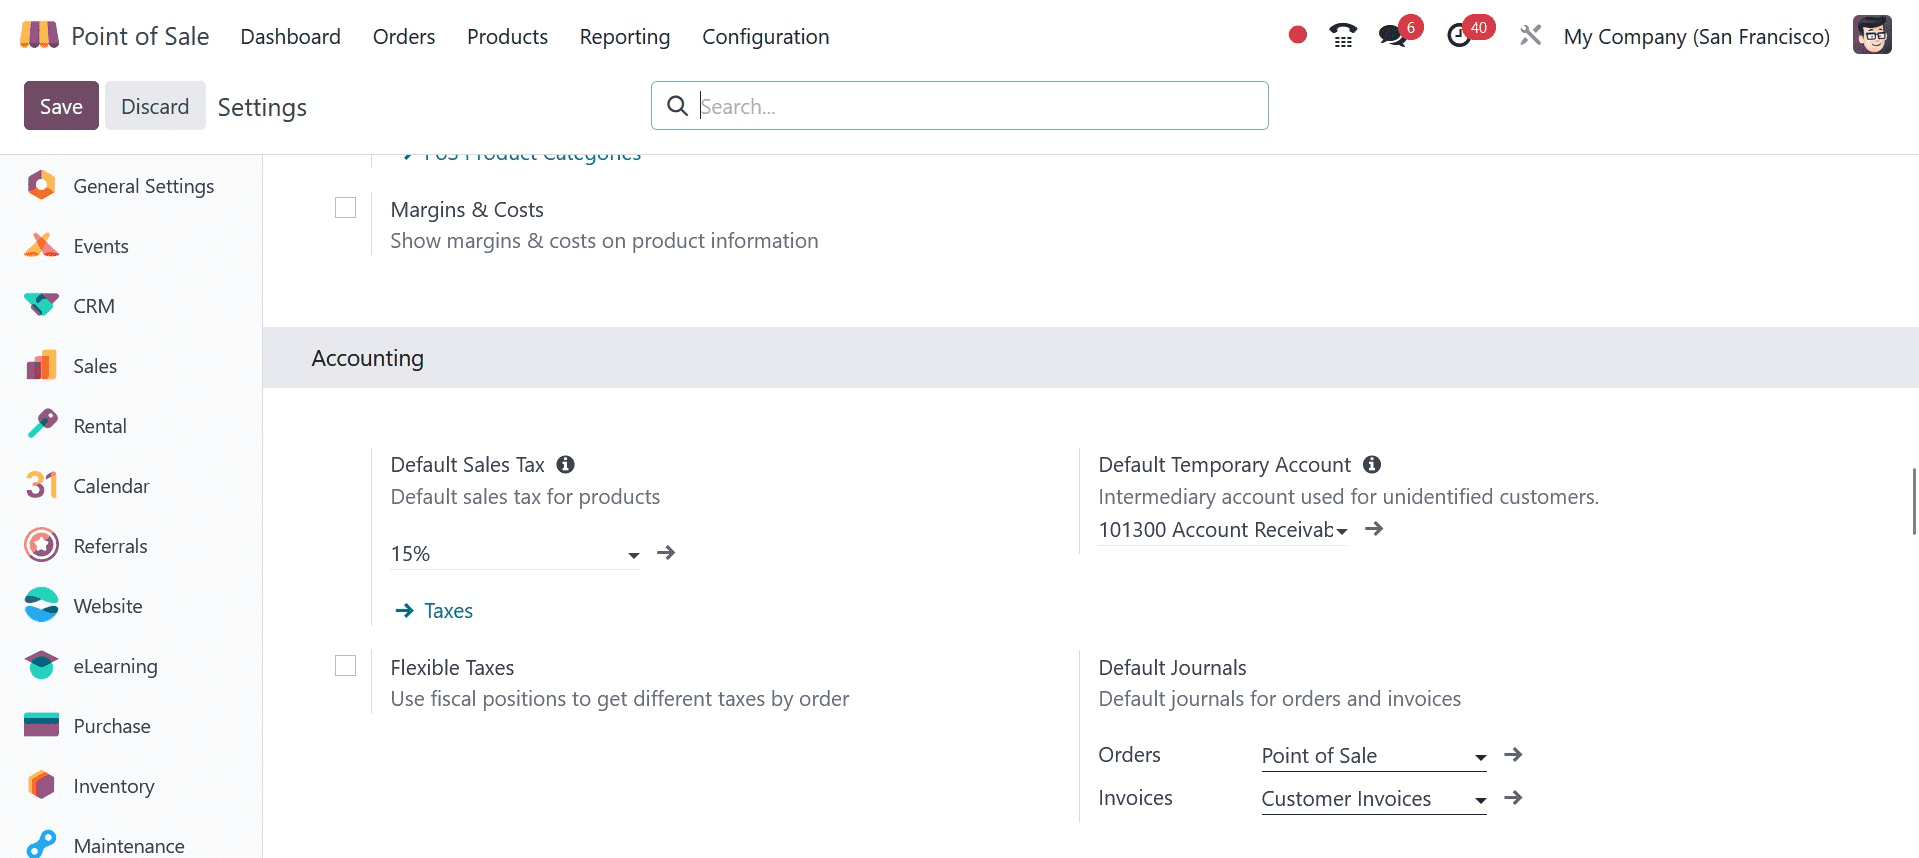
This is where your Point of Sale module's full accounting specifications are set up. You can configure the account for your orders and invoices by selecting the Default Journals option. Every time the session is closed after the orders' journals have been set, an entry for each order that hasn't been invoiced is created in the designated journal located within the Orders field.
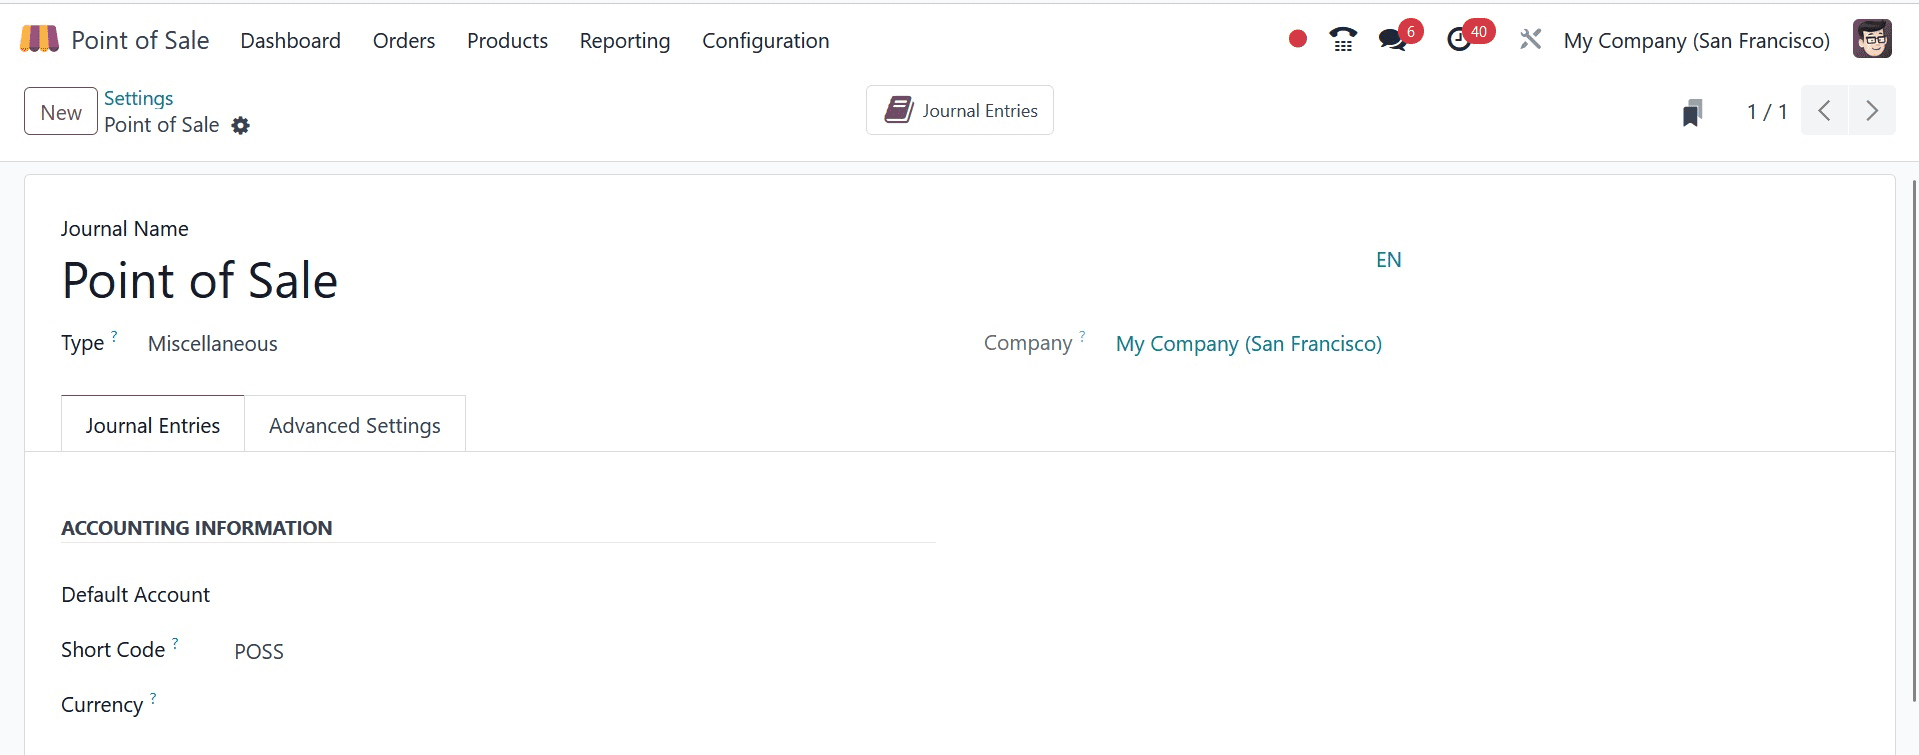
This journal will contain all orders without invoices, and its type should be Miscellaneous. Let's see how the PoS session will incorporate the journal entries.
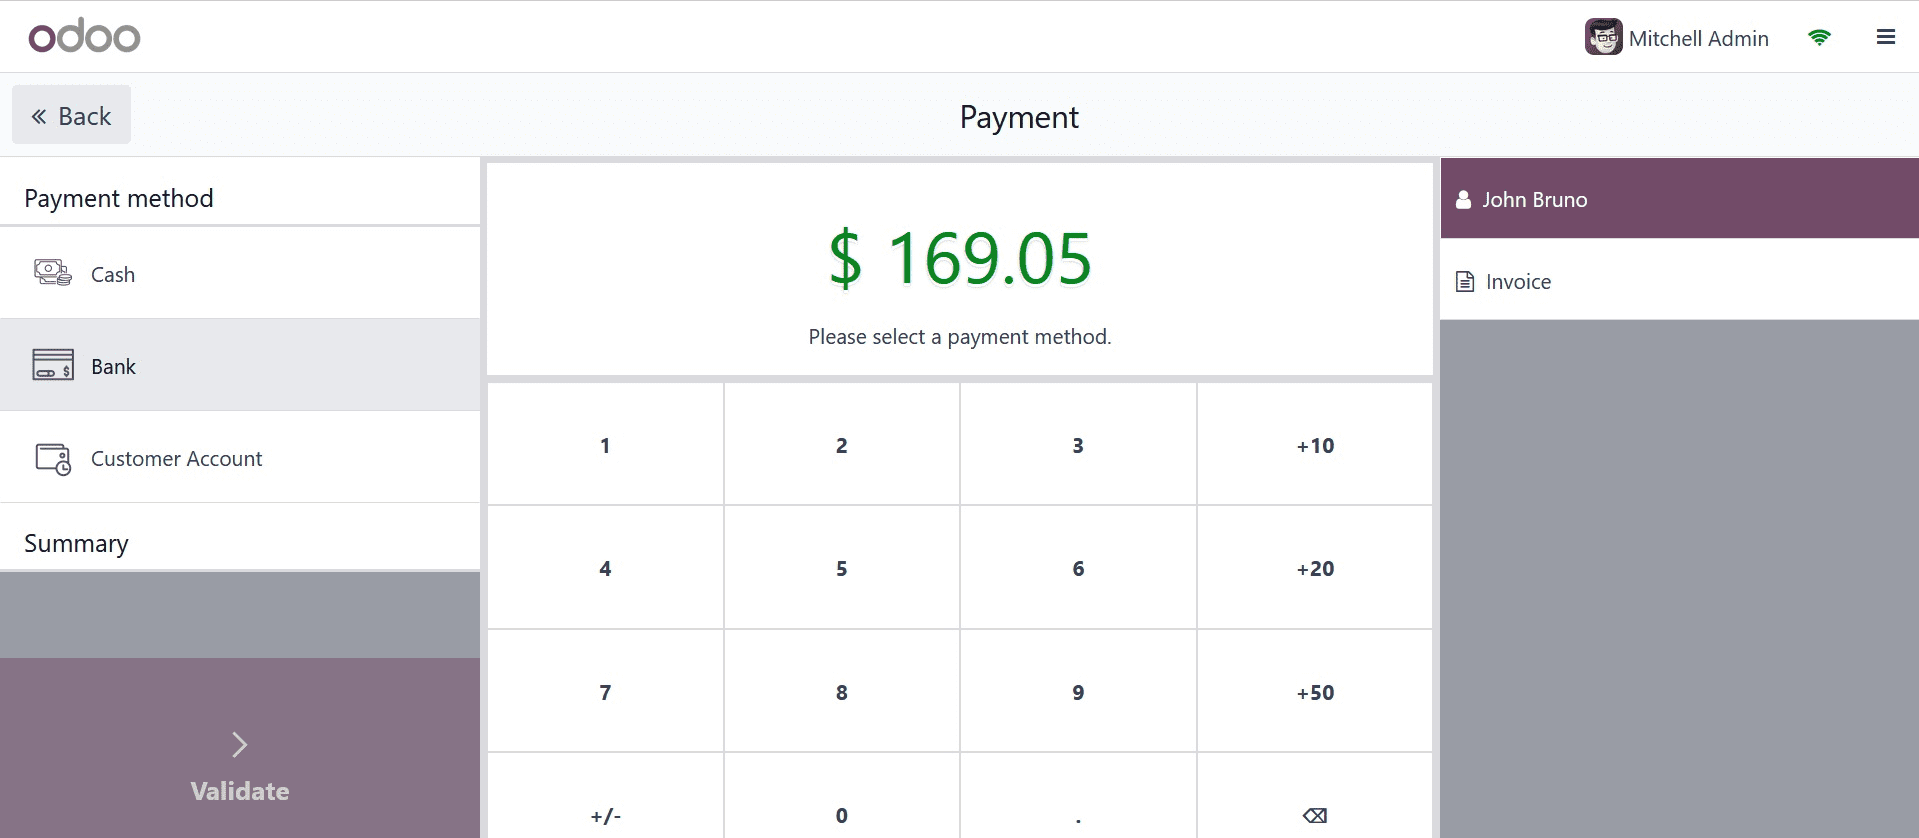
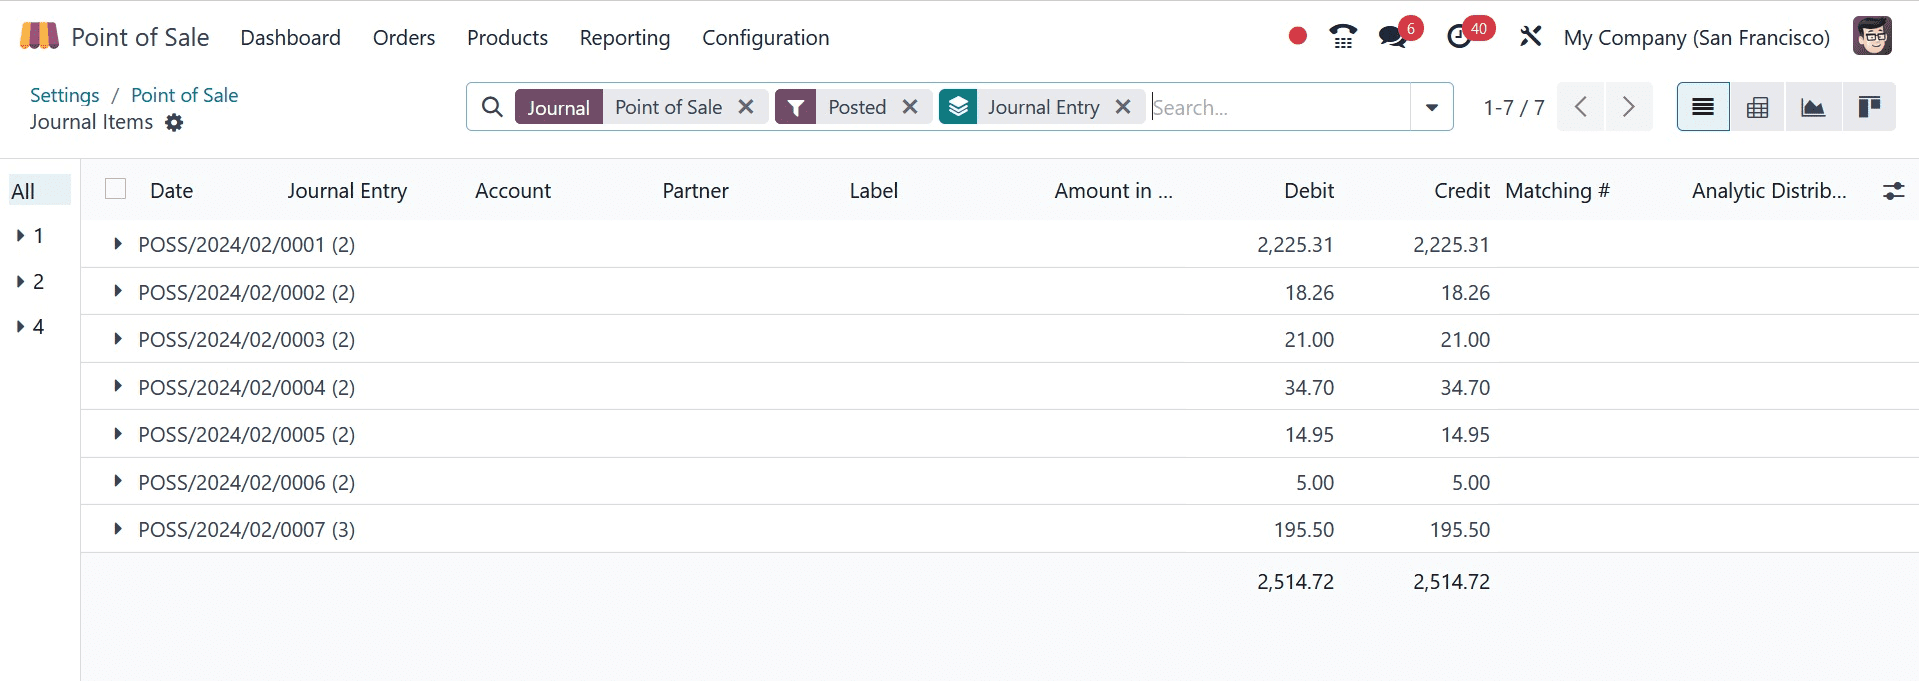
Without the invoice, you may see that the payment is complete here. The entries will therefore be added to the journal you choose in the Orders section after the session is closed.
You can create accounts inside the journals you specified in the "Invoices" column, and the invoiced entries will be added to those journals.
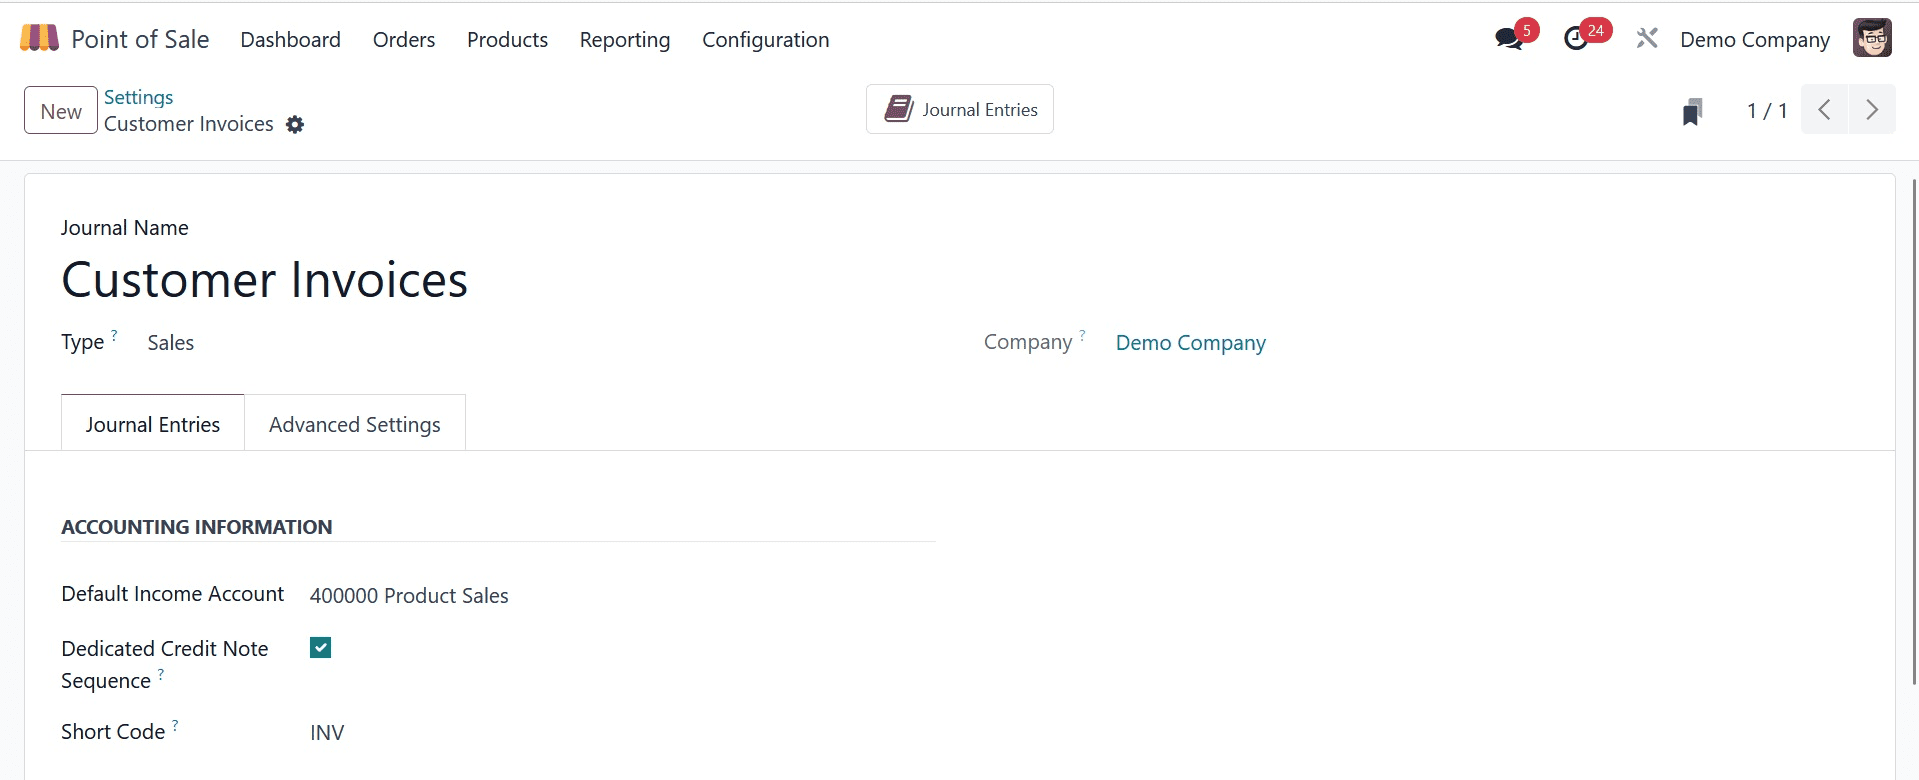
As you can see, you have selected the orders' default income account and the journal type is sales. Let's examine the differences between the invoiced orders and the entries.
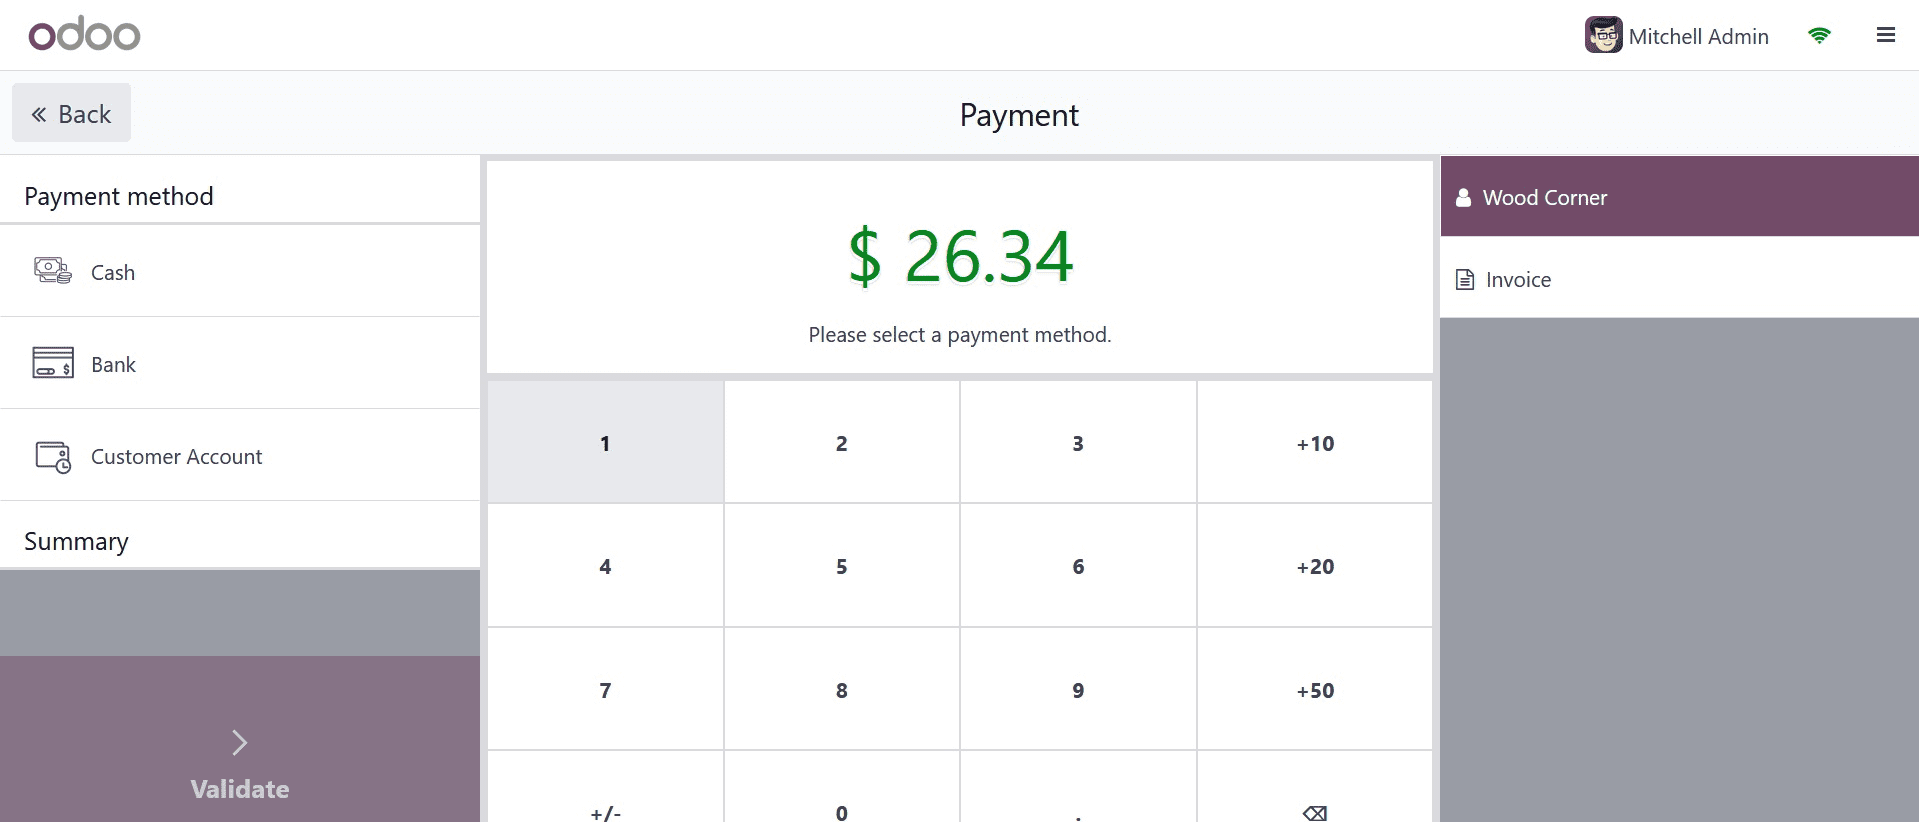
You can see that the journal entries are generated inside the journal you provide inside the Invoices Journal after paying the invoice in full.
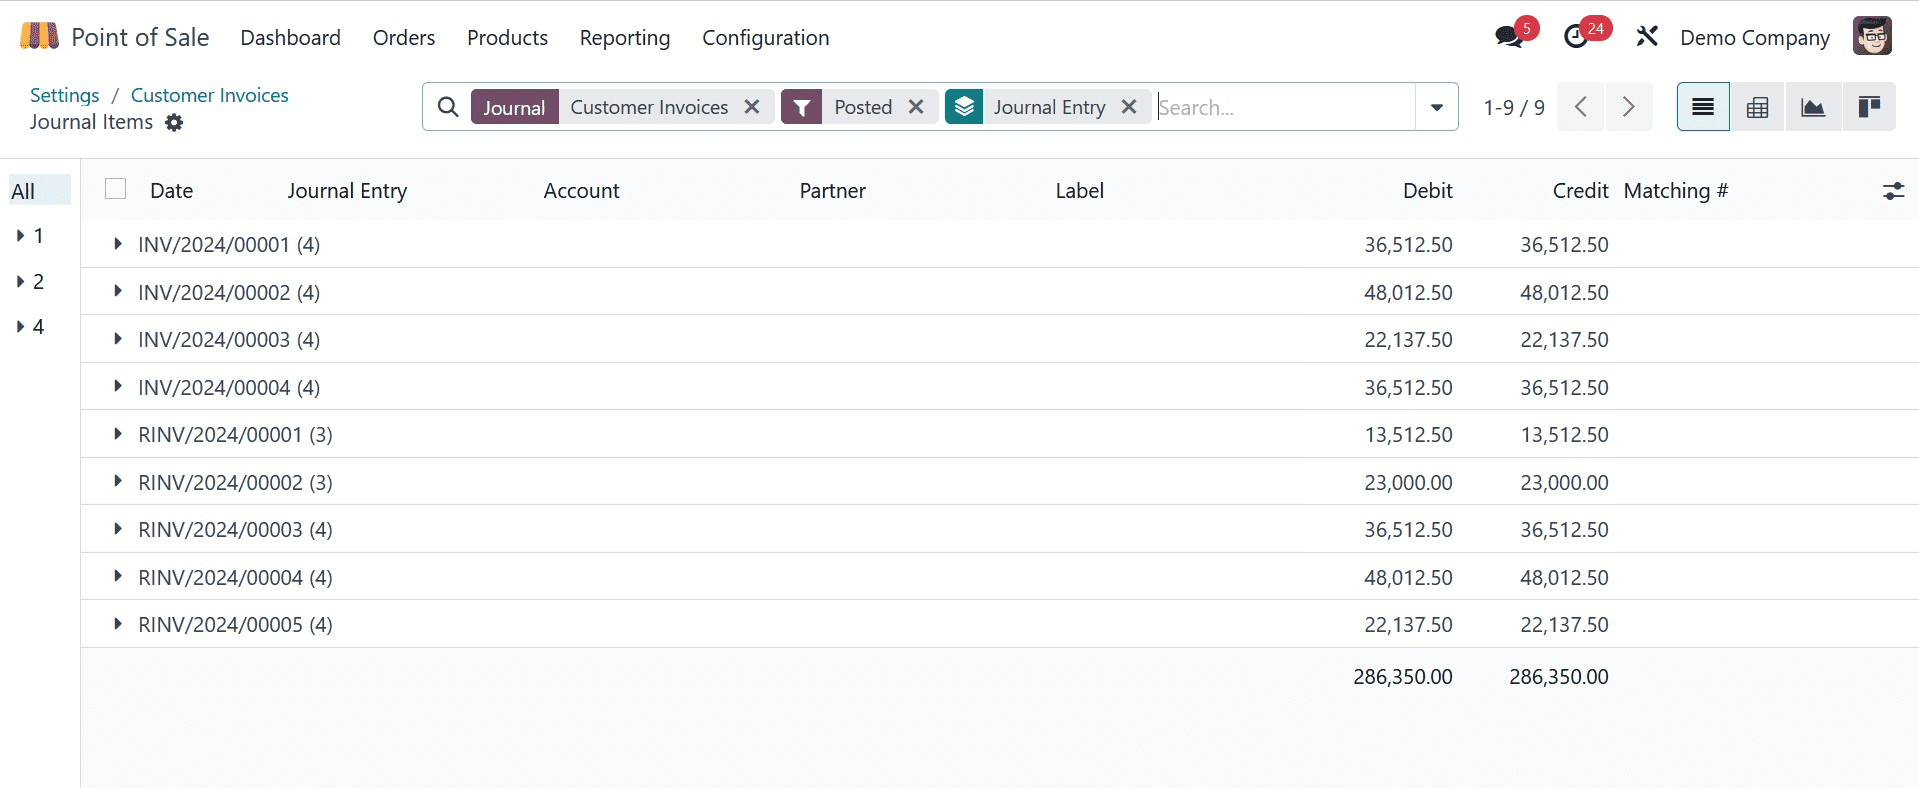
It is evident from this that the entries are created within the journal you supply within the Invoices journal.
Enhancing the precision and adherence of your accounting documentation can be achieved by keeping distinct journals for invoices and receipts, as well as two journals for orders containing invoices and receipts.
In the products, you may also create an income account. You can adjust the accounting configurations on the Accounting tab directly from the product form.
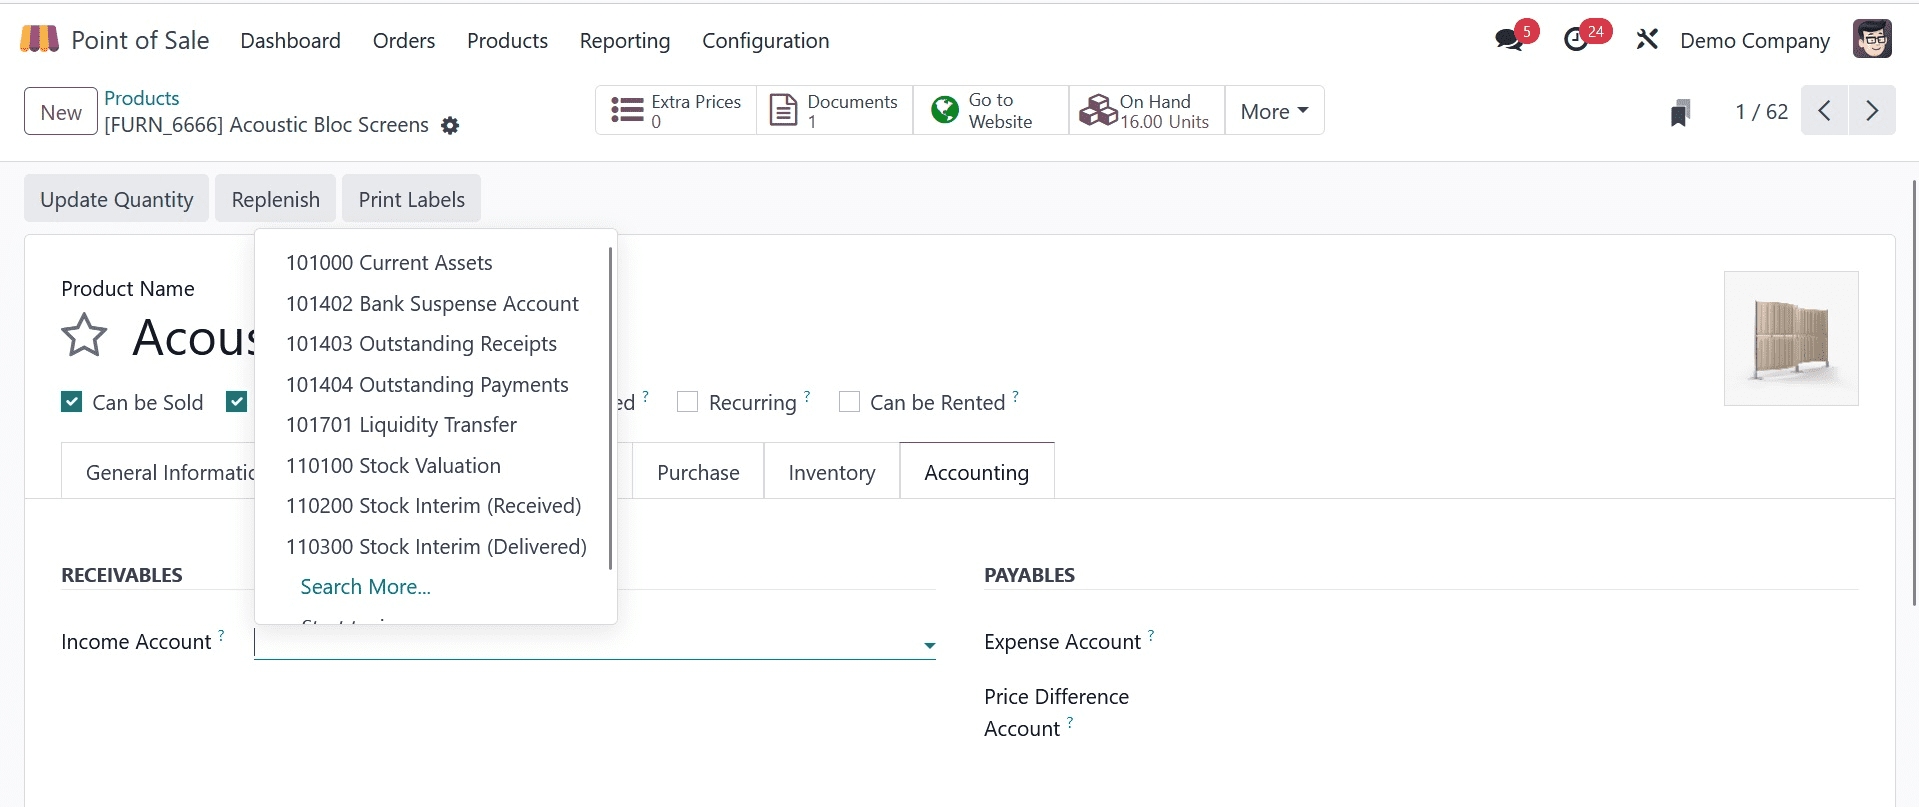
Odoo will automatically choose the default income account to enter into the journal if you did not specify any accounts within the product.
As seen below, you may select the customer account within the customer form.
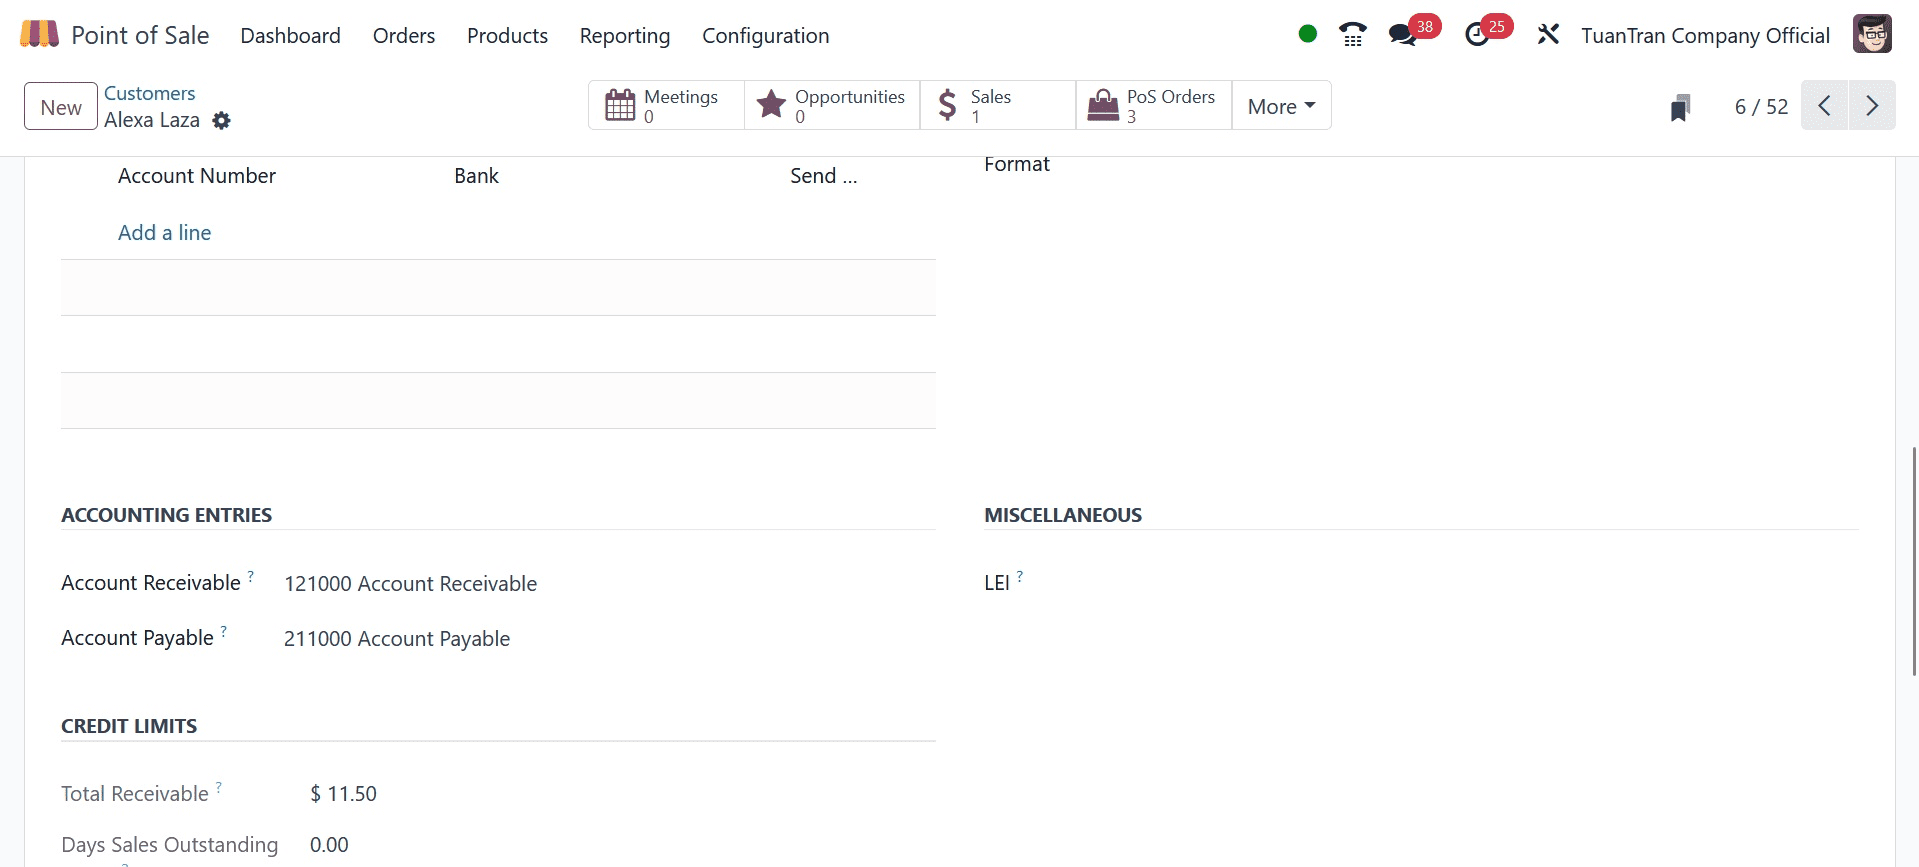
Here you can see that the Customer account is provided inside the accounting tab. Also, you can set the Receivable account inside the payment method.
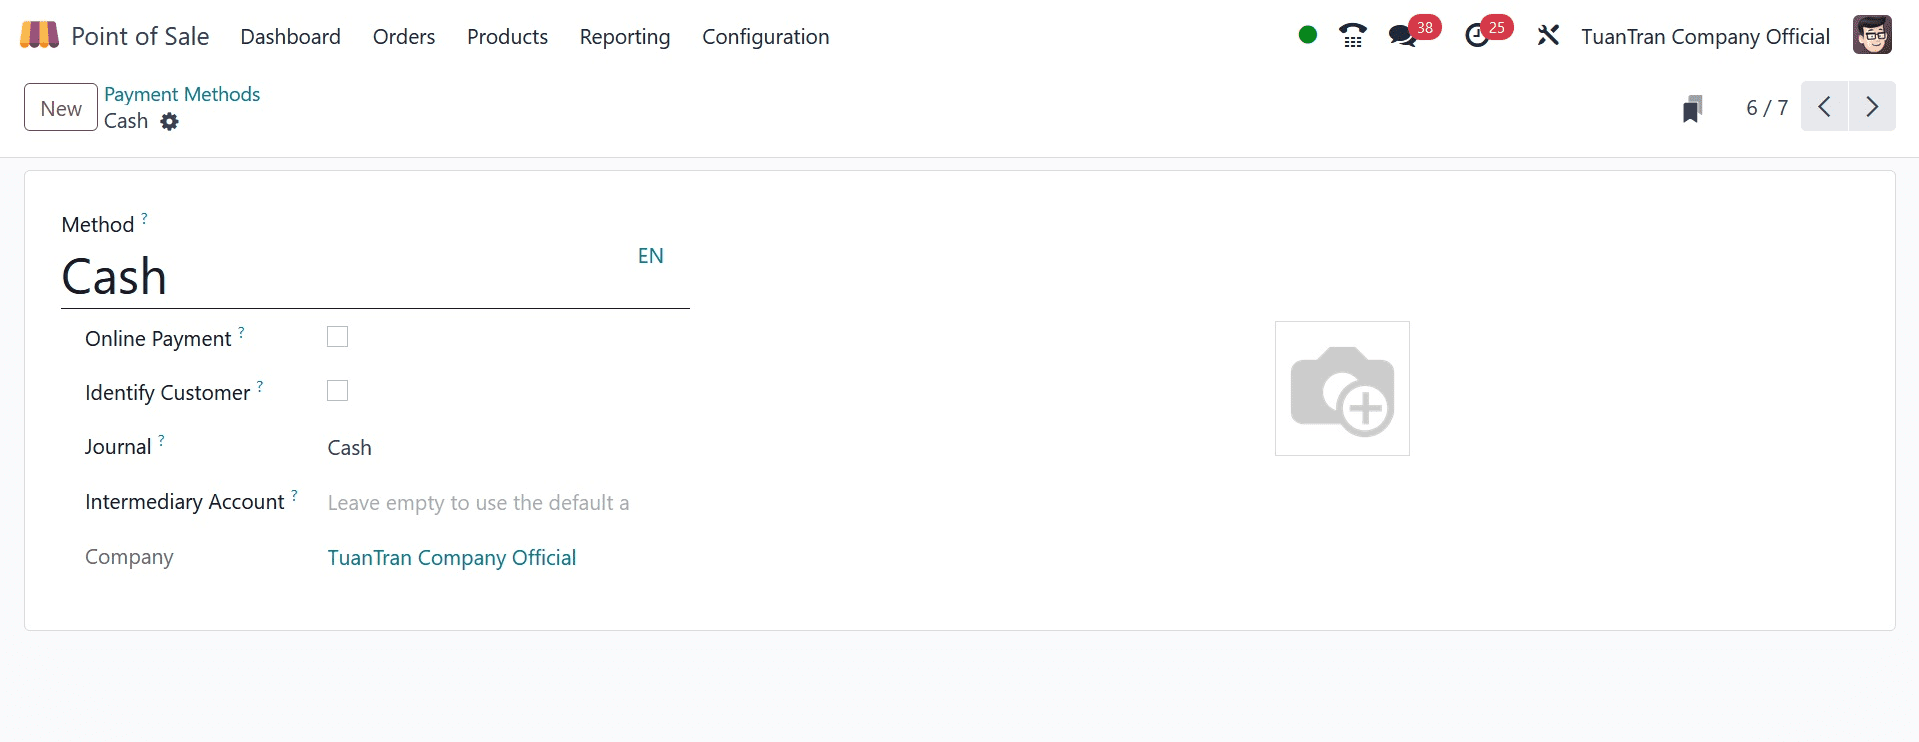
As you can see, payments from customers were made using the intermediary account. To utilize the default account, you can leave it empty.
Orders placed with unidentified customers will therefore be placed into the temporary account you specified as the default in the Odoo 17 PoS configuration settings.
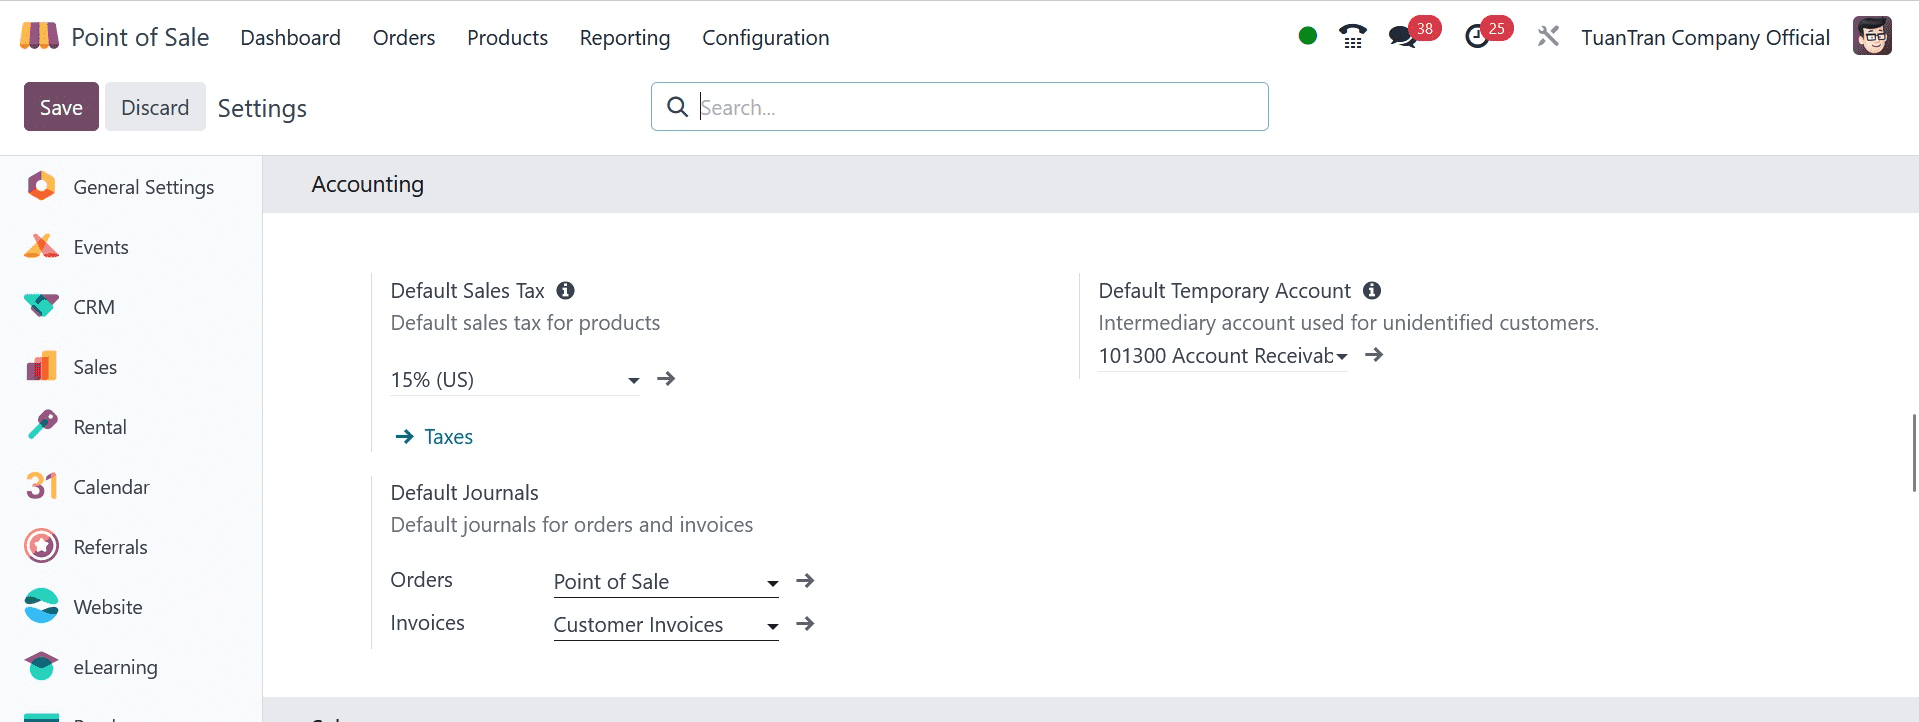
When accepting orders, this intermediary account is utilized for anonymous consumers.
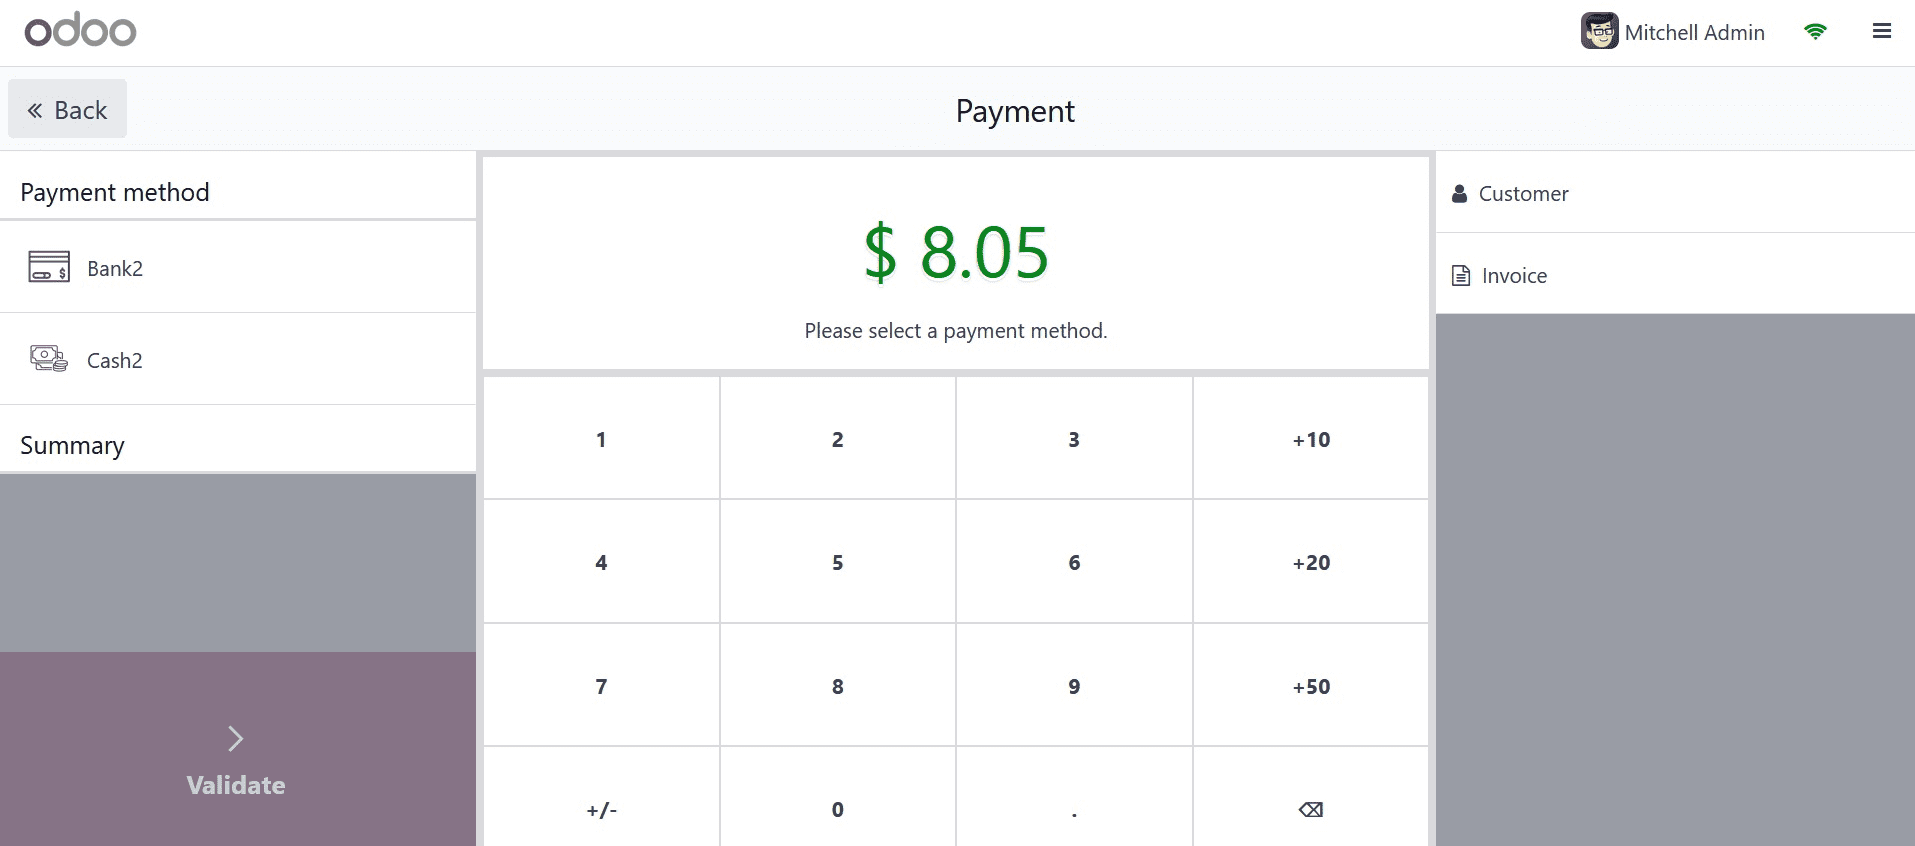
As you can see, the customer is not included in the above-mentioned order. In these circumstances, the entry will be added to the temporary account you specified as the default inside the PoS's accounting configuration.
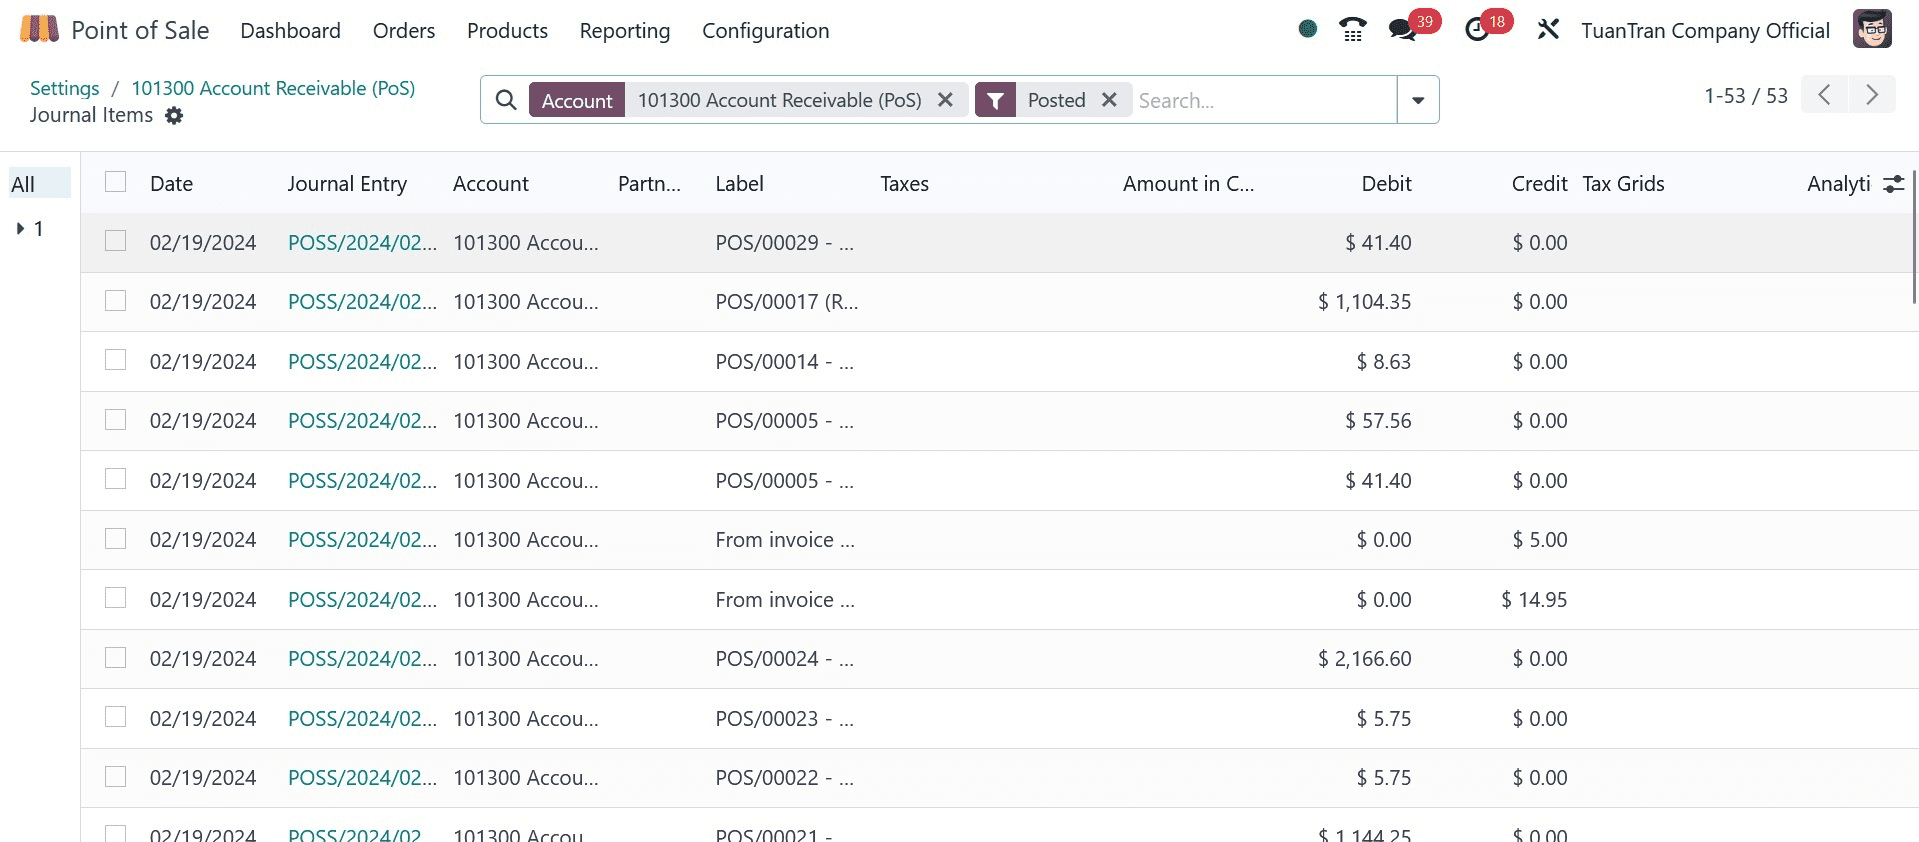
You can make sure that your accounting records are accurate by keeping track of temporary sales using a different account. This is because there is a lower possibility of error. After all, the temporary account won't be used for any other kind of transaction.
You can set up the tax for your nation in the accounting section.
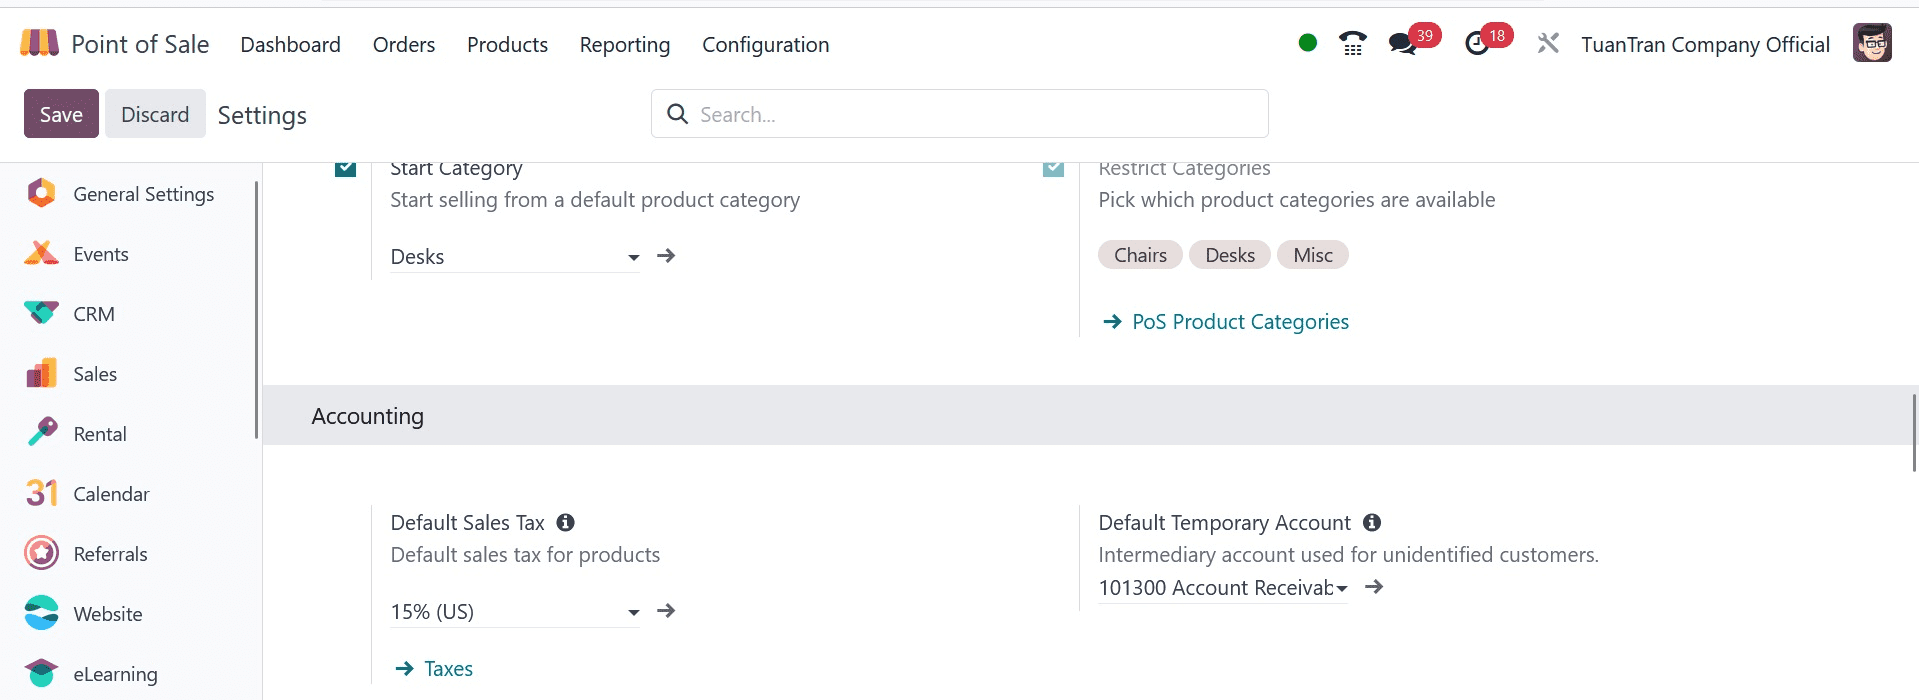
This tax will be taken into account for your order if it is not specified within the goods.
All things considered, handling accounts in Odoo 17 Point of Sale is a crucial duty that may assist you in operating your company more profitably and avoiding costly errors. In addition, you should frequently back up your accounting documents, ensure that the tax laws in your nation are followed, and maintain accurate accounting records. You can make better company judgments if you have accurate and current accounting records.
Payment Configuration
A lot of firms worry about their sales. The sale procedure is only finished when the customer pays. Customers can pay their bills in a variety of ways these days. A few payment options are cash on hand, bank transfers, credit cards, and other options. Anything we sell to a customer can be used by them. A store or other similar establishment must therefore accept a range of payment methods.
We can handle many payment methods with ease because of Odoo 17.
In Odoo 17, we used a range of payment methods. At the point of sale, the following payment methods are accepted: cash, bank, customer accounts, and payment terminals.
Let's look at each one in isolation.
The Odoo 17 POS module allows for the establishment of payment options. To do this, choose payment methods from the setup tab.
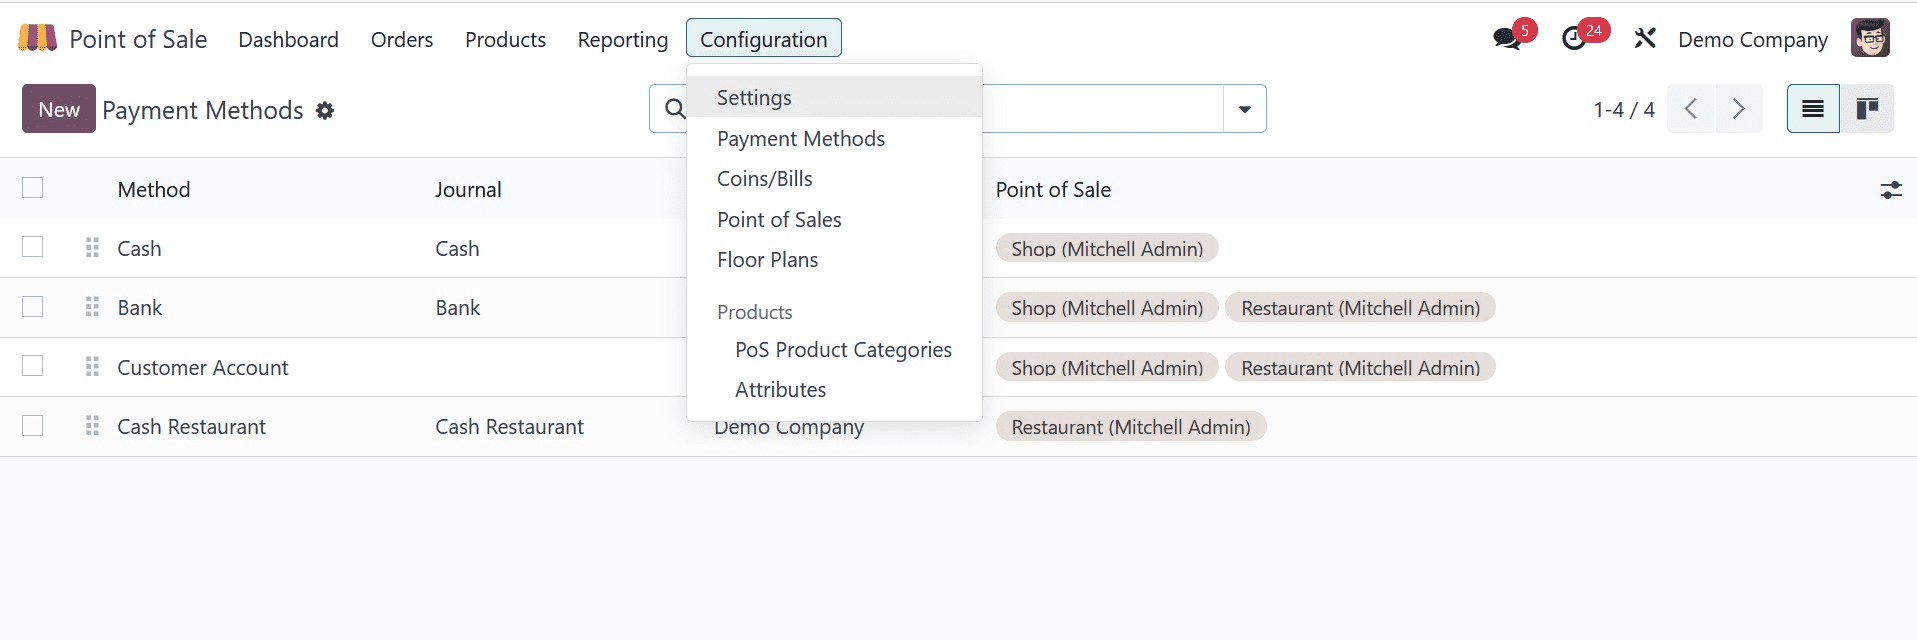
From there, we could view the generated payment methods and add new ones as well. Let's discuss each one in turn.

Cash
Cash payments are common and easy for everyone to utilize. The customer can supply liquid cash as payment when we use the cash payment method to sell a product. Cash is the payment option's name, as seen in the screenshot below. Open the Cash payment method, then.
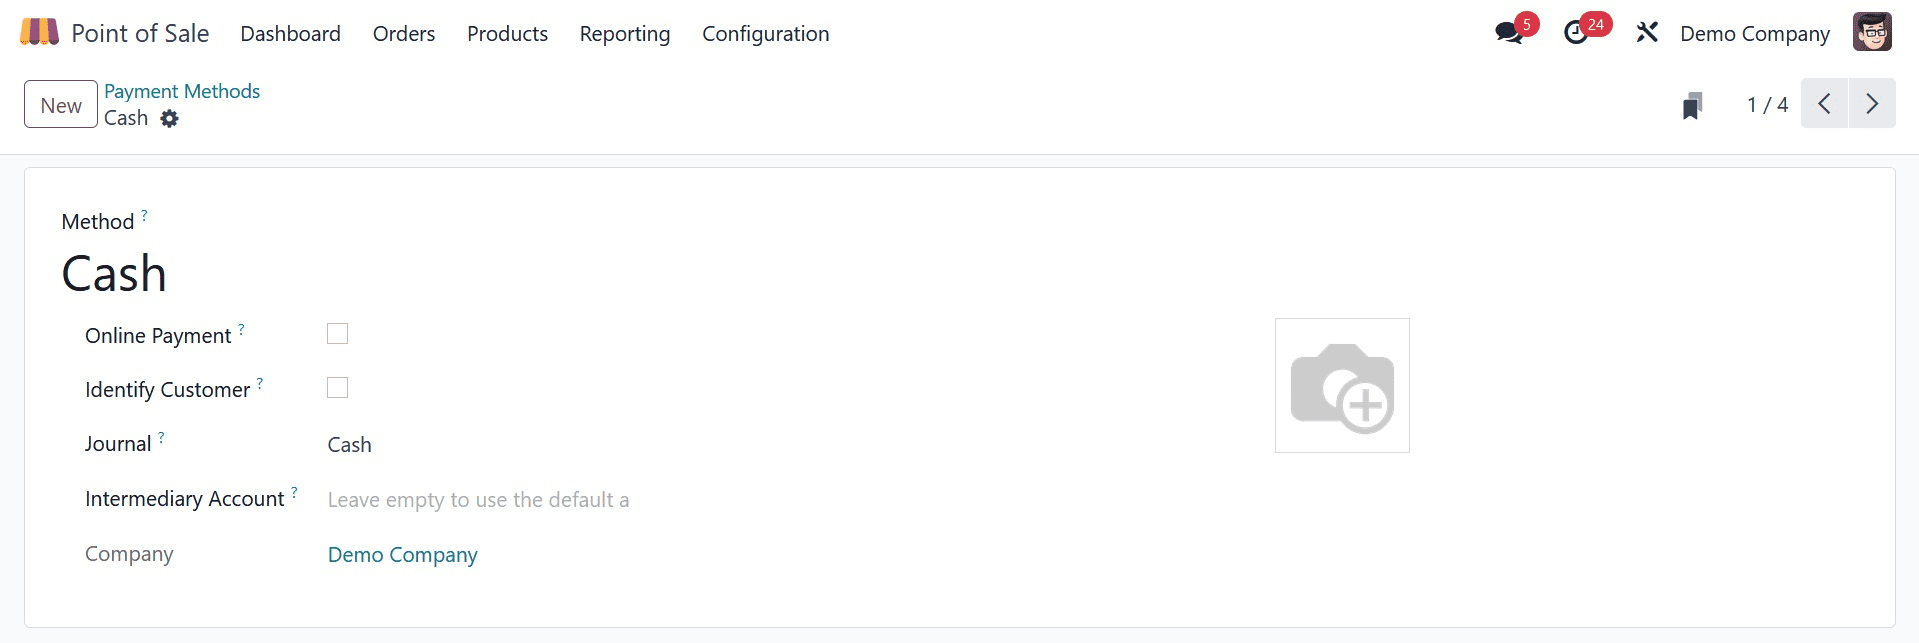
Users can notice that the method name is Cash when it is opened because this name appears at the point of sale when selecting a payment option. The diary is called PoS Cash. An intermediary account and a firm can be mentioned here.
When using this payment method, the user can specify a specific account to track the transaction details through an intermediary account. The company's default account will be used to record the payment details if this box is left empty.
The Identify Customer action might be triggered if the season demands that the user create a customer and split the journal entries for each client while utilizing this payment method. However, it occasionally causes the shutting process to take longer.
Bank
We've grown accustomed to bank payments, just like we have to cash. You can pay them the money that was billed by employing a bank transfer. It is feasible to move money from the customer's account to the company's account. The most current bank payment method that was generated is shown on this page. Let's examine it.
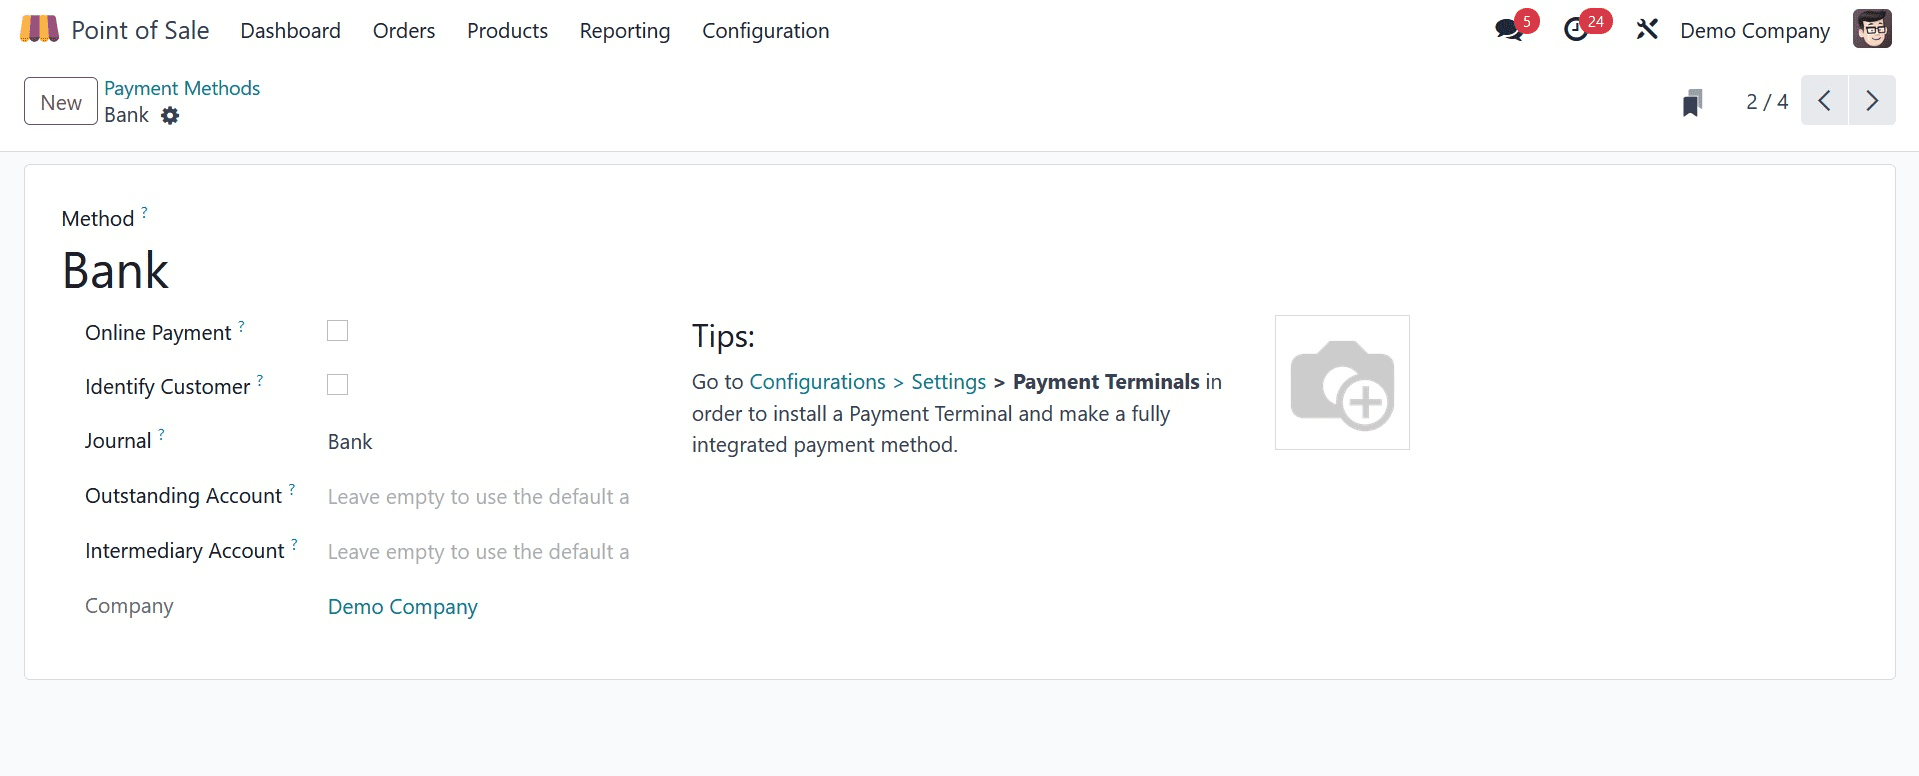
In this case, "Bank" is the method name, and "PoS Bank" is the journal.
This is where you may set up an Outstanding Account and an Intermediary Account. Bring up the company's name. Payment terminals can be installed here in the event of a bank.
Customer Account
The next method of payment is through a customer account. It functions exactly like a credit card. When a customer purchases something from us, they have the option to pay for everything at once. If they select the customer account option, all transactions will be recorded in the Receivable account.

The technique is called Customer Account, and to use it, the company must be added. This requires us to set up a client, so we activate the Identify Customer field. Since we want to record the transaction data in the Receivable account, we must leave the journal field empty. Once you've finished configuring everything, save it.
The process starts with adding payment methods to the point-of-sale session. Open the Configuration tab and select Settings from the drop-down menu to accomplish this.
We can watch the ongoing point-of-sale sessions there. To start a new session, the user merely needs to click the plus button.

The Settings page has a section that the user can scroll down to add payment methods for the current session. Under the Payment section, there is a Payment Methods option. Add every payment option that has been set up there. Next, save the settings page.

Let's get started with a session. Already, three payment options have been set up. Each one can be used by us to settle sales orders. From the dashboard, launch the Shop session.

The session has now been joined by the user. When a new session is started, a small popup asks you to fund the opening balance of the previous one. The opening balance of a session is the amount we have on hand, and it could be the balance from a previous session.
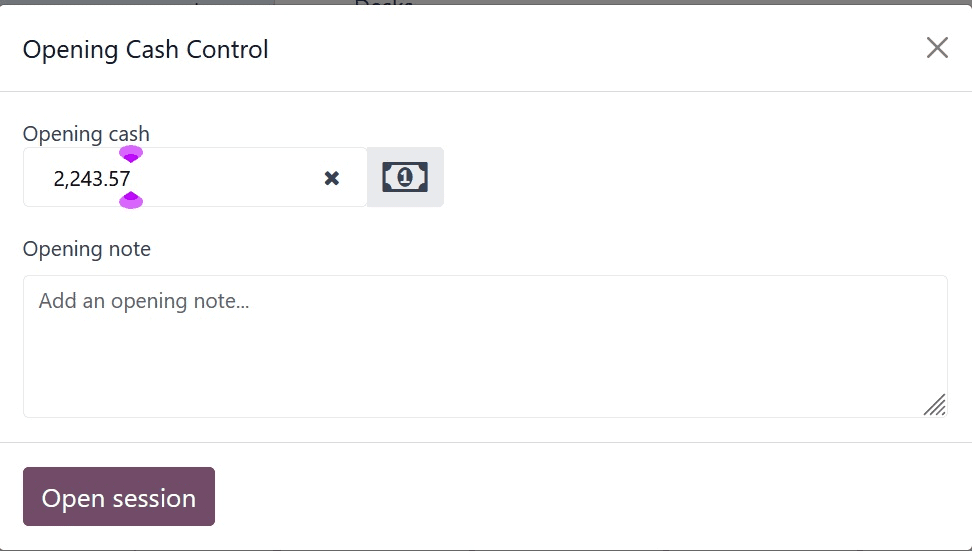
Let's look at and discuss how to use the Cash In/Out option. Make that decision.

Many individuals work at a shop. They might have ongoing demands, such as transportation during lunch, so there might be possibilities to momentarily take money from the register and return it before dusk.
We can use the Cash In / Out option in these situations.
Assume a worker pays for his lunch by withdrawing $25 from the cash register.
Since the money will be taken from the counter, select Cash Out. Put the reason and the total together. A negative symbol is automatically added to the amount since it is deducted from the business account.

After a while, he gives the money back. To do this, select Cash In / Out once more. The small window appears again. From there, pick the Cash In option. Add the rationale along with the amount. It has been confirmed.

Let's next examine the method by which the client pays for their orders in this session.
Users placed a selling order for products in a single batch for the client Addison Olson. Let's move on to the payment counter by pressing the payment button.
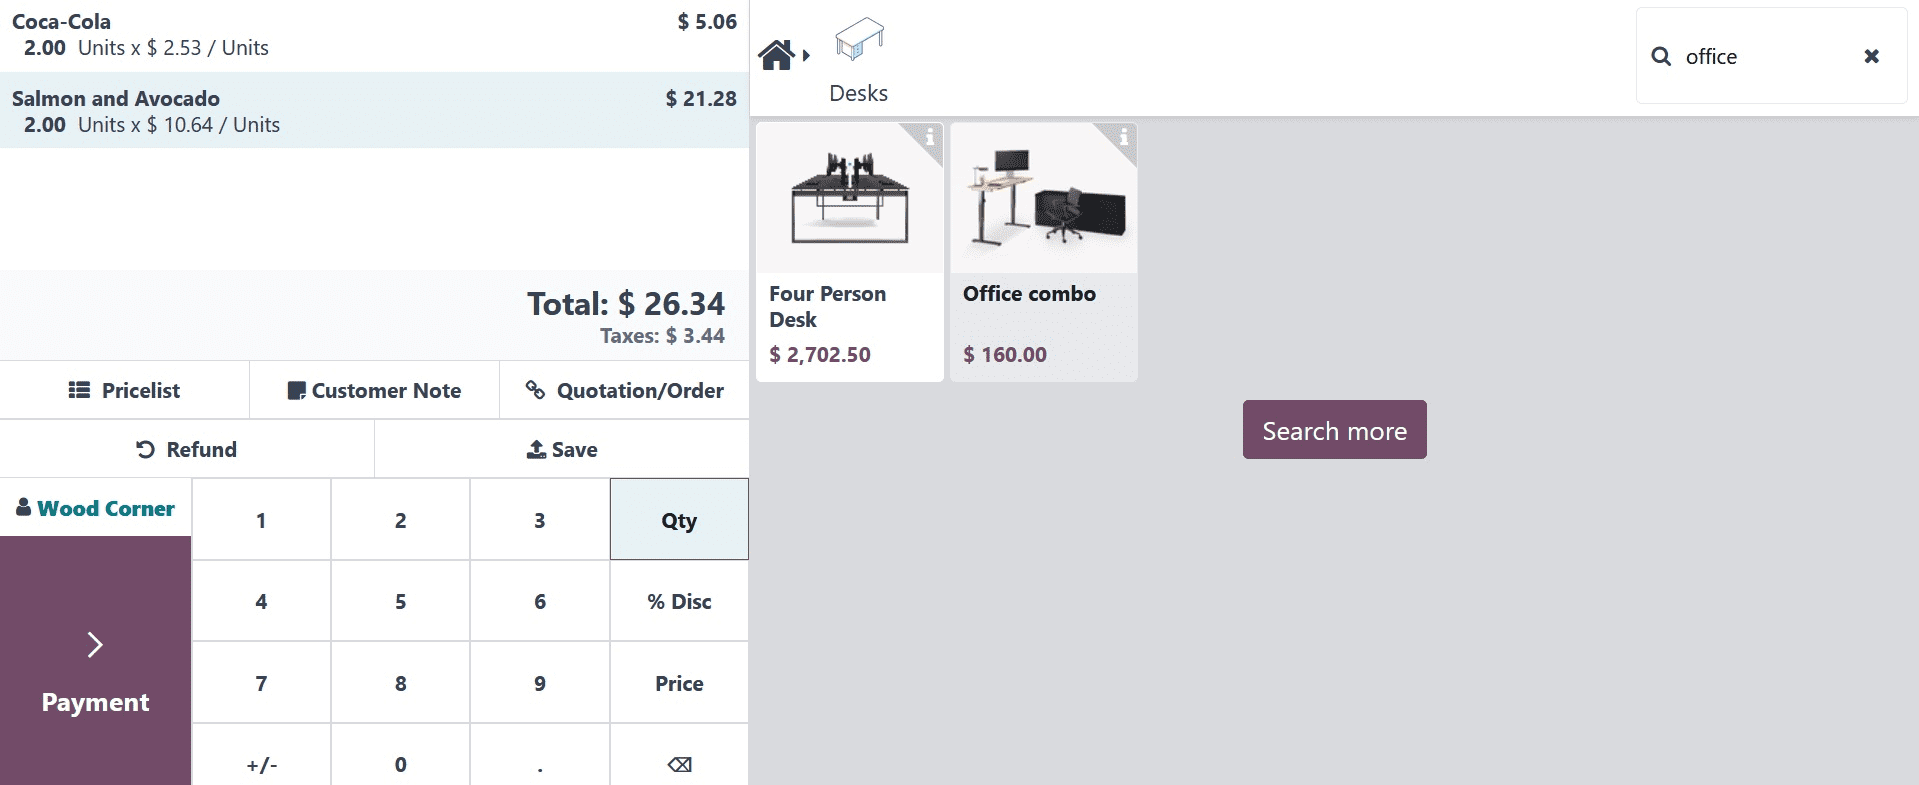
We can then select our preferred method of payment after that.
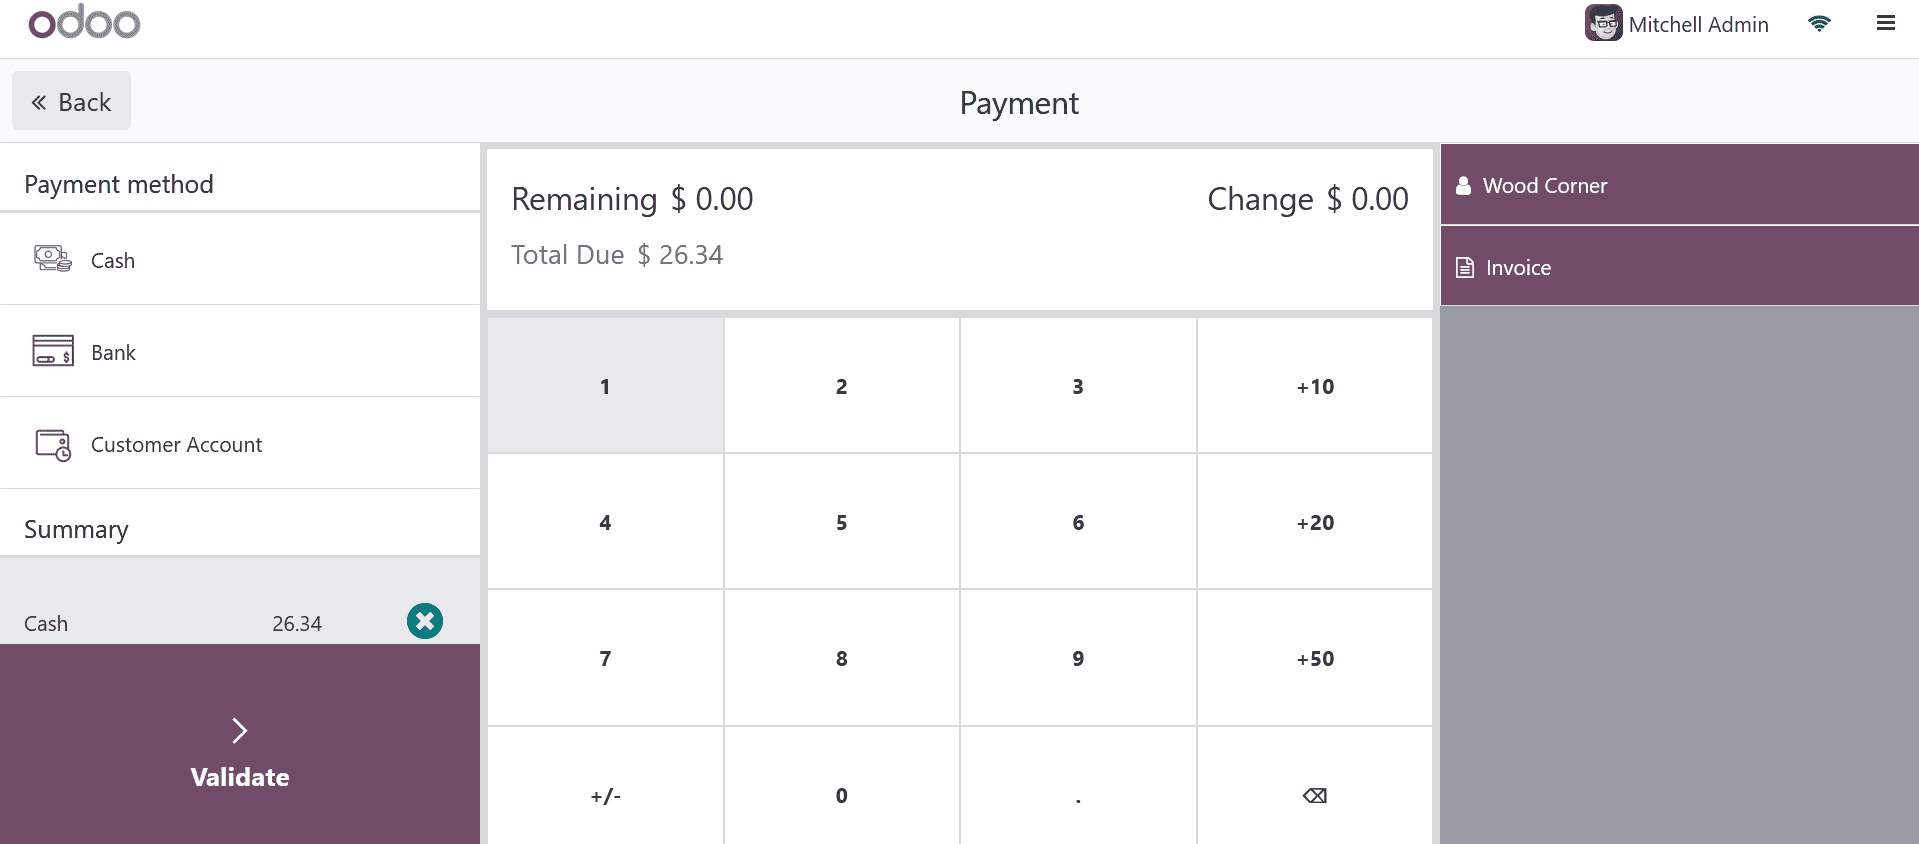
We developed four methods before showcasing them. Our consumer selected the Cash option because he paid with cash. The precise amount paid in cash is seen in the above photograph, confirming the order. There, you may also construct an invoice. Now that an invoice is not being created, let's verify the payment. After that, a receipt will appear. Right now, there are two choices. The ticket is printed on one and mailed on the other.
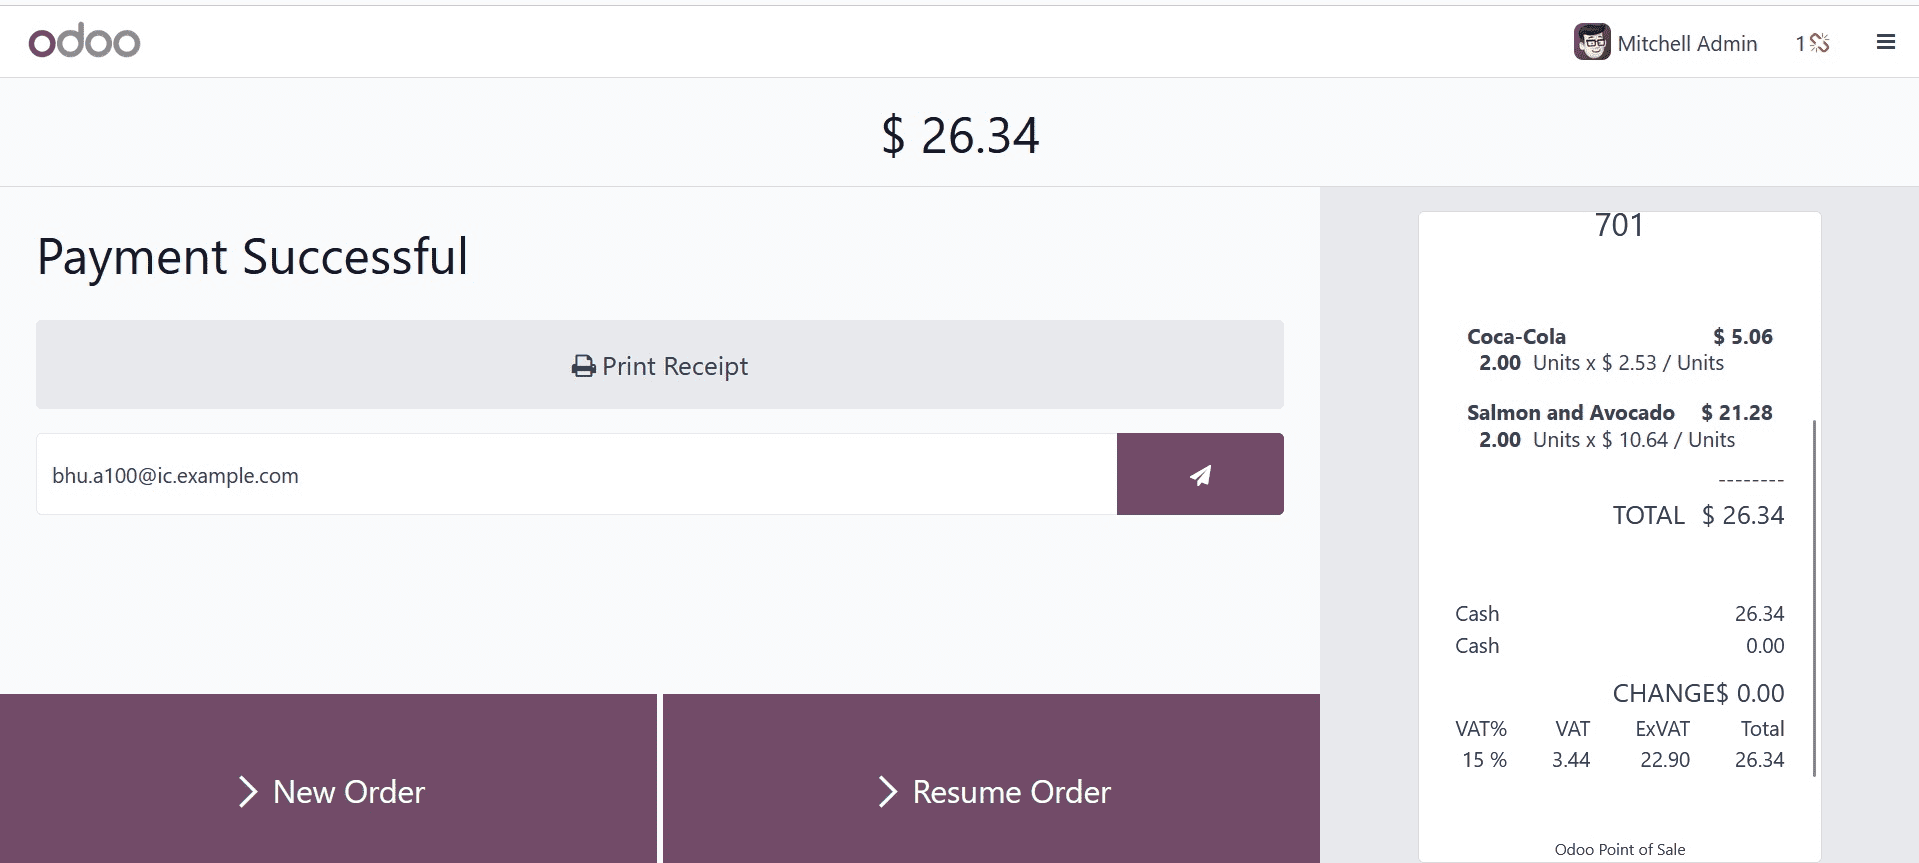
When the current order is completed, we may move on to the next one by clicking the New Order button.
Let's now examine how to implement the Bank's approach. We will then be able to draft a fresh order for an alternative customer. We gave one of our Desk Stands with a Screen to Anital Oliver, our second client. Press the "Pay" button.
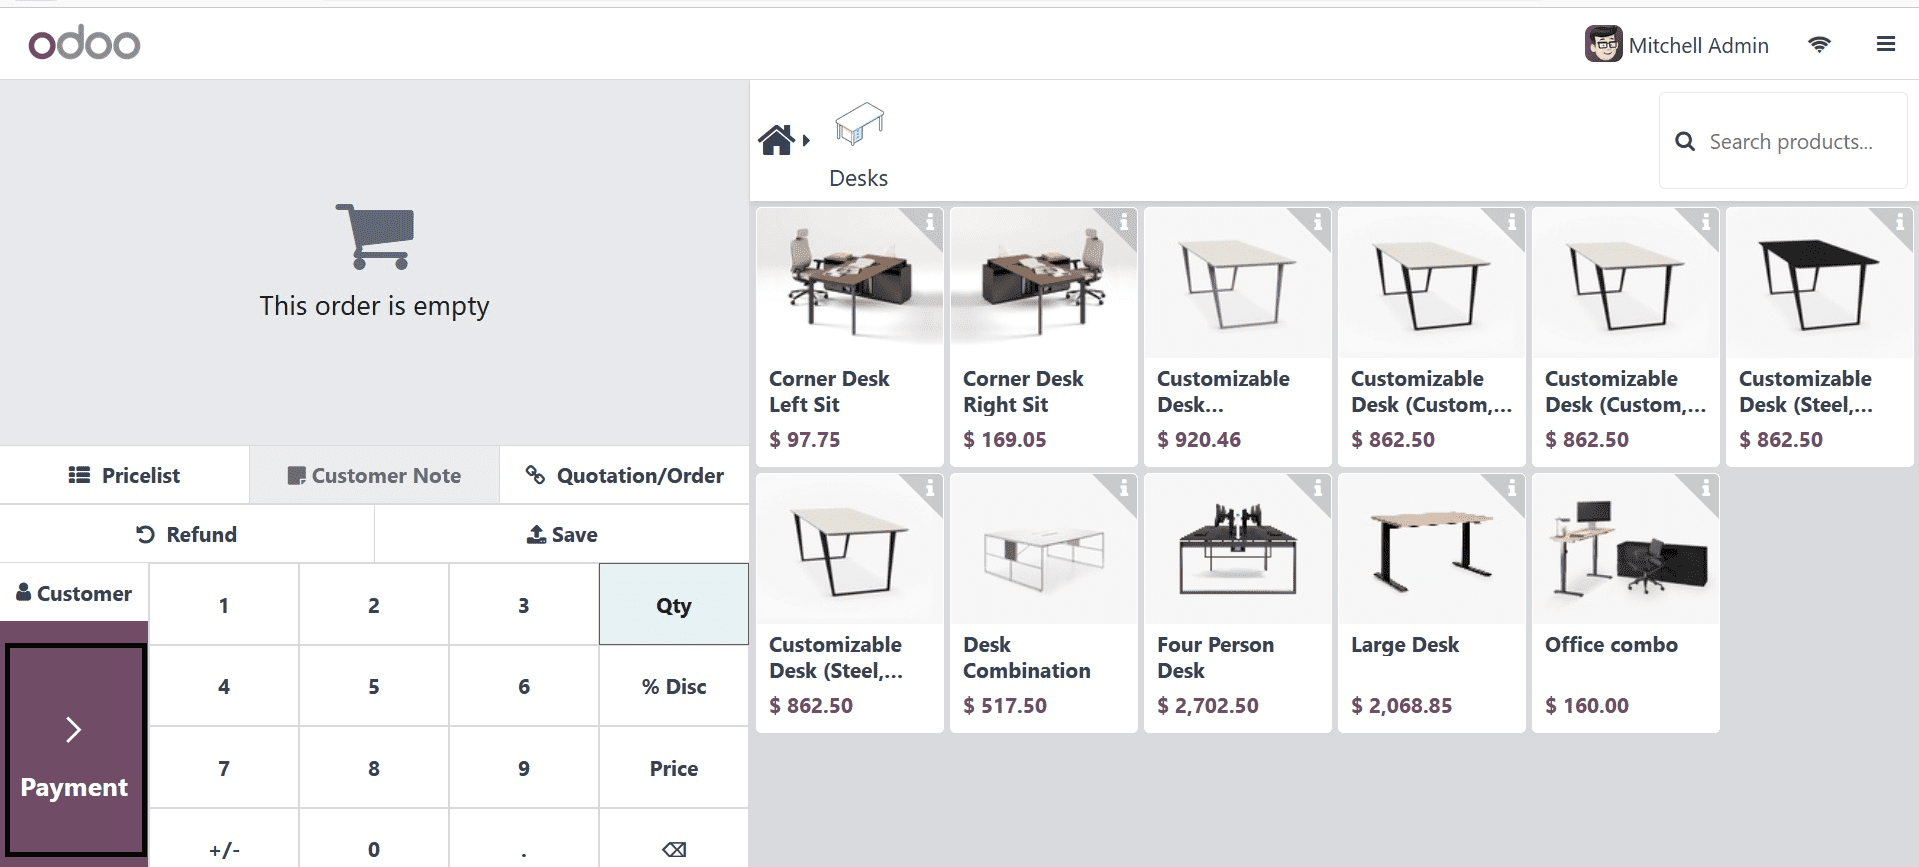
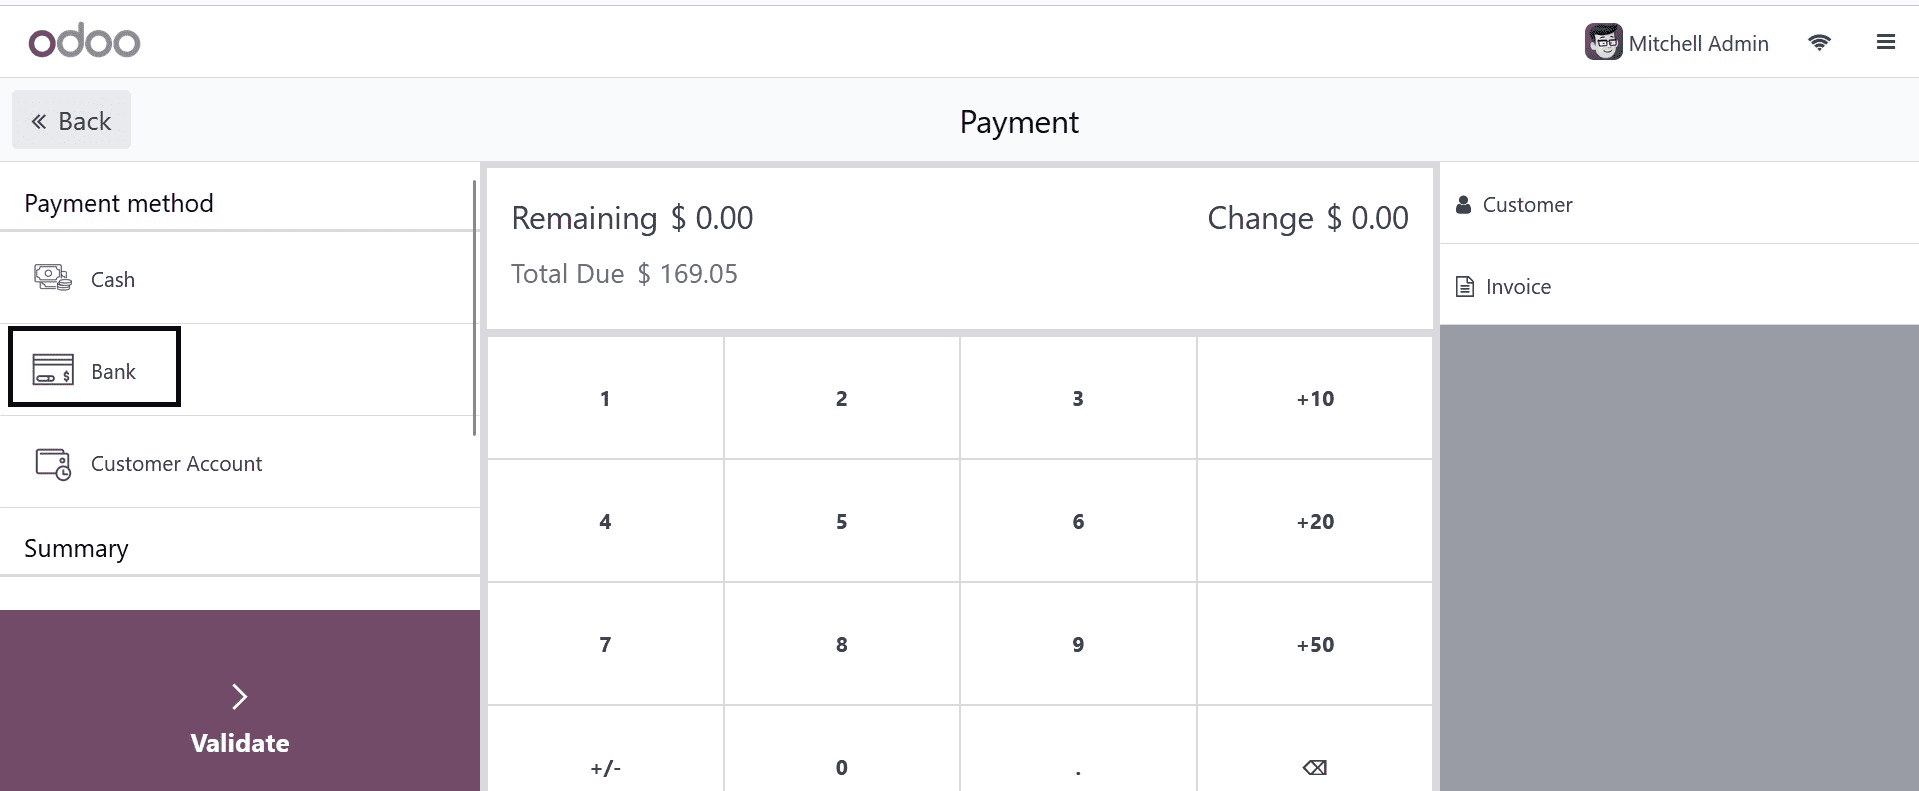
From the list of available payment methods, pick a bank. The entire payment is currently being paid using a bank transfer. The payment will then be confirmed after that.
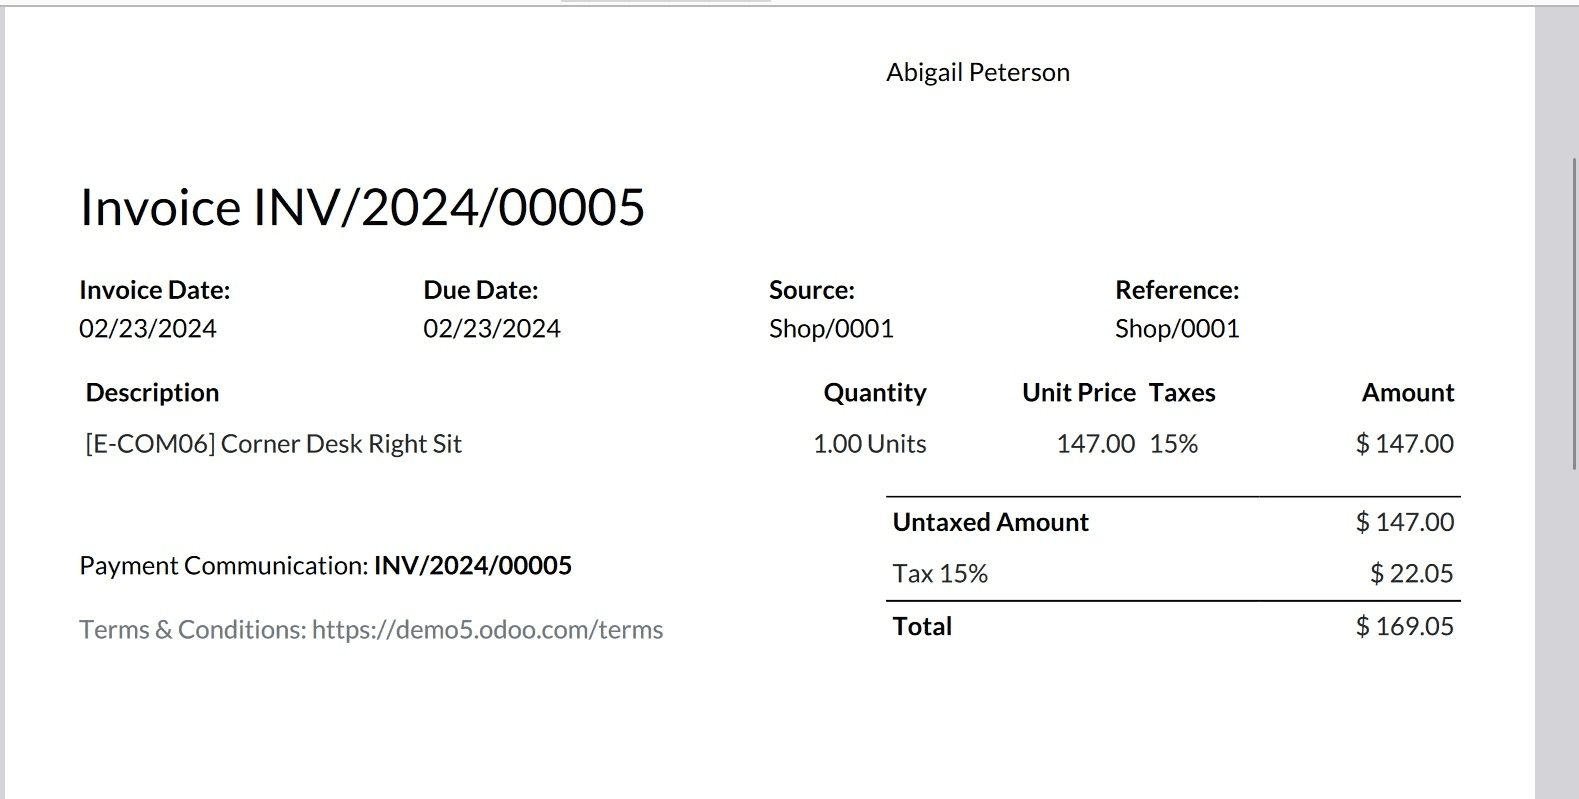
The receipt is now shown. The type of payment, the amount paid, the quantity of merchandise, etc. are among the details.
The next order will be selected by clicking on the "new order" button.
To examine the payment method Customer Account, select the third customer. James has been chosen as our third client, and we have sold ten storage boxes for a total given.
Let's move forward with making a payment and choose to pay using the customer account. In contrast to paying with cash, the client used this credit card-like alternative, as mentioned previously.
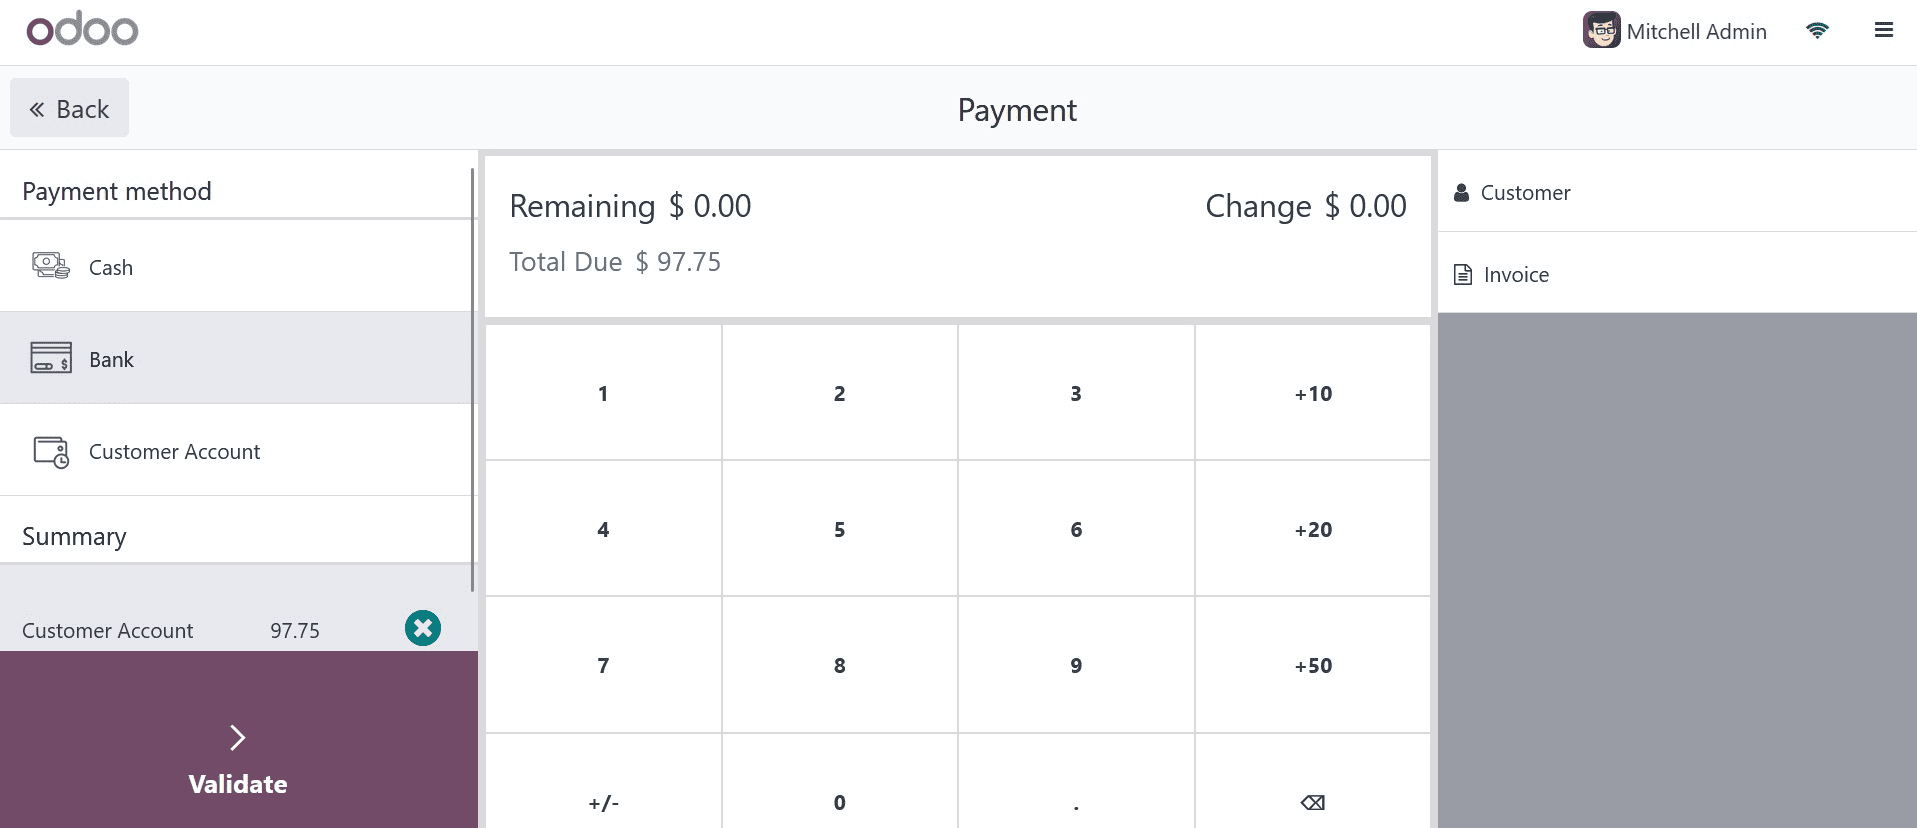
Let us immediately create an invoice. After choosing Invoice from the list, click Validate. Consequently, a back-end invoice and a receipt are generated. The payment was made using a customer account, according to the receipt.
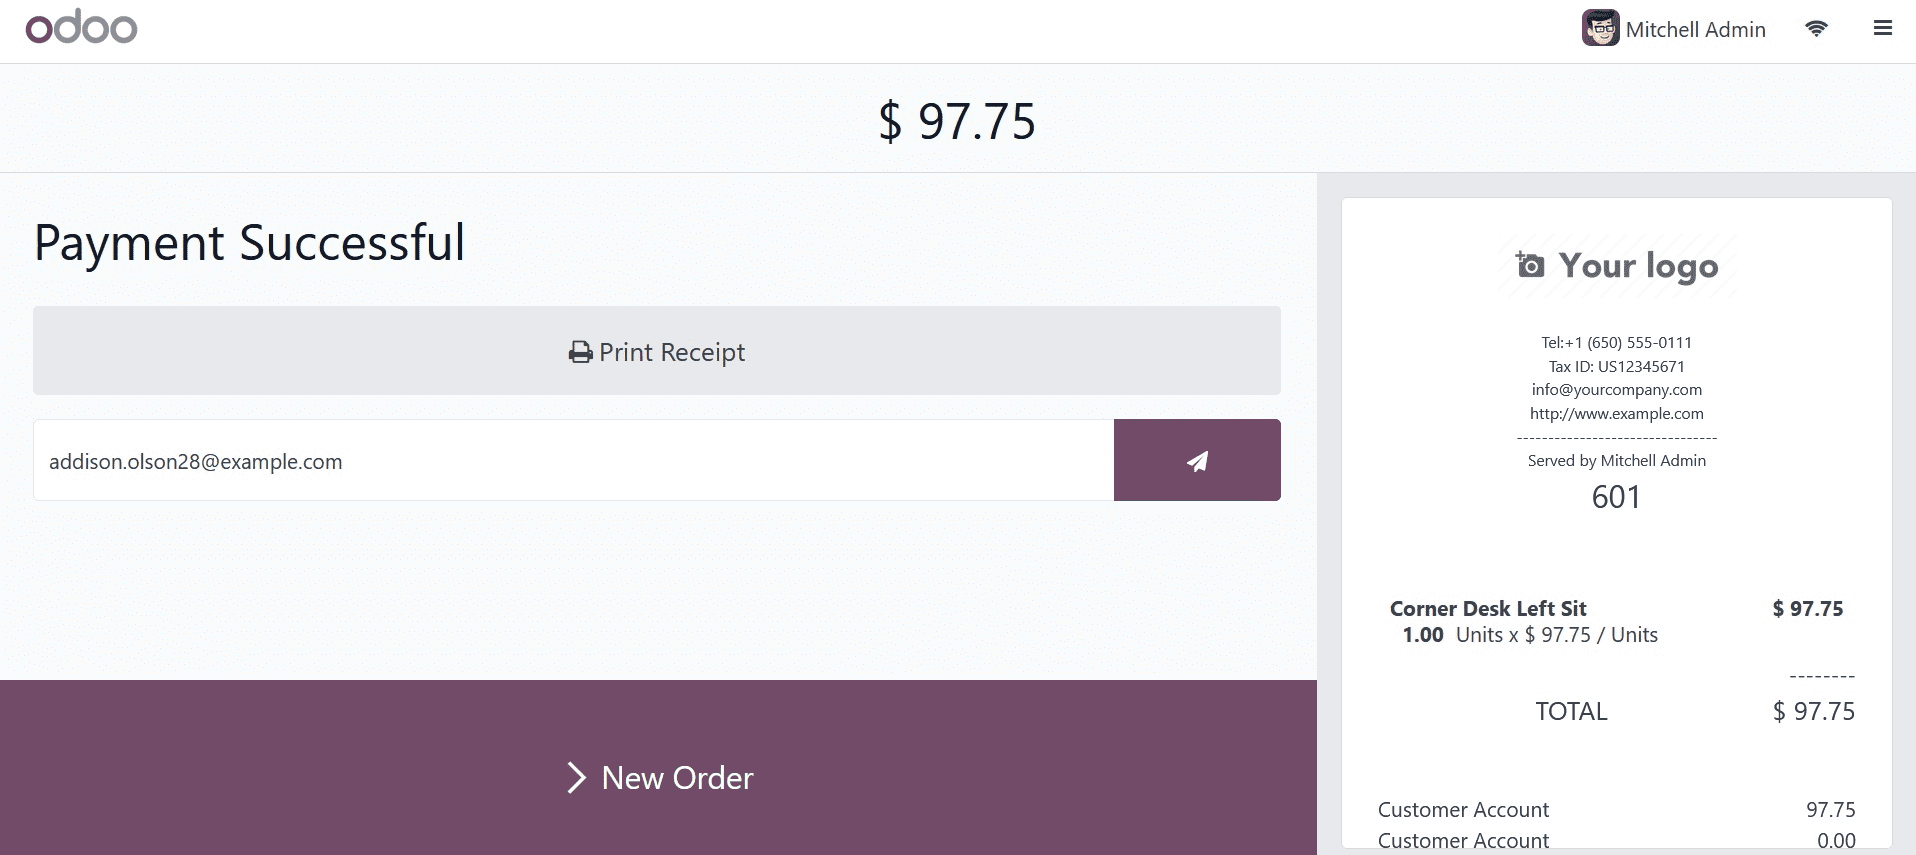
Click the New Order button to switch to a new order. To utilize the fourth payment option available on the Payment Terminal, let's select another consumer. Beth Evans has been chosen as a new customer. After making his selections and calculating the total, he clicked the "Pay" button to complete the transaction.
That's all there is to it when it comes to payment methods.