A sales order is a document created for a seller that includes details about the goods or services. You can lock features to protect your sales order and prevent unauthorized individuals from editing it. Orders can be closed, and records secured for future customer preferences once confirmed. Users can simply lock the sales order by using ERP software. A useful method for locking a sales order to a customer through confirmation is the Odoo 17 Sales module.
How to lock a confirmed sales order in the Odoo 17 Sales application is covered in this article. Users must create a sales order to lock it following confirmation. Within the Sales application, you may manage the products, delivery options, quotes, clients, and more. Let's now examine the steps in locking a verified sales order in Odoo 17.
You must enable the Lock Confirmed Sales feature from the Odoo 17 Sales module before locking a confirmed sales order. Under the Quotations & Orders area, as shown in the screenshot below, click the Settings menu in Configuration and choose the Lock Confirmed sales option.
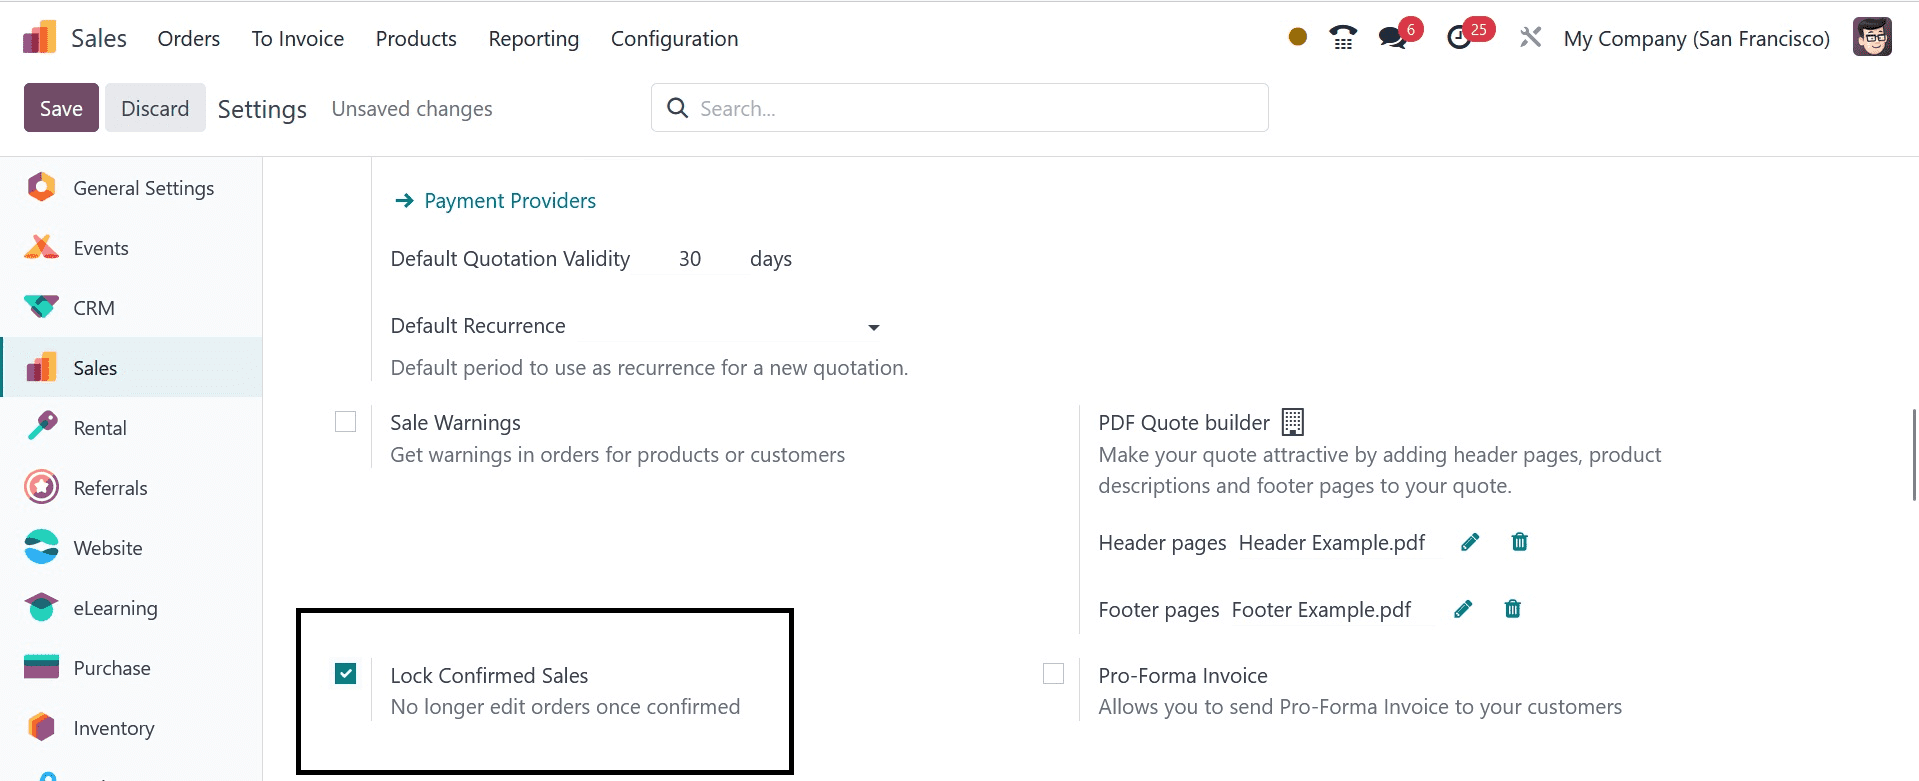
Once the Lock Confirmed Sales option is enabled, the sales order cannot be edited after confirmation. After selecting the particular option, click the SAVE icon on the Settings page.
To lock the customer's order record, we must issue a sales order. Click the Orders option in the Sales module's Orders tab to create a sales order. As seen in the screenshot below, the user can view the order details in the Sales Orders window, including the Invoice Status, Number, Salesperson, Customer, and so on.
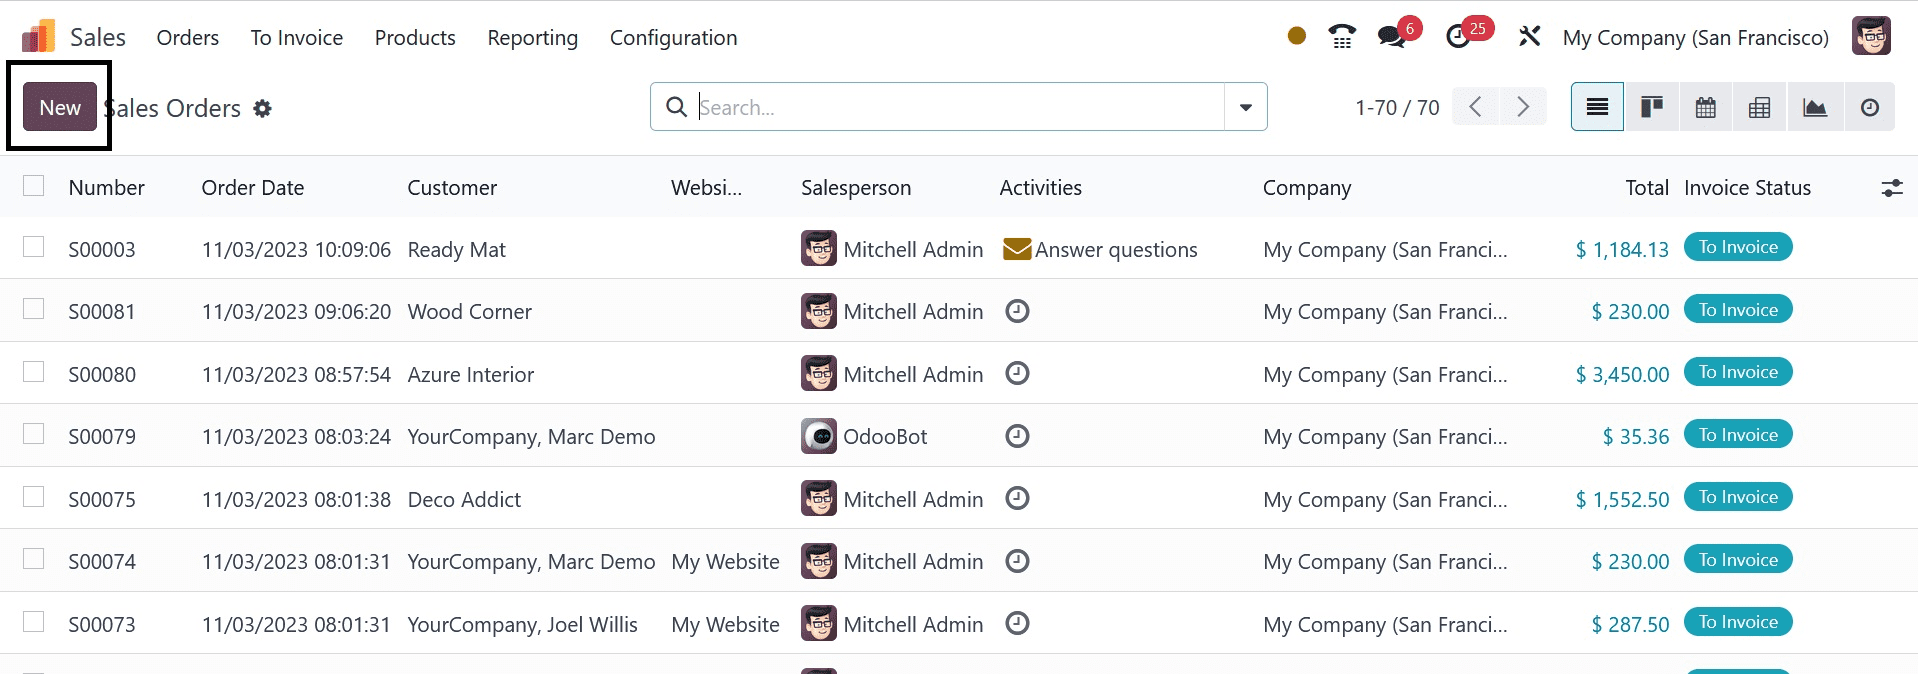
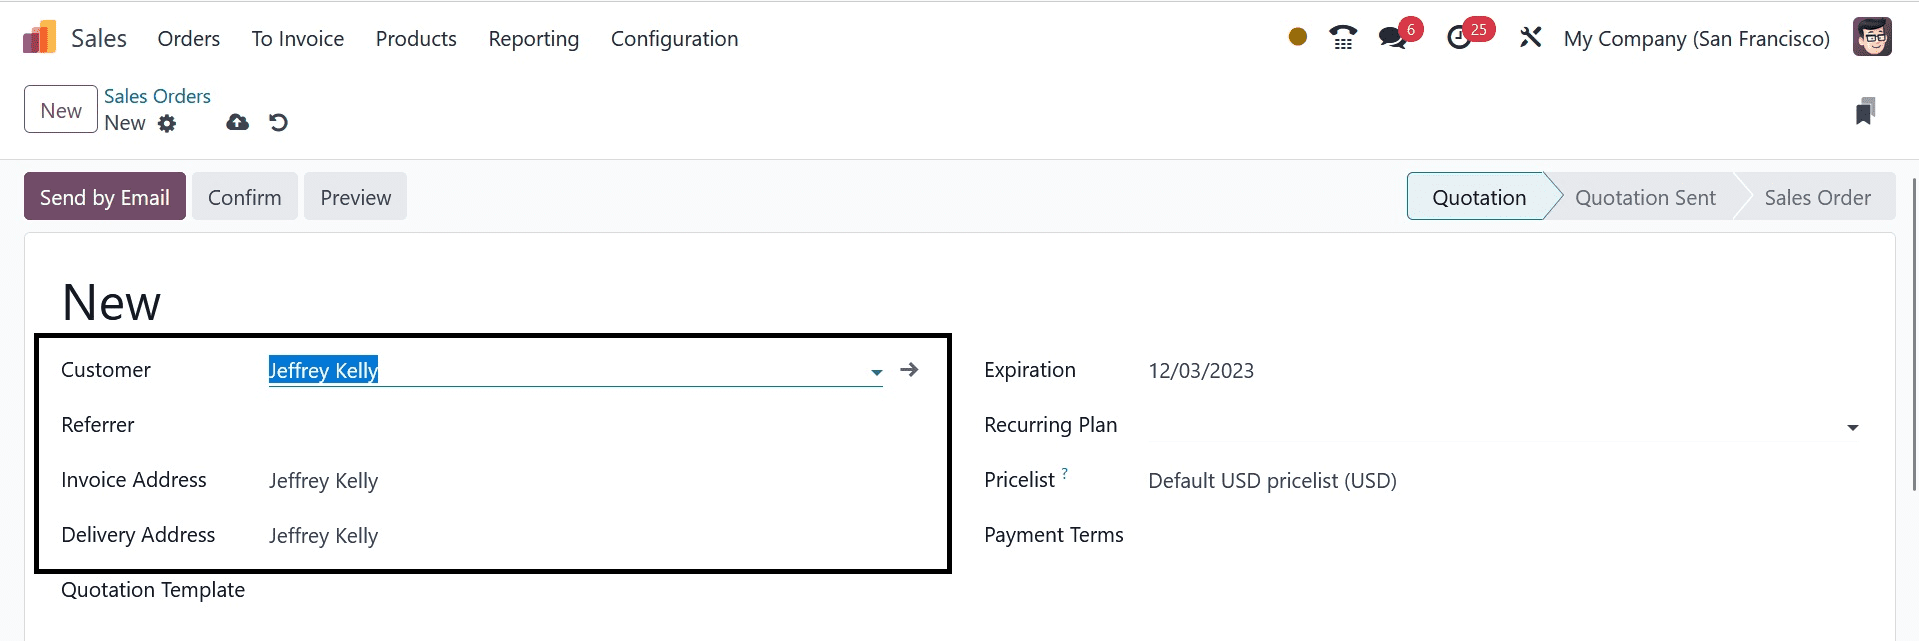
Selecting the NEW icon will produce a fresh sales order. In the new window, enter Jeffrey Kelly as the Customer. As shown in the screenshot below, once you pick up your customer, the invoice and delivery location for that particular customer are automatically available in the Invoice and Delivery Address fields.
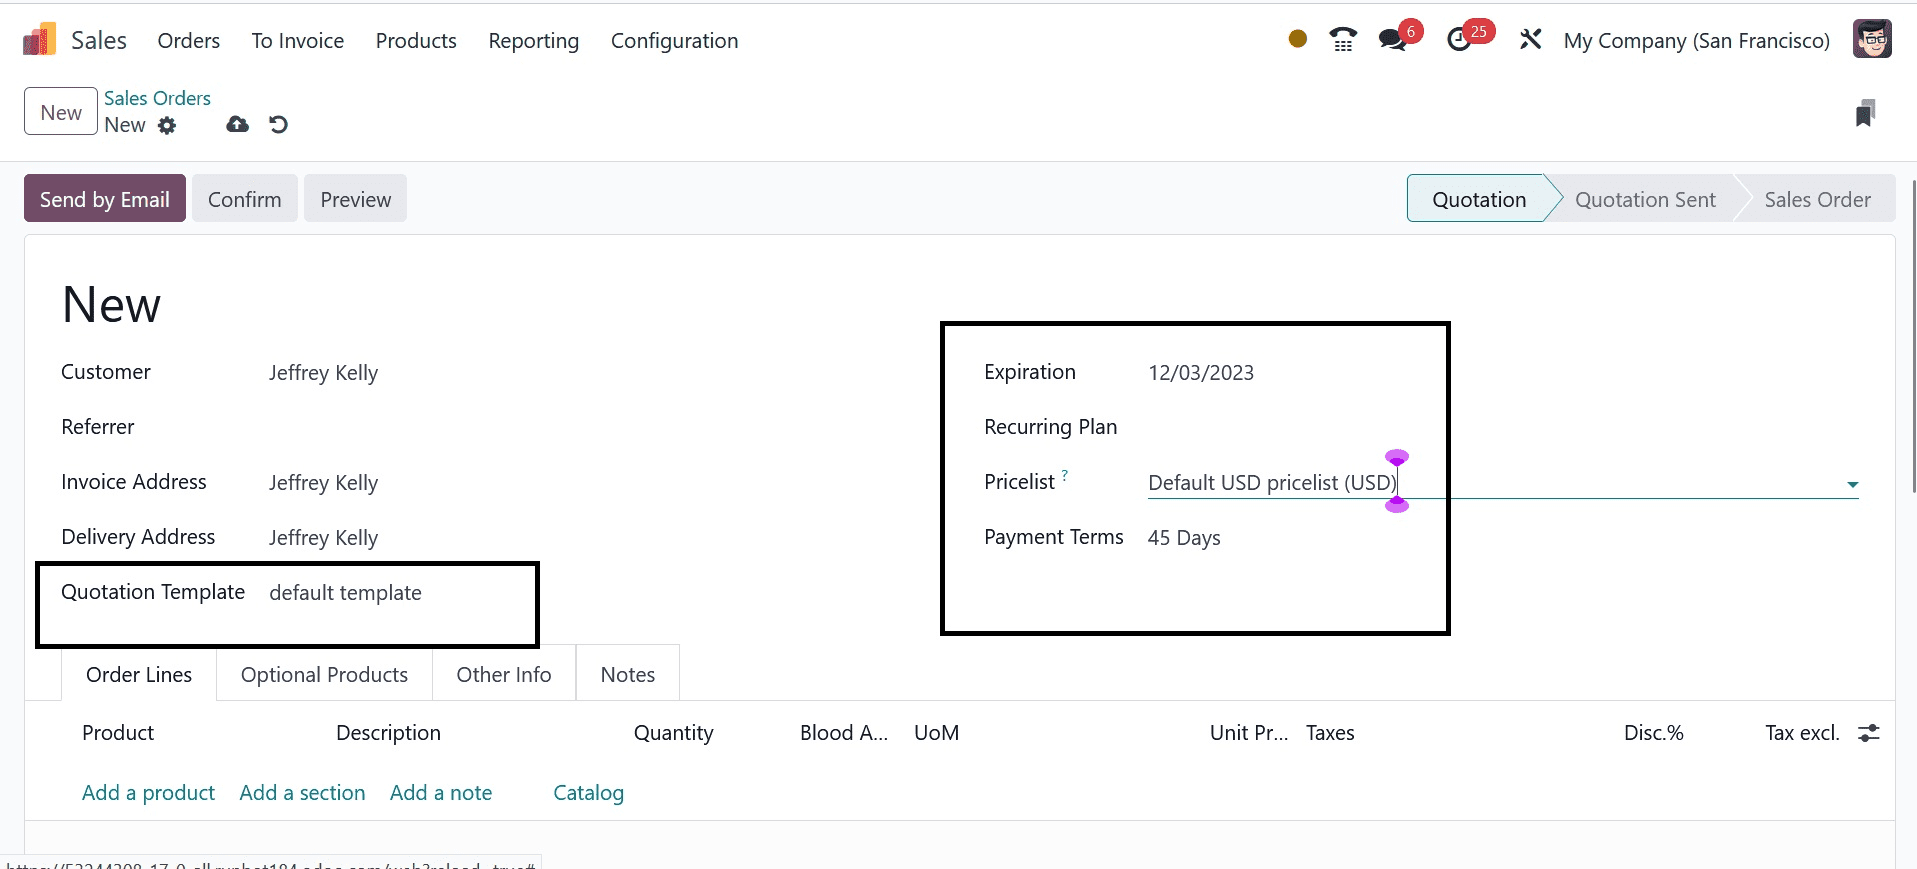
Afterwards, enter the sales order's expiration date in the Expiration field, and in the Quotation Template section, we can select your Pricelist and set a default template. Next, fill in the Payment Terms box with the specifics of your payment method, as shown in the screenshot below.
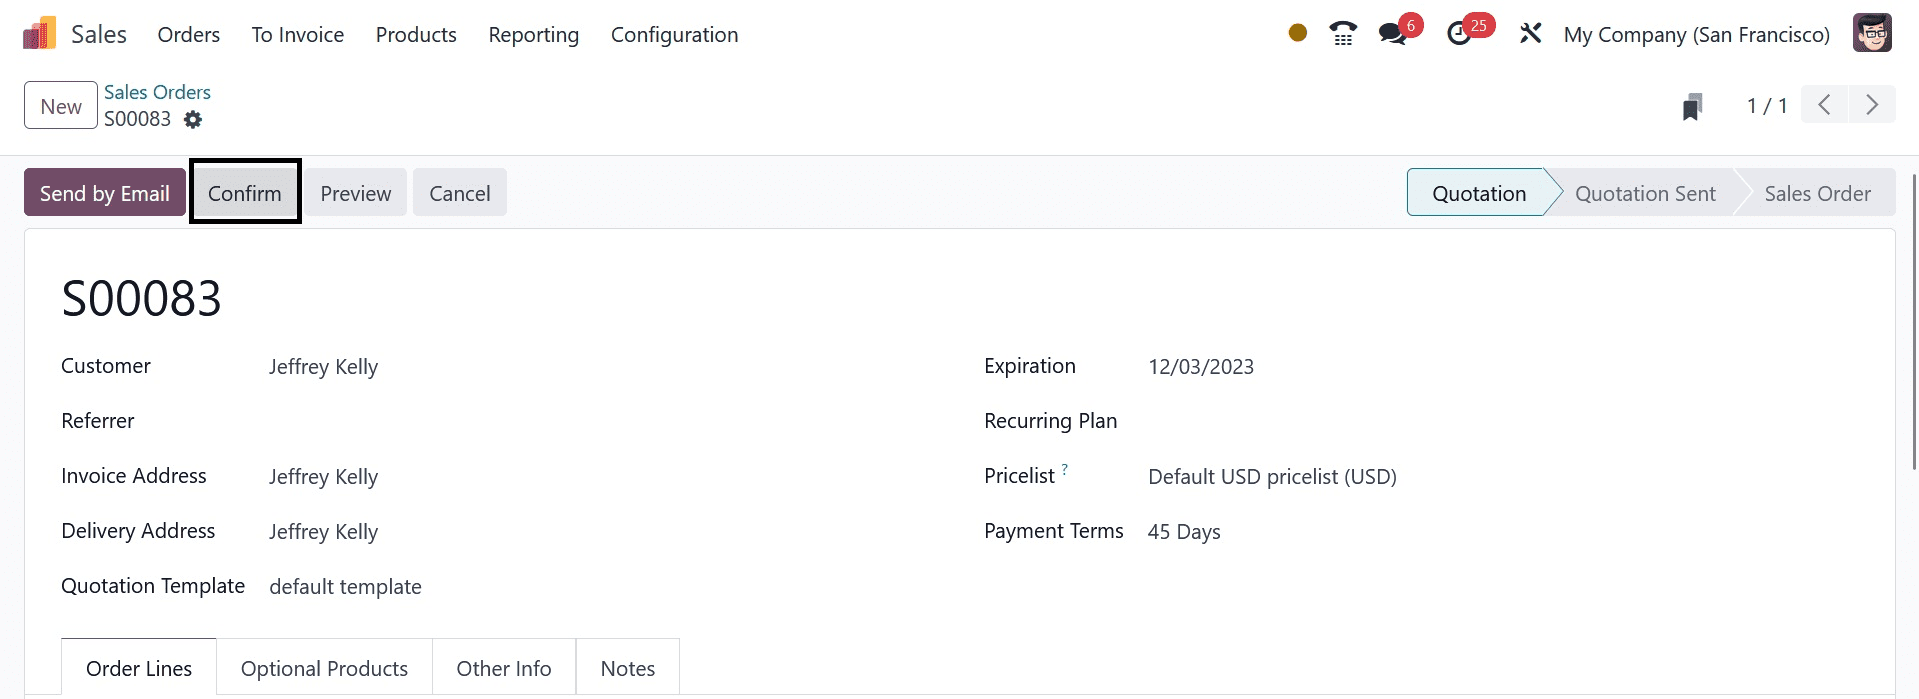
Click the Add a Product icon, then select your commodity underneath the Order Lines tab. As shown in the screenshot below, we selected the Bacon Burger product from the Order Lines menu.

Click the CONFIRM icon in the Sales Orders window after saving the details, as shown in the image below.
The stage shifted to SALES ORDER, and one delivery was generated, as in the image shown below.
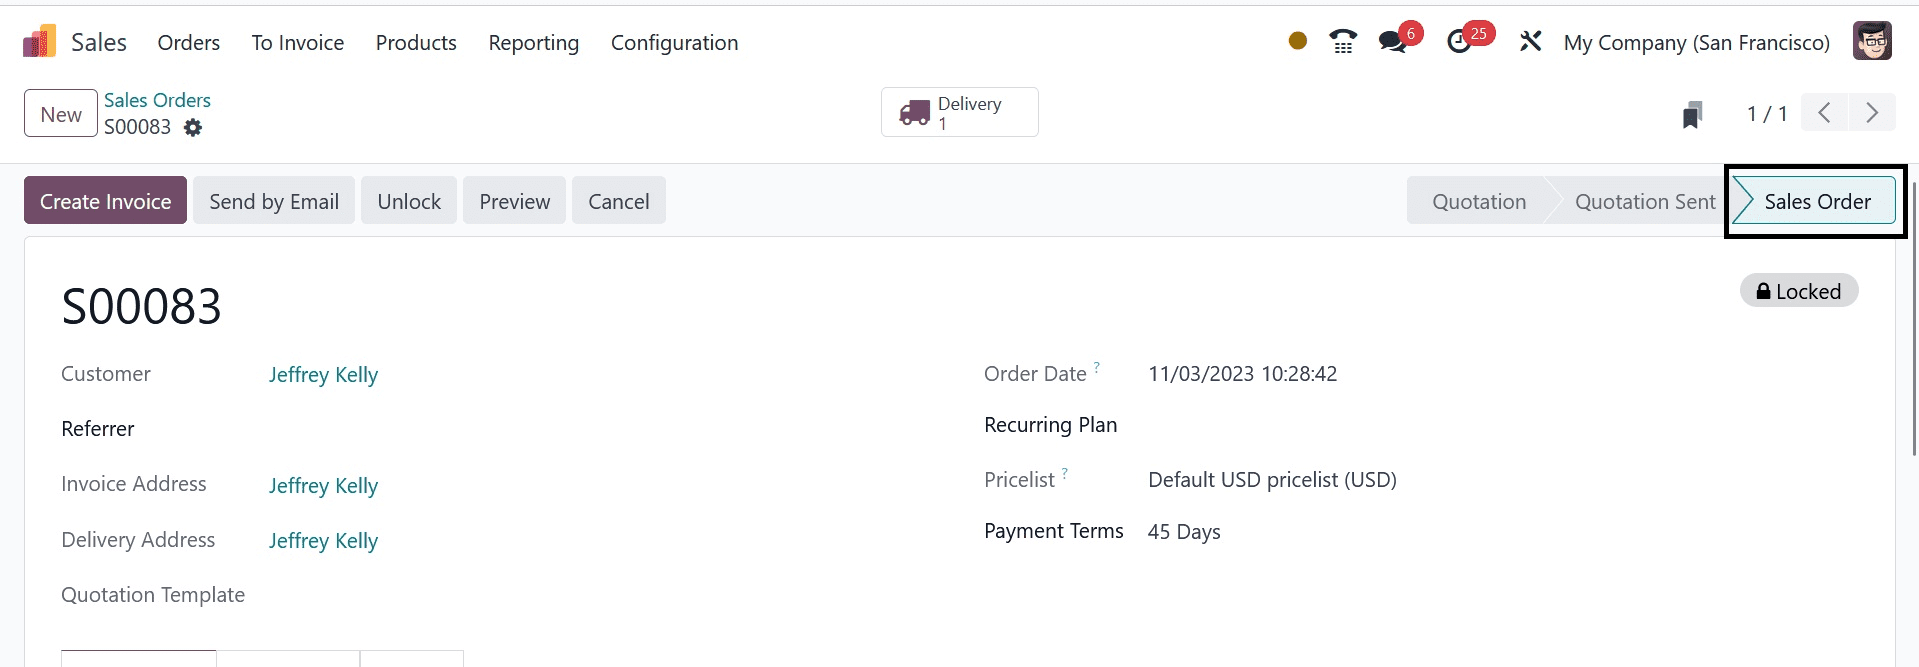
To prevent needless modification, we can lock the order by choosing the LOCK icon in the Sales Orders pane.
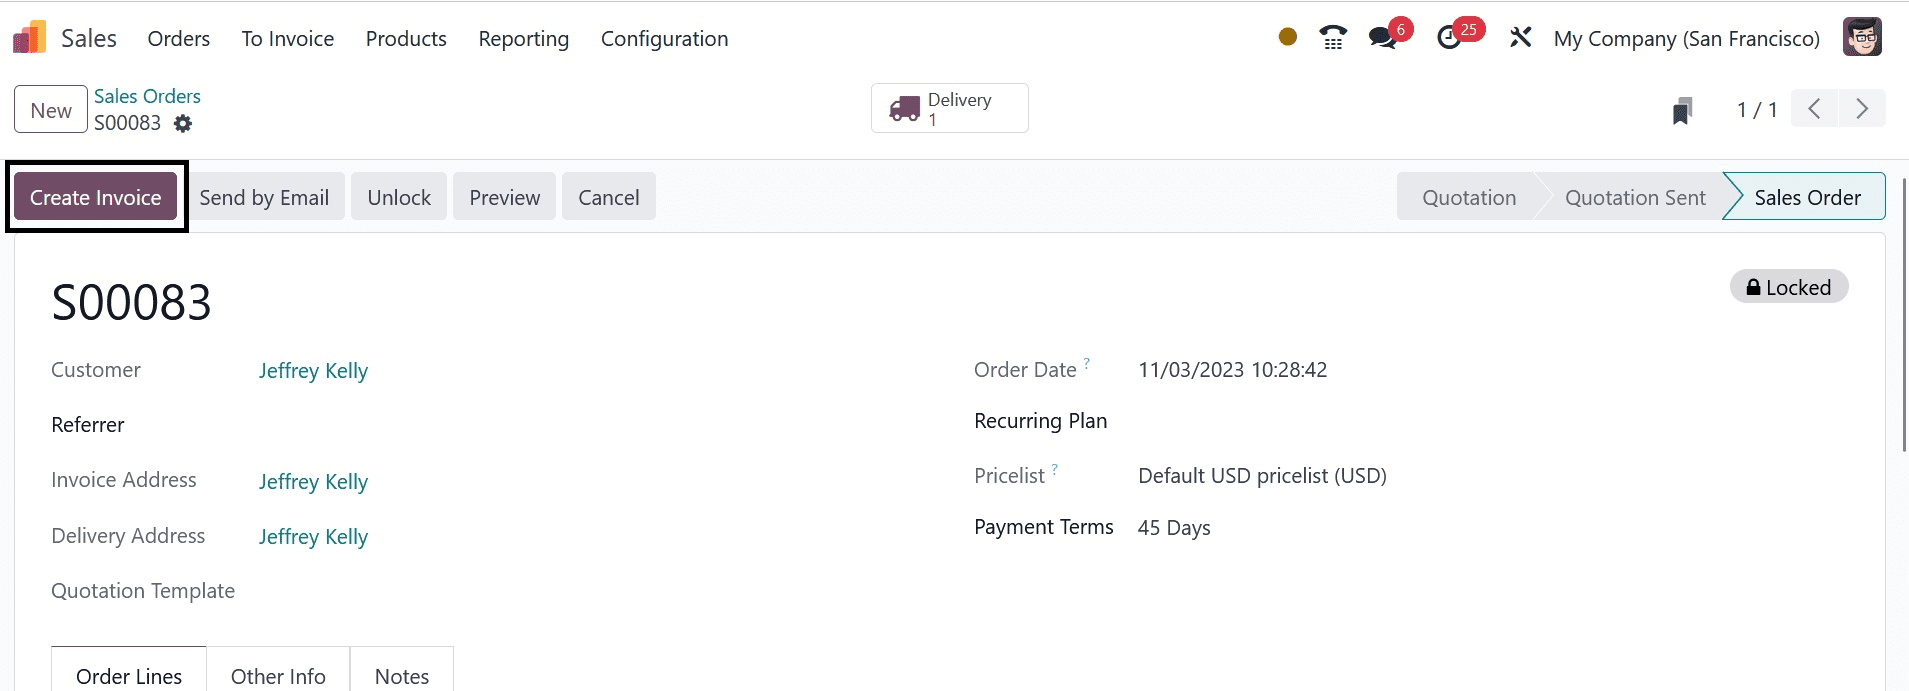
If a sales order is locked, we cannot make any more changes. It is feasible to deliver or invoice after the locking, nevertheless. Upon enabling the Lock feature, the stage transitions from SALES ORDER to LOCKED. As seen in the screenshot below, we may unlock the sales order by selecting the UNLOCK icon.

We can then proceed with billing clients for their sales orders. In the Sales Orders box, select the CREATE INVOICE button.
The invoice is generated using a fixed amount and percentage for the down payment, just like a conventional invoice. As seen in the screenshot below, in the Create Invoices window, choose the Regular Invoice option in the Create Invoice box and click the CREATE AND VIEW INVOICE button.

The user is presented with a Draught Invoice box that generates a single Sales Order. We can see client invoice details like the customer, delivery address, and due date. Product and pricing information is available beneath the Invoice Lines tab. In the Draught Invoice window, as seen in the screenshot below, click the CONFIRM icon to verify the invoice.
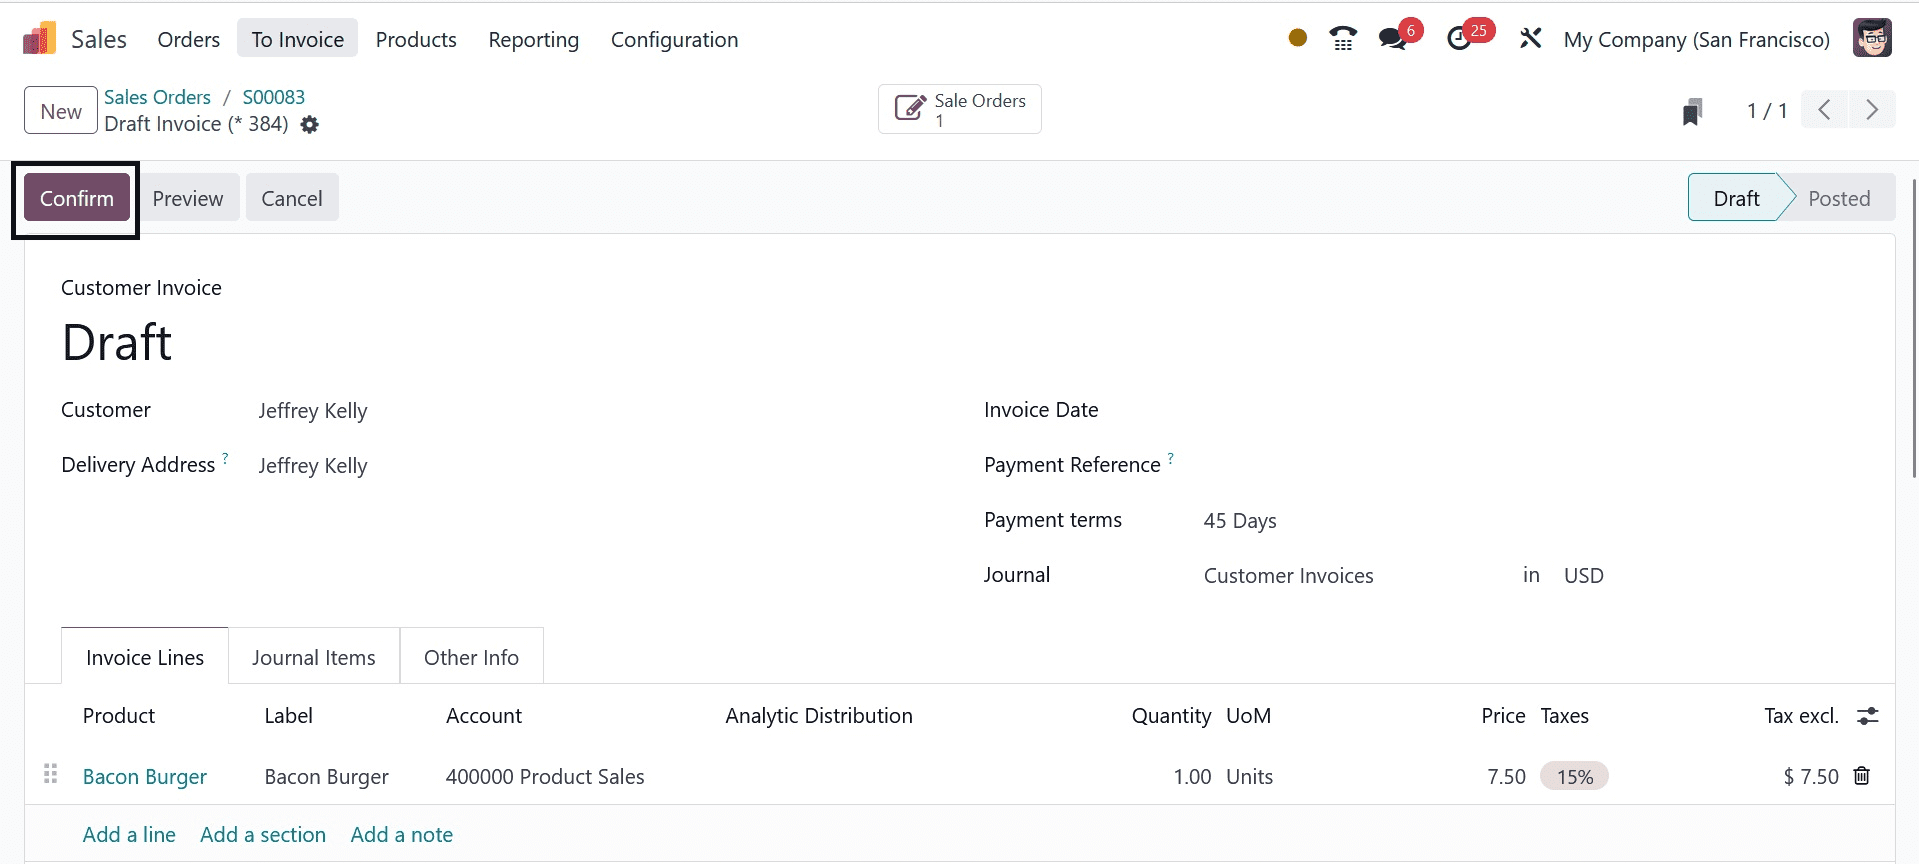
The stage moves from DRAFT to POSTED upon confirmation. By clicking on the REGISTER PAYMENT icon, we may now pay invoices.
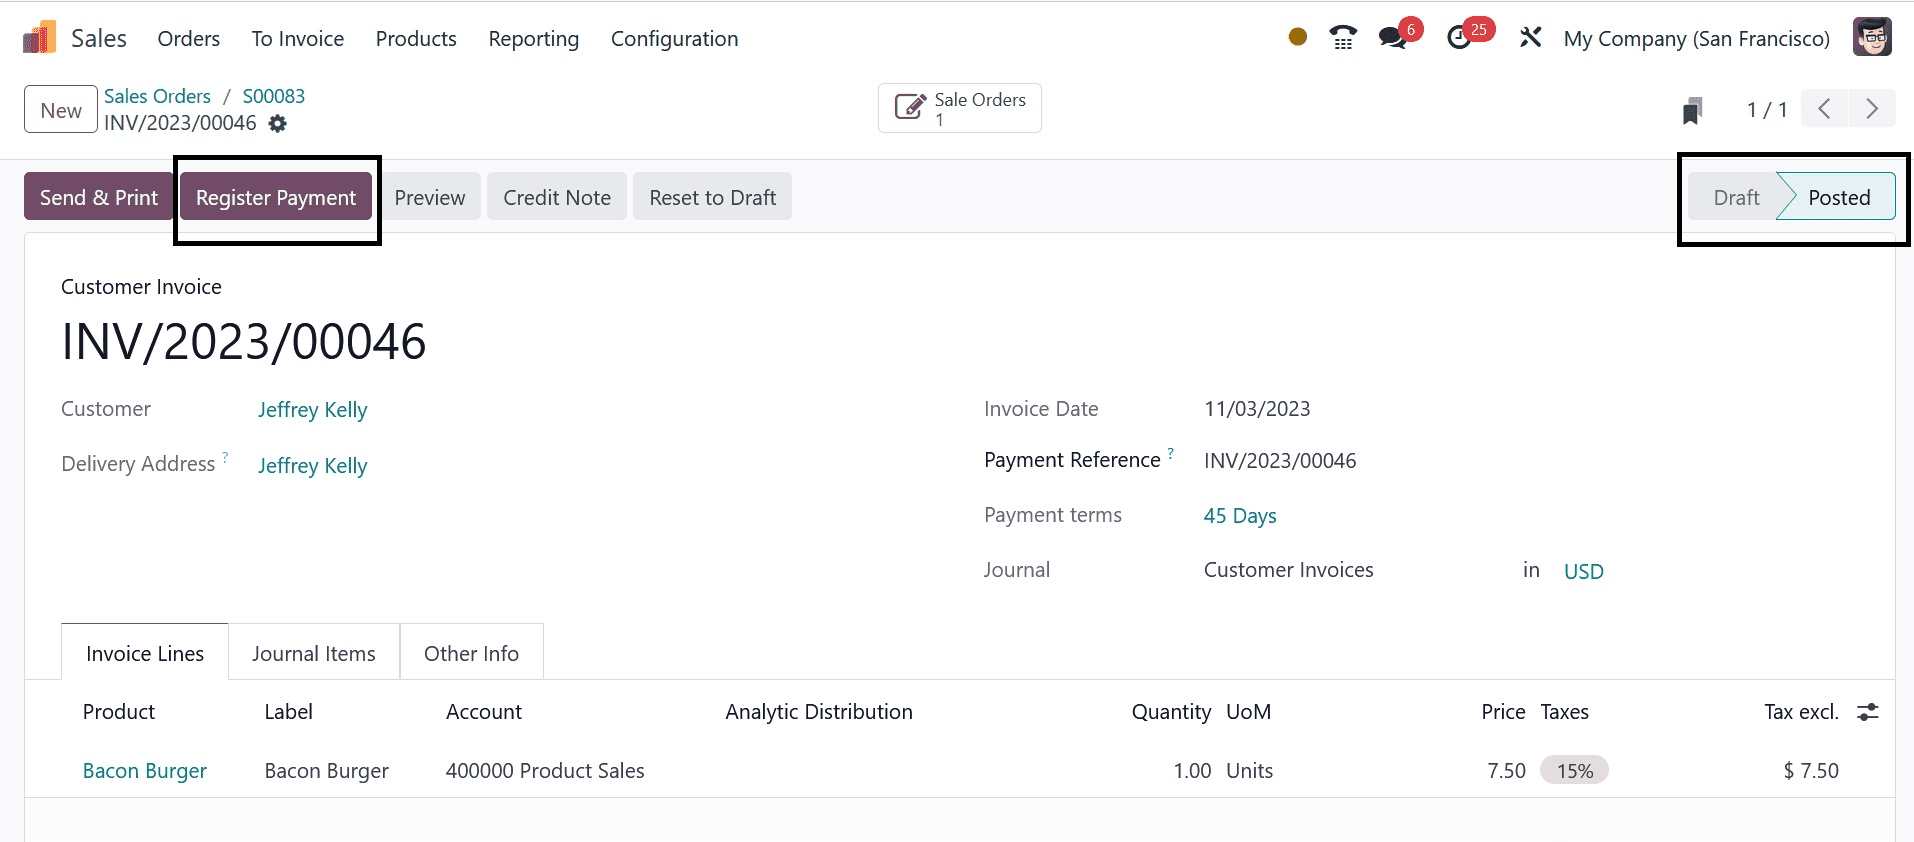
The user is presented with a Register Payment window. Select Manual as the Payment Method and set your Journal to Bank. By choosing the Manual Payment option, we can pay or be paid using any other than Odoo.

The Amount field automatically displays the Order Total and the Payment Date. Once the required adjustments have been made, click the CREATE PAYMENT option.

Upon completing the payment, the Invoice window displays an In Payment mark.
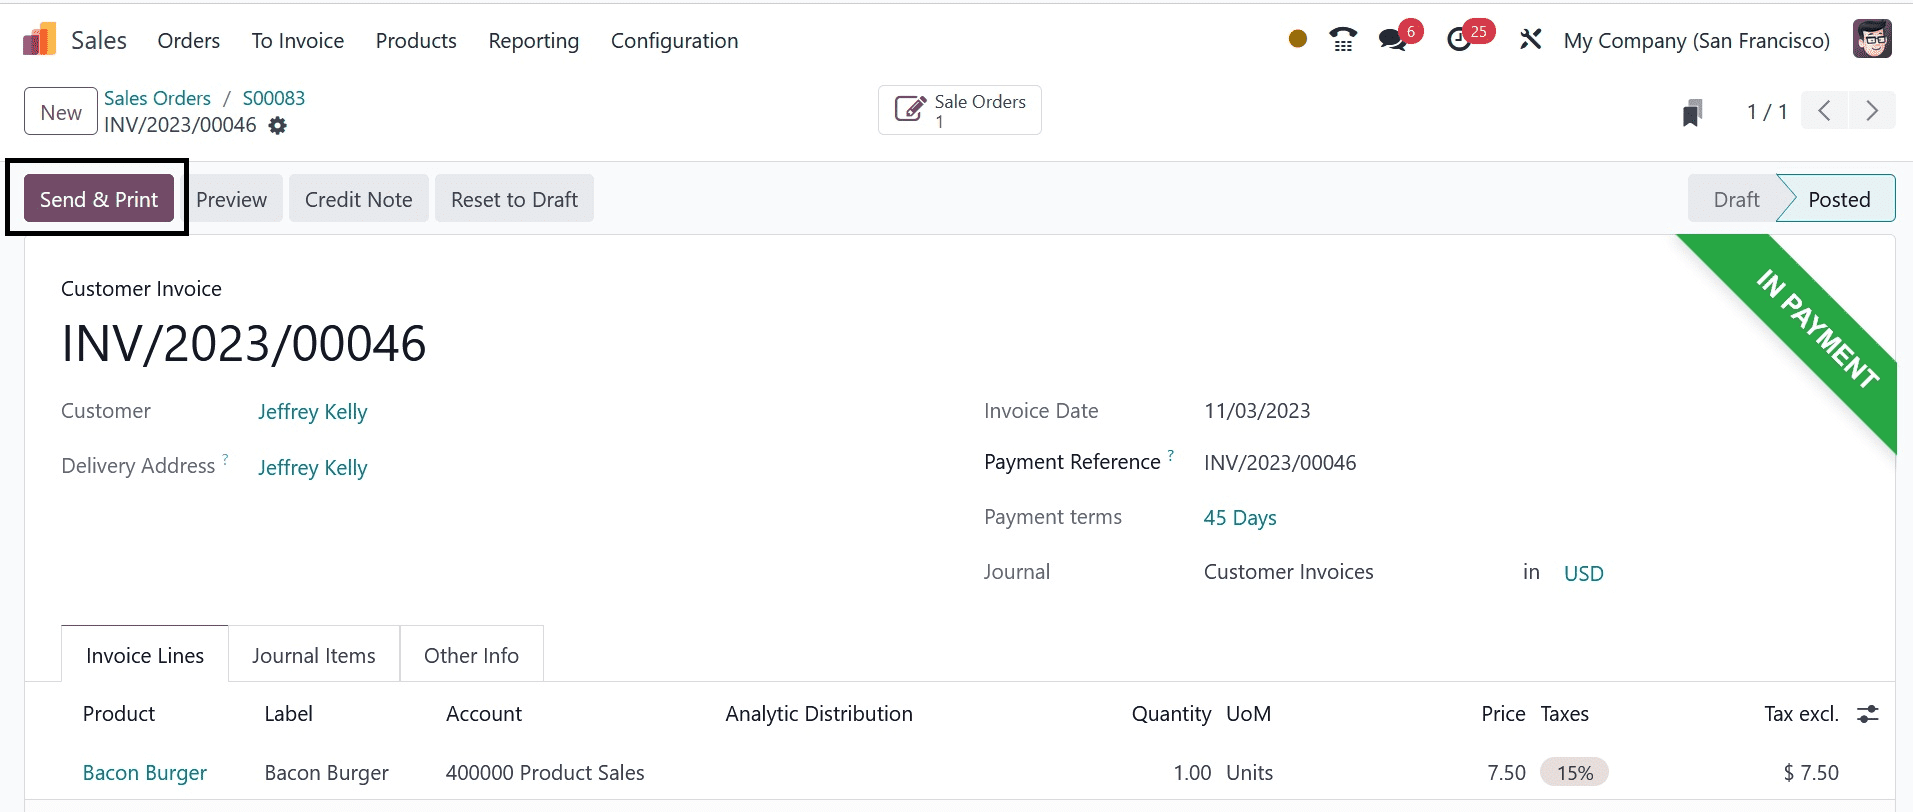
As seen in the above screenshot, we may print the invoice document for a customer by choosing the SEND & PRINT button. As seen in the screenshot below, you can see that only one invoice has been created in the Sales Orders box.
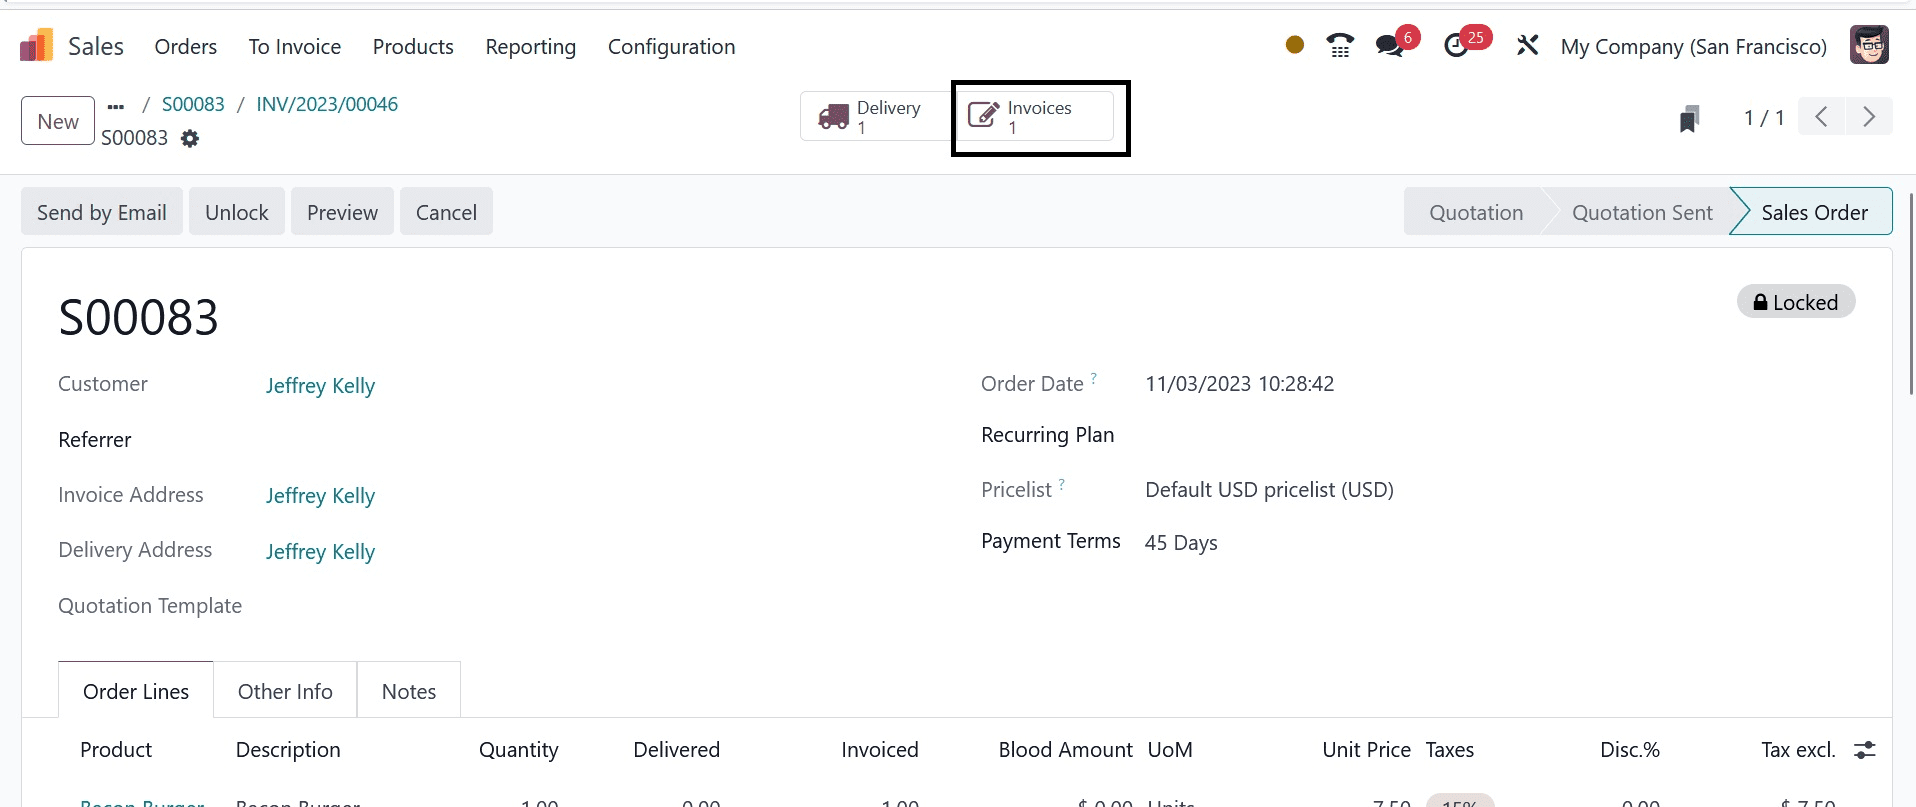
As a result, creating a sales order in the Odoo 17 Sales module and locking it is simple.