The sales module of Odoo ERP improves corporate sales procedures. It has a customer portal, order processor, quotation builder, payment gateway connection, invoice generator, and sales dashboard. The module automates the development, transmission, and acceptance of sales orders for payment. Additionally, it has a Sales Forecasting tool, CRM interface, and comprehensive reporting on sales activity. Users may access sales data anywhere using Odoo Mobile. Additionally, the technology allows for immediate invoice mailing, which makes customer tracking and follow-up easier. In general, Odoo is one of the most complete sales management software on the market and is appropriate for businesses of all sizes. Also, This module is crucial for businesses as it increases profits, persuades customers, and maintains a balanced view of product aspects.
Odoo has released its 17th edition, which includes several intriguing functional enhancements. You might have already used the platform and viewed the new Odoo ERP Package. In this article, we'll review the Product Documents, a new feature of the Odoo 17 Sales Module.
Product Documents in Odoo Sales
Product documentation is crucial for marketing, SEO, and customer retention. It legitimizes a product's features, provides comprehensive information, and builds trust. A satisfied consumer impacts the brand's reputation. Product documentation can be in various forms: user manuals, technical specifications, Knowledge bases, guides, software development kits, feature documentation, and marketing material. It includes clear instructions, data, troubleshooting advice, product features, and practical usage examples.
Odoo 17 users may now create and add their product documentation in the Sales Module. In light of this, clients who place a sales order will receive these documents, which may be downloaded, printed, and shared. To check this functionality, we can go to the Sales Module and let's configure new Product data. This can be done using the “Products” window of the “Products” menu.
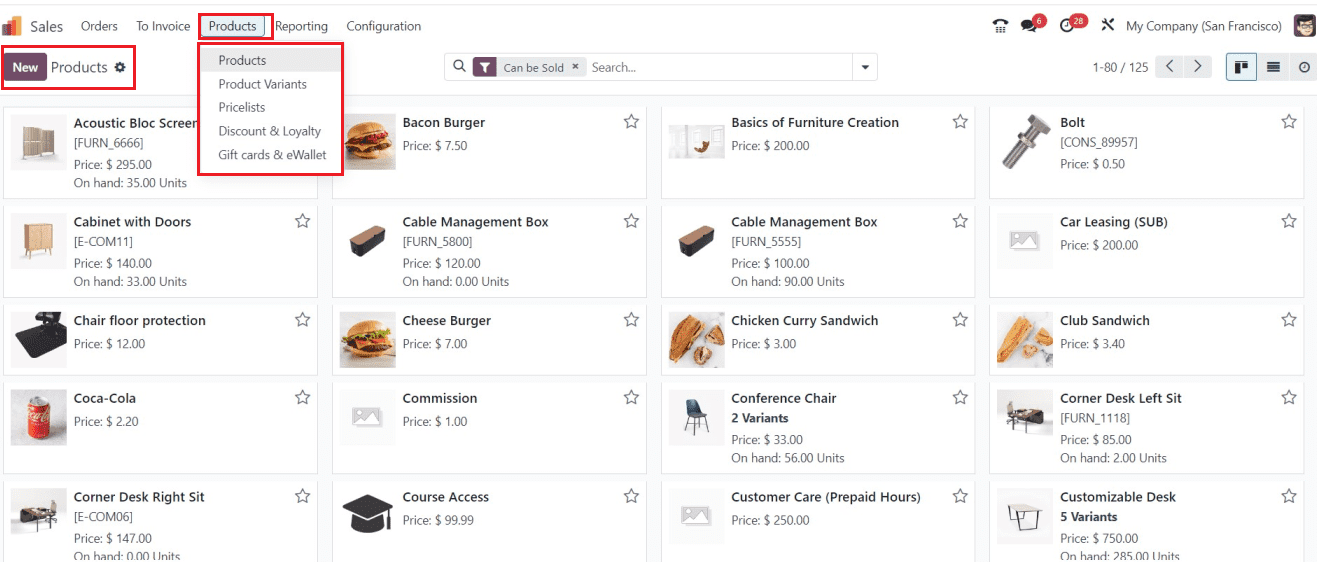
You can start creating a new product using the “New” button.
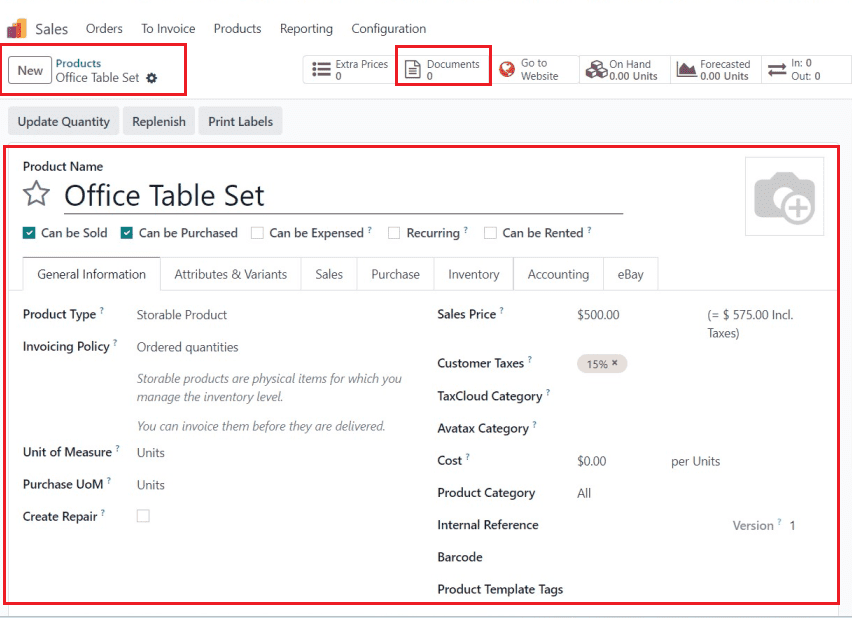
Select the "Documents" smart button in the top-left corner of the form after completing the appropriate product data updates. You can include the Product related documents in this area, such as Warranty, Description, User manual, etc. It is currently empty. So, we can add a new product document by opening the “Documents” smart button. The Document Dashboard window will be displayed as shown below.
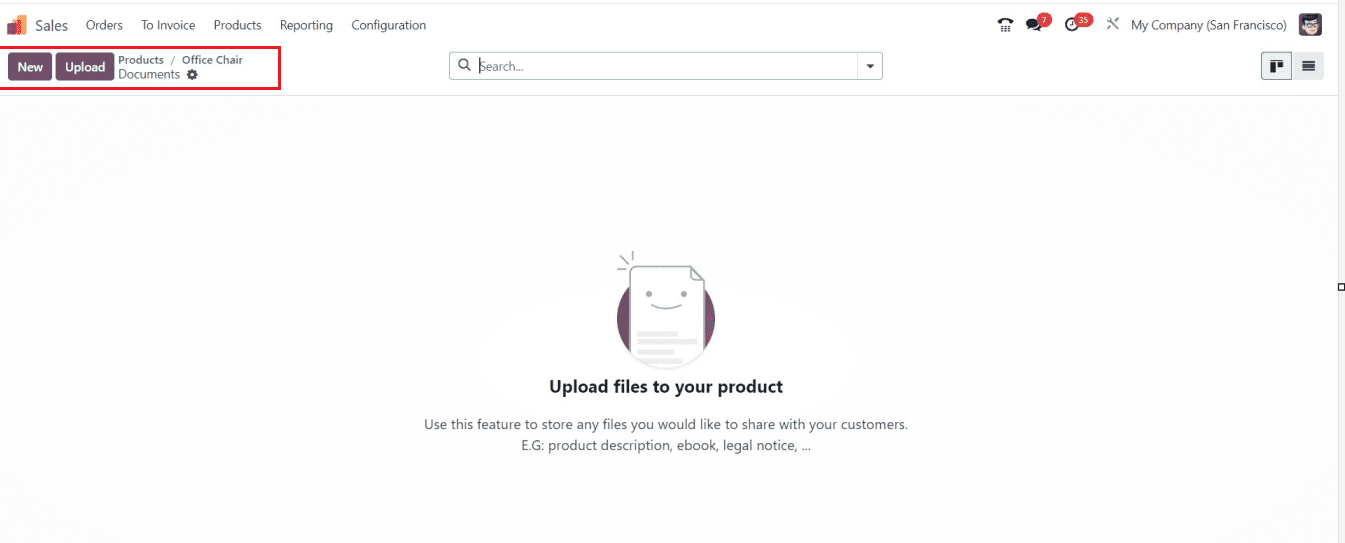
We can create or add a new document by pressing the “New” button. For demonstration purposes, I have created a sample product document and saved it inside my device in a PDF Format, as shown below.
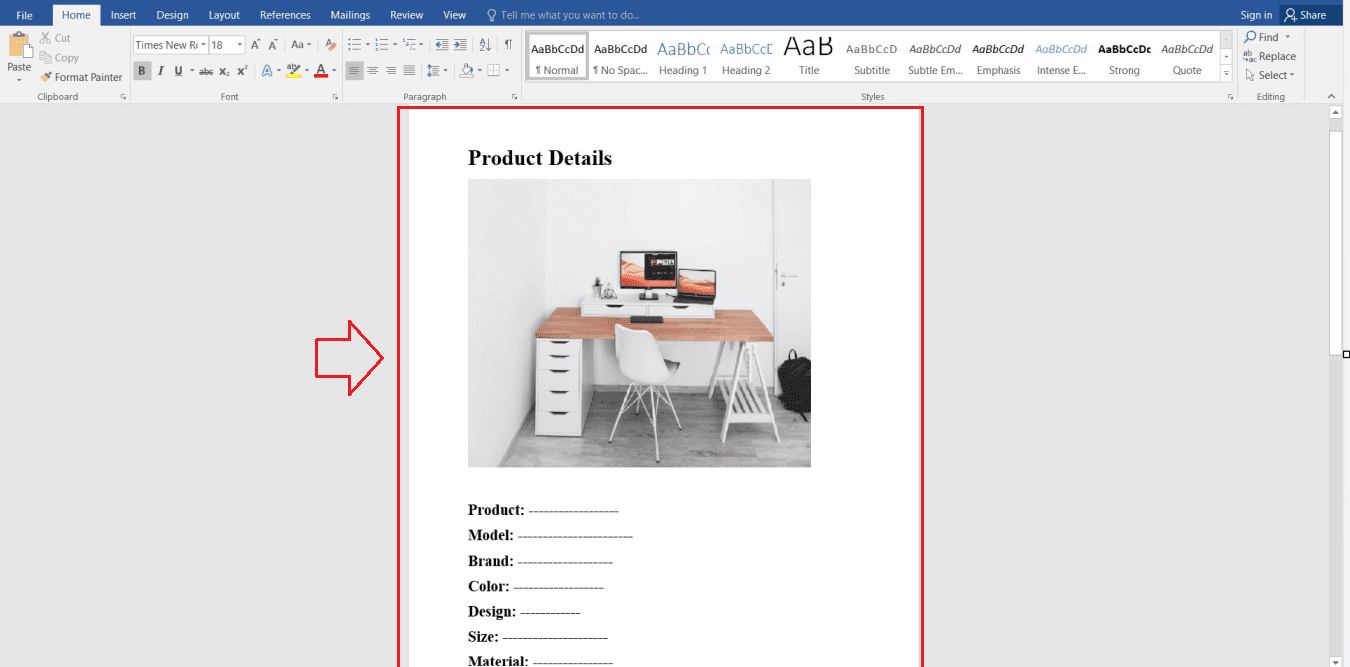
Come back to the Document configuration form and select a document from the “Type” field. The "Upload your file" button allows the user to choose and upload a PDF file from the device's storage.
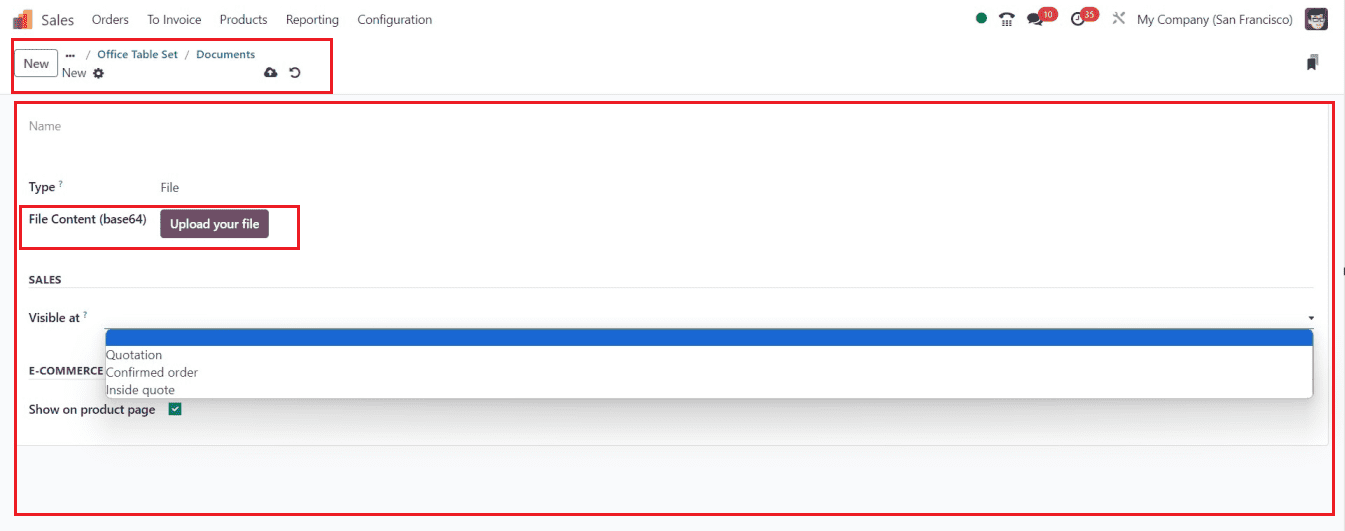
The "Visible at" field allows you to share product details with customers on the eCommerce page. You can choose between "Quotation," "Confirmed Order," or "Inside Quote." If you choose the "Quotation" visibility, then the users can view the document inside the quotation. When you select the "Confirmed Order" option, users may only see the product documentation after the order has been confirmed. The product description document will be included between the header and footer pages of a quote template if "Inside Quote" is chosen.
If you want to show the product document inside the product’s shopping page, then select “Show on the product page” and save the document using the save icon.
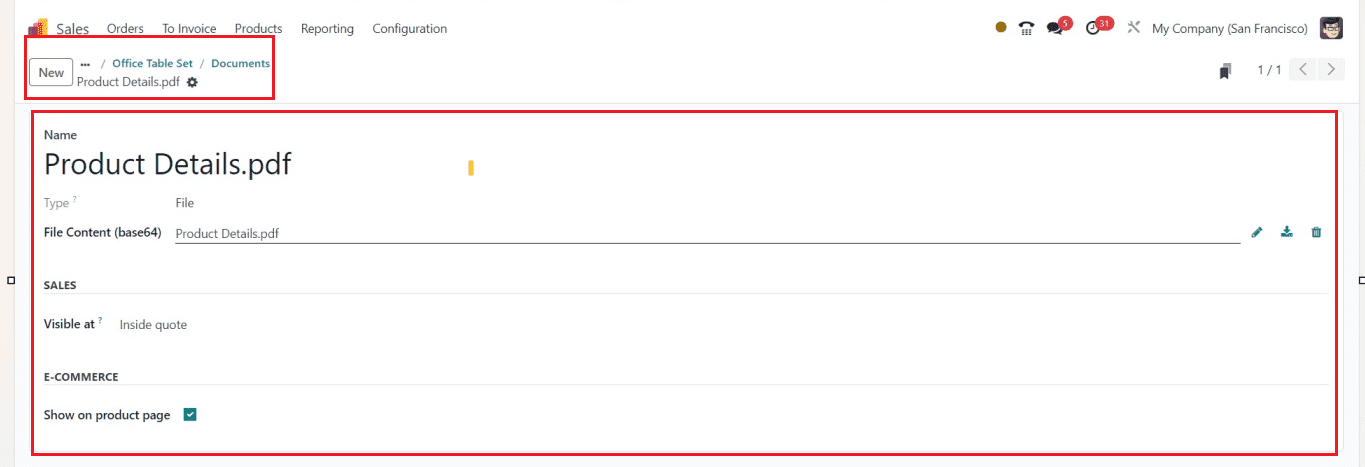
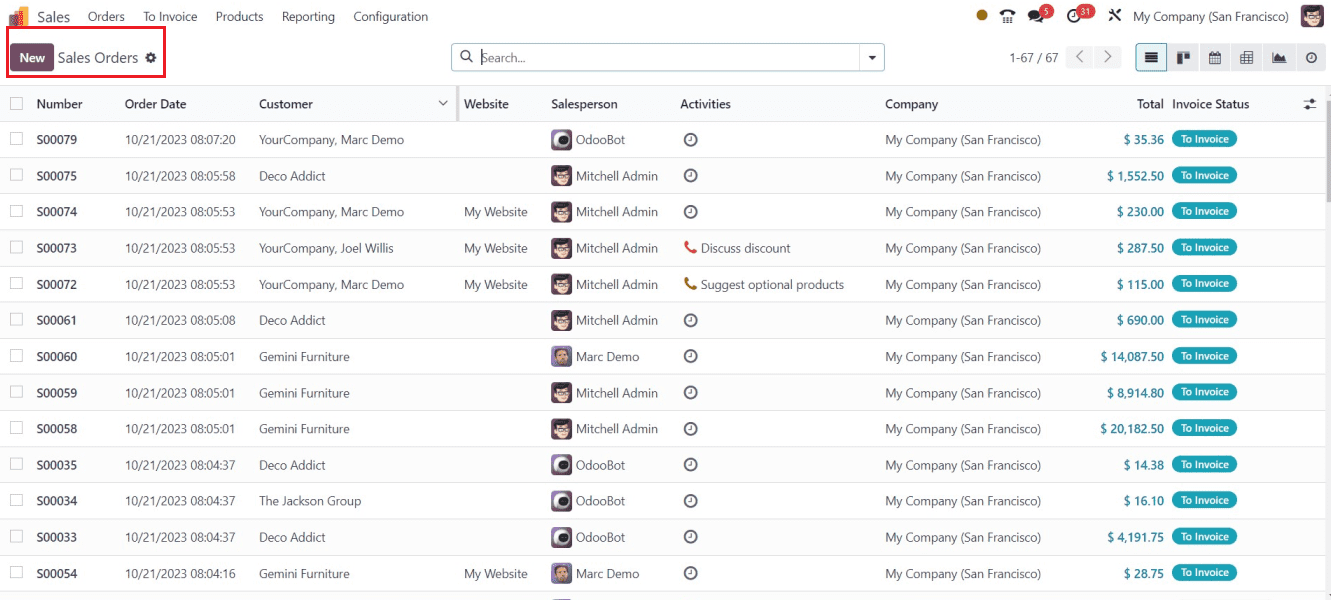
The example is presented using a sample product document. After adding the document, we can create a Sales Order with the above product. So, go to the “Sales Order” window from the “Orders” menu. Press the “New” button to create a new sales order and start filling the form data as shown below.
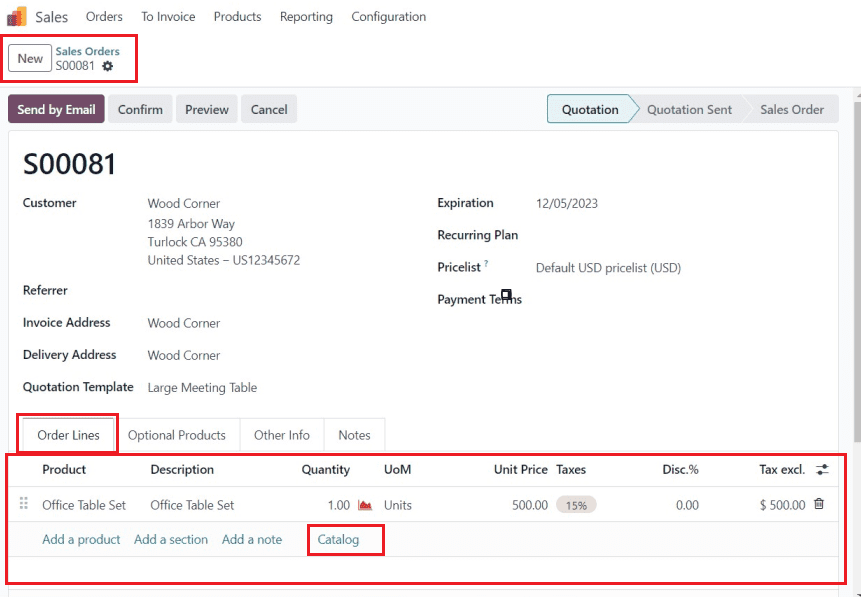
You can fill out the essential form fields, including the “Customer,” “Referrer,” Invoice Address,” “Expiration,” “Recurring Plan,” “Pricelist,” etc. Also, choose an appropriate quotation template from the “Quotation Template” field.
To add a product, select "Add a product" from the list of available options in the "Order Lines" area. You can also choose the “Catalog” button to select products directly from the products catalog window. Here, we can choose the previously configured product, “Office Chair,” as depicted below.
After saving the Sales Order, you can click on the “Action” menu placed near the “New” button and select the “Print” option.
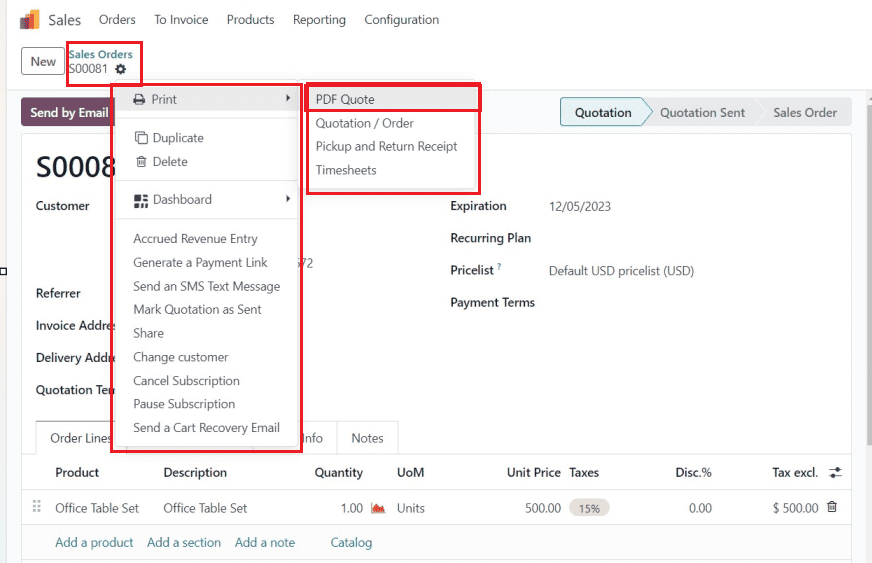
The “Print” section contains many options. You can print the “PDF Quote,” “Quotation/Order,” “Pickup and Return Receipt,” and “Timesheets” from this section. Here, we will download the PDF quotation details with the product information documents. The “PDF Quote” option will download the document file to your device. Therefore, you may open the file and print or save them for further reference. The product document will be shown between the Quotation Template’s Header and Footer Pages, as illustrated in the screenshot below.
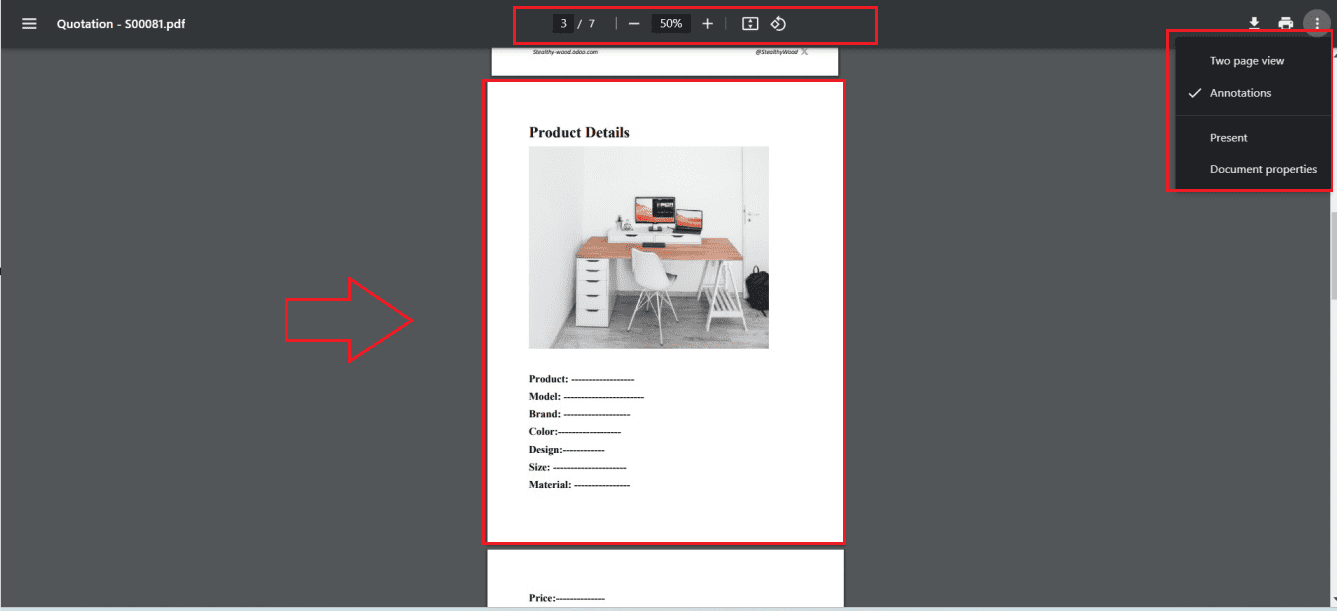
This is how we attach a product document within the Odoo product configuration forms, put them inside quotes and sales orders, and download them using the Odoo 17 Sales Module.
To read more about adding email attachments to Odoo 16, refer to our blog How to Add Email Attachments (PDF & Excel) Odoo 16