Generating detailed reports from the Point of Sale (POS) system is crucial for tracking sales and performance. In Odoo 16, creating custom reports from POS sessions is straightforward. This tutorial will walk you through the steps to create a custom POS report and add a button in the POS interface to generate this report.
Step 1: Adding a Button to the POS Receipt Screen
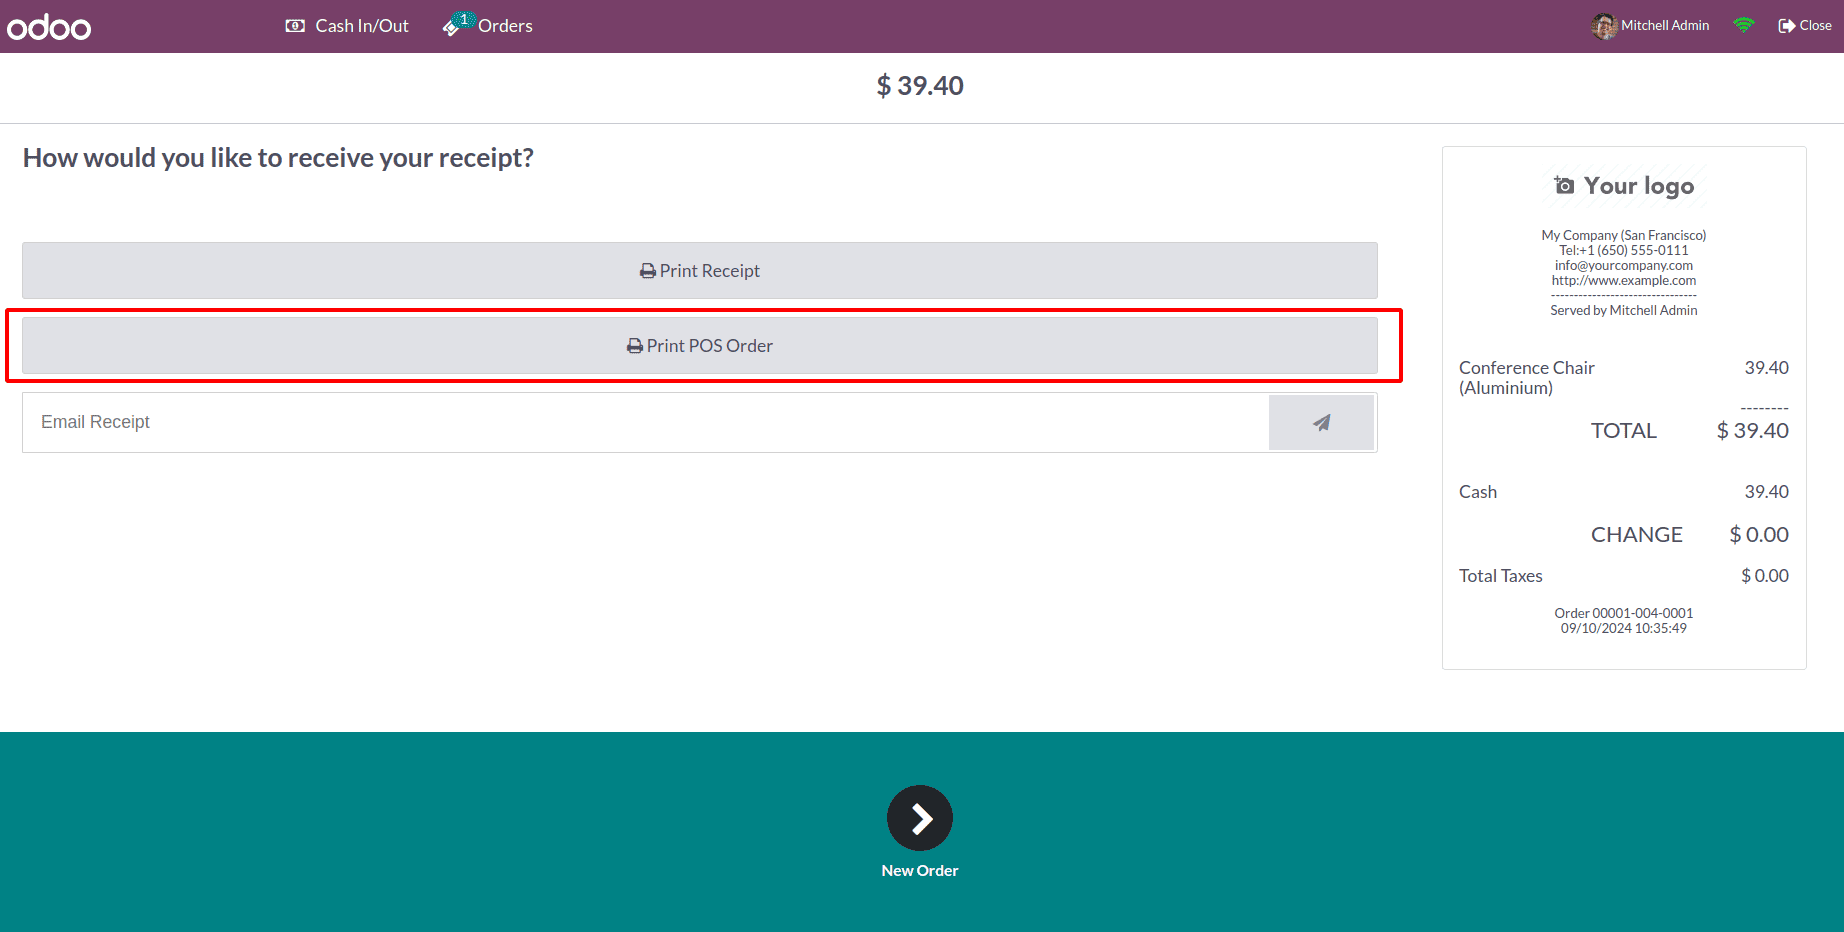
First, let's add a button to the POS Receipt Screen to trigger the report generation. To achieve this, we will create an XML file in static/src/xml/. The new button will appear after the "Print Receipt" button, which is displayed after order validation.
Create a file at static/src/xml/pos_report_button.xml with the following content:
<?xml version="1.0" encoding="UTF-8"?>
<templates id="template" xml:space="preserve">
    <t t-name="ReceiptScreen" t-inherit="point_of_sale.ReceiptScreen" t-inherit-mode="extension" owl="1">
        <xpath expr="//div[hasclass('actions')]" position="inside">
            <div class="class=buttons">
            <div class="button pos-order-print">
                <i class="fa fa-print"></i> Print POS Order
            </div>
            </div>
        </xpath>
    </t>
</templates>
This code defines a new button with a print icon that will be displayed on the Receipt Screen. Now, let's add some styles for the button by creating a file at static/src/css/pos_report_button.css:
.pos-order-print
{
    flex: 1;
    border: solid 1px #d1d1d1;
    padding: 1rem;
    text-align: center;
    border-radius: 3px;
    cursor: pointer;
    background: #E0E2E6;
}
Step 2: Updating the Manifest
To ensure that Odoo loads the new button template in the POS Receipt Screen, update the __manifest__.py file by adding the path to the new XML and CSS files under the point_of_sale.assets section:
'assets': {
        'point_of_sale.assets': [
            'pos_order_report/static/src/xml/pos_report_button.xml',
            'pos_order_report/static/src/css/pos_report_button.css',
        ],
    },
Now, the button looks like the following:
Step 3: Creating the JavaScript Action for the Button
Next, we need to define the functionality of the button using JavaScript. This will involve capturing the click event of the new button and calling the report generation method.
Modify the XML file to add the click event for the button:
<?xml version="1.0" encoding="UTF-8"?>
<templates id="template" xml:space="preserve">
    <t t-name="ReceiptScreen" t-inherit="point_of_sale.ReceiptScreen" t-inherit-mode="extension" owl="1">
        <xpath expr="//div[hasclass('actions')]" position="inside">
            <div class="class=buttons">
            <div class="button pos-order-print" t-on-click="printPosOrder">
                <i class="fa fa-print"></i> Print POS Order
            </div>
            </div>
        </xpath>
    </t>
</templates>
Now, create the JavaScript file static/src/js/pos_report.js to define the click action:
odoo.define('pos_order_report.ReceiptScreen', function(require) {
    'use strict';
    const OrderReceipt = require('point_of_sale.ReceiptScreen');
    const Registries = require('point_of_sale.Registries');
    const PosOrderPrintReceiptScreen = ReceiptScreen =>
        class extends ReceiptScreen {
            async printPosOrder() {
                let order = this.env.pos.get_order();
                let order_name = order.name;
                var self = this;
                this.rpc({
                    model: 'pos.order.wizard',
                    method: 'generate_report',
                    args: [[]],
                }).then(async function(result) {
                    self.env.legacyActionManager.do_action(result)
                });
            }
        };
    Registries.Component.extend(OrderReceipt, PosOrderPrintReceiptScreen);
    return OrderReceipt;
});
The "Print POS Order" button will now call the backend method generate_report, defined in the pos.order.wizard model when clicked.
Step 4: Creating the Backend Method to Generate the Report
Now, let's create the backend functionality that generates the report in PDF format.
1. Create a Wizard Model:
In the models folder, create a new file models/pos_order_wizard.py and define the following model:
from odoo import models, api
class PosOrderWizard(models.TransientModel):
    _name = 'pos.order.wizard'
    _description = "POS Order Wizard"
    def generate_report(self):
        return self.env.ref('custom_receipts_for_pos.action_pos_order_report').report_action(self, data={'name': 'POS Order Report'})
This method returns the report action, referencing the custom report template we will create next.
2. Define the Report Action:
In report/pos_order_report.xml, define the report action:
<?xml version="1.0" encoding="UTF-8"?>
<odoo>
    <record id="action_pos_order_report" model="ir.actions.report">
        <field name="name">POS Order Report</field>
        <field name="model">pos.order.wizard</field>
        <field name="report_type">qweb-pdf</field>
        <field name="report_name">custom_receipts_for_pos.pos_order_template</field>
        <field name="report_file">custom_receipts_for_pos.pos_order_template</field>
    </record>
</odoo>
Step 5: Creating the Report Template
Finally, we need to define the report template that will structure the content of the PDF.
In report/templates/pos_order_template.xml, create the report layout:
<?xml version="1.0" encoding="utf-8"?>
<odoo>
<template id="pos_order_template">
<t t-call="web.html_container">
<t t-call="web.external_layout">
<div class="page">
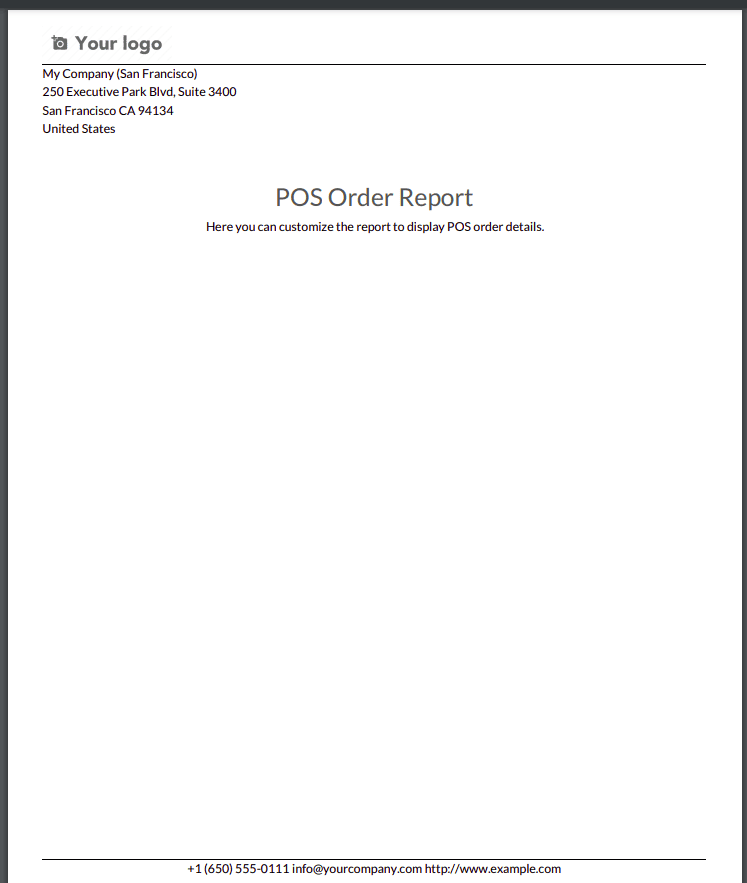
<h2 align="center">POS Order Report</h2>
<p align="center">Here you can customize the report to display POS order details.</p>
</div>
</t>
</t>
</template>
</odoo>
You can modify this template to include detailed information from the POS orders, such as product names, quantities, totals, etc.
After completing an order in the POS session, click the "Print POS Order" button to generate the report. The report will be generated as a PDF and downloaded to your system.
With these steps, you can add a custom button to the POS interface and link it to a report generation action in Odoo 16. The process involves creating a button in the UI, handling the click event with JavaScript, defining a backend method for generating the report, and creating a custom PDF report template. You can further customize the report template to include the necessary data for your business needs.
To read more about How to Manage Customers with Odoo 17 POS, refer to our blog How to Manage Customers with Odoo 17 POS.