In today’s rapidly evolving business environment, the integration of QR code menus and ordering systems has become a vital aspect of the modern dining experience. As businesses aim to provide seamless and contactless services, Odoo 17 offers a sophisticated solution for implementing a QR code-based menu and ordering system within its Point of Sale (PoS) module. This blog delves into the intricate process of setting up this system, offering a detailed understanding of its configuration and practical application.
The QR code menu system in Odoo 17 is designed to streamline the customer experience by allowing them to access digital menus directly from their smartphones. This approach not only reduces the need for physical menus but also enhances the efficiency of the ordering process, particularly in a post-pandemic world where minimizing contact is crucial. The process begins with ensuring that the PoS module is correctly installed and configured within the Odoo 17 environment. The module’s installation is straightforward, and accessible through the Apps module in the Odoo dashboard, and it is essential to have a fully functional PoS setup before proceeding with the QR code menu configuration.
Benefits of Implementing a QR Code Menu with Odoo PoS
1. Enhanced Customer Experience:
* Convenience: Customers can browse, order, and pay directly from their smartphones, offering a seamless and personalized experience.
* Autonomy: Allows customers to order at their own pace, which is especially beneficial for large groups or those with dietary restrictions.
2. Increased Operational Efficiency:
* Reduced Wait Times: Faster ordering and payment processes lead to quicker table turnover, enabling restaurants to serve more customers efficiently.
* Improved Table Turnover: By minimizing the time customers spend waiting for service, restaurants can accommodate more patrons, boosting overall revenue.
3. Cost Reduction:
* Lower Labor Costs: Reduces the need for extensive waitstaff, as customers handle ordering and payment independently.
* Elimination of Physical Menus: Saves on printing costs and allows for easy updates to the menu without additional expenses.
4. Higher Customer Satisfaction:
* Personalization: Customers appreciate the ability to customize orders without any pressure, leading to higher satisfaction.
* Modern Dining Experience: The use of digital menus aligns with the expectations of today’s tech-savvy consumers, enhancing their overall experience.
5. Sustainability and Flexibility:
* Environmentally Friendly: The reduction in physical menus contributes to a more sustainable operation.
* Easy Menu Updates: Digital menus can be updated instantly, ensuring that offerings are always current without the need for reprinting.
How to Configure Odoo POS QR Code Menu
Configuring the QR Code Menu in Odoo's Point of Sale (POS) system is an excellent way to streamline the ordering process, allowing your customers to place orders directly from their mobile devices. By following these detailed instructions, you'll be able to set up the QR Code Menu feature in your POS system, enhancing the overall dining experience for your customers.
Step 1: Access POS Configuration
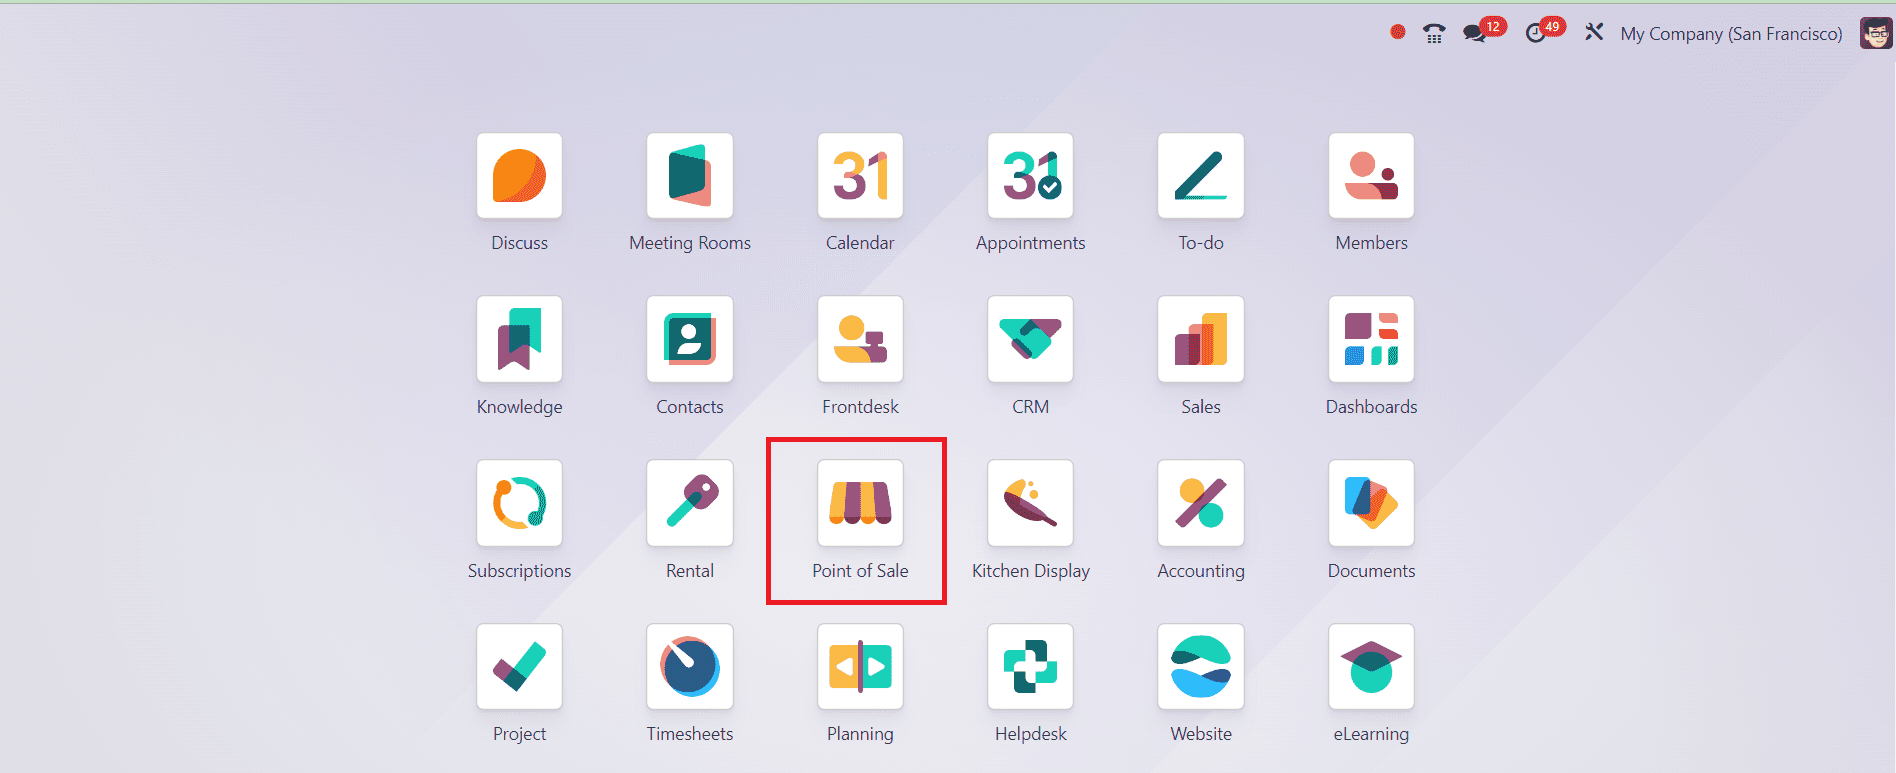
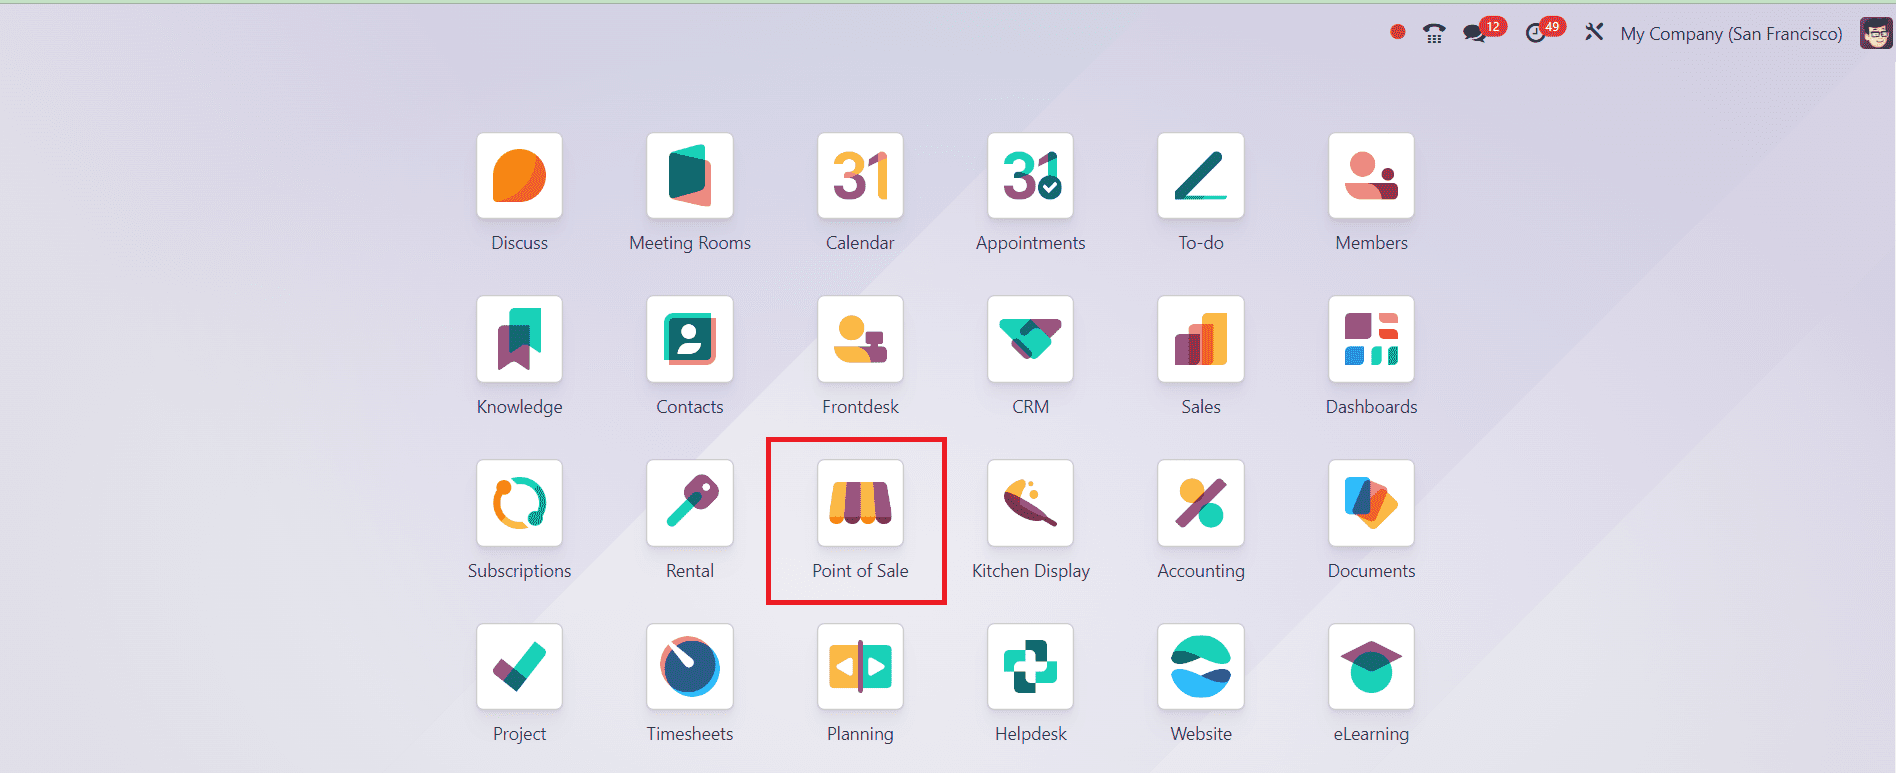
To begin, log in to your Odoo account and navigate to the Point of Sale module from your dashboard. This module is where all POS-related configurations are managed.
Step 2: Enable QR Code Menu
With your POS system selected, proceed to the Settings section within the POS Configuration. Here, you will find various options that control how your POS operates. Scroll down until you locate the Mobile Self Order & Kiosk section.
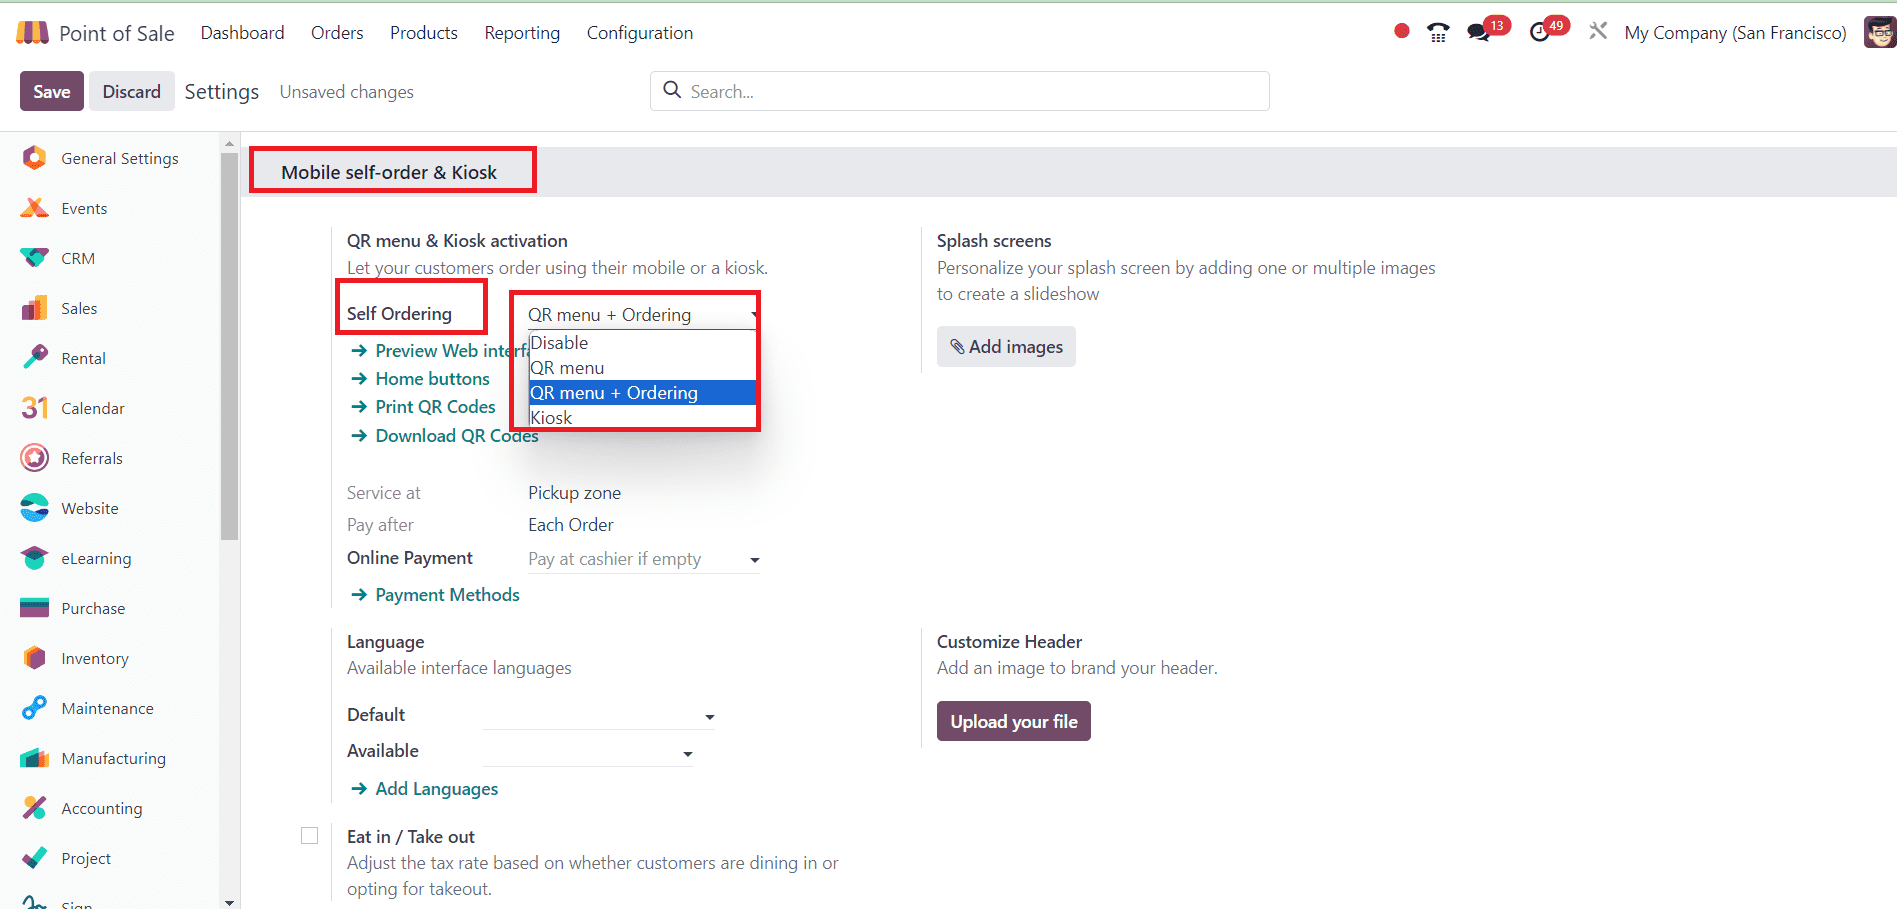
To activate the Self Ordering system, simply select the QR Menu + Ordering option. Enabling this feature is the foundation for allowing customers to access your menu via a QR code, making it an essential step in the configuration process. In the given section, you can mention the Online Payment option, which will allow the customer to pay using available payment methods at their convenience. Additionally, you can set the interface language in the Language field. In the Eat In/Take Out section, you can adjust the tax rate based on whether the customer is dining in or opting for takeout. In order to personalize the splash screen of the menu, you can add multiple images and create a slideshow using the Add Images option in the Splash Screen field. In the Customize Header field, it is possible to customize the header of the QR menu. In this field, you can add an image to brand your header.
Step 3: Print the QR Code
Once the QR Code Menu feature is enabled, you’ll notice a new option labeled “Print QR Code” appearing on the screen. Click on this button to generate the QR codes that correspond to your digital menu.

These QR codes can then be printed and placed strategically around your restaurant, particularly on each table.
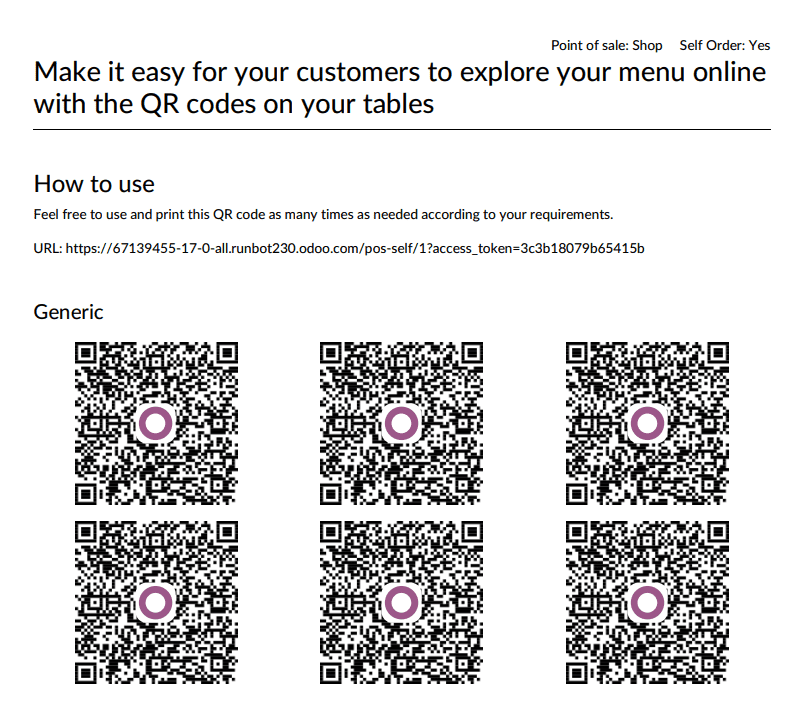
Upon arriving at their table, customers can scan the QR code with their mobile device. This action will automatically redirect them to a digital version of your restaurant's menu. From this interface, they can browse through available items, customize their meals according to their preferences, and place orders directly from their devices. This not only speeds up the ordering process but also reduces the workload on your staff, allowing them to focus on other aspects of service.
Step 4: Allow Customers to Pay After Ordering
To provide flexibility in how customers pay for their orders, ensure that the Pay After Ordering option is enabled within the POS Configuration settings. This option allows customers to choose whether they want to pay via Mobile Payment immediately after placing their order or settle the bill later at the Cashier’s Counter.

Offering multiple payment options caters to different customer preferences and can improve overall satisfaction with the dining experience. Configuring this option is optional, but it can significantly enhance customer convenience, especially in today’s digital-first environment where contactless payments are increasingly preferred.
Step 5: Self-Ordering Feature Visibility on POS Dashboard
After enabling the Self Ordering feature, it will be visible on your POS dashboard, allowing you to monitor and manage self-orders in real-time. This visibility ensures that you and your staff can keep track of incoming orders efficiently, maintaining smooth operations during busy periods.

The feature’s integration with the POS dashboard ensures that it is fully embedded into your existing workflow, requiring minimal adjustments to your current processes.
Step 6: Customize the Mobile View (Optional)
The mobile view, which customers see after scanning the QR code, can be customized to reflect your restaurant's branding. You have the option to change the background image within the POS module, ensuring that the digital interface aligns with your restaurant’s aesthetic.
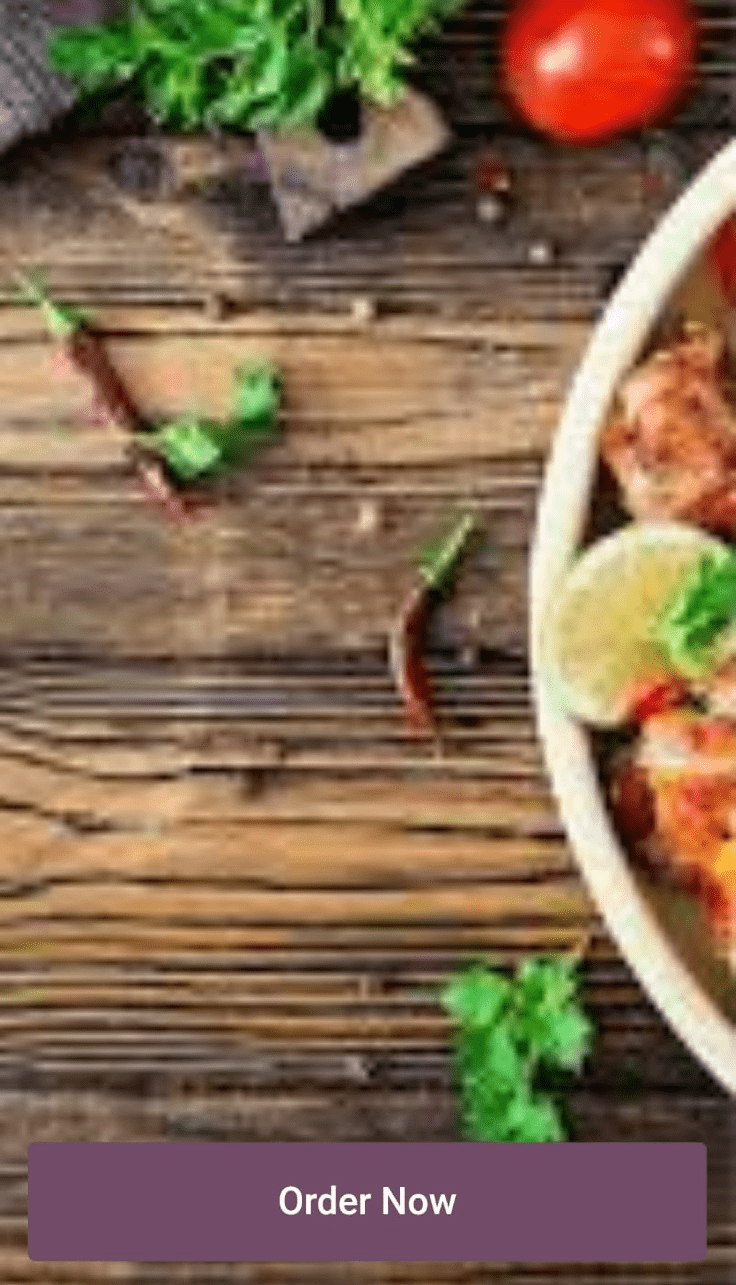
On the mobile homepage, customers will see an “Order Now” button, which they can tap to explore the available dishes. This customization option allows you to create a more cohesive and branded customer experience.
Step 7: Placing Orders via Mobile
When customers access the menu on their mobile devices, they can browse through the items, which are often organized by categories for easier navigation. They can add items to their cart, increase or decrease quantities, and even leave special instructions or notes for the kitchen.
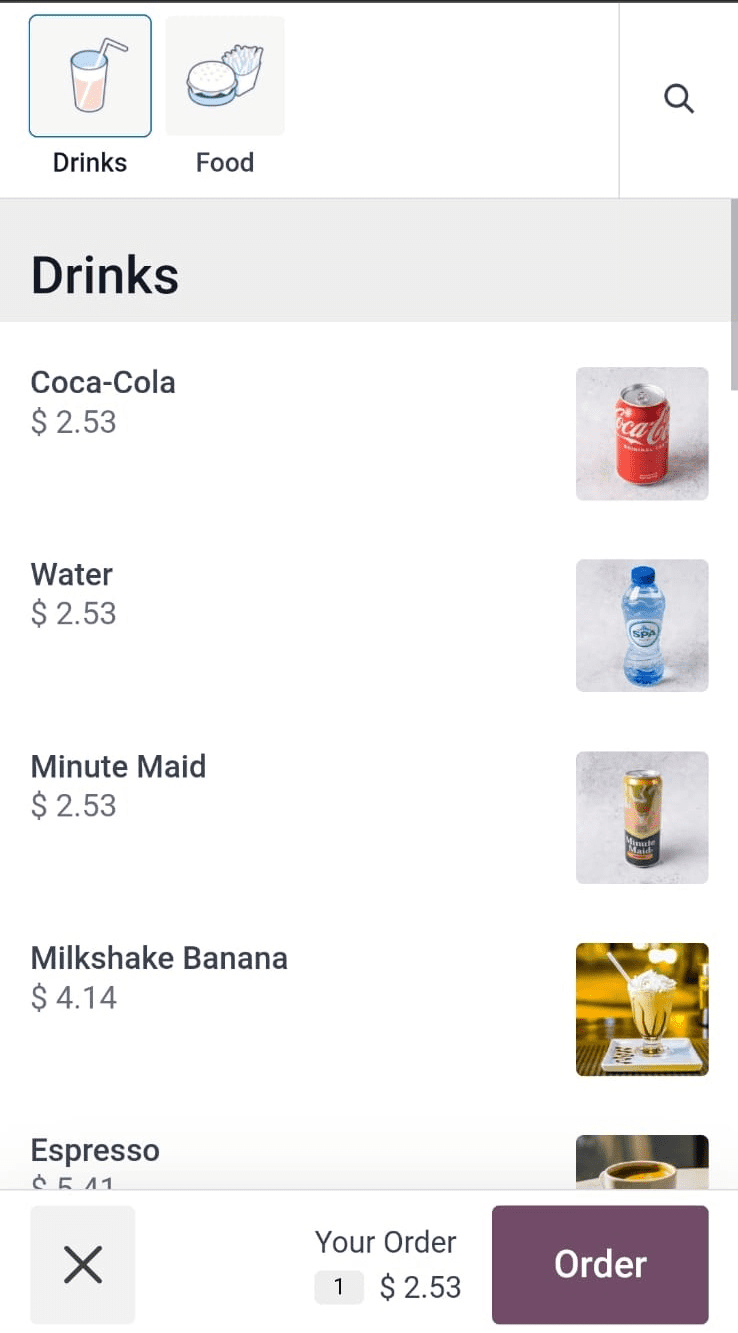
Before finalizing their order, customers have the option to review their cart, ensuring that everything is correct before they proceed. This detailed interaction with the menu gives customers greater control over their orders, leading to a more personalized dining experience.
Step 8: Finalizing the Order
As customers finalize their order, they will be prompted to confirm their floor and table number, ensuring that the order is directed to the correct location within the restaurant.
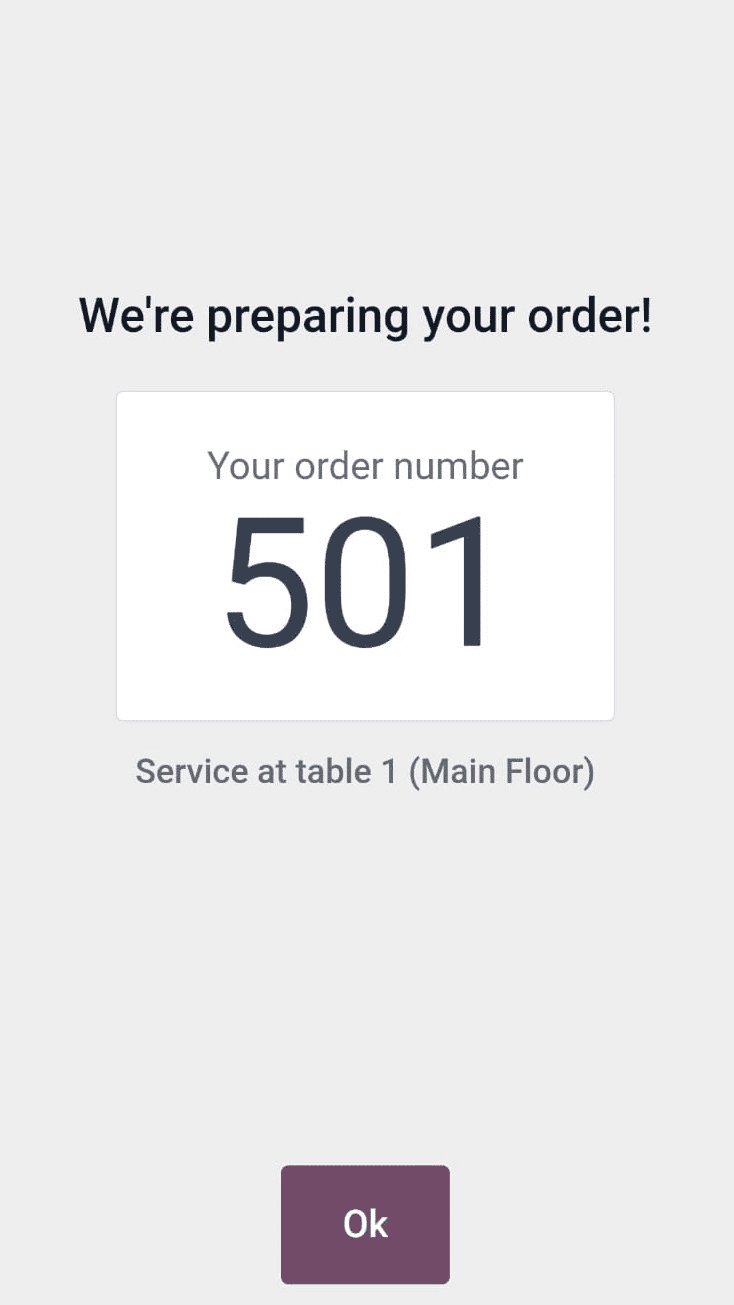
This step is vital for accurate order delivery. Once the order is placed, customers can track it under ‘My Orders’ in the mobile interface, giving them peace of mind that their order is being prepared.
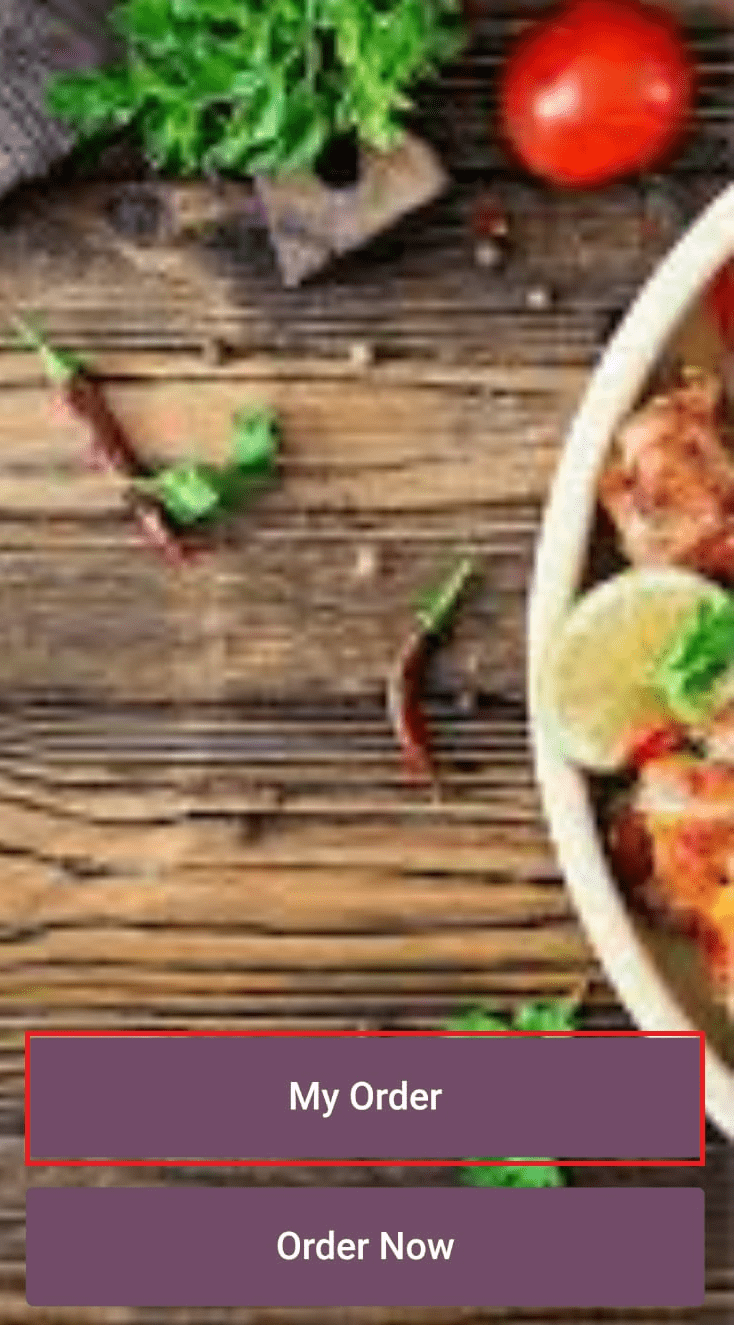
This transparency in the process enhances the customer experience by keeping them informed throughout their dining journey.
Step 9: Payment
Finally, when it’s time to pay, customers can choose to complete the payment directly on their device if the mobile payment option is set up.
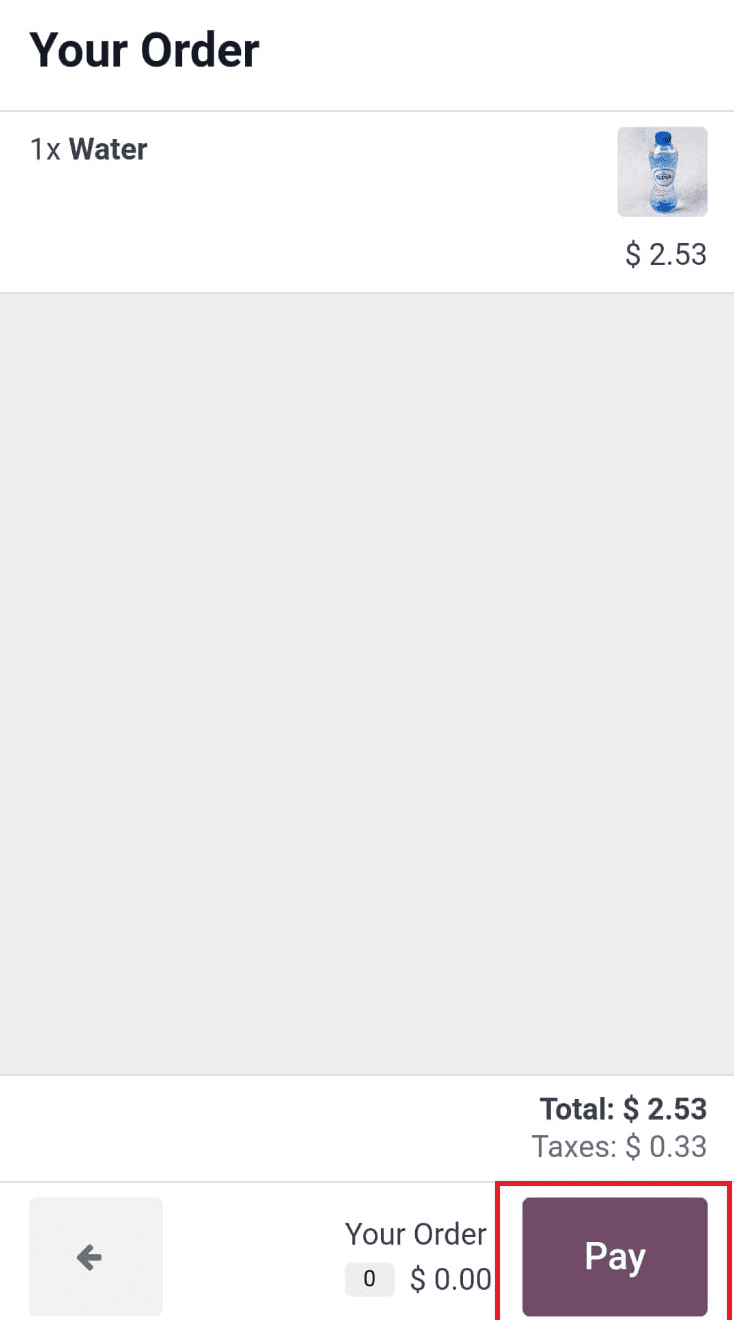
Alternatively, they can opt to pay at the cashier’s counter after finishing their meal. Providing multiple payment options ensures that customers can choose the method that best suits them, thereby enhancing convenience and satisfaction.
By following these detailed instructions, you can effectively configure the QR Code Menu in Odoo POS, offering your customers a modern, efficient, and contactless dining experience. Configuring a QR code menu and ordering system in Odoo 17 PoS is a transformative step for businesses looking to modernize their operations and improve customer satisfaction. By following the comprehensive setup process outlined above, businesses can effectively leverage Odoo 17’s capabilities to implement a sophisticated, efficient, and customer-friendly ordering system that meets the demands of today’s market.
To read more about How to Add a Payment QR-code to Invoices in Odoo 16 Accounting, refer to our blog How to Add a Payment QR-code to Invoices in Odoo 16 Accounting.