Field Service combines all that work that happens outside the office environment. With growing technologies, the field service industry has expanded. Nowadays there are more diskless jobs around. All these works need proper management. Their work, scheduling, assigning new tasks, collecting data, producing reports, and creating invoices are some of the main objectives of field service management. To improve productivity and efficiency companies should optimize the field service management. As it is a very complex field to operate, there should be a good system to manage tasks.
Odoo 14 ERP is a complete solution for your business. In order to manage the field services of the company, Odoo helps you to organize the tasks with the Field Service module. By installing the FieldService module from the applications, you can effectively and efficiently increase the productivity from the Field Service section. Miscommunication, incomplete information, delays in assigning works, delays in the notice, insufficient planning are some of the major problems faced in Field Service management. Odoo Field Service module helps you to overcome and oversee all these problems.
With Odoo Field Service you can view all the tasks assigned to the employees in chronological order. You can use filters to view specific tasks assigned. To create new tasks in the module you can easily make them using the CREATE option. Every detail and operation from assigning tasks, planning them, getting reports, and creating invoices can be done from the OdooField Service module. Your work will be simplified and everything will be error-free.
One of the main features of the Odoo Service module is its configuration. You can customize the module according to your wish. You can arrange the elements of the module in a particular way according to meet the needs of your business.

Let us look into the ways you can configure field services in Odoo 14 Field Services module.
Configuration:
After installing the Field Services module from the apps you can go to the configuration tab. Here you will get options such as settings, Projects, Products anTags.

Settings:
By selecting the settings option you will be redirected to the settings page of Field Services. Here you can select the required functions that you find necessary for your company to work.

Time and Material:
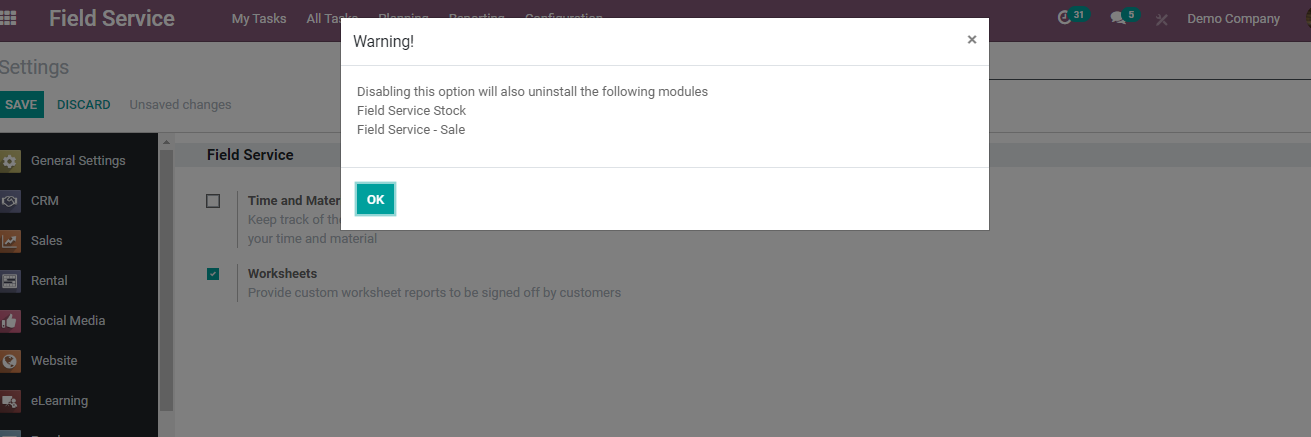
If you want to keep a track of the products used during your interventions and invoice your time and the material you can click on the check box near to Time and Material option. This will help in calculating the costs according to the time of the worker and the products used by him/ her.

By disabling the Timeand Material option you will uninstall Filed Service Stock and Field Service -Sale modules from your software, as you no longer need them.
Worksheet:
The Worksheet option allows you to provide custom worksheet reports to be submitted by customers. By activating Worksheets you will get feedback from the customers about the task completed by the employee. This can help you in improvising the skills of the employee and to know more about the skills of the employee. This will also help in the appraisal procedure of the employee.

Extra Quotations:
During the time of the service if the customer asks for another task to be done what will the employee do? Odoo Field Services helps you in such scenarios. You can activate the ExtraQuotation option and you can create new quotations directly from the tasks. By doing this the employee can update the quotation from the workplace itself. To confirm the Extra Quotations option is being selected or not you can go to Configuration > Projects, and after selecting the desired task you can see the Extra Quotation option checked. If you don't want the ExtraQuotations option to be activated you can uncheck the option by unchecking the option by editing your task.

Projects:
By selecting the projects option from the Configuration tab you will be redirected to the page with projects listed. Here you can see the whole project or you can apply filters and depict projects according to your wish.

You can select the project which you want to see. Details of the project are displayed.
Here you can see the Name of the Project, Name of theTasks, attached Documents, Tasks, Time Sheets and Hours Recorded, ProjectOverview, predicting future developments and plans under Forecast option, Description of the Project, Settings, and Invoice. You can share the project with contacts on our list by clicking on the SHARE option.
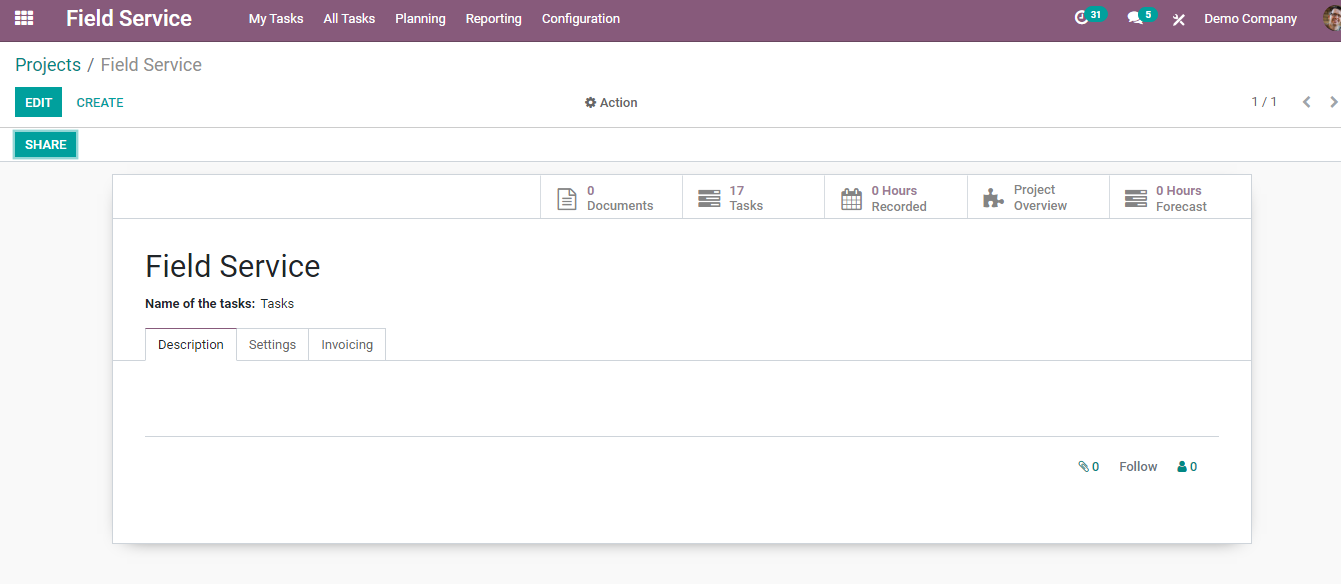
You can view tasks that come under the selected project by selecting the Tasks option.
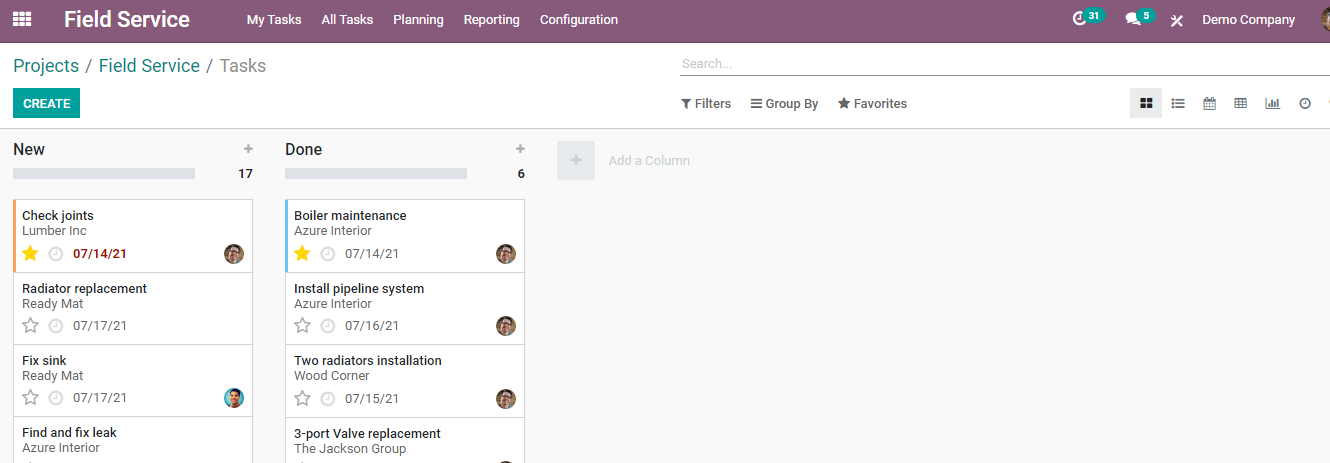
To know the time spent on this particular project and tasks under it, you can select the Hours Recorded option. Here you can see the list of tasks that comes under the selected Project and the individual duration that has been taken for each task. The total duration of all the tasks will be given below.

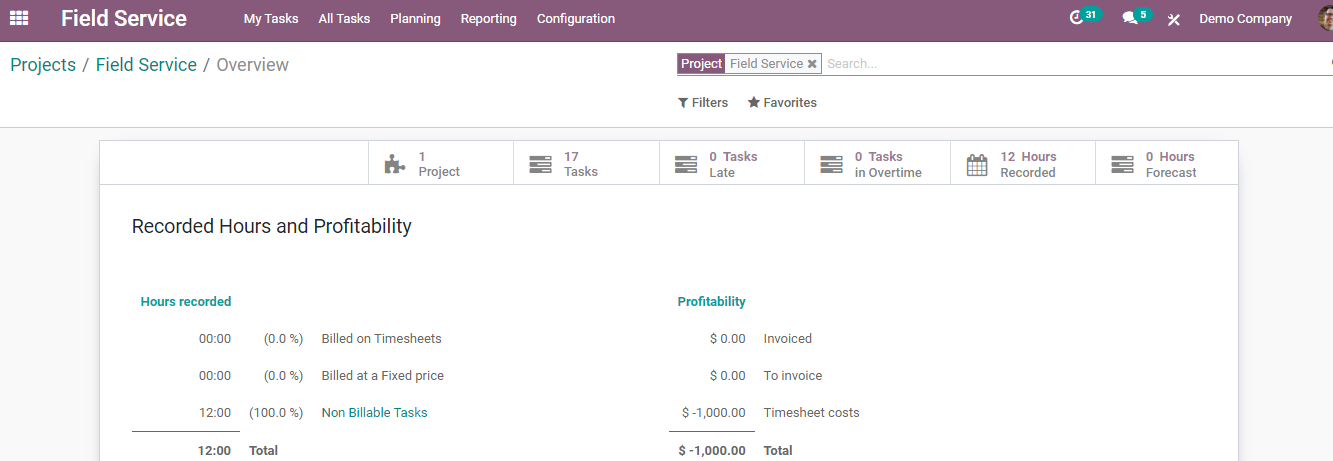
An outline of the project can be found by clicking on the Project Overview Option. Hours Recorded, Profitability, Time by People, and timesheets and Planning. Under Time by people, time spent by each employee taken on the tasks assigned to them can be seen. With the help of the Project Overview option, you can analyze the whole Project. You can compare the hours recorded and the profit earned from here. A number of Total Tasks, Late, Tasks in Overtime, Hours Recorded in total, and Forecast Hours are also displayed.
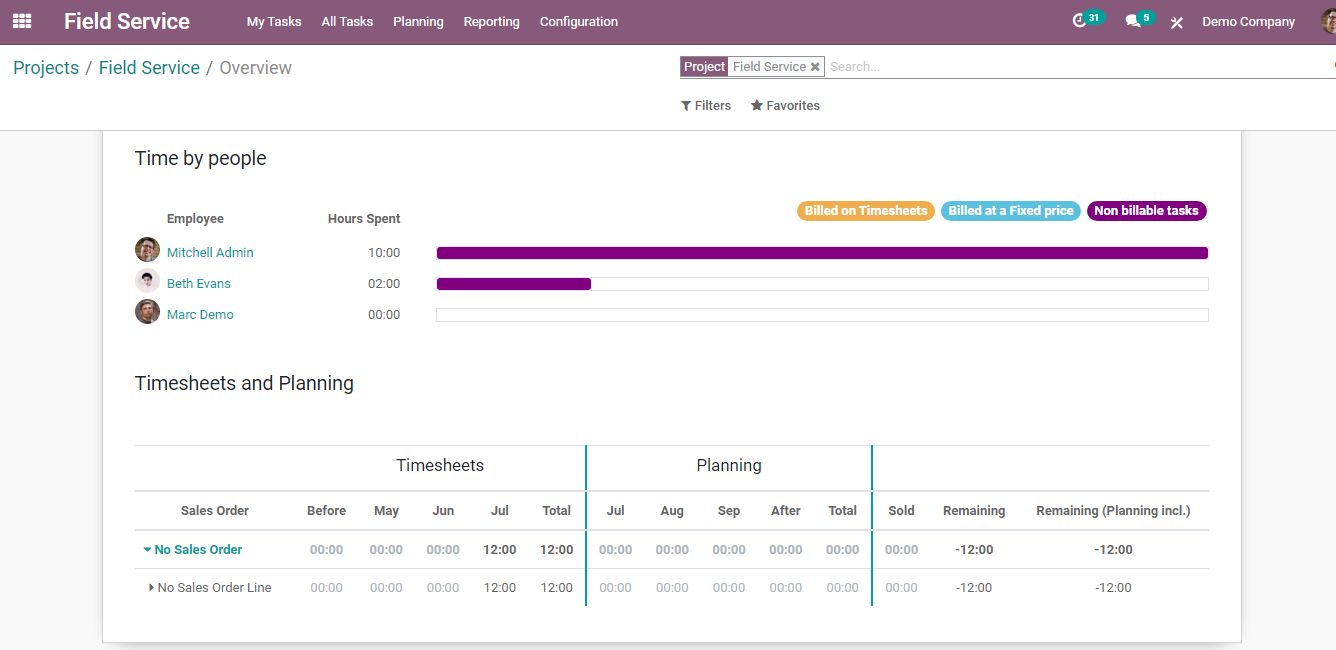
Using the Forecast option you can see the schedule of the employees working under the project. You can copy the previous week's schedule by clicking on the COPY PREVIOUS WEEK option. You can add a new schedule by simply clicking the ADD option. You can also send the schedule to your contacts by clicking on the SEND SCHEDULE button.

Products
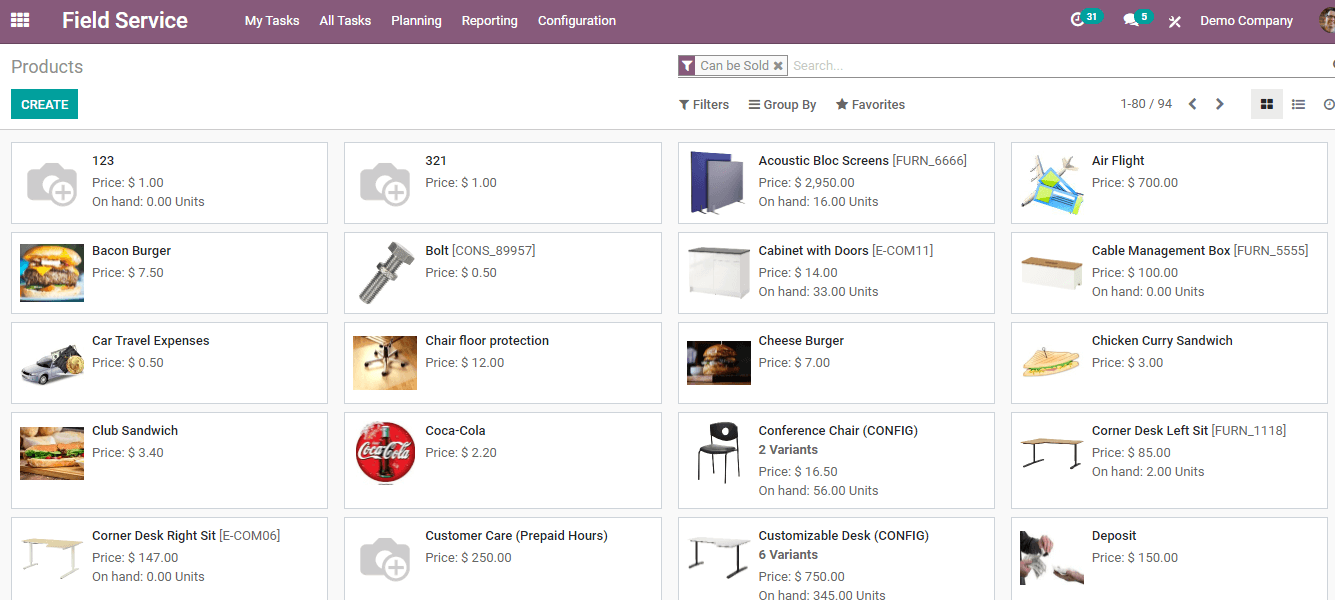
To view all the products unified, you can go to Configuration > Products.
The whole products are displayed with their price and the number of units in hand. You can select any product from this list and view its details.
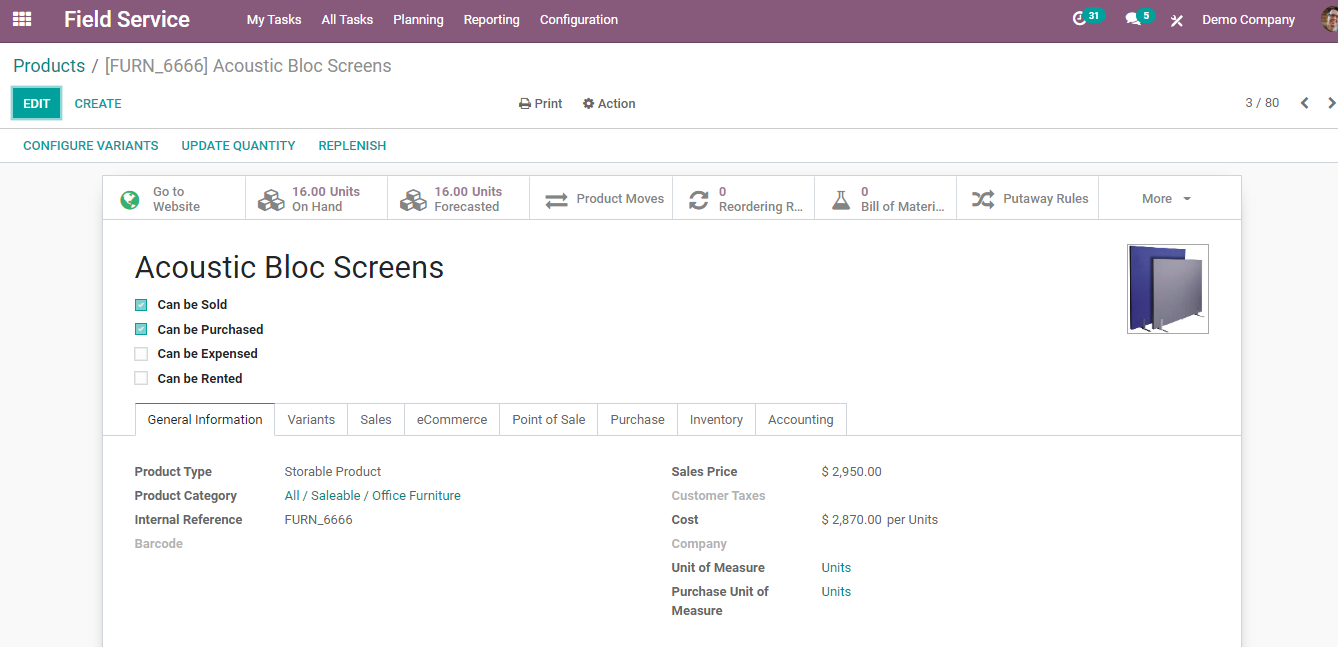
After selecting the product a page with all the details of the product can be viewed. Details include Number of Units on Hand, Number of Units Forecasted, Product Moves which contain the details regarding from where and to a product is being transferred, Reordering Rules, Bill of materials, Putaway Rules, Number of Units Purchased, and Number of Units Sold. You can select the criteria under which the product falls. It can be either Can be Sold, Can be Purchased, Can be Expensed, Can be Rented. You can select more than one option. A photograph of the product can also be uploaded.
General Information regarding the product which includes Product Type, Product Category, InternalReference, Barcode, Sales Price, Customer Taxes, Cost, Company, Unit of measure, Purchase of Unit of Measure can be viewed. Details regarding the variants, their attributes, and values can be seen in the Varients option. Invoicing, Subscriptions, Events, Options, and Sales descriptions can be found under the sales option. Details of Shops, their website, Categories, Availability, Alternative Products, Accessory Products, and extra Product Media are depicted under eCommerce.
Data regarding the Point of Sale can be found in the Point of Sale option, which includes available in POS, Category, and To Weigh With Scale. Purchase option includes the details of the Vendor, Unit of measure, Price, Delivery Lead Time, Reordering, Vendor Bills, and PurchaseDescription. Inventory data related to the product can be seen by clicking the Inventory option. This includes operations, Logistics, Traceability, Description for Delivery Orders, Description for Receipts, and Description for Internal Transfers. Accounting details such as Receivables and Payables can be seen by clicking on the Accounting option.
You can configure the variants by clicking on theCONFIGURE VARIANTS option. You can update the quantity-related details of the product by selecting the UPDATE QUANTITY option. If you want to refill or replenish the product you can add it by clicking on the REPLENISH option. You can anytime edit the details once entered by selecting the EDIT option. To include a new product into the list simply click on the CREATE option. You can print the label or barcode of the product using the Print option.
TAGS
To look at the tags that can be used for tasks can be viewed by selecting
Configuration > Tags. The list of tags added will appear. You can add new tags by clicking on the CREATE button. You can also decide the color of the tags according to your need.

With the configuration option, the tasks and projects related to the field service can be handled smoothly by the company. Field Service is an inevitable part of many businesses nowadays, in the given situation optimal management of field services is quite necessary. Odoo 14 helps you to assist the Field service management with the Field Service module. This increases your productivity as well as the errors of miscommunication and related problems can be eliminated with efficient field-service management.