You may need to add related records from other models to the current form view. Odoo allows you to do this easily using smart buttons. A smart button lets you view all related records in form view. You can also add a counter to count the number of records contained. It is tremendously helpful to access relevant documents or data quickly. This blog can show how to add smart buttons to existing modules.

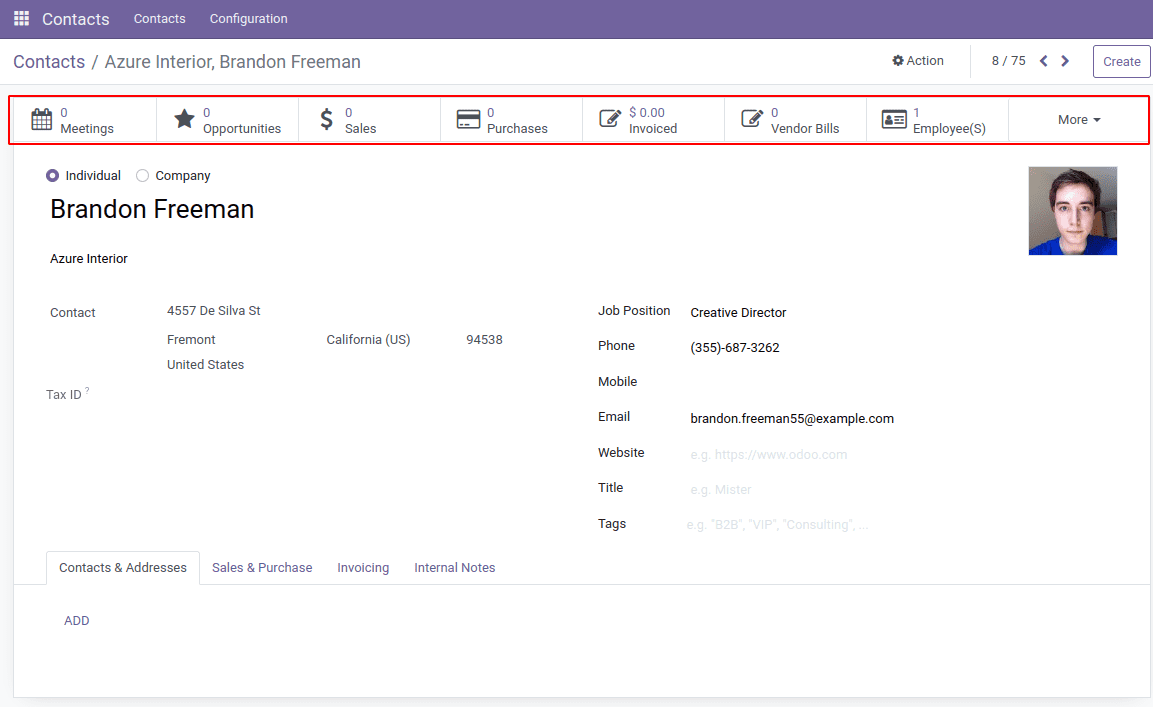
The above Image shows the smart buttons in the Contacts. The smart button allows us to view Azure Interior opportunities, meetings, sales, subscriptions, and other information. The button will also display the total number of records. The moment, a new smart button on the contacts page will enable you to view the vehicle that has been assigned to the matched partner in the fleet module.
Starting off, we should inherit the form view. The smart button must then be added after that. The smart button should be contained in a div of class 'oe' button box. A div with an "oe" button field already exists, so there is no need to create one. Instead, inherit the class and add a new button.
Contacts and the fleet should be listed in the manifest as dependencies.
<odoo>
    <data>
        <record id="fleet_vehicle_smart_button" model="ir.ui.view">
            <field name="name">fleet.view.buttons</field>
            <field name="model">res.partner</field>
            <field name="inherit_id" ref="base.view_partner_form" />
            <field name="arch" type="xml">
                <div name="button_box" position="inside">
                    <button class="oe_stat_button" type="object" name="get_vehicles"
                        icon="fa-car">
                        <field string="Vehicle" name="vehicle_count" widget="statinfo"/>
                    </button>
                </div>
            </field>
        </record>
    </data>
</odoo>
Now, add a function ‘get_vehicles’ which we mentioned as the button name.
from odoo import models, fields, api
class search(models.Model):
    _inherit = 'res.partner'
    def get_vehicles(self):
        self.ensure_one()
        return {
            'type': 'ir.actions.act_window',
            'name': 'Vehicles',
            'view_mode': 'tree',
            'res_model': 'fleet.vehicle',
            'domain': [('driver_id', '=', self.id)],
            'context': "{'create': False}"
        }


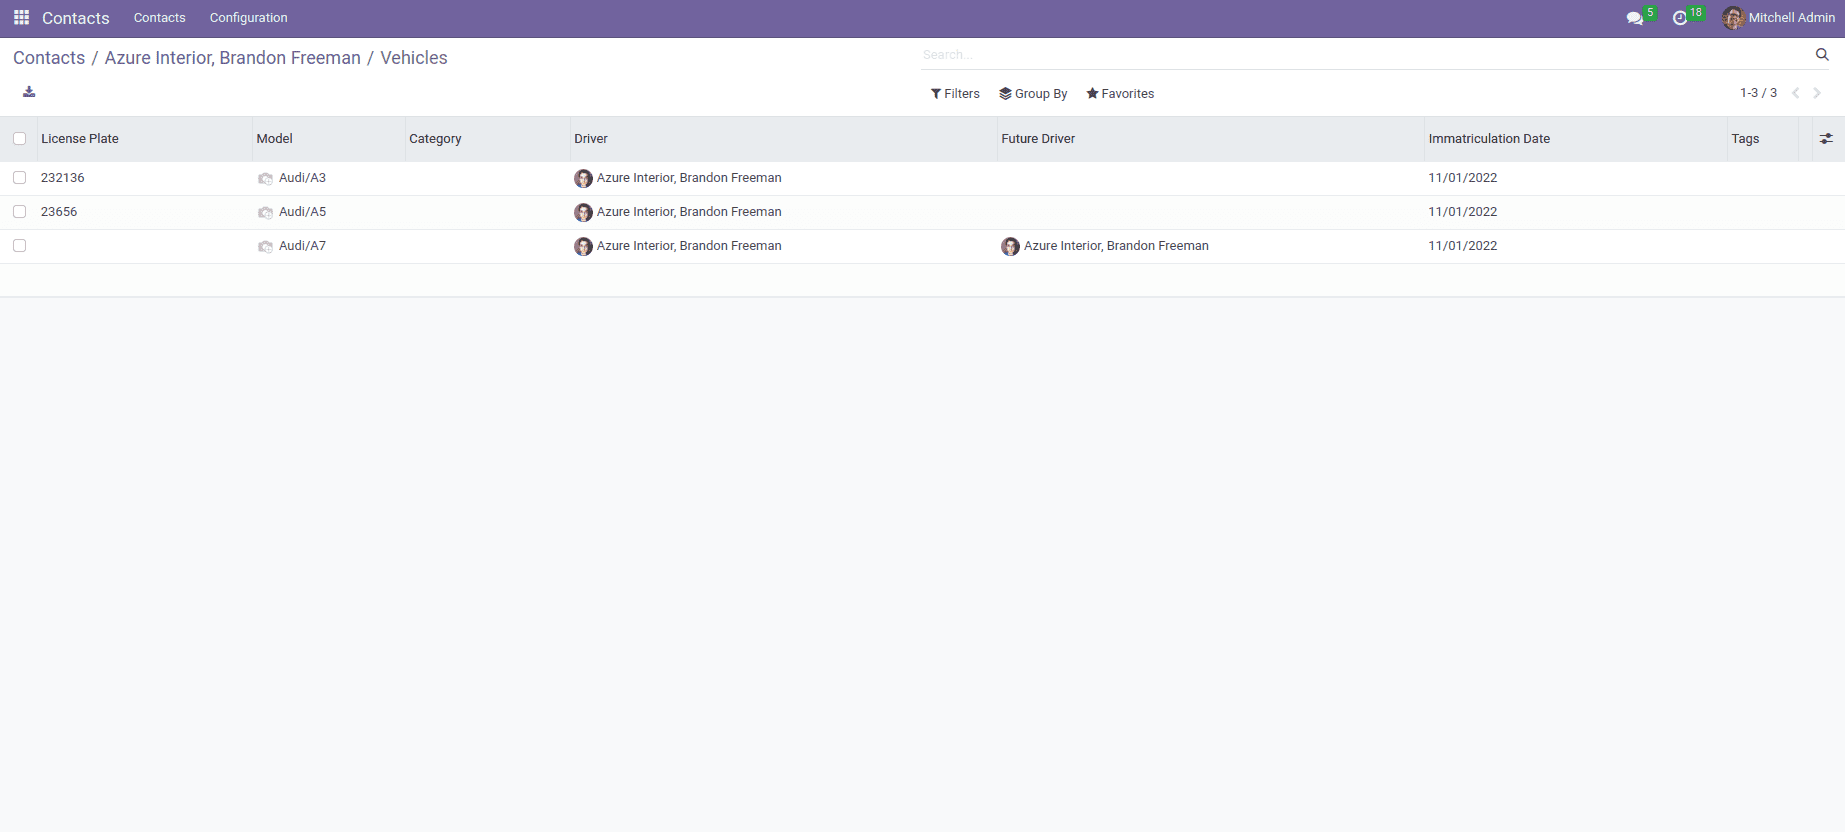
Since we set the domain as 'domain': [('driver id', '=', self.id)], we are able to read Brandon Freeman's record in the fleet vehicle Module.
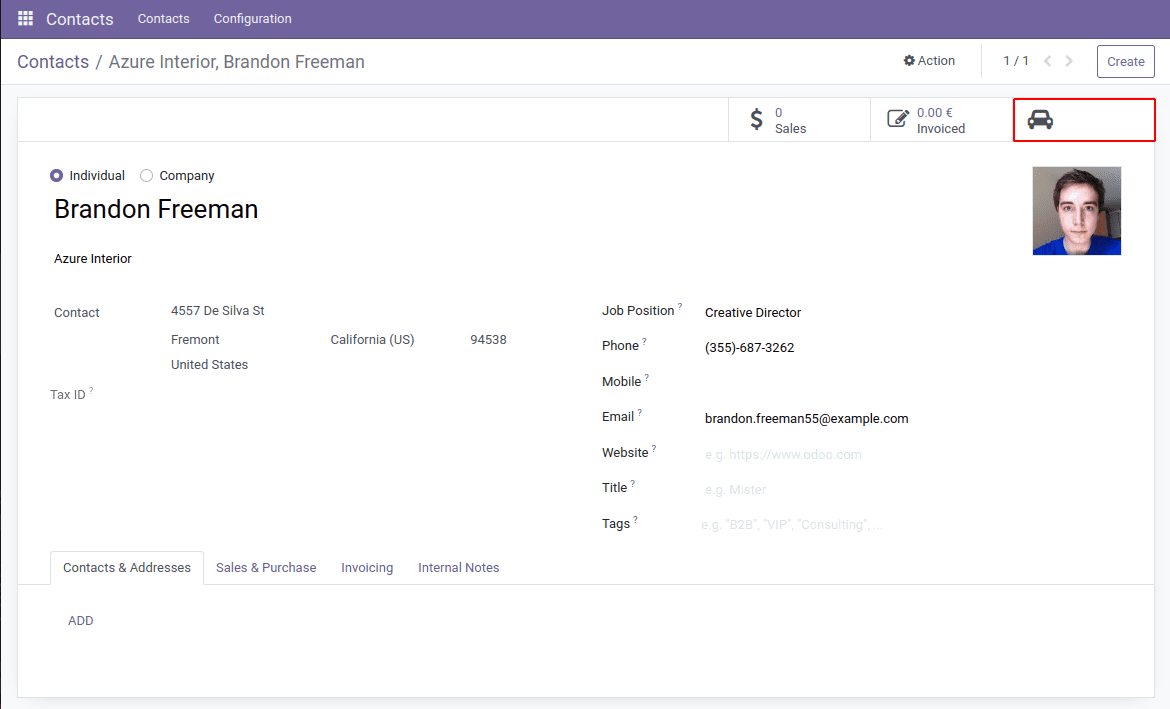
Here, you can now see the Smart button and the statistics it produces. We have one more thing to do. In other words, we have to figure out and show how many records are on the smart button. We need to add a field to both the model and the view.
To achieve this, we must specify the function to compute the count.
That is,
vehicle_count = fields.Integer(compute='compute_count')
And also add in view
<field string="Vehicle" name="vehicle_count" widget="statinfo"/>
Now we need to add a function to compute a count.
def compute_count(self):
        for record in self:
            record.vehicle_count = self.env['fleet.vehicle'].search_count(
                [('driver_id', '=', self.id)])

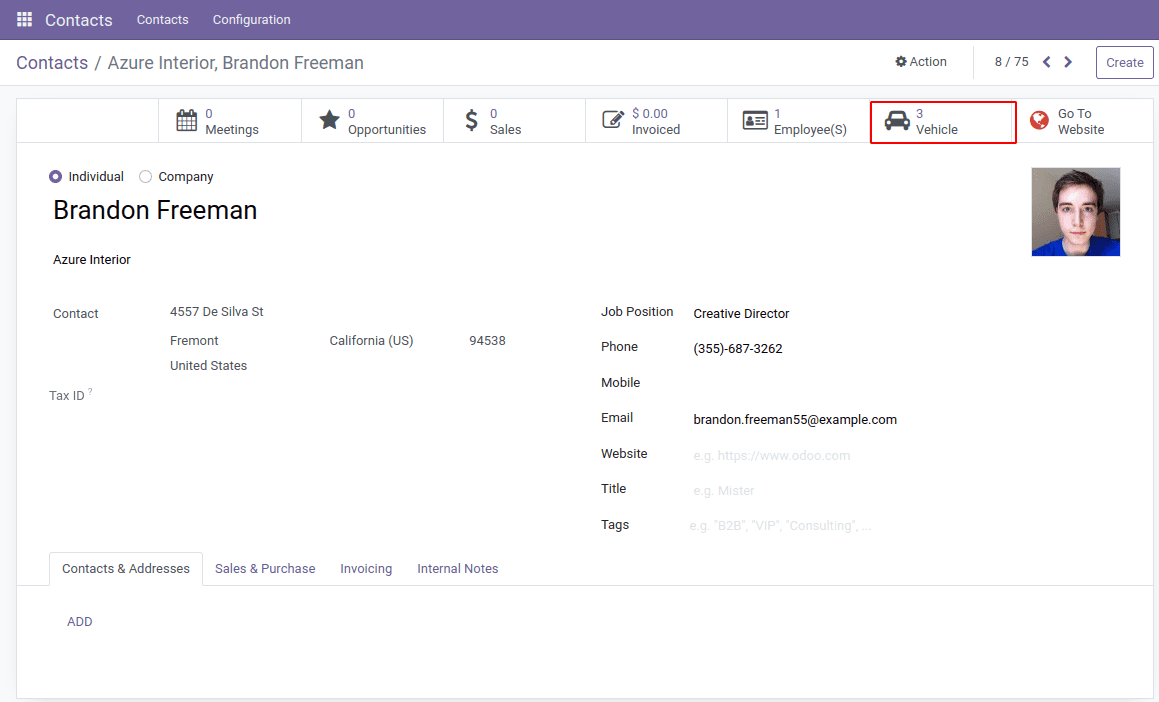
Now that the count has been displayed.
This technique can be used to add a smart button to any module.