The process of combining any records into a single format is a merging. We must identify raw data secured in files, worksheets, and documents. Users can merge the details using the data merging process, and it becomes simple by installing ERP software. Odoo 16 provides a Data Cleaning application to merge contacts or other information using the Merge Action Manager feature. Additionally, you can clean the data after creating deduplication and field cleaning rules. The unnecessary documents in a business are removed easily through the Odoo 16 Data Cleaning module.
This blog emphasizes the importance of Merge Action Manager within the Odoo 16 Data Cleaning Module.
The merging of necessary fields in a model is made possible by formulating a merge action manager. When creating a merge action manager, you can specify access rights, fields, notes, record rules, and more. Now, we can see a detailed description of generating a merge action manager feature in Odoo 16.
To Create a Model in a Merge Action Manager
You can acquire the Merge Action Manager menu below the Configuration tab. All the developed models concerning merge action managers are visible to you. Data such as Type, Model Description, Model, etc., are accessible in the Merge Action Manager window, as demonstrated in the screenshot below.
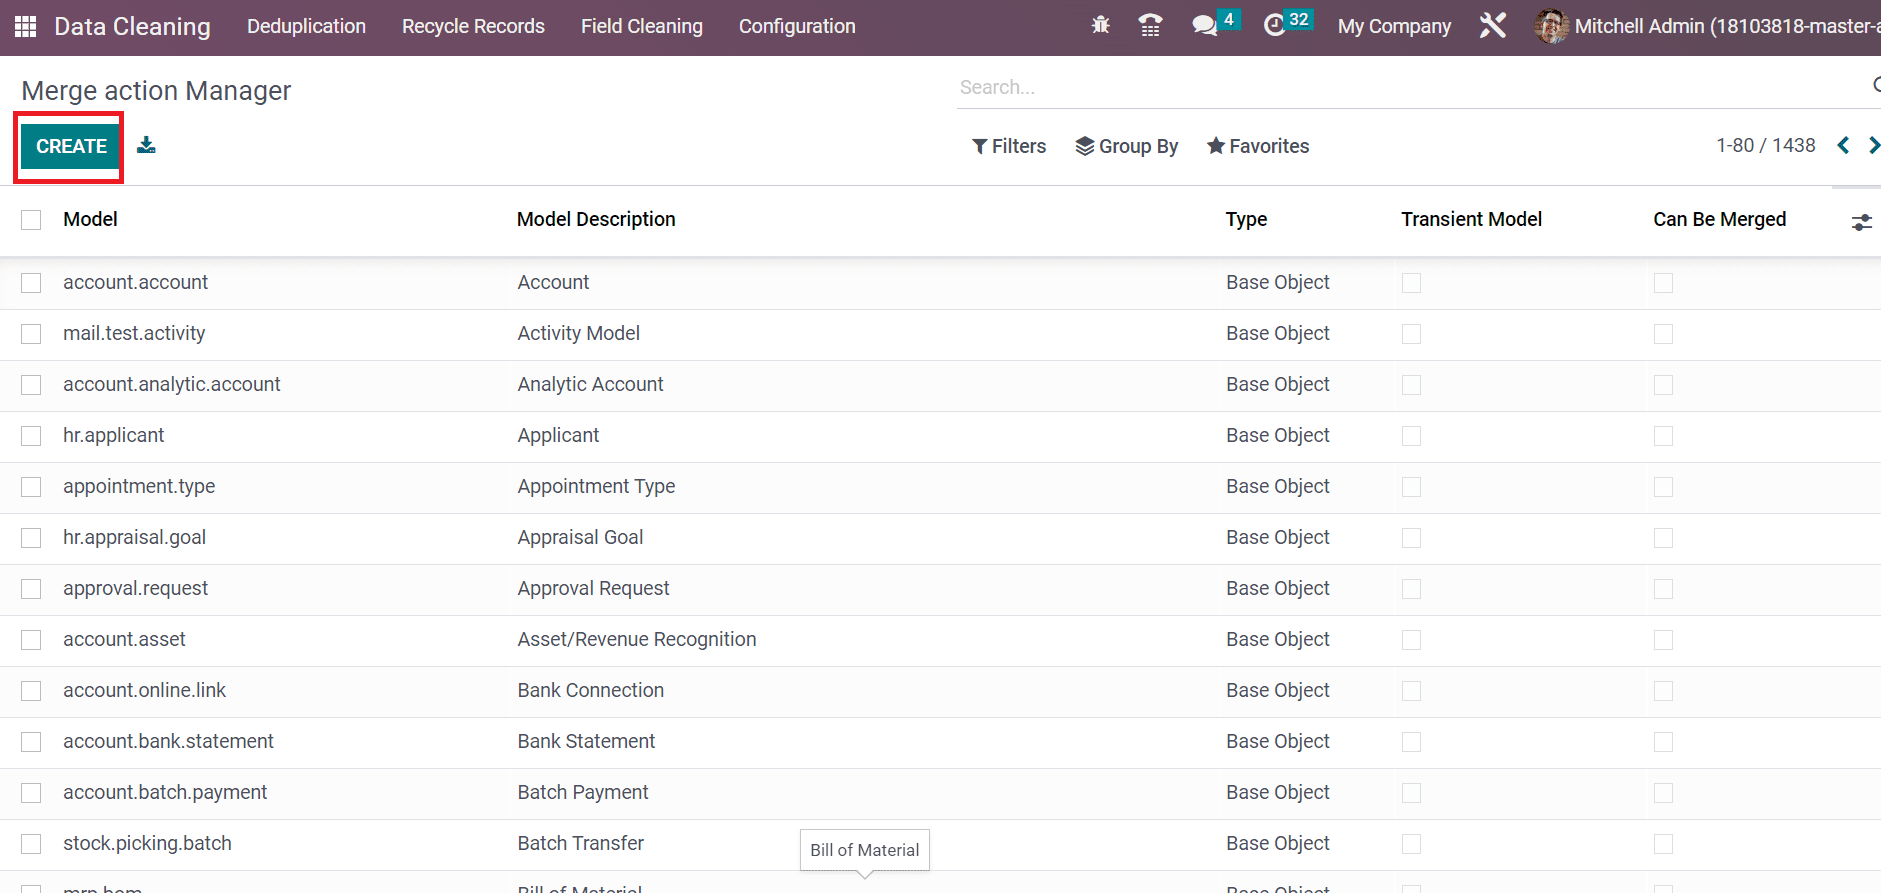
To develop a new model detail, choose the CREATE button indicated in the screenshot above. Let's generate a model named 'Document' in the new window. Add the model details in the Model Description field and enter your Model name as specified in the screenshot below.
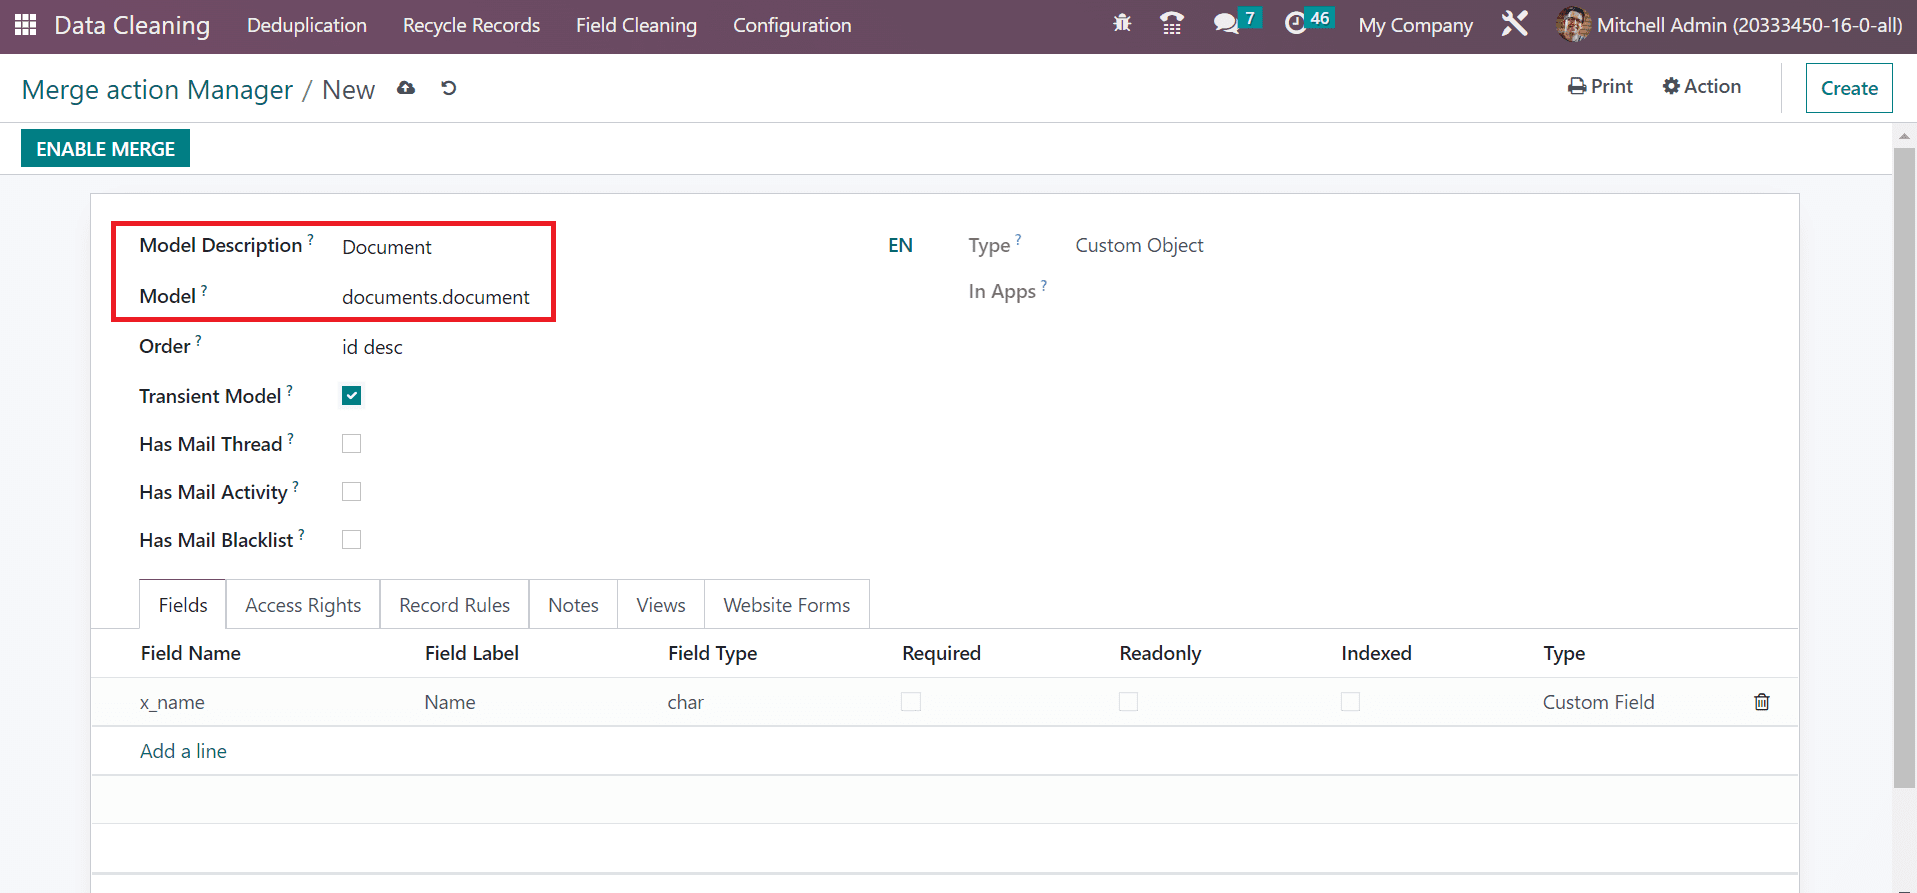
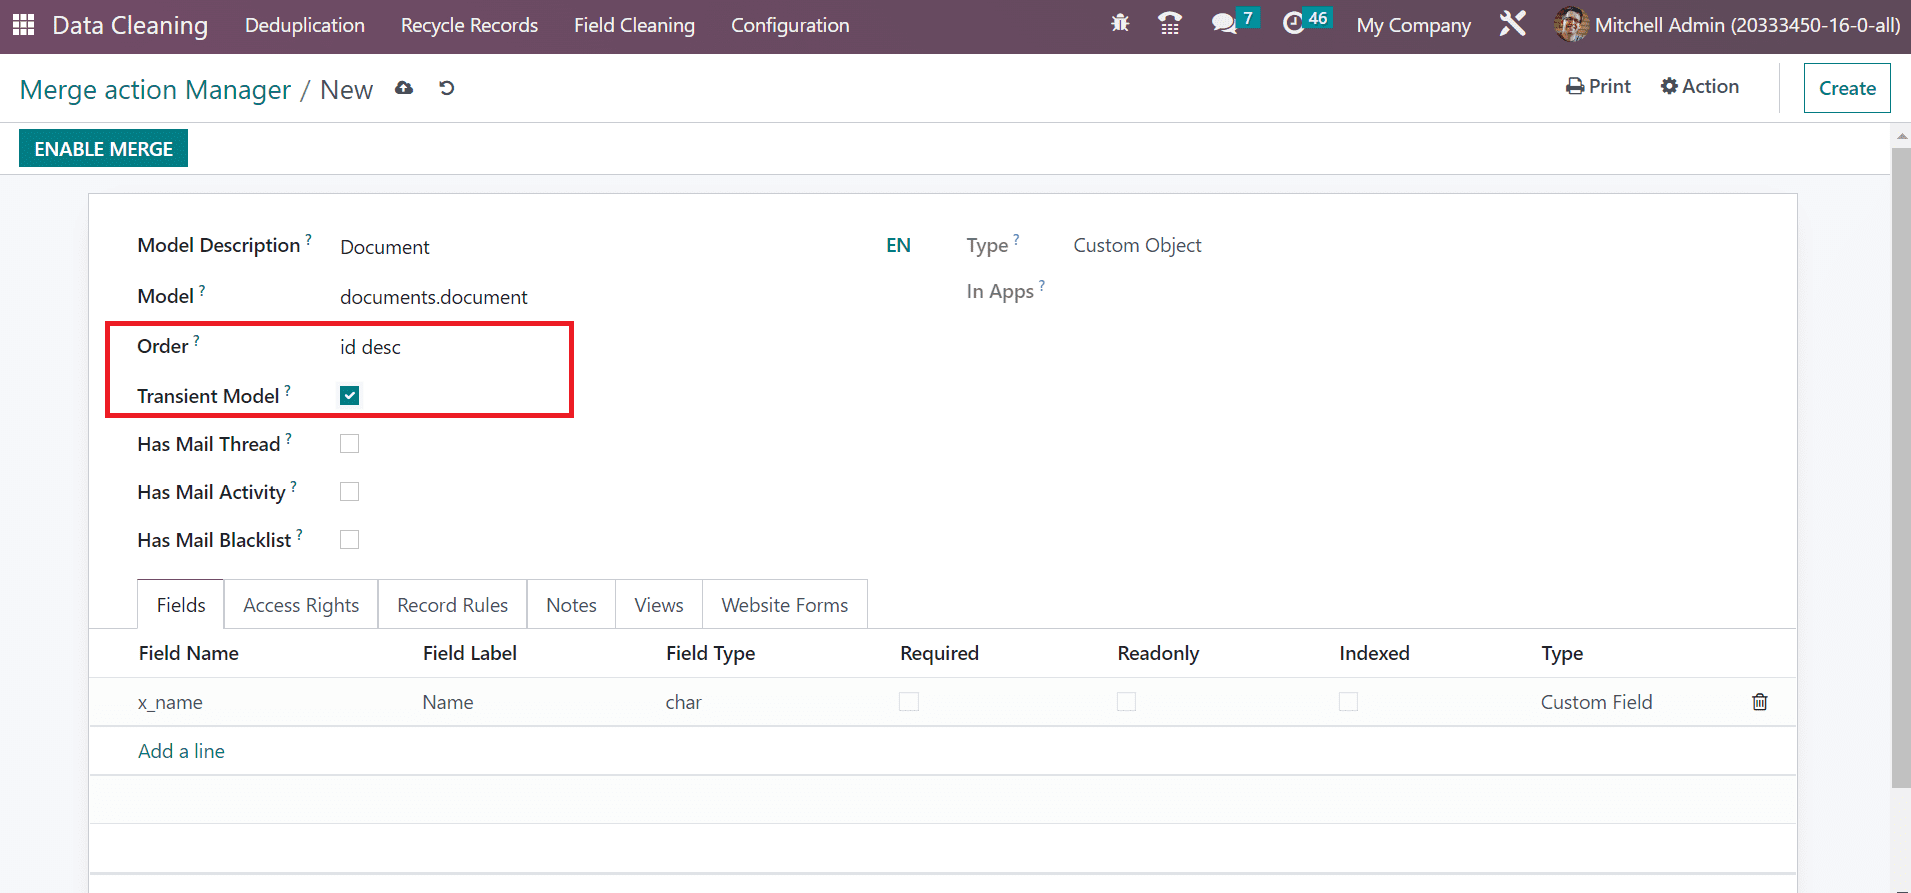
You need to add an SQL expression for a model in the Order field. SQL is a structured Query Language, and SQL expression denotes the merging of values and results. Users can enable the Transient Model to delete the data periodically, as illustrated in the screenshot below.
Enabling notifications and messages for your model is possible by allowing the Has Mail Thread option. On the other hand, you can keep up with the activities of your model after activating the Has Mail Activity option, as mentioned in the screenshot below.
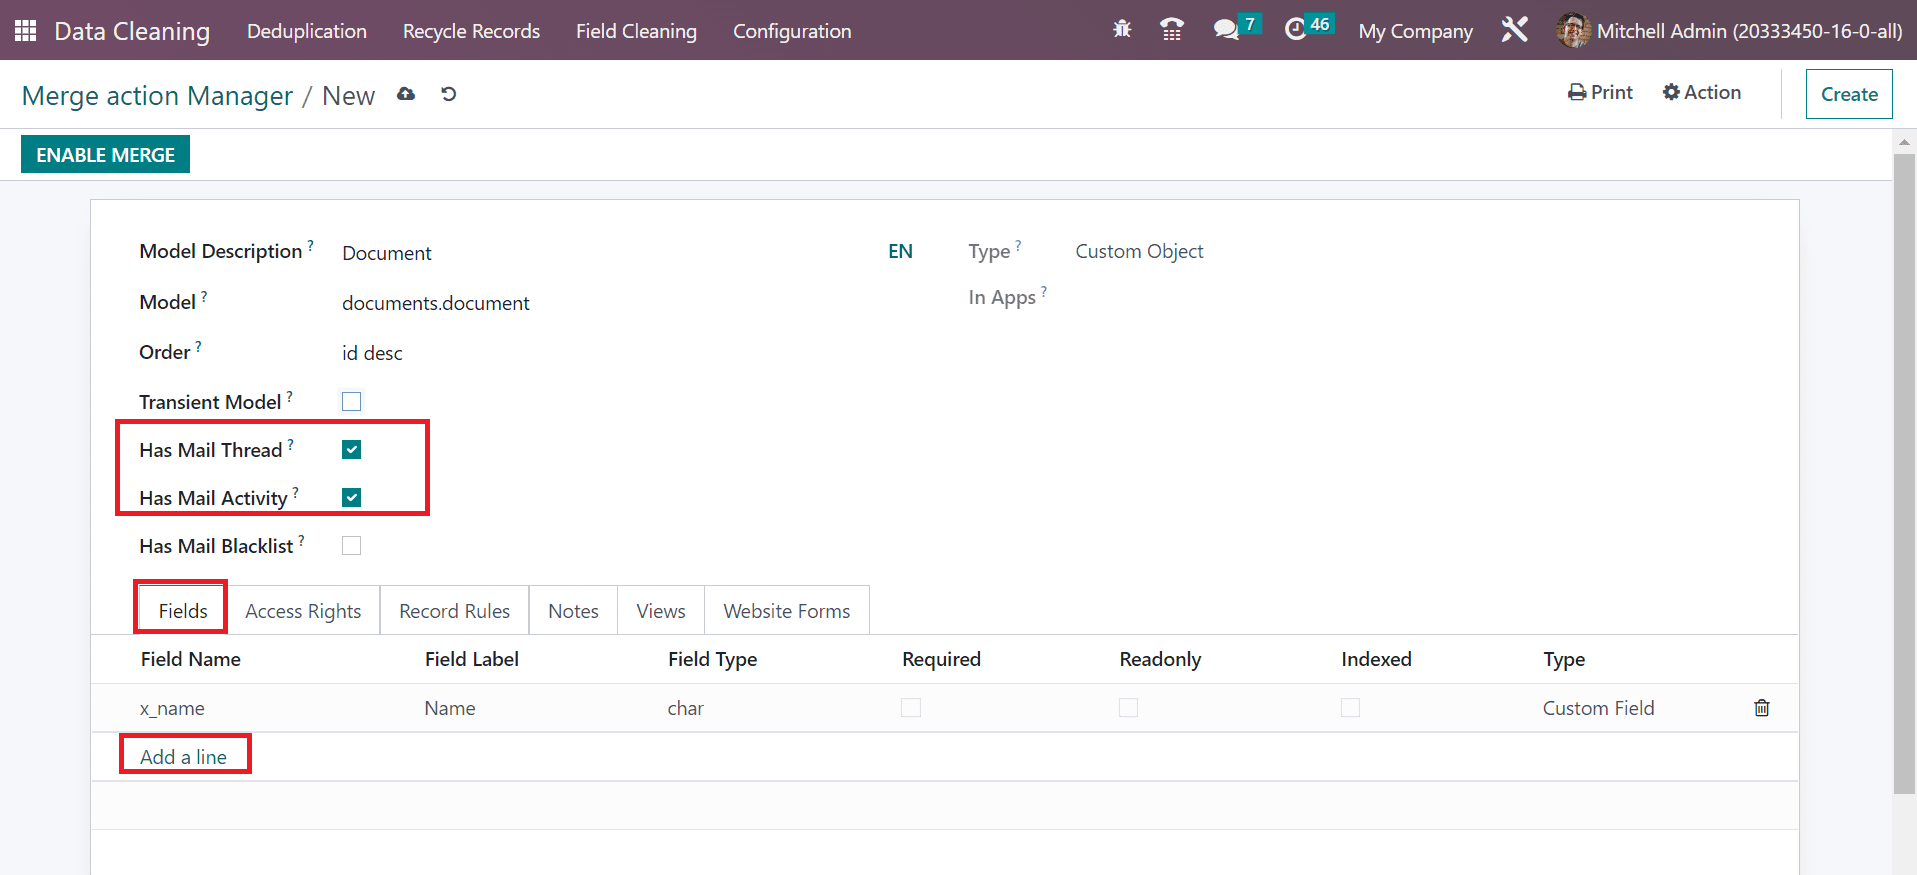
Next, we can specify fields for the model by choosing the Add a line option below the Fields tab, as noted in the screenshot above. A Create Fields window opens before you and specifies the Field Name as 'company_id' or Field Label as 'Company,' as displayed in the screenshot below.
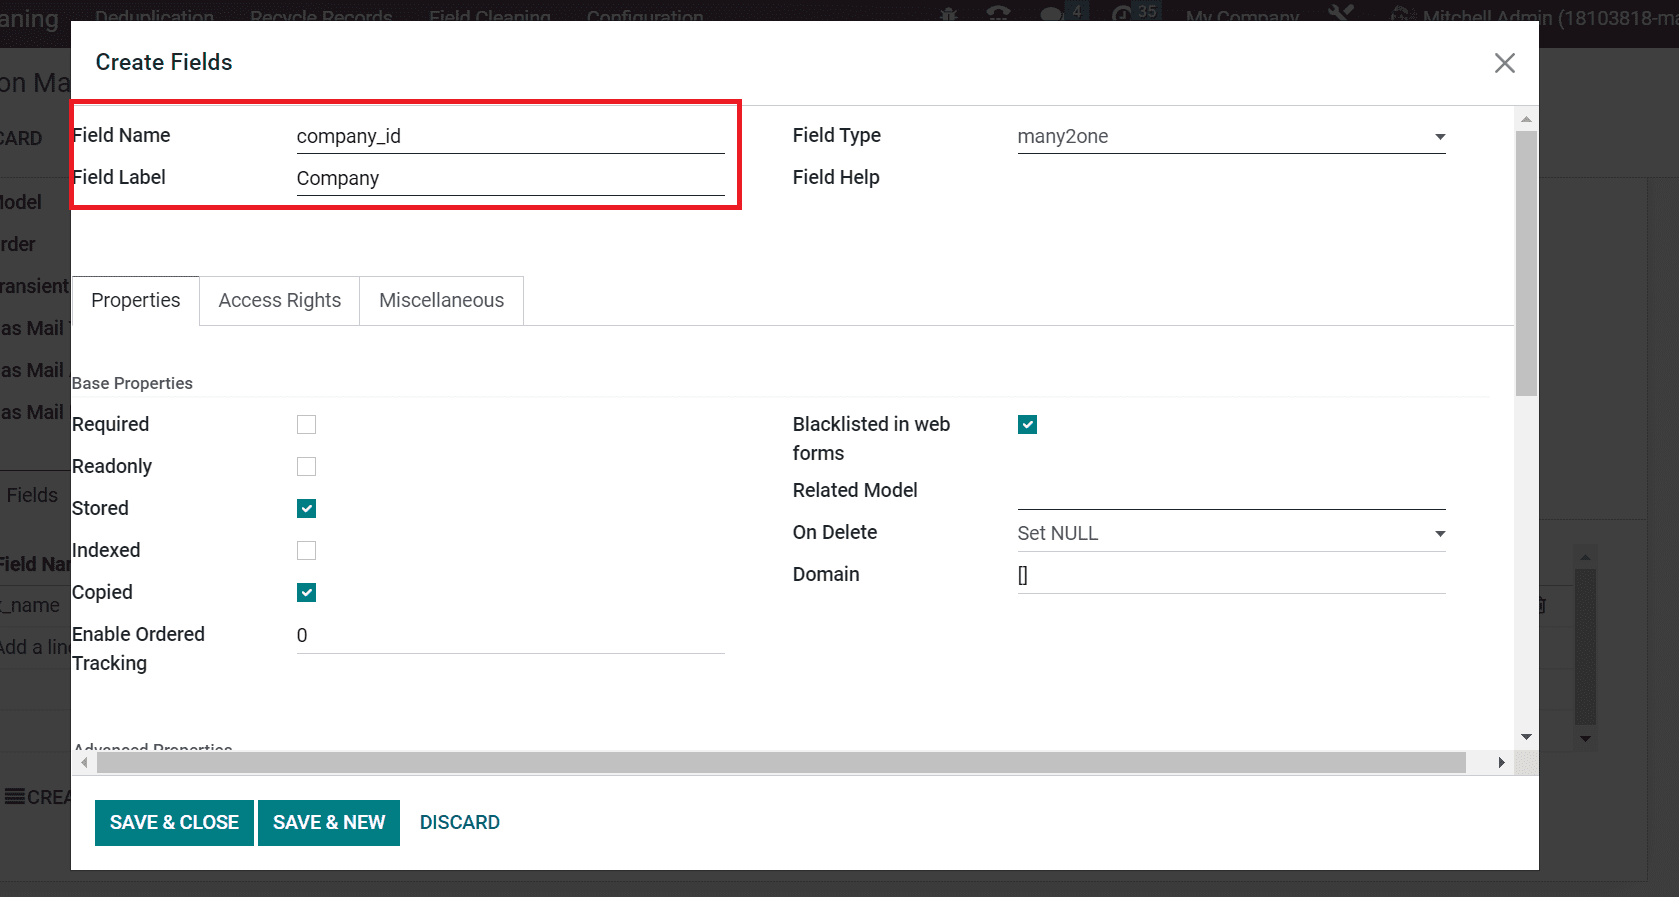
Choose the type for your added field inside the Field Type option, and we select it as 'many2one'.
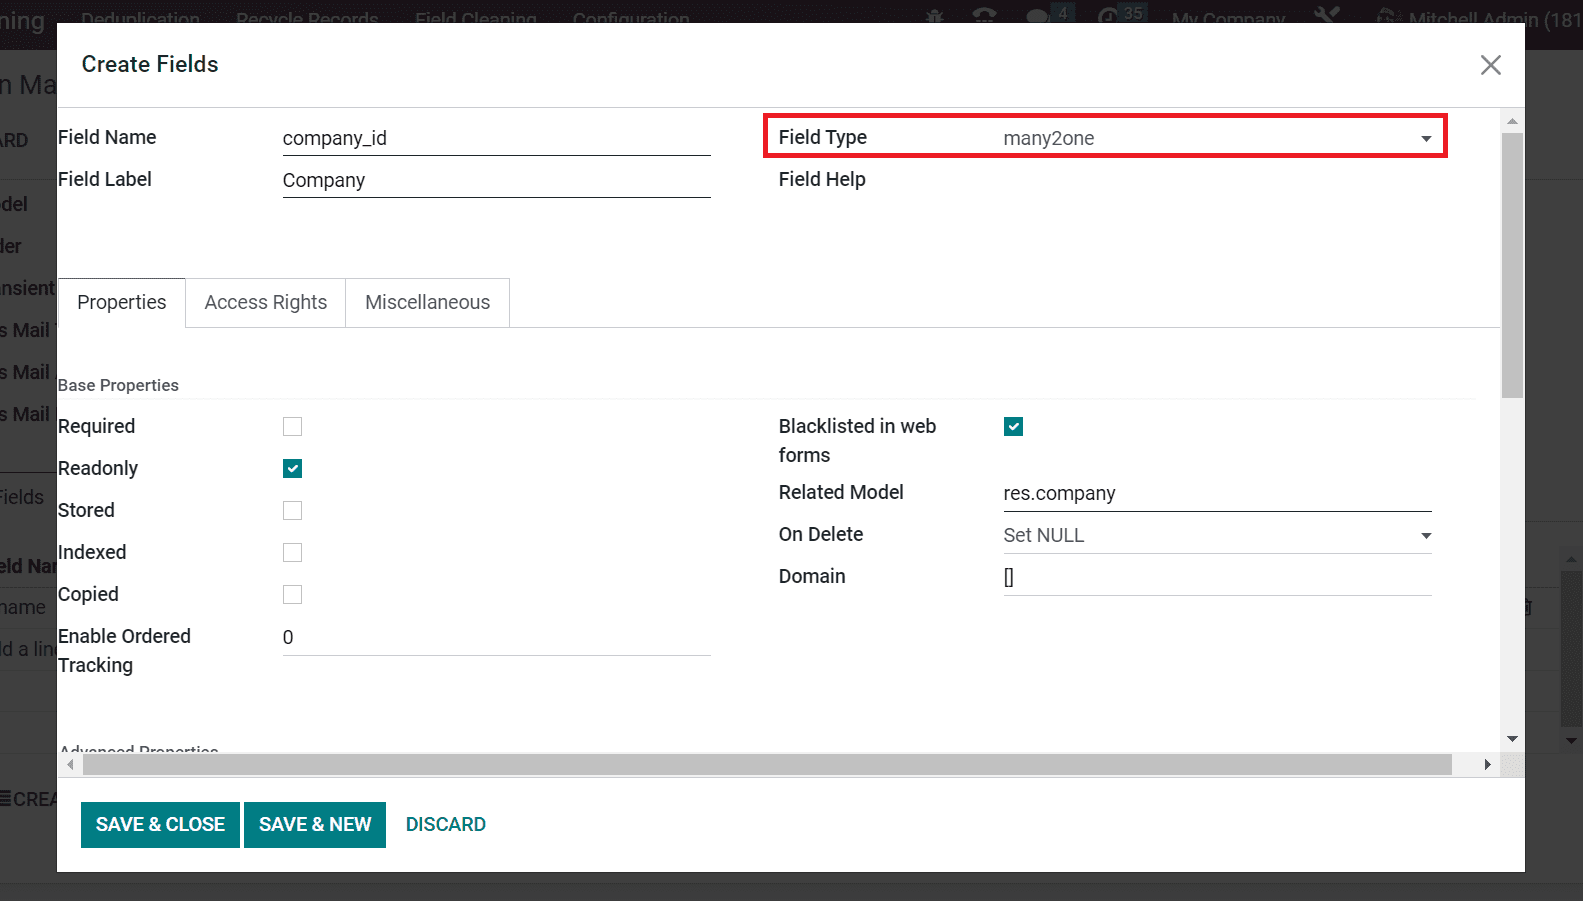
Easy to Manage Properties for a Specific Field
Choose your respective model inside the Merge Action Manager window. In the Create Fields window, the user can define properties for a specific field. We can manage your field's base and advanced properties below the Properties tab.
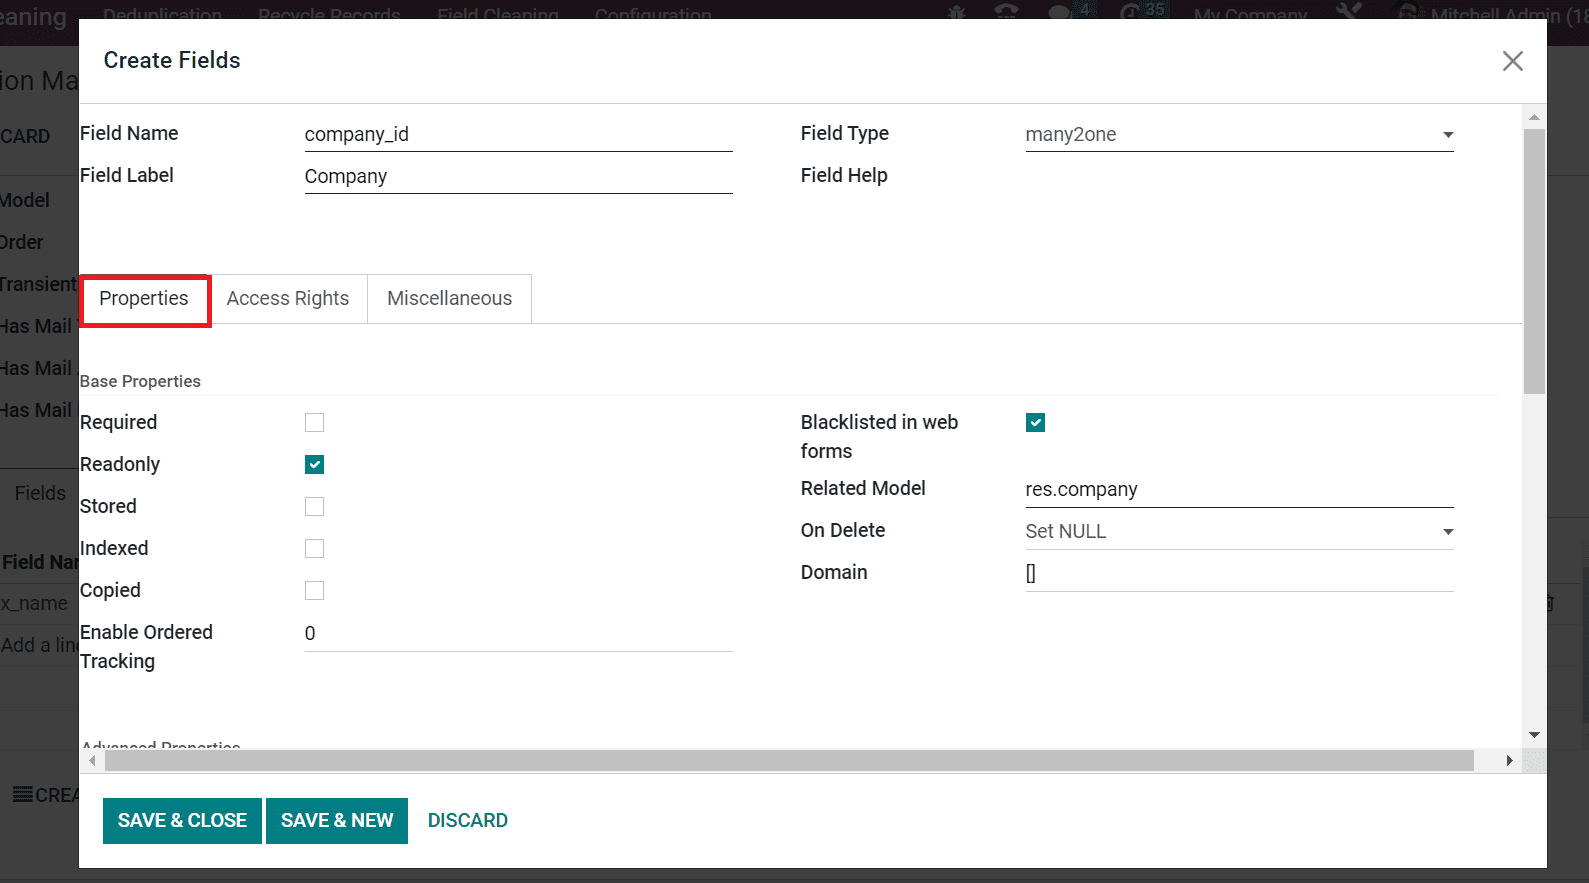
Various base properties for the model include Required, Readonly, Stored, Indexed, Copied, etc. You can secure value in a database by enabling the Stored option and copying the value during duplication after activating the Copied option. We activate the Readonly option inside the Base Properties section, as represented in the screenshot below.
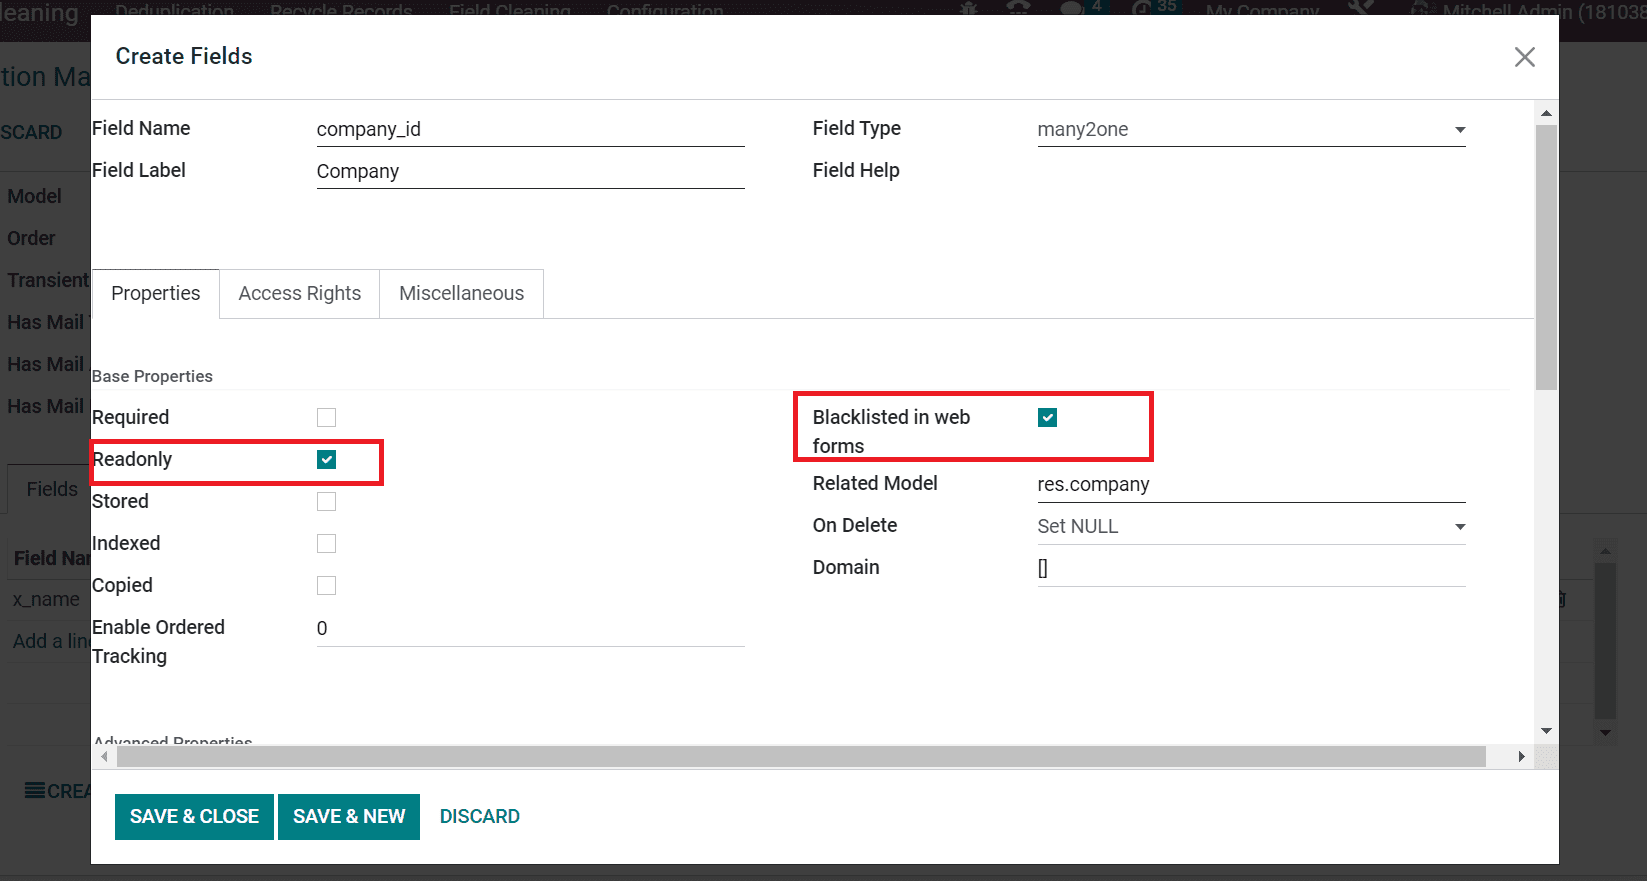
It is possible to blacklist your specific field using the Blacklisted in Web forms option, as displayed in the screenshot above. Users can also set a technical name for the target model inside the Related Model field.
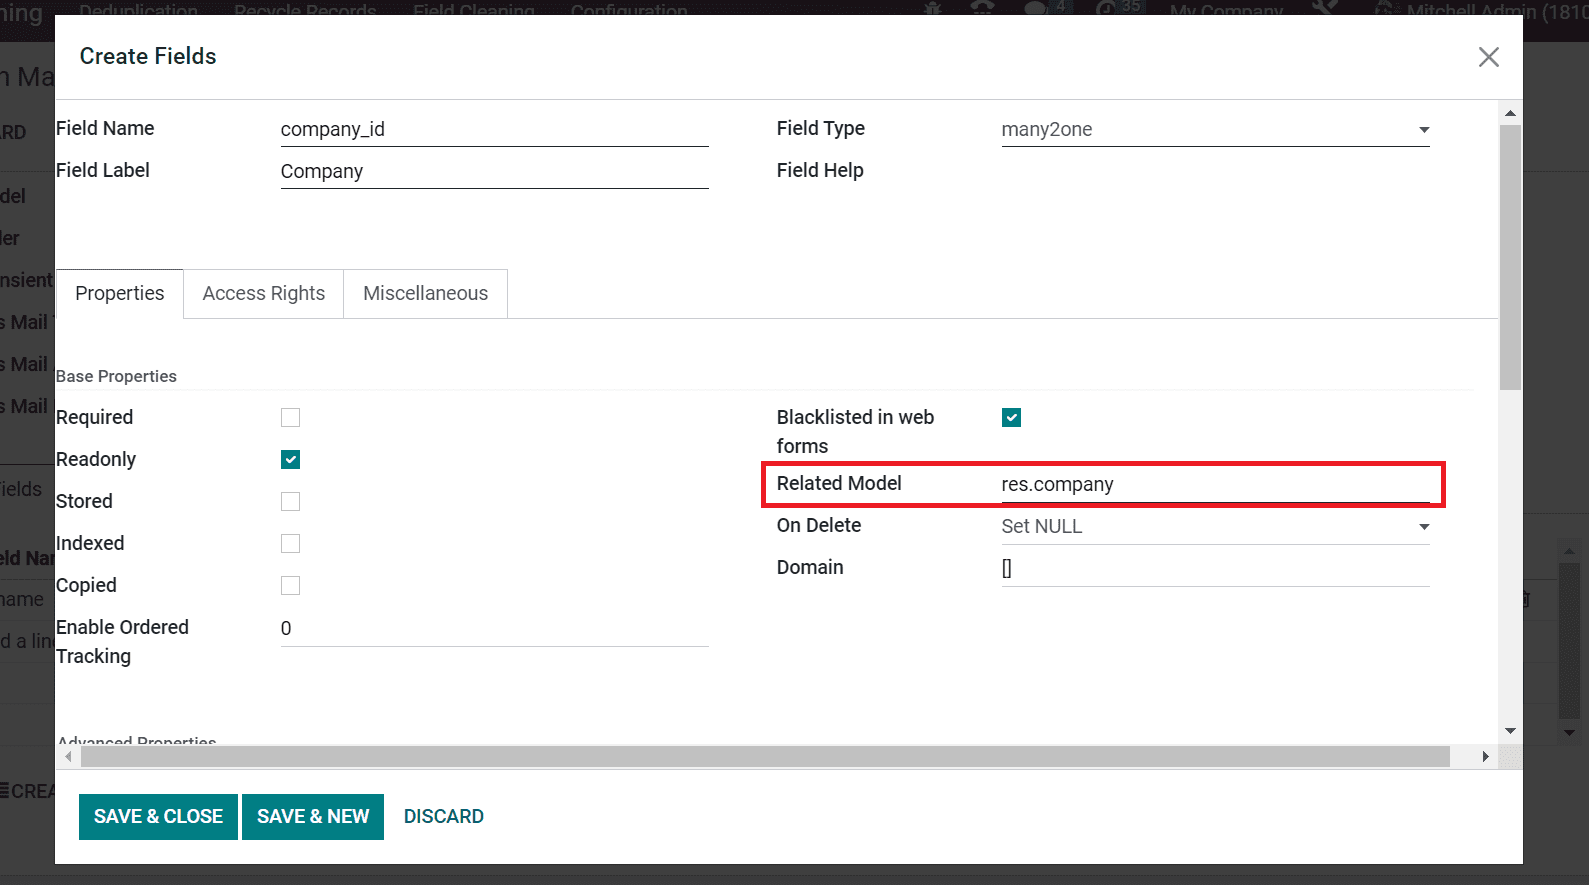
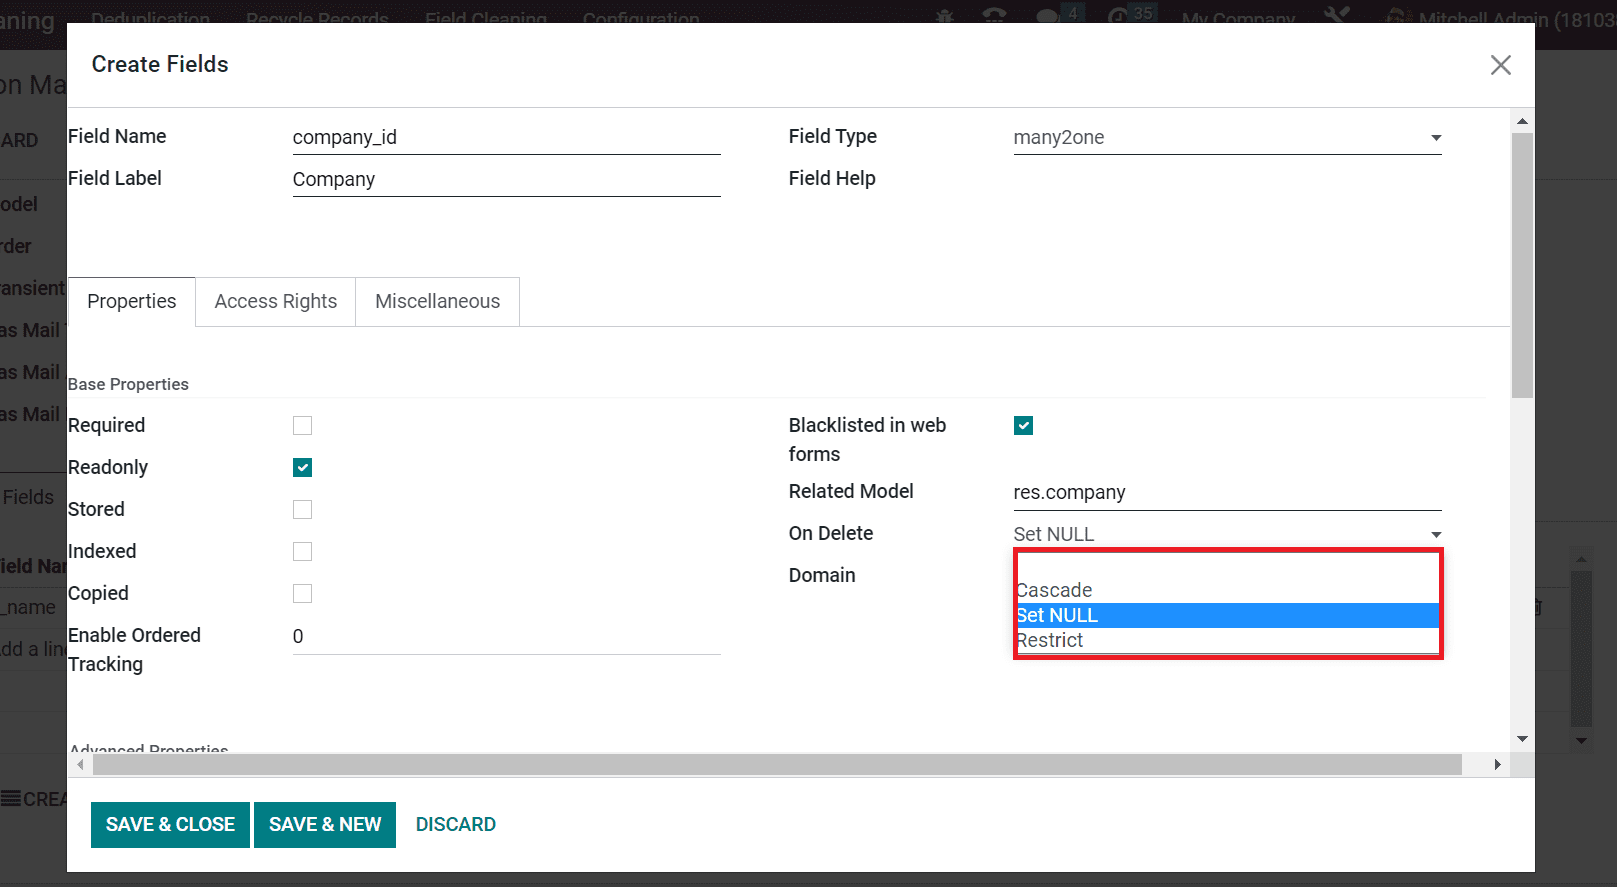
Next, you can set a removal property for Field Type many2one in the On Delete field, and it classifies into Restrict, Cascade, or Set NULL.
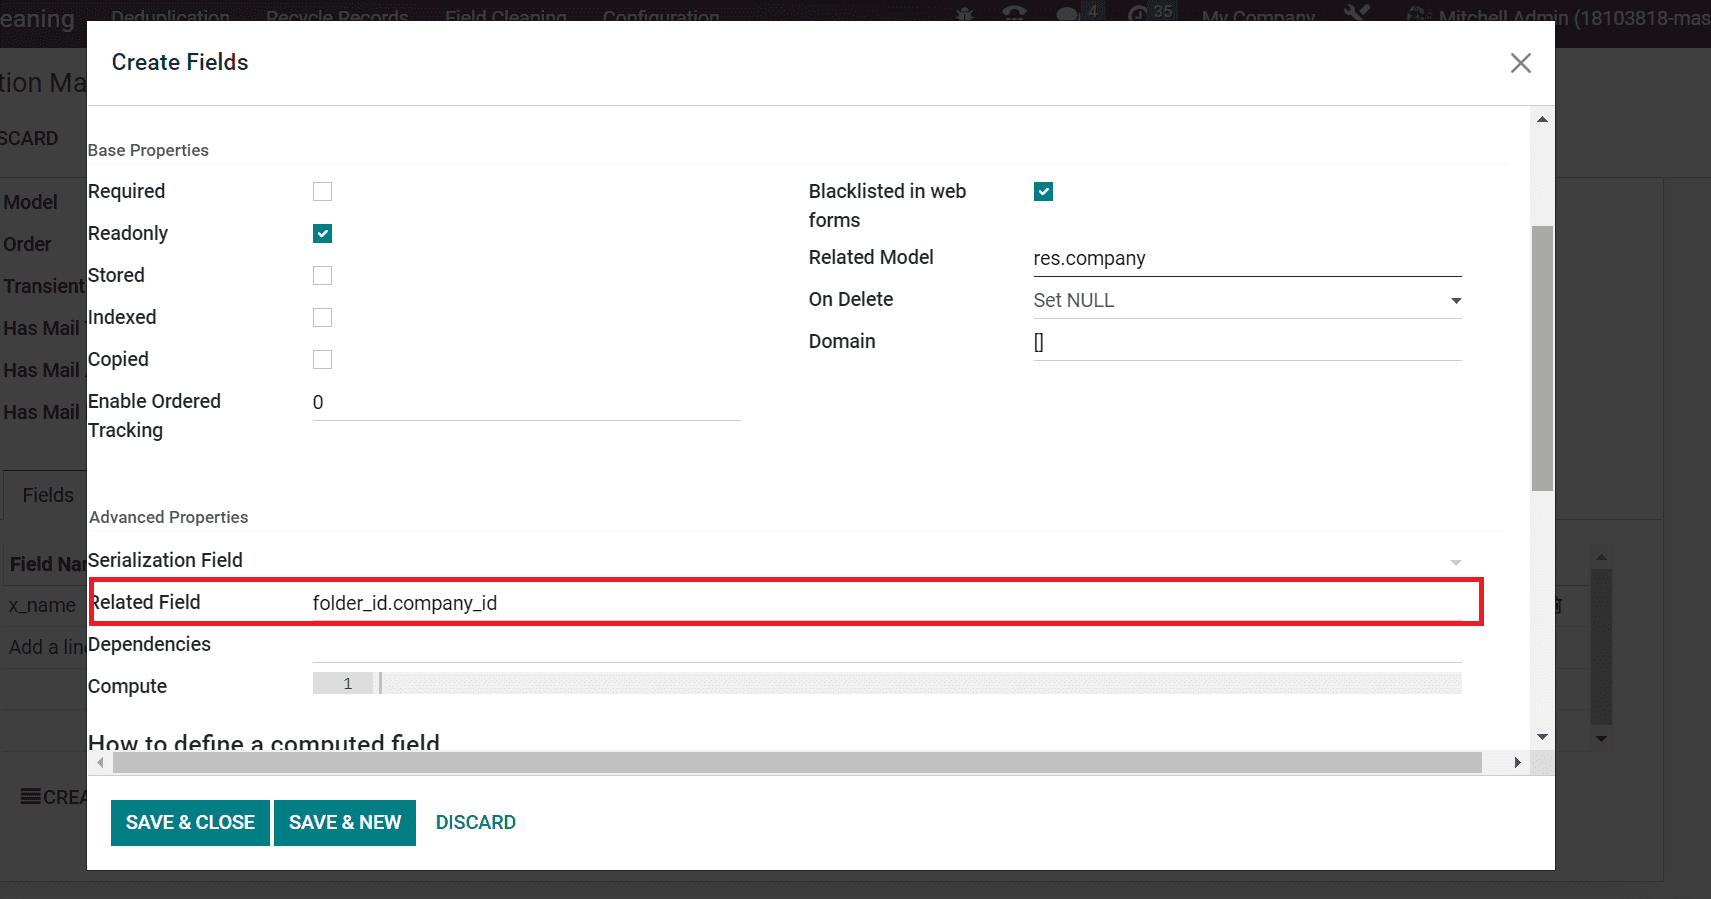
Now, we can see advanced properties below the Properties field. We can secure the sparse structure of the serialization field instead of its own database column after selecting a Serialization Field. Users can apply a correlated field inside the Related field option, which should be a dot-separated list of field names, as portrayed in the screenshot below.
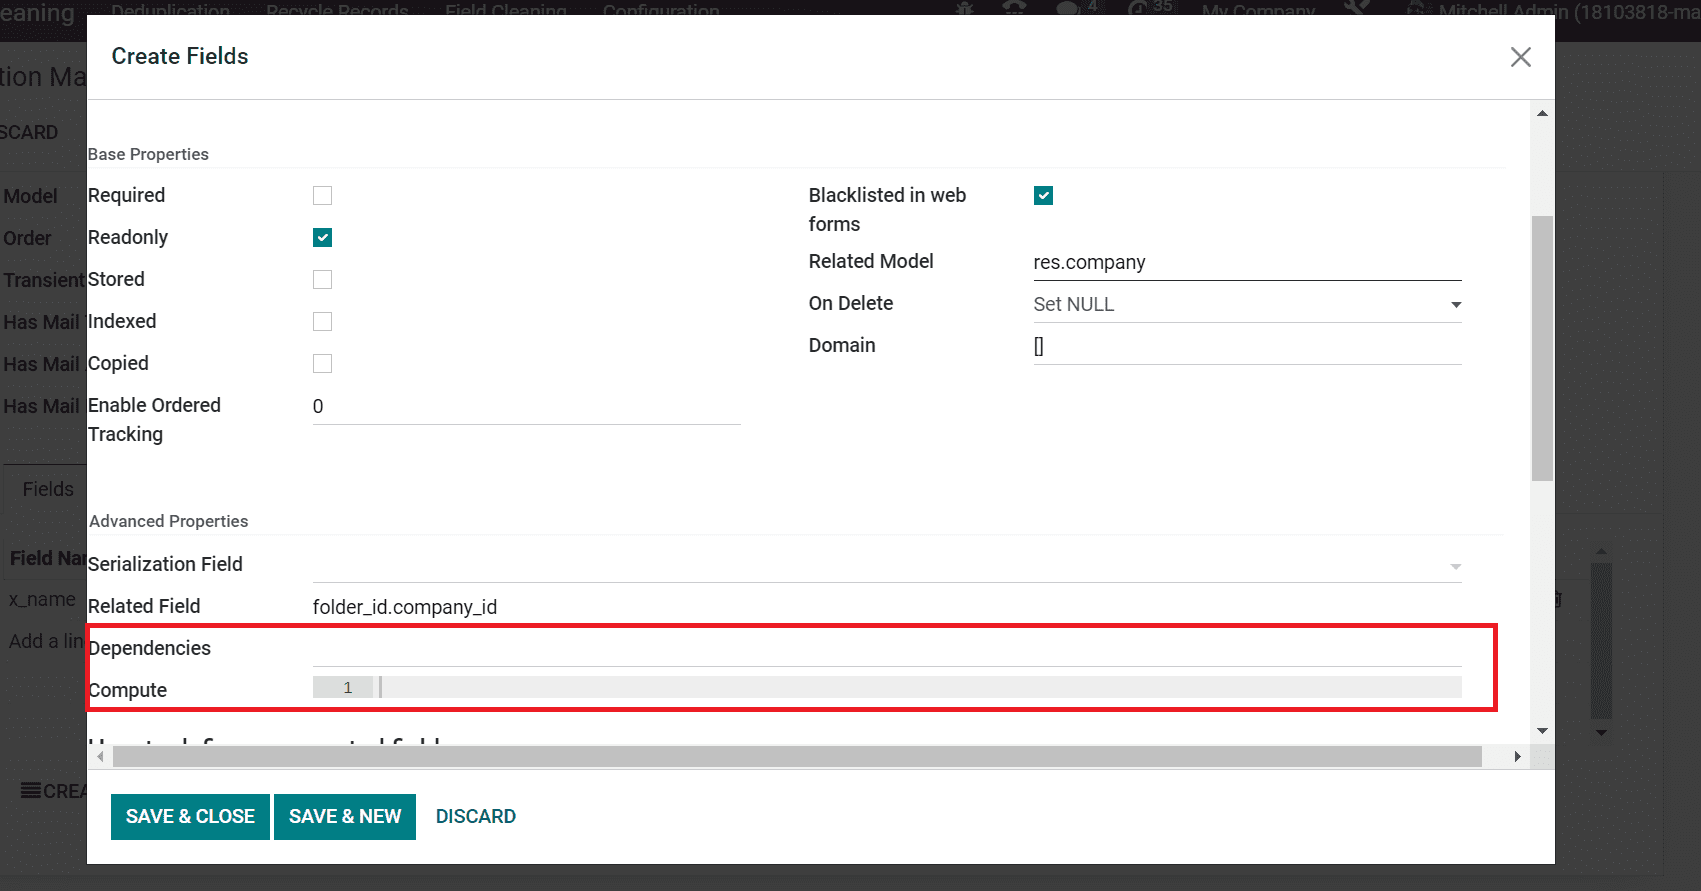
The field concerning your recent field is added in the Dependencies option. You can apply field names distinguished by commas, including name, size, etc., within the Dependencies option. Users can define the python code to calculate a specific value in the Compute field, as cited in the screenshot below.
After applying the necessary properties, click the SAVE & CLOSE button to create the specific field.
Add Access Rights and Record Rules in a Model
Users can specify access rights in a model when developing a new merge action manager. You can view the Access Rights tab inside the Merge Action Manager window, as portrayed in the screenshot below.
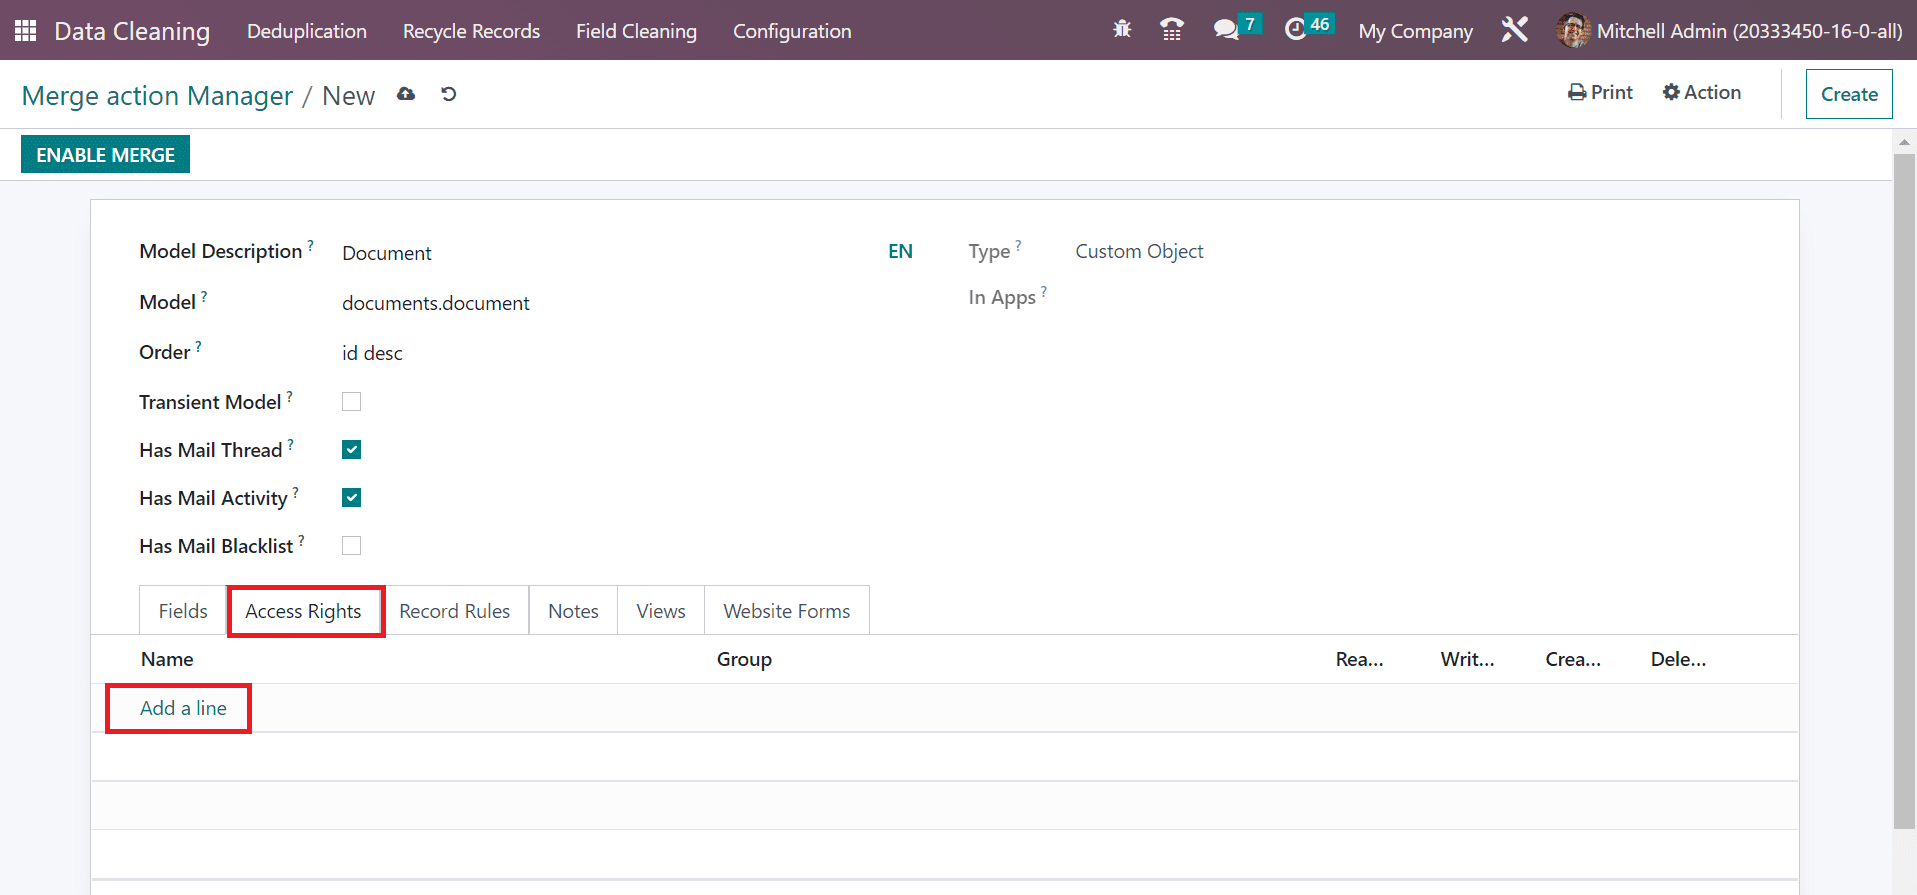
Click the Add a line option below the Access Rights tab to develop various groups for a specific field. A new space opens before you after choosing the Add a line option. Enter the Name, Group, and activate read, write, create or delete access as presented in the screenshot below.
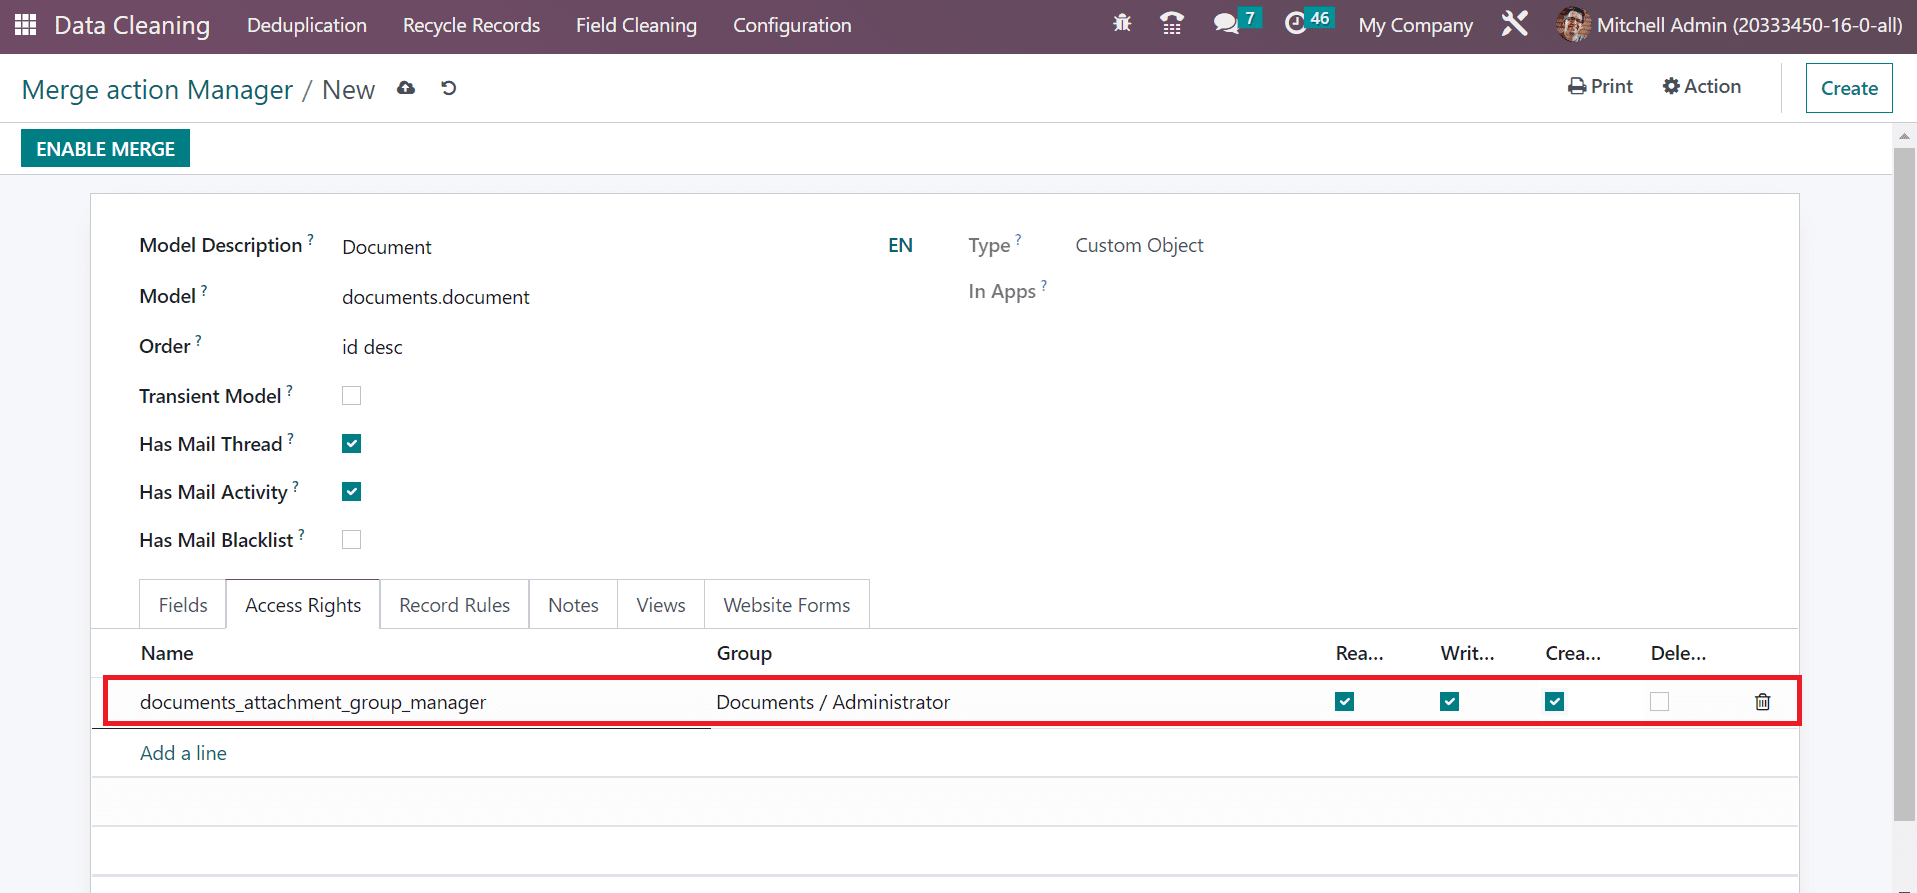
Hence, users can apply access rights for a specific document by a particular group. Similarly, we can use several record rules for a specific model by pressing the Add a line option below the Record Rules tab, as indicated in the screenshot below.
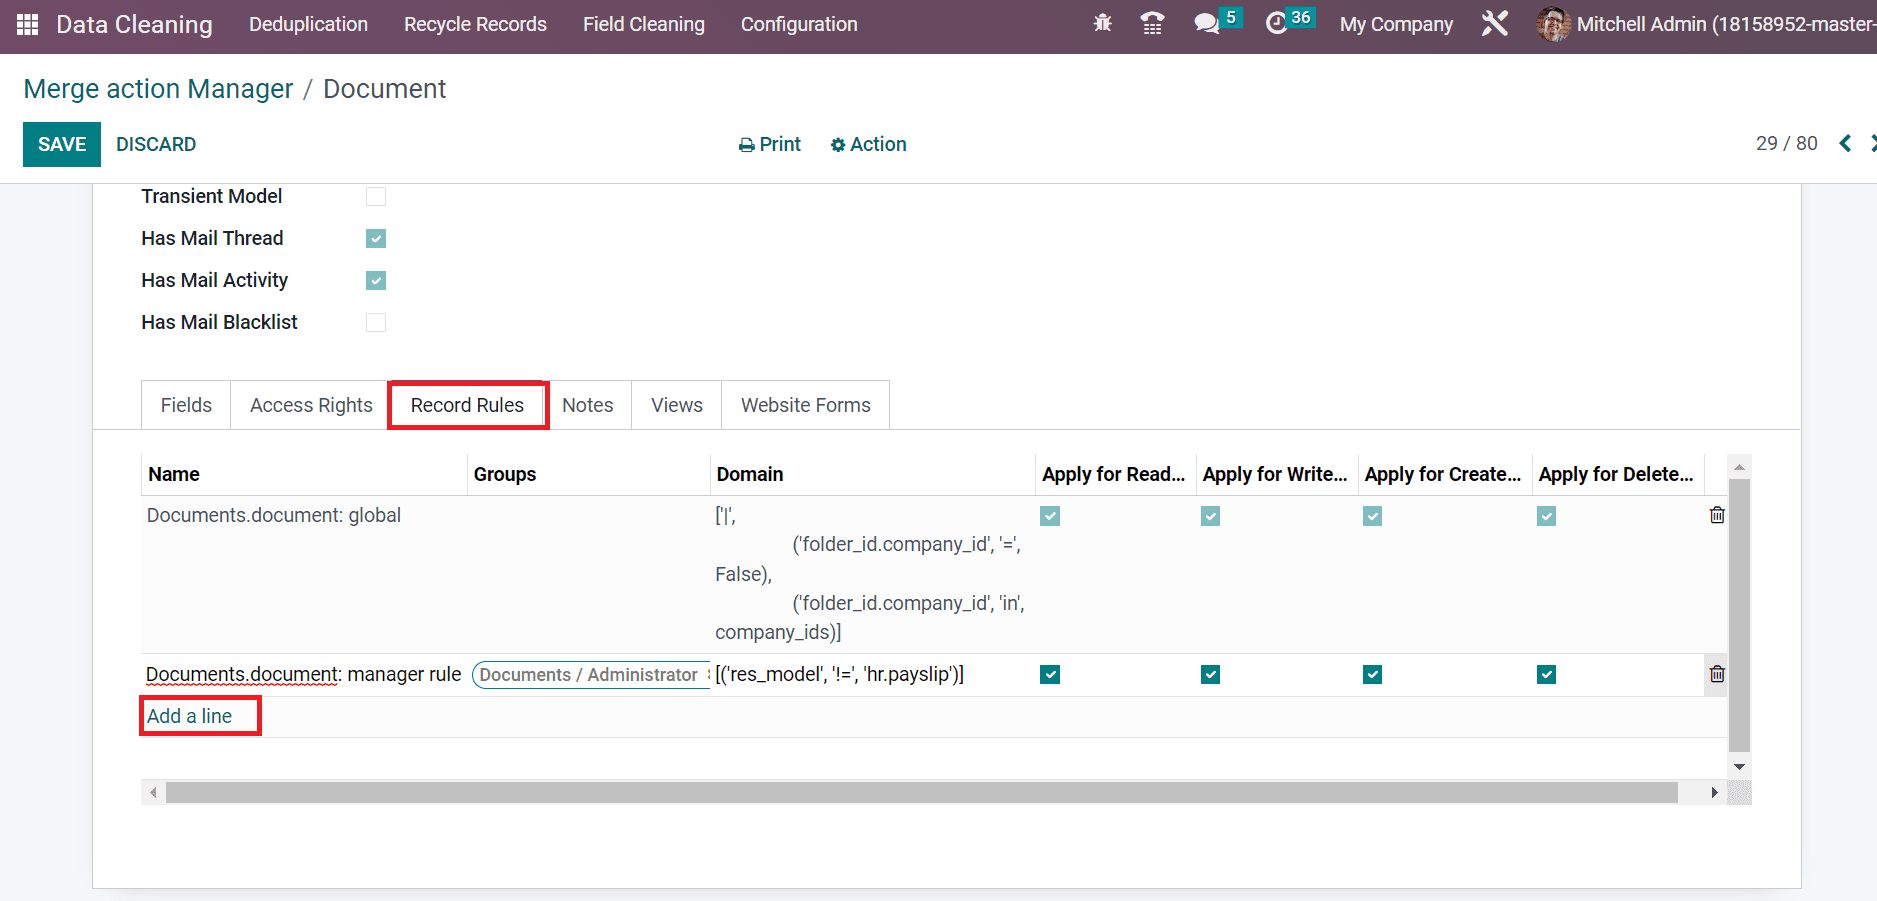
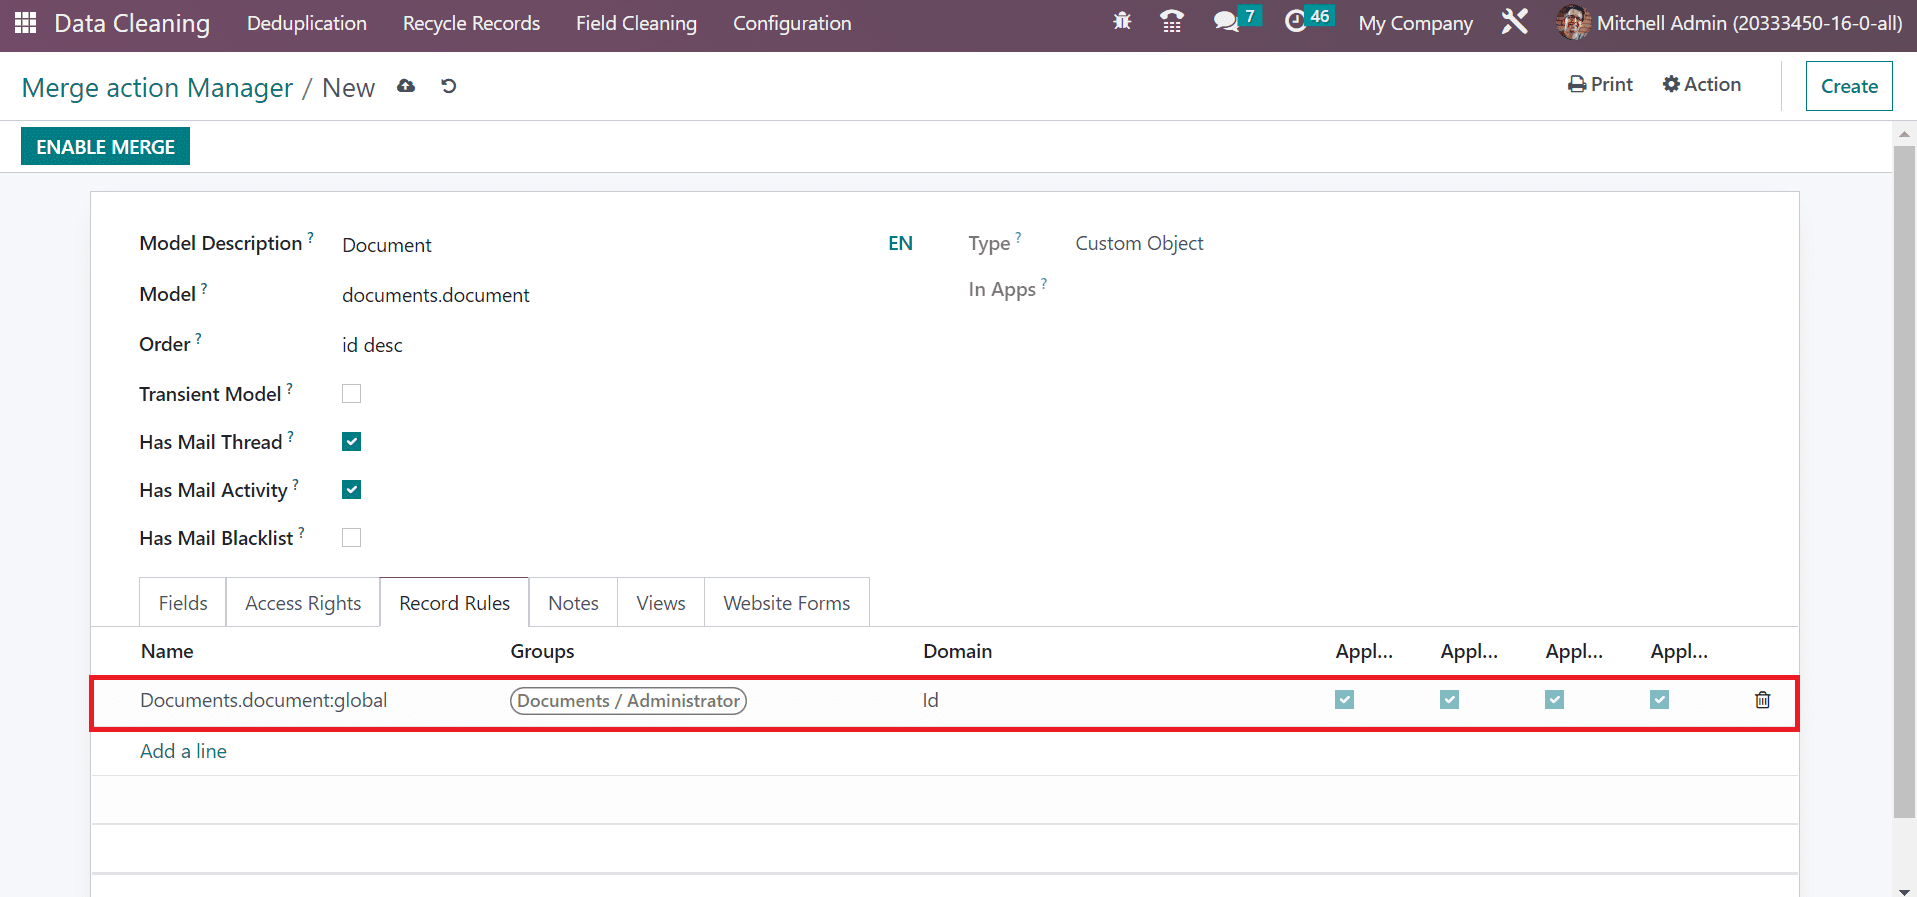
You can specify your Name, Domain, and Group in the open space. Later, activate the Apply for Write, Read, Create, or Delete options as in the screenshot below.
Specify Notes and Manage Website Forms
Customers get an idea about a specific model when adding a particular note. You can add a description regarding your model inside the Notes tab of the Merge Action Manager window.
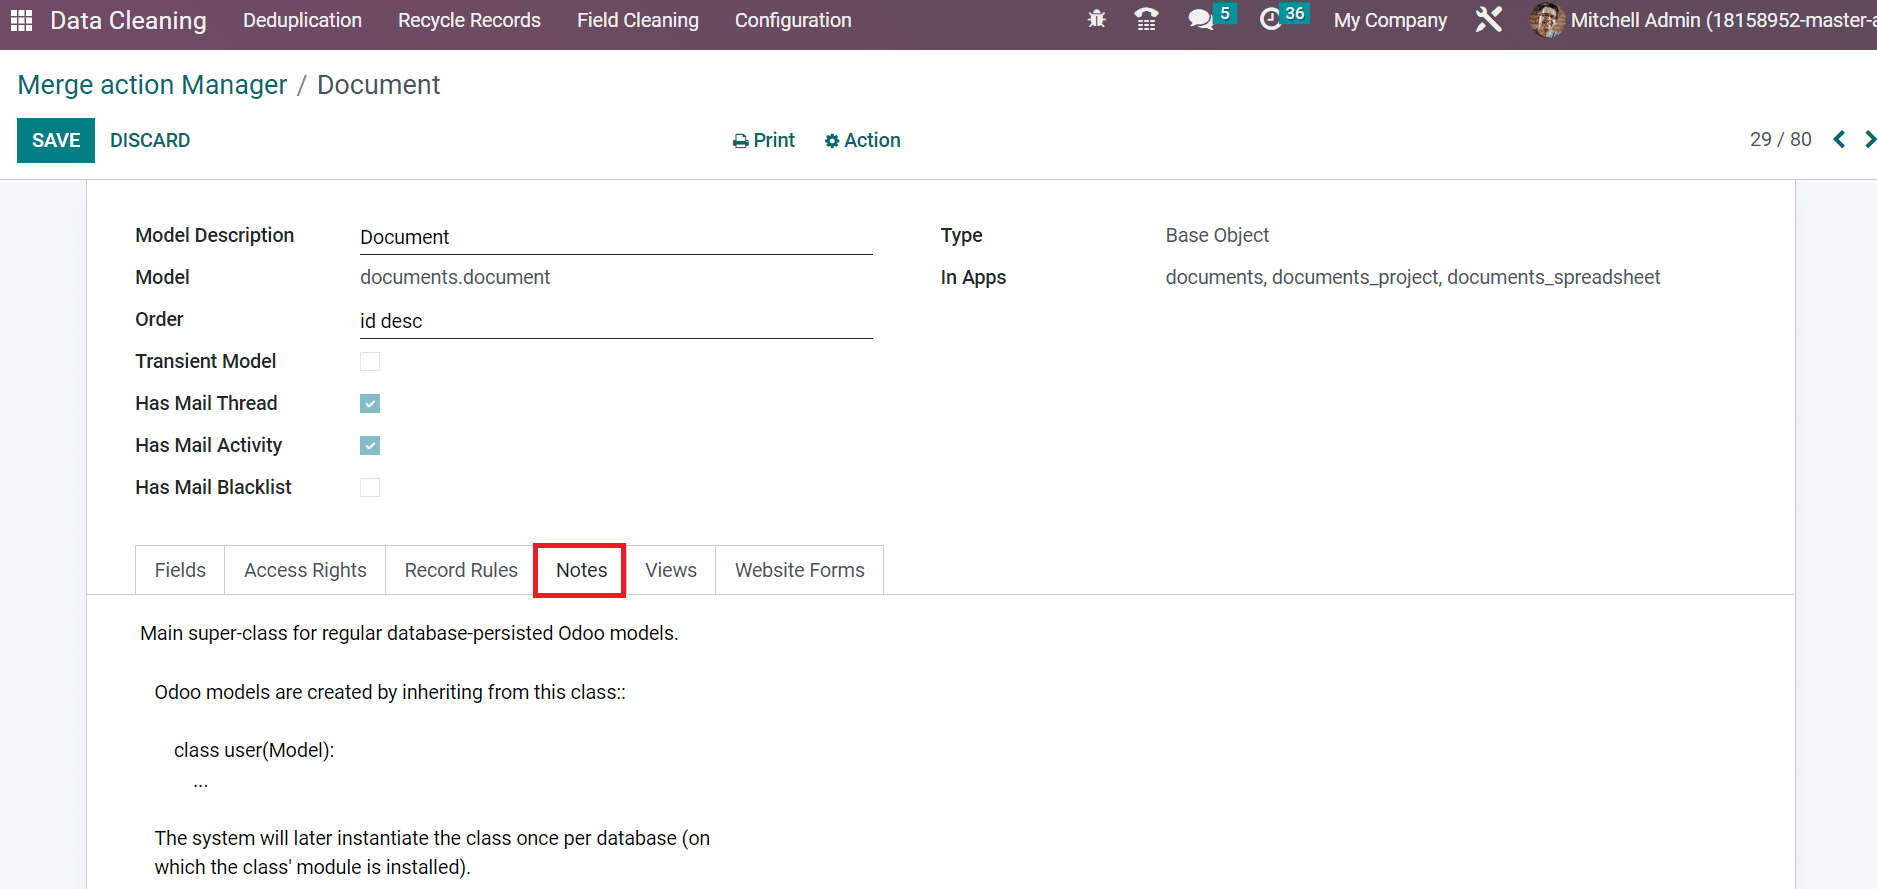
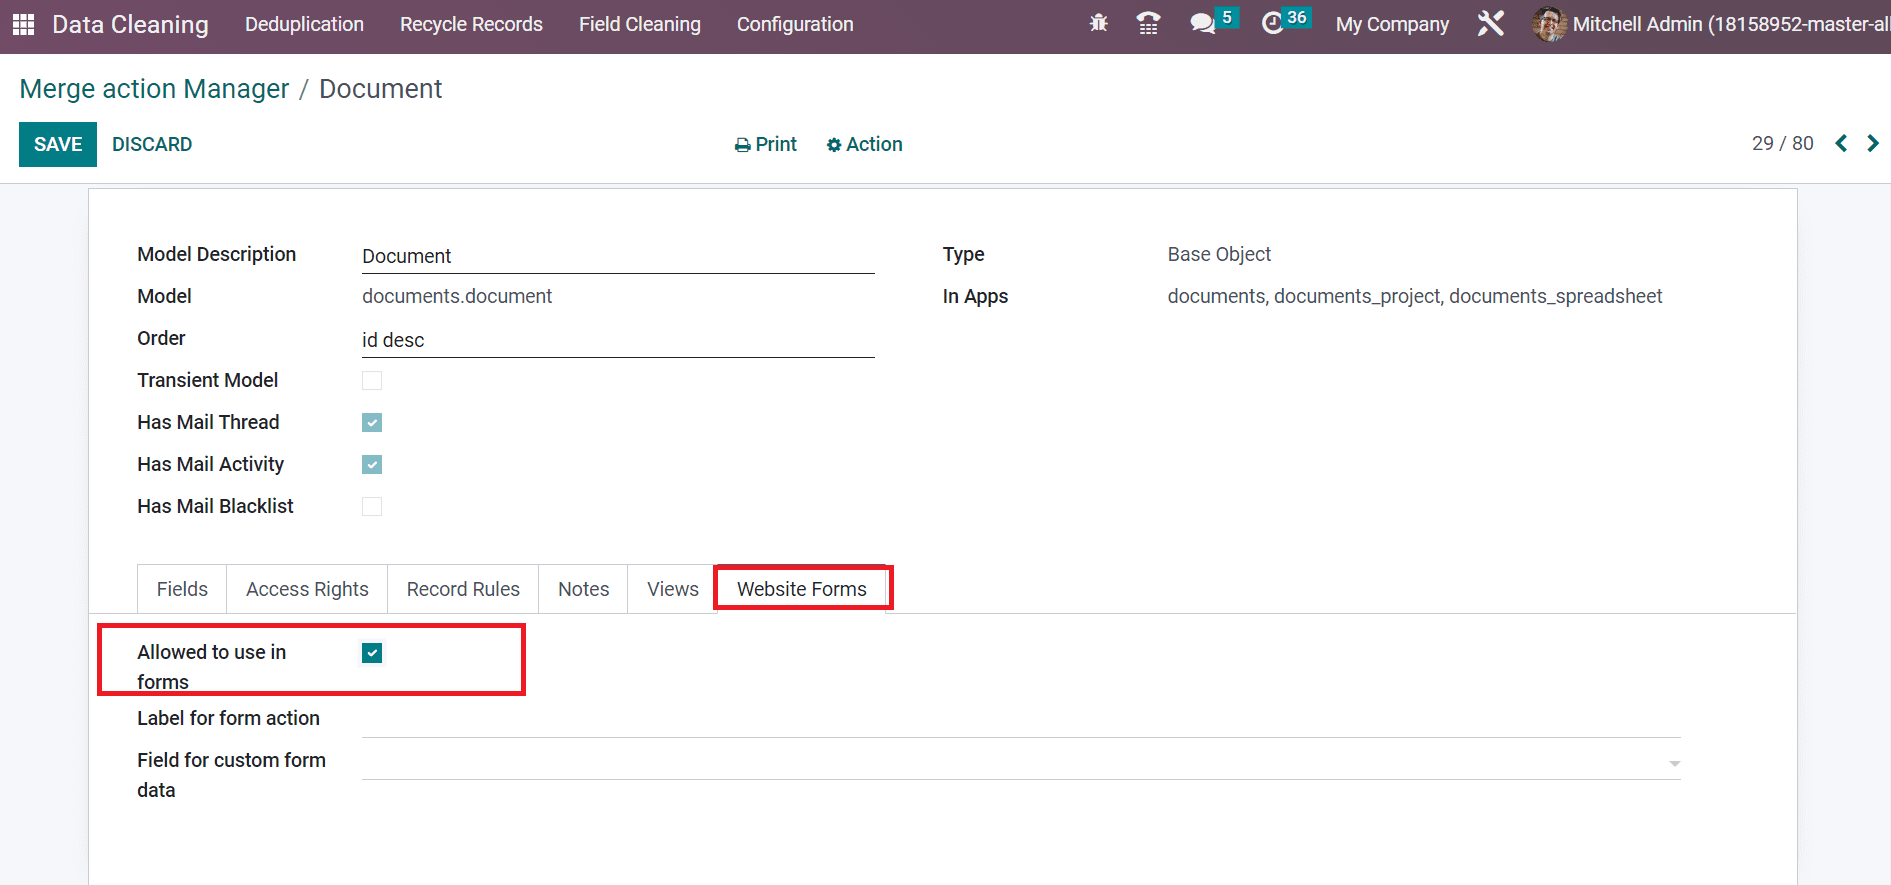
Next, we can manage data concerning website forms within the Merge Action Manager window. Select the Website Forms tab, and various options are viewable to you. It is possible to enable the form builder feature of the Document model by enabling the Allowed to use in forms option below the Website Forms tab.
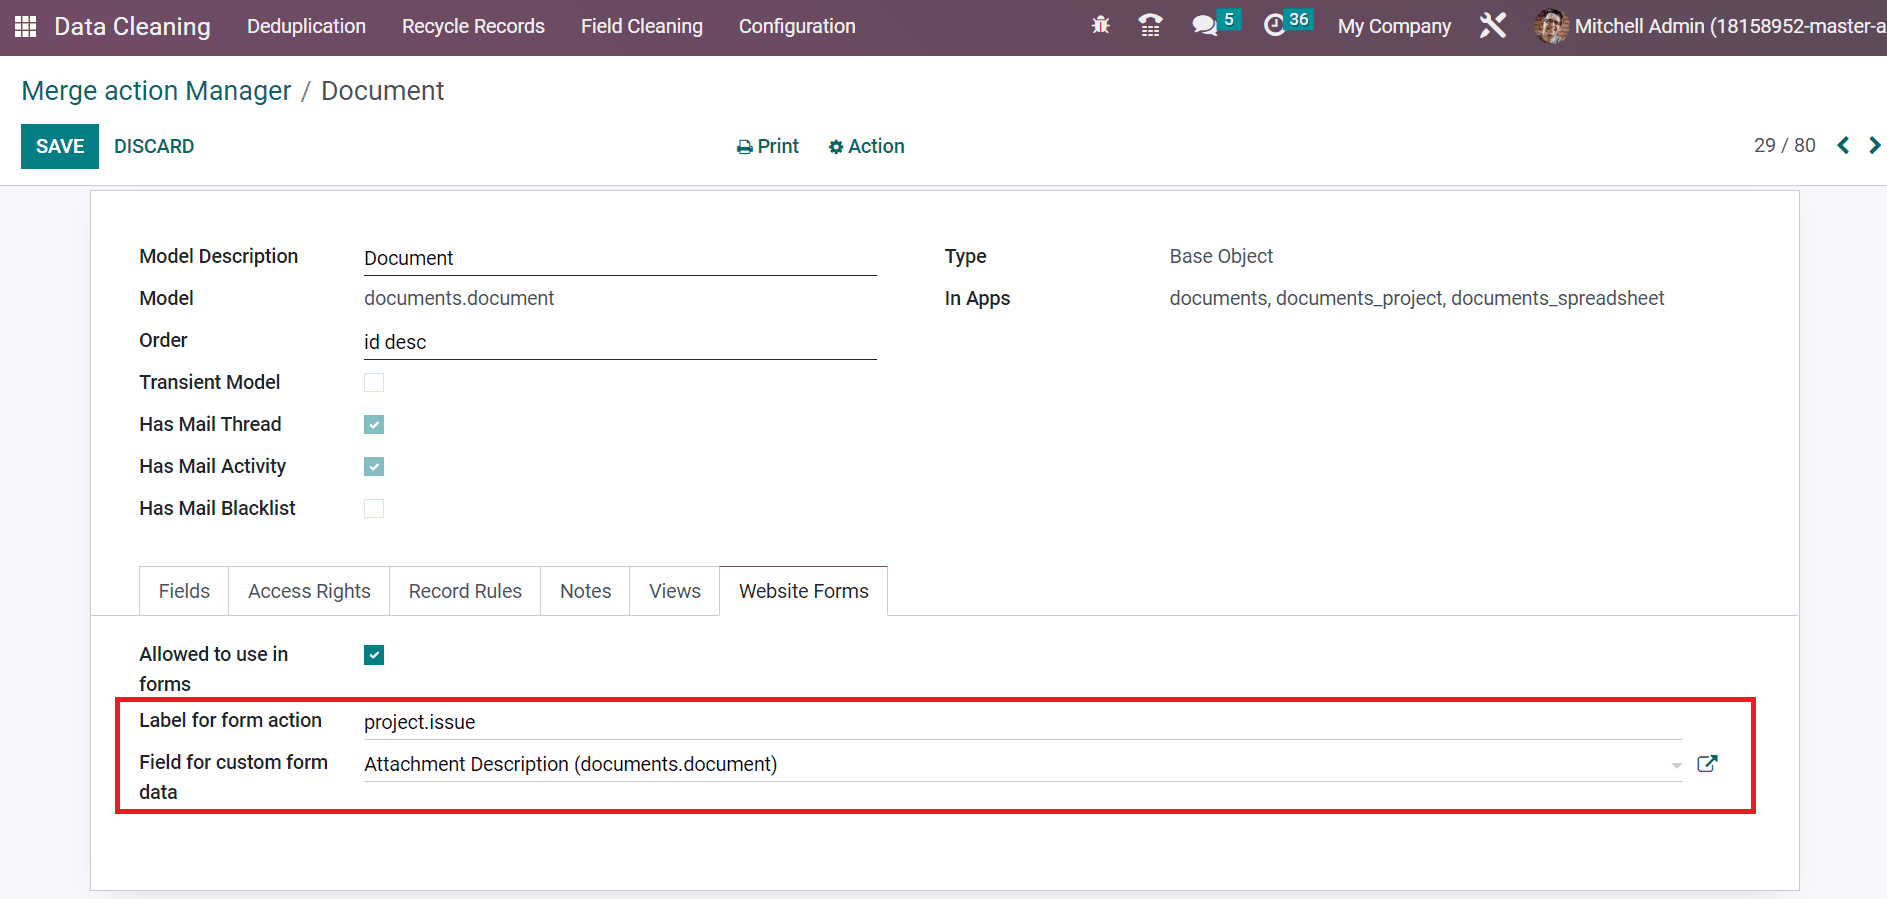
We can add an action label inside the Label for the form action field. Moreover, you can specify the field that contains custom and meta form field data within the Field for Custom form data, as denoted in the screenshot below.
Quickly Enable the Merge after creating a Model in Merge Action Manager
After applying all information regarding a model, all data concerning Merge Action Manager is saved automatically.
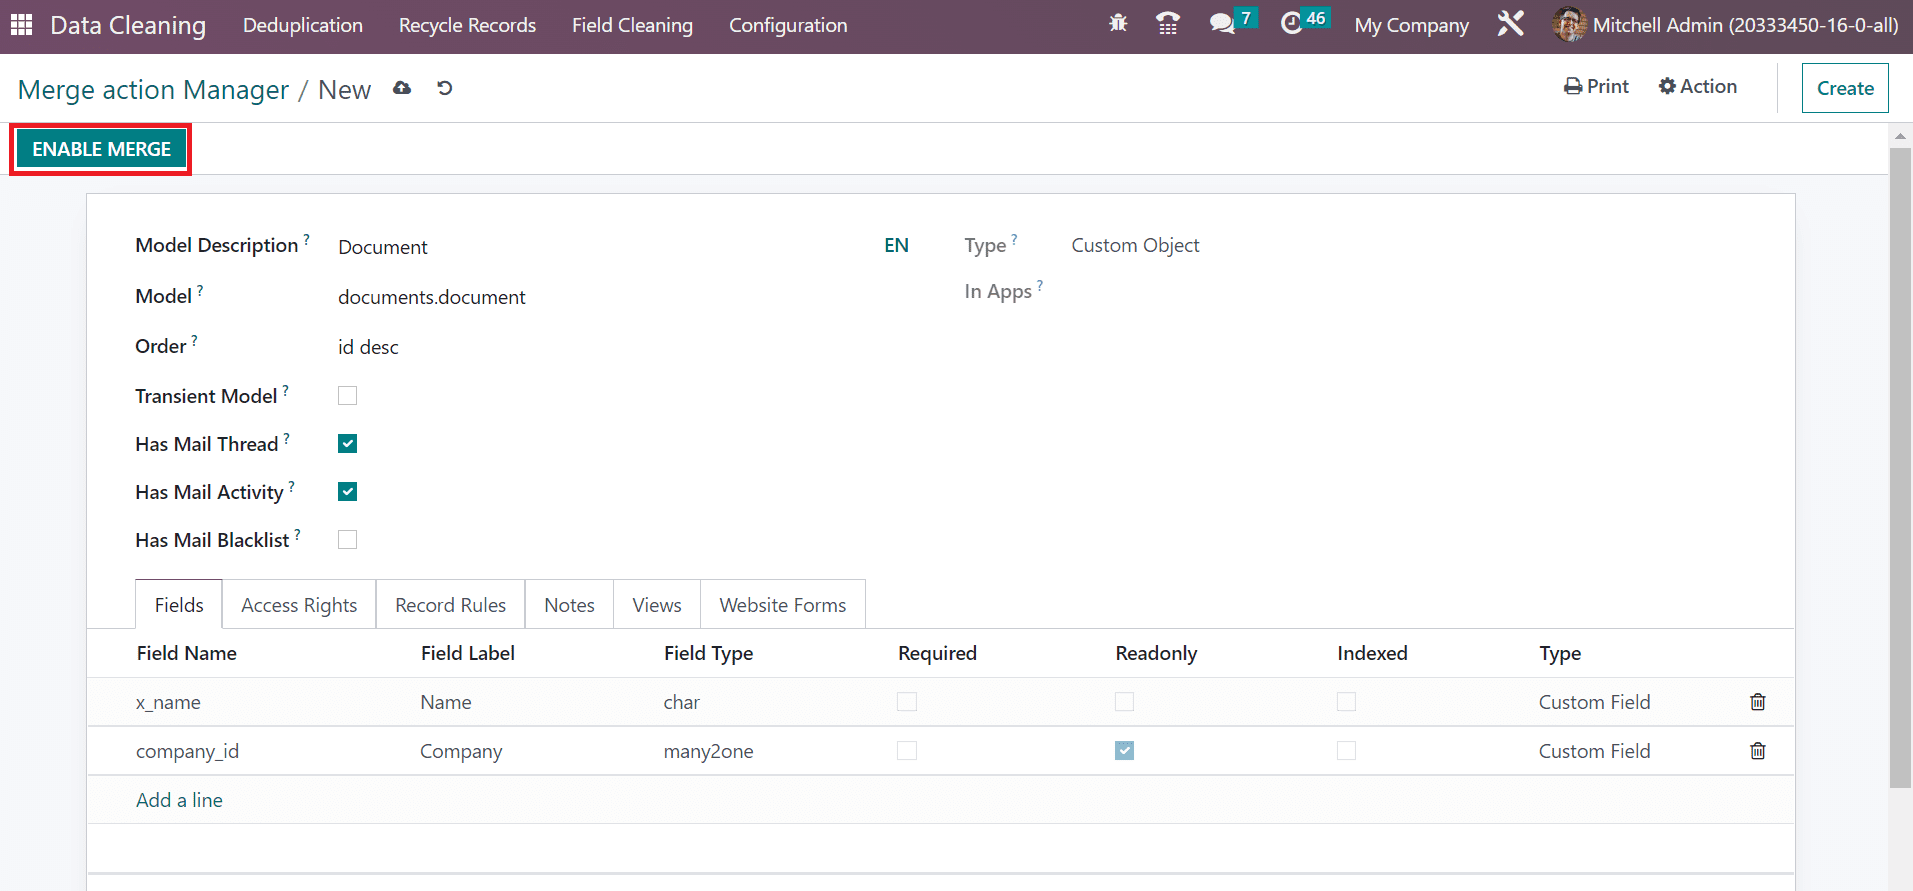
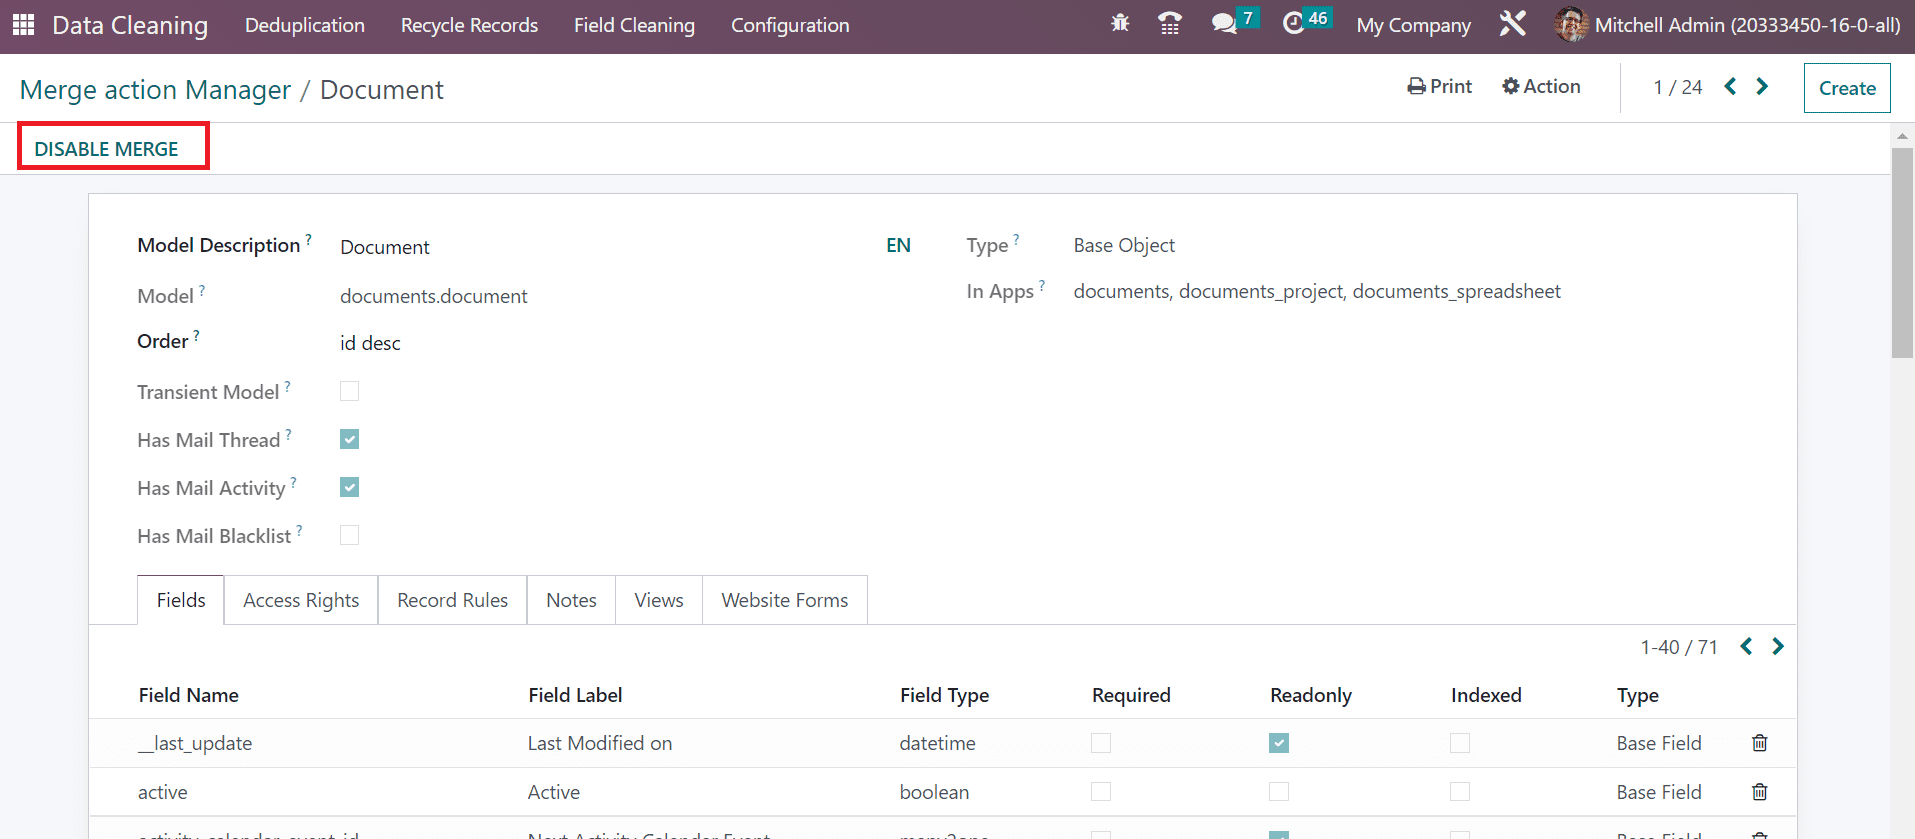
Later, the user can activate the merging by clicking on ENABLE MERGE icon, as shown in the screenshot below. Hence, the data will be merged quickly, and you can disable the merge by choosing on DISABLE MERGE button in the Merge Action Manager window.
Using the Merge Action Manager feature in Odoo 16, users can manage fields, website forms, access rights, record rules, and more. The merging of various models in an advanced way with the Odoo 16 Data Cleaning module.