A business may deal with both sales and purchases occasionally. They buy things from vendors and then sell them to their customers. Such dealings can be confusing at times.
Because multiple clients may inquire about the same product at the same time, as a result, after purchasing those products, customers must be assigned to them.
Odoo has a tool called Reception Report that can be used to complete this assignment. By enabling this, a reception report comes automatically after confirming a receipt, from which we can assign products to orders.
To get the reception report, first enable the option ‘Reception report.’ To do so, go to the Inventory module's configuration tab. Choose Settings from the configuration tab. There will be a Reception Report option. Enable it. Now you will get another option, which only is visible once you enable the Reception Report option. This option is named Show Reception Report at Validation. While activating this option, a reception report shows automatically when the receipt validates. After adding changes, save the page.
Configuration > Settings > Reception Report > Save

So let's look at the product's reception report. Let's move to the products section and click the Create button to create a new product. The result is a storable product called PHONE.
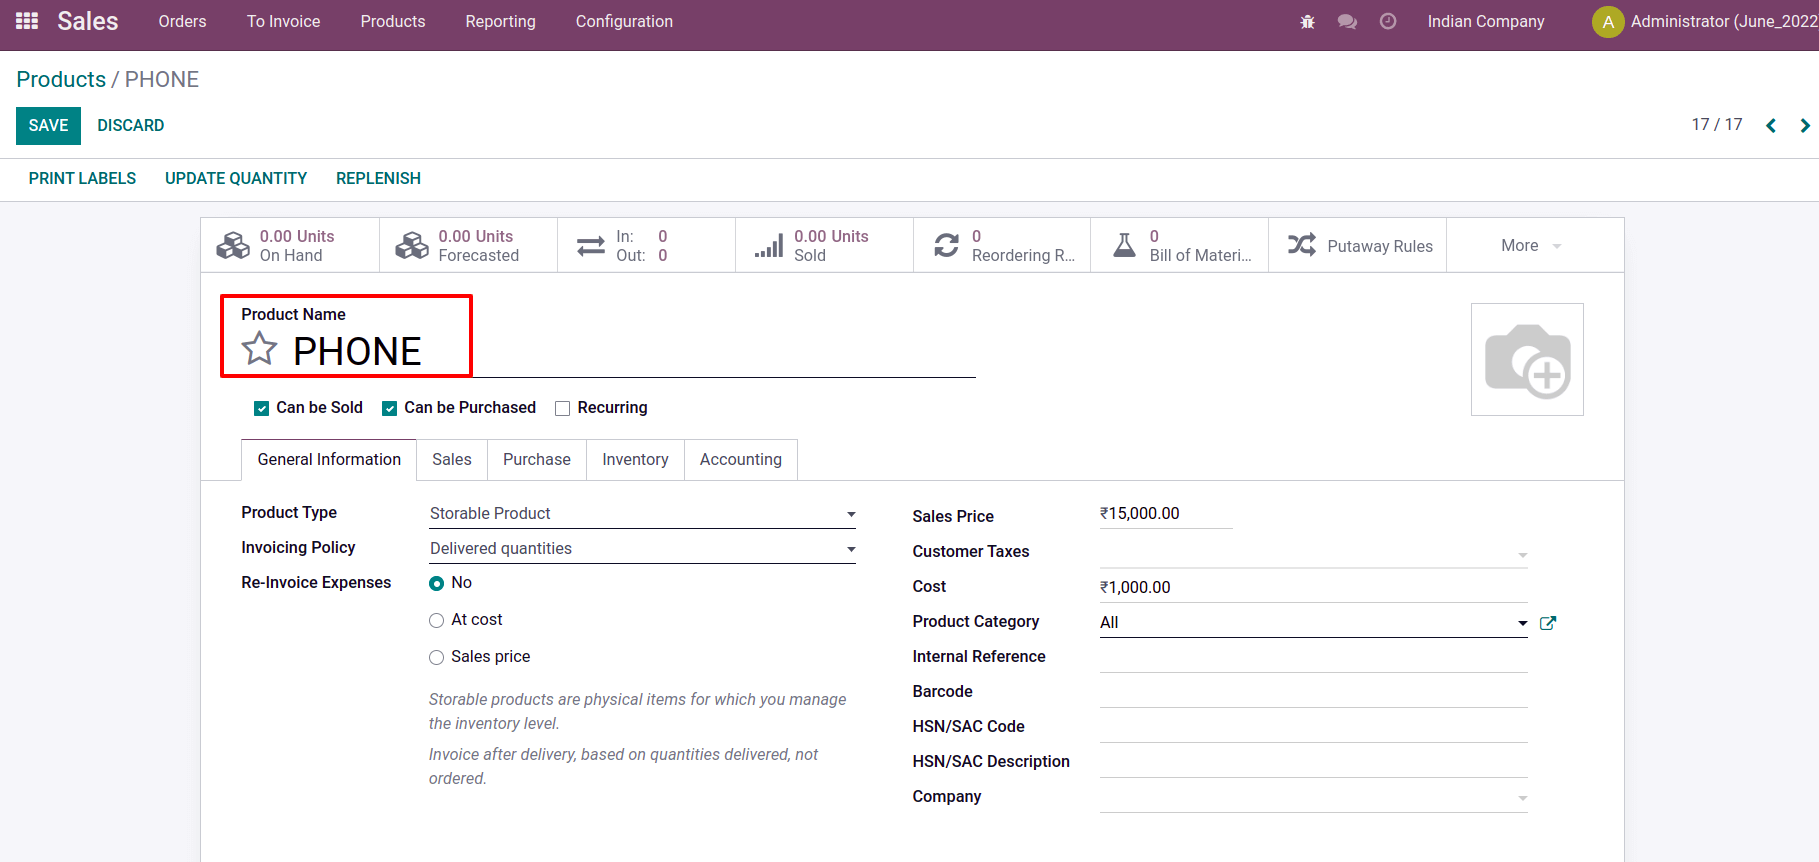
There is a product now, but it is not yet accessible; hence there is no stock. Consider that some inquiries for this product have arrived. Making sale orders for this item. For this, go to the Sales module, and from the quotations create a new one.
Orders > Quotations > Create
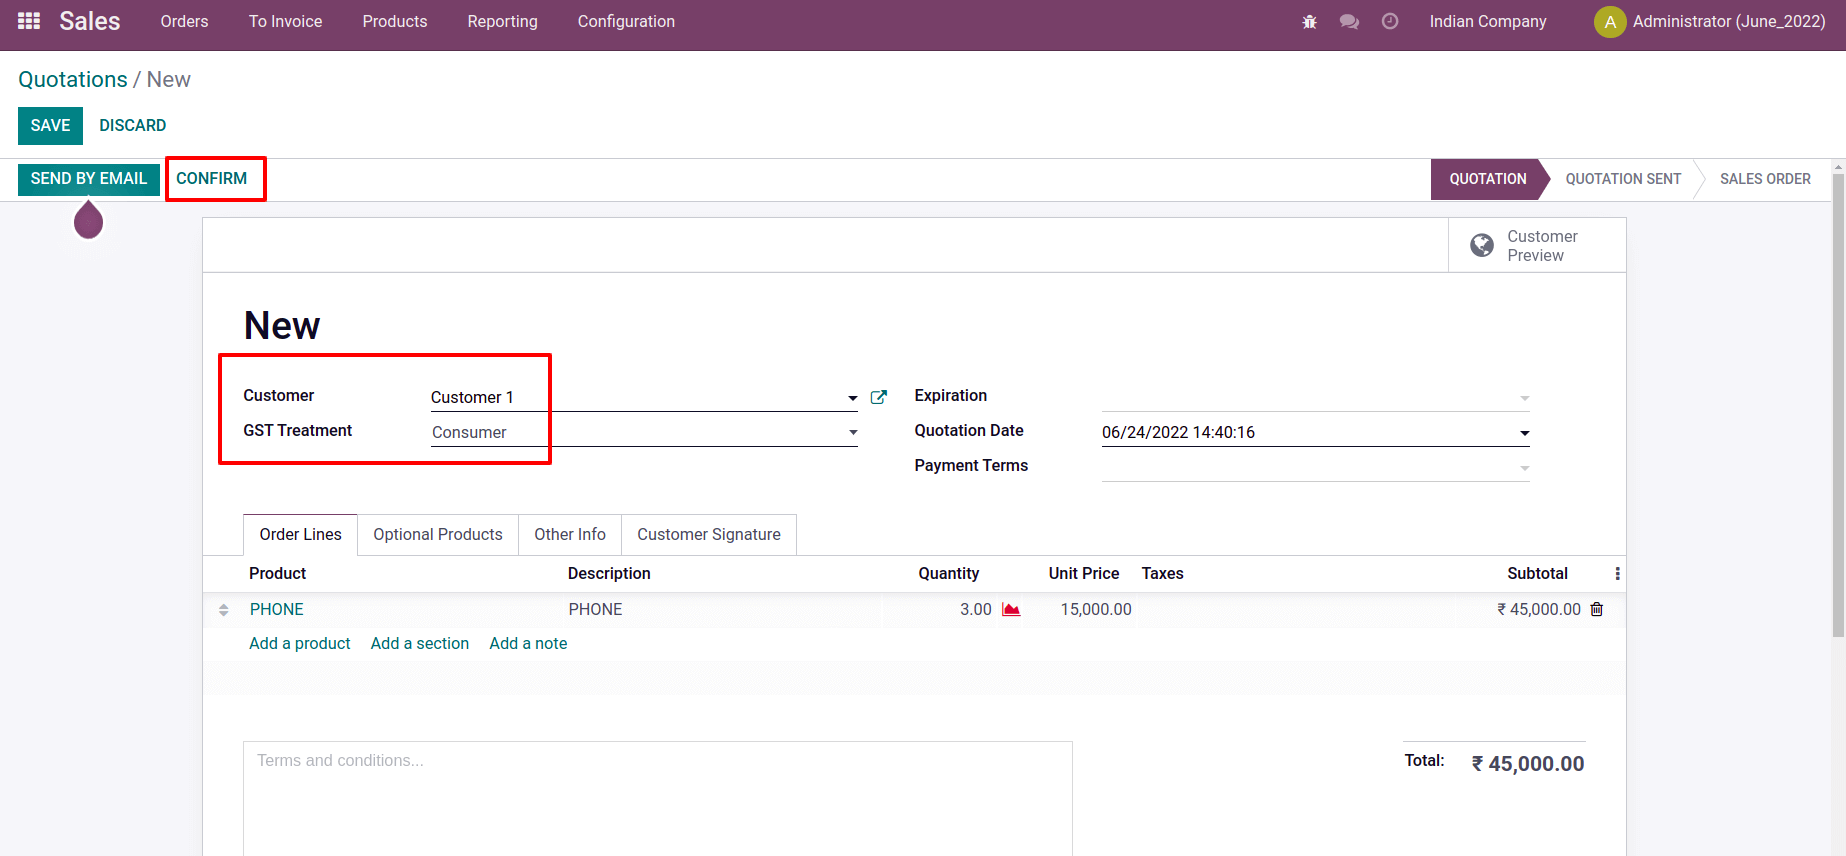
a new sale order for the client known as Customer 1 was established here. He ordered three units of the product PHONE. Let's press the Confirm button now. Currently, it is in the Quotation stage. The order will turn into a Sale order following confirmation. and there will be a smart tab for Delivery.
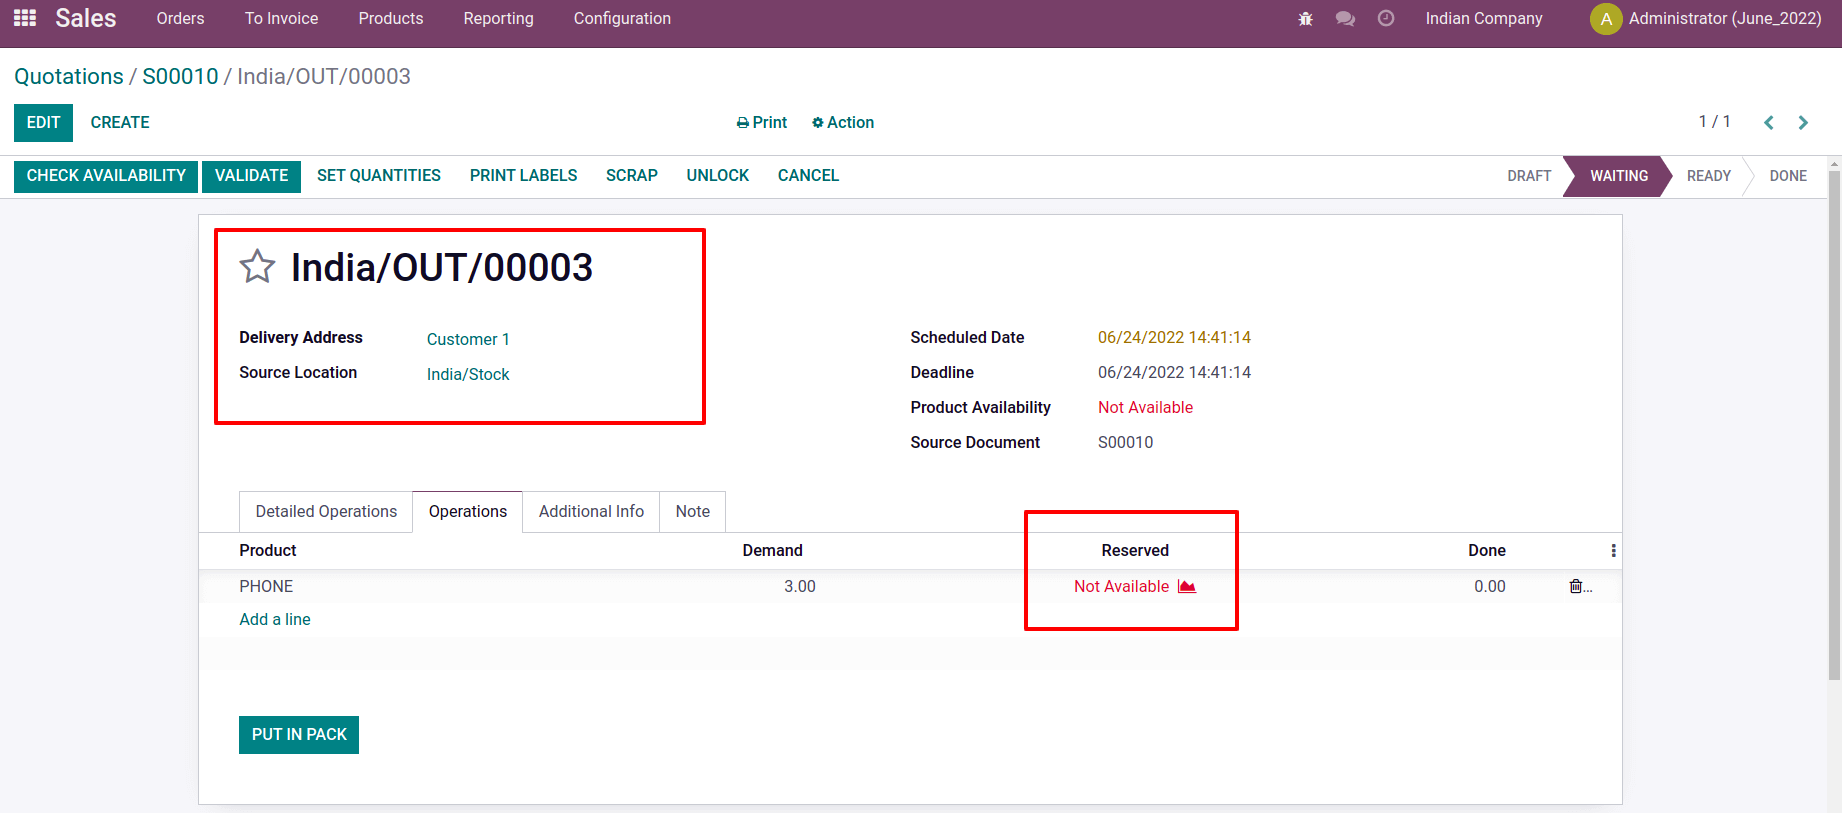
The product is not available when we open the Delivery there. Currently, the delivery is in the waiting stage.
The client, known as Customer 2, then generates a second quotation. He ordered three different items. The products were a phone, a charger, and a case, each of which came in two quantities.
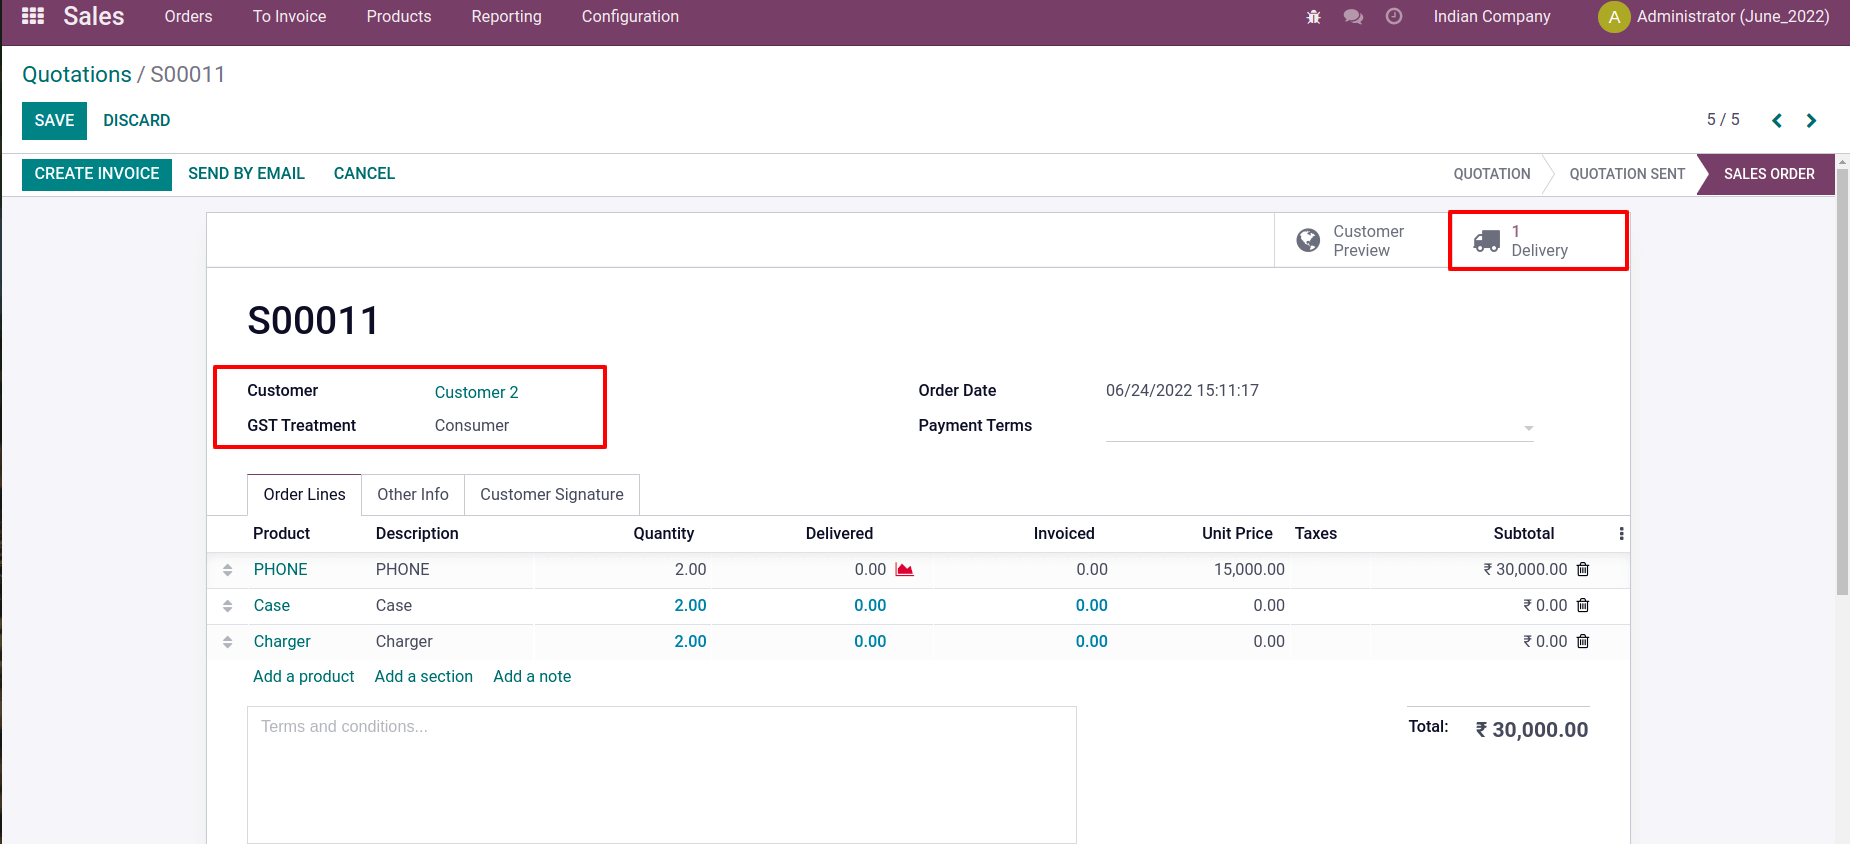
Check the delivery after verifying lt. There are two products. Yet the item "PHONE" is not readily available.
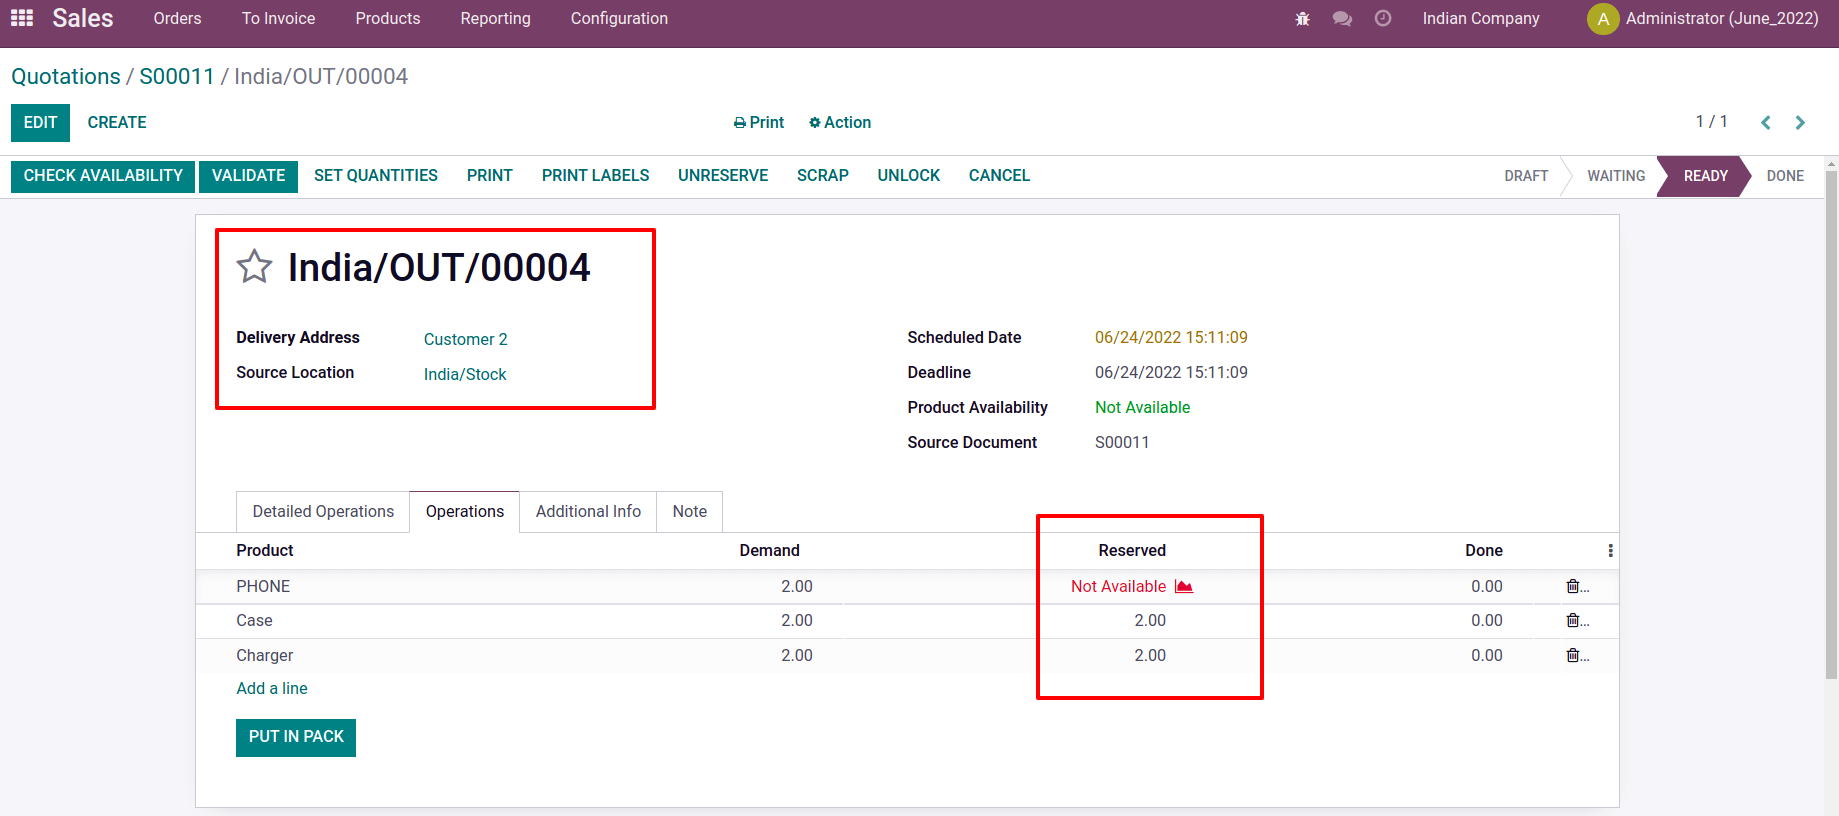
Consequently, for the product, two delivery orders are created. Customers 1 and 2 each placed orders for three and two phones, respectively. However, the product is unavailable for these two orders. Let's move on to the Inventory Module, where the Replenishment option is present. Check out the replenishment orders that were made.
The option of Replenishment allows for the automatic creation of orders for inventory items that are required. This enables us to always keep a minimal amount in stock.

As we previously stated, a new replenishment rule for the product PHONE is generated here. The minimum and quantity are not specified here, but the To order quantity is 5. due to the presence of -5 forecasted quantity. Buy is the preferred route, and the trigger is manual there. Consequently, a purchase order will be generated for the product when we click the Order Once button. In the product's purchasing tab, we must add a vendor to accomplish this.
Consequently, let's go to the Purchase module, where we can see the Request for Quotation for the Product that was made. When accessing a purchasing module, a list of requests for quotations appears. Open the RFQ that was created from the Replenishment report.

The quotation becomes a purchase order when clicking the confirm button after entering all information.
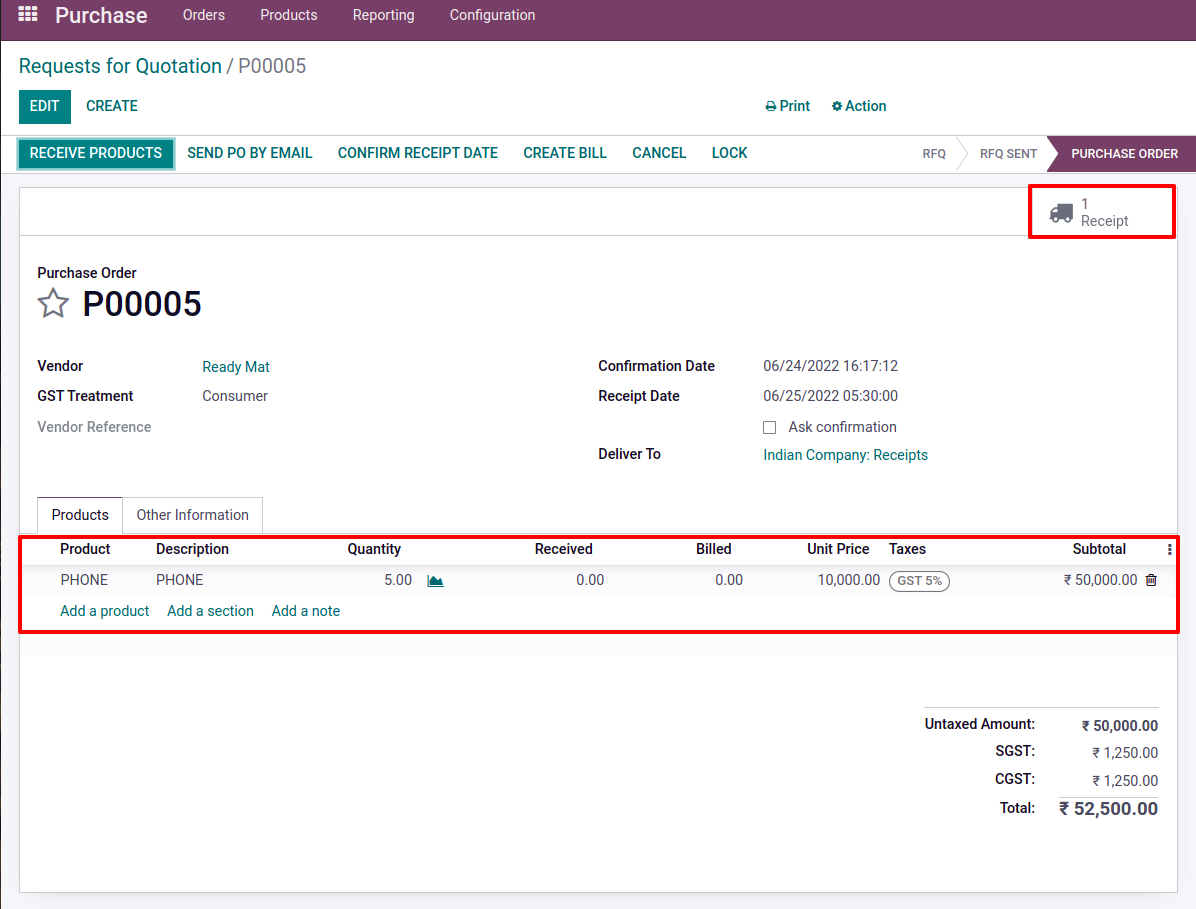
There is a button that says "Receive Products," which should click. The Receipt then displays.
Select the Validate menu. A Reception Report shows automatically when the order has been validated. There is a smart tab called Allocation. While open it there shows the Reception report.
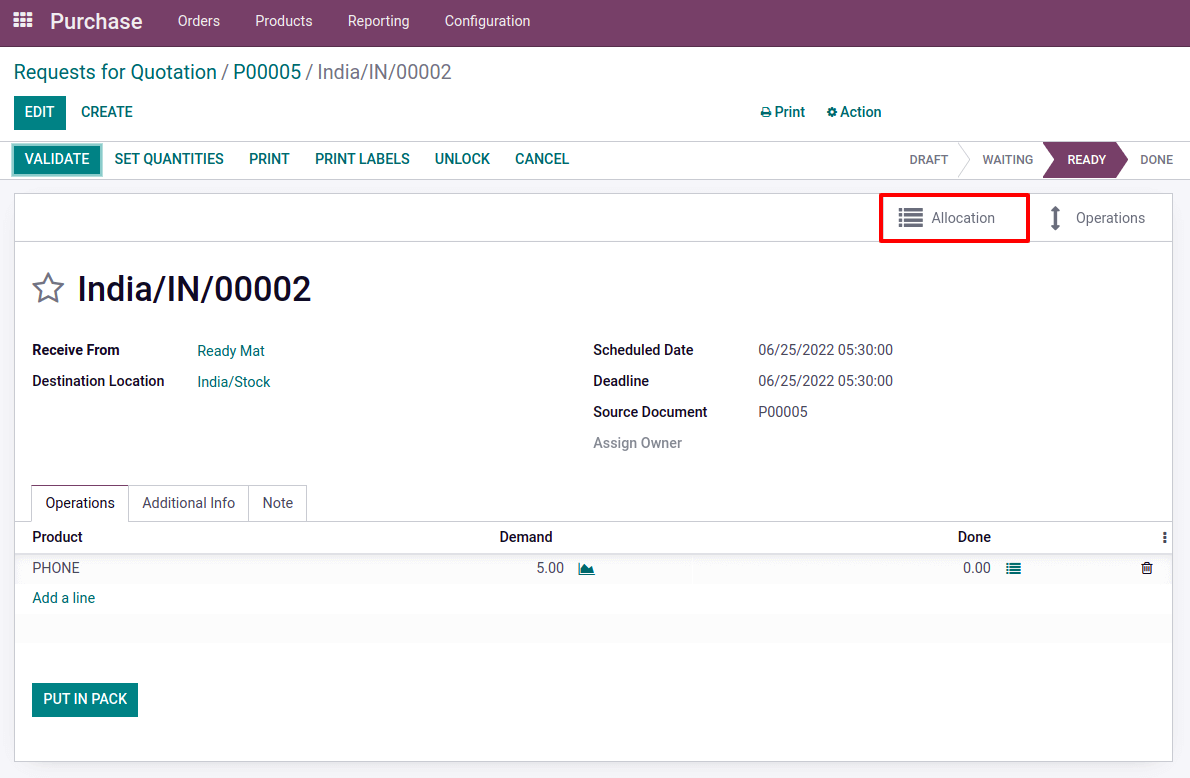
The purchase order is shown as Done in the Reception Report after validating the Receipt. There are two selling orders for the product bought. The two sale orders were created for two separate customers, each of whom placed different orders for various quantities.

Before moving to the Reception report, let's check the onhand quantity of product PHONE. Now the onhand quantity is changed to 5.
The report also includes the expected delivery date for each order. Two possibilities are shown in the reception report. The first is Assign, and the second is Assign all. These can be used to quickly allocate products to orders. It is possible to assign these products to order from there with this Assign button.
Here, assign the received quantities to both the delivery orders by clicking on the Assign button. It is also possible to Unassign a product once it has been assigned, by clicking the Unassign option.

Just take a look at Customer 2’s delivery order. He ordered a total of three things, one of which is the currently purchased product PHONE, and two quantities of each. Can assign specific products or all products. Here, click the Assign button. As a result, Assign the product and validate the order to complete it. Then the onhand quantity of the product reduces two quantities.
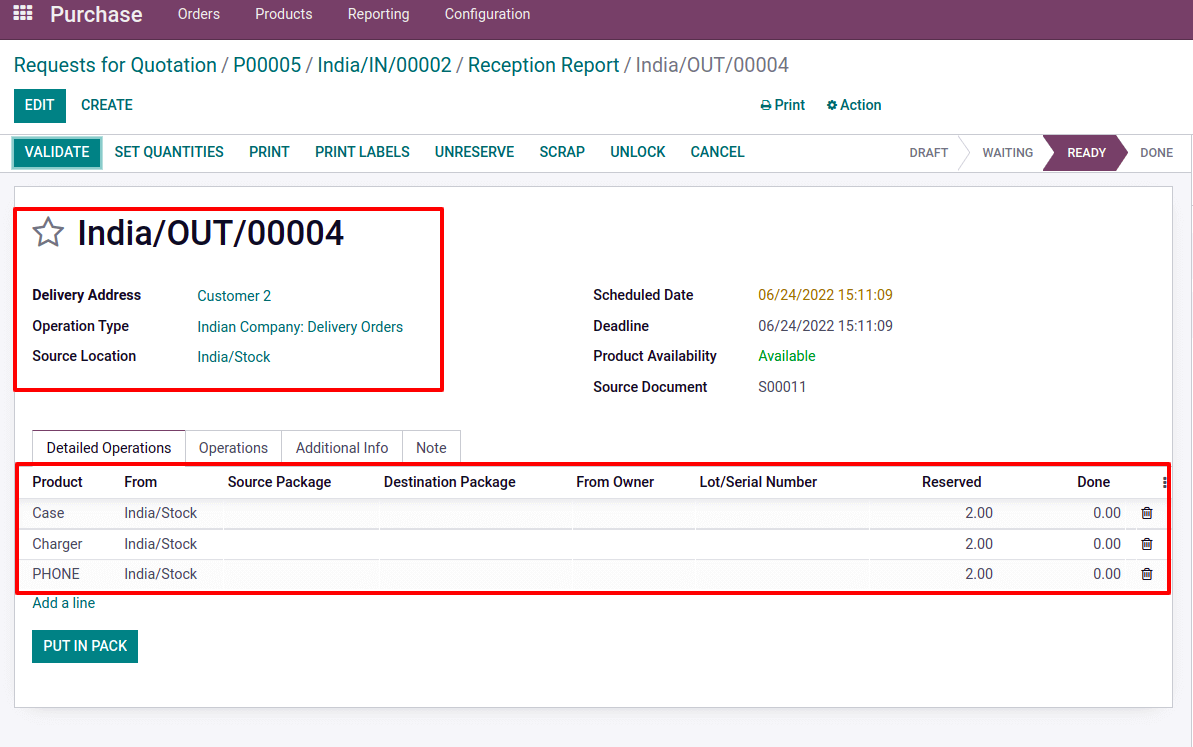
Then let's check the delivery for the client Customer 1. The product PHONE 3 quantity is reserved there. Let us validate the delivery too.
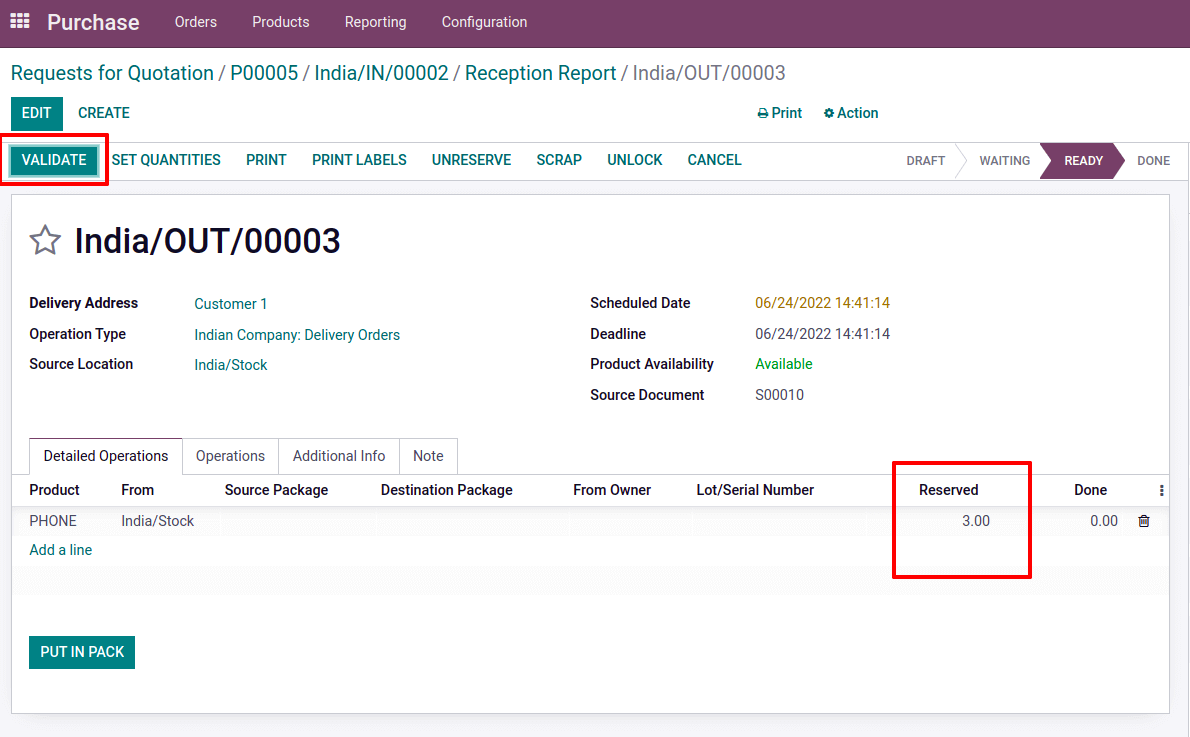
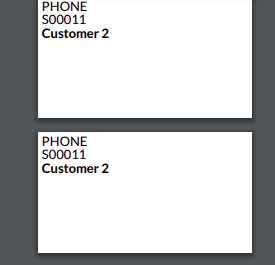
After validating the two delivery orders, again check the Onhand quantity of the product PHONE. Which will again be reduced to zero. If we need labels printed, press the print label button.
Here, we talked about how the Reception report was configured and how it operated. This is a crucial feature that Odoo implemented that aids in accurately assigning purchased goods to sell orders.