What is Lead Time?
Lead time, as per Dictionary “is the time between the initiation and completion of any process’. When it comes to purchasing lead time, it is the time between the initiation purchase order lead time of the purchase order and the delivery of the product by the vendor. Apart from purchase lead time, we also have customer lead time and manufacturing lead time.
Purchase Lead Time
Purchase is the process of buying material or product from a vendor. As we are learning about purchase lead time in this blog we can set aside the customer lead time.
When we are managing the purchase and related operations with Odoo, we have an option called Purchase lead time.
We can define Purchase Lead Time as the time that is required for the vendor to deliver the product to the buyer after the purchase order is placed.
We can consider lead time as a significant element to ensure customer satisfaction. Though purchase lead time is different from customer lead time, both are interlinked.
A buyer will be able to set the customer lead time accurately only if he is well aware of the purchase lead time.
Any variation in the purchase lead time will affect the customer lead time directly. It can also cause customer dissatisfaction. The delay will also affect the supply chain.
Why is purchase Lead time Management Important?
Purchase lead time is a key factor in managing all other operations related to the business. If we can calculate purchase order lead time efficiently, we will be able to plan to manufacture any product using the purchased material or the sale of the purchased product efficiently.
This operation can be explained here with the help of an example. Suppose we have placed an order for a customizable desk on April 2. The lead time, here, is 10 days. Then the product will be arriving in our inventory on April 12.
Once we are able to calculate this lead time, we can plan our manufacturing efficiency and manage the product delivery date to our customers more accurately. Suppose, a furniture manufacturing unit has placed an order on April 1 for wooden panels to manufacture shelves. The lead time he gets is 10 days. Then he can calculate the product manufacturing schedule, and location of his customer and find out the total number of days that will be required for product delivery. This will surely help us to ensure customer satisfaction as the customer will be getting the product within the promised date.
How to Configure Purchase Lead Time?
To make use of this feature we can dive indirectly into the purchase module of Odoo. As lead time is calculated based on the purchase order, we first have to create a request for quotation.

For this, we have to step into Orders -> RFQ
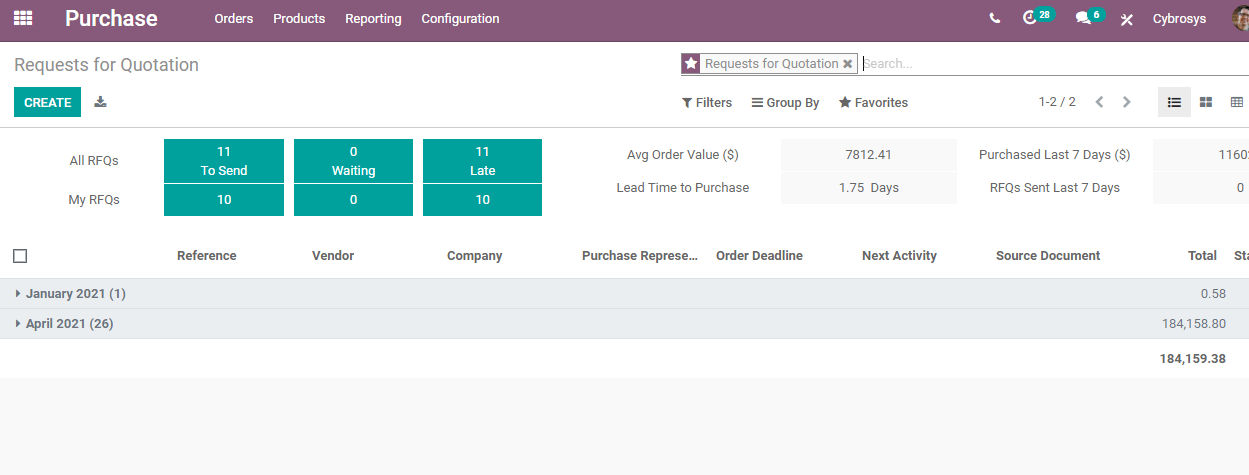
In the RFQ we can make use of the Create Option.
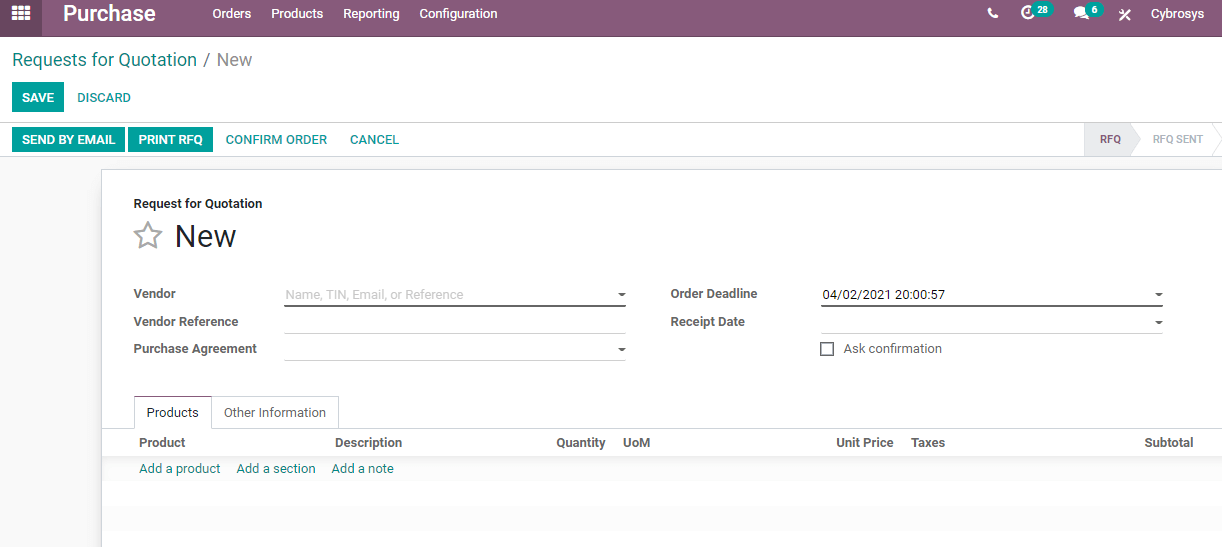
We have selected Azure Interior as the vendor and cabinet with doors as the product.
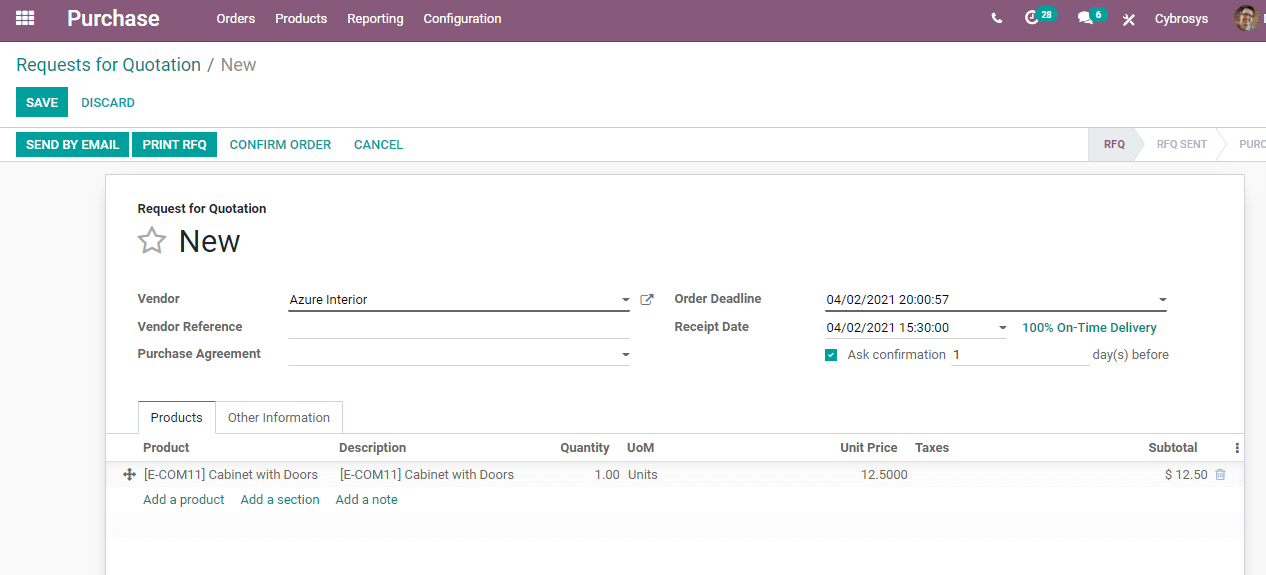
In the above screenshot, we can find options like Order Deadline and Receipt Date. Here, the Receipt date means the date on which the buyer is expected to receive the product. Now it is time to check the Product Tab.
Here, we have already selected a cabinet with Doors as the product. But we cannot find the delivery date option there. In order to add this, we can click on the three vertically arranged dots on the right-hand side.
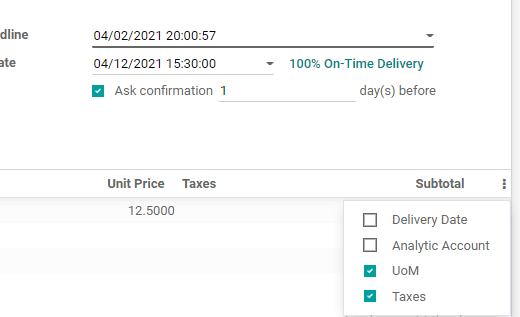
Here, we can find that UoM and Taxes are enabled and Delivery Date and Analytic Account are disabled. We have to enable the Delivery date option to get this date under the product tab.

Now, we have enabled the option and we can find the delivery date option. The delivery date is generated automatically and the receipt date gets auto-added as a delivery date.
We have also set the unit of measure and unit price.
Here the Order deadline and receipt date are the same. When we consider the above-mentioned case we cannot find any lead time. To get lead time we have to make the necessary changes.
As we may be familiar with the vendor and the delivery time required we can do this by clicking on the external link given next to the product name.
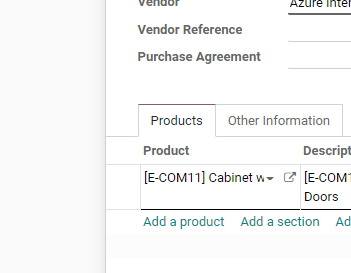
Once we click on the external link we will get the product window.
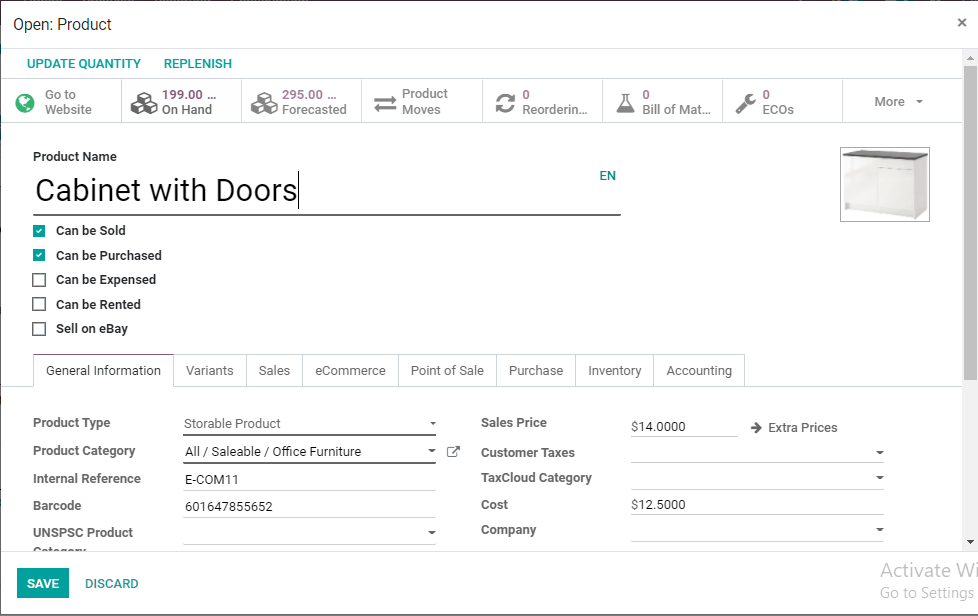
Here, there are many tabs and what we have to choose is the Purchase Tab.
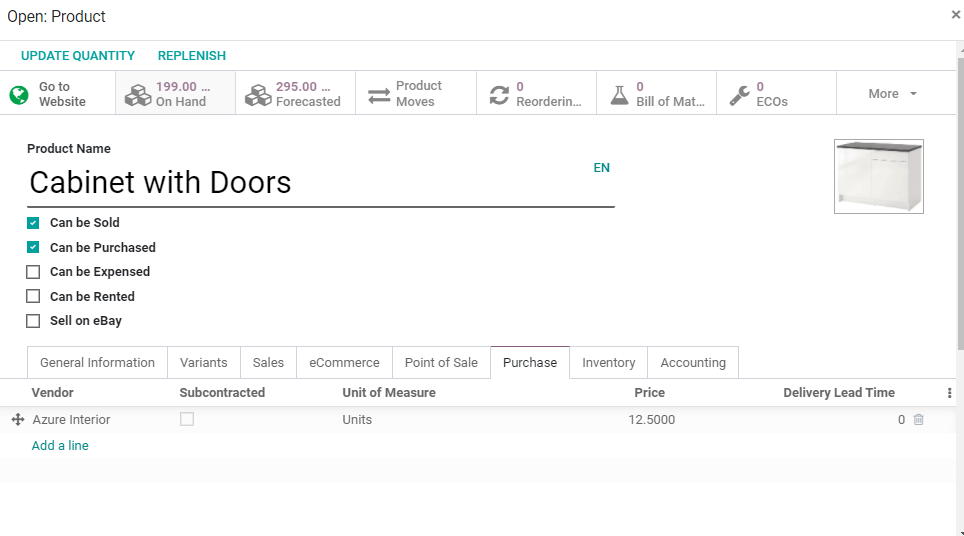
The delivery lead time given here is 0. We can edit this option and add 10 as the delivery lead time.
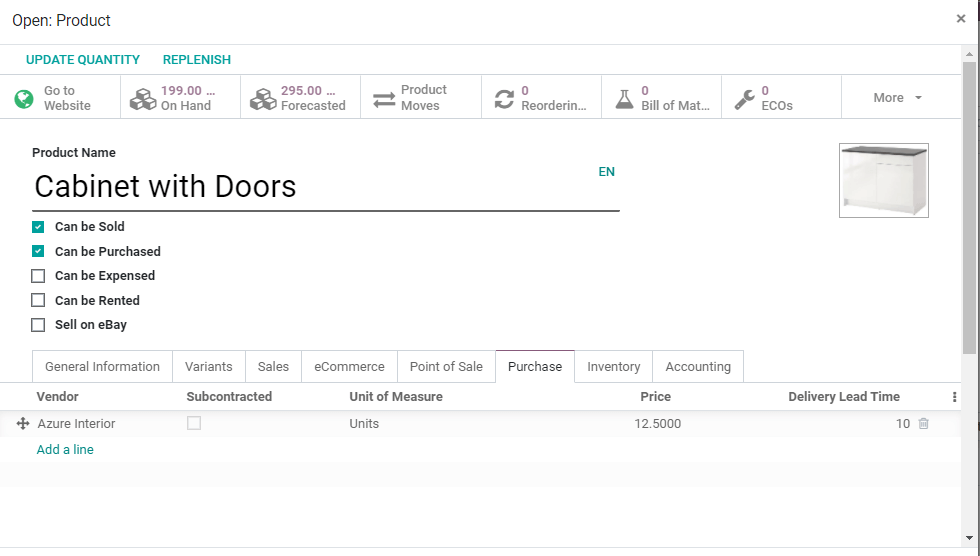
Now we have to save the changes and return them to the RFQ.

But the fact is, automatic updating of lead time is not possible here. Instead, we will have to delete the product from the product tab and add the product again. Let us see what happens.
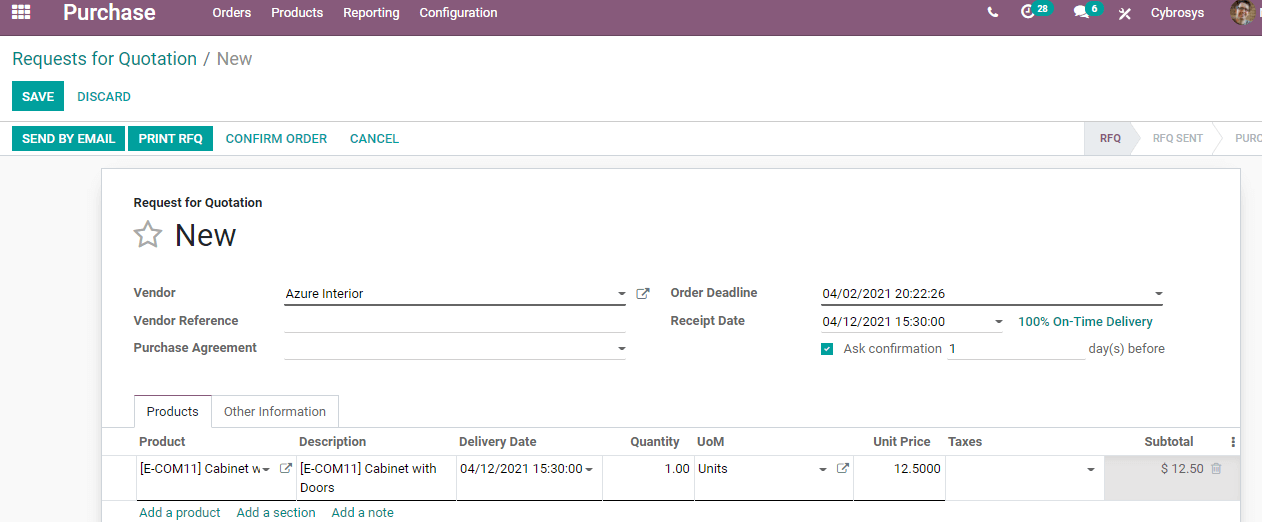
In the above shot, we can find the Delivery date and receipt date updated.
In Odoo 14 we have an easier option. Here we can click on the Receipt date directly and change the receipt date using the drop-down menu. We can change the receipt date to April 12 here. In the next line, we can see an option Ask Confirmation. This enables us to send a confirmation letter to the vendor within a few days. This is a new feature added to Odoo 14 and in other versions, we have to follow the previously described method to set delivery lead time. Moreover, previous versions use the term schedule time instead of delivery time.
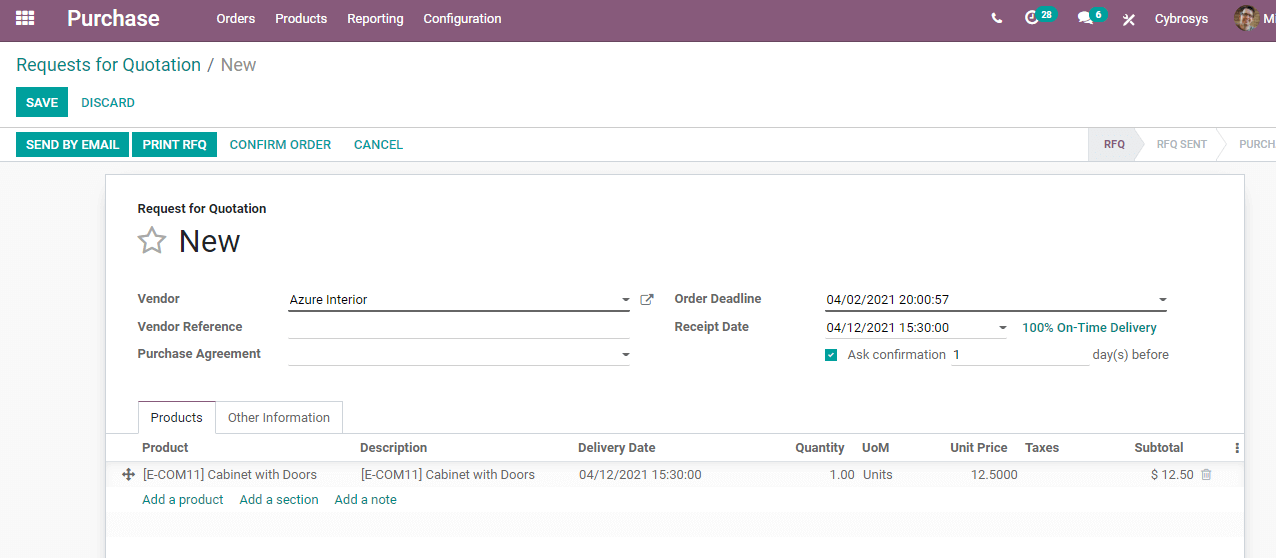
After all these steps we can save the changes and Confirm the order. Once the order is confirmed the RFQ will be changed to Purchase order

In the below image we can find that the RFQ has changed to a purchase order. Then the wait begins for the arrival of the purchased item.

Setting up purchase lead time is a simple process. Once we set the Purchase Lead time, we can also set up customer lead time. We can check the methods to configure customer lead time in the next blog. You can clear your doubts regarding Purchase Lead Time by visiting our website www.cybrosys.com