Scrap is something that is unusable or damaged. A product can be considered a scrap because of its expiration date also. We notice the damage of the products or expiration date usually while managing the inventory or checking the inventory. When such damage or expiration of the product is noticed, it becomes our responsibility to remove the product from the stock as we cannot sell damaged products. Usually, we move such products to a scrap location to avoid the sale of defunct products.
Unlike other locations, scrap locations are virtual locations so as to record the route of the product.
This blog will help us to learn how to scrap products that are managed in Odoo Inventory.
In order to manage scrap, we have to first create a scrap location to virtually storing the scrap items. To manage scraps we need to check Configuration > Settings
Search for Storage Locations and create the location.
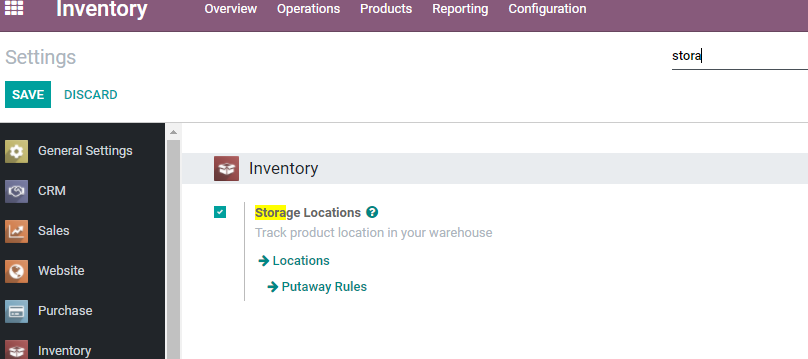
These storage locations help us to track the location of our products in the warehouse. Once we enable the Storage Locations, we can find locations below Configuration.
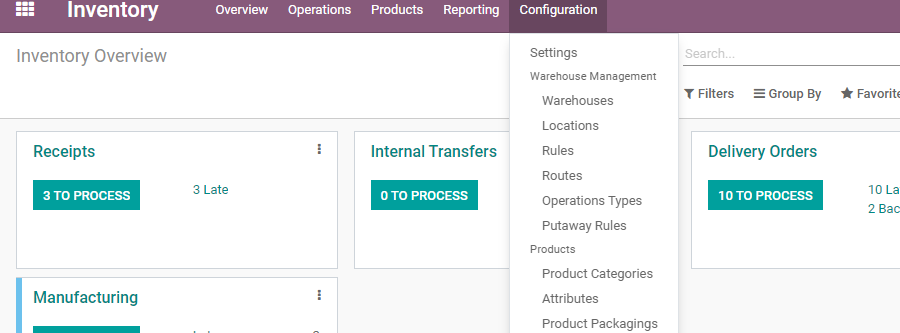
Click on the Locations and we will be taken to a page where we can find pre-configured locations. It is possible to create new locations here.
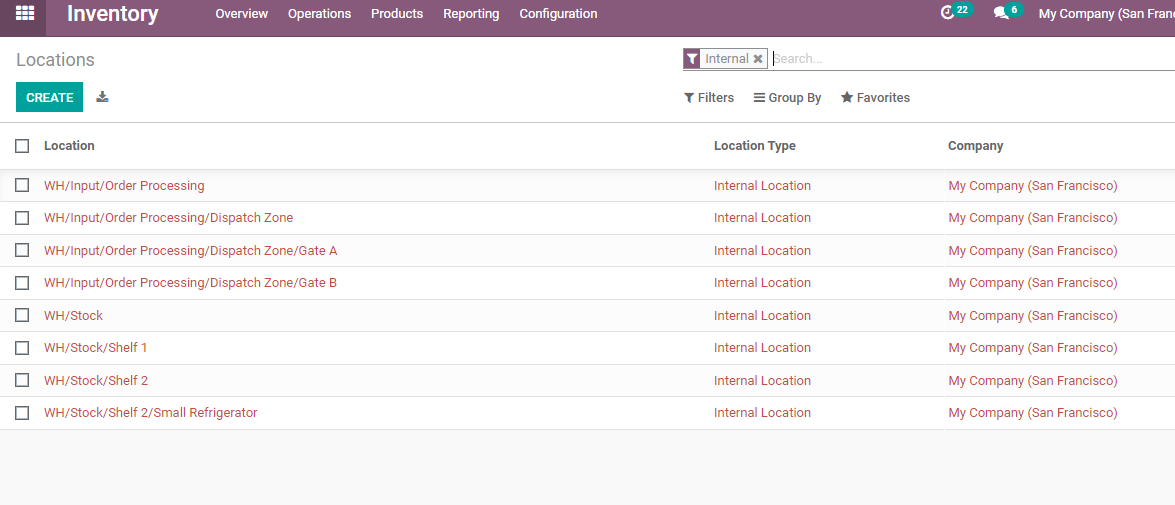
We can find that we have filtered only internal locations here. Now on removing the filter we will be able to view all existing locations.
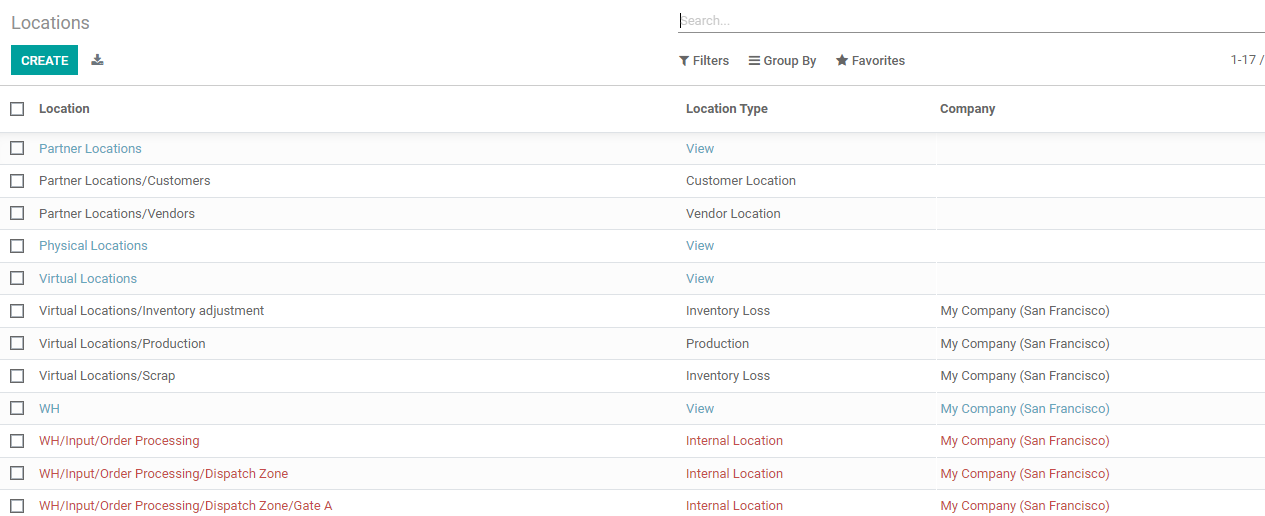
In the page, we can find different types of locations including Partner location, virtual location, etc. WE can also find a VirtualLocation/Scrap that is used to represent inventory loss. We can now configure a new scrap location using the CREATE tab.
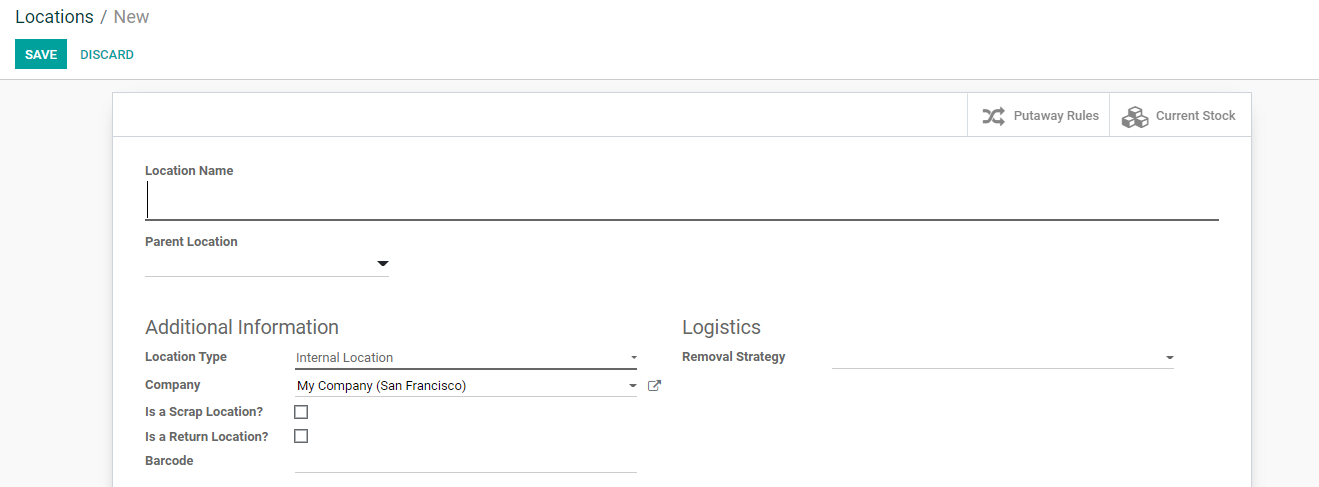
We can add the Location Name as Scrap 2 as Scrap locations already exist.
Then we can select the parent location. Usually, scrap locations are managed as the child location of the virtual location.
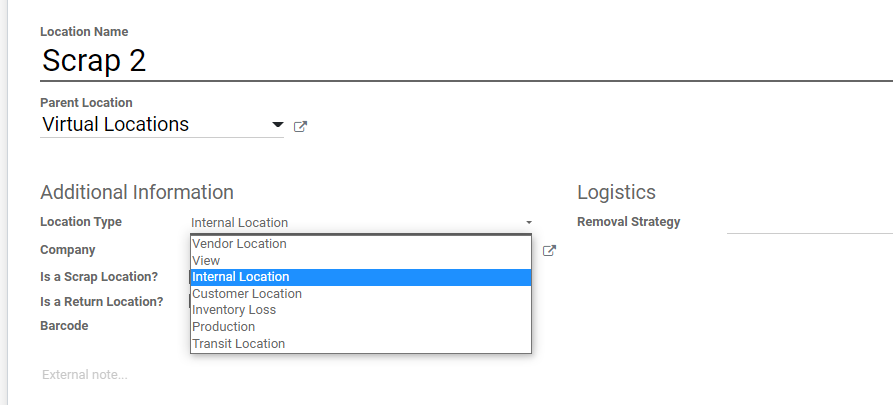
Below Additional Information, we have Location Type. We can select from the list of location types and we can choose Inventory Loss as this indicates the real purpose of creating a scrap location.
When we choose inventory loss as location type we get new fields below accounting information. We have to add Stock Valuation Account (Incoming) details and stock Valuation Account (Outgoing) details. The company name also has to be included and then we can enable the box next to Is a Scrap Location? We enable it as we are creating a scrap location here.
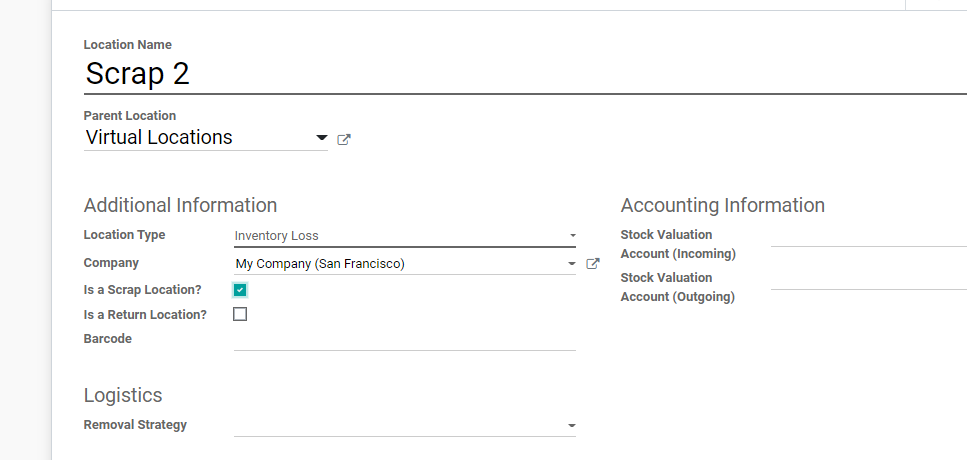
The next field Is a Return Location that doesn't have to be enabled.
Below Logistics, we have a removal Strategy.
We can now save this location and go to the purchase module to create a purchase order.
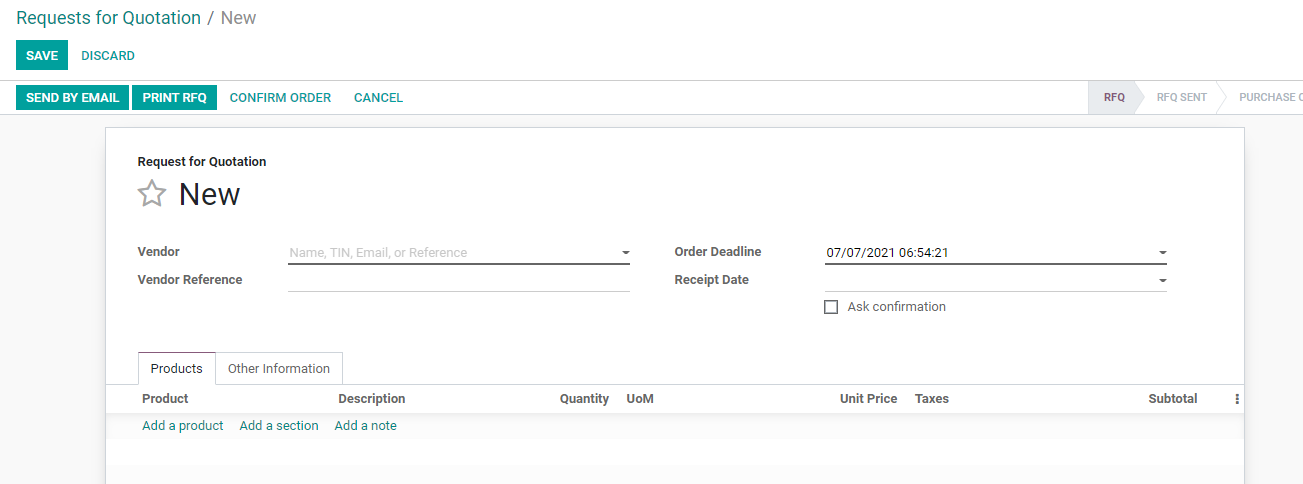
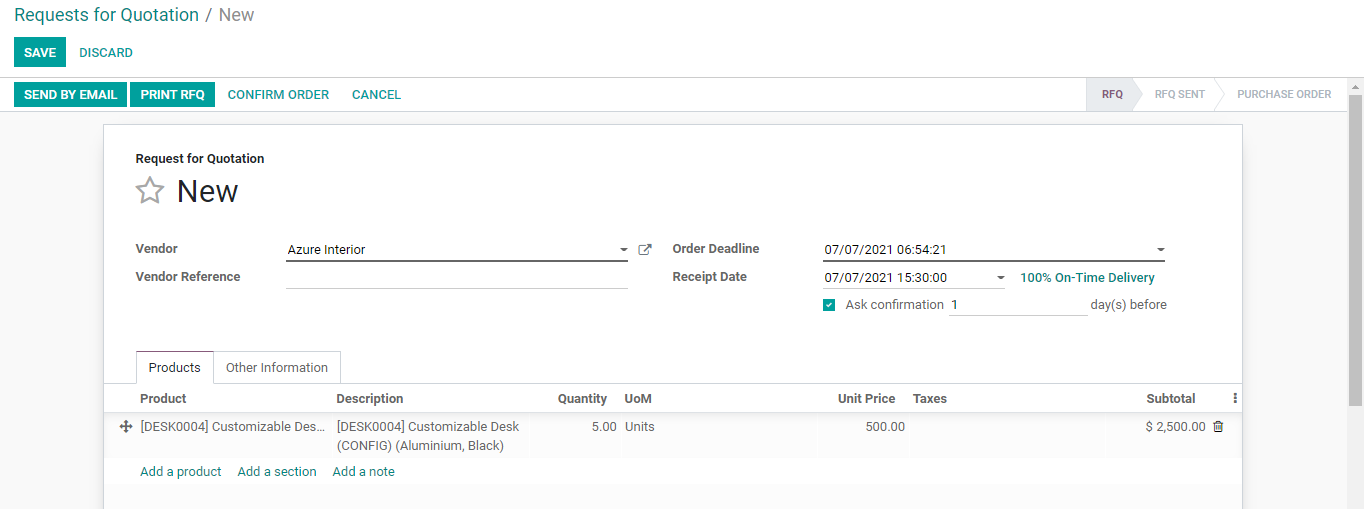
We can add the vendor details and add the product details here to proceed.
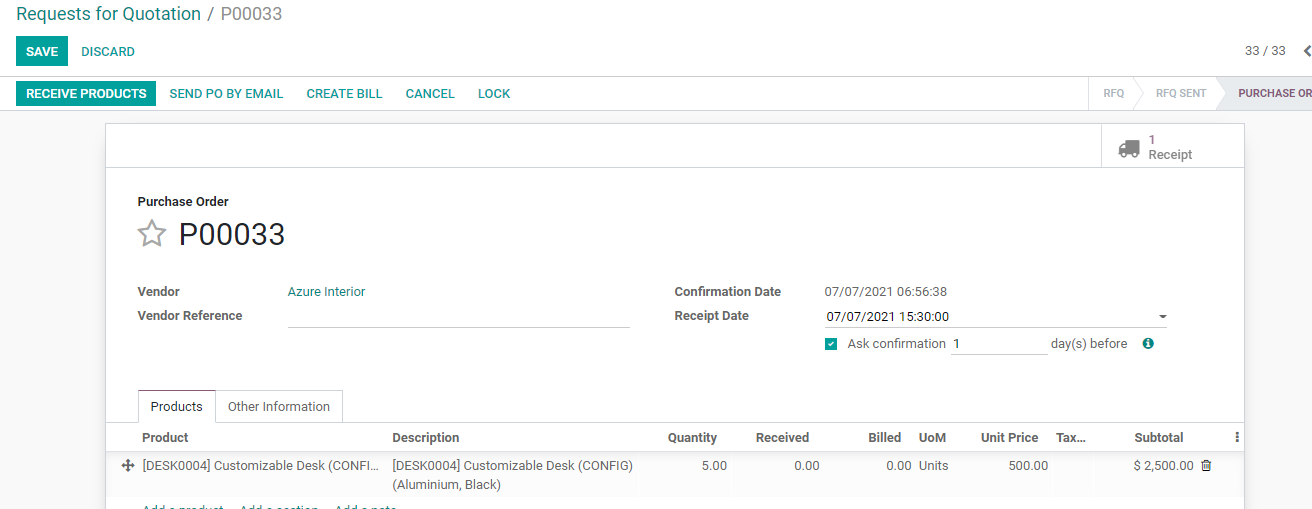
WeCan Confirm the order and we get a page like this where we just have to receive the products.
Instead of receiving the products from here, we can return to the Inventory module and check the receipts.
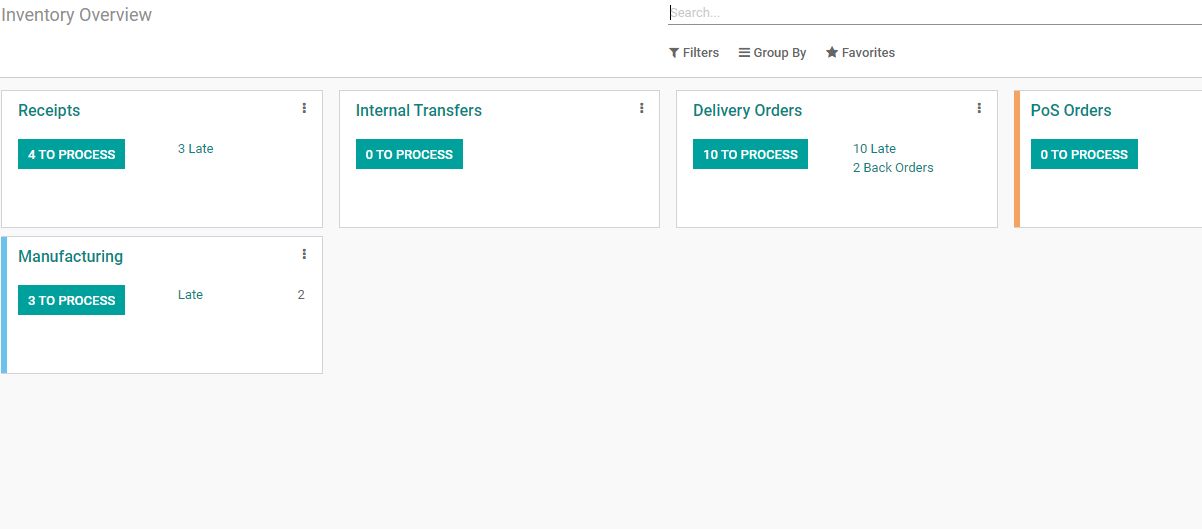
Clicking on Receipts, we can find all the Receipts.

Here we can find our newly created receipt with the scheduled date as Today. Click on the receipt and we get all the details.
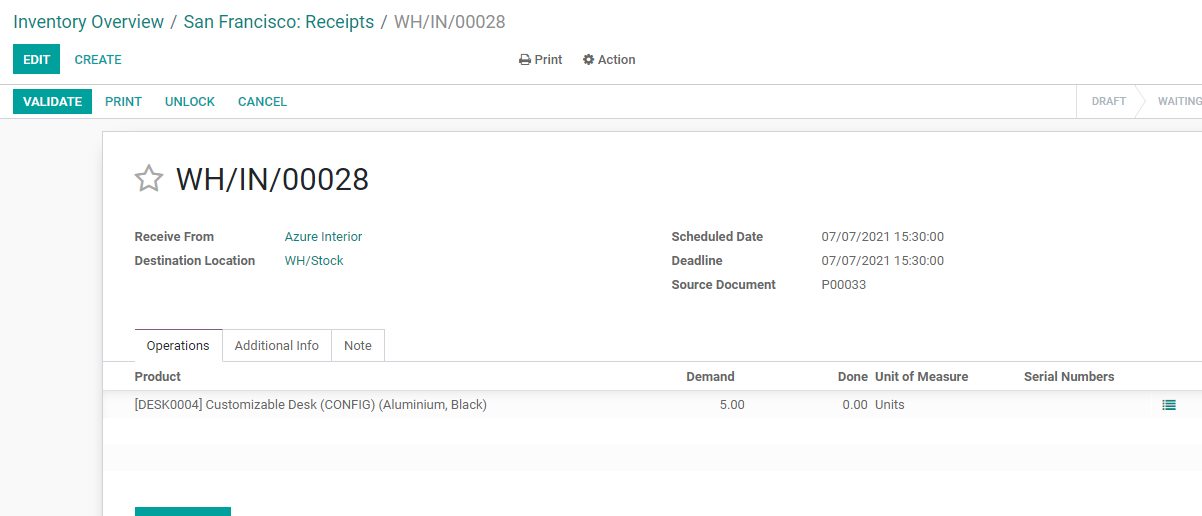
Here, we have options like Validate, Print, Unlock, and Cancel. To proceed with the receipt we have to click the VALIDATE button.

I got this pop-up window as I have not marked the done quantities. We can do this easily. For this first cancel the transfer.

In this page we can find an icon near the serial number clicking on it we can get a new page to mark the done quantities.
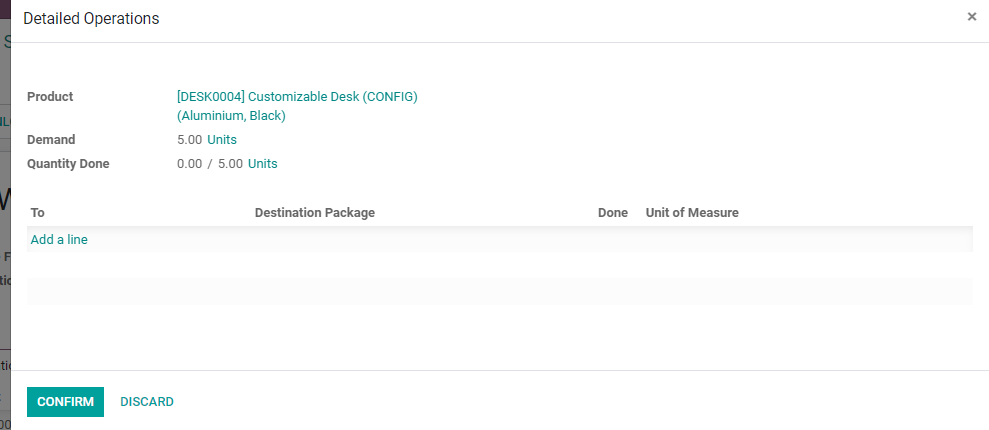
We can add a line here and mark done quantities.

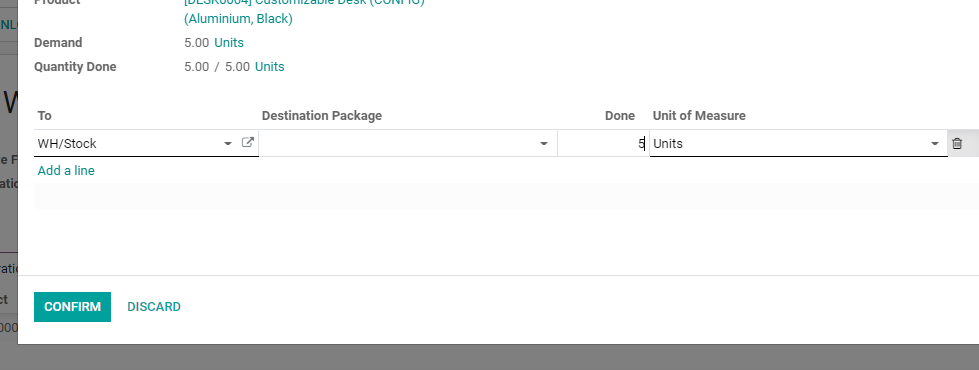
I have marked the done quantities as five and we can now confirm the process.
Now we can validate the receipt.
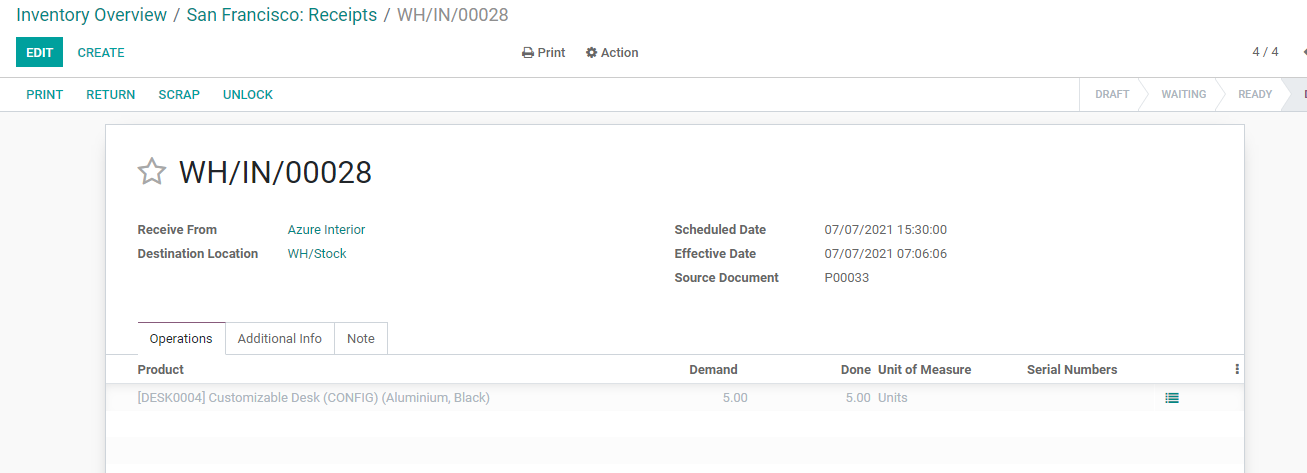
On Validating we get the page as
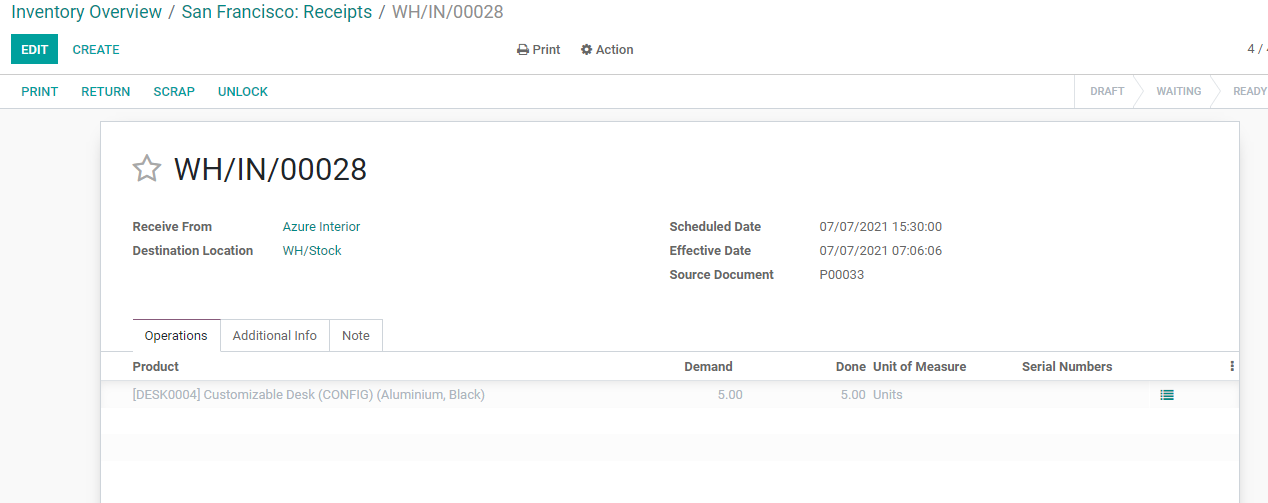
Imagine that we notice some products as damaged on receiving the product. First, we have to remove the product to scrap. For this, we have a SCRAP button on the top.

We get a window to scrap the products. Here, we have to add product details and the quantity to be scrapped. Imagine that out of the five quantities received now only one is damaged. Then we can add the quantity as one. We also have to add the source location from where we received the product, the package if any, and set the destination location. Earlier we had created a scrap location Virtual Locations/Scrap 2 and we can select the same.

After filling in the details we can click the Done button.

We get this page on doing this.
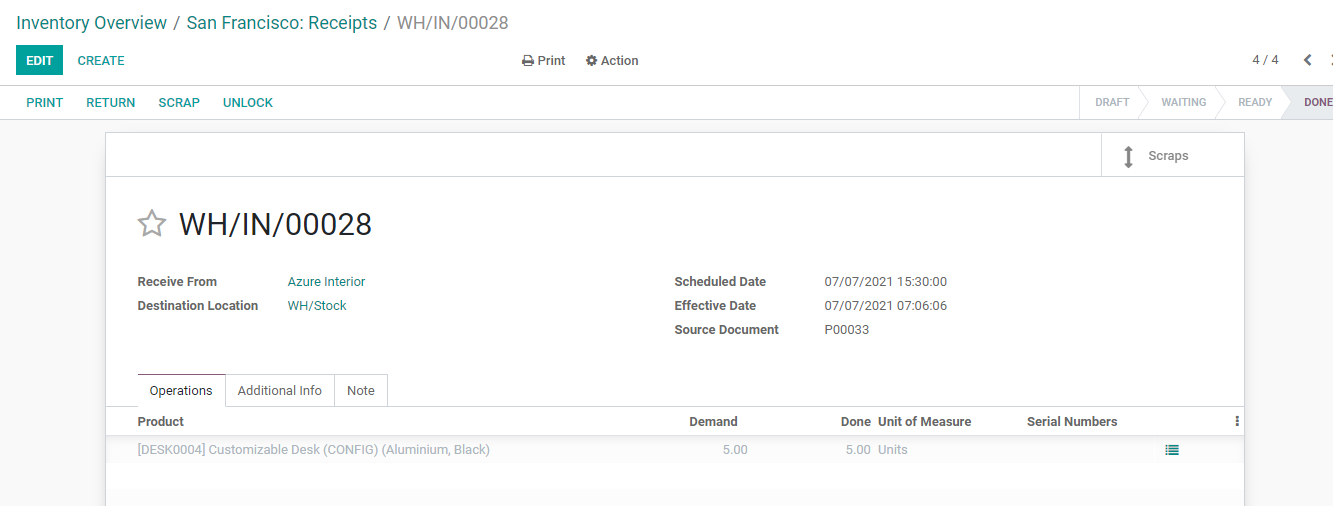
On the right top, we have Scraps and clicking on it we get the scrap details.


On this page, we can find all the details about the
From the above screenshot, we can understand that the product customizable desk one unit was damaged and it was shifted from WH/Stock to Virtual Location Scrap 2. The scrap is in a Done state.
Let us now return to our locations to view our newly created Scrap 2 location.
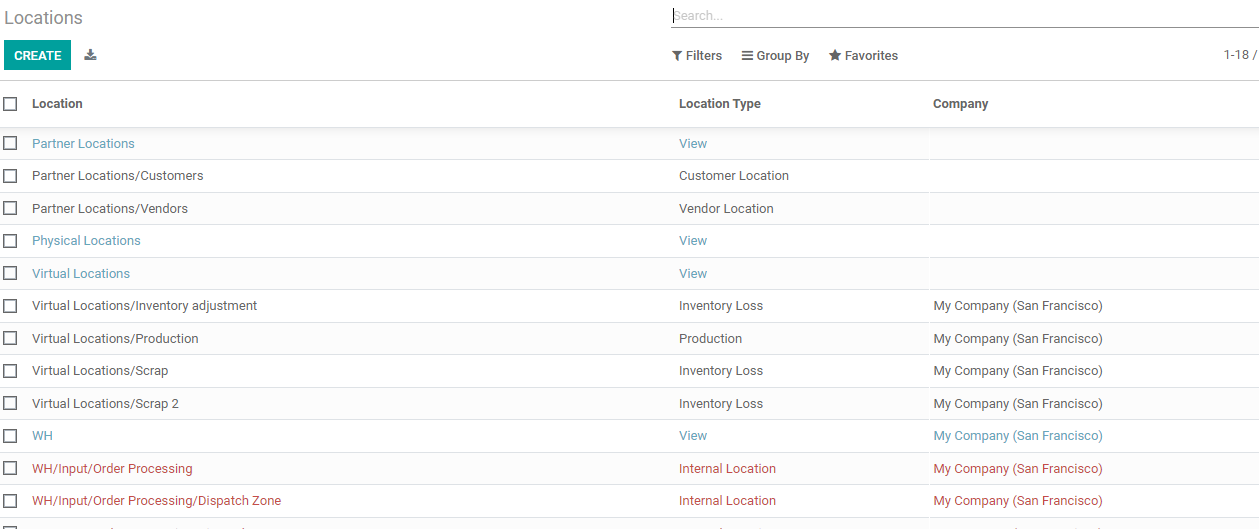
Click on Virtual Locations/Scrap 2

We can find the details, as well as two folders, showing cutaway rules and the Current Stock.

When I clicked the Current stock I got the above page where we can view all our stock in the Scrap 2 location.
Now we have created scrap while receipt. WE can create scrap orders when managing internal transfer and delivery of the products we are likely to notice damage to the product at this stage. To manage this we can go to the overview page again and click on the operation type.
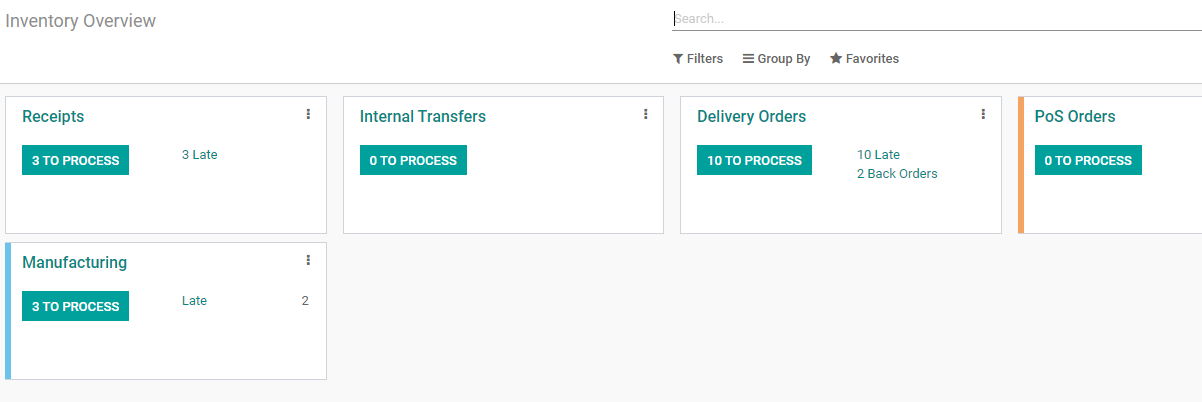
Here, internal transfer we cannot do anything. As there is no transfer to process. Let us check the Delivery Order then.
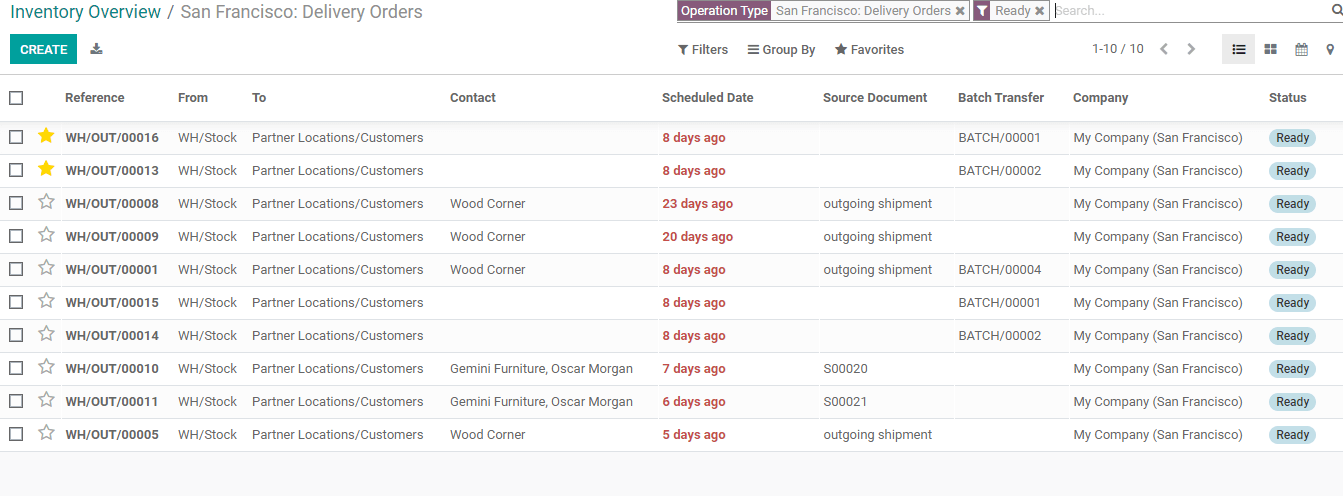
We can click on any of the orders and proceed with the scraping.
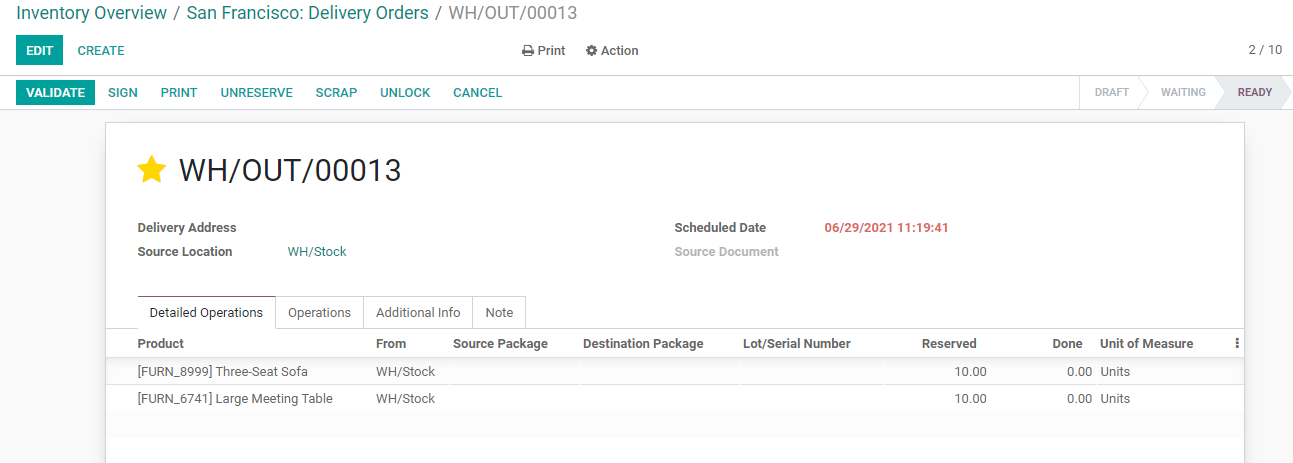
We can use the scrap button to scrap the product. We can find two products and we have to select the product to be scrapped

I have chosen a Large Meeting table to be scrapped. The quantity selected to scrap is 1.
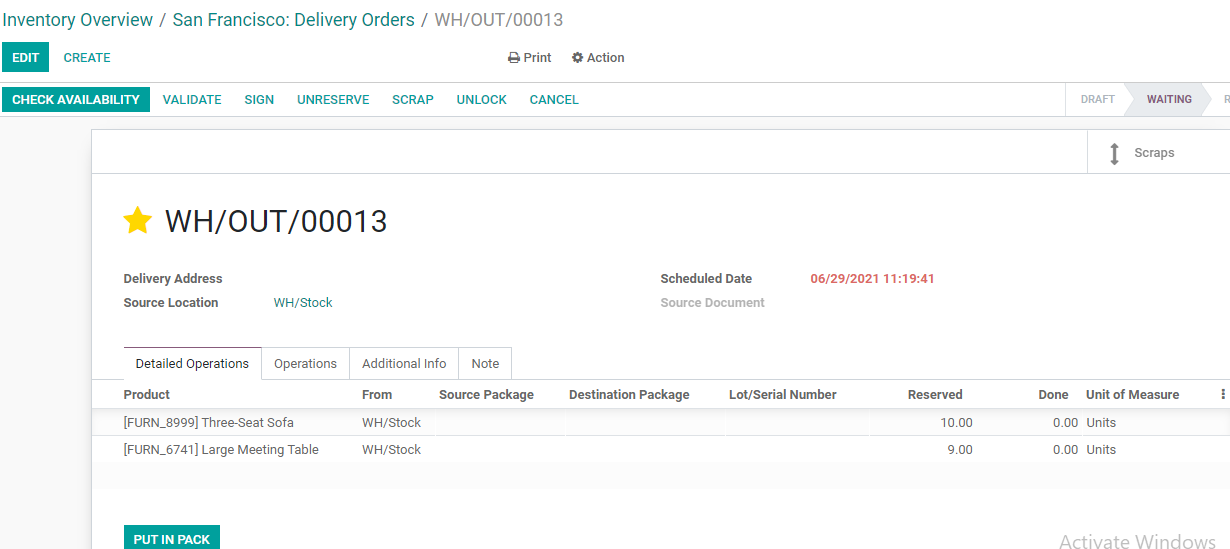
We can check scrap from here and from locations.

Here we can find two products in the scrap 2 location.

We can manage scrap orders at manufacturing, point of sale, etc also.
This is how we manage scraps in Odoo Inventory.