Most people forget about important meetings and conferences in the busy world. Notes are beneficial in these situations as a reminder for users about vital matters. In the olden days, note-taking occurs in a conventional way using a pen and paper. However, digitalization brings new techniques to add notes for the user quickly. We can manage the notes for company operations and personal situations. Odoo 15 Notes module is helpful to develop new notes, tags and stages for your company. It is managed and stored effectively with the support of the Odoo 15 database.
This blog helps you to understand salient features of the Odoo 15 Notes module.
We can share the notes with employees of a firm in the Odoo 15 Notes module, and it is integrated with other applications in the Odoo 15 databases. Users can update and integrate it as per their demand/requirement. Let's analyze the detailed explanation of salient features in the Odoo 15 Notes module.
Easy to Create a New Note
Users can generate and manage various notes within the Odoo 15 Notes module. It is possible to add stages such as New, To Do, Meeting minutes and more to your created notes. The Create icon in the Odoo 15 Notes dashboard ensures to development of a new note for your business needs, as displayed in the screenshot below.
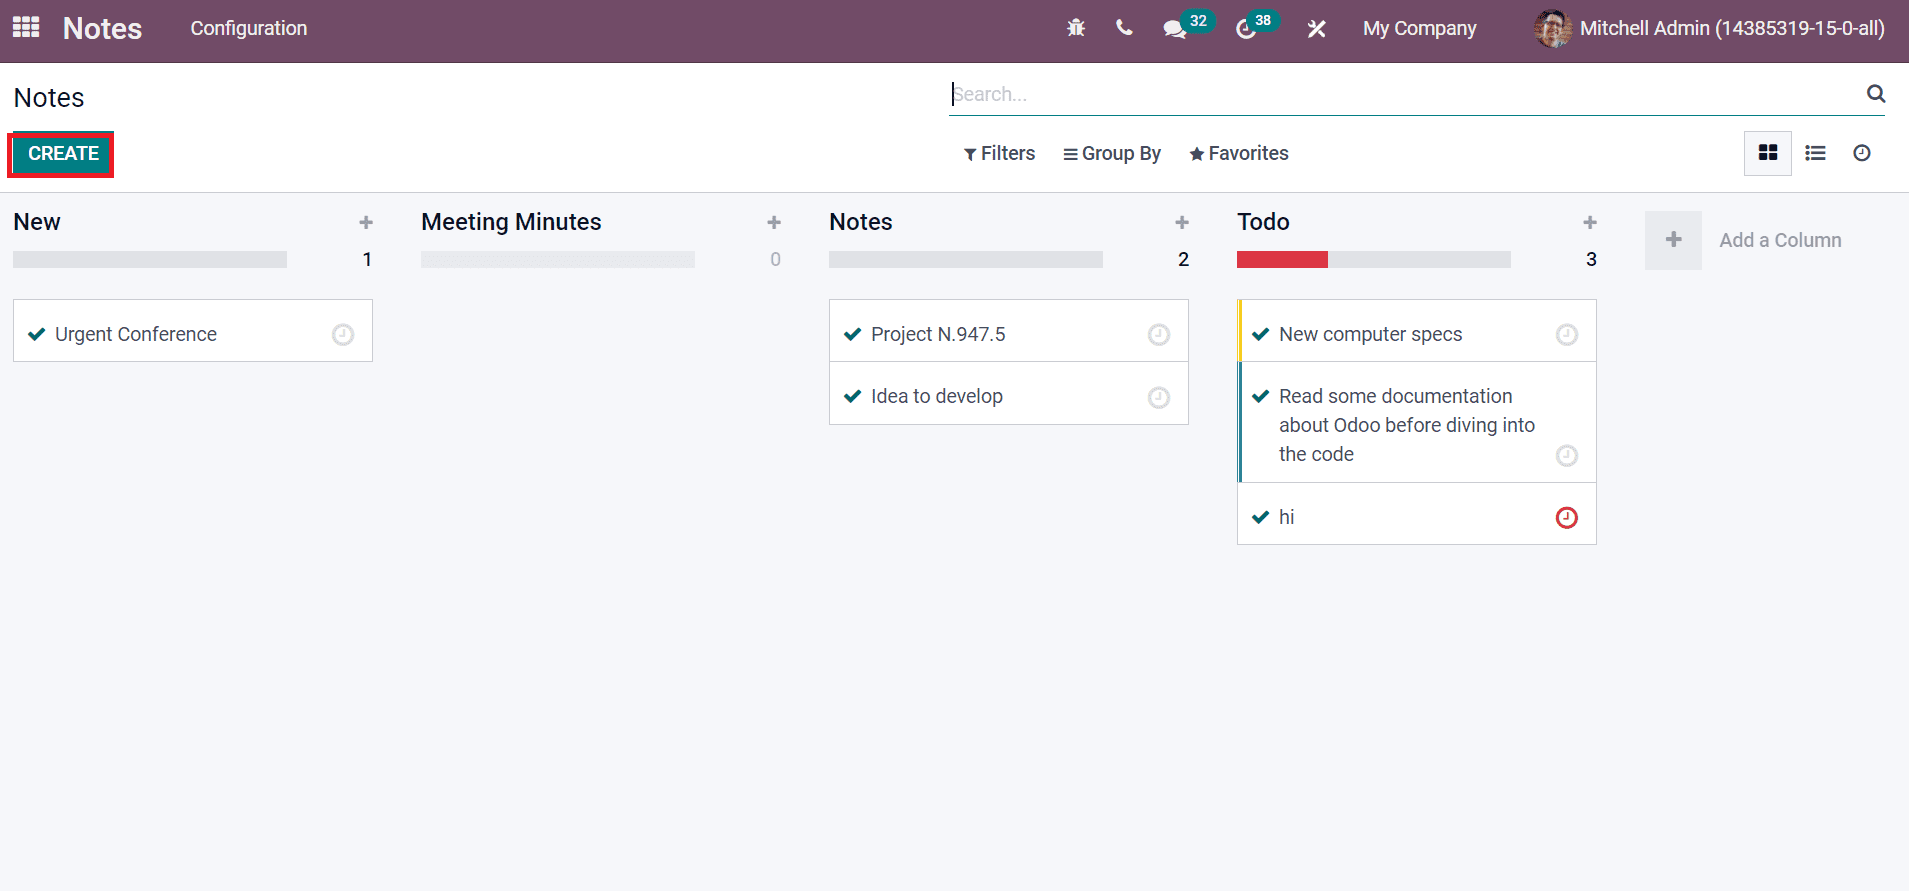
All the created notes are arranged in different stages. Users can send messages to employees regarding the note inside the Send Message tab. It is easy to add tags for your created notes inside the Tag field.
Insert Appointment Link inside the Note
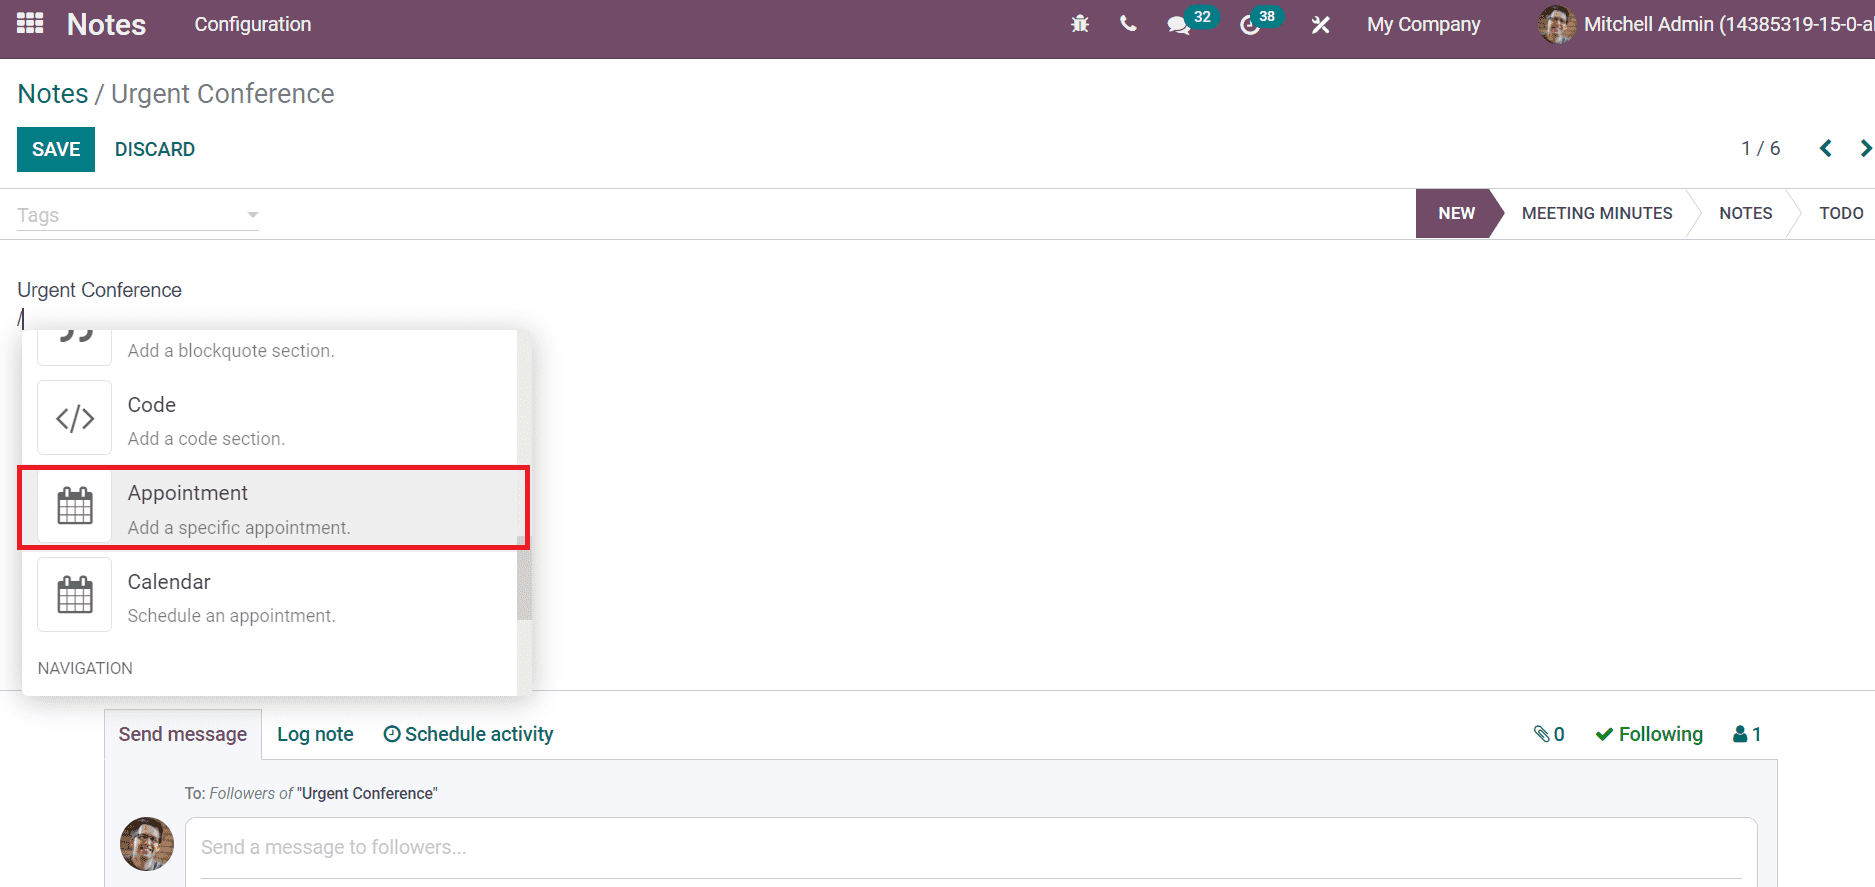
Users can insert an appointment link inside a note for specific employees. Choose your created note and enter the '/' icon in the Note Content space. After adding the '/' icon, click on the Appointment menu as denoted in the screenshot below.
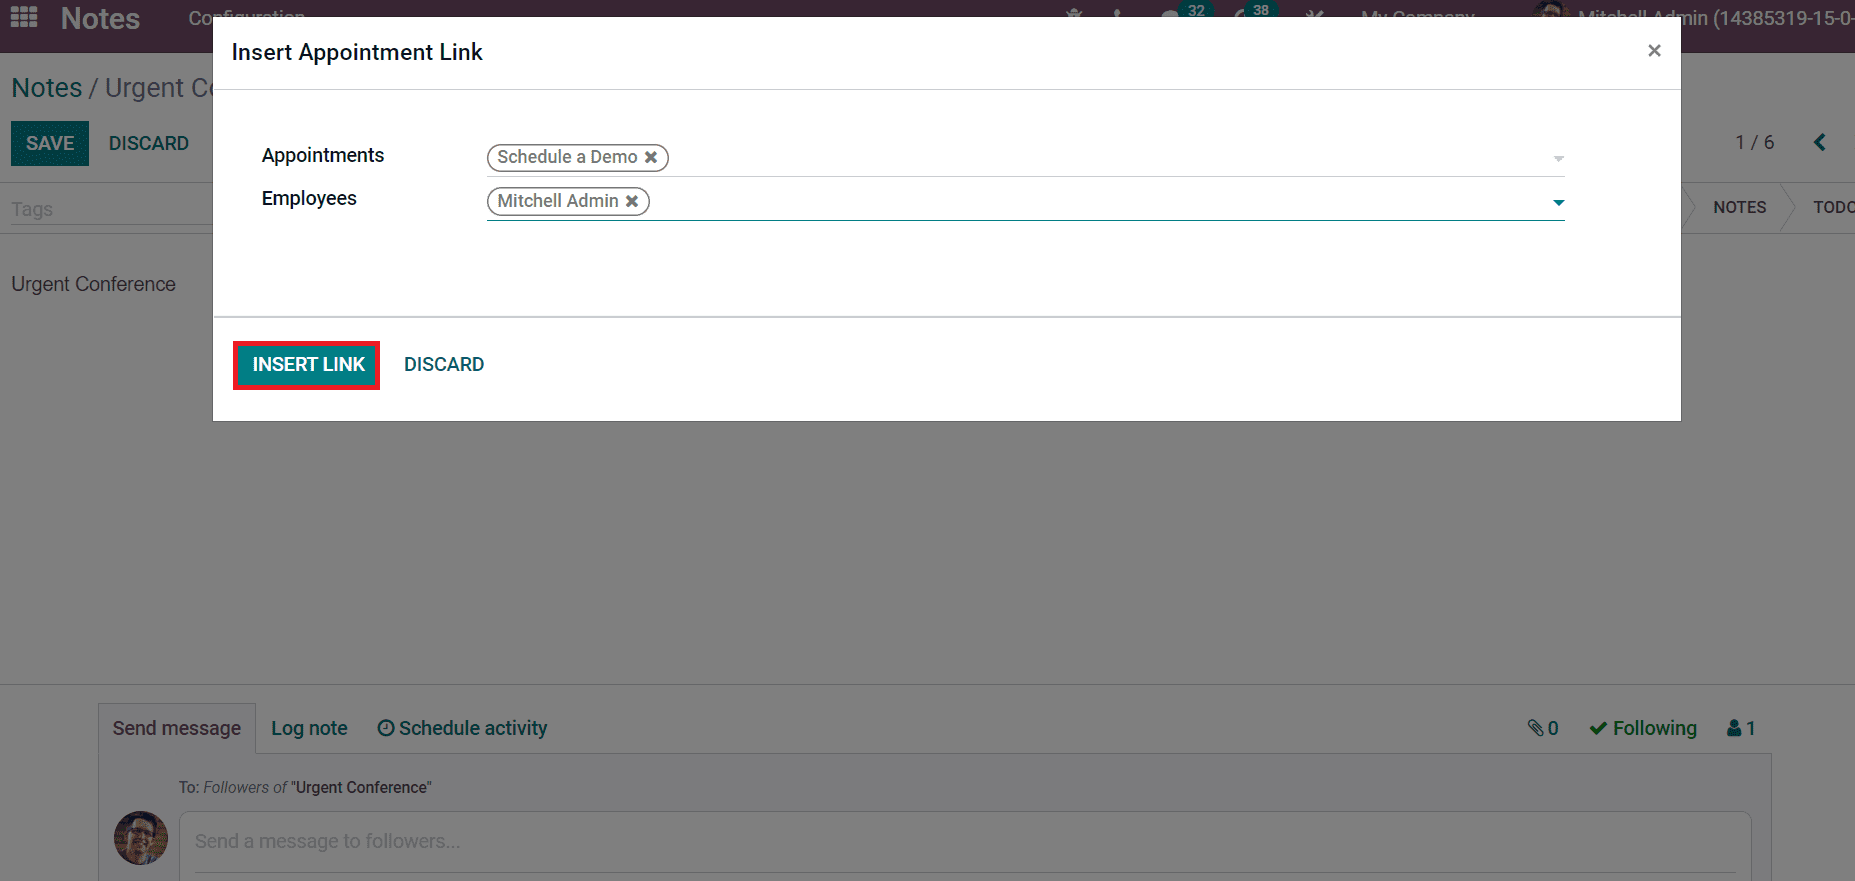
Insert Appointment Link window opens before you after choosing the Appointment field. Here, select the Appointments and Employees of your firm. Later, click on the Insert Link icon as shown in the screenshot below.
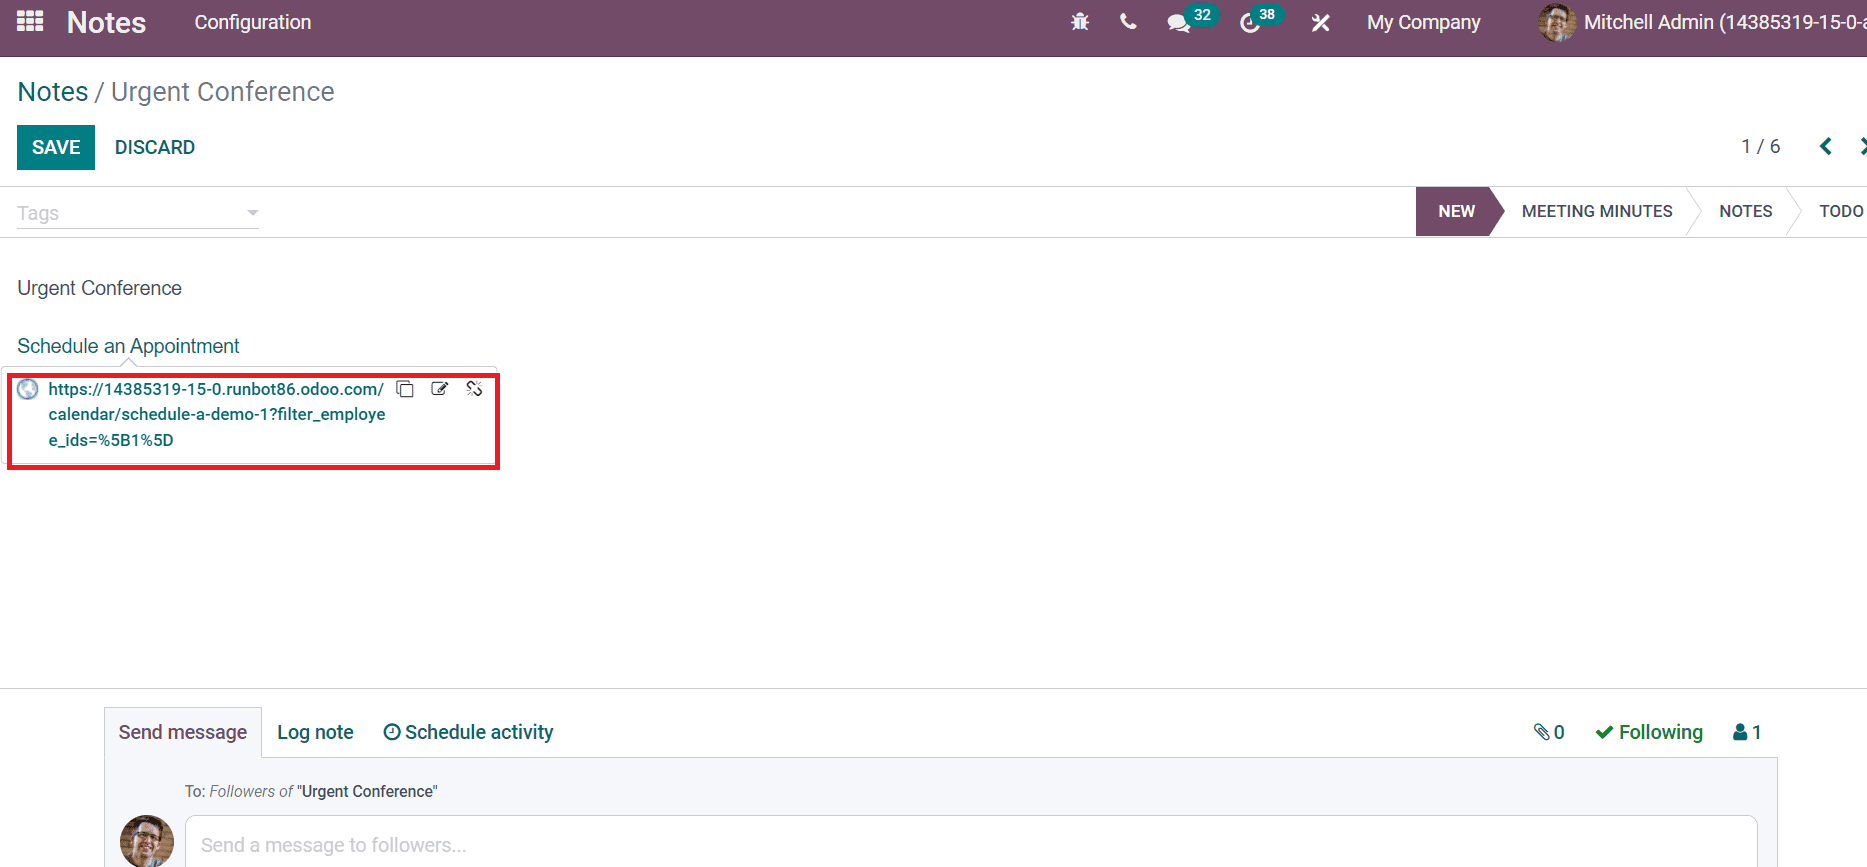
You can view the Appointment link inside the note after selecting the Insert Link button.
Add Images, Tables and Bulleted List to a Note
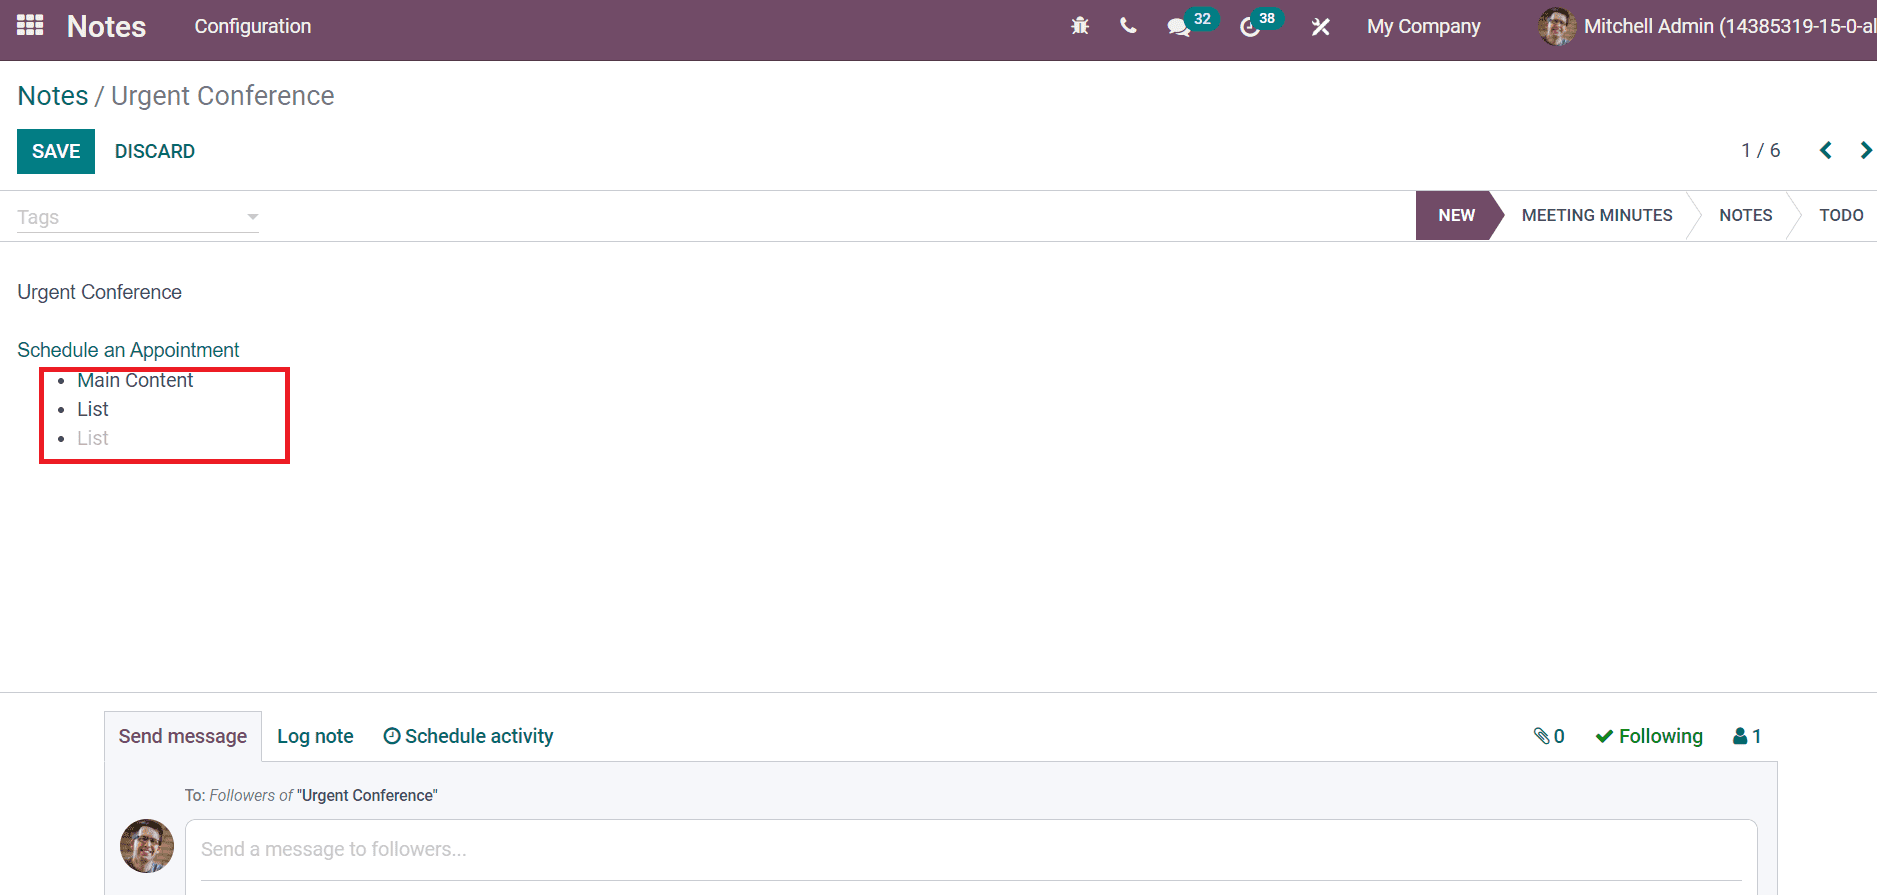
We can develop a simple bulleted list using the Bulleted List option inside the Notes window. Enter the '/' icon and choose the Bulleted List icon. Hence, the bullets are visible in the Notes Content space, as displayed in the screenshot below.
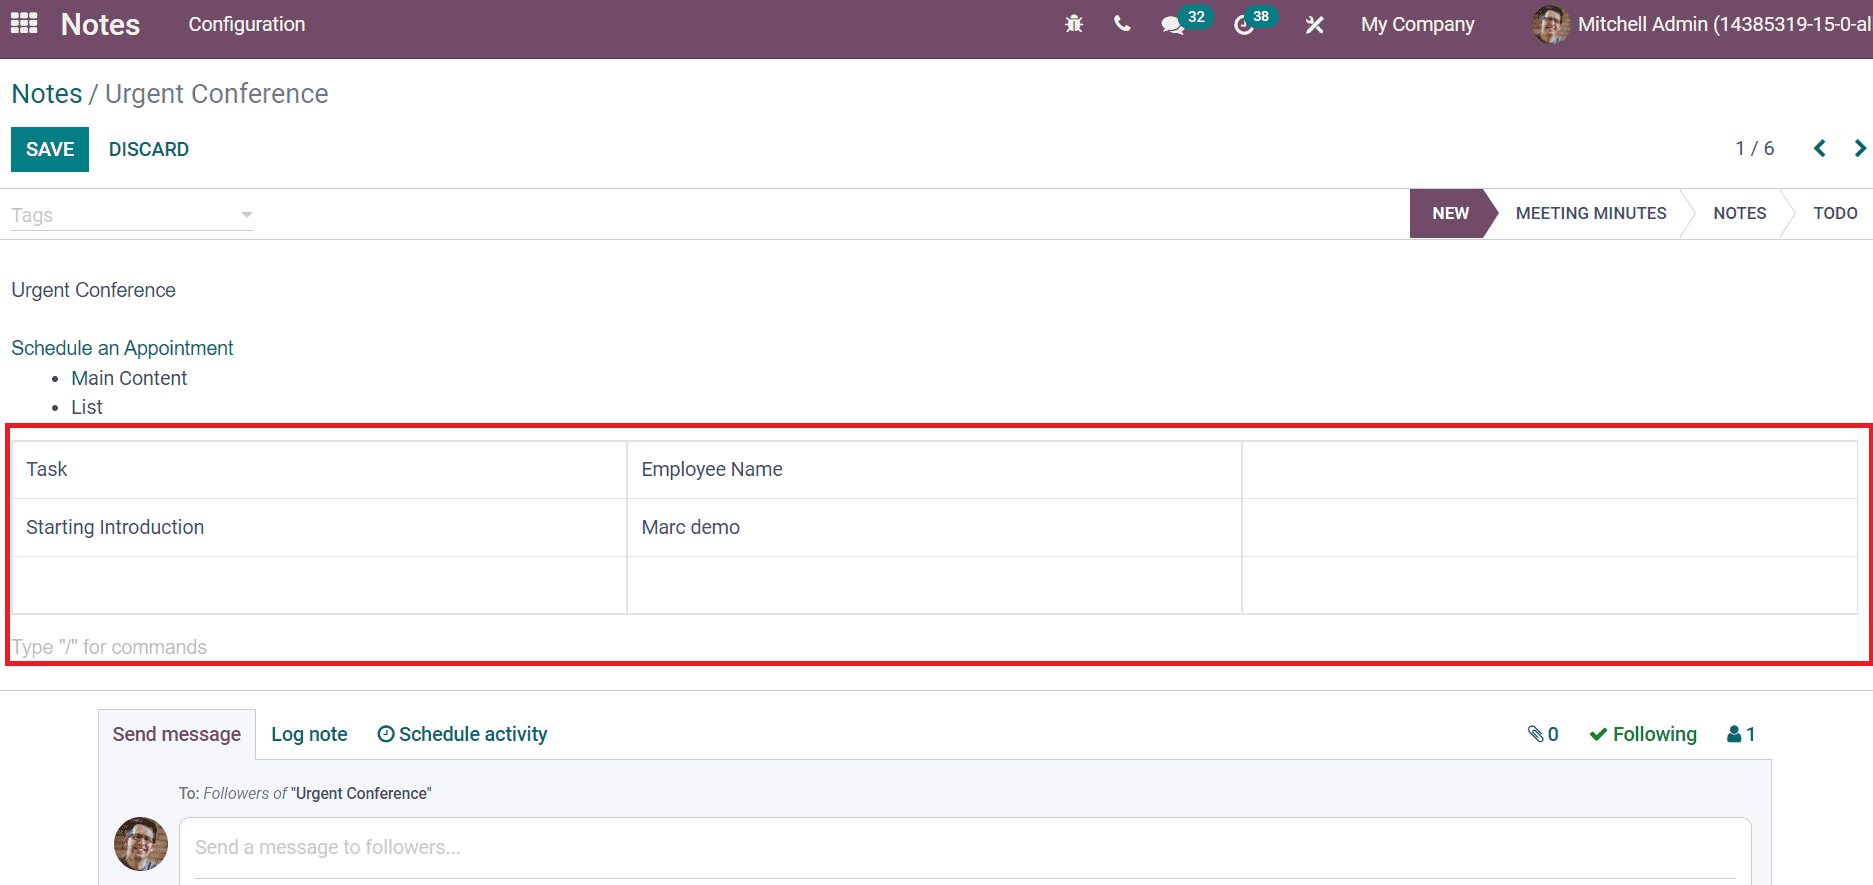
After entering the '/' in the Notes space, click on the Table option to create a new table related to your note. You can choose the rows and columns for your table, and it displays in the Notes window.
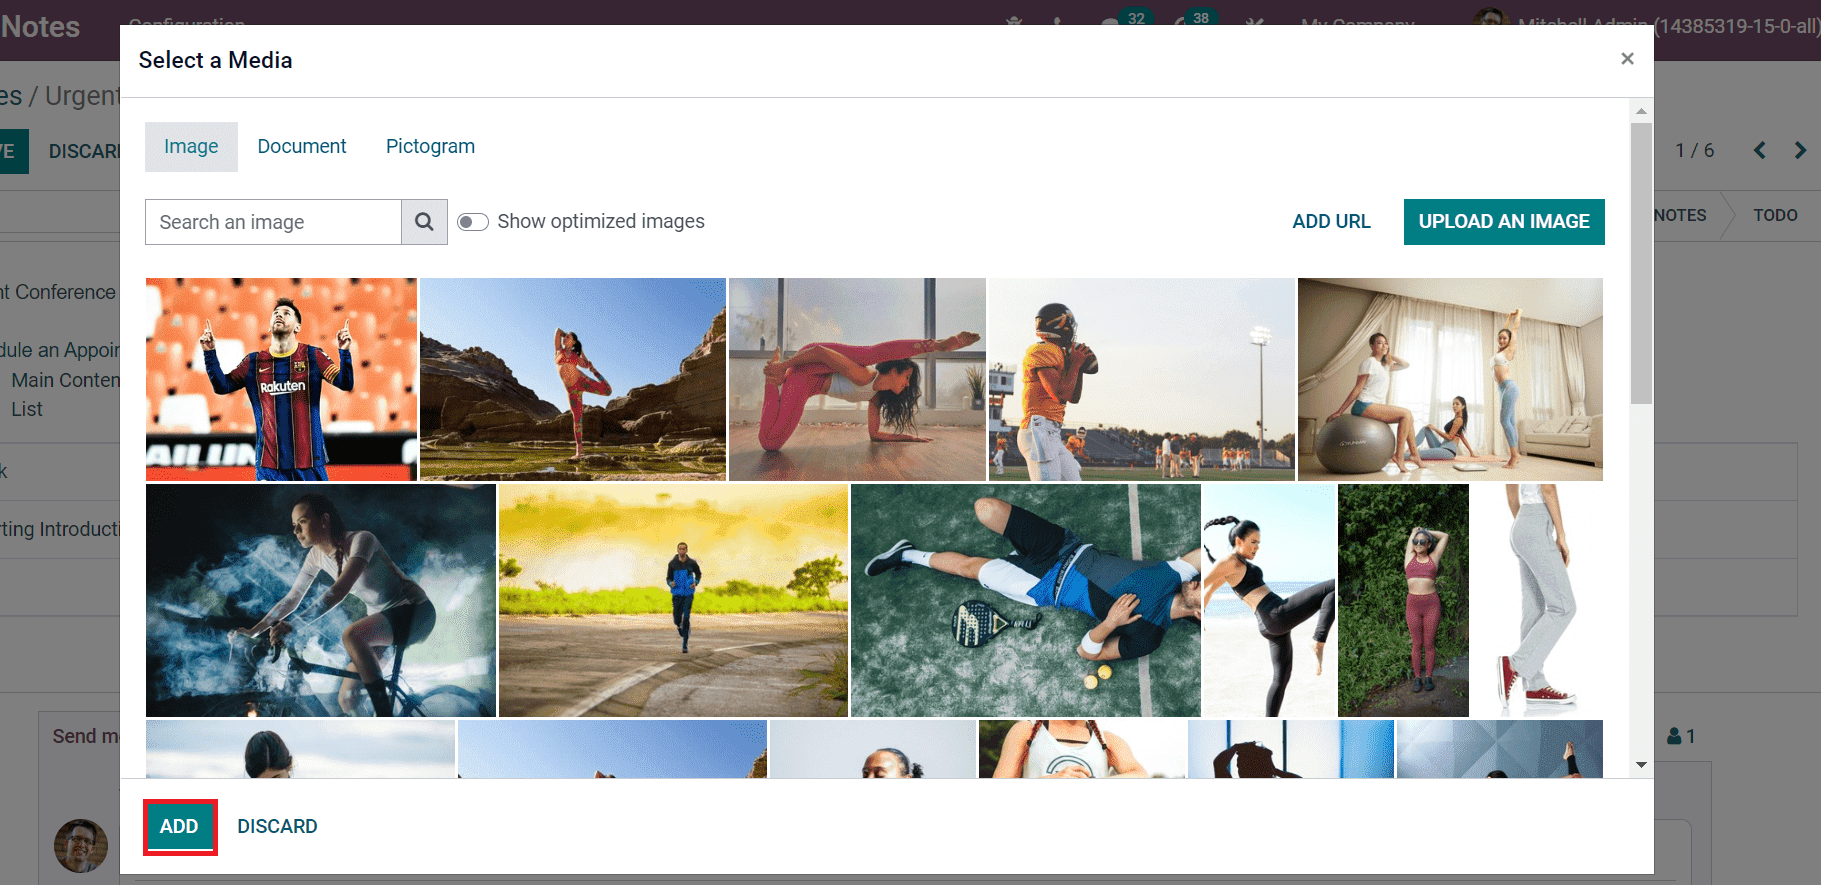
After adding '/', you can insert an image to notes by selecting the Notes option from the Media section. Select the image you need from the new window and click on the Add icon as depicted in the screenshot below.
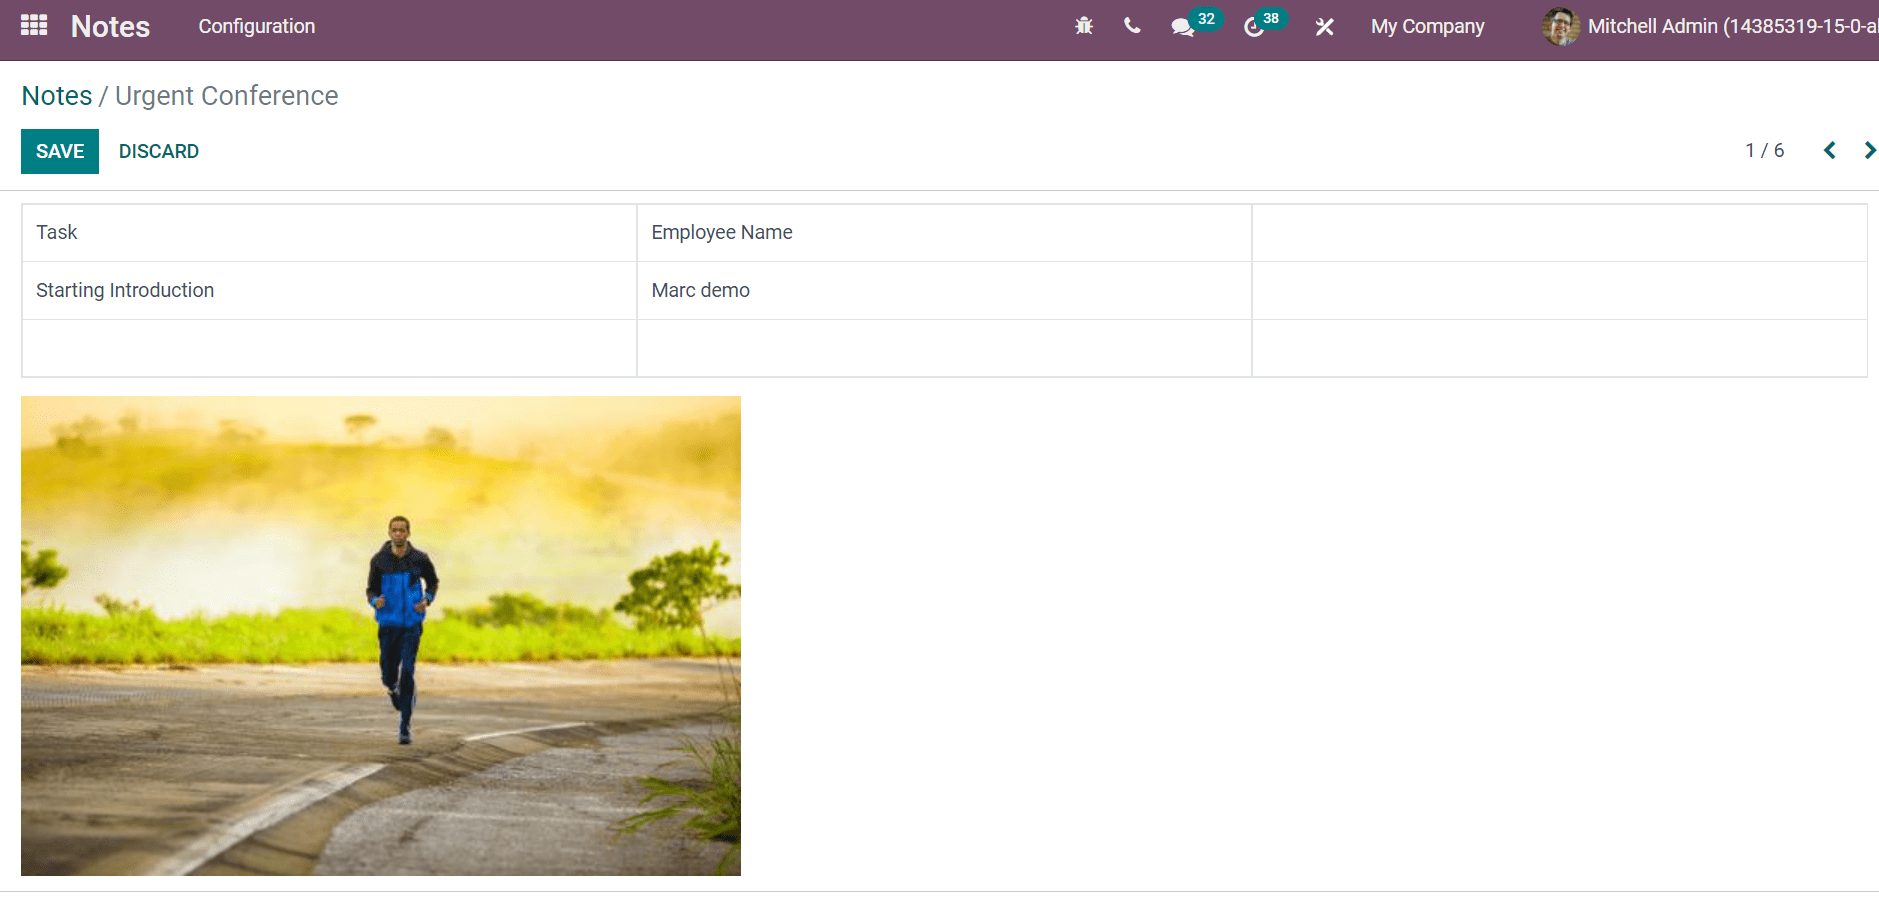
The selected image of the user is visible inside the Notes window, as shown in the screenshot below.
Schedule Activity for Employees
Users can schedule activities for followers with the Odoo 15 Notes module. We can organize activities in the form of Emails, meetings, To Do, calls and more aspects. Select the Activity view of the Notes window to schedule a new activity, as displayed in the screenshot below.
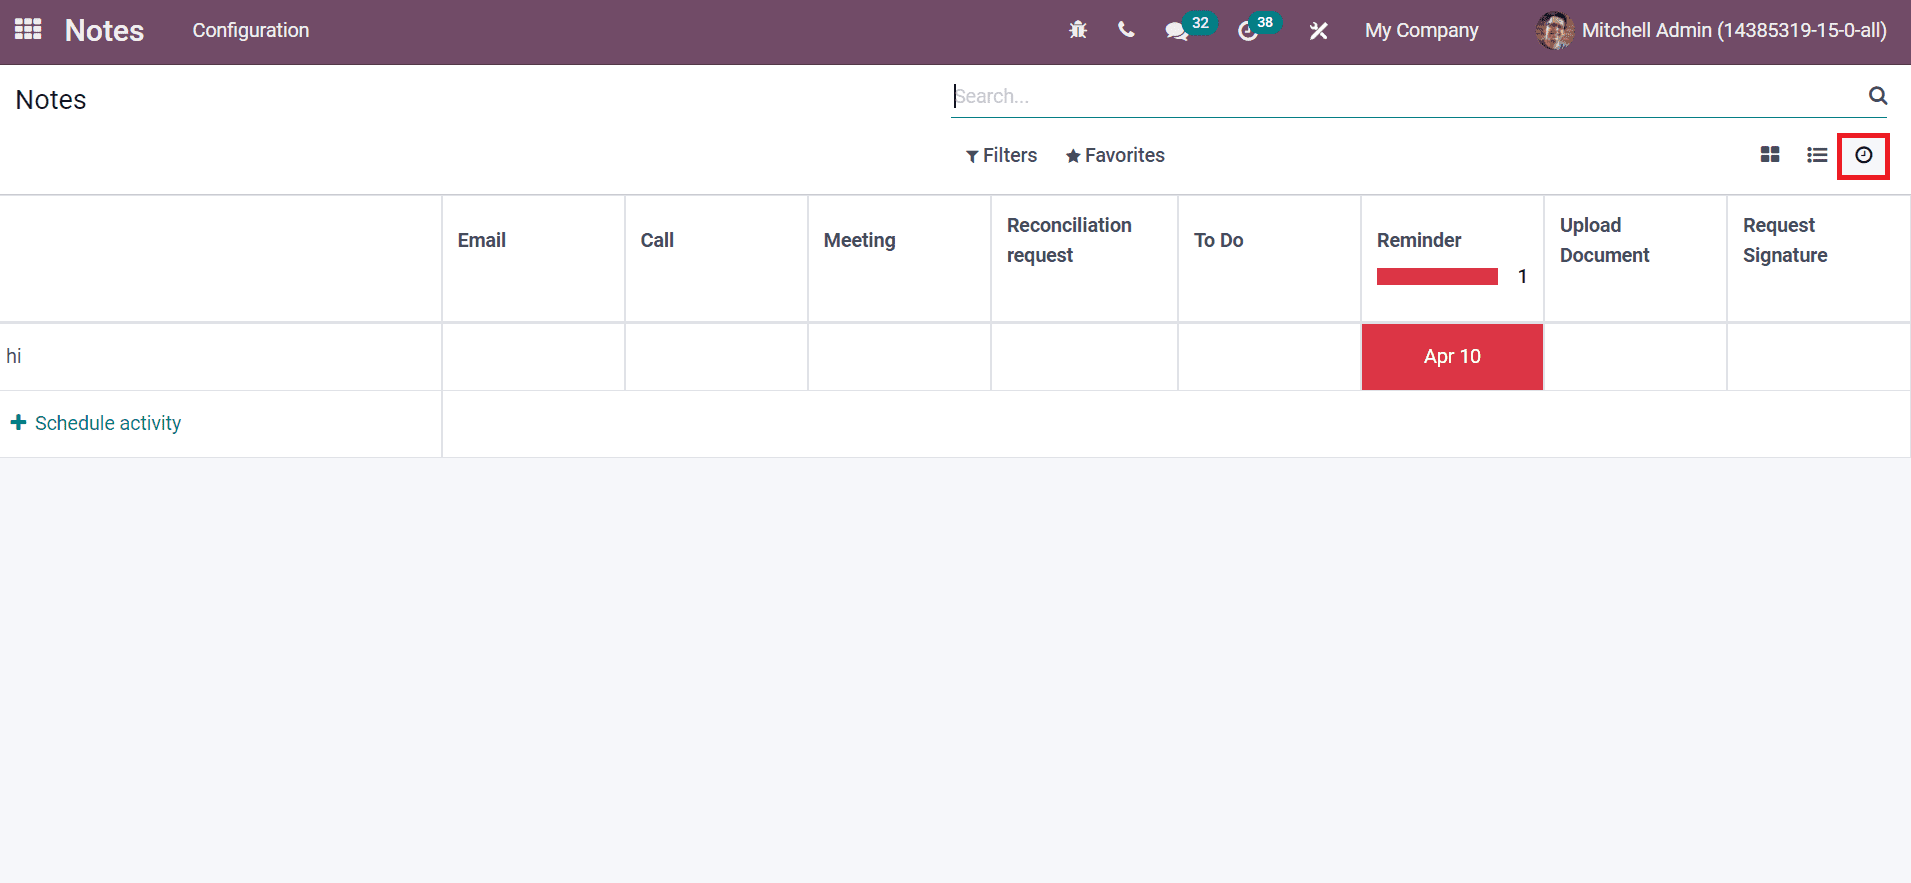
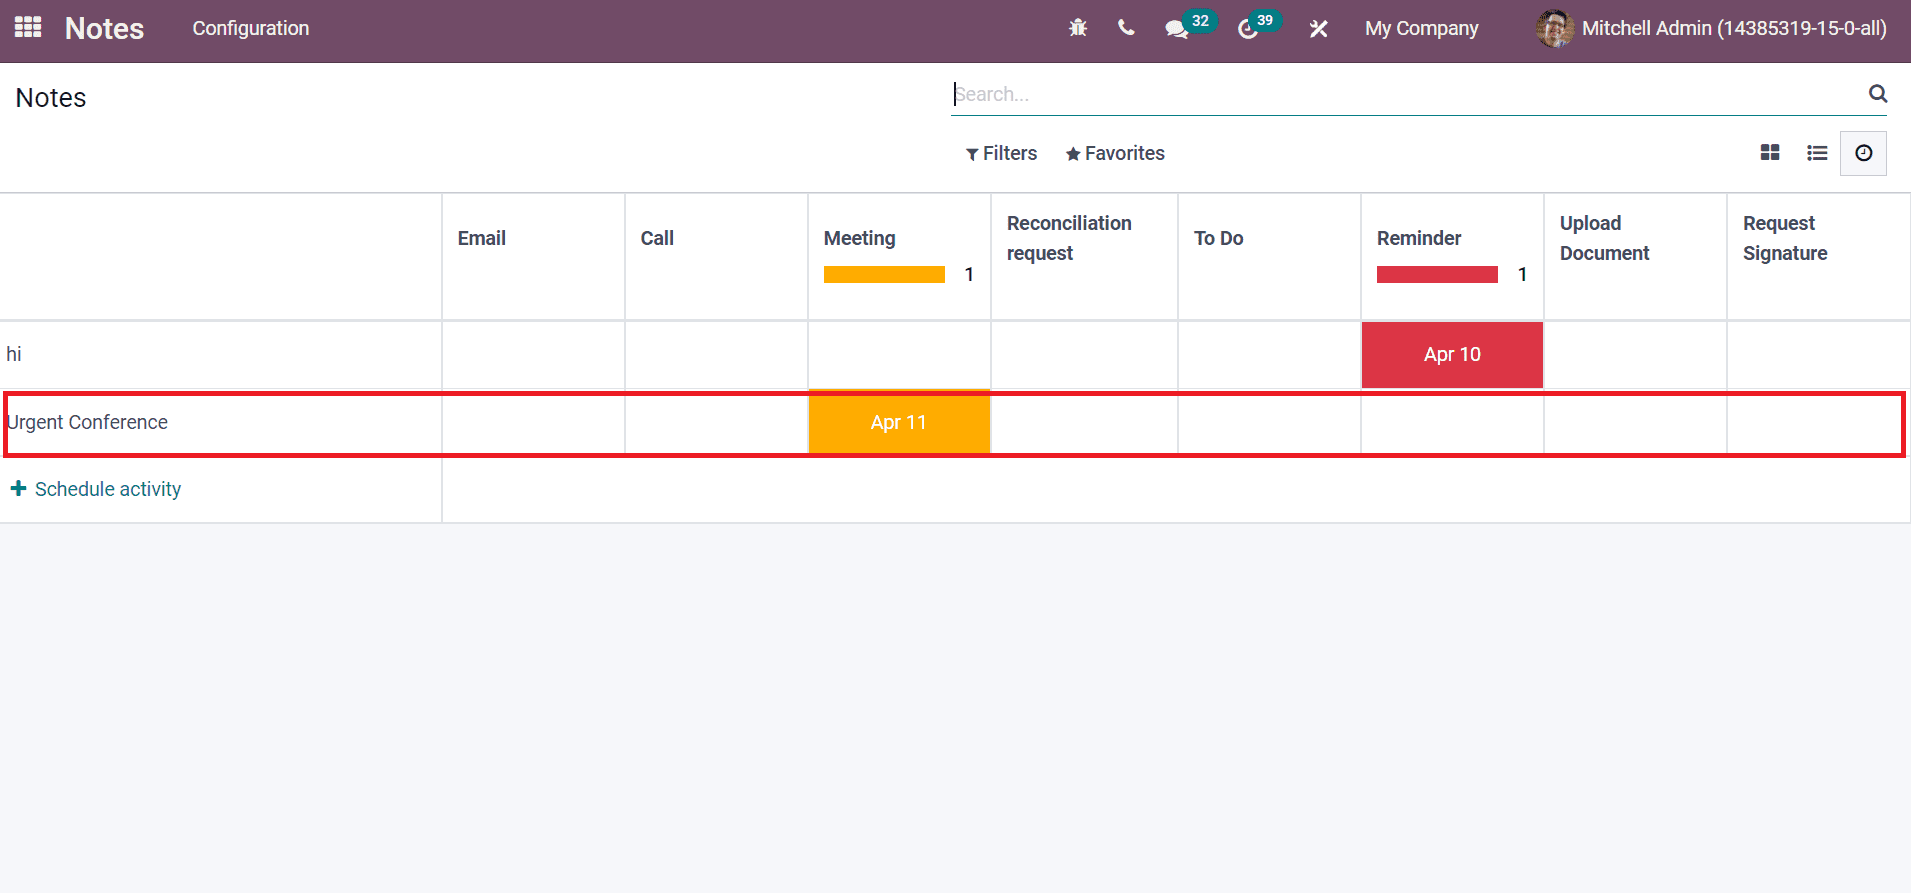
The details of all scheduled activities are visible for users here. Select the + Schedule activity icon and choose your note in the new window. After selecting the note, a Schedule Activity window opens before you. Add the Activity Type and Summary in the new window. Later, click on Open Calendar in the Schedule Activity window. You can see the created meeting inside your note from the Activity view.
Arrange Multiple Stages for Notes
Users can create several stages for notes inside the Odoo 15 Notes module. It is easy to configure a new stage using the Stages menu from the Configuration tab. The Create button in the Stages window ensures the production of a new stage for Notes. All created stages by the user are visible in the Stages window, and you can enable the stage as Folded by Default. Users can easily categorize the stages of notes and review the status from the Notes dashboard. You can sort out notes based on your interest using the Filter tool, and it is used to get archived, active and customized notes for you. We can drag one note from a stage to another one with the Odoo 15 Notes module.
Easy to Create new Tags
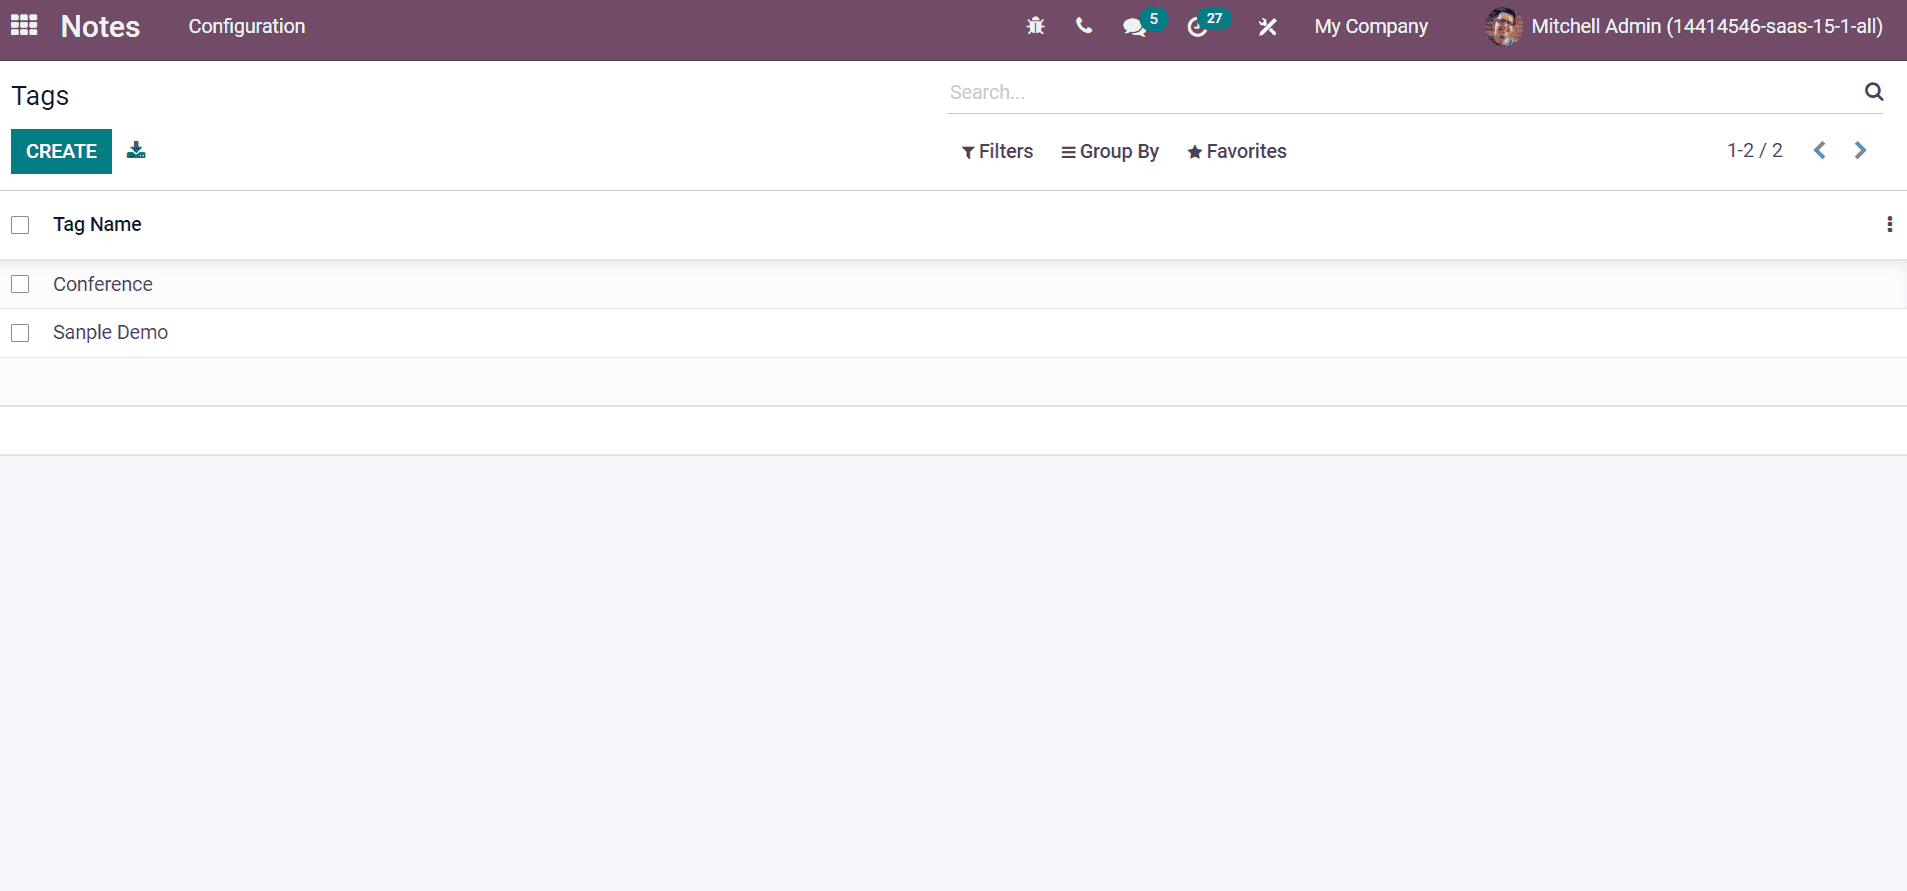
Tags allow you to separate or identify specific activities or tasks. According to the tag, it is easy to filter the records you need. Within the Odoo 15 Notes module, users can develop essential tags for their notes. Select the Tags in Configuration feature, and you can access all existing tags in the Odoo 15 Notes module. We can create a new tag for the Notes by clicking on the Create icon, as displayed in the screenshot below.
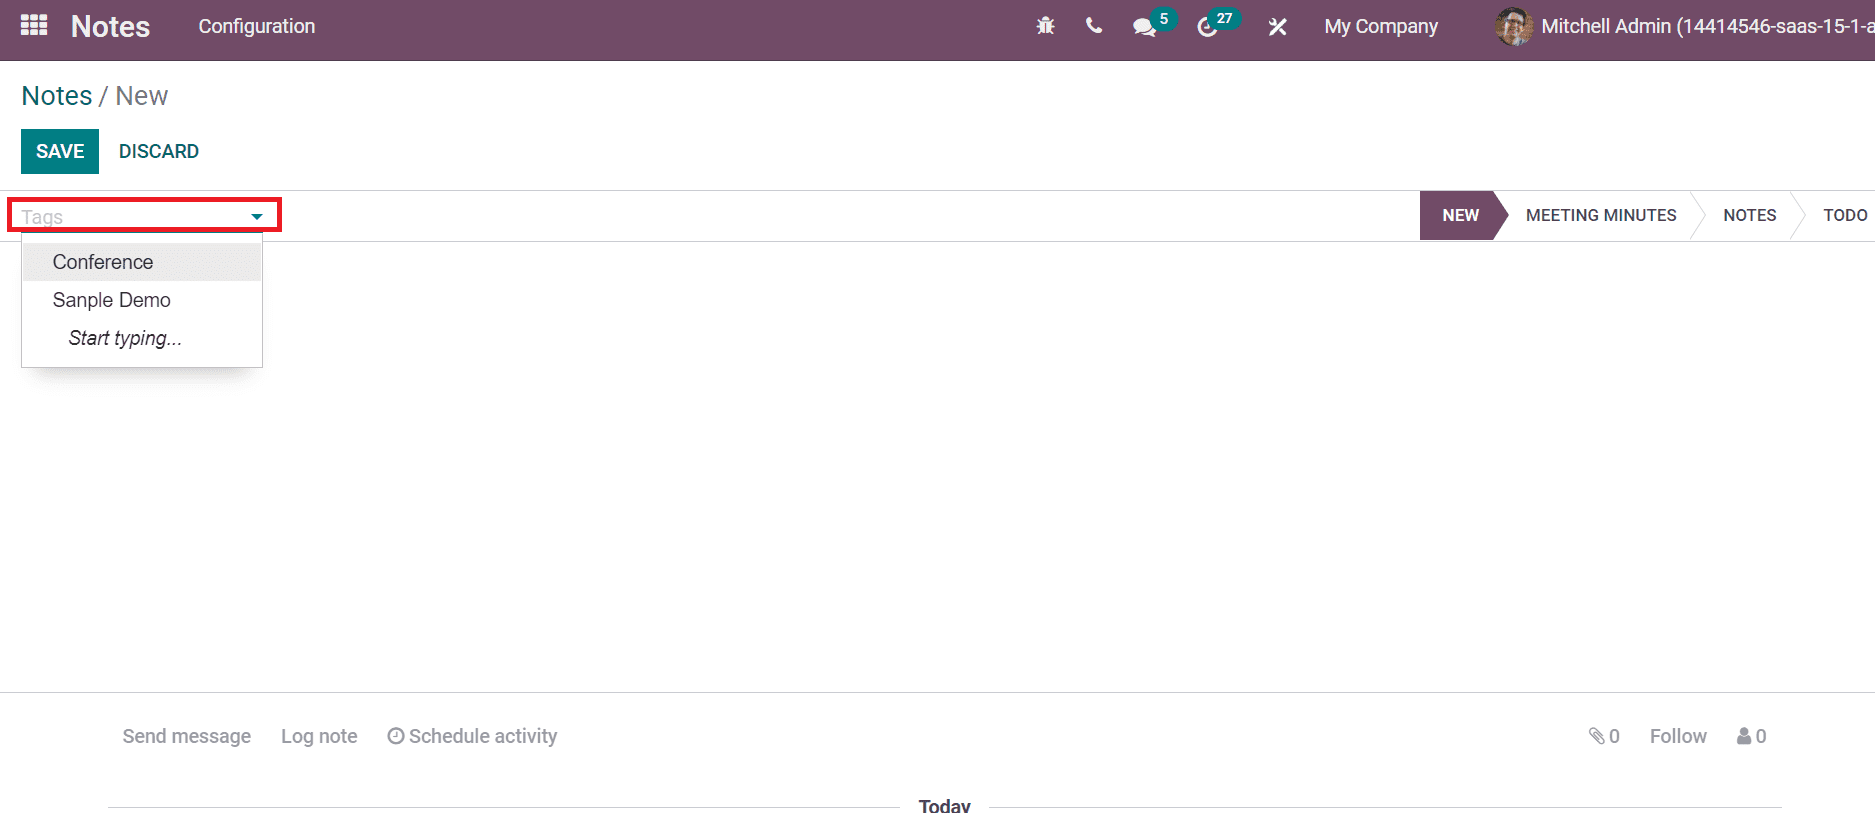
These tags are helpful at the time of creating a new note. You can see the Tags field in the Notes window, and it is possible to enter the created tag inside your note, as depicted in the screenshot below.
Add Log Note and Send Messages to Employees
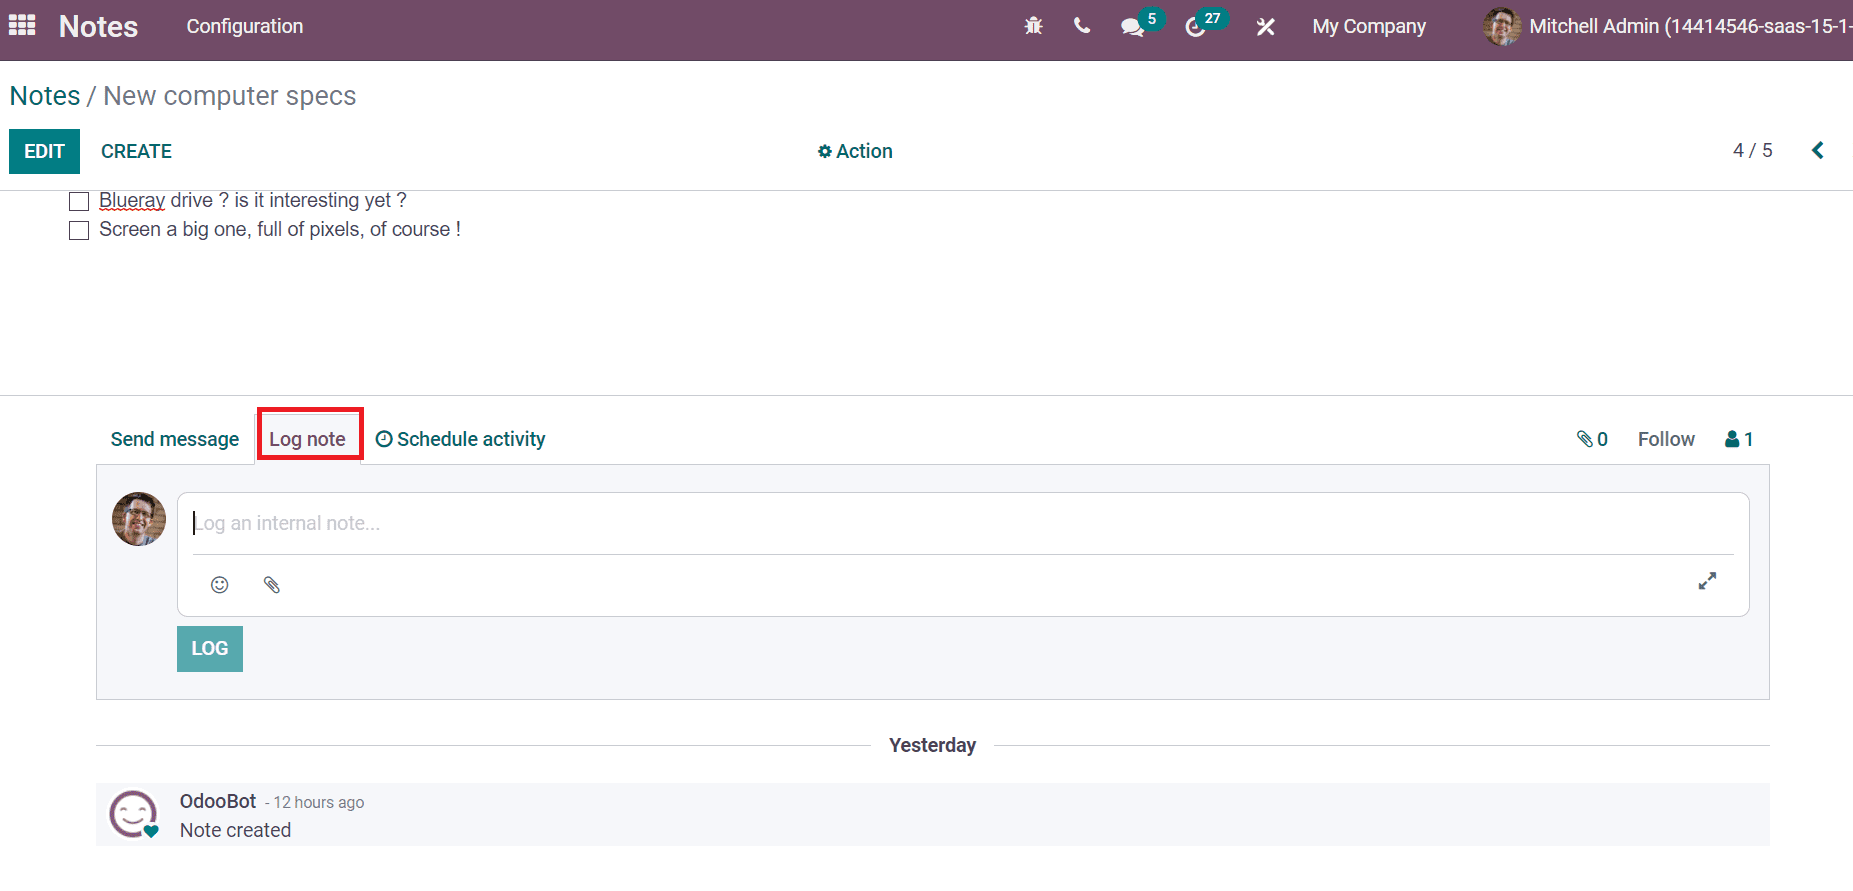
Users can message followers directly from the Notes window within the Odoo 15 Notes module. It assists employees to get a notification regarding specific notes. In addition, we can produce a Log note based on your activities scheduled in the notes. It relies on operations in company notes, content addition or organizing an activity.
Integrate with Odoo 15 Point of Sale
Odoo Notes are beneficial for the procedures and operations of the Point of Sale module. It is available to provide kitchen or order notes in retail shops and restaurants. Order notes are added for the Sales remarks and purchase preferences to improve customers' services. The customers get an overview of each order with the help of notes.
The above features ensure the smooth running of company operations with a note making process. Apart from these, all notes are stored securely within the Odoo 15 Notes module. It enables you to develop tags, stages, insert appointment links, scheduled activities, etc.