Attracting new customers to your retail shop along with enticing your usual customers to keep coming back is said to be an inevitable function of any retail shop as well as any business organization. For that, all your retail operations should be simple and possible. Here comes the importance of the Odoo POS system in Retail shop management. For instance, it can be applied for recording financial transactions using the hardware and software. Odoo POS provides you with everything that your retail shop needs. It is an excellent and smart interface that all retail companies can use without any disruption. As Odoo POS is very flexible you can configure the application the way you need in order to meet your precise needs. In this blog, we will discuss the features and configuration of Retail Shop Management in Odoo v13.
Let us examine some of the features of Retail Shop Management in Odoo v13.
* Retail Shop Management helps to boost the efficiency of the retail store by enhancing the staff.
* To retain the customers it enables the business to run loyalty programs and promotions.
* Utilising integrated inventories it reduces the gap between the warehouse and the storefront.
Configuration
For this select,
Point of Sale - Configuration - Point of Sale and select Point of Sale you wanted to be configured.
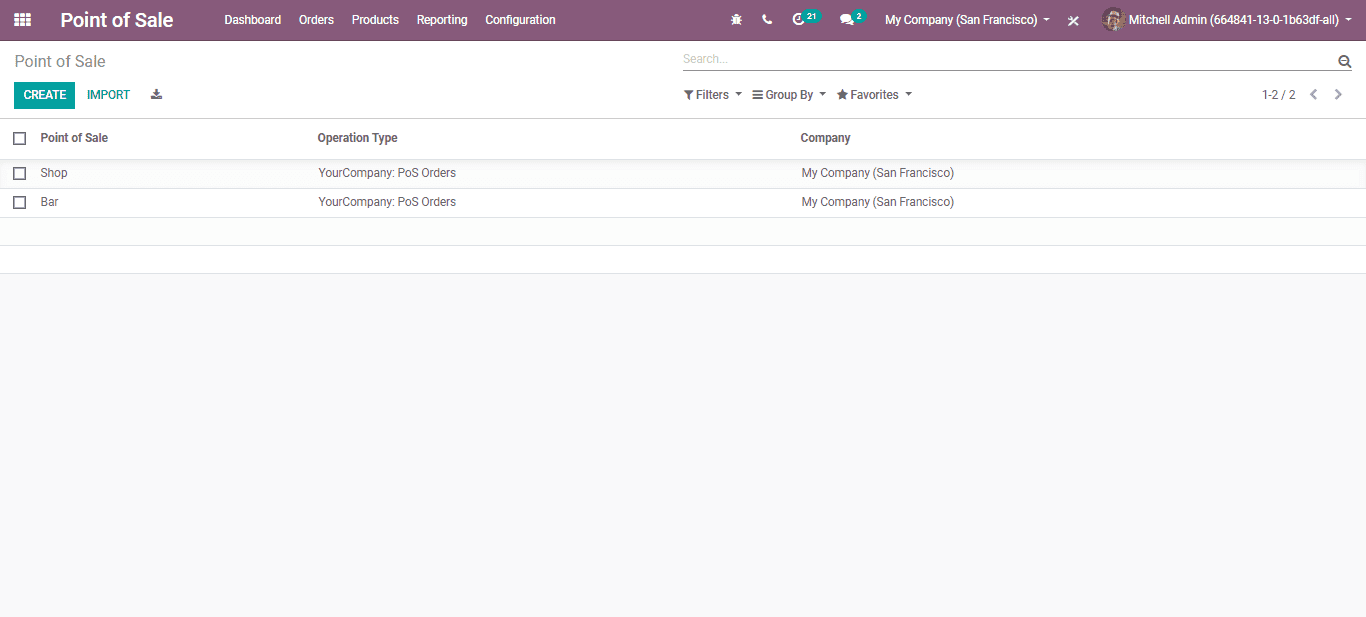
You can opt for Shop as your preference, as we configuring the pos for the retail shop. Via clicking the Create button one can configure the shop.
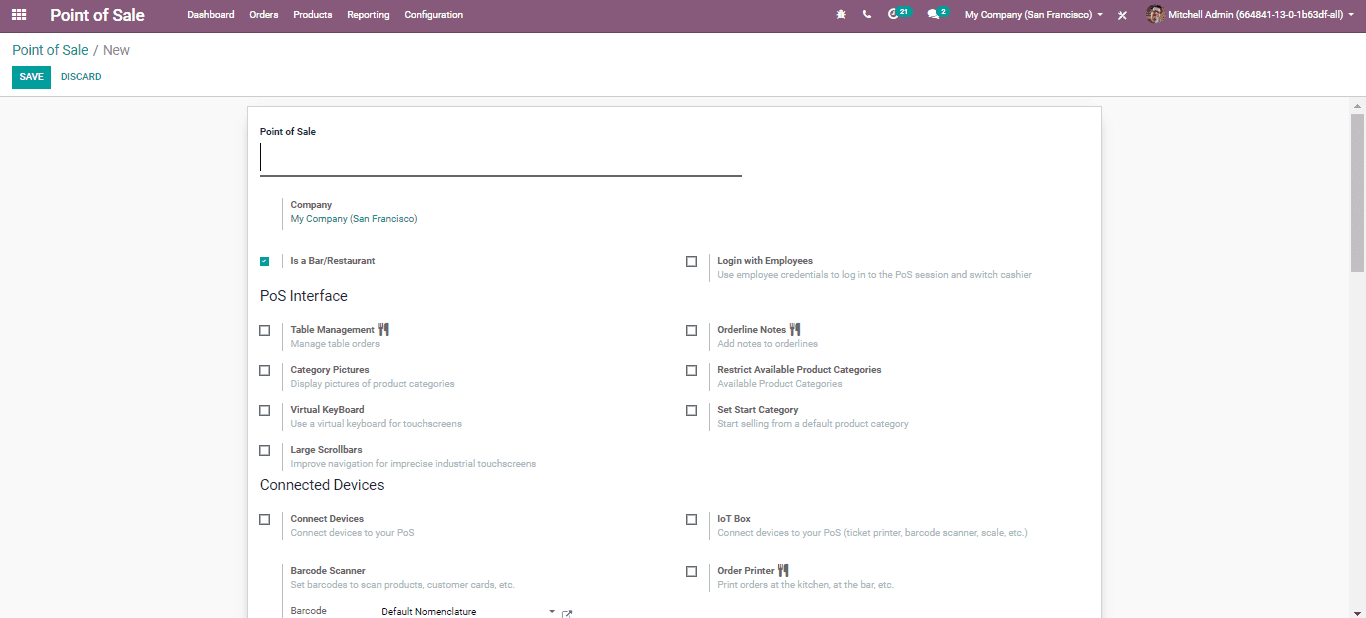
Basically, in the field of point of sale name, you can provide an internal identification. Later you can specify is it a Bar or restaurant by ticking the concerned option.
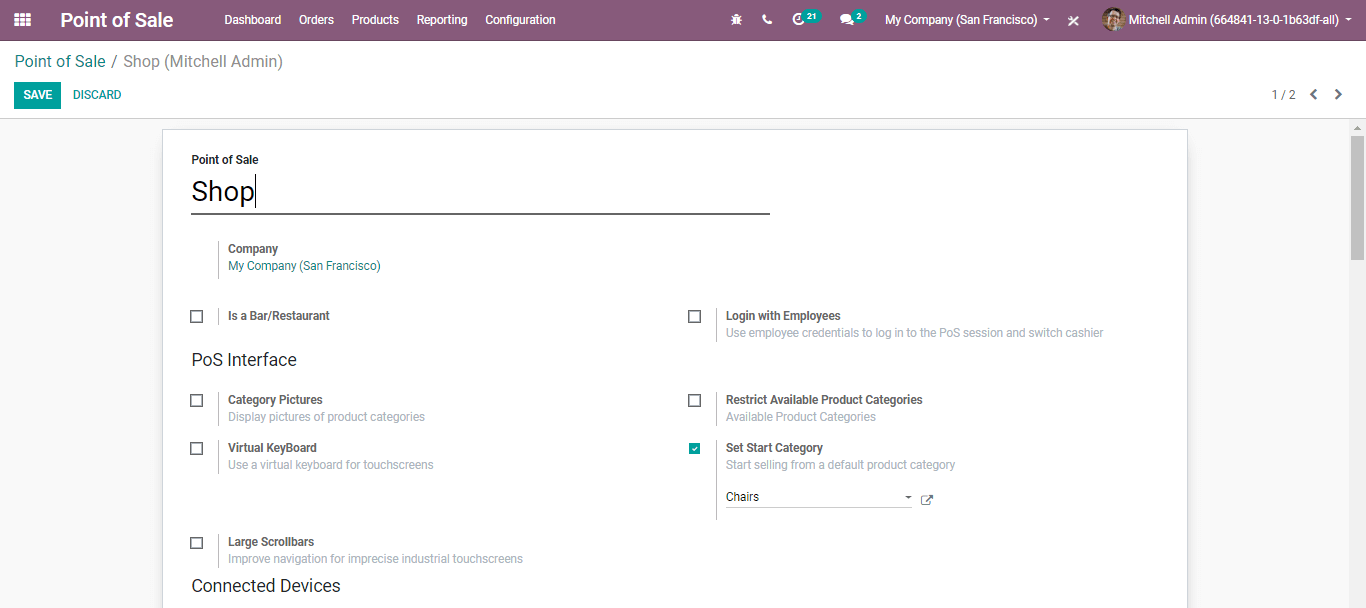
Login with employees.
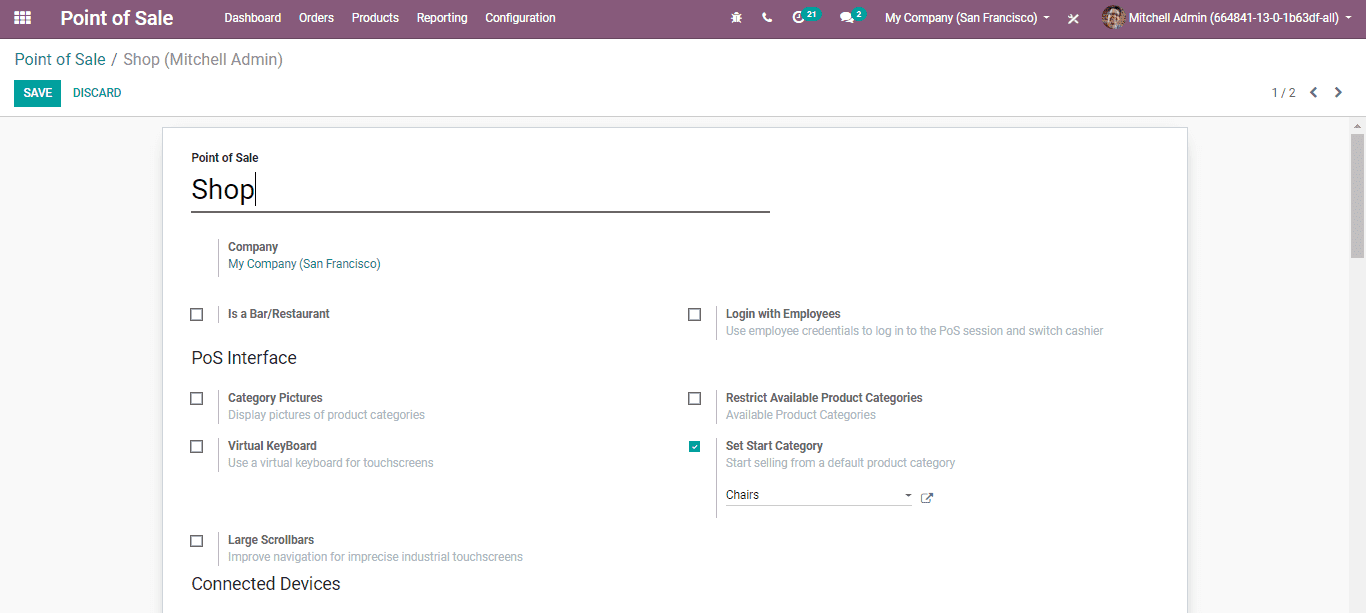
By ticking this the Employees can log in to a POS session, via entering a PIN or scanning their badge.
Configuring your order interface
According to your choice, you can configure the POS.
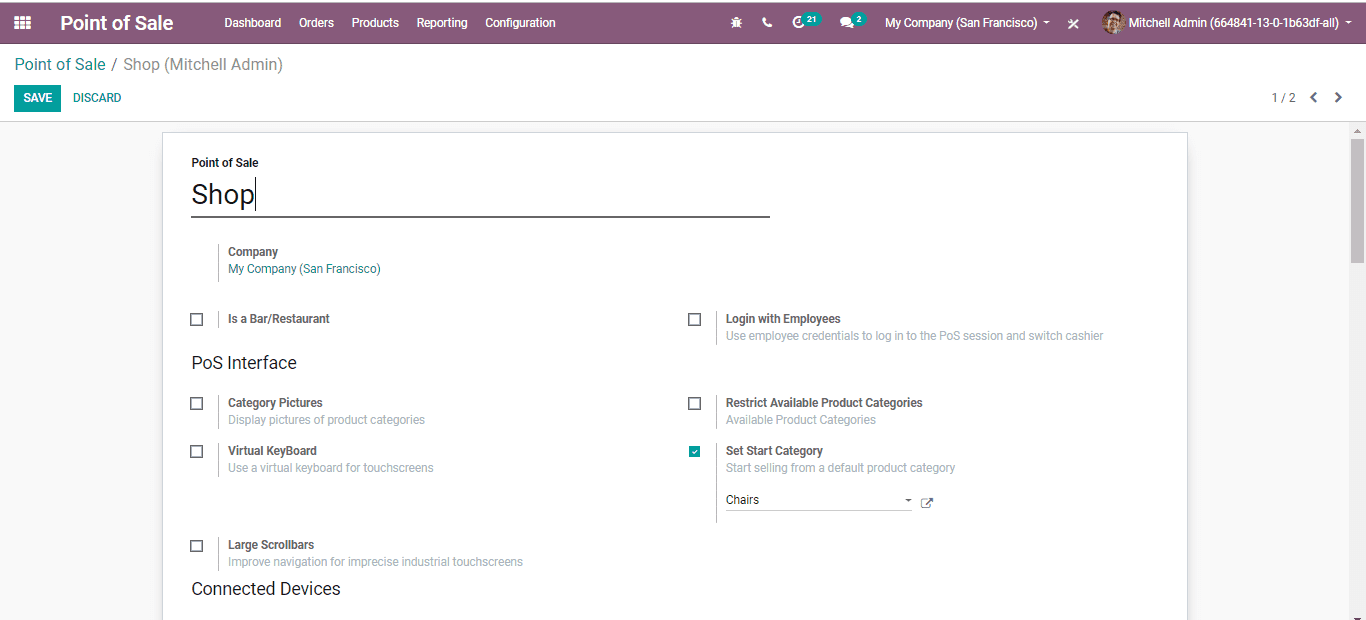
The fields included in this are:
* Category Pictures: For making the POS interface more attractive and User-friendly you can use category pictures. If you tick this option the product pictures will be displayed on the POS.
* Virtual Keyboard: You are allowed to touch the screen utilizing this option.
* Large Scrollbars: This option helps for improving the navigation.
* Restrict Available Product Categories: It only displayed the products that we selected in the category trees.
* Set Start Category: it can also be said as an initial category. The POS shows this product category by default.
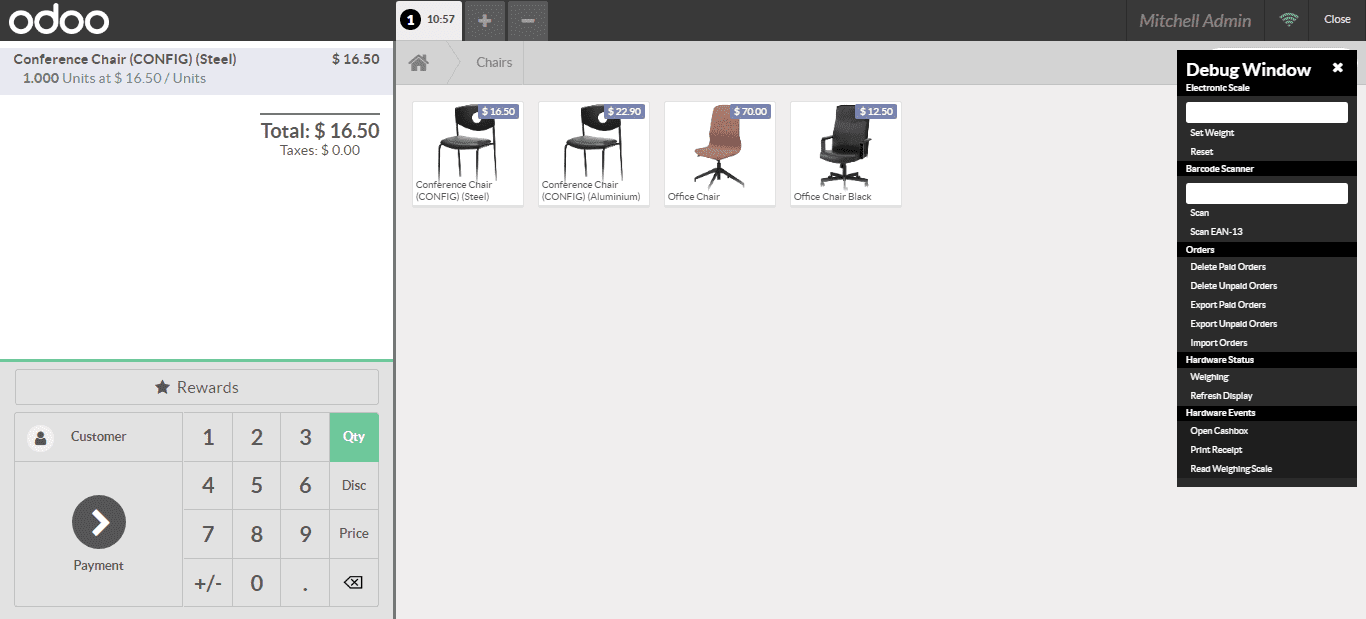
When you open the session the first option available on the product list will be chairs.
Connecting to the external devices
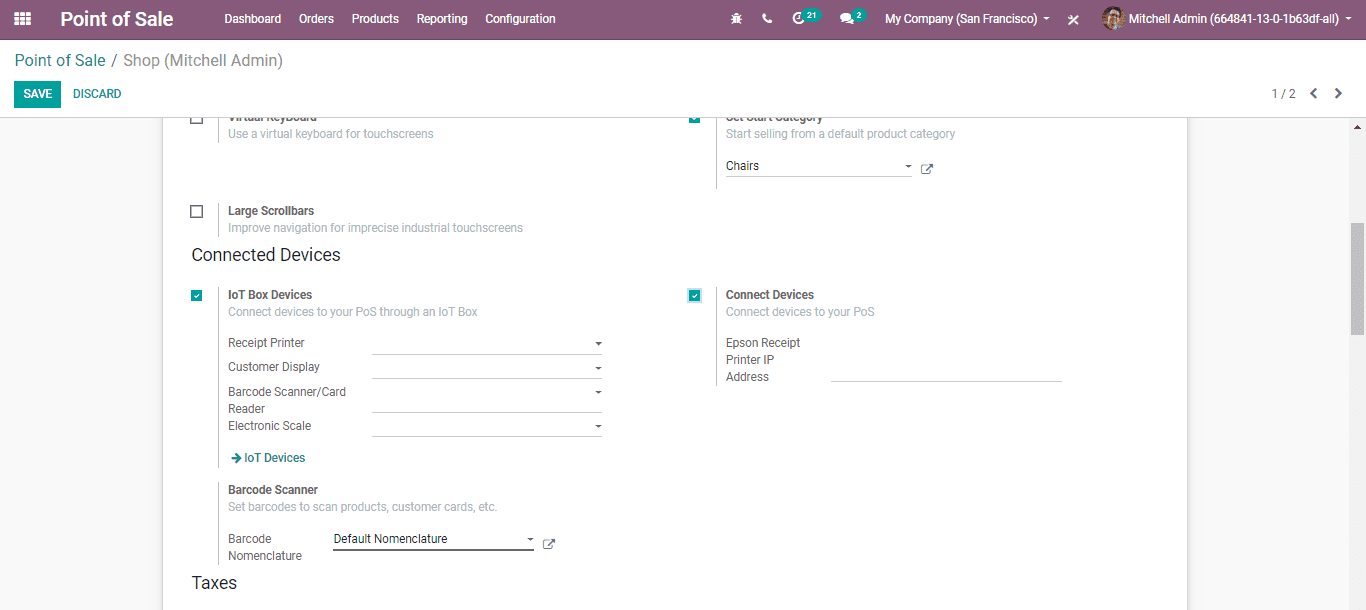
Connecting your database with the external device like IOT box devices and barcode scanner you have to enable the options shown below.
Using the Barcodes in POs
It helps to save both your and your customer’s time.
Configuration:
Select, Point of Sale - Configuration - Barcode Scanner.
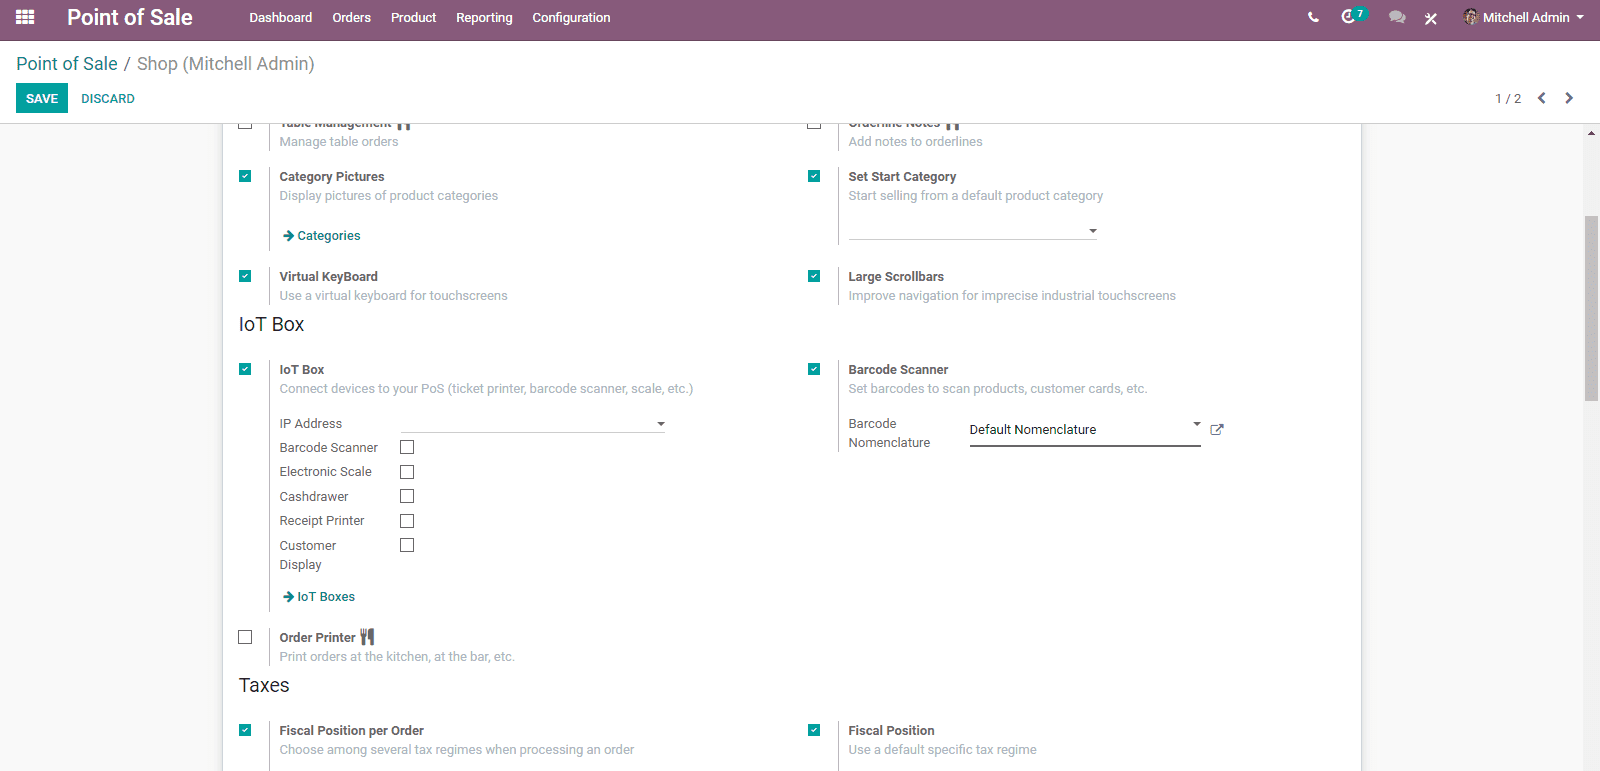
With your barcode scanner, you can scan any barcode from your POS interface.
Retail Shop Management also provides options for configuring Taxes, Product pricing, and Loyalty program.
Configuring the Payment Methods
Therefore adding a new method for a POS, Select,
Point of Sale - Configuration - Go to the Payments section then click the link "Payment Methods".
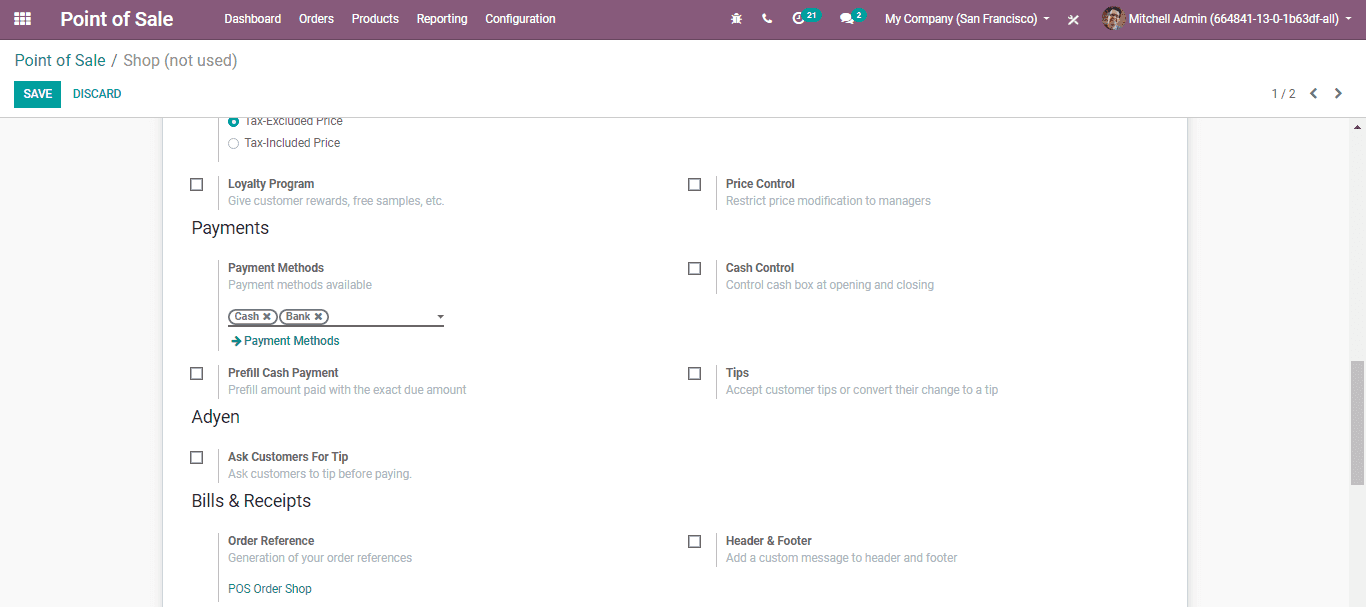
By choosing this option you will navigate to a new window as shown below:
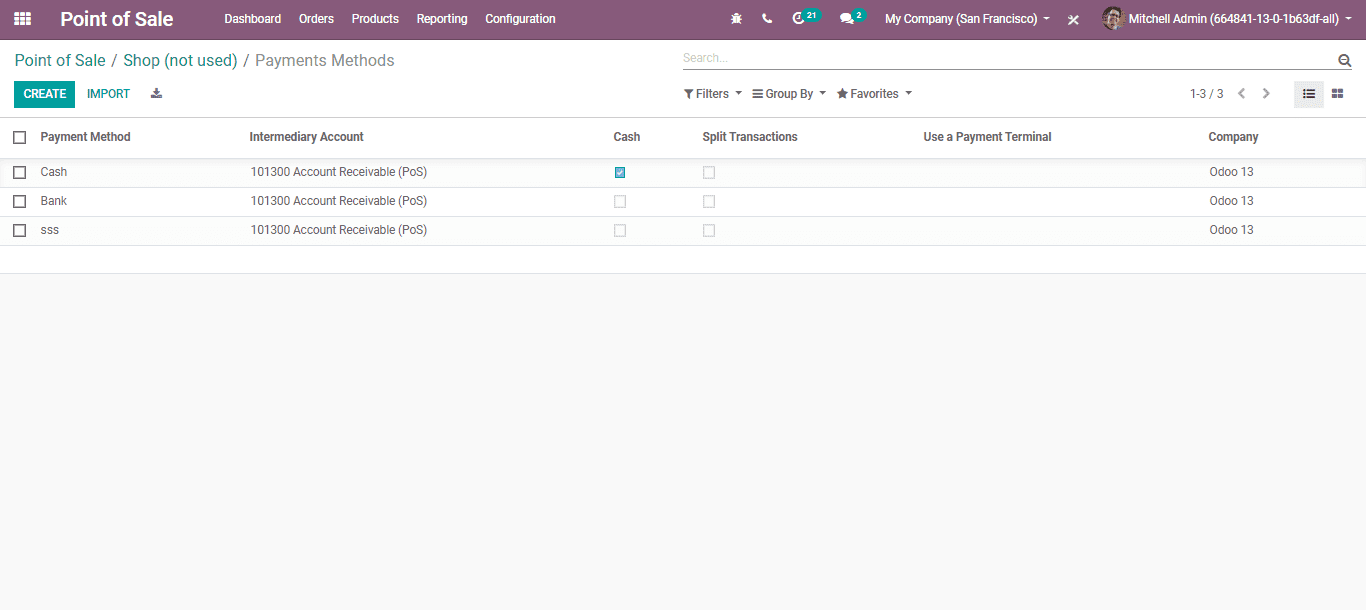
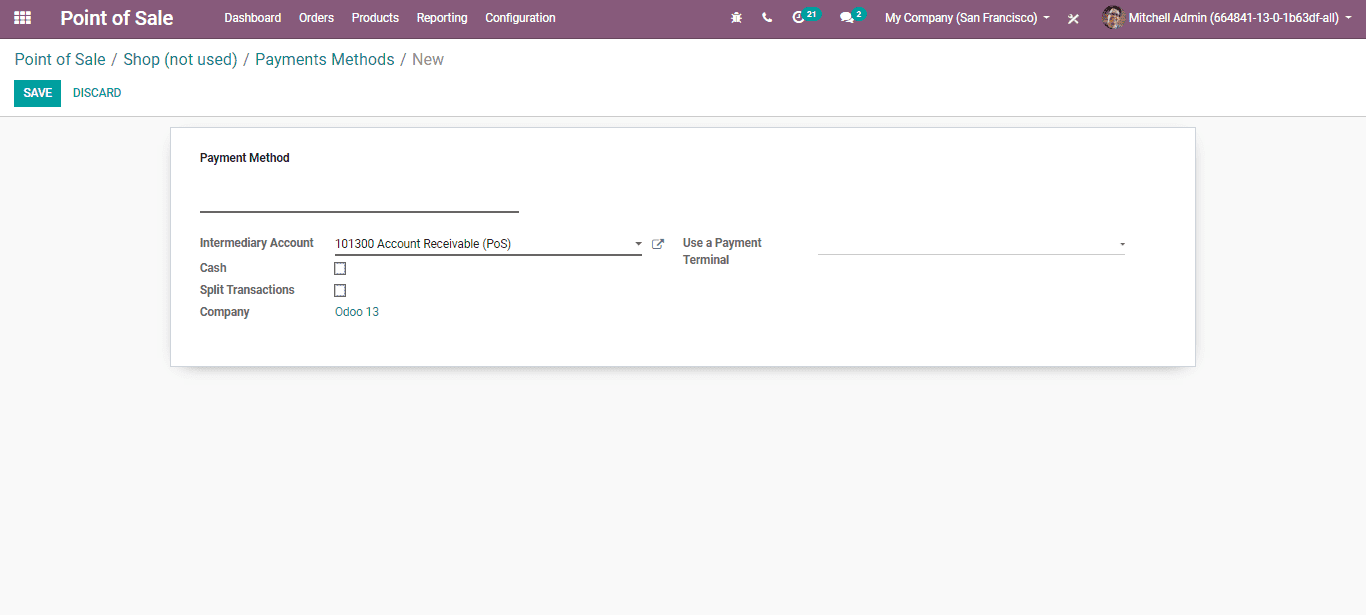
If you click the Create button, you can make a new payment method.
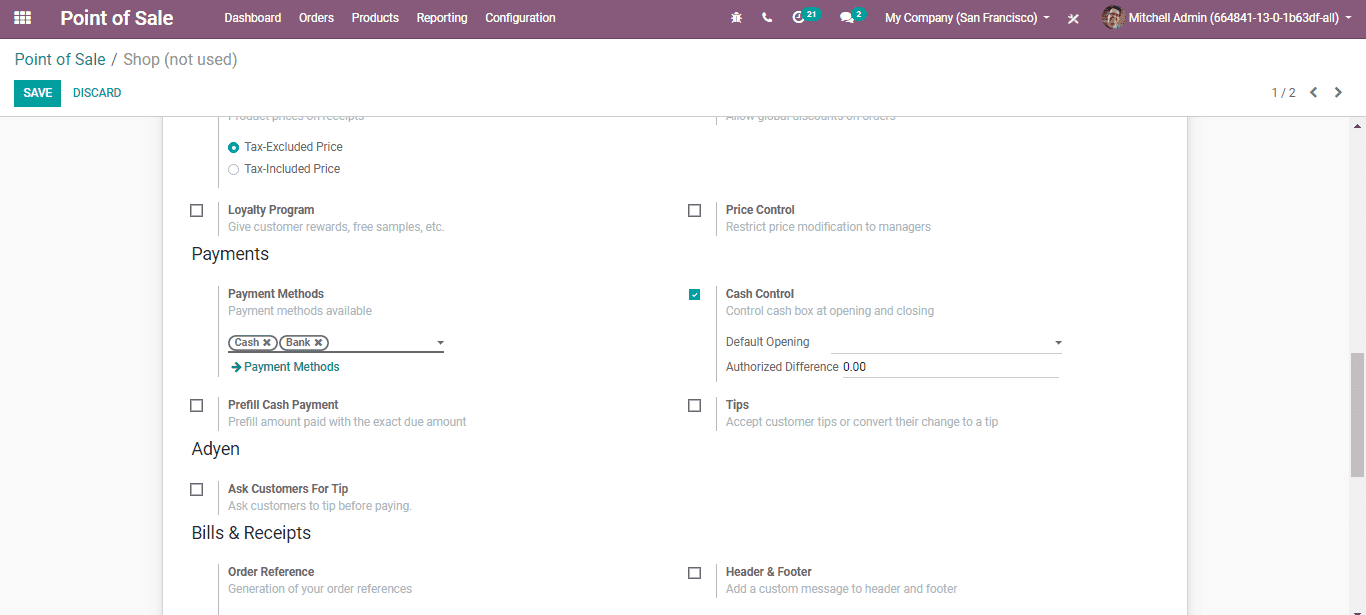
Cash control
Configuration for cash control,
Sale - Configuration- Payments section and click the link "Cash Control".
Bills and Receipts
For printing the bill before the payment you can use the Bill printing feature.
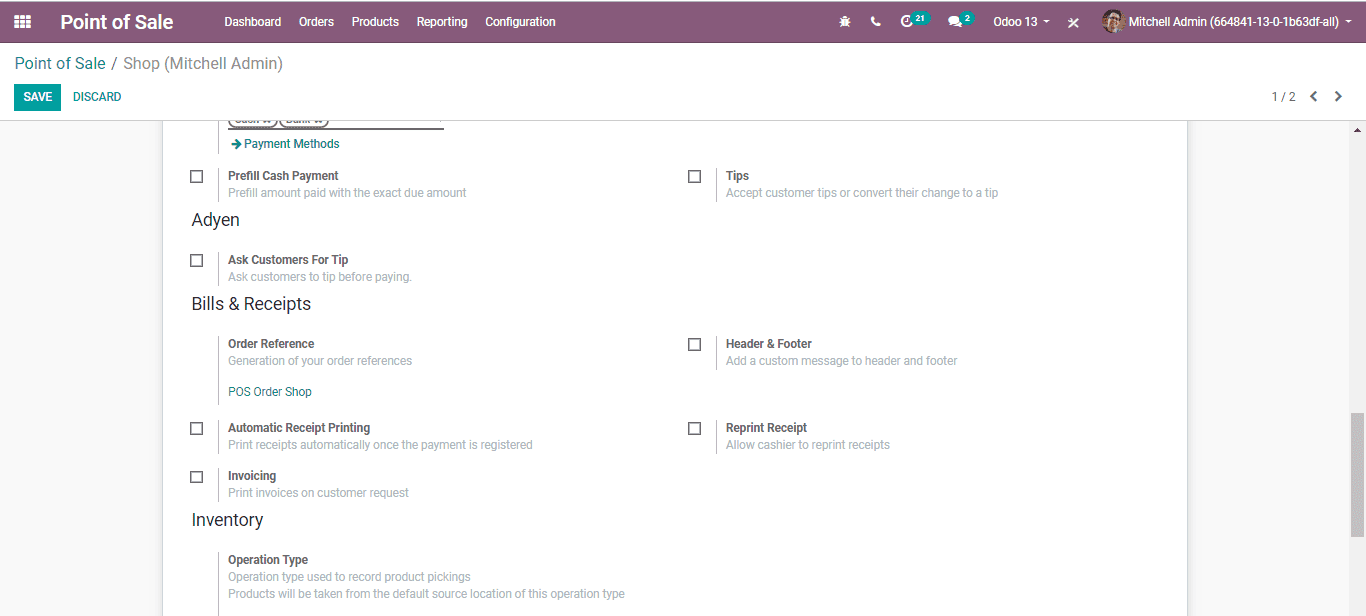
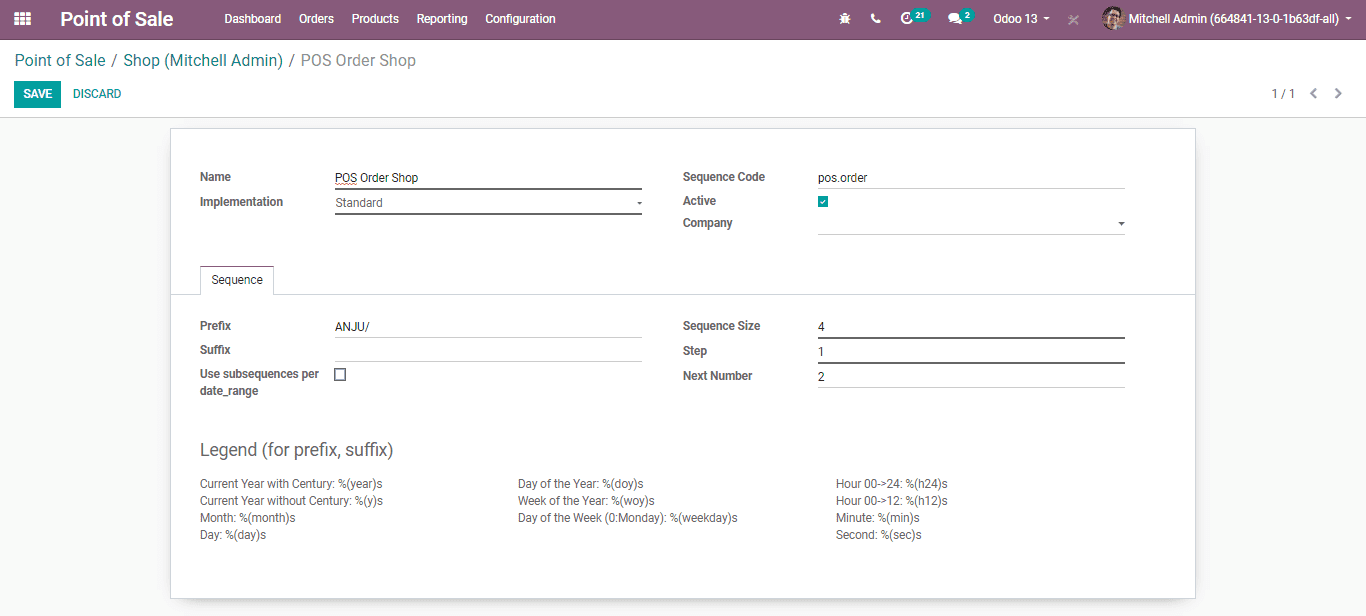
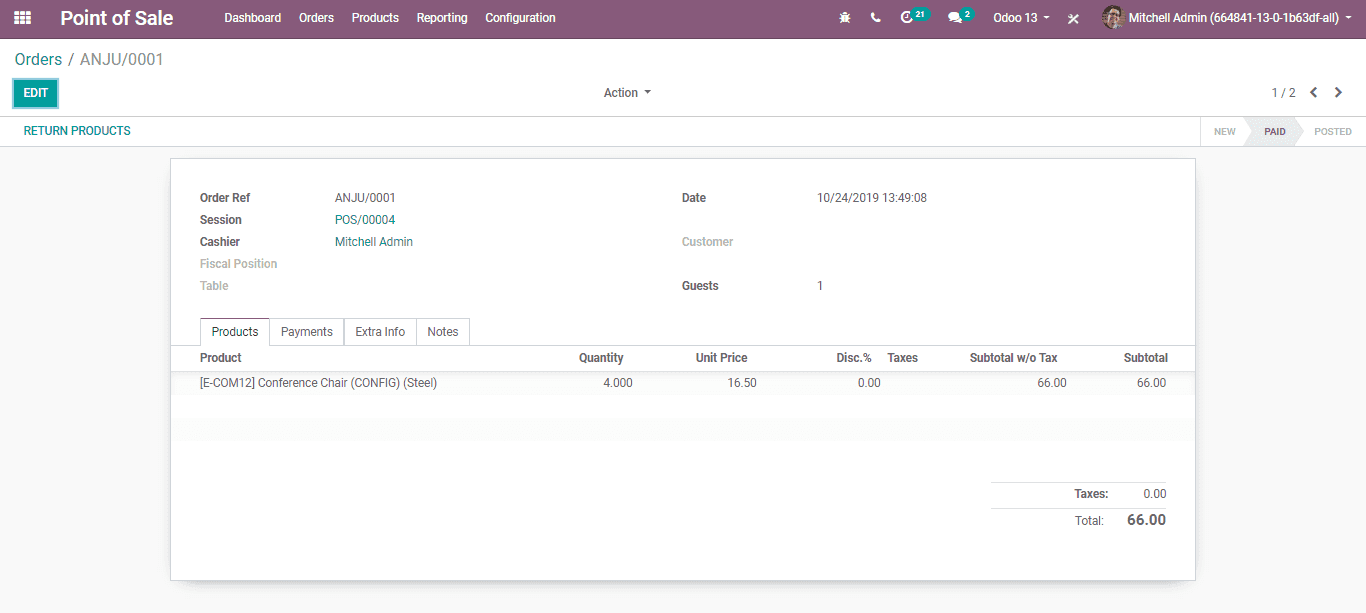
Order Reference: Odoo creates order sequences automatically. You can customize the reference numbers of orders using this feature
As like the option Header & Footer in the image shown below, by clicking this option, you can add a custom message in the header and footer of the bills or receipts.
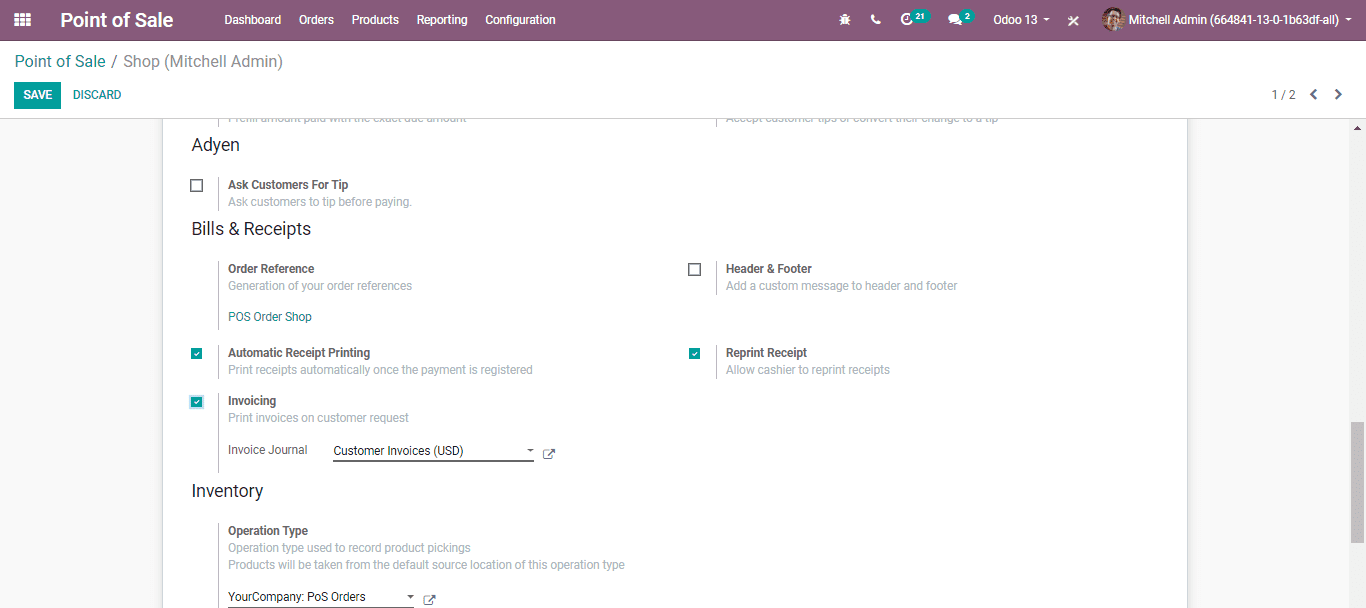
Some other fields include in the image shown above are:
Automatic Receipt Printing: If you select the option the recipient at the end of a single order will automatically get printed.
Reprint Receipt: This option will enable cashiers to reprint the receipts.
Invoicing: it helps for the generation of the invoice, from the POS itself.
Invoice from POS Interface
Initially opt for a customer. And move the session interface then use the customer button.
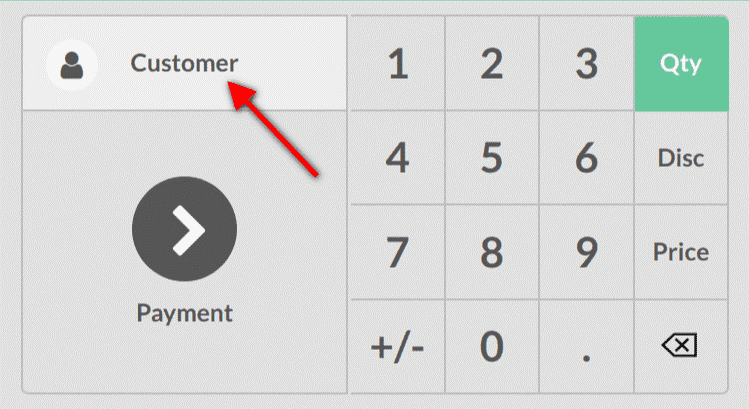
Thus you have the option for creating a new customer or selecting the existing customer.

You have the option to fill in customer form, by selecting the customer.
For invoicing the customer should select the invoice button from the payment screen.
And this is all about retail shop configuration in POS if you want to know more about creating your first POS session, why waiting? Our Odoo v13 Book provides all the further details that you seek.