Sometimes it occurs that your workers have to use their personal funds on the project when working on a project with a client, or that the organization has to pay some of the client's expenses. The organization, therefore, has to re-invoice the expense to the employee. Take the example of an employee or company that pays for a client's work for hotels, travel, etc. However, this cost is not invoiced to the customer But the next invoice to the consumer will have an added cost of it. If the expense is borne by the employee, the company should refund it at its expense. In odoo, we can re-invoice based on the cost of the expense or you can re-invoice based on the sale price if you want any additional charges for your purchase.
First of all, for managing the re-invoicing policy we need to have installed the “Expense” module.
Configuration
We shall configure the expense products first.
Go to expense > configuration > expense product
There we shall select any product or create an expense product.
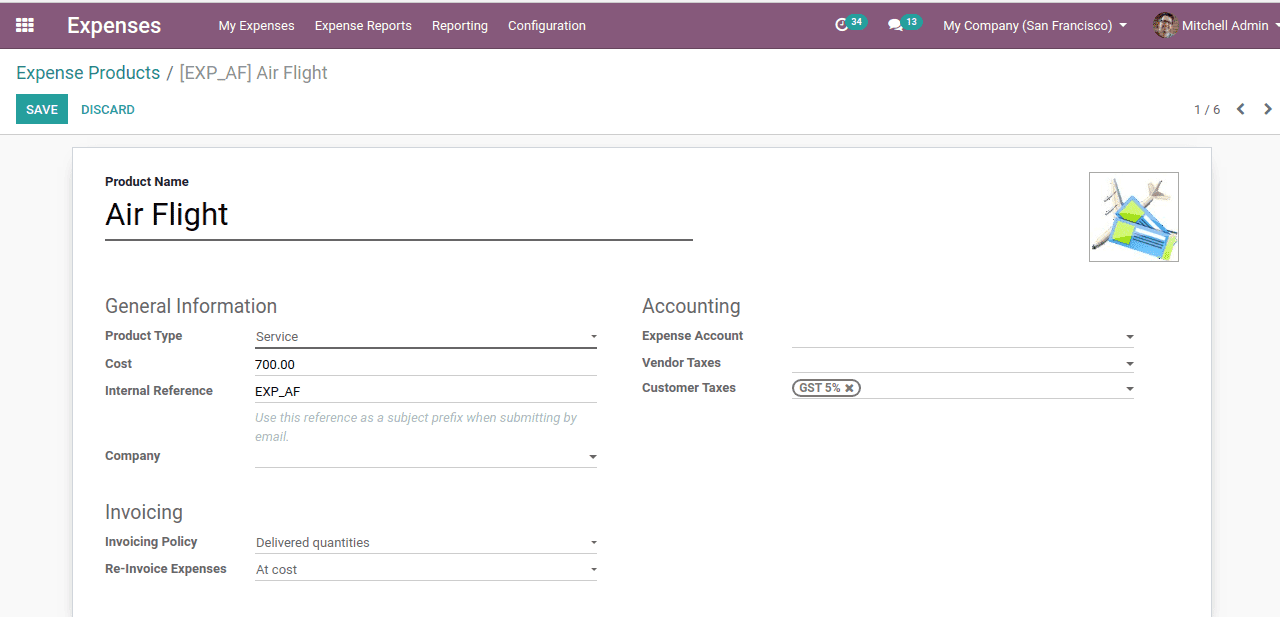
Here the re-invoicing policy is “At cost”, which means we need to re-invoice the expense based on cost.
If we need to re-invoice the expense with extra charges we shall keep re-invoice expense as “At sales price”.
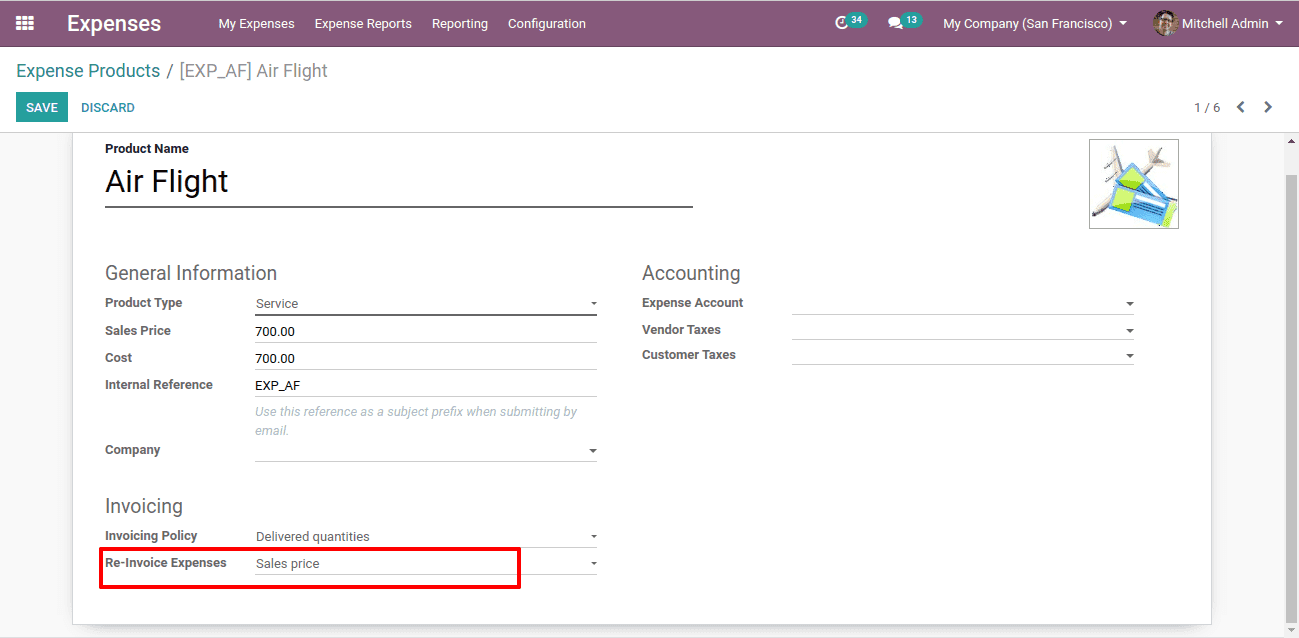
Thus, we have created the ‘expense product’.
Now let’s see how the Re-invoice policy works.
First of all, we shall create a sales order for this expense product.
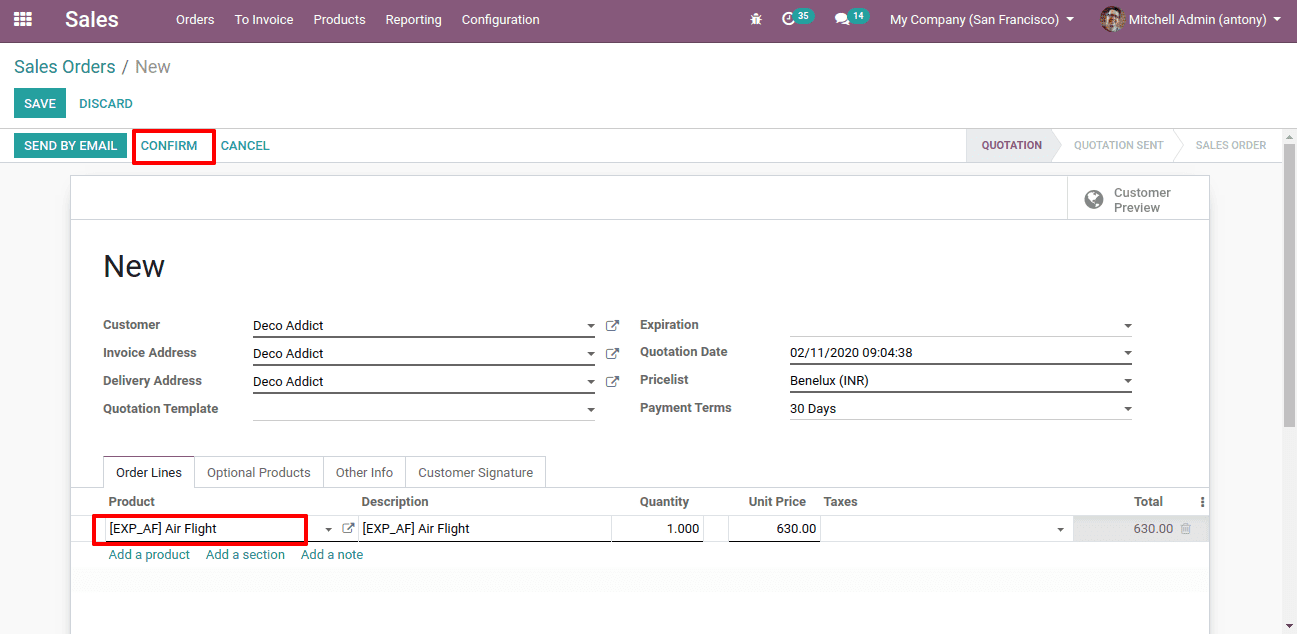
So we have added the expense product. Now let’s “confirm” it.
Note: if you have enabled the “Lock confirmed orders” option in the sales settings, unlock the confirmed order here.
Now we shall go to Expense > My expense > Create.
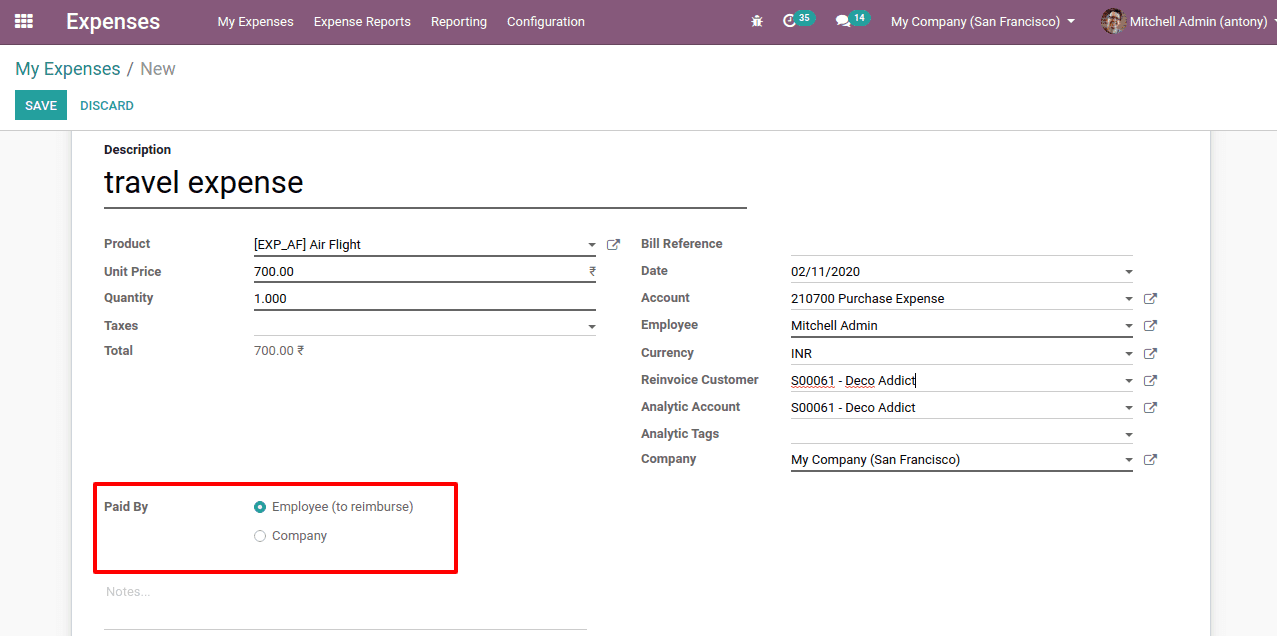
Fill the necessary detail, add the expense product that we incurred.
Here we have two expense types in Odoo.
Paid by: Employee (to reimburse), expense met by employee (to be reimbursed).
: Company, expense met by the company.
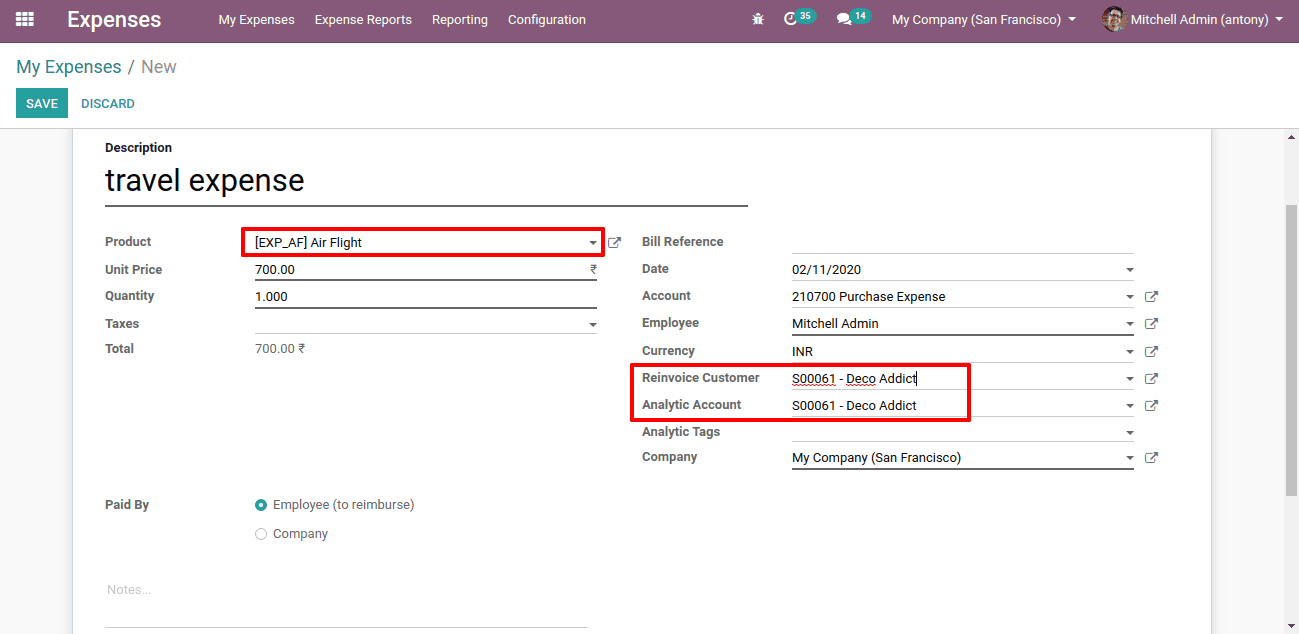
We shall also add the product we sold and also add its ‘Re Invoice customer’ and ‘Analytic account’. After that, we shall “Save” it.
Documents of the expense can also be attached. Click on the smart button of the documents.
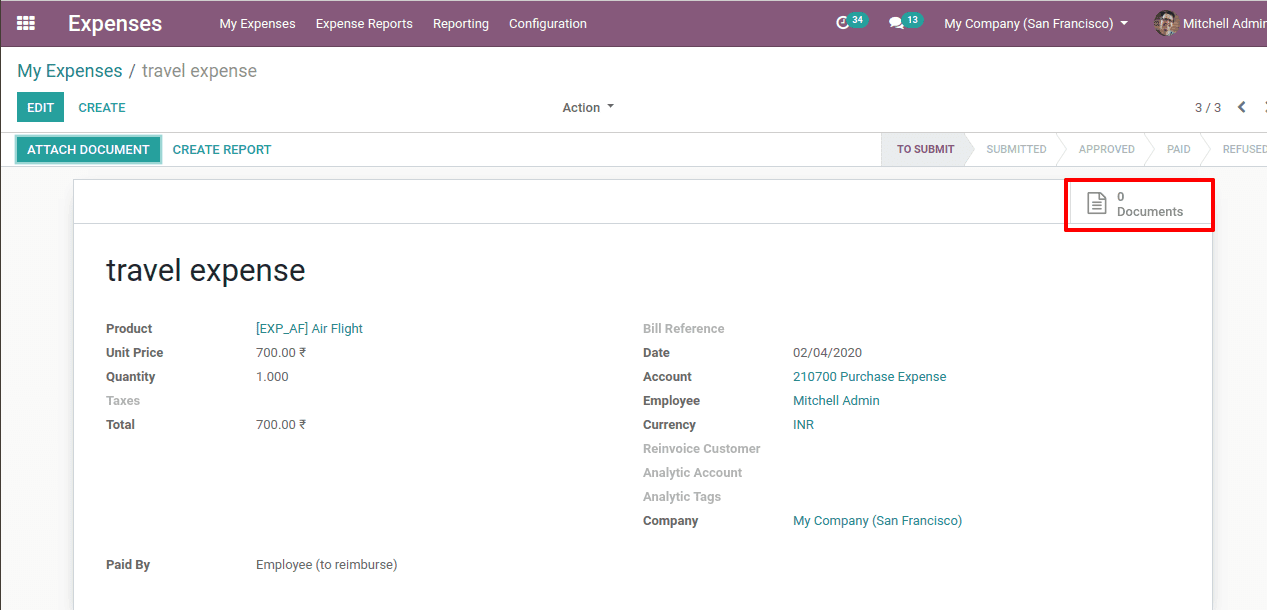
Clicking on it we will get another window to add attachments.

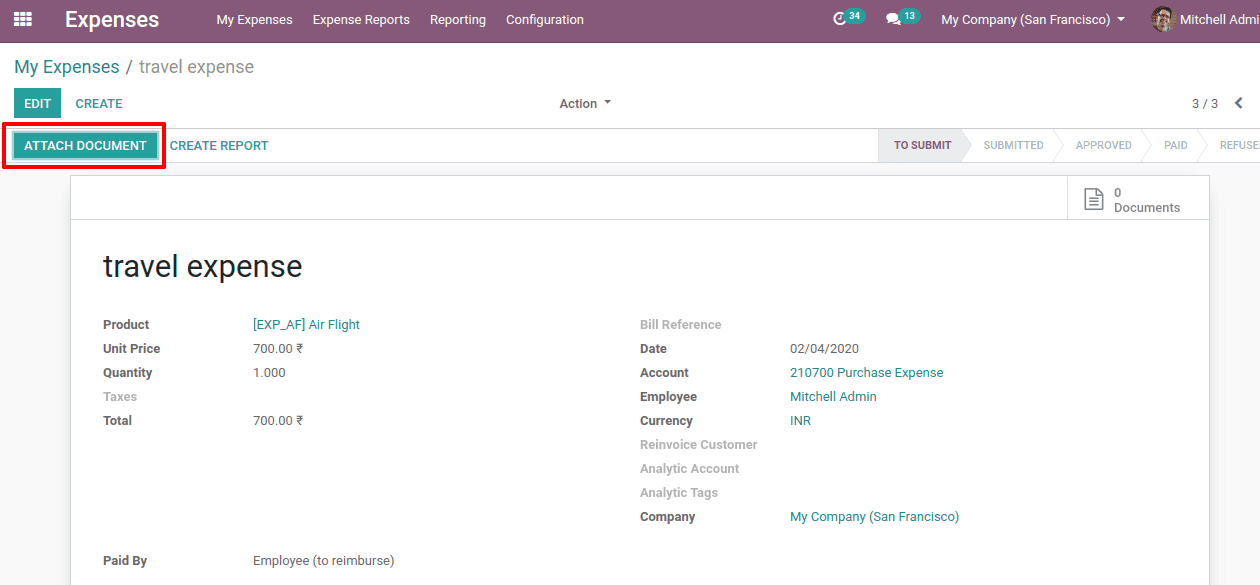
Also, we can add attachments by clicking on the “Attache Documents” button.
Now to submit the expense report to the manager we shall go to My Expense > My Expense Report > Create
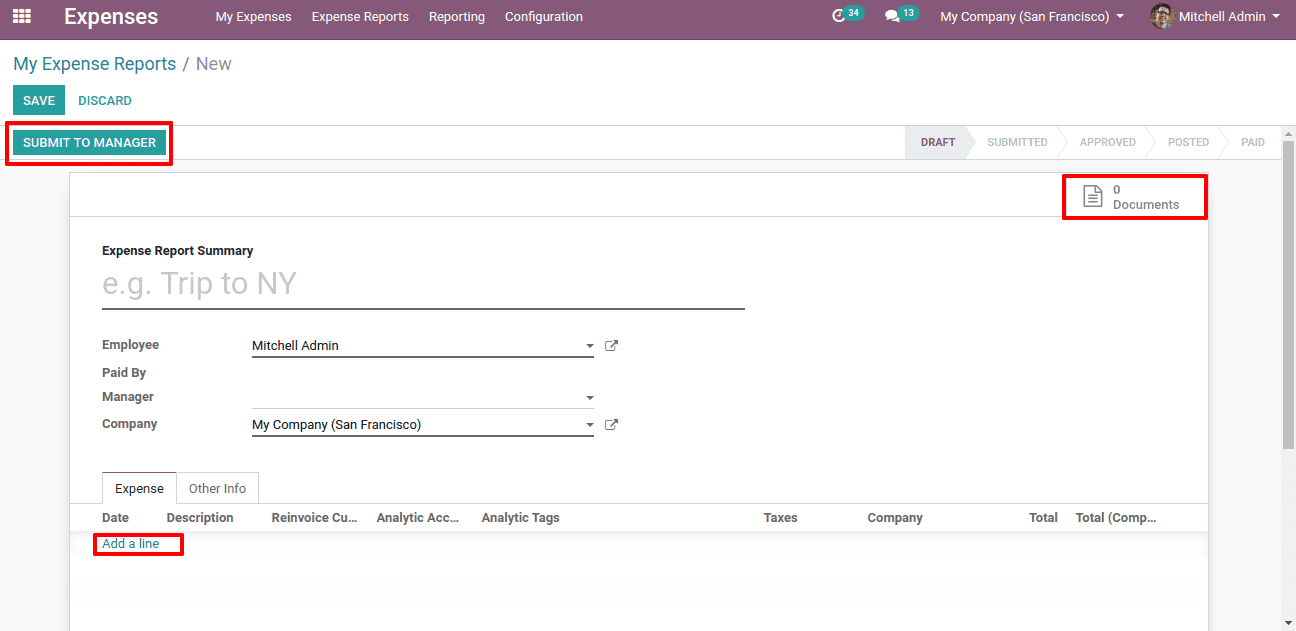
Here we shall create the expense report and add the expense by clicking on “Add a line”. We can attach documents also by clicking on the smart button of “Documents”. Then click on “Submit it, Managers”.
The manager has to approve the expense met by the employees. For that go to Expense > Expense Reports > To Approve.
Clicking on it we will get all the reports to approve.

Take the expense we have just created.
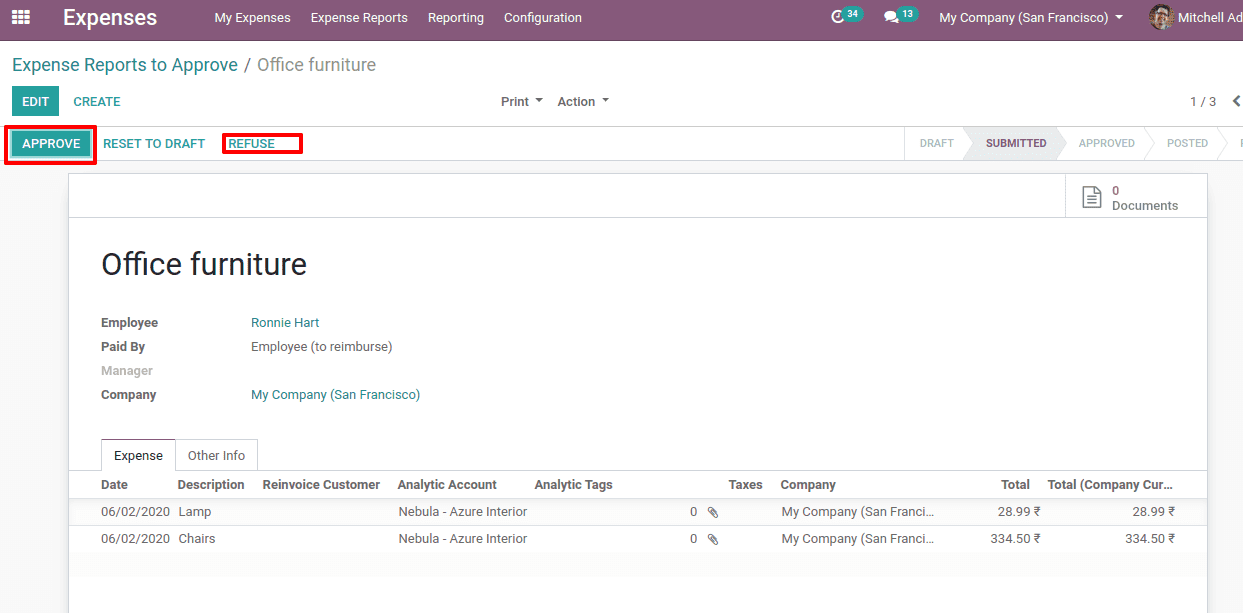
Here you have the option to click on the “Approve” button. Also, the manager can ‘refuse’ the report too. Here the manager can edit it also.
When the manager approves, it can be seen in the employee’s portal as approved.
Now the accountant of the company can post the journal by clicking on “Post Journal Entries”.


Eventually, the status is paid.
Now we can see the expense is automatically added to the corresponding order lines of the sales order we have created already.
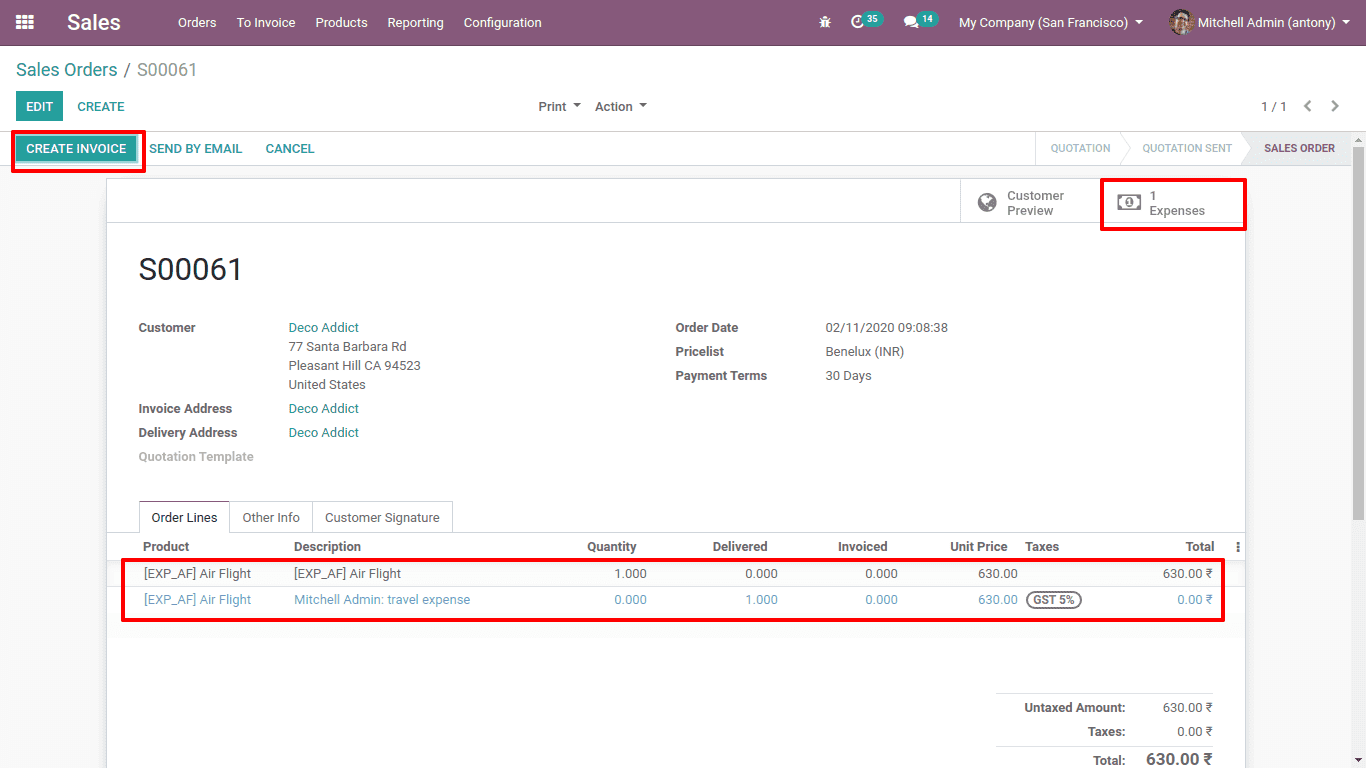
Clicking on the “Create Invoice” we can Re-invoice to the employee.
So this is all about the ‘Re-invoice Policy in Odoo 13’.