Employees are considered the most important and valuable resource for an organization, no matter how big or small they are. Managing human resources is one of the most complex operations an organization has to undergo. Here, we are going to take a look at the salesman tracking application developed by Cybrosys for Android devices. This application works as an interface for the salesmen to log their customer visits to Odoo. And the managers or supervisors can yield reports based on the logs kept by the salesmen.
How does it work..?
This mobile client is to help organizations track their salesmen's visits to customers. For this app to work, you need to install the customer_product_qrcode and employee_tracking_log modules in your Odoo database.
You can generate and print out QR from the customer form.
After printing and placing the QR in the customer's location, each time the salesman visits the customer, he or she can scan the QR from the Android device they are using. The app will create a visit log on the server with the latitude-longitude location of the device, the customer name, the device time, the server time, and the employee name.
Saving both server and device time will help avoid timezone conflicts.
Managers or concerned users can retrieve Excel and PDF reports based on the visiting logs with various filters and groupings in Odoo.
Installation
When it comes to installation, you have to do two things:
1. Install the Odoo API client for the salesman tracking app from Odoo apps.
2. Install the mobile client from Google Play; you may follow this link: e-tracking to download the app.
User Login
The users can log in to the app using their Odoo database login and password. But before logging in, we have to set the URL and database name. Let’s see how we can configure it.
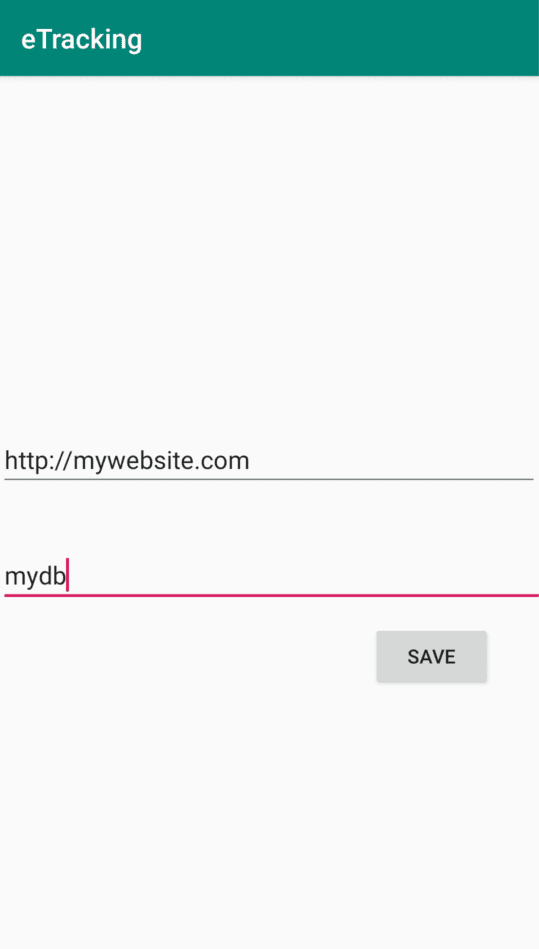
Here, I have given the URL as http://mywebsite.com Please note that if you have not configured proxy or port forwarding, you may have to provide the port also (like http://mywebsite.com:8069). Now you have to enter the database name, which should be used to log in, here I gave mydb as my database. One thing we have to note here is that we have to make sure we have either specified a dbfilter or we have only one database on the server. Otherwise, we will not be able to log in. When we hit the save button, it will automatically take you to the login page.
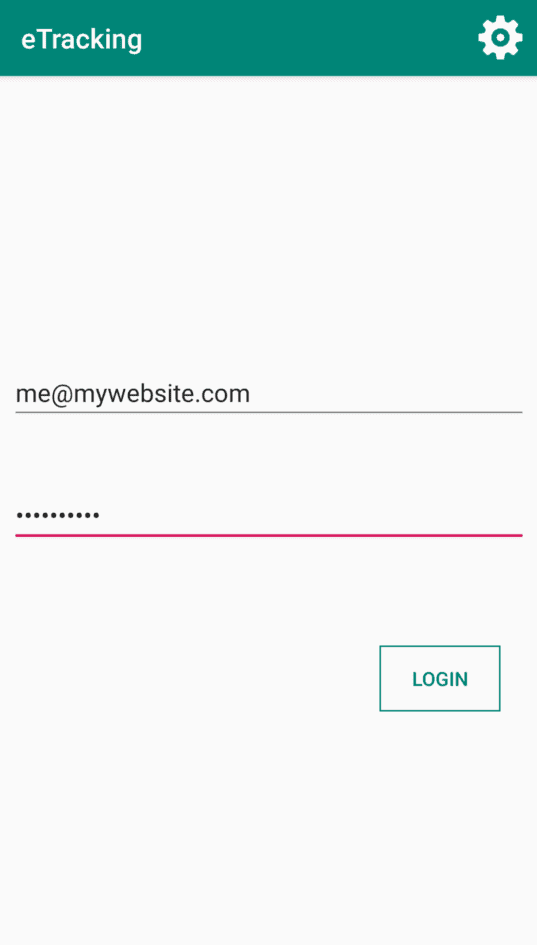
On this page, you can enter the login and password. The login and password are the same as the user’s Odoo login and password. Now hit the login button if the login and password are correct, and if you are not using the app for the first time, it will take you to a page identical to the below image.
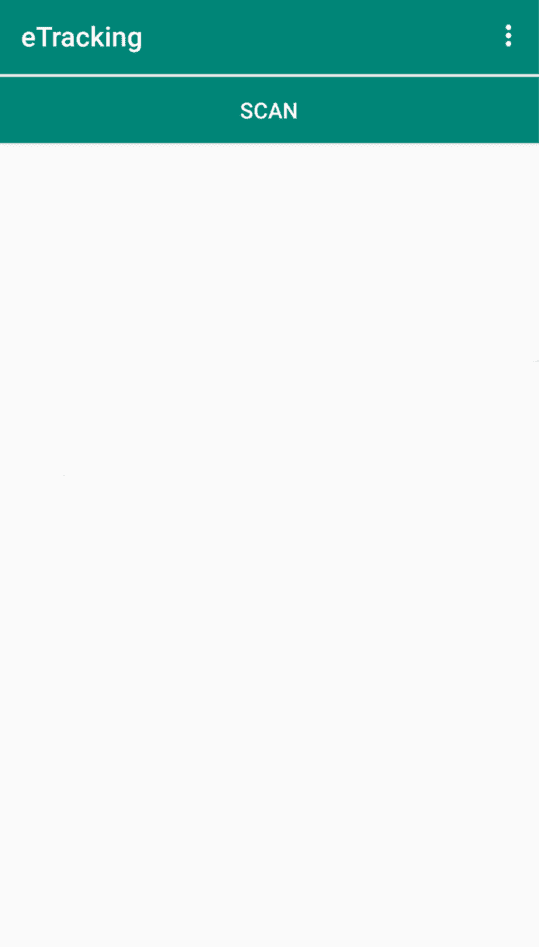
From this page, the user can hit the scan button to scan a customer's QR code and log his location time and customer to the server.
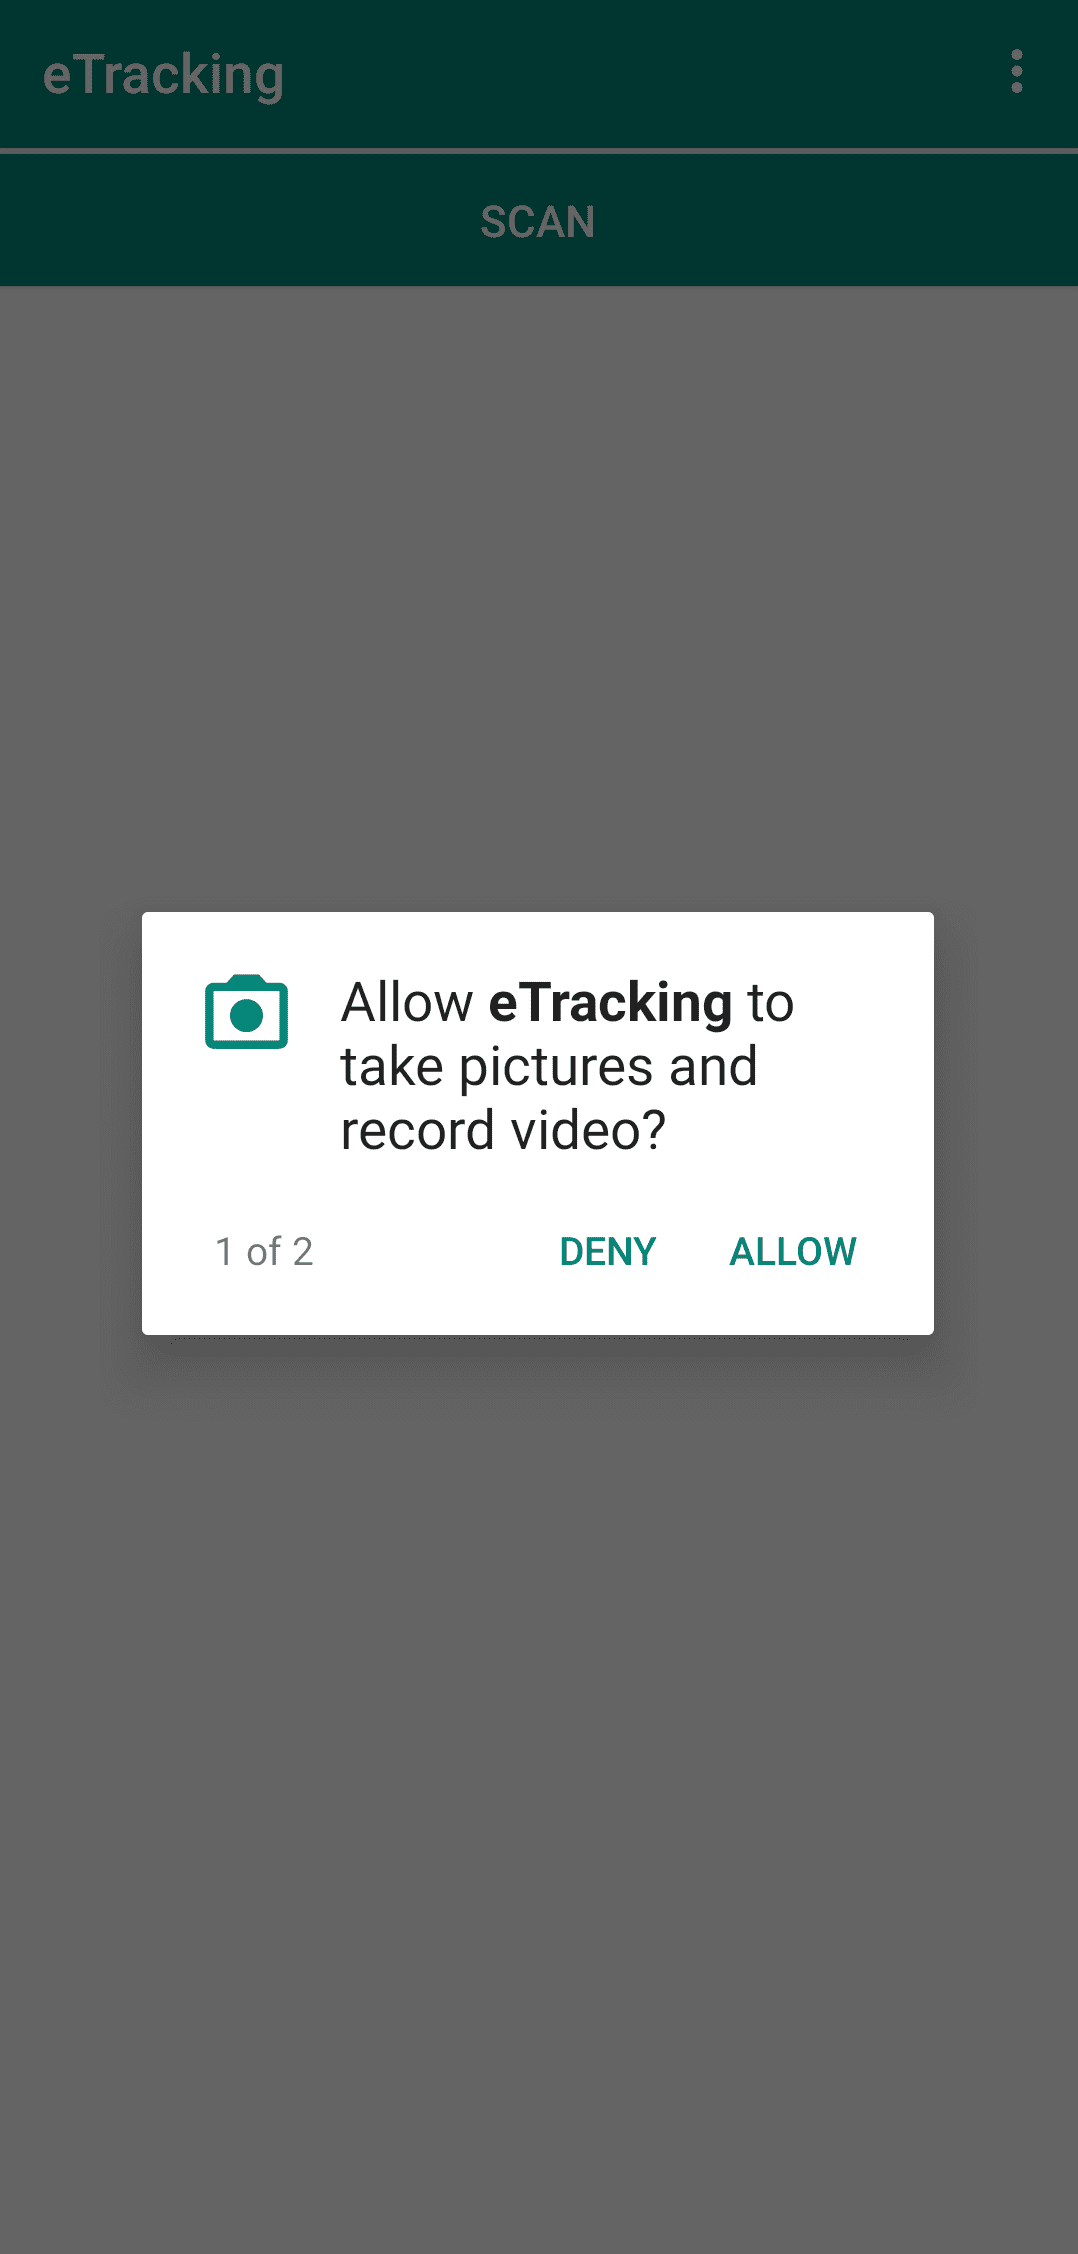
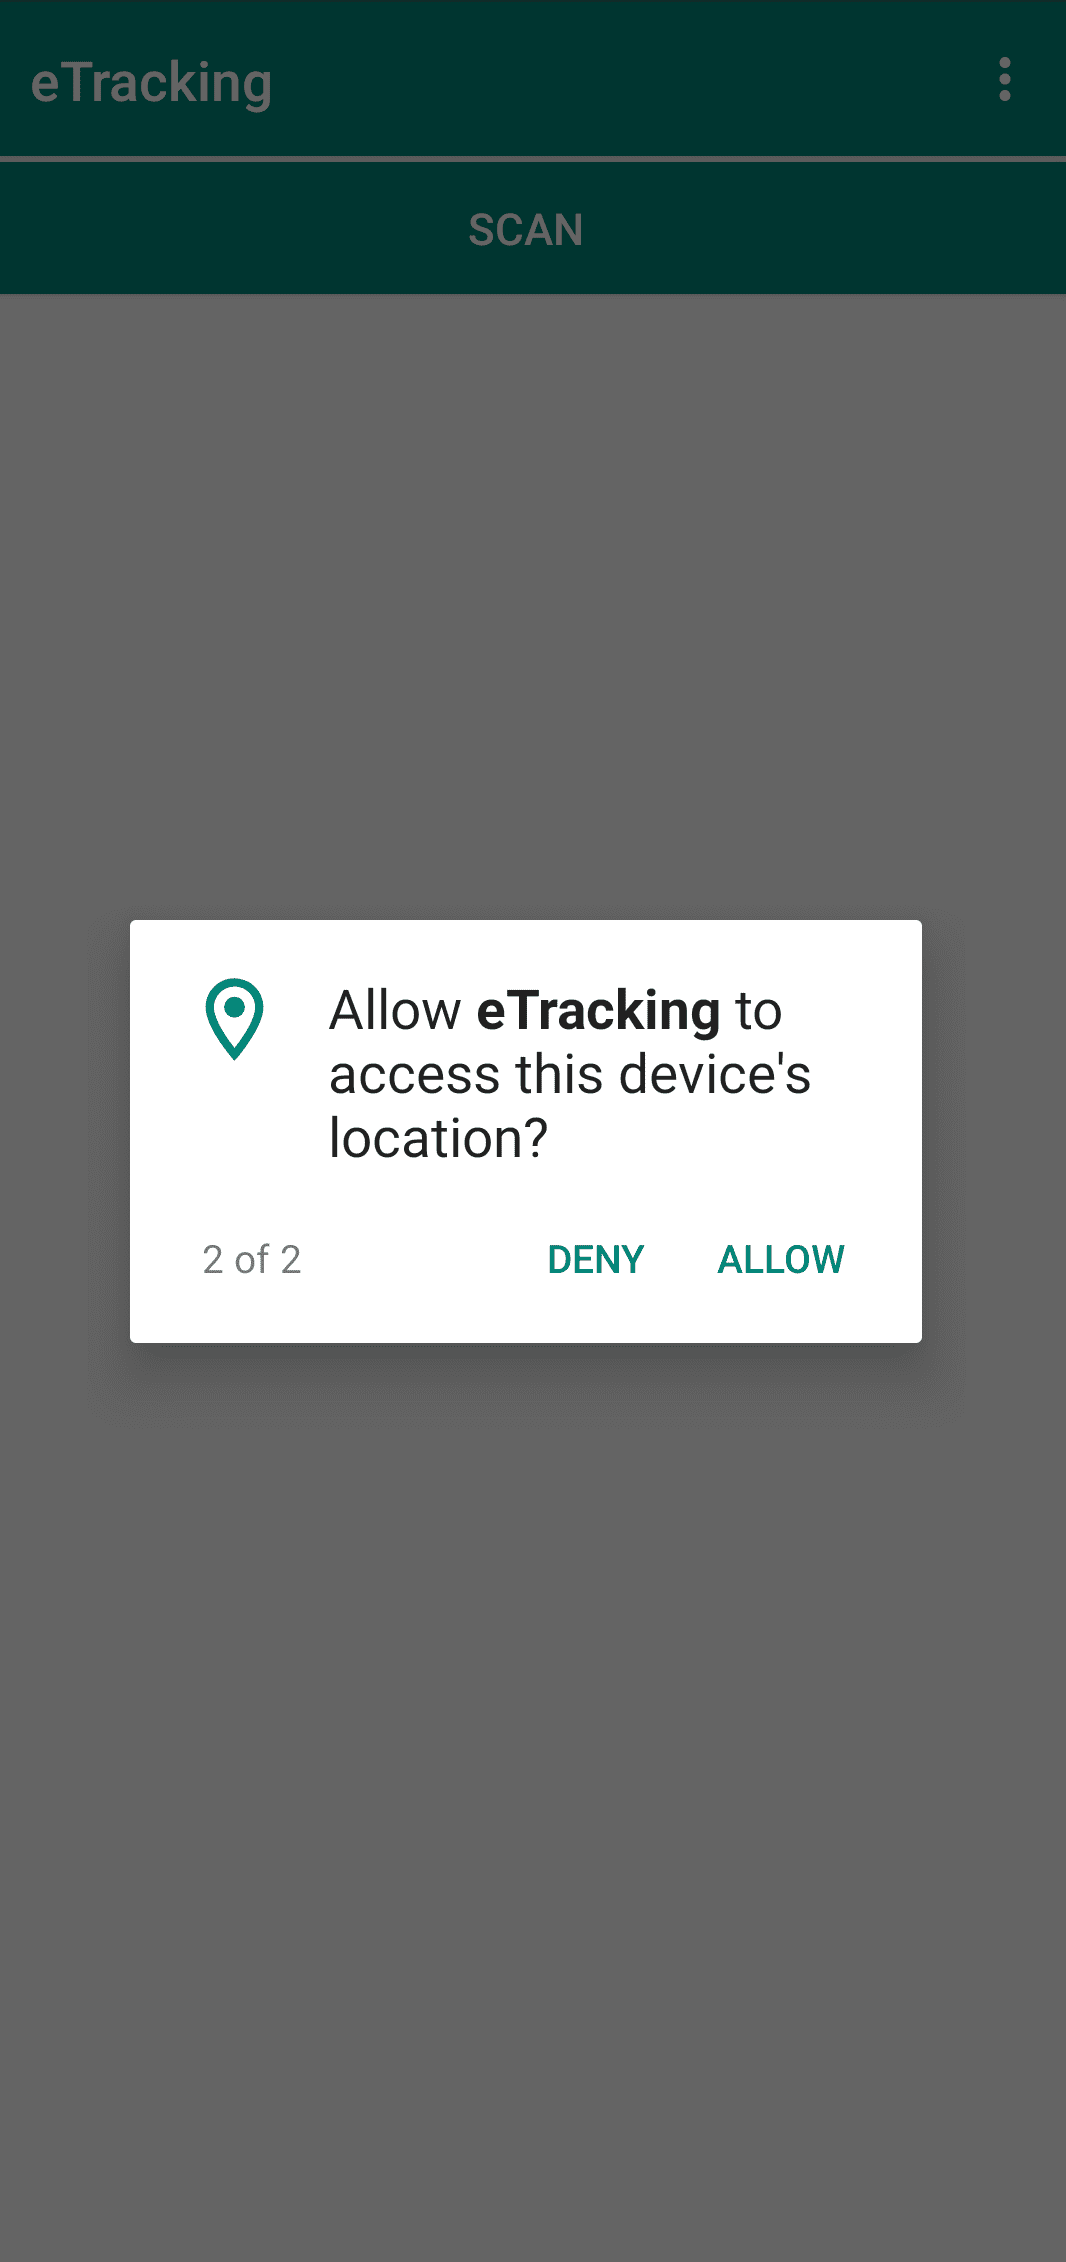
If you are using the app for the first time, it will prompt you to allow it two permissions.
1. Camera Permission
The app needs camera permission to scan the QR Code, so allow it.
2. Location
The next permission the app will be asking for is location permission. It’s for logging the location to the server. Allow it.
If you haven’t enabled GPS, the app will lead you to a page where you can enable it. In Android 9.1, it looks like below; it may be different for different versions.
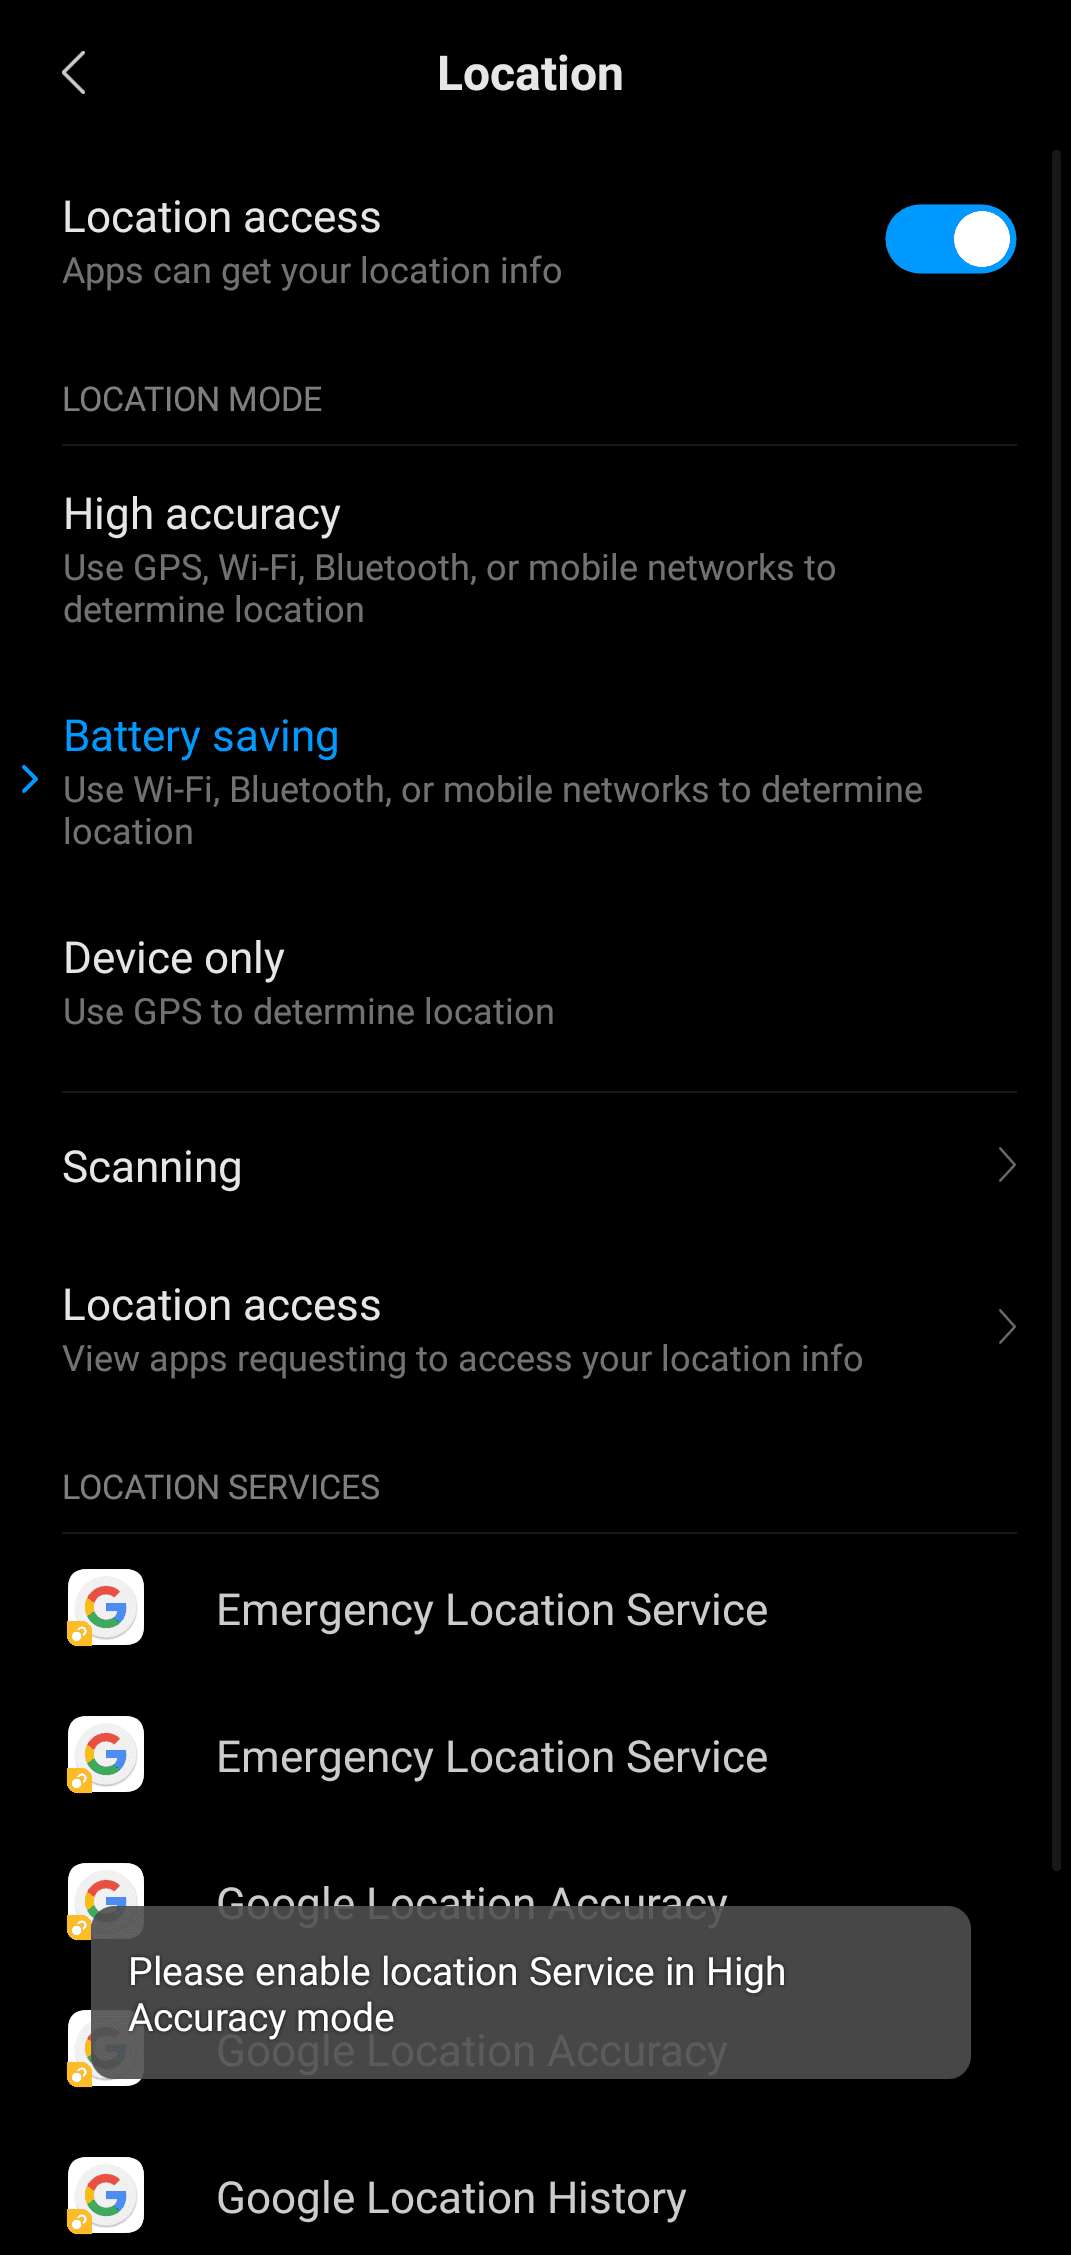
After enabling GPS, hit back and try the scan button again; it will launch the camera, which is the scanning interface. You can point the camera at the QR code, and if the scanning is successful, it will give you a result like below:
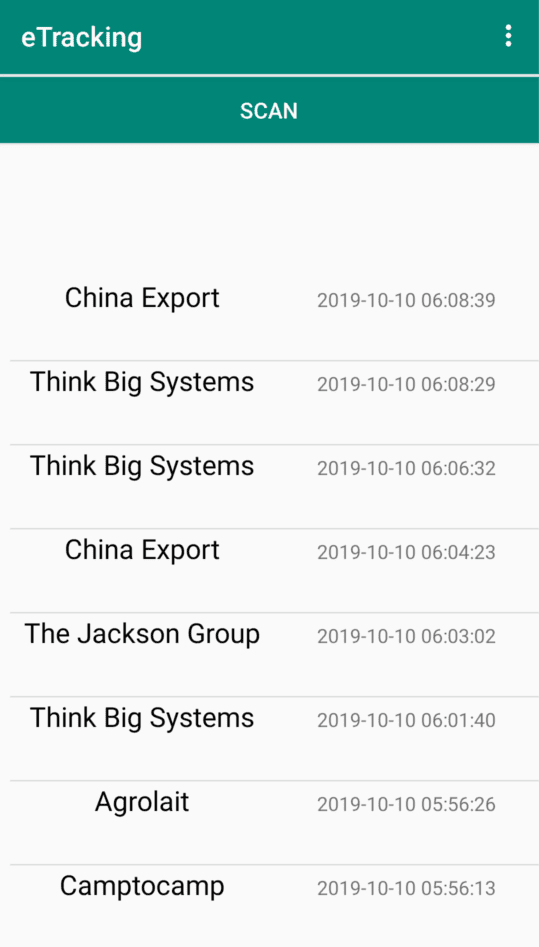
It will display the last 10 logs of the user as a list where the client's name will be displayed in black text, followed by the date and time.