-Shipping Connectors using DHL integration -Shipping Connectors using UPS integration
-Shipping Connectors using FedEx integration
-Shipping Connectors using Temando integration
-Shipping Connectors using USPS integration
-Barcode scanner support
Shipping Connectors using DHL integration:
Step1: Install Inventory Module.
Step2: Install DHL Shipping Module.
In order to use the Odoo DHL API, you will need:
- A DHL.com SiteID
- A DHL Password
- A DHL Account Number
Getting Site ID and password for countries other than United States (UK and Rest of the world)
You should contact DHL account manager and request integration for XML Express API. The presales should provide you live credentials.
Getting Site ID and Password for the United States
You need to write to xmlrequest@dhl.com along with your full Account details like account number, region, address, etc. to get API Access.
In meantime, for testing the solution, you can use the tests credentials as given in the demo data:
- SiteID: CustomerTest
- Password: alkd89nBV
- DHL Account Number: 803921577
Install Inventory Management Module.
Install DHL Shipping Module.
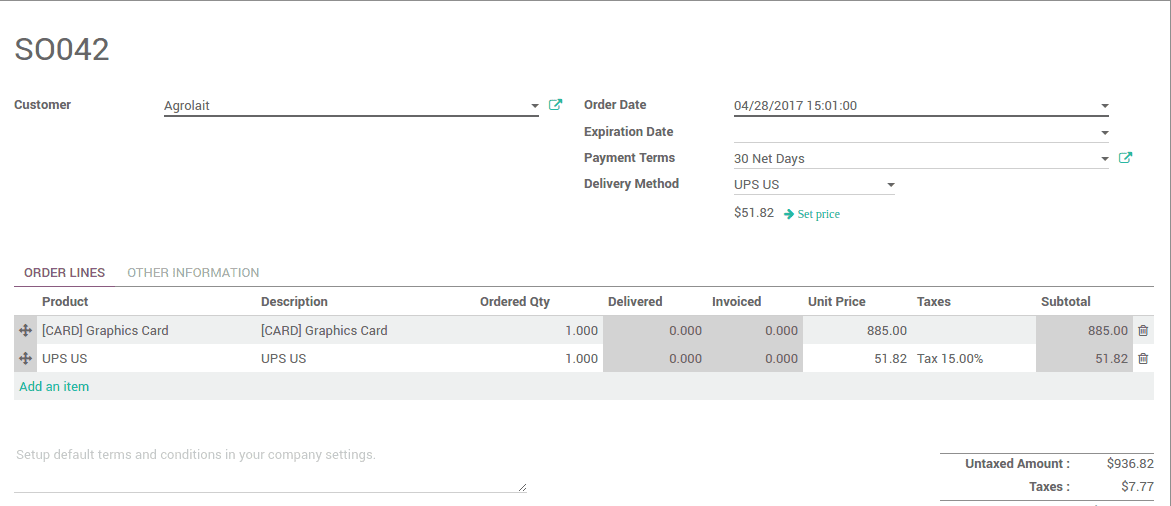
After this steps, when you create a sale order. You can select the Delivery method as DHL USA.
After the Sale order confirmation, click the Delivery button on the Top Right side of the form.
It leads to the corresponding warehouse delivery order.
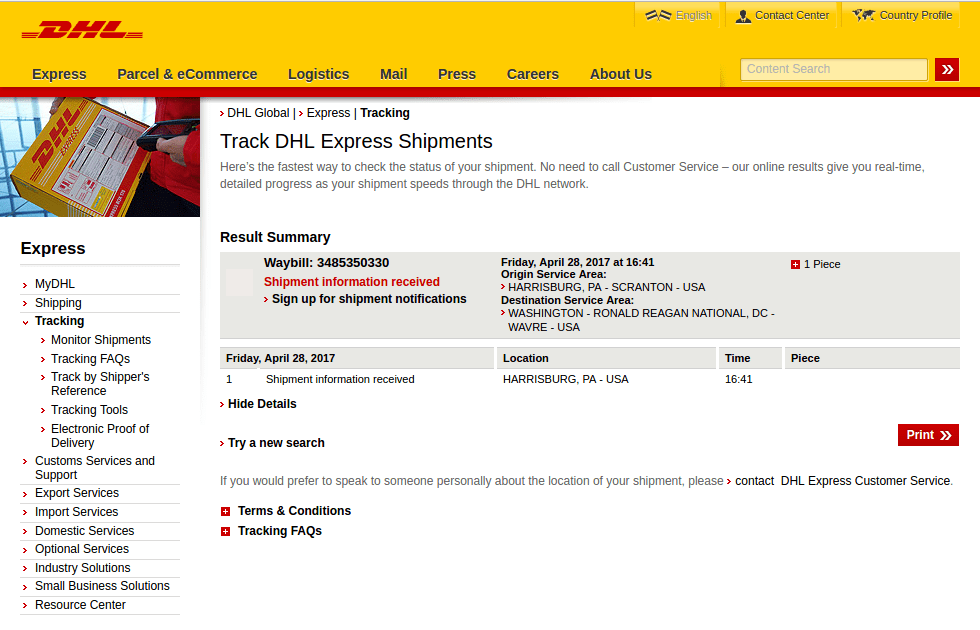
Here you can Track your Delivery. By clicking the Tracking button on the Top right side of the form.

The button leads you to the DHL websites tracking system. You can track your order here
Shipping Connectors using UPS integration:
In order to use the Odoo UPS API, you will need:
- A UPS.com user ID and password
- A UPS account number
- An Access Key
An Access Key is a 16 character alpha-numeric code that allows access to the UPS Developer Kit API Development and Production servers.
Create a UPS Account
Note that only customers located in the US can open a UPS account online. If you are located outside the US, you will need to contact UPS Customer Service in order to open an account.
You can read additional information about opening a UPS account on their website, on the page, How to open a UPS Account Online
If you don't already have a UPS account, you can create one along with your online profile by following these steps:
1. Access the UPS.com website at www.ups.com, and click the New User link at the top of the page.
2. Click the Register for MyUPS button, and follow the prompts to complete the registration process.
If you already have a UPS account, you can add it to your online profile as follows:
3. Log in to the UPS.com site (https://www.ups.com) using your UPS.com User ID and Password.
1. Click the My UPS tab.
2. Click the Account Summary link.
4. Click the Add an Existing UPS Account link in the UPS Account Details section of the page.
5. In the Add New Account screen, enter the UPS Account Number, Account Name, and Postal Code fields. The country defaults to the United States.
1. Click the Next button to continue.
Get an Access Key
After you have added your UPS account number to your user profile you can request an Access Key from UPS using the steps below:
1. Go to the UPS Developer Kit web page https://www.ups.com/upsdeveloperkit?loc=en US
2. Log into UPS.com with your user ID and password
3. Click on the link Request an access key.
4. Verify your contact information
5. Click the Request Access Key button.
The Access Key will be provided to you on the web page, and an email with Access Key will be sent to the email address of the primary contact.

For using FedEx, Temando, USPS – you can follow the same procedures.
When you install FedEx Shipping, Temando Shipping, United States postal service Shipping (USPS). You will get these services too.
FedEx Shipping selected sale order
USPS Shipping selected sale order
Temando Shipping selected sale order
Barcode scanner support:
Step1: Install Inventory Module.
Step2: Install Warehouse Management Barcode Scanning Module.
Select the Barcode Application from the Main UI
You can manage your operations and Inventory updates through this Barcode interface.
When you select the Operations, this window is opened
Select any operation and you can update the inventory through the Barcode scanner here.