In today's mobile applications, integrating camera functionality is becoming increasingly important for enhancing user experiences. Whether it's for profile pictures, social media posts, or capturing moments within an app, the ability to take pictures is a valuable feature. Flutter, known for its cross-platform capabilities, makes this task easier with its powerful plugins and libraries.
In this blog, we'll explore how to take a picture using the camera in a Flutter application.
Firstly, you need to grant permissions for cameras in your Flutter application's AndroidManifest.xml file
(<uses-permission android:name="android.permission.CAMERA"/>
as shown below:
Now add the following to your application’s info.plits:
<key>NSCameraUsageDescription</key> <string>We need access to your camera to take pictures.</string> <key>CFBundleDevelopmentRegion</key> <string>$(DEVELOPMENT_LANGUAGE)</string>
<key>NSCameraUsageDescription</key>: This key provides a message that is displayed to users when your app requests access to the camera. In this case, the message says, "We need access to your camera to take pictures."
<key>CFBundleDevelopmentRegion</key>: This key indicates the development region for your app. The $(DEVELOPMENT_LANGUAGE) placeholder refers to the base language that Xcode is using for localization. You can specify a specific language (e.g., en for English) instead of $(DEVELOPMENT_LANGUAGE), or keep it as a variable if managed via Xcode.
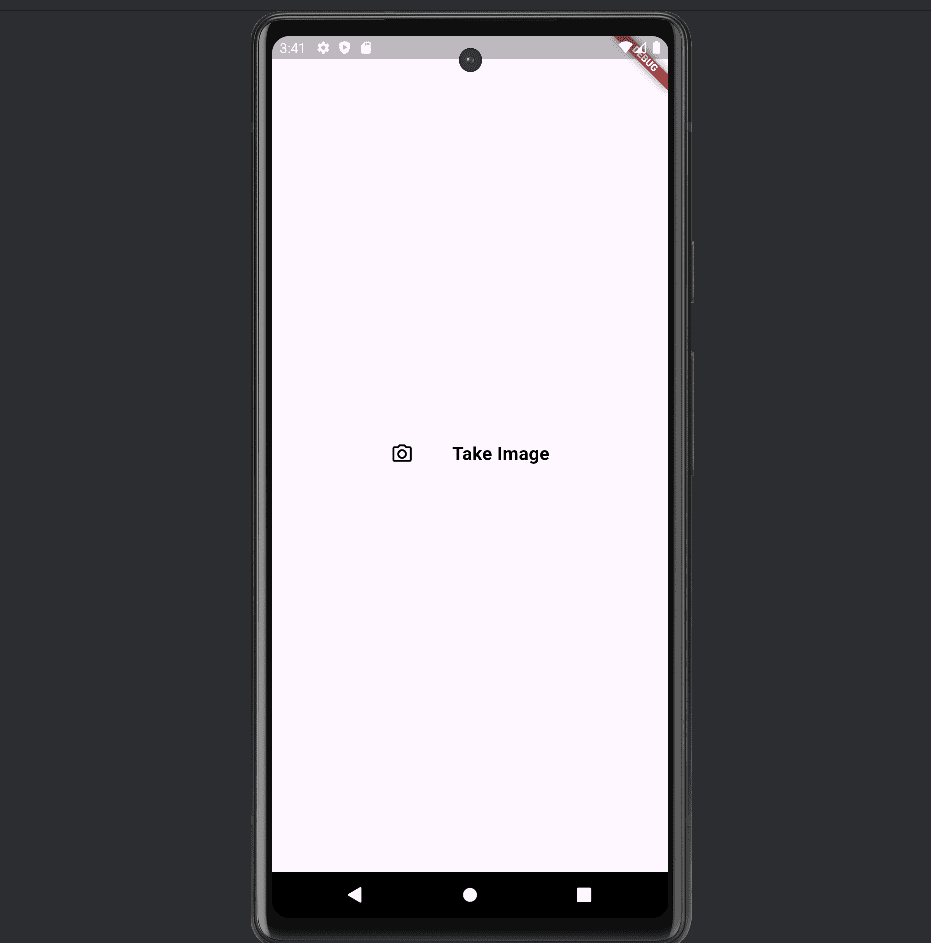
Now, add a camera icon to the body of your Flutter page. The code to implement this is provided below:
import 'package:flutter/material.dart';

class cameraPage extends StatefulWidget {
  const cameraPage({super.key});
  @override
  State<cameraPage> createState() => _cameraPageState();
}
class _cameraPageState extends State<cameraPage> {
  @override
  Widget build(BuildContext context) {
    return Scaffold(
      body: Center(
        child: Column(
          mainAxisAlignment: MainAxisAlignment.center,
          children: <Widget>[
            InkWell(
              child: Container(
                padding: EdgeInsets.symmetric(horizontal: 20, vertical: 10),
                child: Row(
                  mainAxisSize: MainAxisSize.min,
                  children: [
                    Icon(
                      Icons.camera_alt_outlined,
                      color: Colors.black,
                    ),
                    SizedBox(width: 40),
                    Text(
                      'Take Image',
                      style: TextStyle(
                          fontWeight: FontWeight.bold,
                          color: Colors.black,
                          fontSize: 19),
                    ),
                  ],
                ),
              ),
            ),
          ],
        ),
      ),
    );
  }
}
The output of the given code is:
Let's add the following code to Icons.camera_alt_outlined onPressed function.
XFile? pickedFile = await ImagePicker().pickImage(
      source: ImageSource.camera,
      preferredCameraDevice: CameraDevice.front,
      maxHeight: 1000,
      maxWidth: 1000,
    );
    if (pickedFile != null) {
      setState(() {
        imageFile = File(pickedFile.path);
      });
    }
    Navigator.pop(context);
From the above code
ImagePicker().pickImage(...): This function opens the device's camera to allow the user to take a photo.
Inside it uses the following:
* source: ImageSource.camera: Specifies that the image should be picked from the camera.
* preferredCameraDevice: CameraDevice.front: Forces the use of the front camera for capturing the image.
* maxHeight: 1000, maxWidth: 1000: Limits the image dimensions to a maximum of 1000x1000 pixels (helpful for saving storage and bandwidth).
The complete code is given below:
import 'dart:io';
import 'package:flutter/material.dart';
import 'package:image_picker/image_picker.dart';
class cameraPage extends StatefulWidget {
  const cameraPage({super.key});
  @override
  State<cameraPage> createState() => _cameraPageState();
}
class _cameraPageState extends State<cameraPage> {
  File? imageFile;
  void _getFromCamera() async {
    XFile? pickedFile = await ImagePicker().pickImage(
      source: ImageSource.camera,
      preferredCameraDevice: CameraDevice.front,
      maxHeight: 1000,
      maxWidth: 1000,
    );
    if (pickedFile != null) {
      setState(() {
        imageFile = File(pickedFile.path);
      });
    }
    Navigator.pop(context);
  }
  @override
  Widget build(BuildContext context) {
    return Scaffold(
      body: Center(
        child: Column(
          mainAxisAlignment: MainAxisAlignment.center,
          children: <Widget>[
            InkWell(
              onTap: _getFromCamera,
              child: Container(
                padding: EdgeInsets.symmetric(horizontal: 20, vertical: 10),
                child: Row(
                  mainAxisSize: MainAxisSize.min,
                  children: [
                    Icon(
                      Icons.camera_alt_outlined,
                      color: Colors.black,
                    ),
                    SizedBox(width: 40),
                    Text(
                      'Take Image',
                      style: TextStyle(
                          fontWeight: FontWeight.bold,
                          color: Colors.black,
                          fontSize: 19),
                    ),
                  ],
                ),
              ),
            ),
          ],
        ),
      ),
    );
  }
}
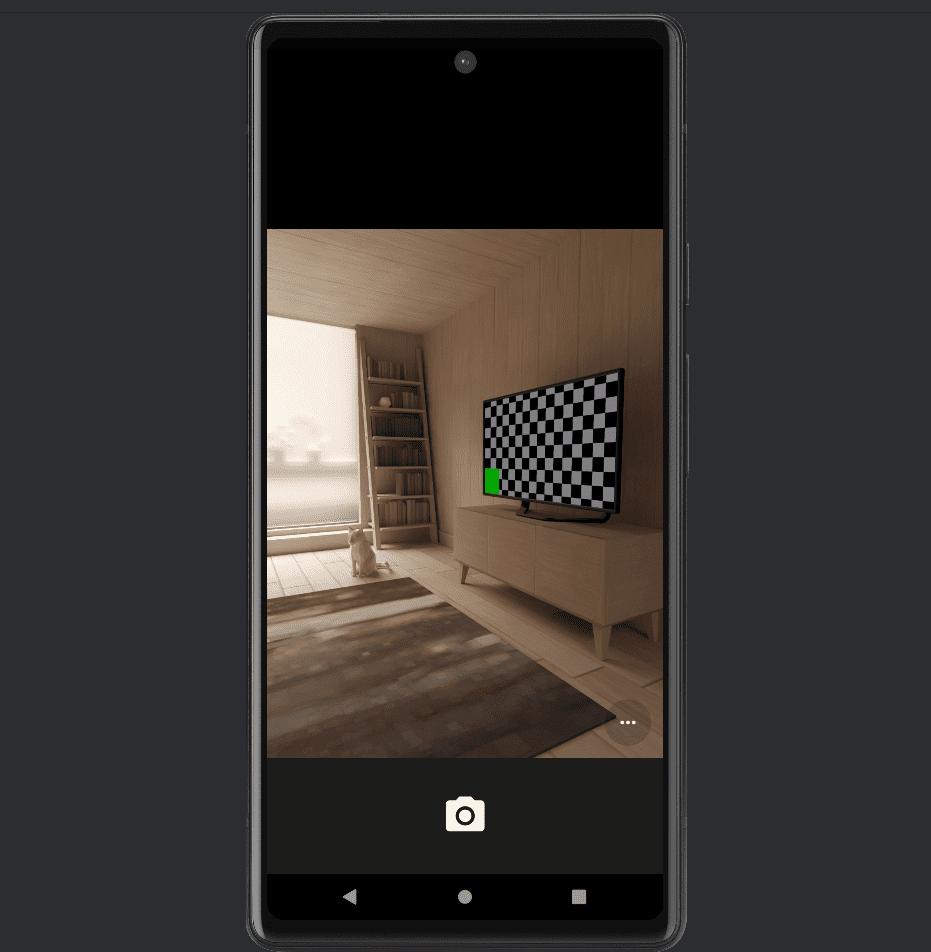
When clicking on the camera icon, you get the camera as shown below:
In this tutorial, we've walked through how to implement image capturing from the camera in a Flutter app using the ImagePicker package. By configuring options like selecting the front camera and limiting image size, you can effectively manage image capture for better performance and user experience.
To read more about How to Create & Optimize Image Attachments in Flutter, refer to our blog How to Create & Optimize Image Attachments in Flutter.