The subsequent task involves the installation of web dependencies.
Step 3: Install the wkhtmltopdf:
To cater to printing needs, Odoo 17 necessitates a version of wkhtmltopdf that surpasses 0.12.2. Wkhtmltopdf stands as an open-source command-line utility utilized for converting HTML content into PDF files utilizing Qt webkit. To proceed with installing wkhtmltopdf on your Ubuntu 22.04 server, adhere to the instructions provided below.
sudo wget https://github.com/wkhtmltopdf/wkhtmltopdf/releases/download/0.12.5/wkhtmltox_0.12.5-1.bionic_amd64.deb
sudo dpkg -i wkhtmltox_0.12.5-1.bionic_amd64.deb
sudo apt install -f
Step 4: Install PostgreSQL
Installs both the PostgreSQL server and the PostgreSQL client.
sudo apt install postgresql postgresql-client
You will now need to create a PostgreSQL user to manage the database server, specifically PostgreSQL. In our instance, we'll create a PostgreSQL user with the identical name as the system user created earlier, which is "odoo17."
sudo su - postgres
createuser --createdb --username postgres --no-createrole --no-superuser --pwprompt odoo17
The username and password are required for the configuration file. PostgreSQL utilizes a separate system user to execute tasks. To switch to this user, execute "sudo su -postgres" command. Afterward, you can create a database user specifically for Odoo 17.
psql
ALTER USER odoo17 WITH SUPERUSER;
Executing the mentioned command will grant the user superuser access rights. Afterward, it's advisable to log out of both Postgres and PSQL.
\q
exit
Step 5: Obtain Odoo 17 Source Code
You can obtain the Odoo 17 Community source code directly from Odoo's GitHub repository. Alternatively, you can clone it from Git. First, ensure you have Git installed, and then proceed by running the following commands:
sudo apt-get install git
The following command will clone the Odoo code into a directory named "Odoo17" within your home directory:
git clone https://www.github.com/odoo/odoo --depth 1 --branch 17.0 --single-branch odoo17
Step 6: Accessing the Odoo Project in PyCharm
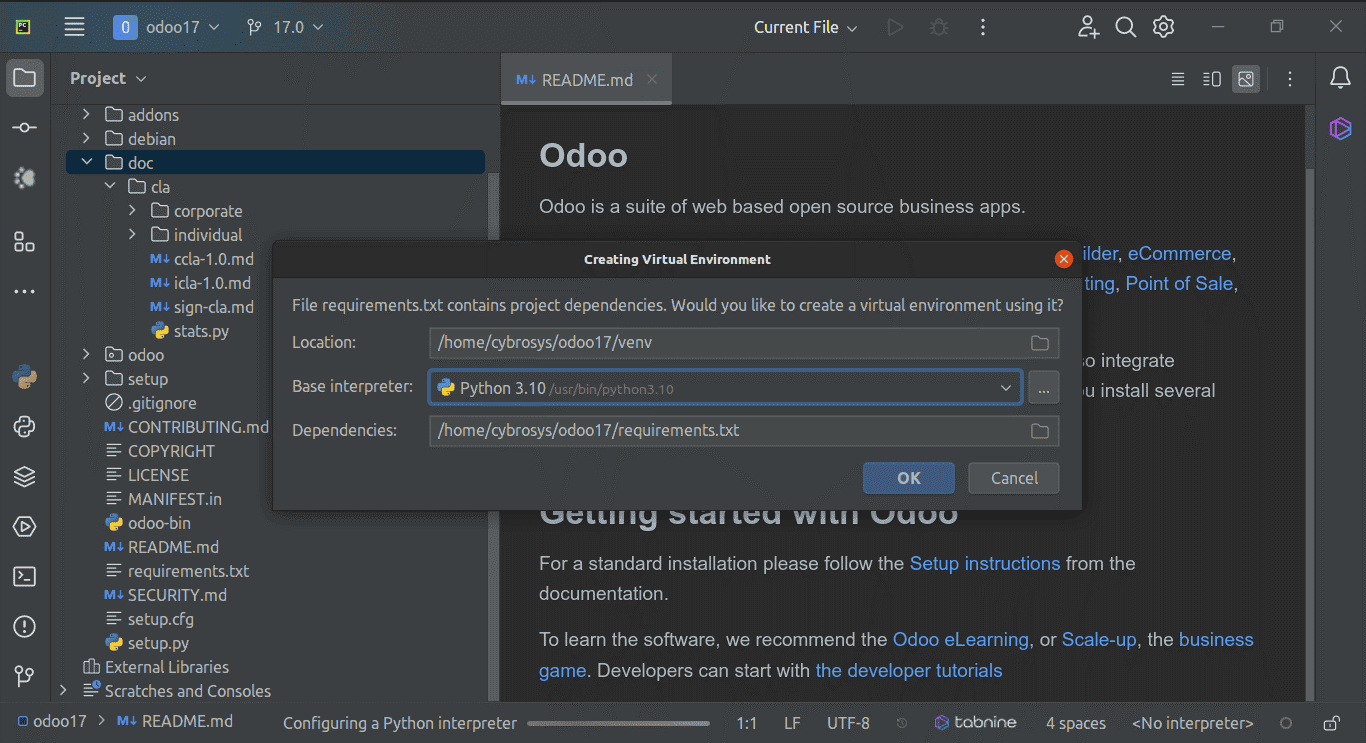
Launch PyCharm Community and navigate to the "Odoo17" directory. If a dialog box similar to the one shown in the picture below appears after the project is opened, it's intended for creating a virtual environment. However, since we'll be creating the virtual environment via the terminal, you can cancel it.
To access the terminal, either click on the icon depicted below or use the shortcut Alt + F12.
Next, utilize the commands provided below to create a virtual environment (venv) using Python 3.10:
curl -sS https://bootstrap.pypa.io/get-pip.py | python3.10
sudo apt install python3.10-venv
python3.10 -m venv your_venv_name
Upon closing and reopening the terminal, you will notice that your virtual environment has been activated. You'll see the indicator in the terminal similar to the example below, displaying the name of your virtual environment (venv):
If the previous command does not activate your virtual environment, you can utilize the following command:
source your_venv_name/bin/activate
Step 7: Installing Necessary Python Packages
You need to execute the following command in the terminal to install the necessary Python packages required by Odoo, which are listed in the "requirements.txt" file within the "Odoo17" directory:
pip install -r requirements.txt
If you encounter no errors during the installation process, you can use the following command to verify whether all the requirements listed in the "requirements.txt" file have been successfully installed:
pip list
If you encounter any errors during the installation process, you can individually install each requirement listed in the "requirements.txt" file using the following command:
pip install requirement_name
Example 1:
Example 2:

In most cases, when installing packages that are specified twice, only one of them should be installed. So, even if one of them fails to install, it should not be a problem.
If any prerequisites specified with sys_platform as 'win32' encounter installation failures, they should not be installed. In the event of errors during the installation of the package "psycopg2==2.9.2 ; sys_platform != 'win32' and python_version <= '3.10' or psycopg2==2.9.5 ; python_version > '3.10' or sys_platform == 'win32'", instead, use the following command to install an alternative package.
pip install psycopg2-binary
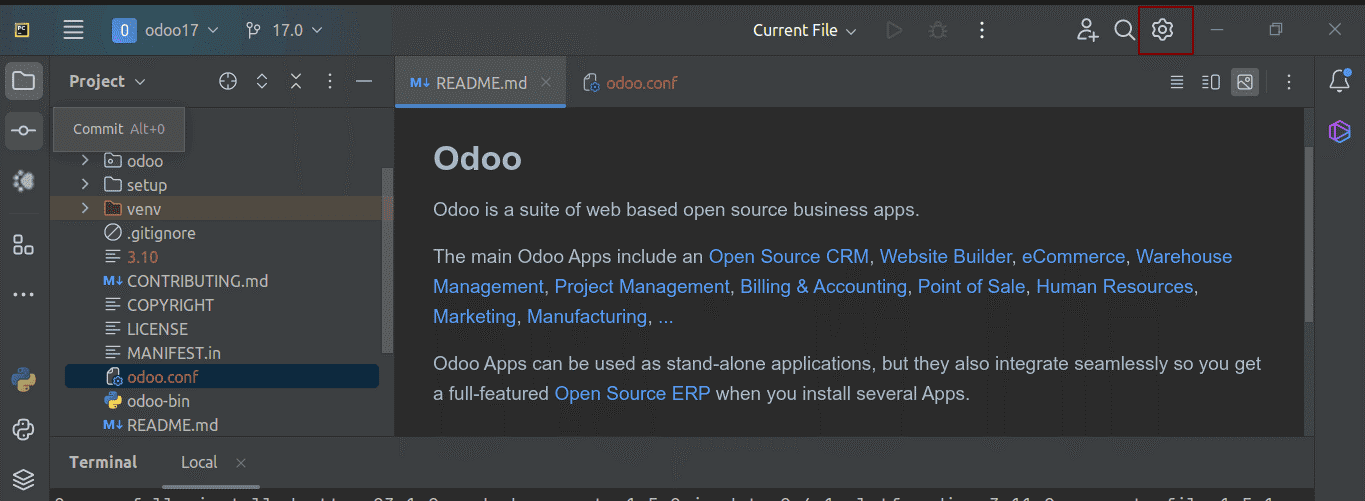
Step 8: Generate the odoo.conf File in the Odoo17 Directory
To create the configuration file, follow these steps:
1. Right-click on the directory.
2. Select "New" -> "File" -> "odoo.conf".
3. Insert the following block into the "odoo.conf" file.
4. Update the db_password field with the password you specified for the database user "Odoo17" in the previous step.
[options]
admin_passwd = admin
db_host = localhost
db_port = 5432
db_user = odoo17
db_password = your_password
addons_path = /home/user/odoo17/addons
xmlrpc_port = 8017
To update the addons_path value with the actual path to the "Odoo17" addons directory, follow these steps:
1. Navigate to the addons directory.
2. Press Ctrl + Shift + C to copy the path to the current directory.
3. Replace the placeholder value in the addons_path parameter in the "odoo.conf" file with the copied path.
eg: addons_path = /home/user/odoo/addons, /home/user/odoo/custom_addons
Step 9: Add Python Interpreter
Go to Settings -> Project: odoo17 -> Python Interpreter to configure a Python interpreter.
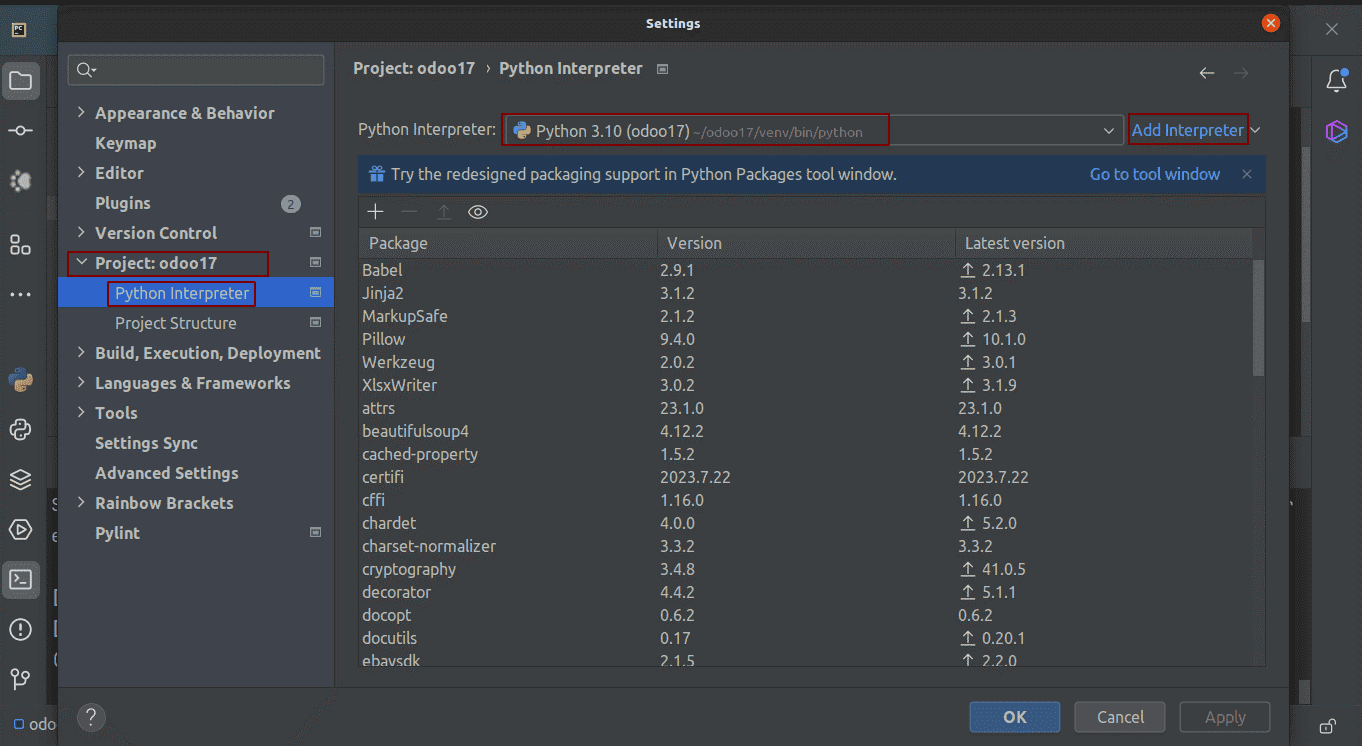
When you open the mentioned window, if the interpreter (Python 3.10 from the Odoo17 virtual environment) is already configured, no changes are necessary. However, if it's not set up, follow these steps:
Select the "Add Interpreter" option.
Navigate to the location where the Python interpreter from the Odoo17 virtual environment is located.
Choose the interpreter and confirm the selection.
Step 10: Add Project Configuration in Pycharm
To configure the settings, navigate to "Edit Configurations" under the "Current File" menu.
When the dialogue box appears, as shown below, click the "+" button and choose "Python" from the list.
Afterward, you can fill in the fields as depicted in the image below.
Name: Provide any desired name for the configuration.
Python Interpreter: Ensure to include the Python interpreter for this project, which should auto-populate if set up previously.
Script Path: Select the "odoo-bin" file from the "odoo17" directory.
Parameters: Add necessary parameters for script execution, including the required "-c" parameter and any additional ones. Additionally, include the path to the configuration file.
Working directory: Specify the location of the project's current working folder.
Step 11: Testing Odoo 17
With Odoo's setup complete, it's time to test it out. Simply click the button below to launch the project and see it in action.
Now, you can test localhost:8017 in your web browser. If all your configurations were successful, the Odoo database management interface will open, resembling the image below.
This is how Ubuntu 20.04 users may set up an Odoo 17 Pycharm development environment.