Web-based tools and sites may have error notices that are missed, which can cause confusion and inaccurate information. They have the power to transform annoyance into joy and are essential for promoting brand and customer experience. The user experience can be enhanced by providing minor data such as the incident's cause, location, and appropriate person. It is important to swiftly rectify these problems in order to provide a seamless transition and preserve a favorable user experience.
Odoo 16 offers a powerful platform for managing sales documents and invoicing efficiently. One of its standout features is the ability to set warnings and block messages for specific customers during the invoicing process. As we place sale or buy orders, we will get the product and consumer warning features. For configuring notifications and warning messages on buyers, sellers, or items, the Warning and Alert are particularly helpful. In this blog, we will explore the steps to configure and utilize this warning feature in the Odoo 17 Accounting module.
How to Configure Warning Messages in Odoo
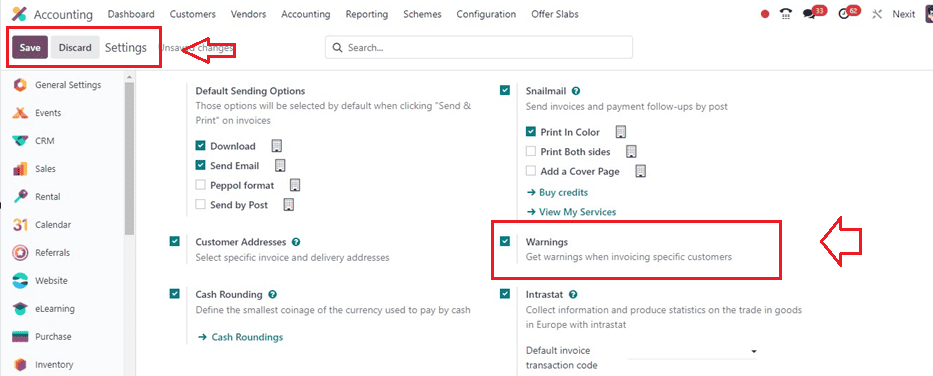
First, activate the 'Warnings' option in the Odoo 17 Accounting module's Settings box to activate the warning function. Go to the "Settings" window by selecting it from the "Configuration" menu. Then, go to the ‘Customer Invoices ‘ tab and activate the ‘Warnings’ option. Ensure that the Warning option is activated by checking the corresponding box. Don't forget to click "Save" to keep the changes made.
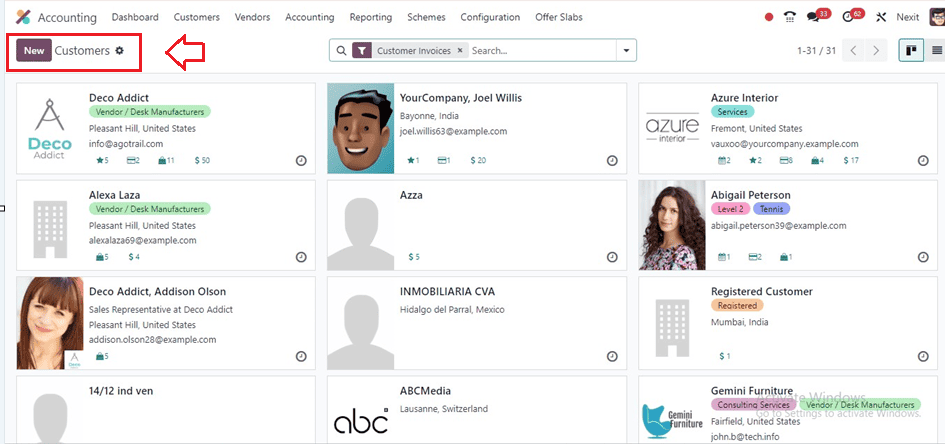
Once the Warning option is activated, head to the ‘Customers’ menu within the Accounting module. Here, you can view existing customer records or create new ones using the ‘New’ button.
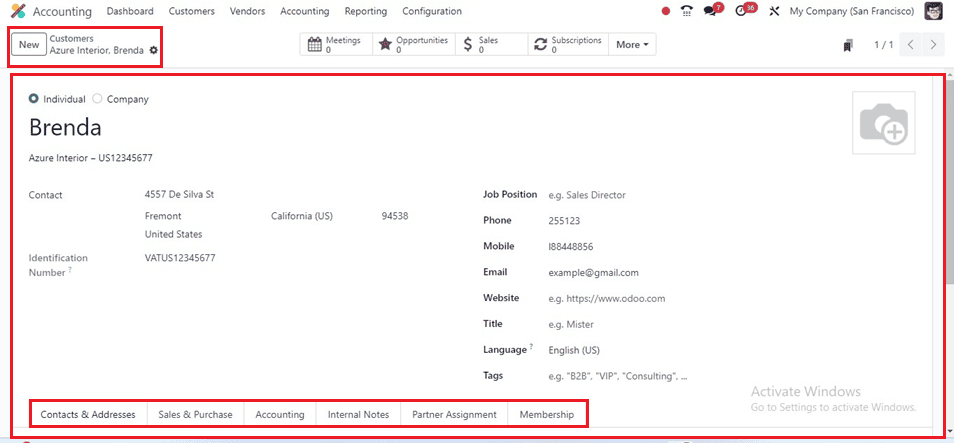
You can see a number of fields in the creation form where you may enter all of the customer data in the relevant fields. In addition to the form view, you can also see the following tabs: Partner Assignment, Internal Notes, Sale & Purchase, Accounting, Contact & Addresses, and Membership.
While creating a new customer, you have the option to set warnings by navigating to the Internal Notes tab.
The Internal Notes tab allows users to view warning options, including WARNING ON THE INVOICE. For a particular consumer, users can set warnings or ban communications using the WARNING ON THE INVOICE option. You can see some warning options, including 'No Message, Warning, and Blocking Message' inside the ‘Warning’ field, as shown below.
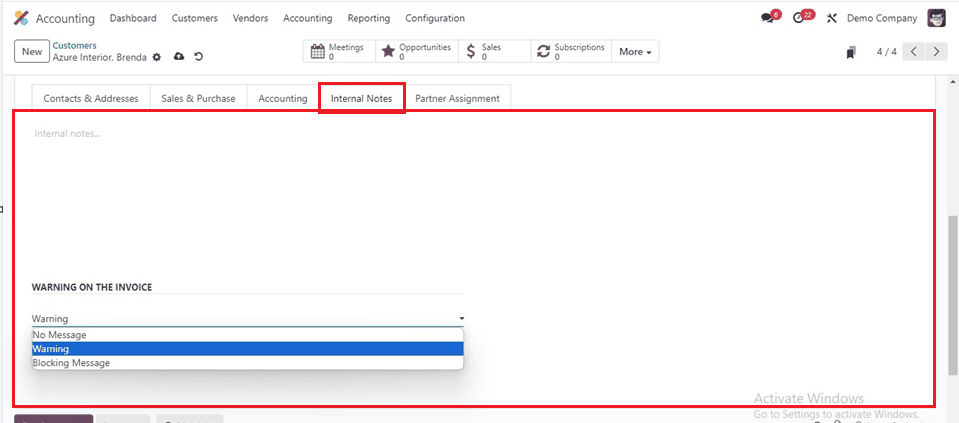
To create an invoice with warning messages for this customer, Brenda, select the customer and create a warning message under the provided field. I have just provided a sample message, “Sample Warning,” as illustrated in the above screenshot.
Save the data after filling in the form fields. And move on to the next process.
Creating an Invoice
To generate an invoice, select the 'Invoices' option from the 'Customers' tab and open the Invoices window, as shown in the picture.
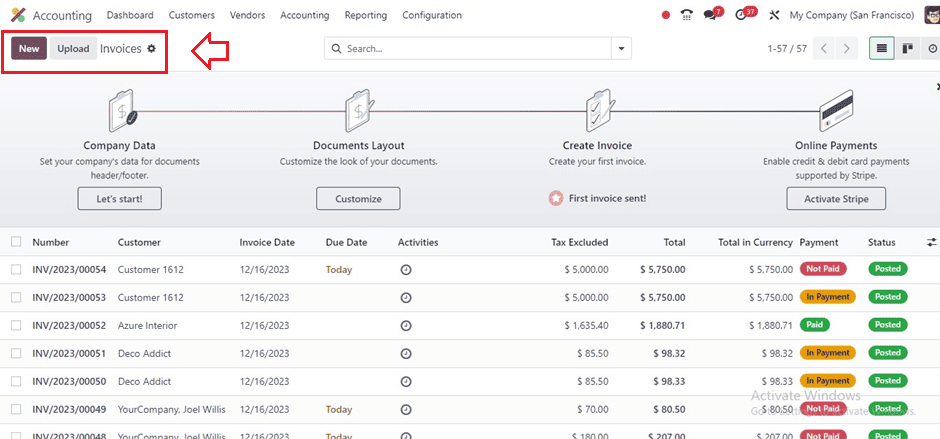
Open a new invoice configuration form using the ‘New’ menu and provide the essential form data in the fields. Next, fill in the "Customer" column with the customer's name. As soon as you choose the specific client name as indicated below, you will see the warning message that we previously set up, as depicted in the screenshot below.
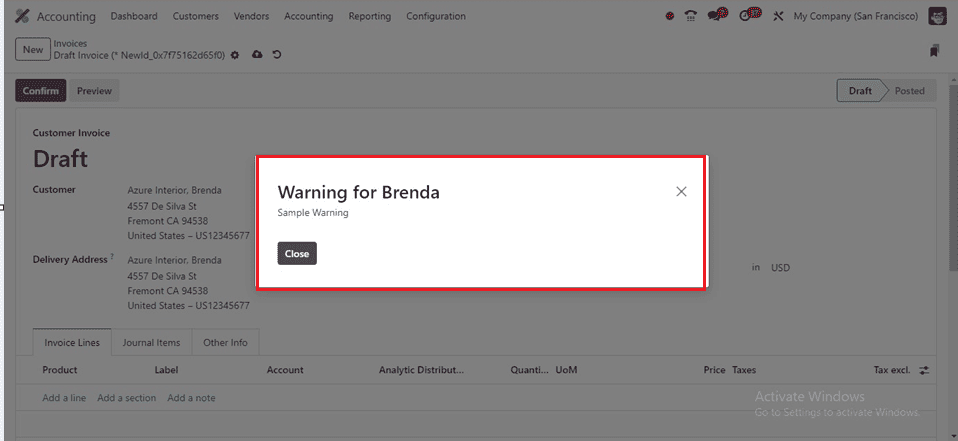
You can provide this kind of warning message for various customers according to your business requirements using the Odoo 17 Accounting settings. This feature efficiently configures notifications and warning messages on buyers, sellers, or items.