Planning is necessary for an organization to meet the target and goals requirements as per customer needs. Accurate time management in a company leads to correct planning for each activity. Planning is vital to remove unexpected problems and burdens in a firm. Most companies in the US need to schedule projects, sales orders, resources, and more for employees. Effective ERP software leads to boosting your workflow within less time. The functioning of every department runs smoothly with the support of the Odoo 16 Planning module. You can access proper planning in each work once imparting Odoo ERP software.
This blog defines the process of scheduling projects for employees in a US Company using Odoo 16 Fleet.
We can configure shift templates, employees, roles, and more within Odoo 16 Fleet application. Moreover, the evaluation of planning analysis is made possible through Reporting feature. It is easy to schedule various plans for employees as per company needs in Odoo 16.
To Generate New Roles for Employees in a USA Company
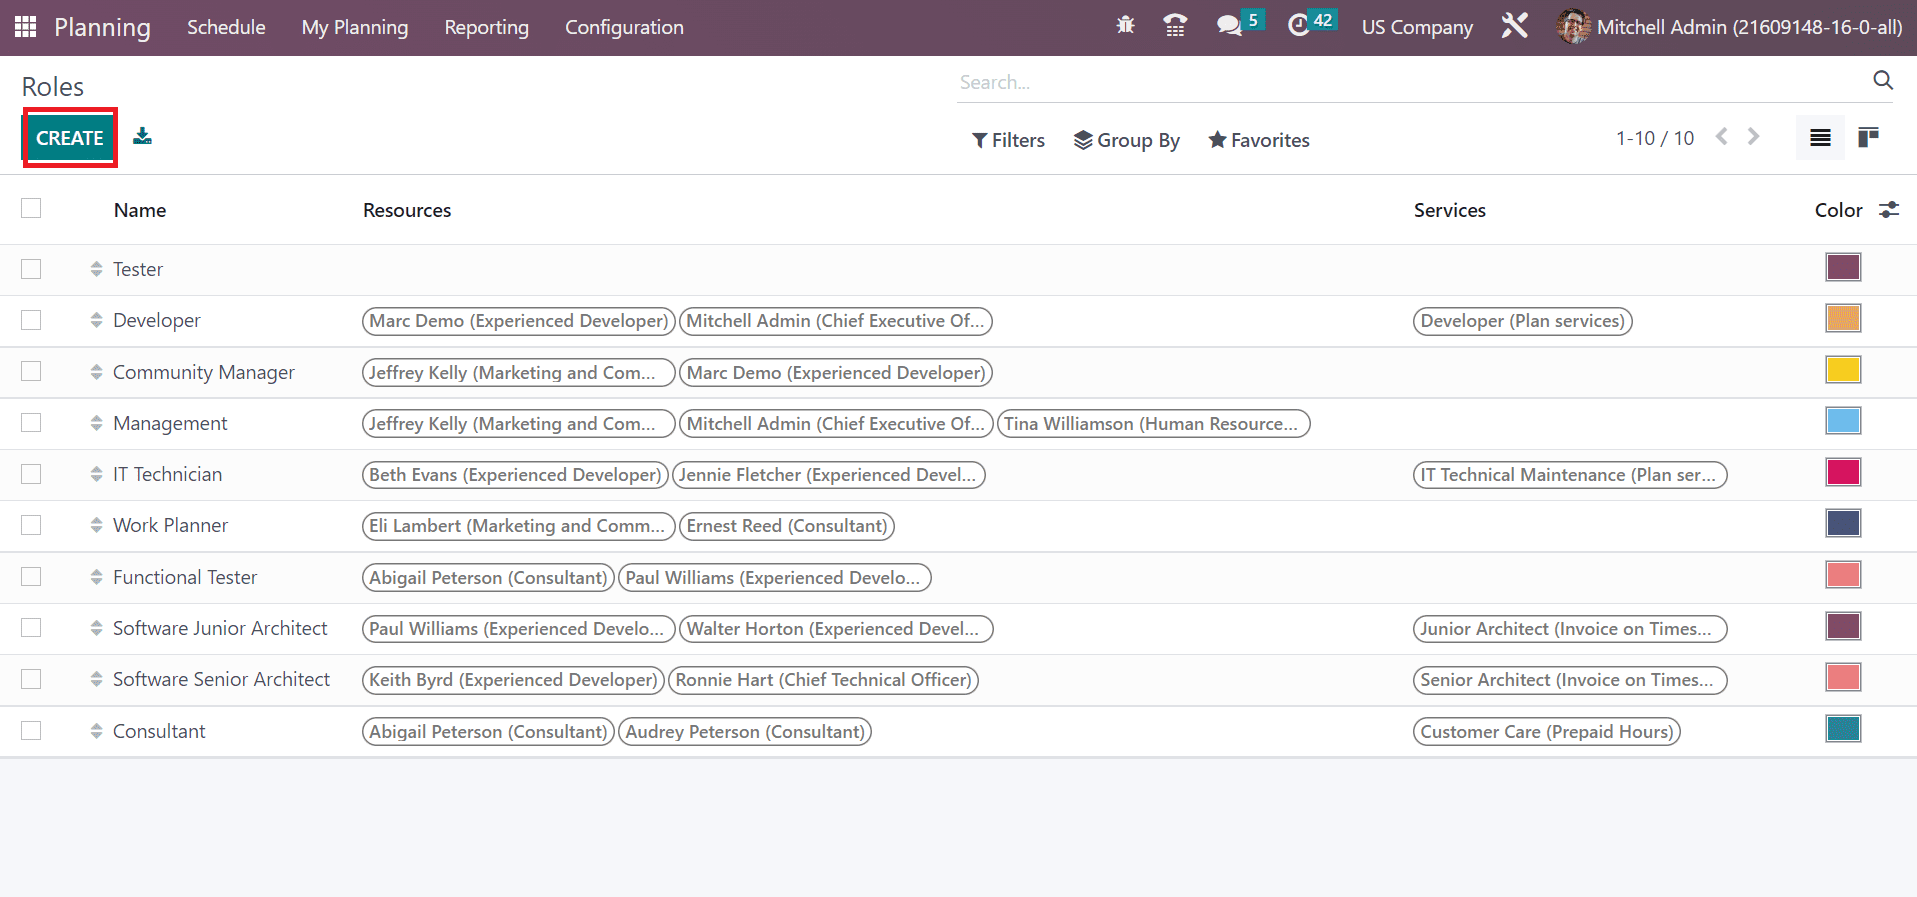
Each organization contains different departments to meet with the company's work for clients/customers. Users can manage all employees' roles in each department separately in a US company once using Odoo 16 Planning. You can select the Roles menu in Configuration, and a list of all roles is acquirable to you. Users can access data regarding each role, such as Name, Services, etc. Select the CREATE icon in the Roles window to develop a new job role for an employee, as mentioned in the screenshot below.
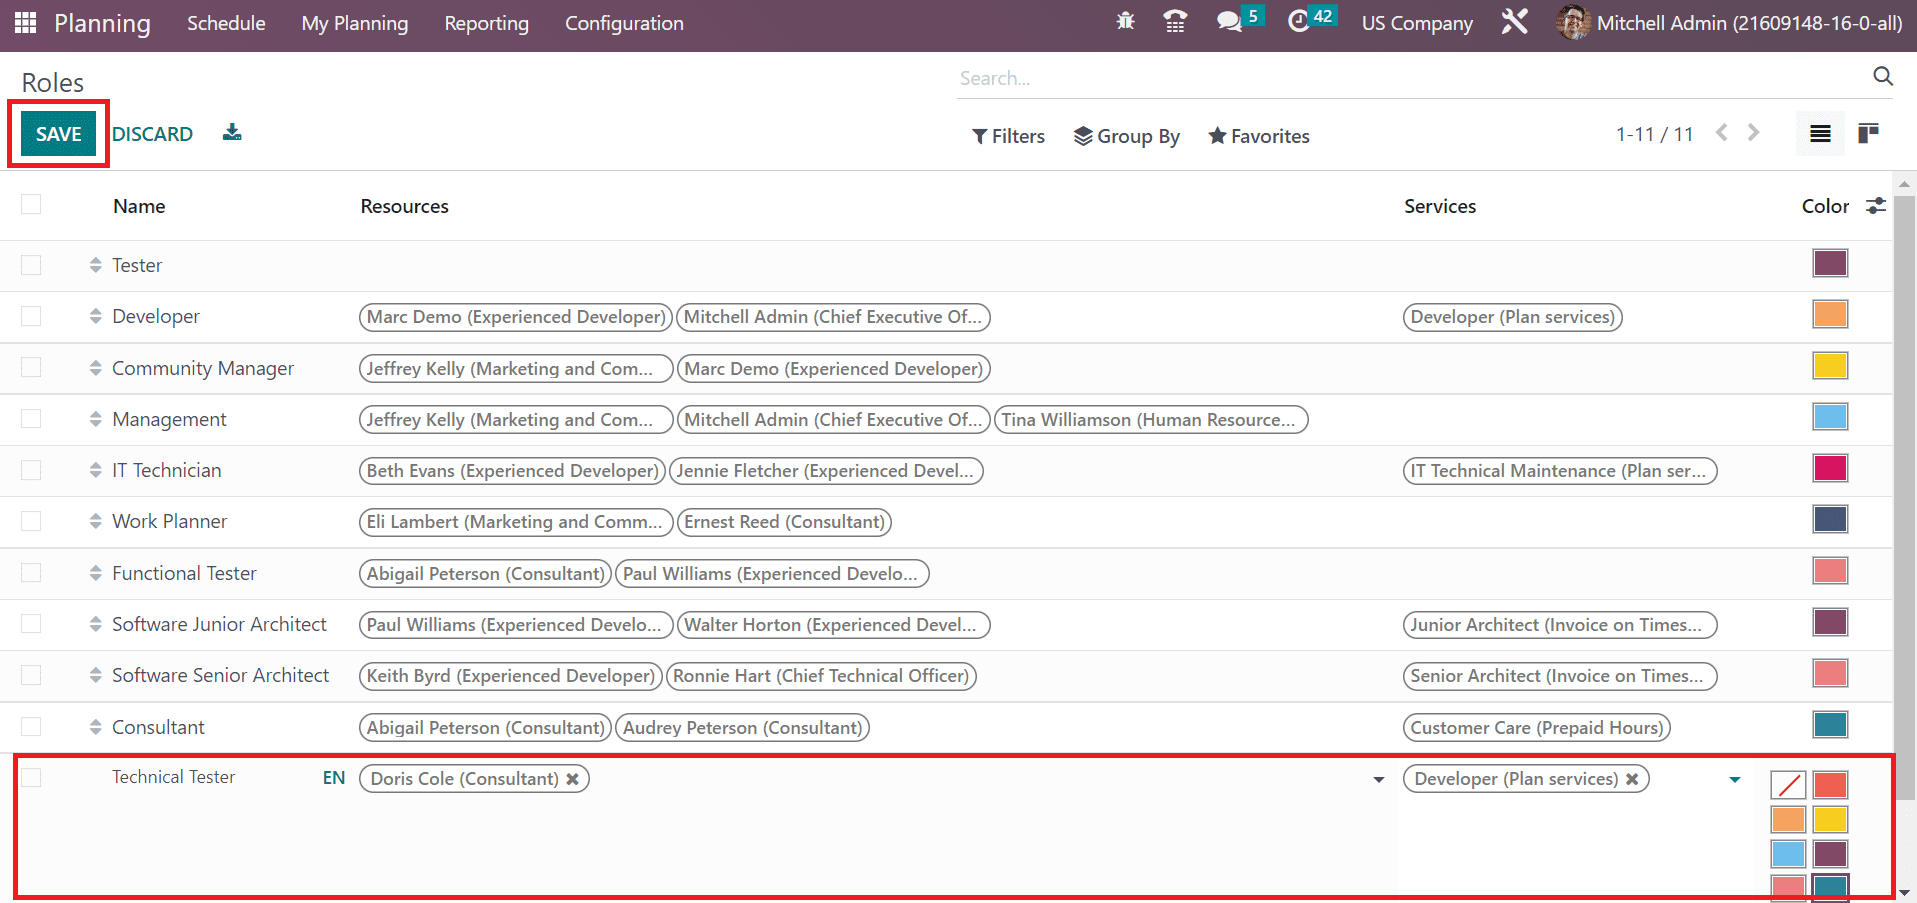
A new space opens at the end of the Roles window. Add the Role Name as Technical Test and choose the necessary resources/services for the specific role. After entering the role details, click the SAVE button, as displayed in the screenshot below.
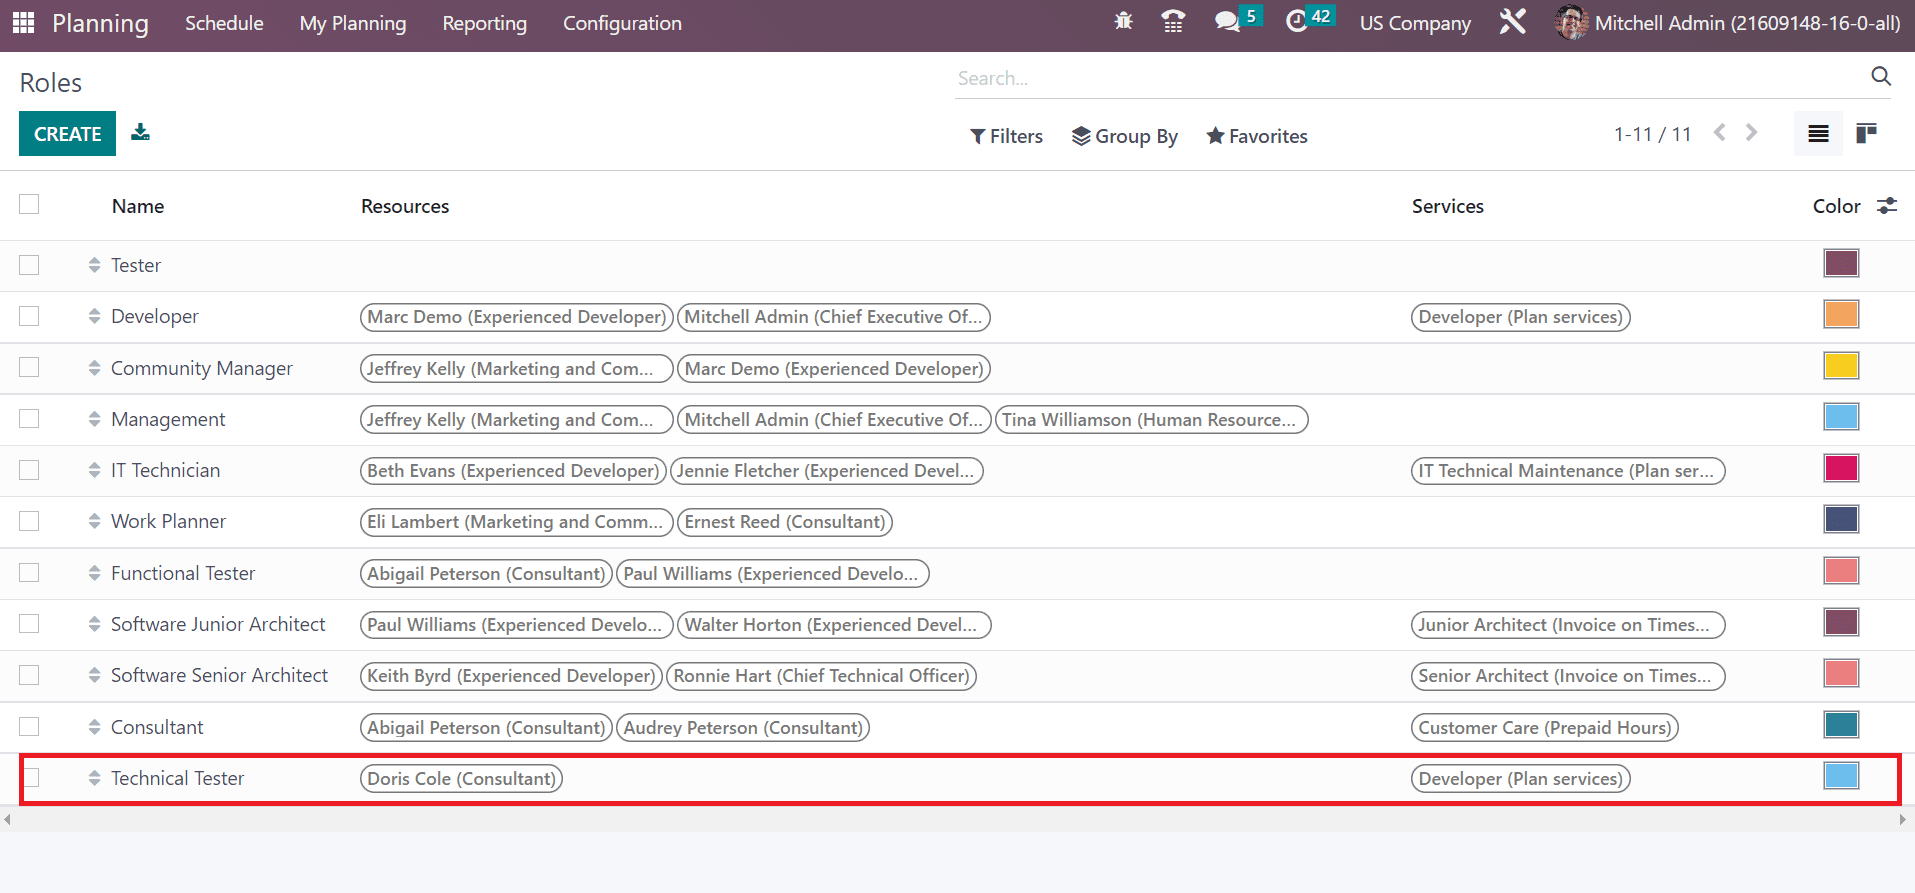
You can see the created job role once saving the data as specified in the screenshot below.
How to Formulate an Employee Data in Odoo 16 Planning?
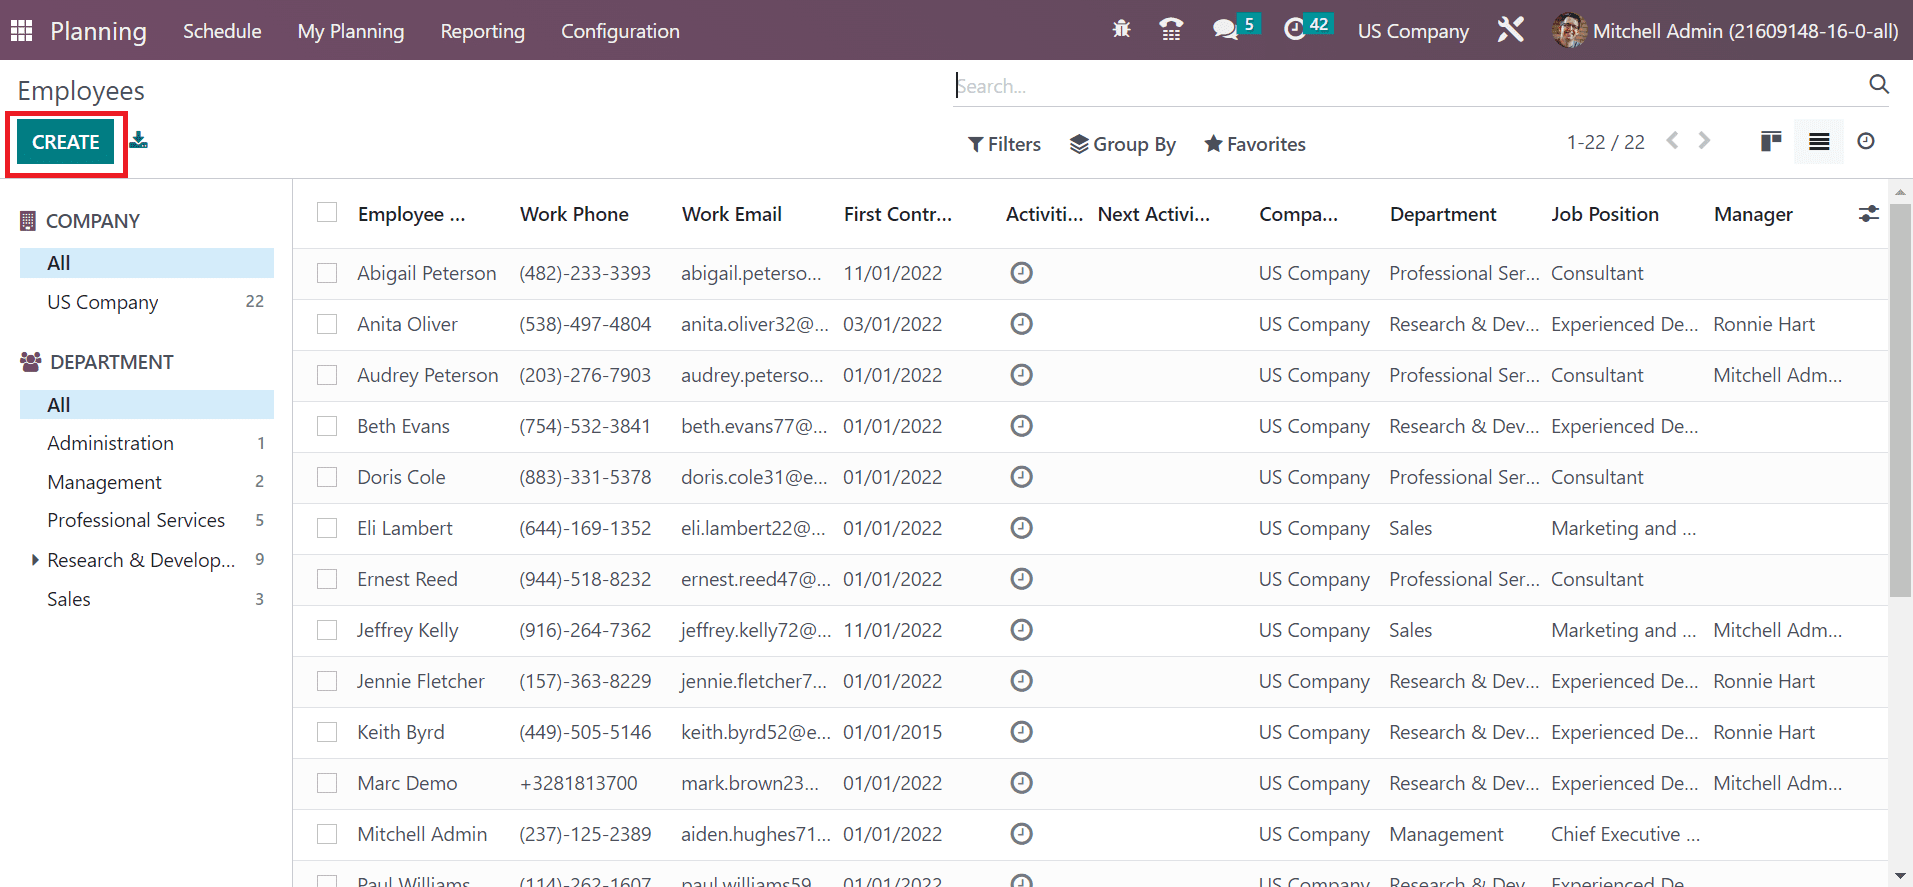
We can set a record of all employees in a company using the Odoo 16 Planning module. Choose the Employees menu in the Configuration tab; a list of all is accessible to you. Users can obtain data from each employee, such as Work Email, Job Position, Employee, Company, and more. Click the CREATE button to produce new employee data in Odoo, as pointed out in the screenshot below.
In the open screen, enter the Employee name as Shahna Sheik and set the Job role as Technical Tester. Users can add the image of a worker on the right side, as described in the screenshot below.
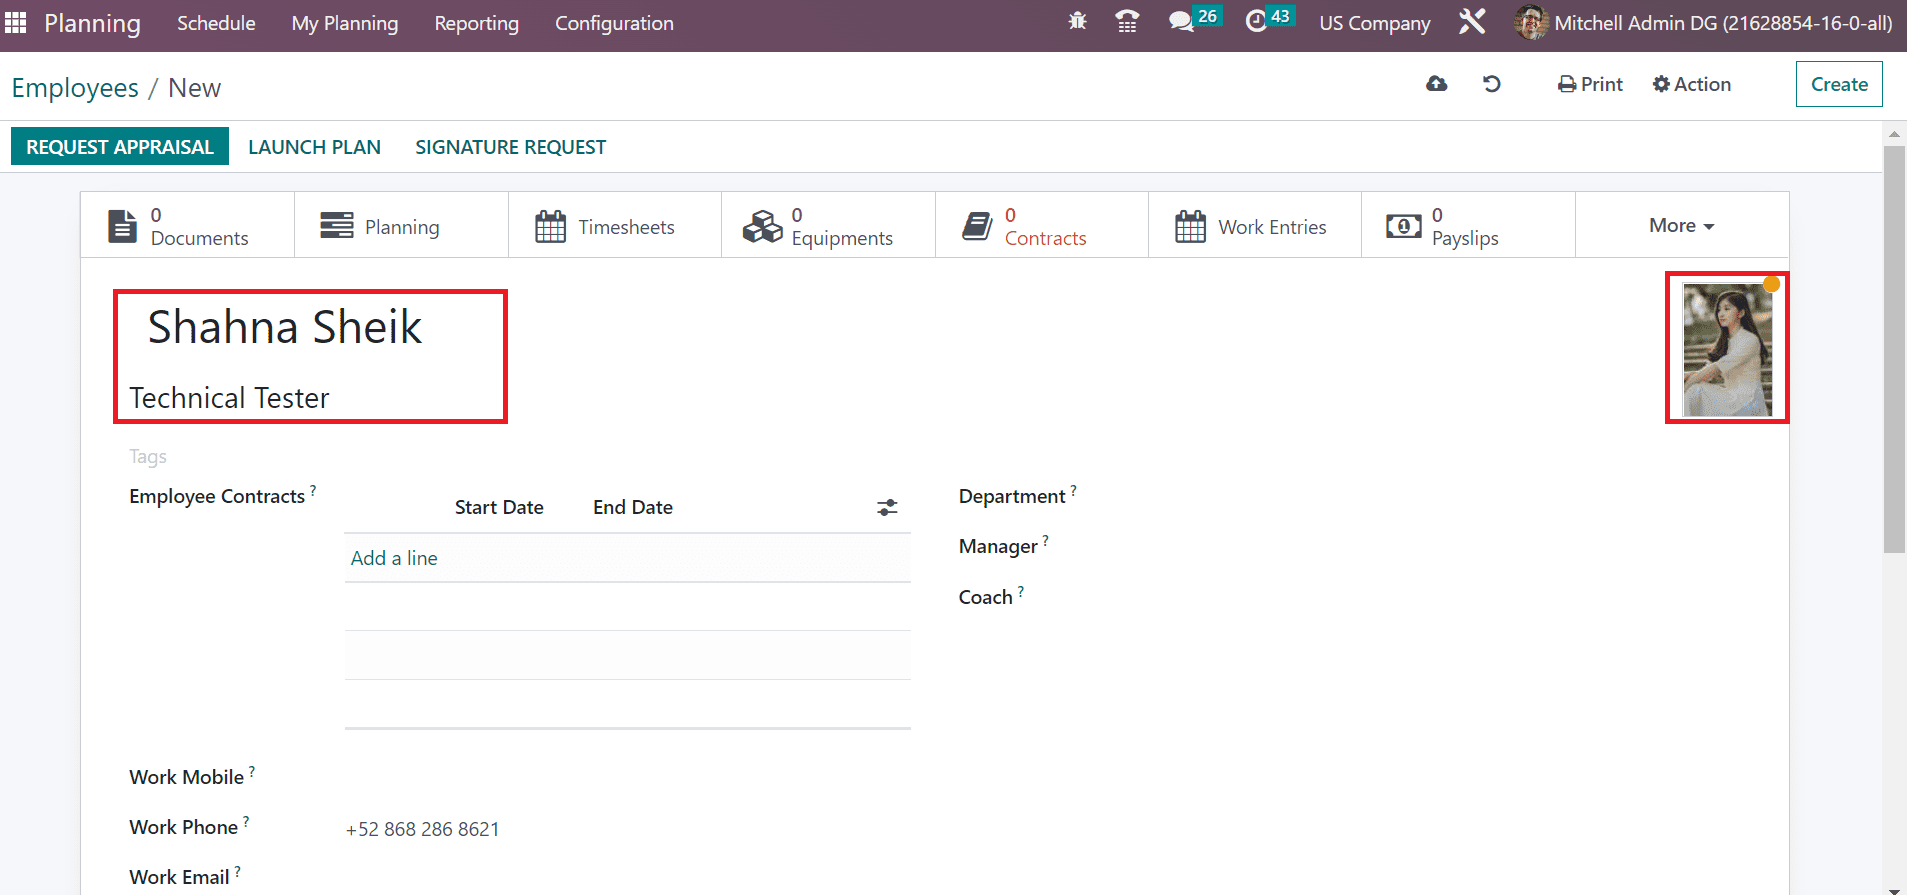
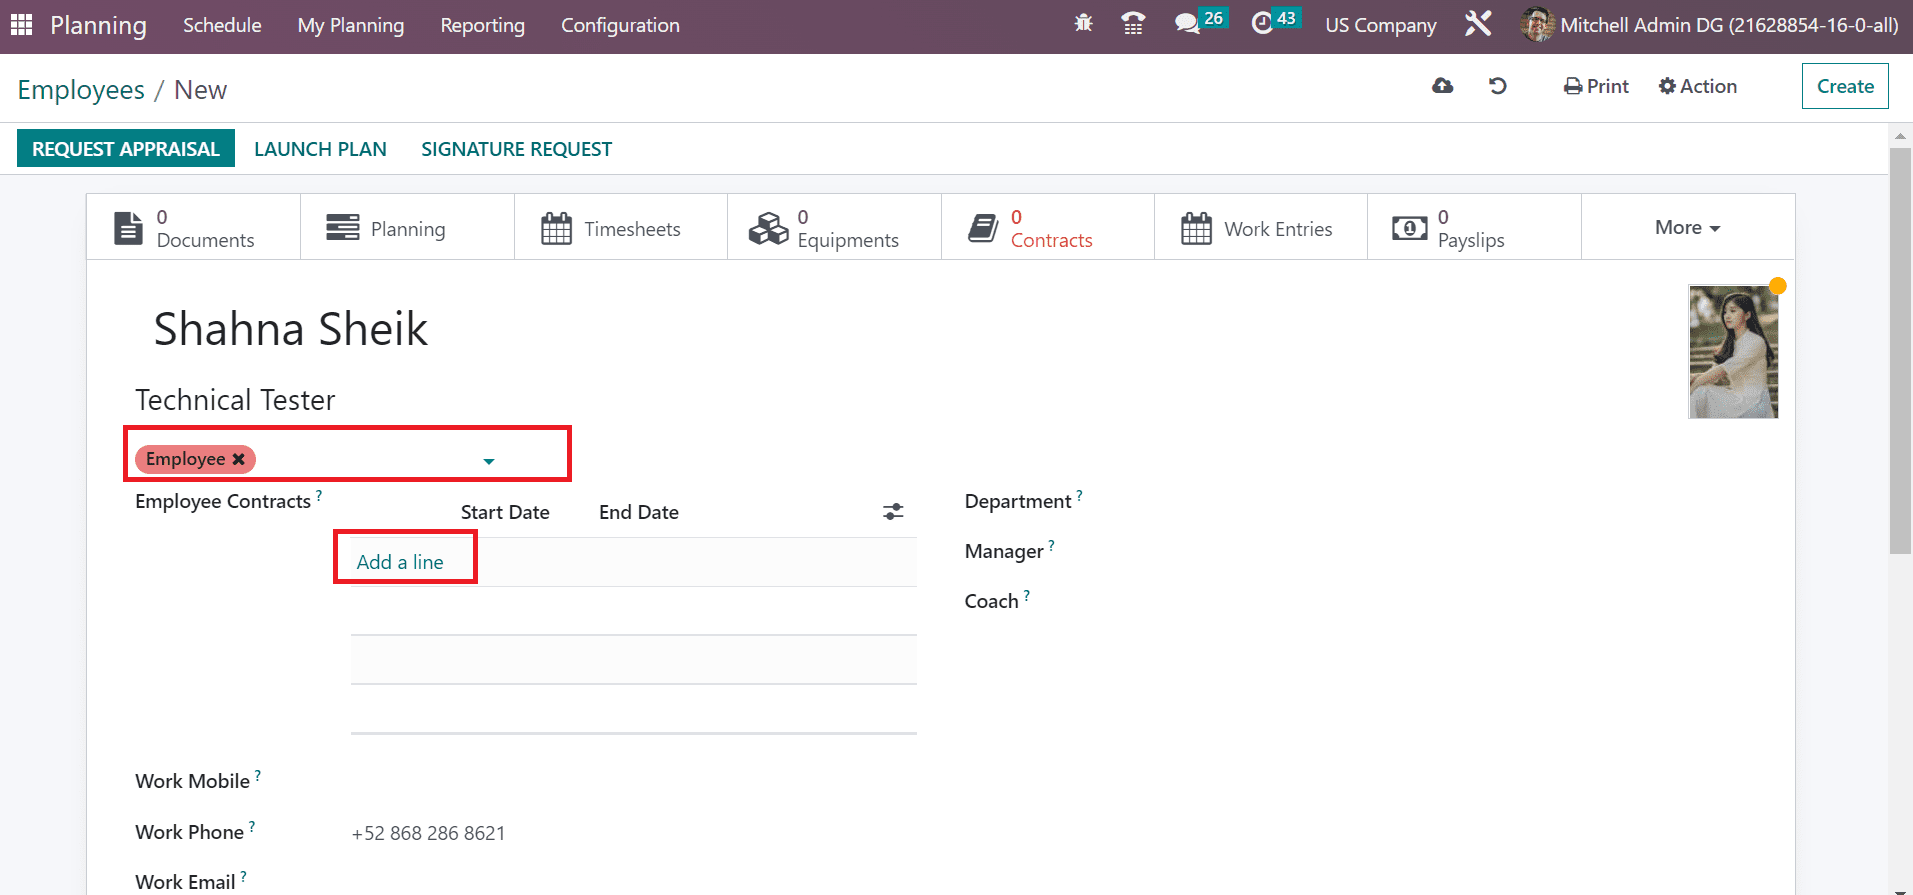
You can choose specific tags in the Tags field, such as employee, trainee, and more. Select Employee within the Tags field. Later, we can mention the employee contract period once clicking on the Add a line option.
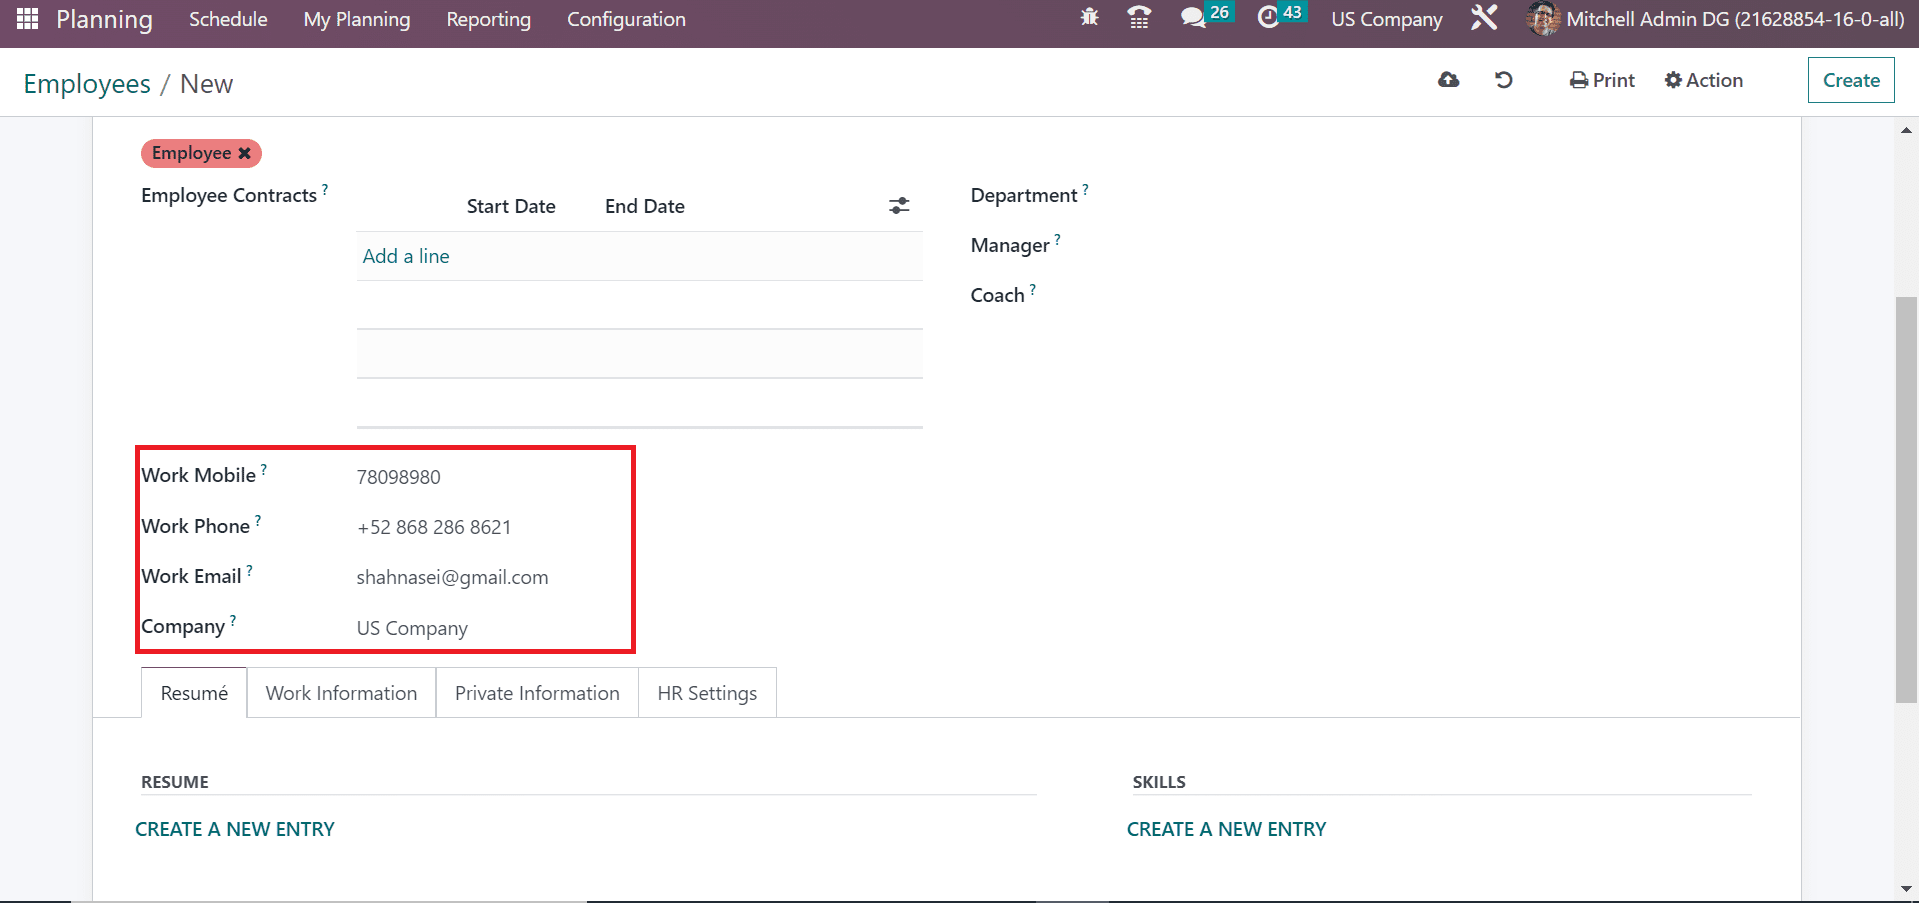
Apply the mobile and phone numbers related to work in the Employees window. Moreover, add your official company email id within the Work Email field. Select US Company as the firm name for employees in the Company field.
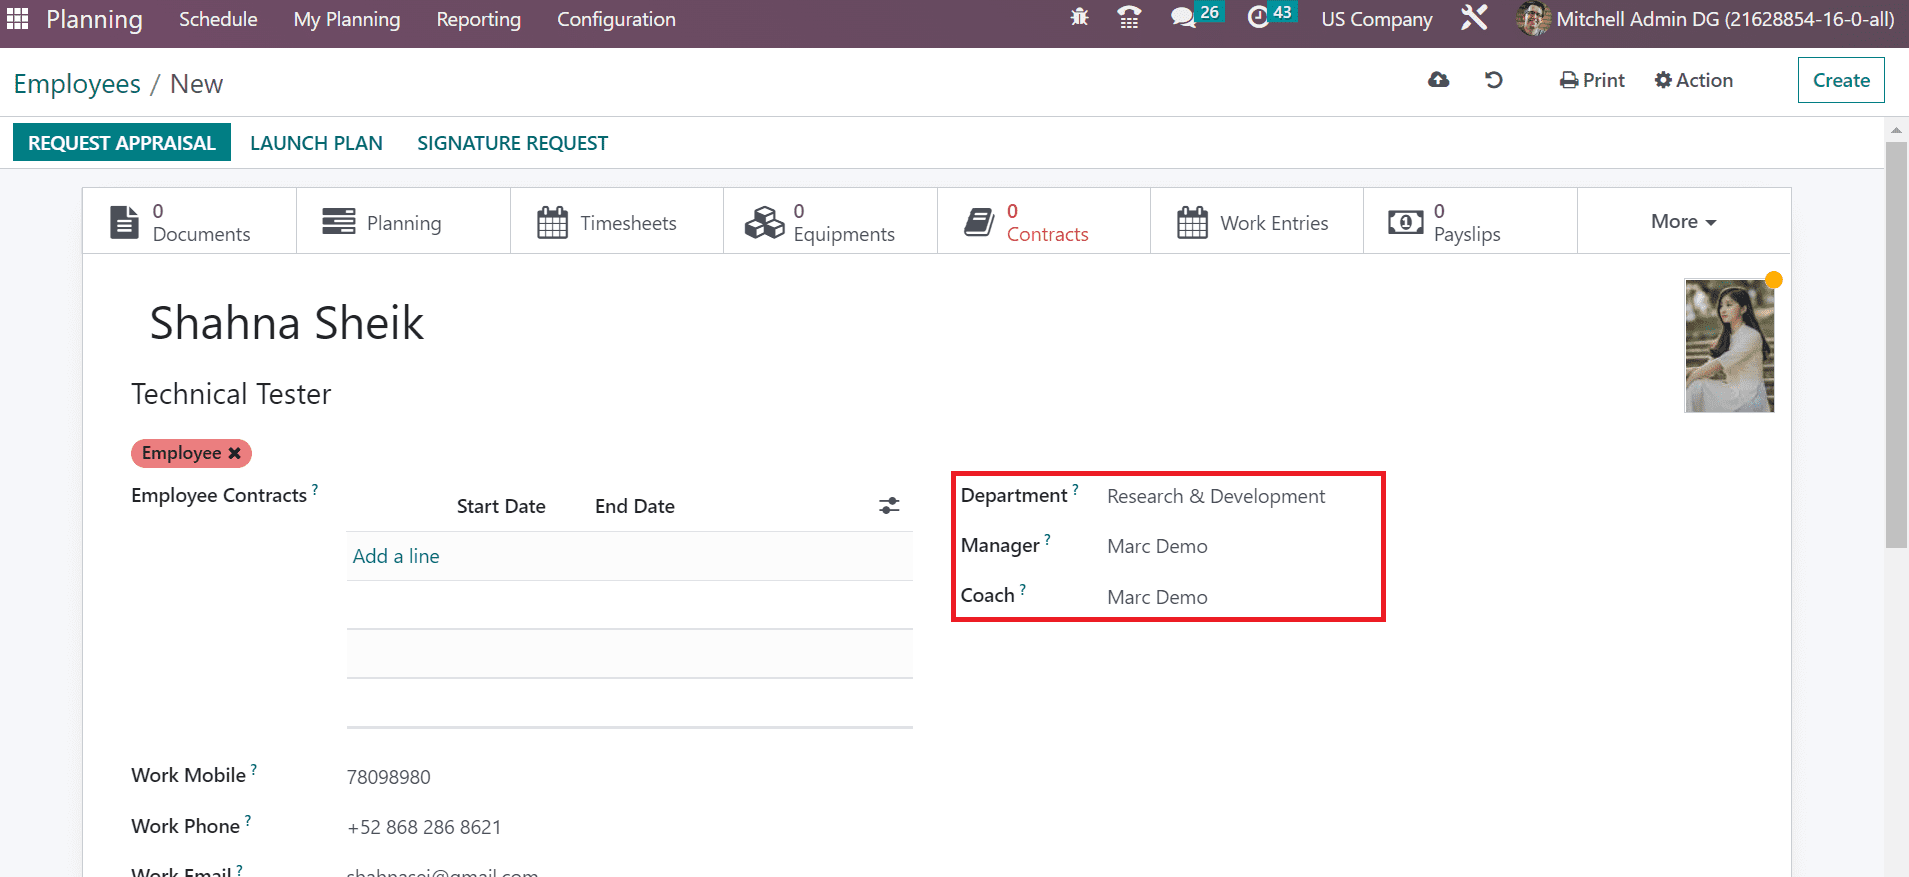
Each job role consists of various departments in an office. So, you need to pick your sector from the Department field. Once selecting the department as Research & Development, pick your team lead in the Manager field. Afterward, Coach's name is automatically visible to the user.
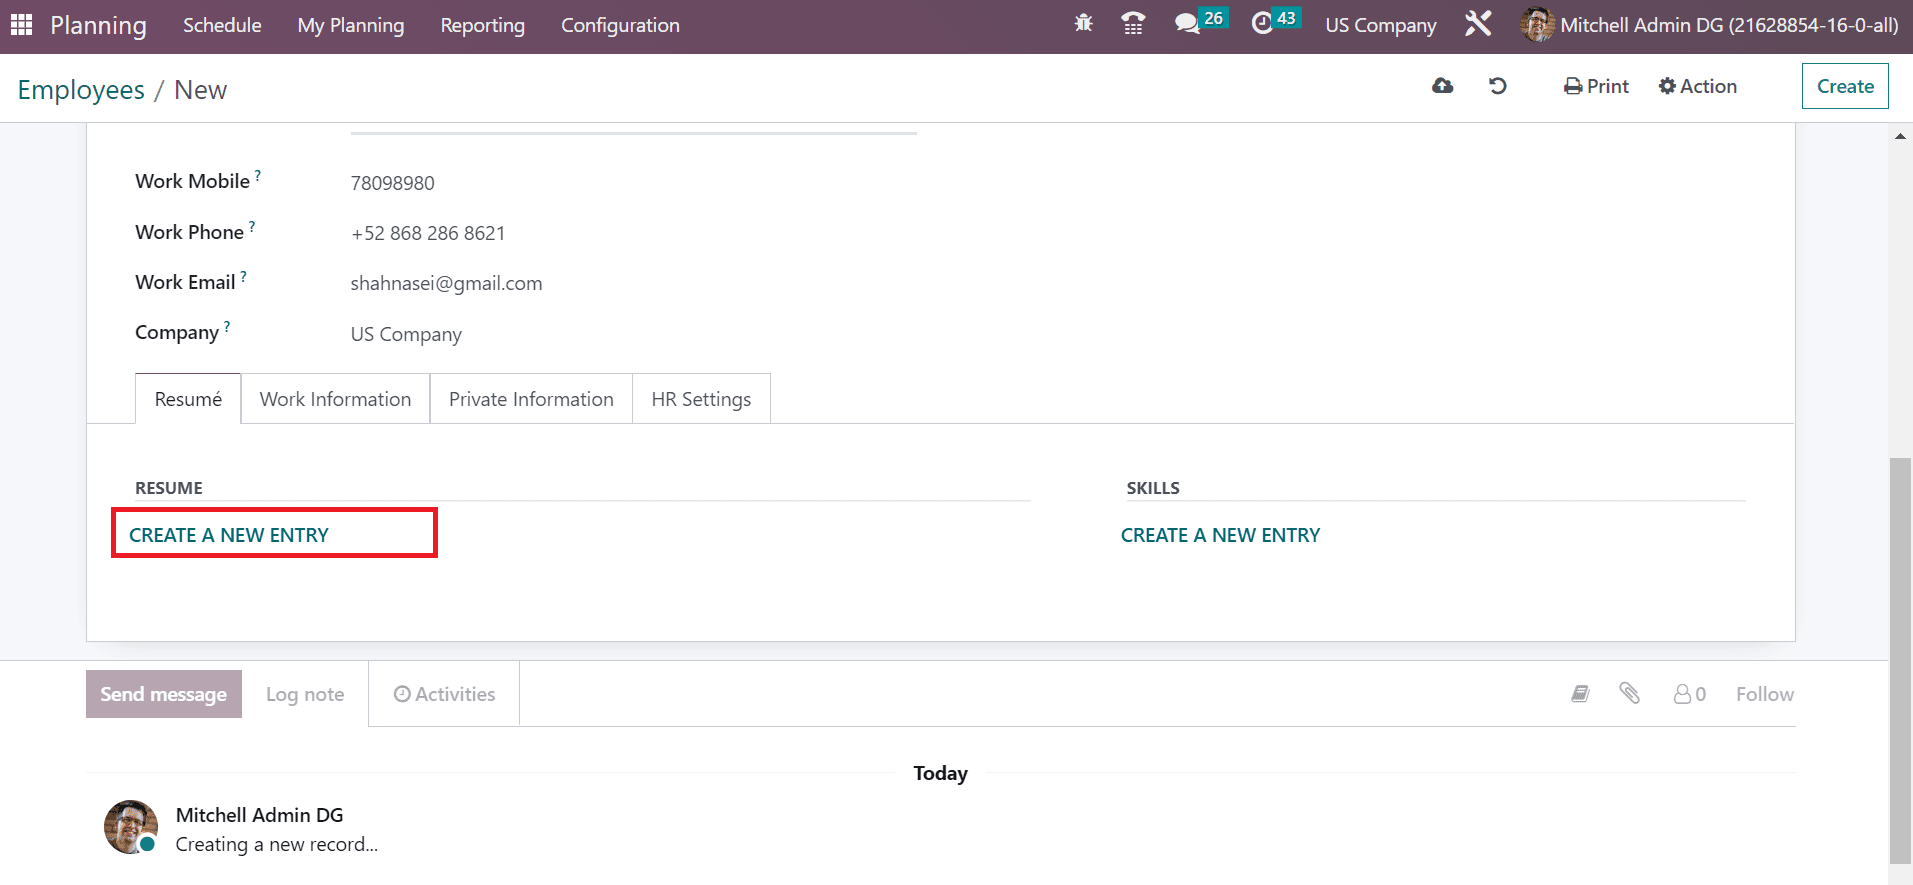
Next, we can enter a candidate's CV under the Resume tab. Press the CREATE A NEW ENTRY icon below the Resume section of the Employees window, as figured in the screenshot below.
In the Create Resume Lines window, enter the Title as CV. Next, you can set the category for your resume as Experience, Courses, Certificate, and more. We selected Experience as the Type within the Create Resume Lines field.
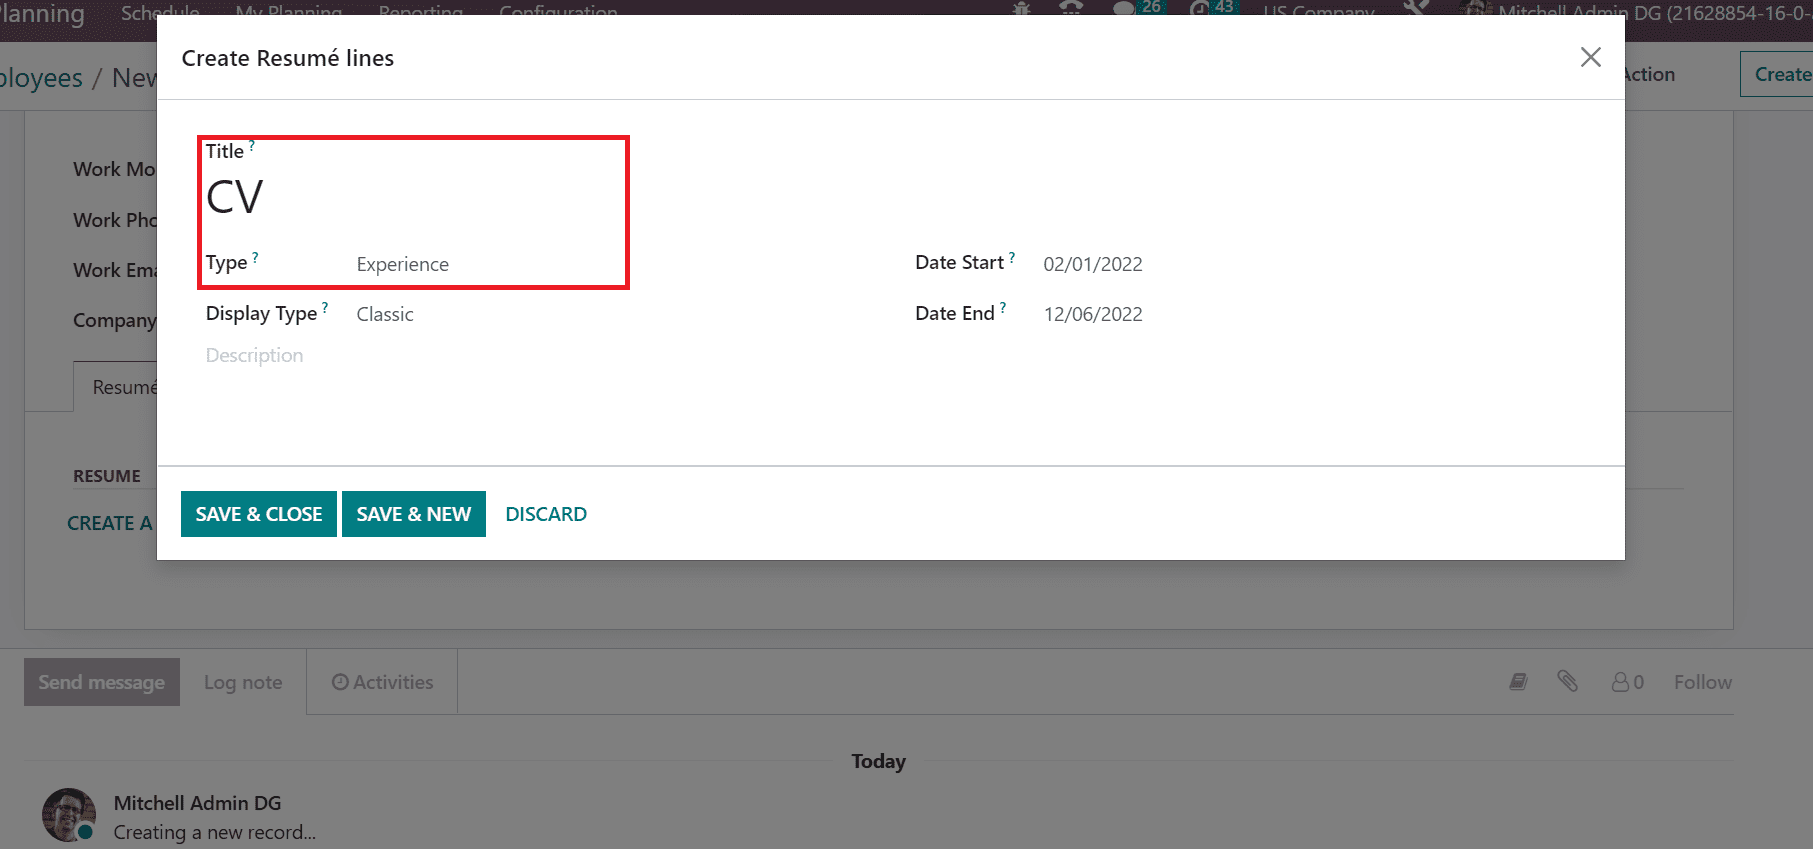
The Display Type for the Resume is classified into Course, Classic, and Certification. You can select the necessary display type for the resume based on the type. Choose Classic inside the Display Type field and enter the description related to your resume type as defined in the screenshot below.
Users can pick the start and end dates of an employee's previous experience in the Create Resume Lines window. After specifying the dates, press the SAVE & CLOSE icon, as presented in the screenshot below.
Your created Resume with Experience is visible on the Employees window.
Once entering all information, we can save the details manually within the
Odoo 16 Planning module. You can view your created worker data in the Employees window, as represented in the screenshot below.
To Schedule a Project in a US Company within Odoo 16 Planning
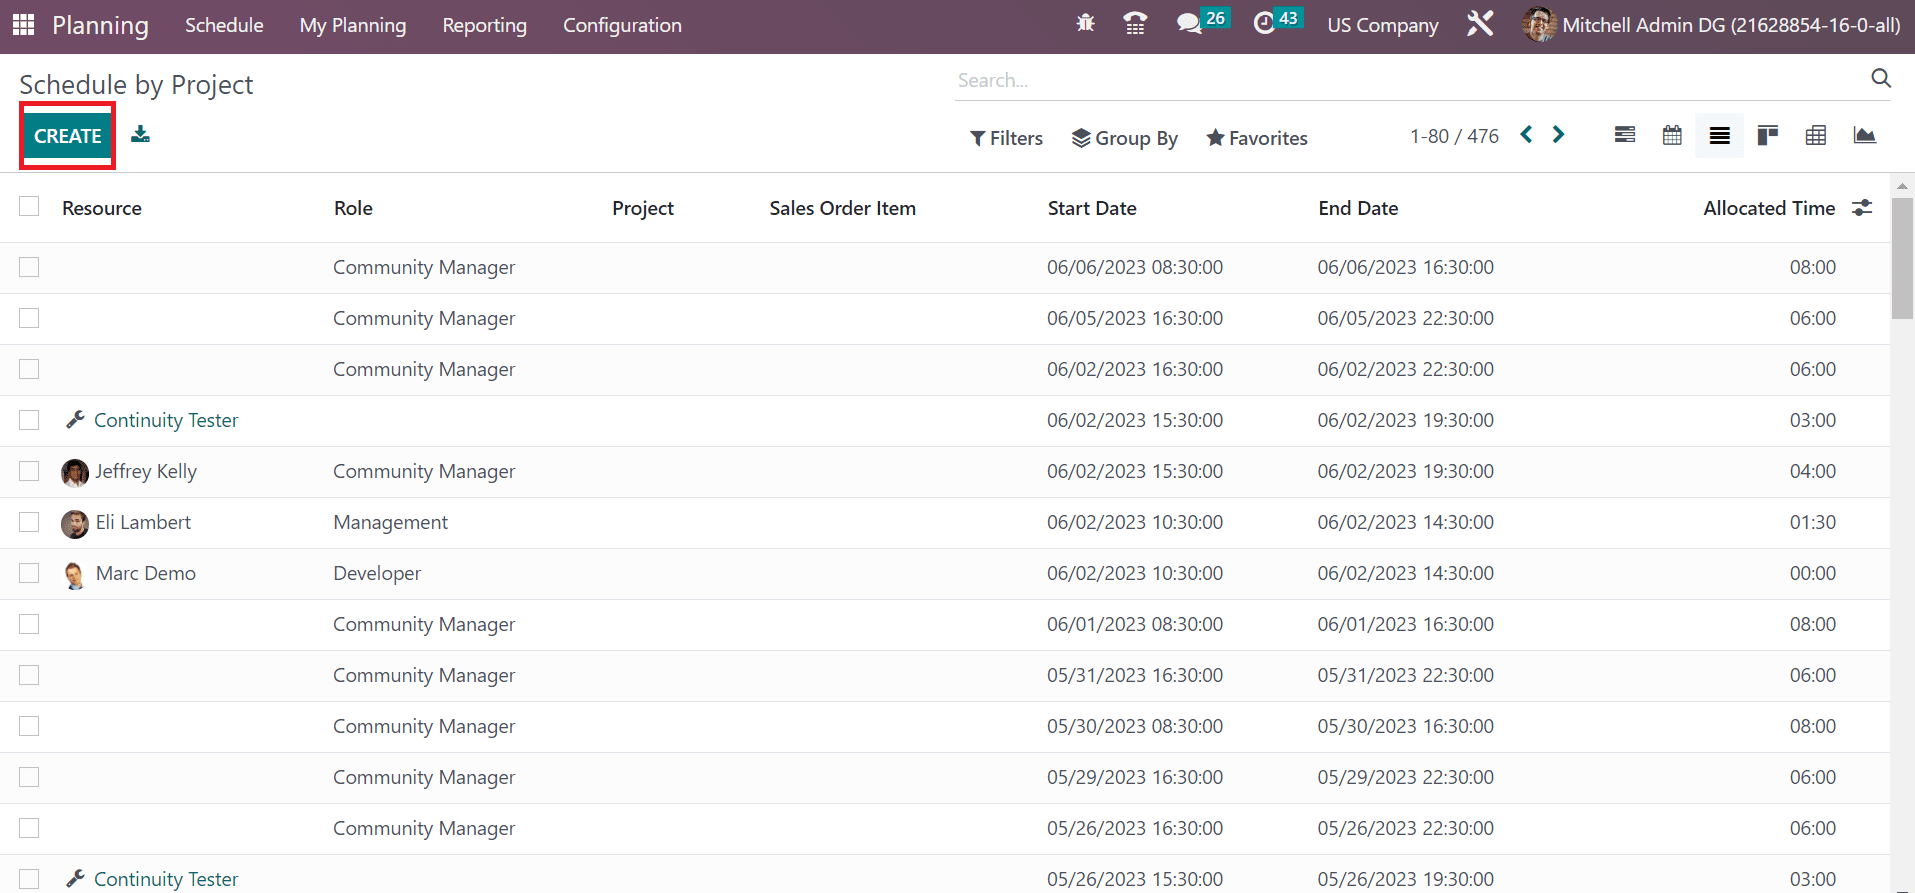
We can manage numerous projects in a US Company using the Odoo 16 Planning module. To develop a new project, select the By Project menu in the Schedule tab, and details of all projects are accessible to a user. It is easy to understand the date of each project separately in the Schedule by Project window. You can get project data such as Role, End date, Resource, Sales Order Item, Allocated Time, and more. Click the CREATE button to define a new project for the US Company, as mentioned in the screenshot below.
A new space appears in the Schedule By Project window, and enter the employee name as Shahna Sheik inside the Resource section. Next, pick your created Role, Technical Tester, in the Role field. After specifying the project start and end date, click the SAVE icon in the window, as portrayed in the screenshot below.
In the Calendar view of the Schedule by Project window, you can view the created project details for the user. You can obtain information about the date, time, role, and resource once choosing a particular project in the calendar.
By clicking on the EDIT icon, we can make further changes to the project as per company needs. So, scheduling a US company project for an employee is easy.
Odoo 16 Planning module is beneficial to assign tasks for employees in a company. Management of bulk projects in a firm for customers/clients configured easily using Odoo ERP. With an effective ERP management system, a business can face tremendous growth in the market.