Establishing the legitimacy of a quotation is vital for securing client acceptance and minimizing financial risks. When an order becomes unprofitable, organizations can leverage Odoo's Quotation Validity feature to protect their interests. This capability allows businesses to expedite sales by providing clients with a clear deadline for their decisions.
By imposing time constraints on quotes for products or services, companies can streamline the sales process and encourage vendors to act promptly. In the Odoo 18 Sales module, implementing due dates for quotations facilitates quicker negotiations, safeguarding businesses from unprofitable agreements. The urgency created by these deadlines can also incentivize clients to take advantage of appealing offers, leading to swifter responses. Additionally, users have the option to set expiration dates within individual quotation templates, which are automatically applied when a template is utilized for a quote. This ensures that companies maintain profitability while processing orders in a timely manner.
Configuring Quotation Validity
To configure the validity of quotations within the sales module, navigate to the “Settings” section under the “Configuration” menu. In this area, you will find the “Default Quotation Validity” field located under the “Quotations & Orders” settings.
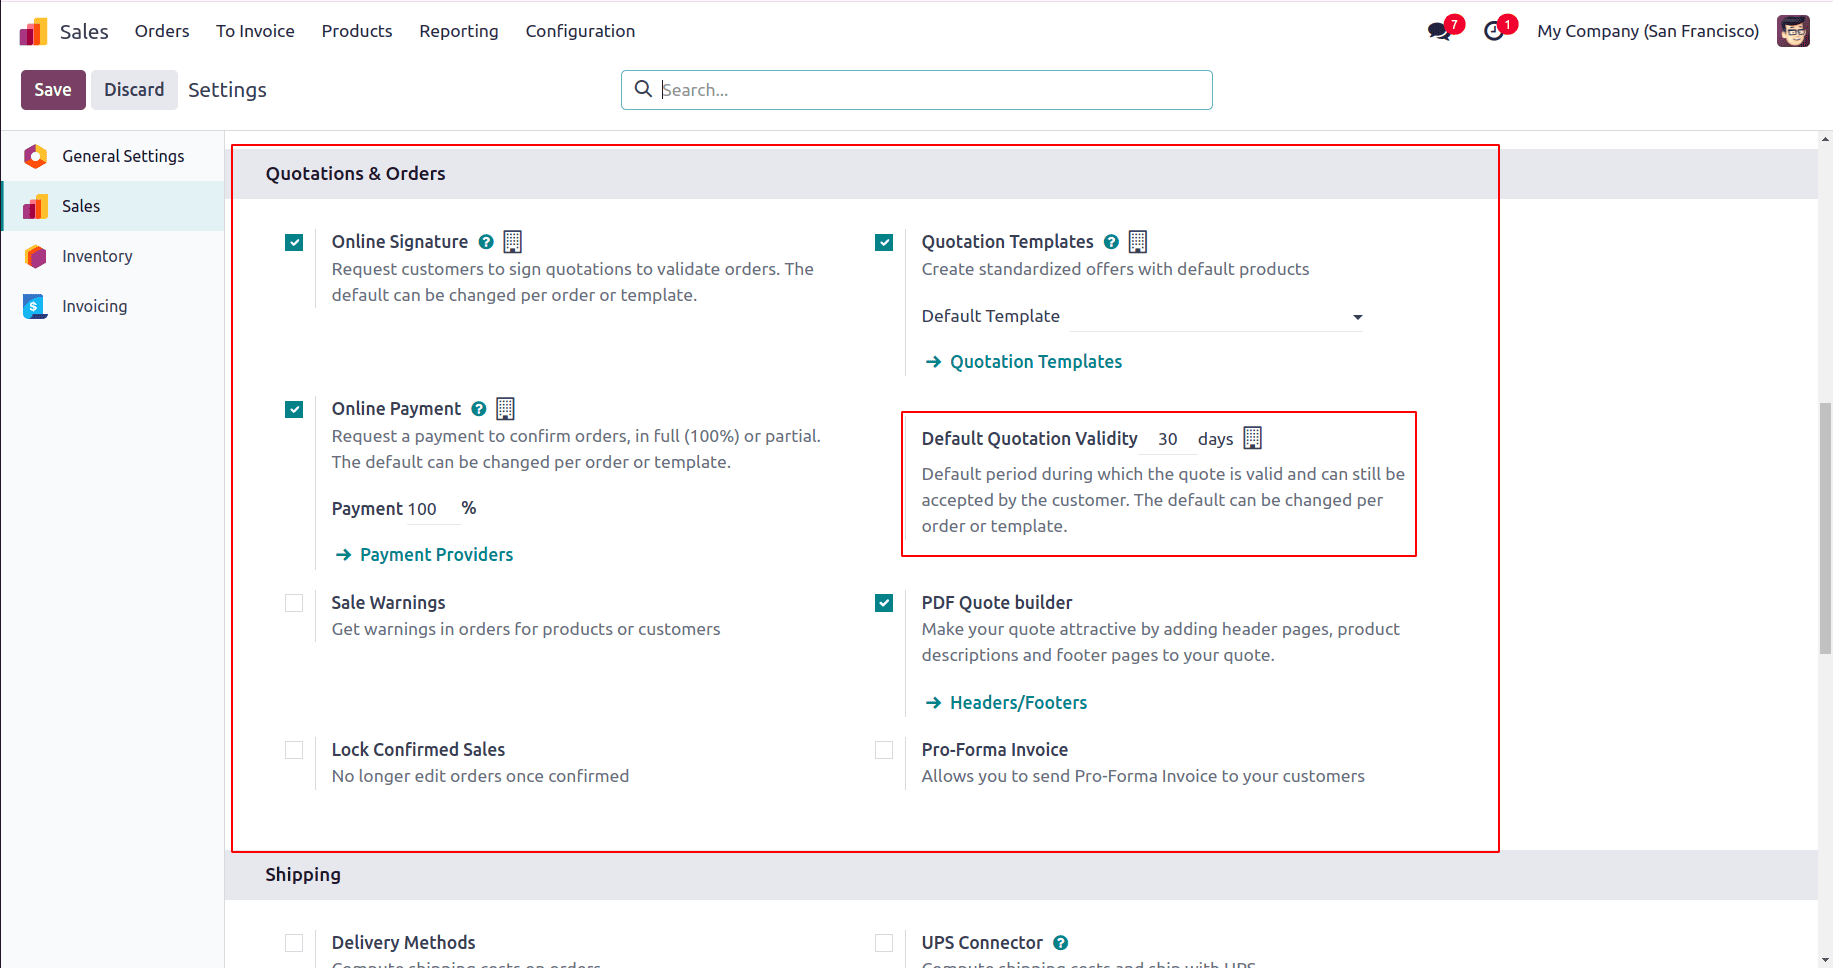
To set a standard validity period for your quotations, enter the desired expiration duration, such as 30 days, although you can adjust this to any timeframe that suits your business needs. Once you have made your selection, be sure to save the changes. Afterward, you can proceed to create a quotation to test the validity feature in action.
Applying Default Quotation Validity on Quotations
To create a new quotation, head to the “Orders” menu and select the “Quotations” option. This action will display a dashboard showcasing all existing quotations within your sales database.
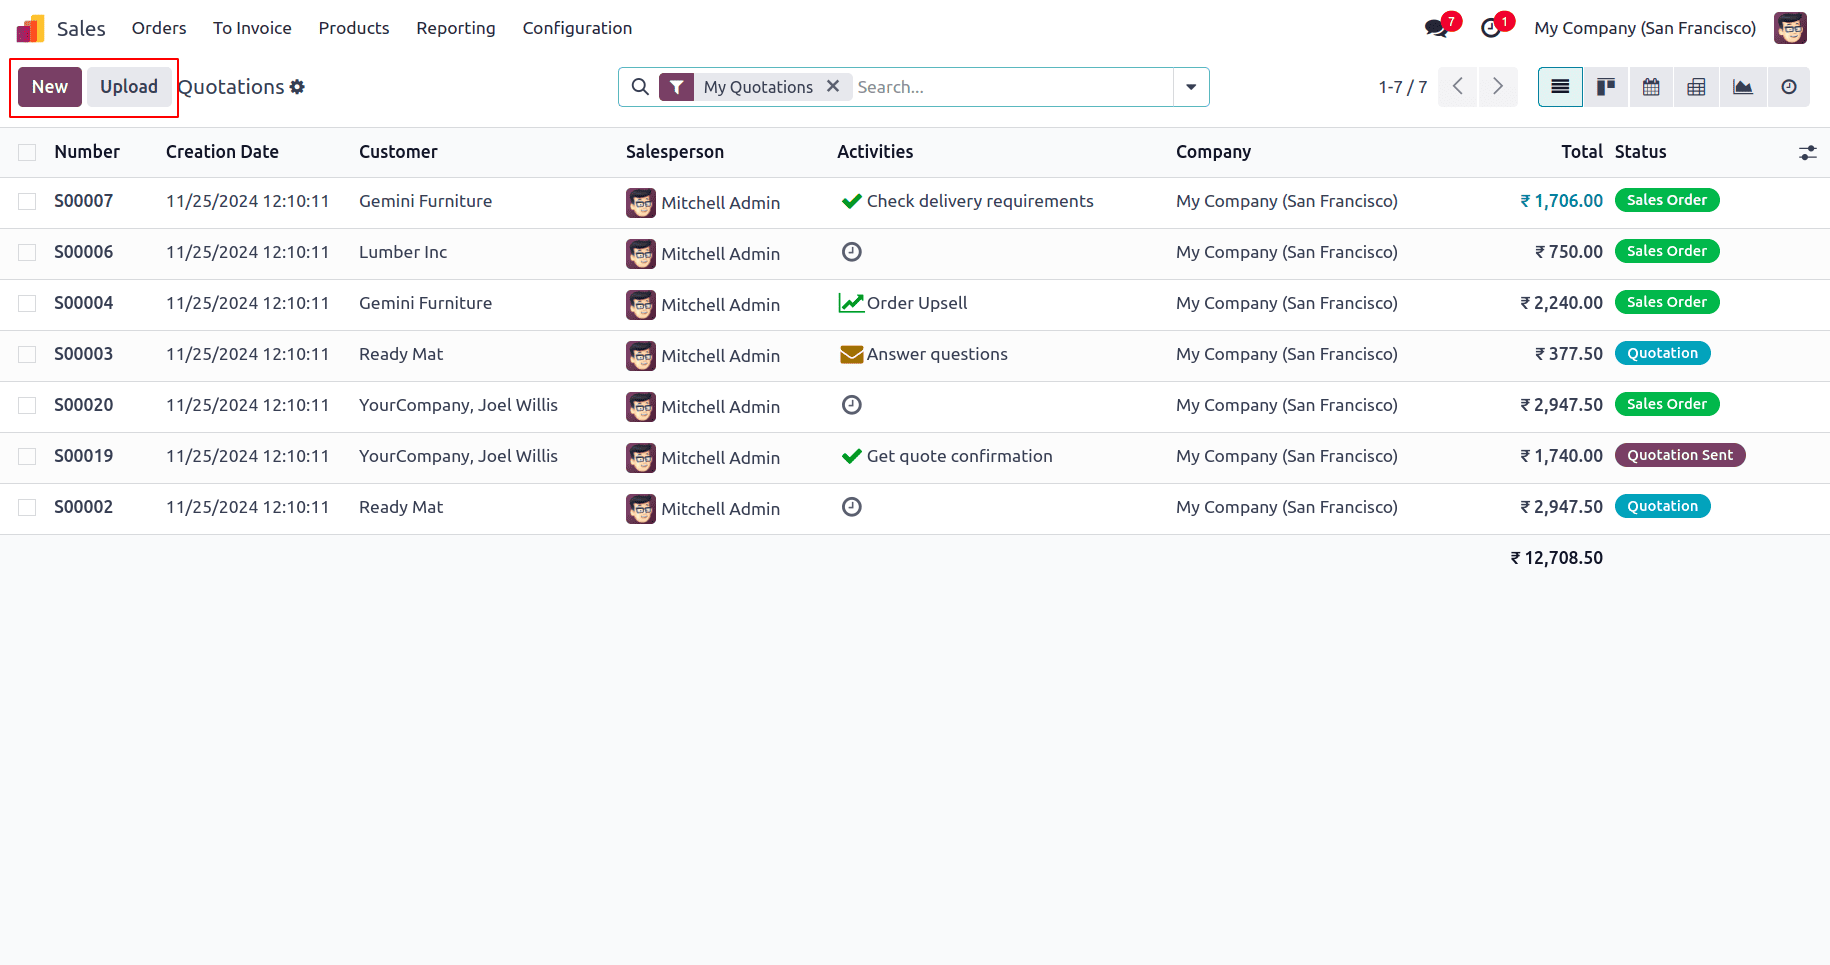
Next, click on the “New” button to initiate the creation of a new quotation. In the window that appears, enter the necessary information for the quotation, such as the Customer, Invoice Address, Delivery Address, Quotation Template and Price List.
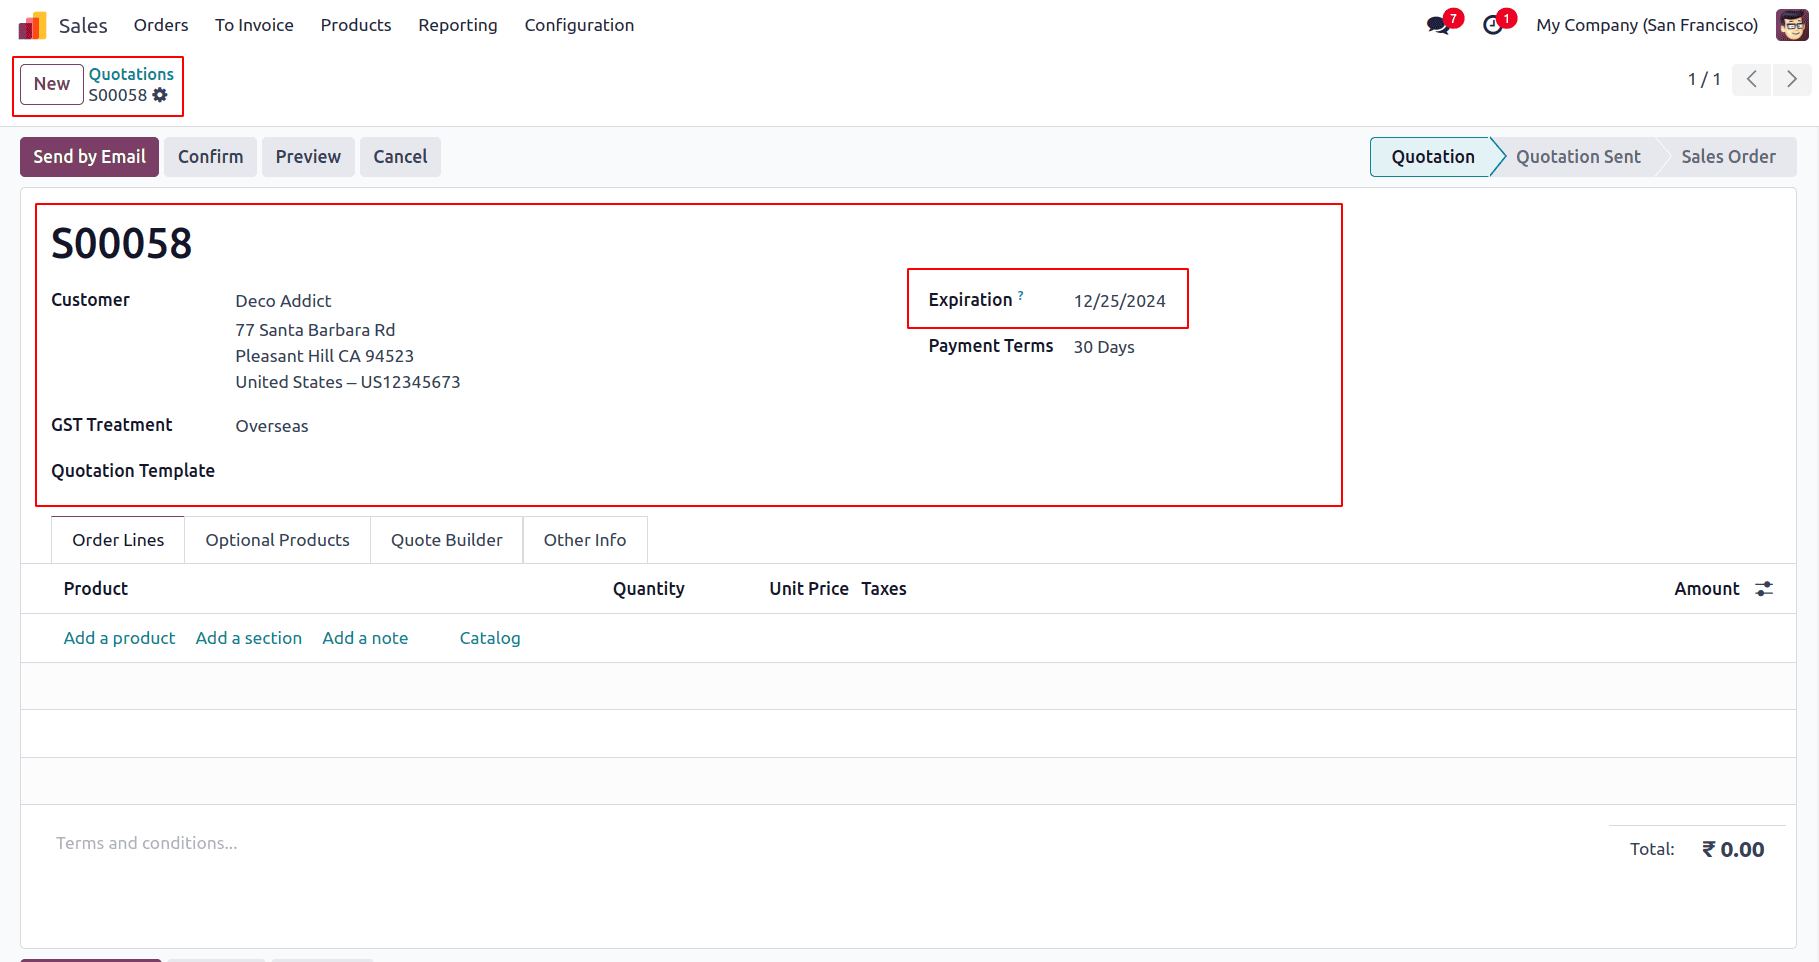
The expiration date is calculated based on the default quotation validity provided in the configuration settings. After entering the essential details, proceed to fill out the various sections of the form. The “Order Lines” tab allows you to include items in the quotation, which can comprise Products, Sections, and Notes. If there are optional products for the sale, you can add them in the “Optional Products” tab. Use the “Other Info” tab to provide additional details related to sales, invoicing, payment, delivery, and tracking. You can also configure the customer’s signature in the “Customer Signature” tab. Finally, the “Notes” tab can be used to edit any remarks, conditions, or descriptions associated with the quotation. Once all the required information is complete, proceed by clicking the “Confirm” button to finalize the quotation.
Configuring Quotation Validity within Quotation Templates
In Odoo 18, you can specify an expiration date for any quotation template you create. This expiration date will automatically apply to any quotation generated using that template. To access this feature, navigate to the “Quotation Templates” section located under the “Configuration” menu.
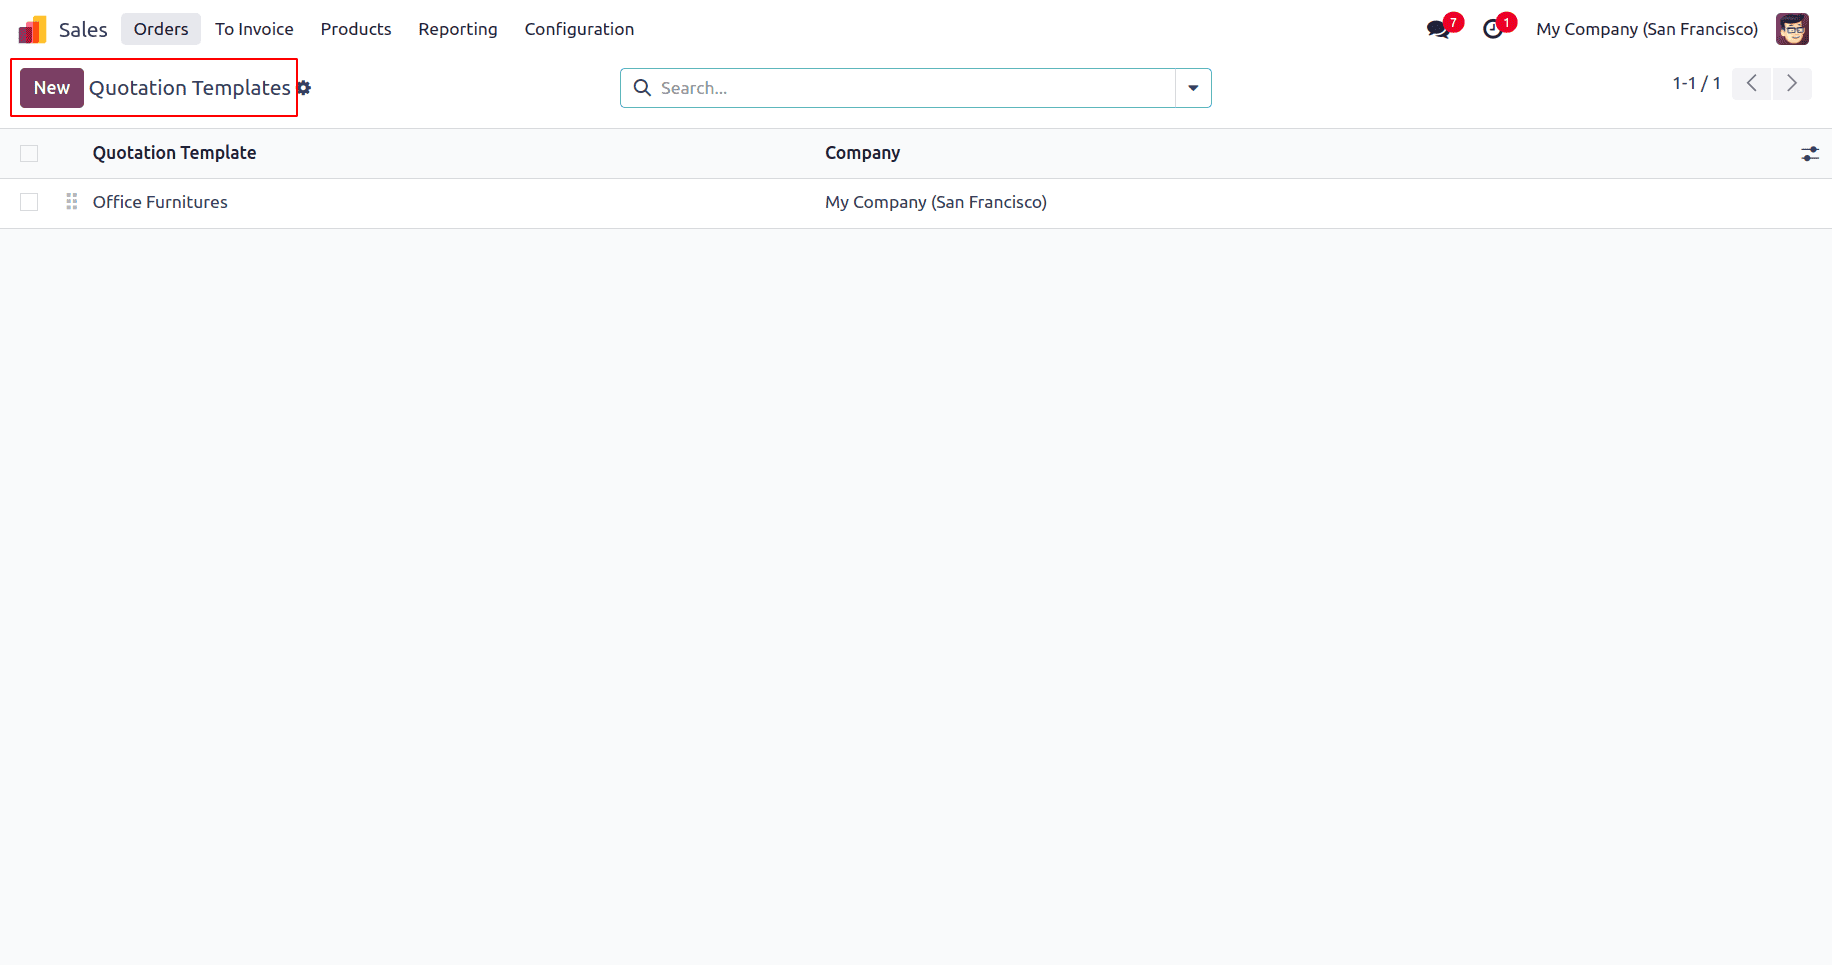
Once there, you will see a list of available templates on the dashboard. By clicking on a specific quotation template, you can open its configuration form. If you wish to create a new template, simply click the “New” button.
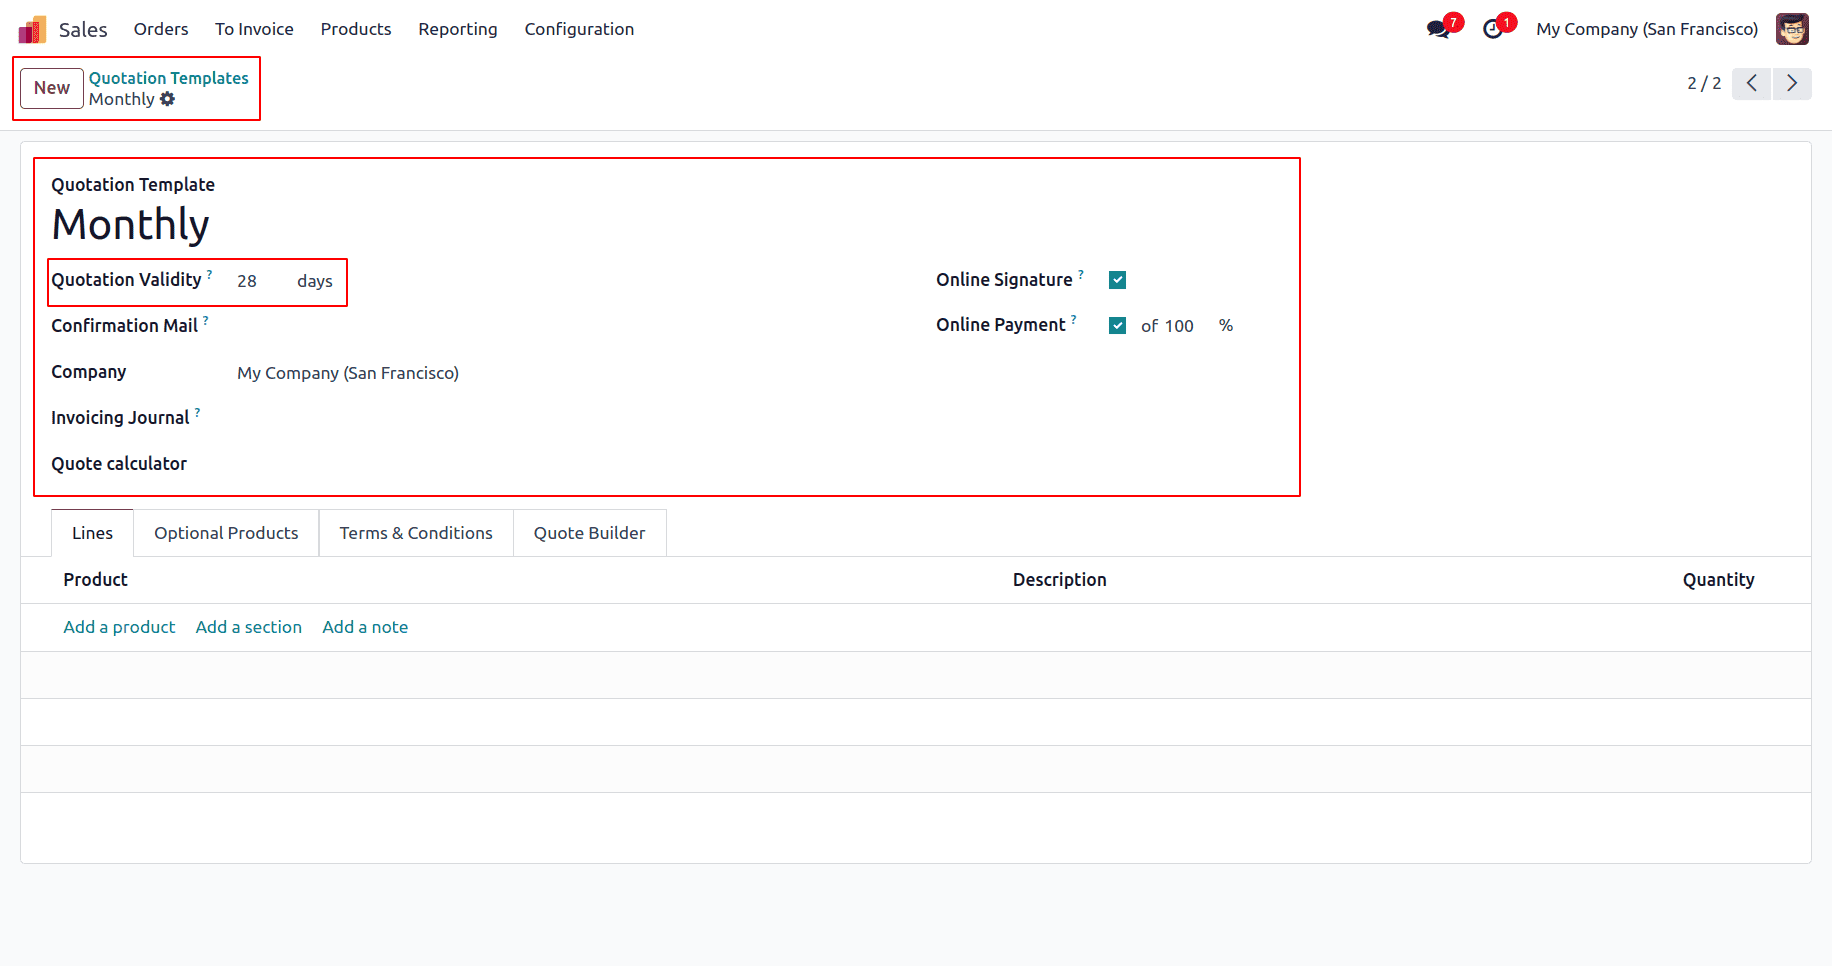
In the form that appears, fill in the necessary details, including editing the name of the Quotation Template. You can set the validity period in the “Quotation validity” field. After specifying the expiration, you may enable options for “Online Signature” and “Online Payment.”.The online confirmation feature allows you to request a customer signature for automatic order confirmation and facilitate online payments.
Additionally, you will find a field labeled “Confirmation Mail,” where you can select an email template to be used for confirmation communications. Proceed to select the “Company” and choose an “Invoice Journal.”Users can further enrich the template by adding products in the “Lines” tab and including optional items in the “Optional Products” tab. The “Terms & Conditions” tab allows you to outline the specific conditions related to the quotation template. Additionally, you can personalize the appearance of the quotation document by utilizing the “PDF Quote Builder” feature.“Quote calculator” connects spreadsheets directly to quote templates. Finally, click the “Save” icon to ensure all the data entered is stored within the configuration form for the quotation template.
Creating a New Quotation Using the Quotation Template
When you select a preconfigured quotation template for a new sales quotation or order, the specific details from that template will be automatically incorporated into the newly created quotation. For example, if you use a template named "Monthly," which has a quotation expiration set for 28 days, the validity period will be adjusted accordingly for the new quotation. To initiate the process, navigate to the “Orders” menu and select “Sales Order.”
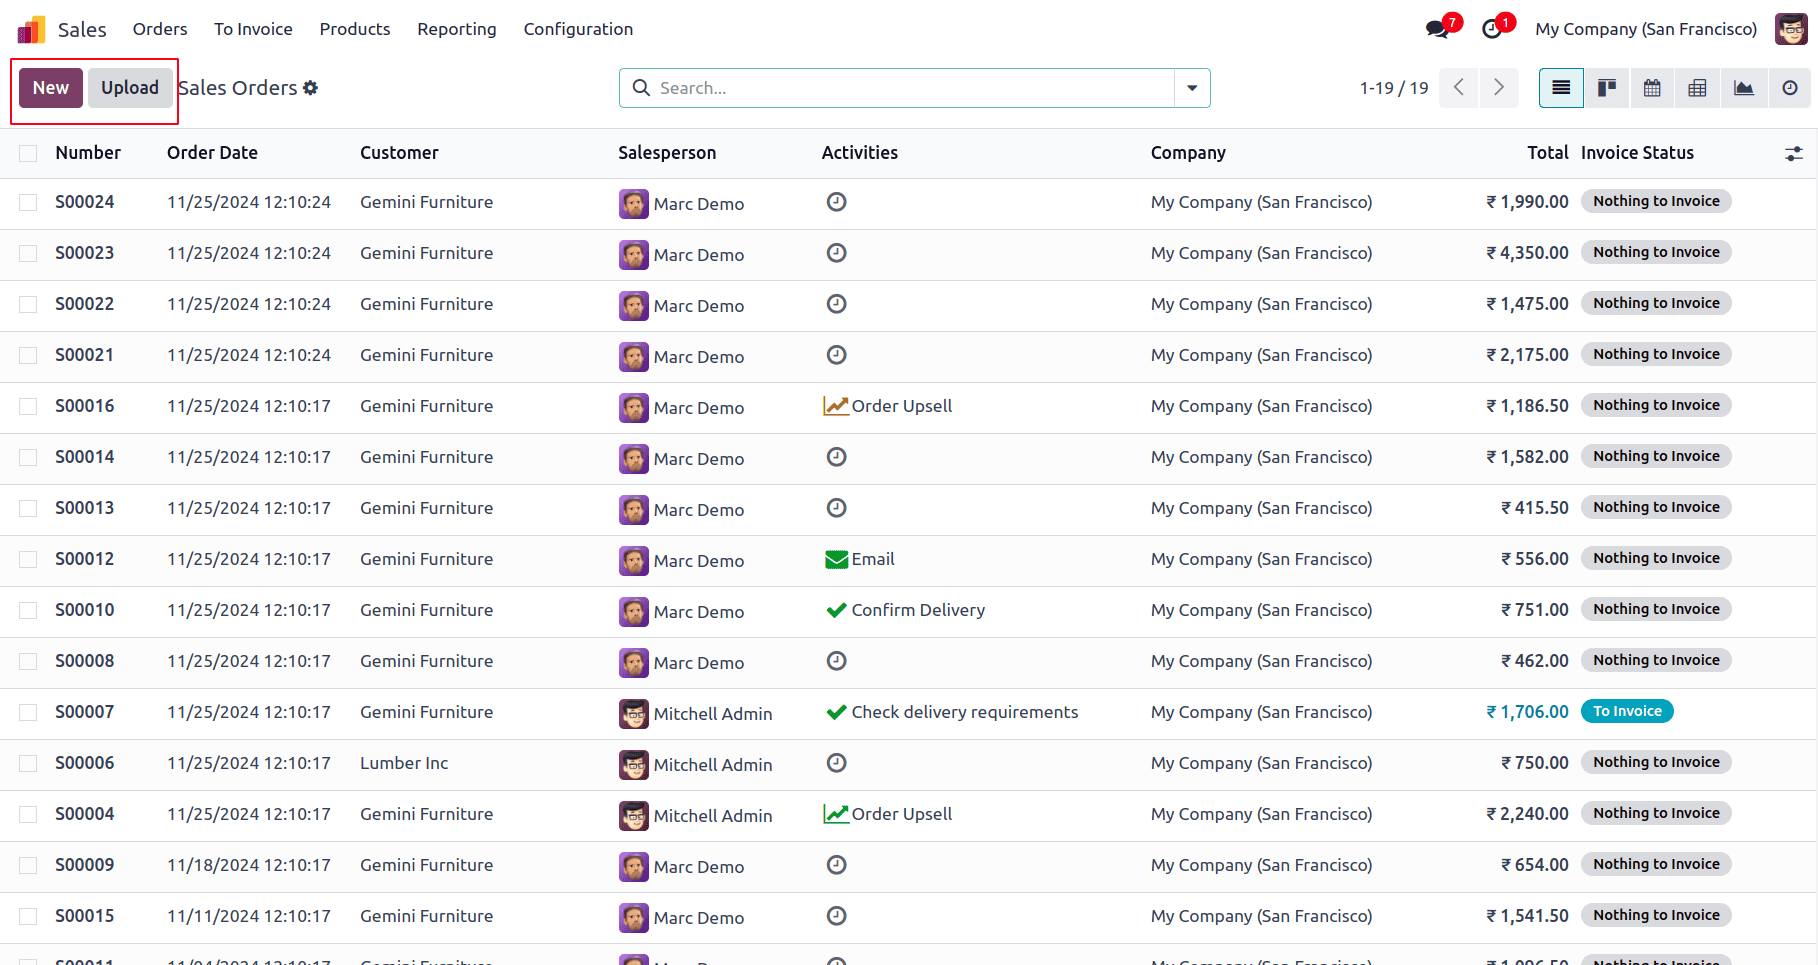
Next, click the “New” button to open the configuration form for the new sales quotation. You will need to fill out the necessary fields on this form.

To utilize the previously created quotation template for your new sales order or quotation, simply select it from the “Quotation Template” field. This action will automatically populate the form with all relevant details and calculate the expiration date based on the quotation validity provided in the quotation template. After completing the order using the selected template, you can save the data and then confirm the details by clicking the “Confirm” button. The validity of the quotation will be displayed in the “Expiration” field, as discussed previously.
This concludes the functional overview of setting up quotation validity through quotation templates in the Odoo 18 Sales Module.
To read more about How to Set Quotation Validity in Odoo 17 Sales, refer to our blog How to Set Quotation Validity in Odoo 17 Sales.