In today’s business world, digital marketing plays a crucial role in improving sales by attracting customers. In this scenario, it is essential to maintain an online presence. Blogging will help a company to advertise its product and services to customers in an effective manner. Business blogging will help companies to provide a clear idea about the product and services they provide for their customers. It doesn’t just help the company to improve business through online marketing, it also provides guidance to customers regarding the use of the products and services. Through such blogs, you can present content related to your business on the company website in an effective way which will lead to creating new opportunities for interaction with the audience.
In the Odoo ERP system, the user will get an excellent platform to create and manage blogs. You can use this platform to create functional as well as general blogs related to your business. These blogs can be easily shared on different social media platforms like Twitter, Facebook, Google Plus, etc. You can keep a record of all blogs and manage them from the backend with the help of the Blog menu available in the Website module. While publishing them on your website, Odoo helps you with several advanced tools and snippets in order to design the blog page in an attractive way.
We will be looking at the creation of new blogs with the help of the Odoo Website module in this blog.
The user will get the platform to manage and create new blogs within the Website module. In Odoo, the Blog module works integrated with the Website module. So, make sure to install the Blog module from the Odoo AppStore.

After installing the module, you will be able to see the Blog menu inside the Website module in Odoo. As shown in the image below, you can keep a record of all blogs under this menu. From the Configuration menu of the module, you can configure different types of Tags and Tag Categories using the corresponding options as marked in the image below.
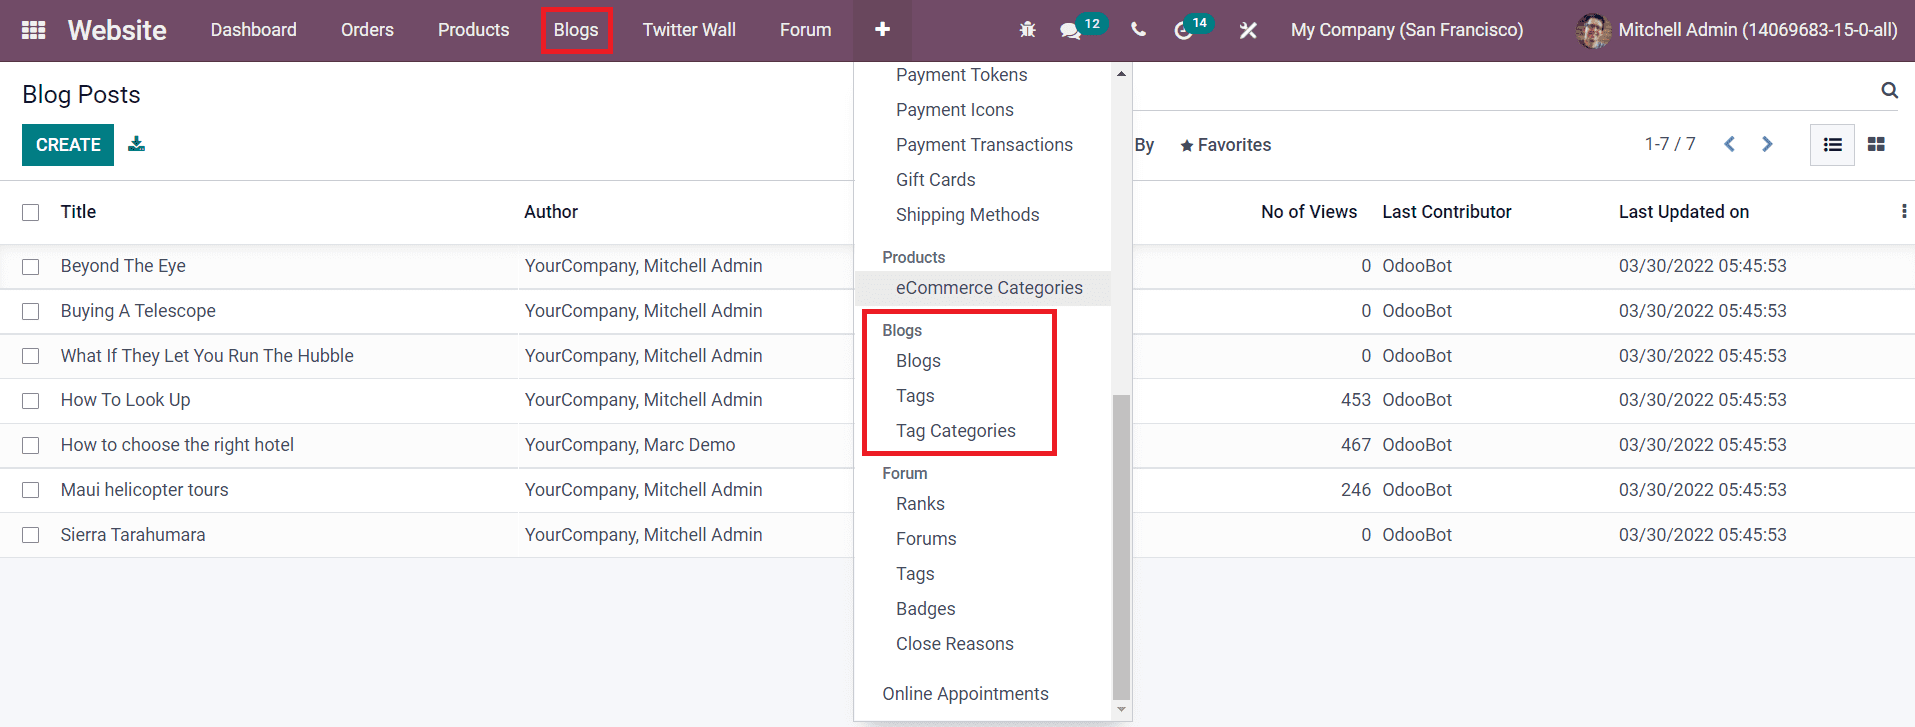
The list of the Blog Posts includes the details of the Title, Author, Blog Type, Website, Number of Views, Last Contributor, and Last Updated details. It is possible to alter the view into the Kanban view also.
Now, let’s discuss the configuration of a new blog in the backend using the Create button available in the Blog window.
Creating New Blogs
The Create button will lead you to a new window as shown below where you can configure necessary information regarding the new blog.
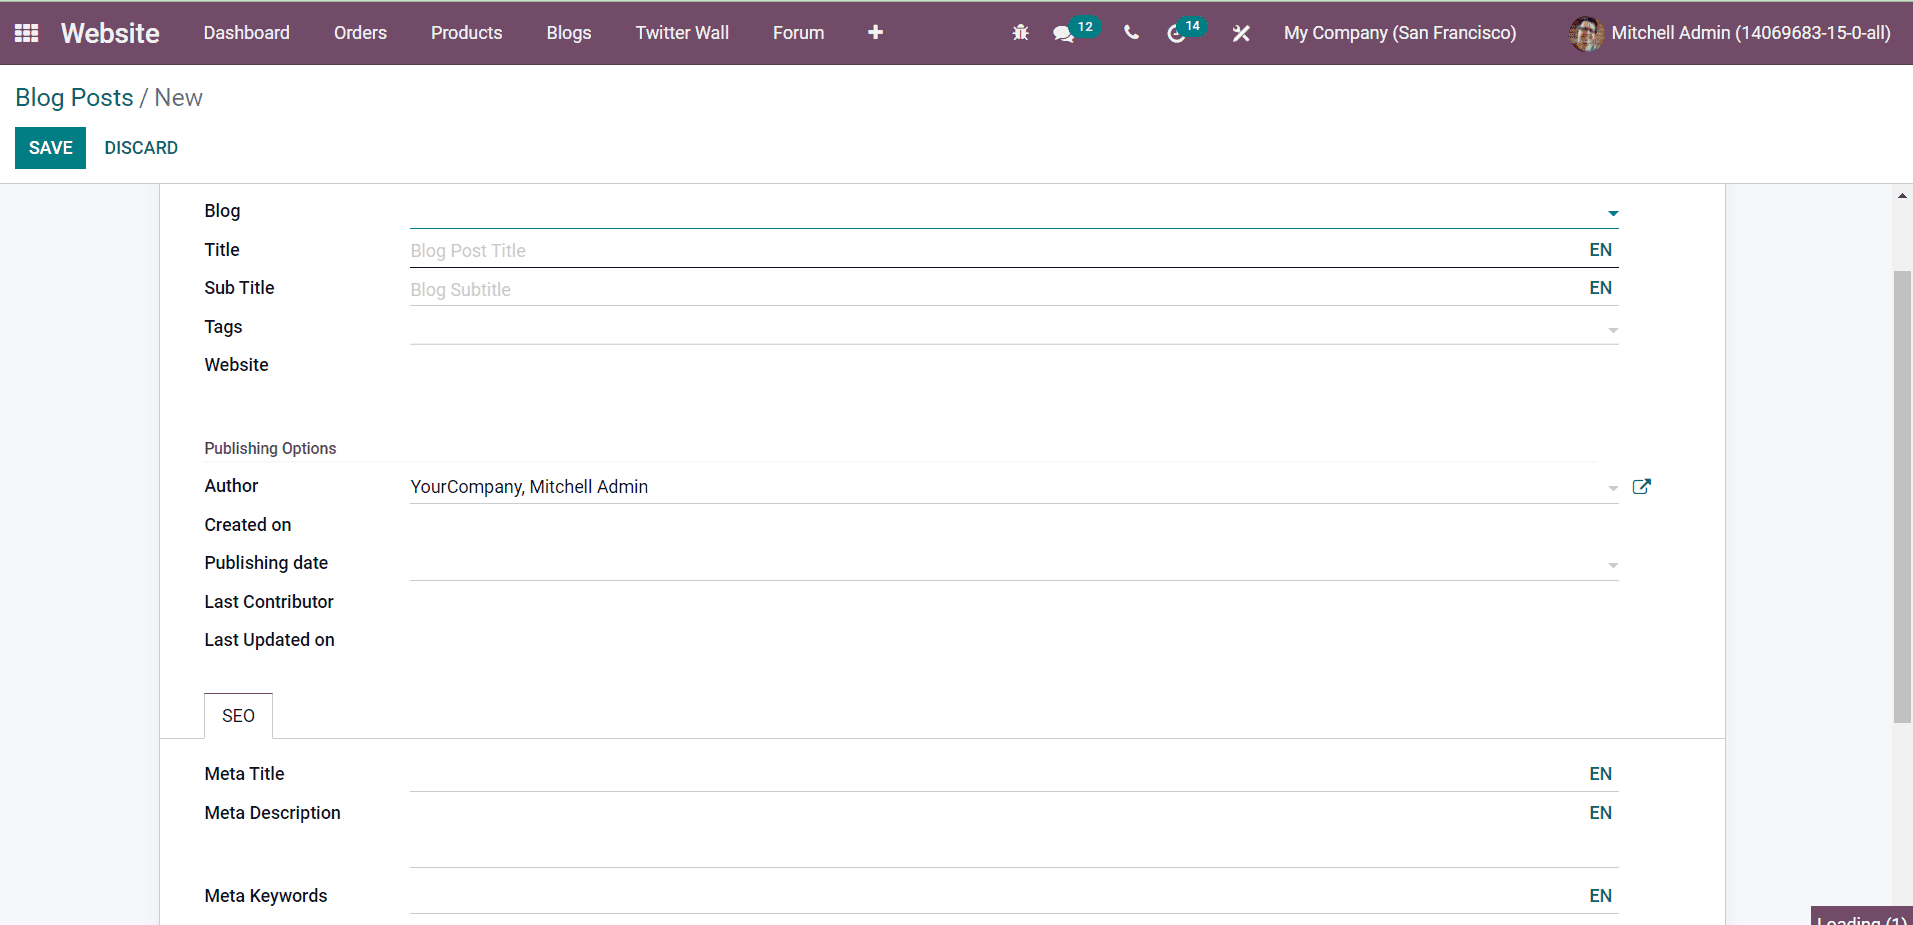
Now, complete each field given in the blog creation window one by one. At first, you need to select the Blog type from the given drop-down menu. You can create a new Blog Type from the Configuration menu of the Website module. This will categorize your blogs on the website which will help the audience to get the list of blogs included in a particular category. You can add the Title and Subtitle of the blog in the respective fields. Mention the suitable Tags for the blog in the Tags field. In the Website field, you can specify the website on which you want to publish this blog. You can also leave it empty if you want to publish this blog on all configured websites in your database.
In the Publishing Options tab, add the name of the author of this particular blog. Additionally, you can record the Creation Date, Publishing Date, Last Contributor, and Last Updated Date in the given spaces.
In order to increase the visibility of this blog post on the website, you can add Meta Title, Meta Description, and Meta Keywords under the SEO tab.

After completing all these steps, you can now publish your blog on the selected websites.
Publishing New Blogs
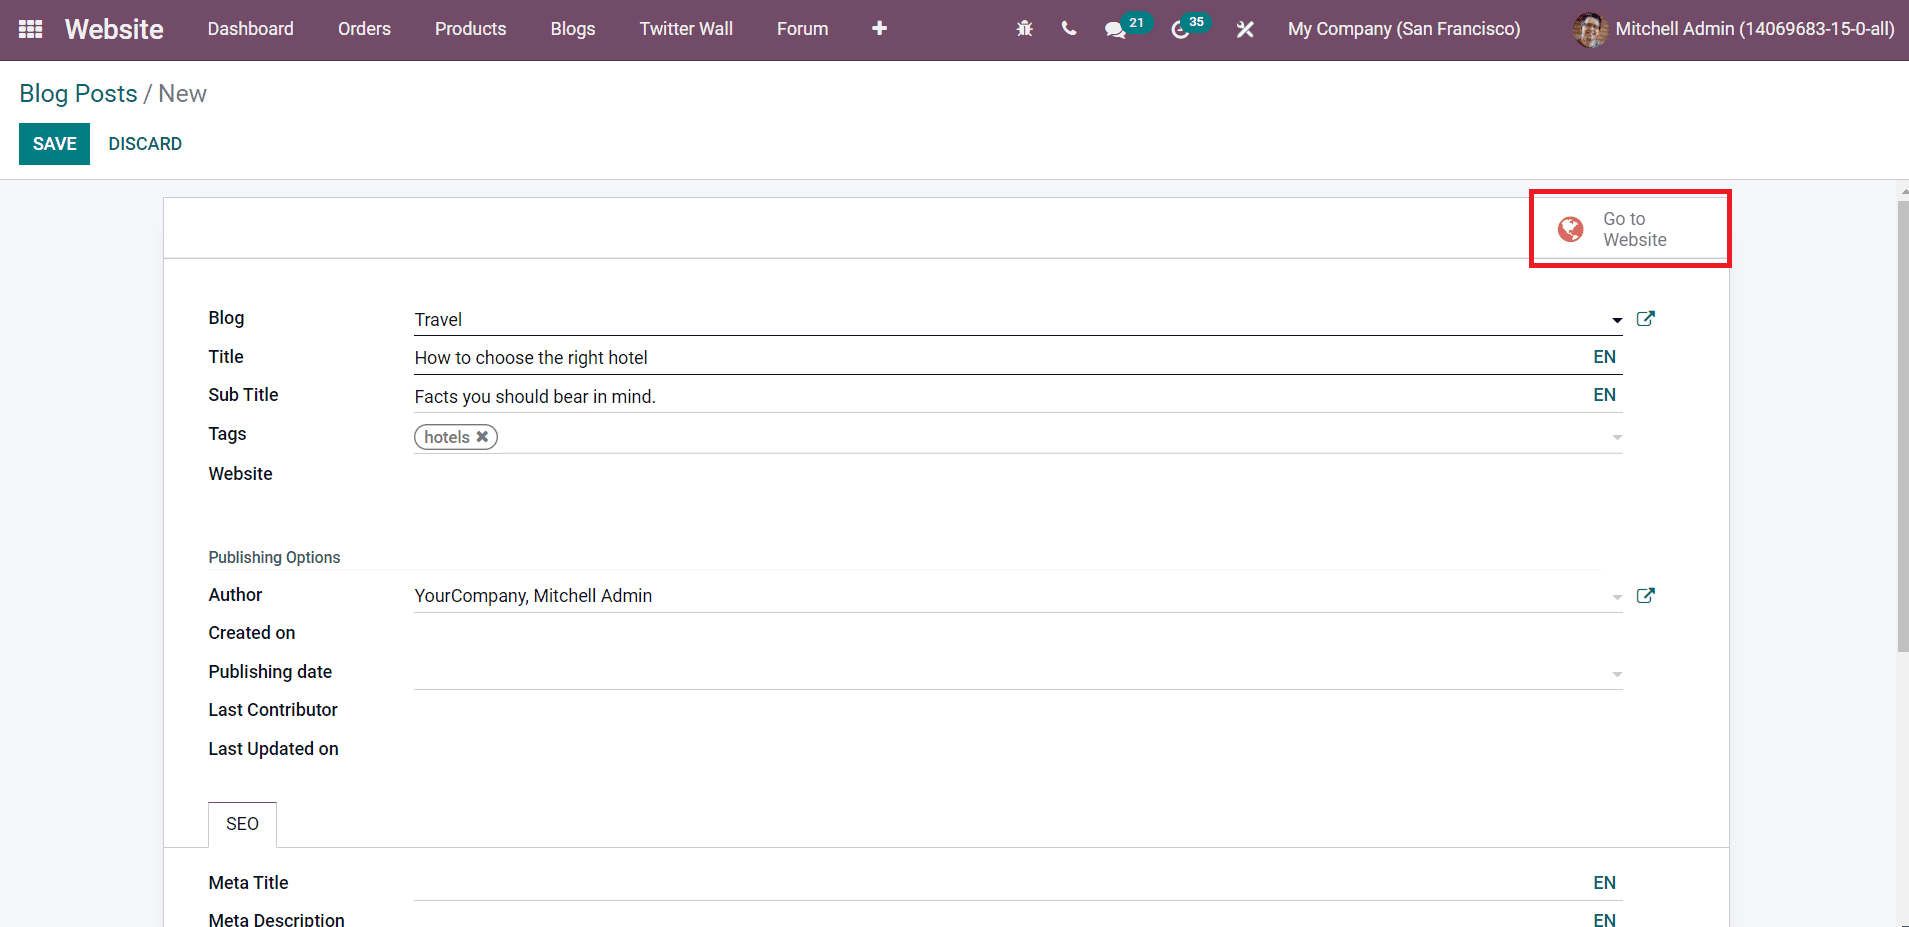
As you can see in the screenshot shown above, use the Go To Website button to publish the blog on your website. Odoo will direct you to your website where you will be able to see the unpublished version of your blog.
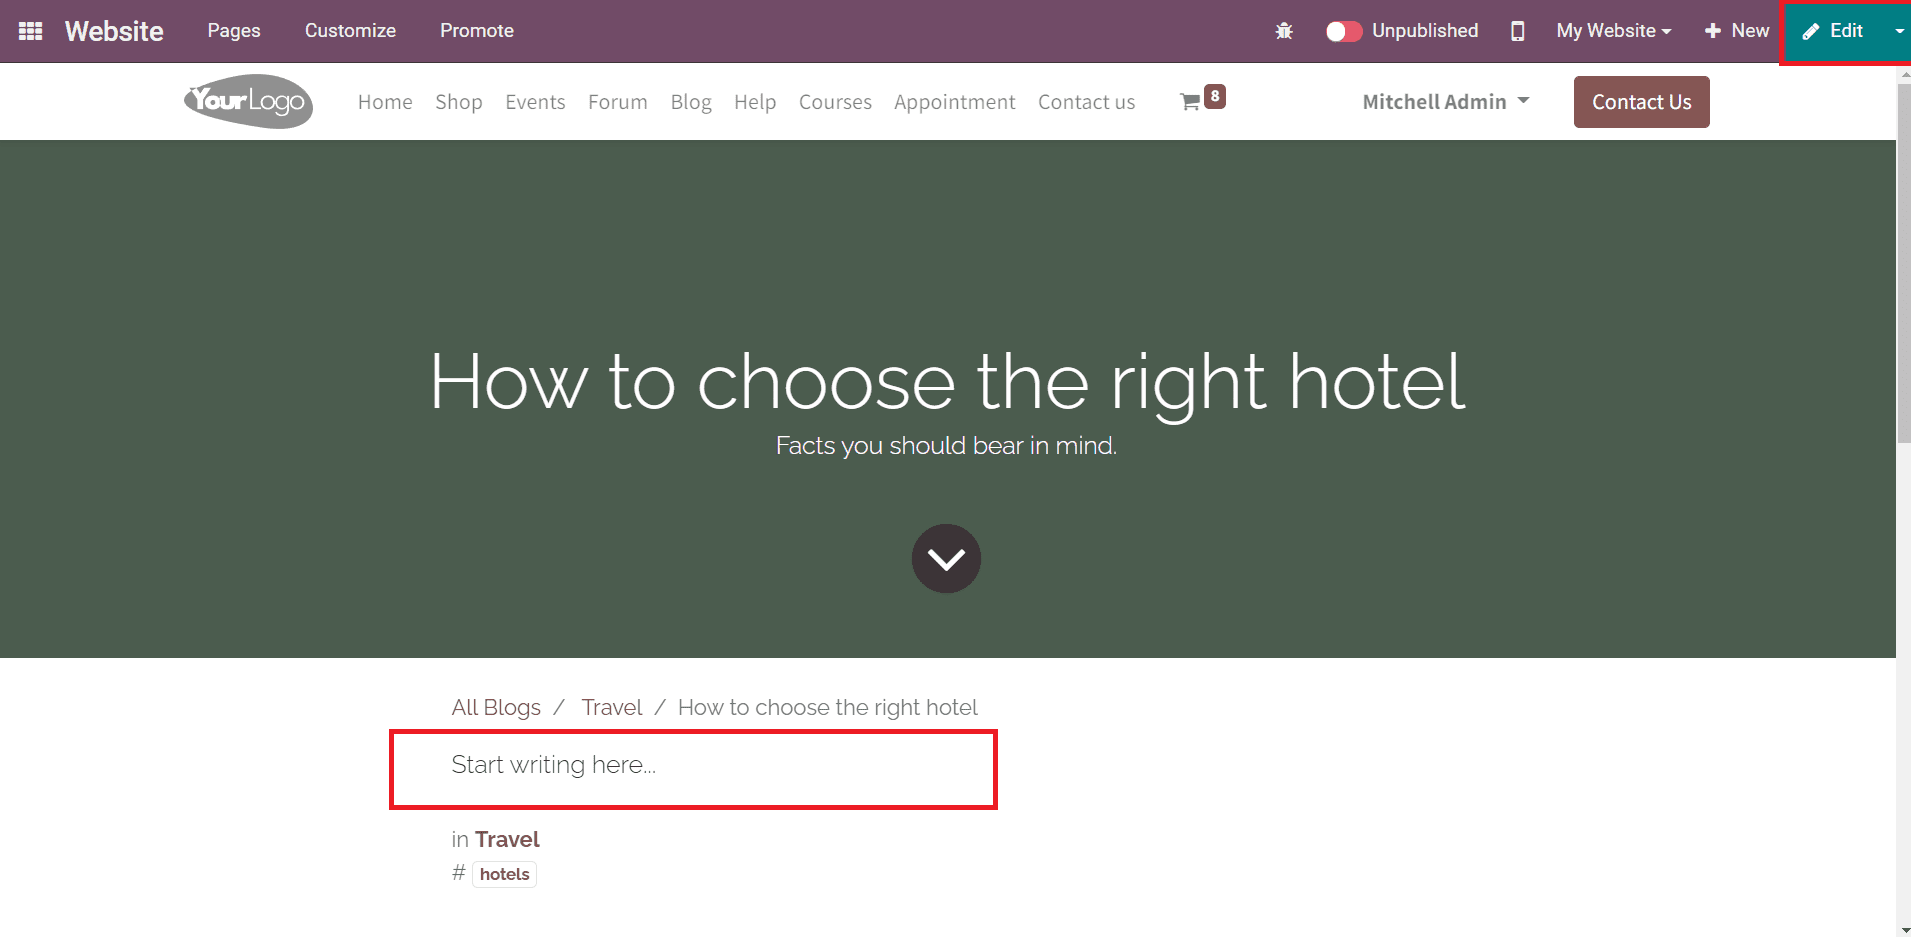
Now, the user can add content to this blog and enhance the view with the help of editing tools from the front end. As you can see in the screenshot above, you can add the main content of the blog in the given space after clicking on the Edit button.
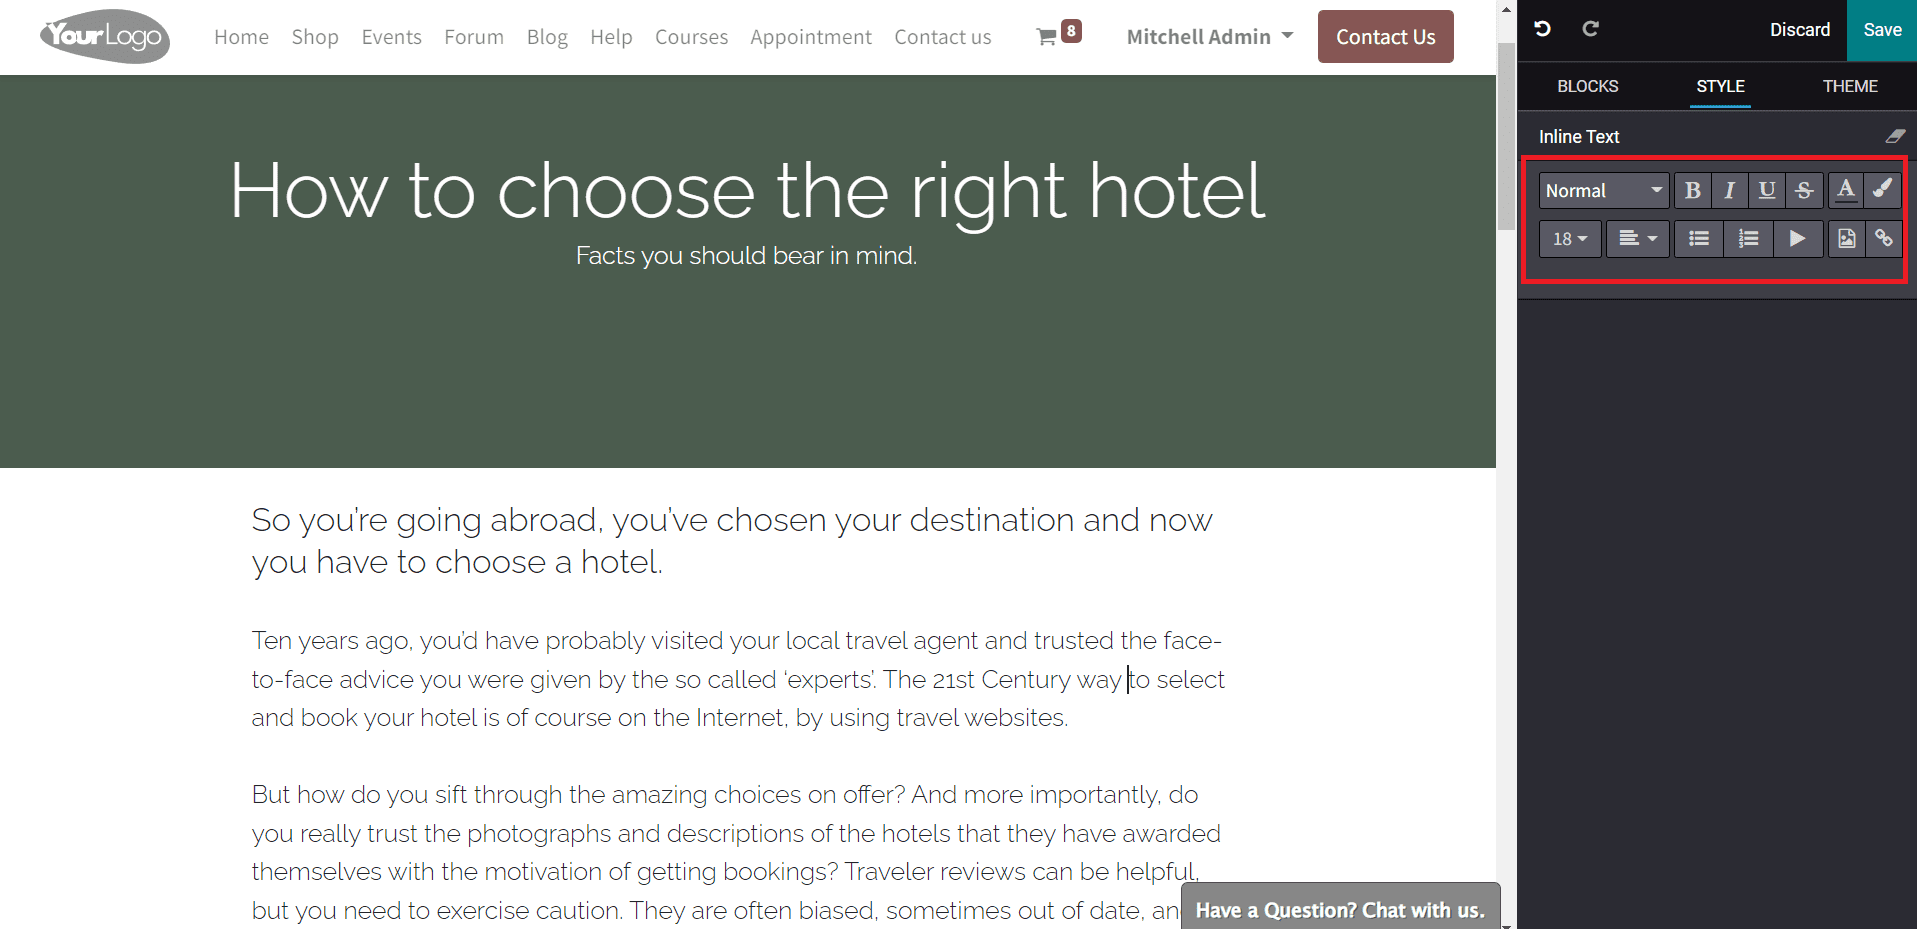
You can adjust the font size, style, and text alignment using the Style tools. It is possible to add any links related to the blog in between the content using these styling tools. In order to design the Blog Post Cover, you can click on the title of the blog and the corresponding styling option will appear in the editing panel as shown in the image below.
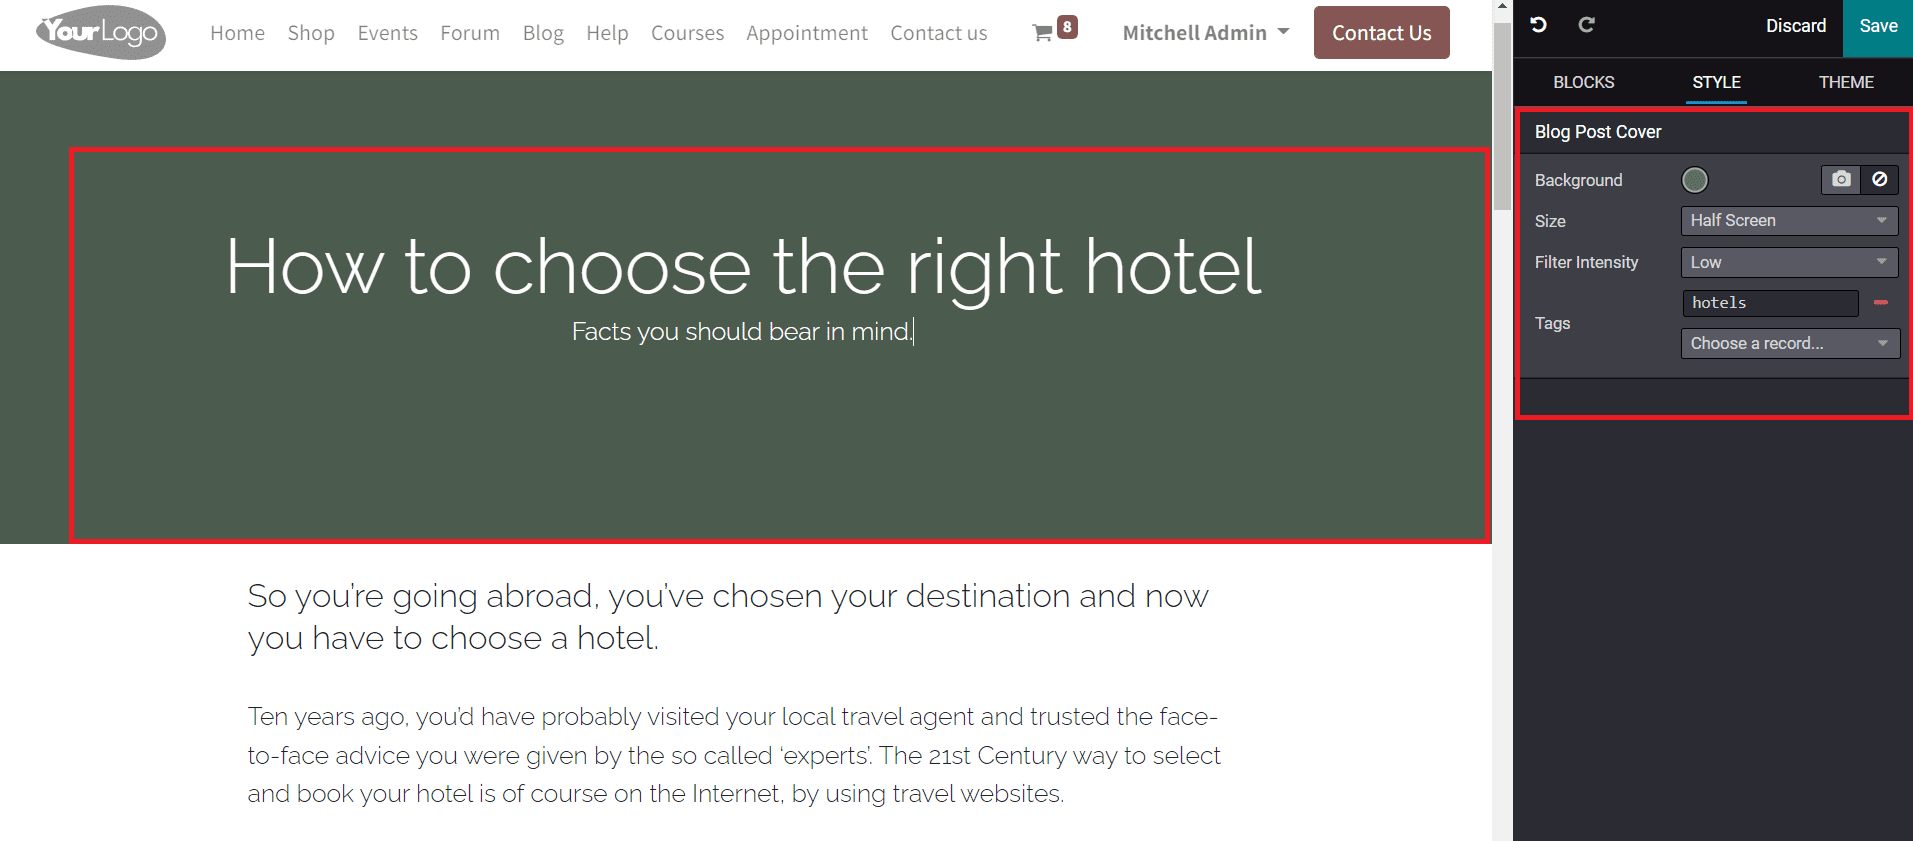
You can set a suitable color or add an image as the background of the title. The image can be shown in full screen, half screen, or fit to the text as per your requirements. You can adjust filter intensity and add new tags with the help of the editing panel.
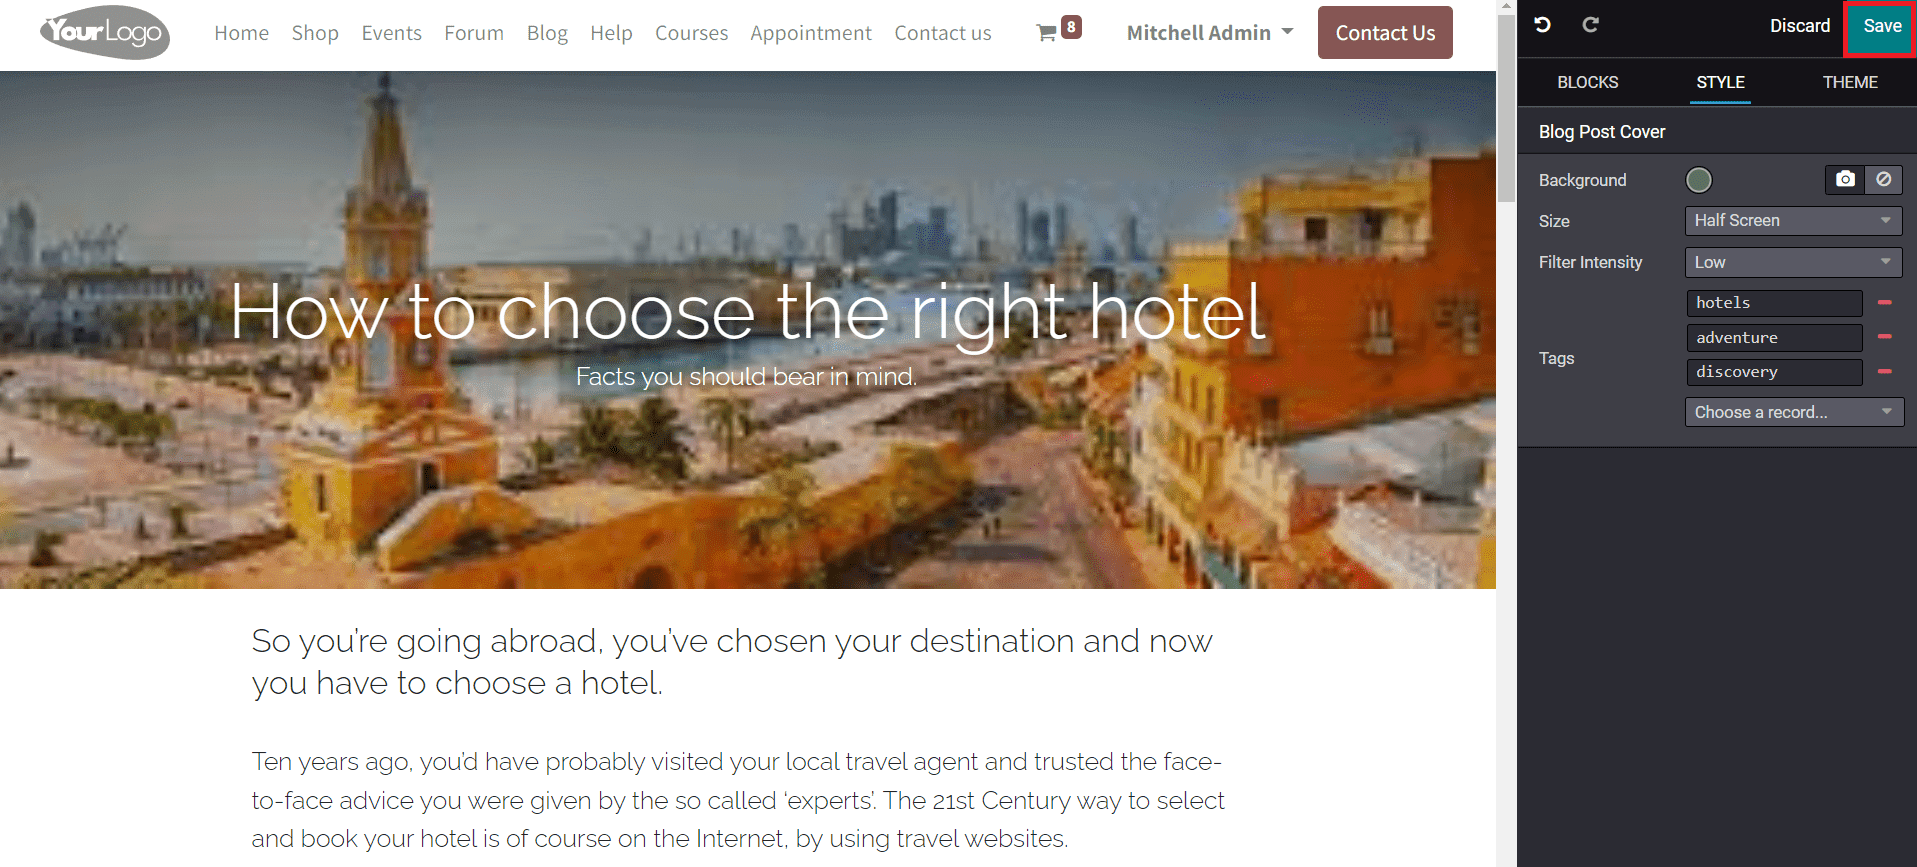
The user will get various snippets in the editing panel to customize the blog page. Once the editing is completed, click the Save button.
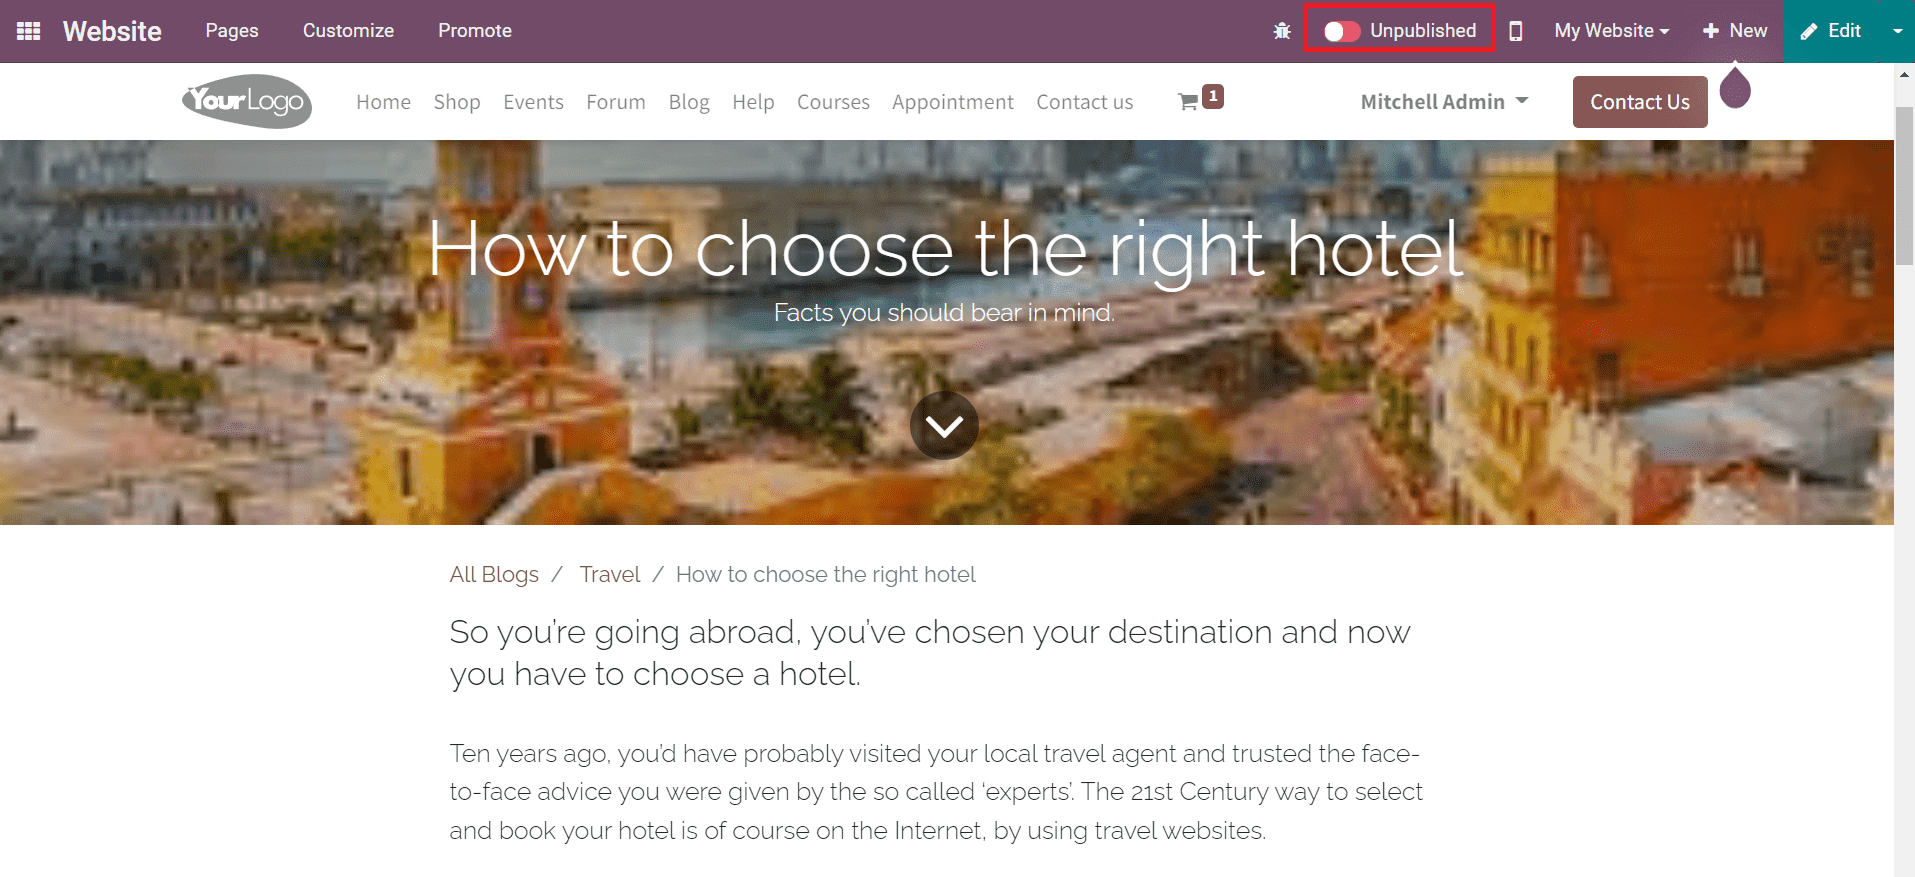
This is the completed view of the blog on your website. You can now click on the Unpublished button to change the status to Published.
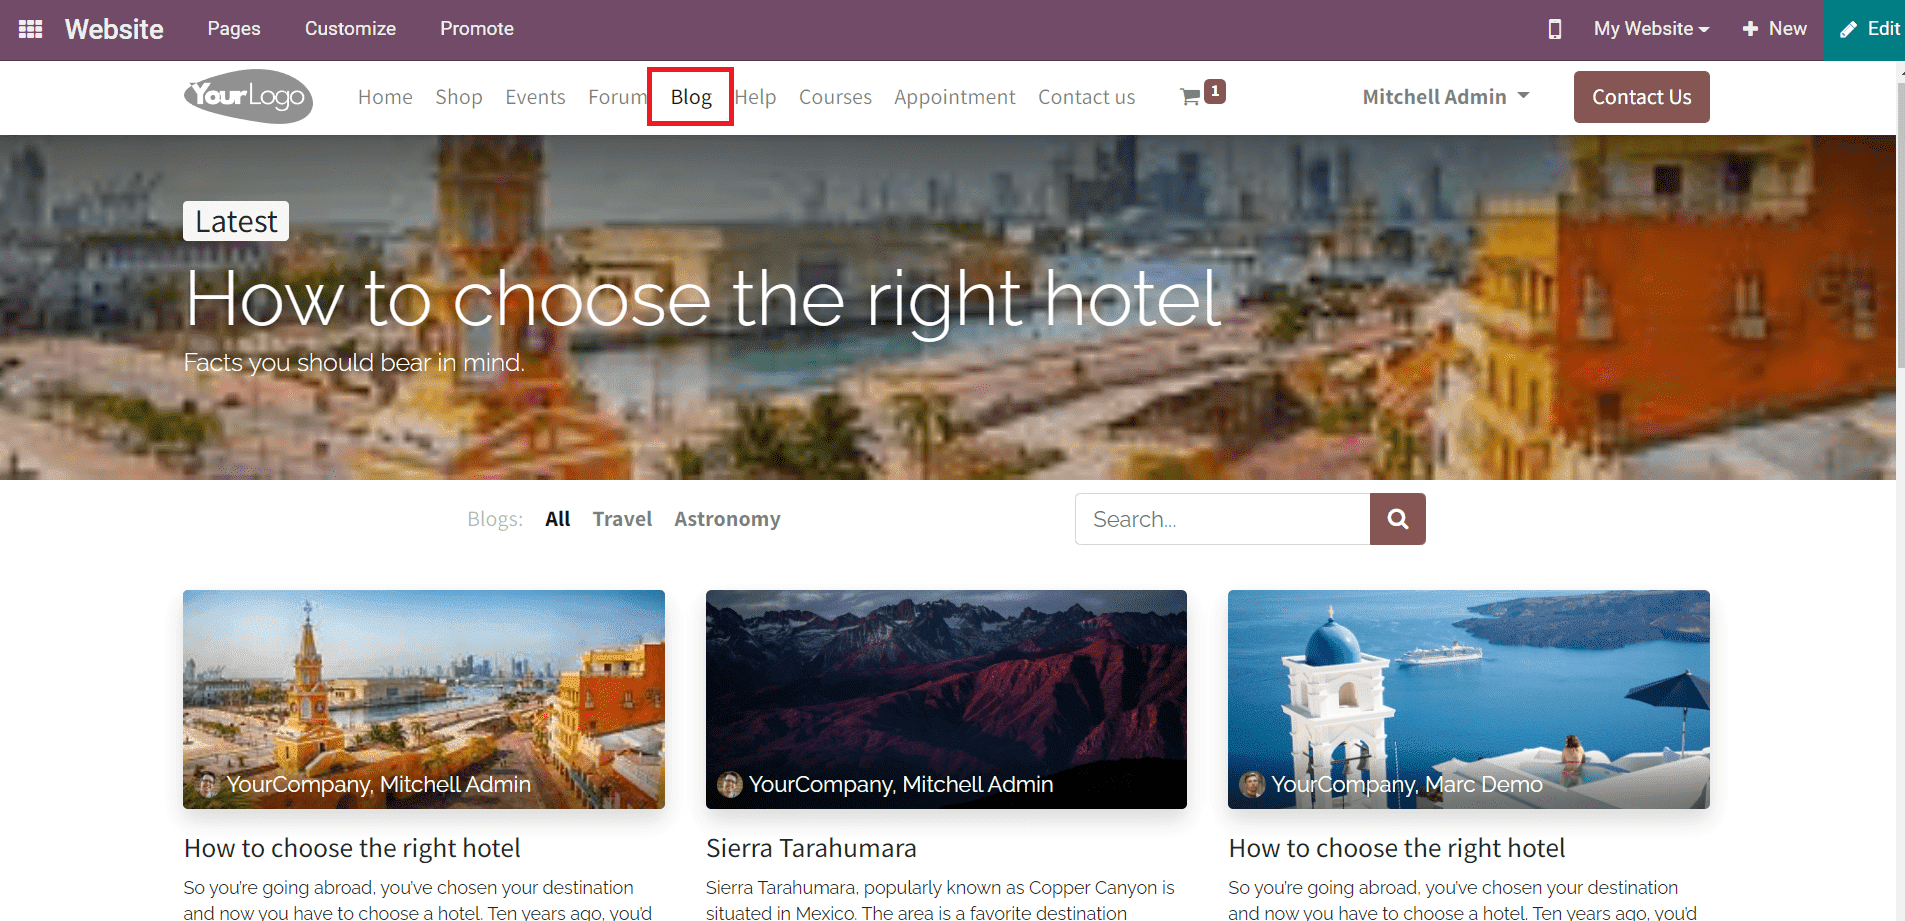
Readers will get the list of Published Blogs under the Blog menu on the website. The admin can see both published and unpublished blogs under this menu. Odoo offers several customizable options on this platform to make the page more attractive for customers. Using these features, you can create and publish creative content on your website.