In the dynamic world of business management, user experience plays a pivotal role in ensuring the efficiency and effectiveness of software applications. Odoo 17, the robust and versatile open-source ERP platform, recognizes the importance of keeping users informed about critical updates, events, and actions within the system. One powerful feature that contributes to a seamless user experience is the ability to display notifications.
The different notifications available in Odoo are.
1. Sticky Notification
2. Rainbow Man effect
3. Alert
4. Raise Exception or Validation
Sticky notifications are commonly known as display notifications. Sticky notifications provide real-time feedback, alerting users to important events, reminders, or actions that require attention. Whether it's an approval request, a deadline approaching, or a system-wide update, notifications keep users informed and engaged, contributing to a more responsive and user-friendly environment. We can create sticky notifications using Python as well as using javascript.
By using python:
Here is the sample Python code to display sticky notifications.
   return {
    'type': 'ir.actions.client',
    'tag': 'display_notification',
    'params': {
        'title': _("Warning head"),
        'type': 'warning',
        'message': _("This is the detailed warning"),
        'sticky': True,
    },
}
Now, we can check each parameter of the sticky notification
* ‘title’: We can pass the title of the notification to this key.
* ‘type’: Type defines the color of the notification. They are, ‘danger’ - for red color, ‘warning’ - for orange color, ‘info’- for blue color and ‘success' - for green color
* ‘message’: The message to be displayed.
* ‘sticky’: optional parameter, can contain True/False (Boolean value), if True the notification shows until the user closes it, if it is False it shows some seconds then fades automatically.
* ‘next’: Optional parameter for the next action to be done.
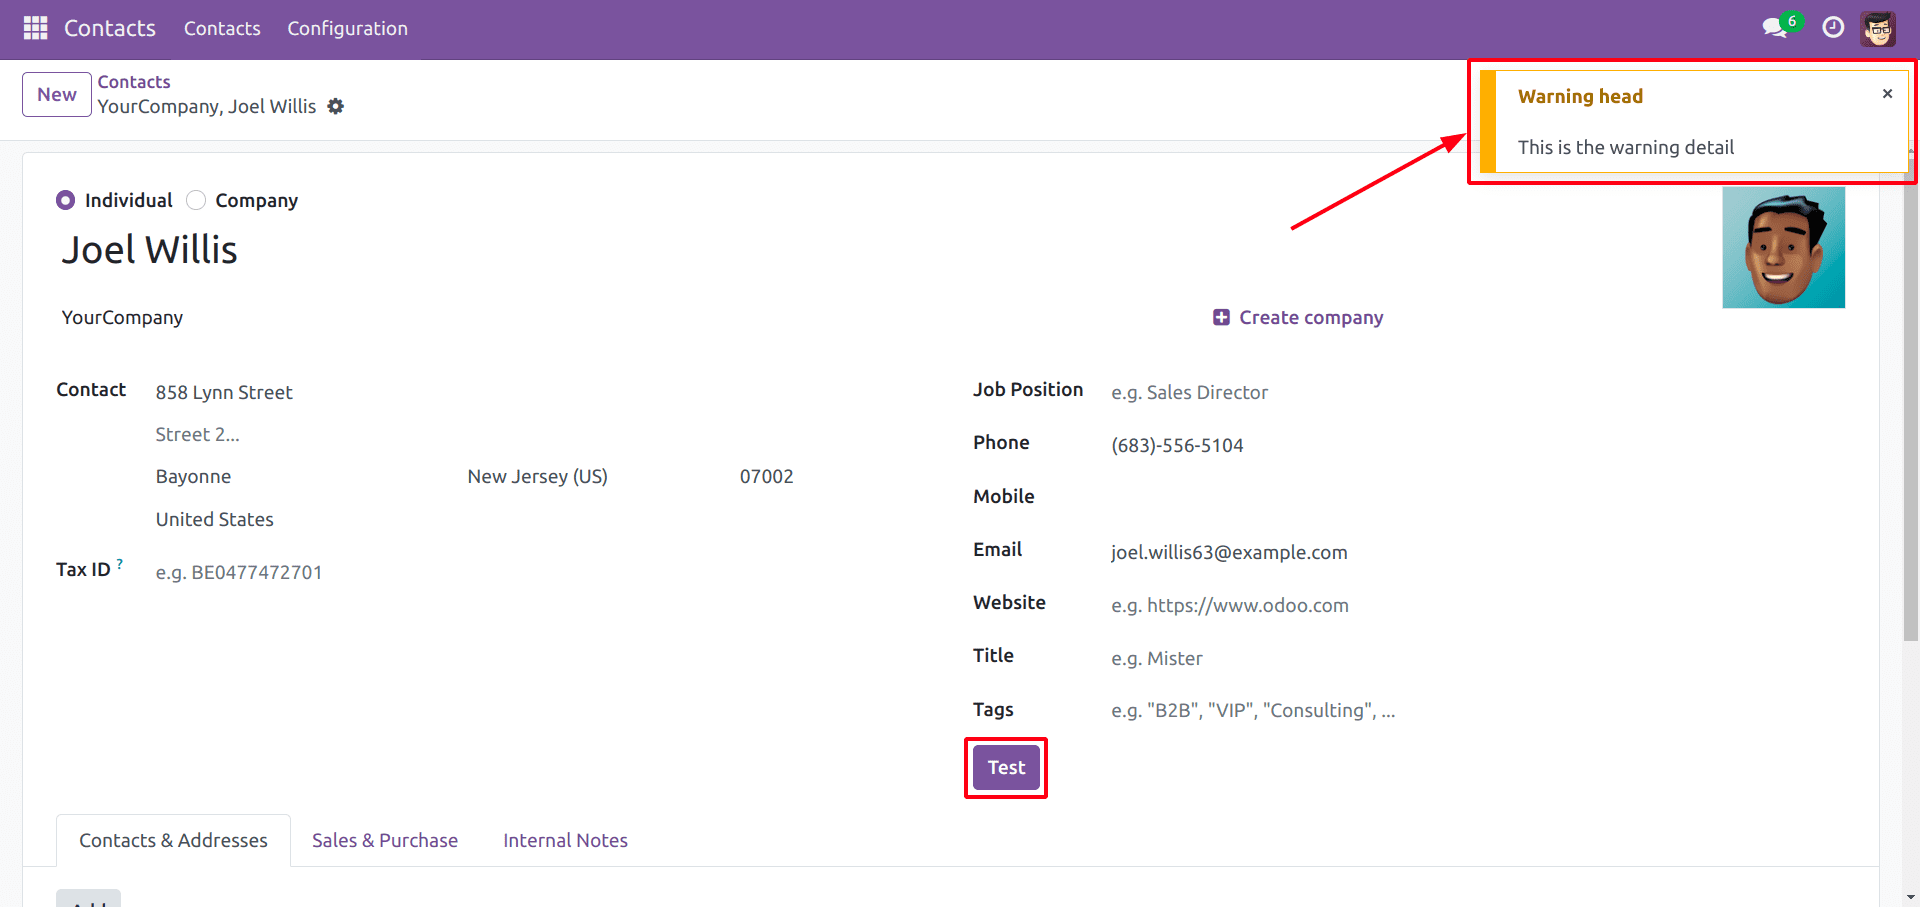
Now I'm adding a button in contact form and placing the python code inside the python method “action_test_sticky” that is callable using the button.
Here is the xml code for adding a button in contact form.
<xpath expr="//field[@name='category_id']" position="after">
 <button string="Test" type="object" name="action_test_sticky"class="oe_highlight"/>
</xpath>
This is the result of sticky notification when clicking the test button in contact form.

By using Java Script:
The parameters of sticky notification in Javascript are the same as the Python sticky notification in Python.
Firstly, we need to import useService from “web/core/utils/hooks.”
import { useService } from "@web/core/utils/hooks";Then, define notification from setup() method.
setup() {
    this.notification = useService("notification");
}
Now, we can directly call the sticky notification from any method like this.
this.notification.add(
    _t("Message detail."),
    {
        title: _t("warning head"),
        type: "warning",
        sticky: true
    }
);
The common use cases for display notifications in Odoo encompass task assignments, approval requests, system alerts, and collaboration updates. Users can customize and prioritize notifications to align with their specific responsibilities.
To read more about creating display notifications in Odoo 16, refer to our blog How to Create Display Notifications in Odoo 16