The success of a business depends on its projects. Each business has a unique collection of initiatives. In a firm, there are many different kinds of projects, and there are several approaches to managing them. A project goes through a number of steps from start to finish. However, manually managing such a process over time might be difficult. However, the Odoo 16 Project module helps the company handle projects more effectively.
When we work on a project, we normally divide it into separate works based on its objectives. That implies that a project will be broken up into portions in order to be completed more quickly. These divisions are referred to as Tasks or sometimes these tasks may be again subdivided into subtasks.
In this blog, we will check how to create and manage Sub-tasks in Odoo 16
Before starting to create tasks, we must go to the Settings section of the Projects module and turn on the necessary Task Management settings. In this section, we can allow the subtasks option to manage the project.

Now let's create a Project and assign tasks and subtasks to it to see how to use the feature.
To start a new project, navigate to the project configuration window and click the "New" button. By selecting this option, you may begin the process of creating a new project in Odoo 16,
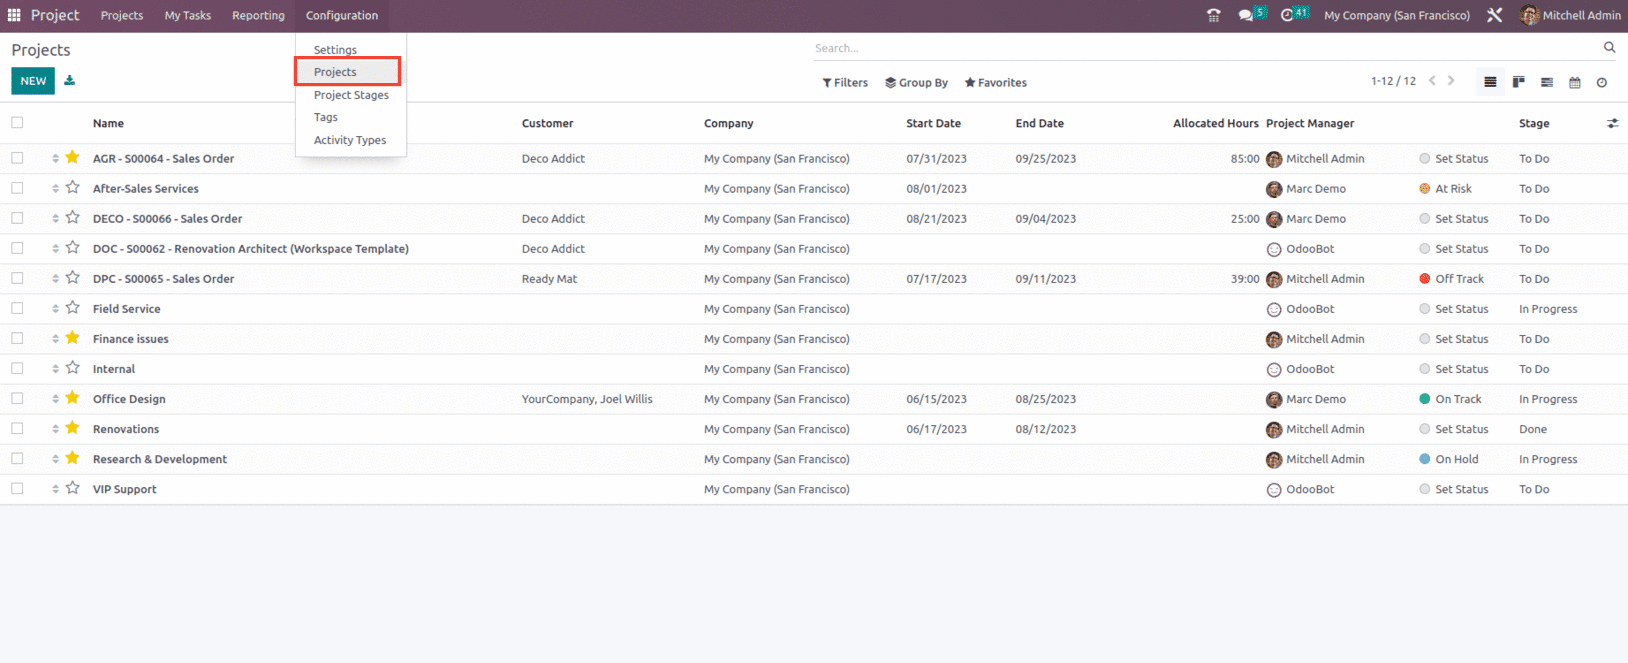
or you can also create the new Project from the Dashboard of the Project module, as shown below.

You must provide the necessary project information in the respective fields of the project creation window. This involves providing information such as the project name, the names of the tasks connected with the project, client information, tags for classification, the firm name, the project manager, the scheduled start date for the project, and the allocated hours for completion. Use the Description tab to add any extra project comments or details.
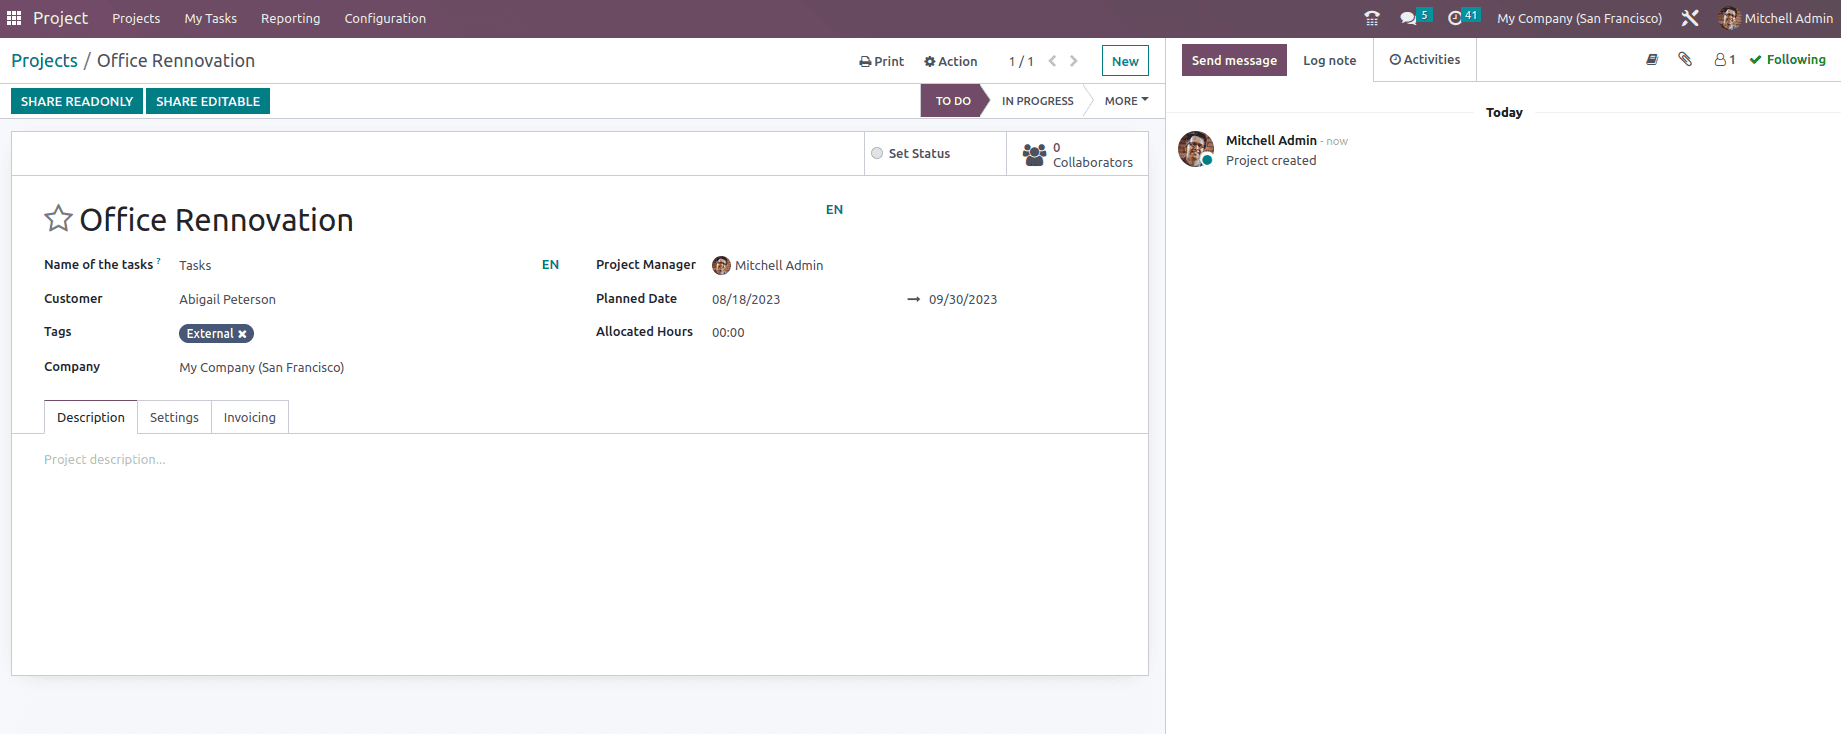
Additional setting choices are available in the project configuration window's Settings tab. The Visibility parameter specifies who has permission to see and view the project and its tasks. The visibility settings may be defined inside the project configuration settings. You can limit visibility to specific categories, such as invited internal users, all invited users, invited portal users, and all internal users. This gives you control over who has access to and views the project and its related tasks. You may guarantee that project information is available to the desired audience while ensuring confidentiality and privacy as needed by selecting the right visibility option.
If the user needs to add Subtasks to a specific project, then they can enable the Sub-Task option from the settings tab of the Project, as shown below.
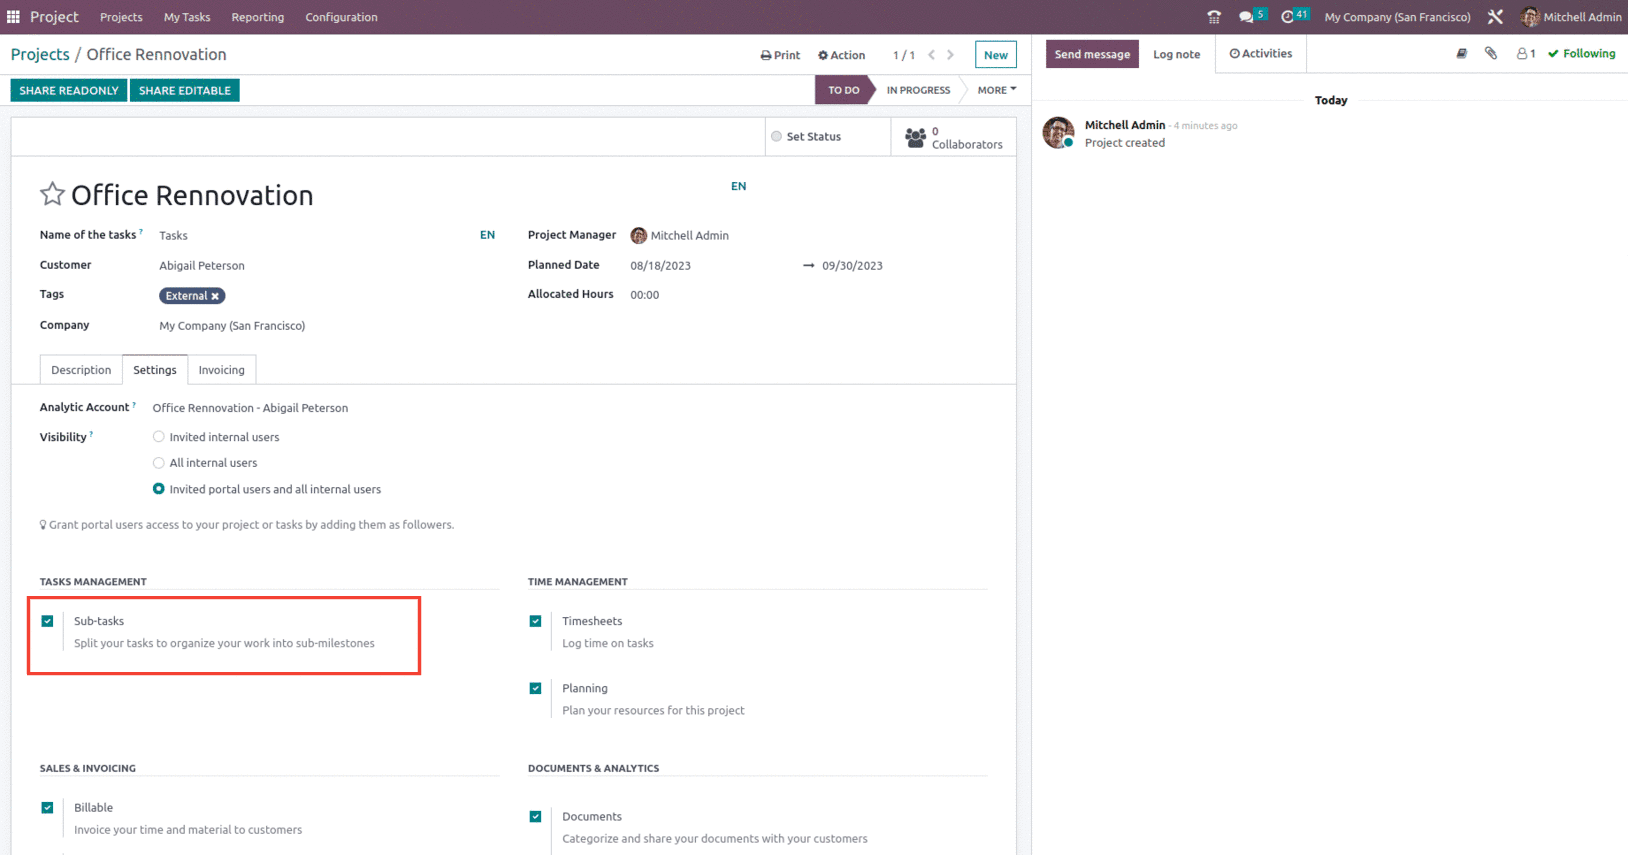
Now let's save this Project and assign Tasks and Sub-tasks to this project. For that, let's go back to the project module and take the Kanban view of the project, as shown below.
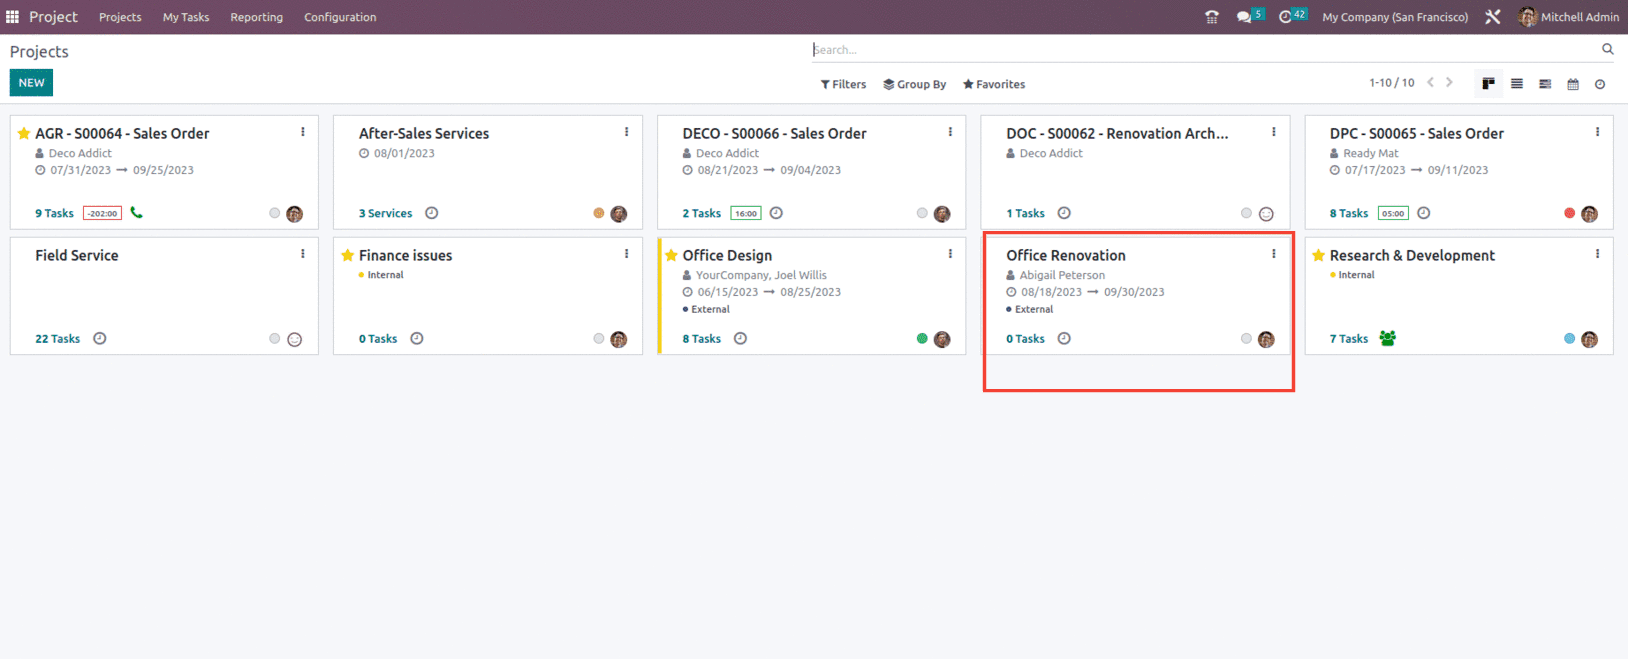
Now let's take the Project. It will redirect to a window where one can create Tasks for their project along with the required stages, as shown below.
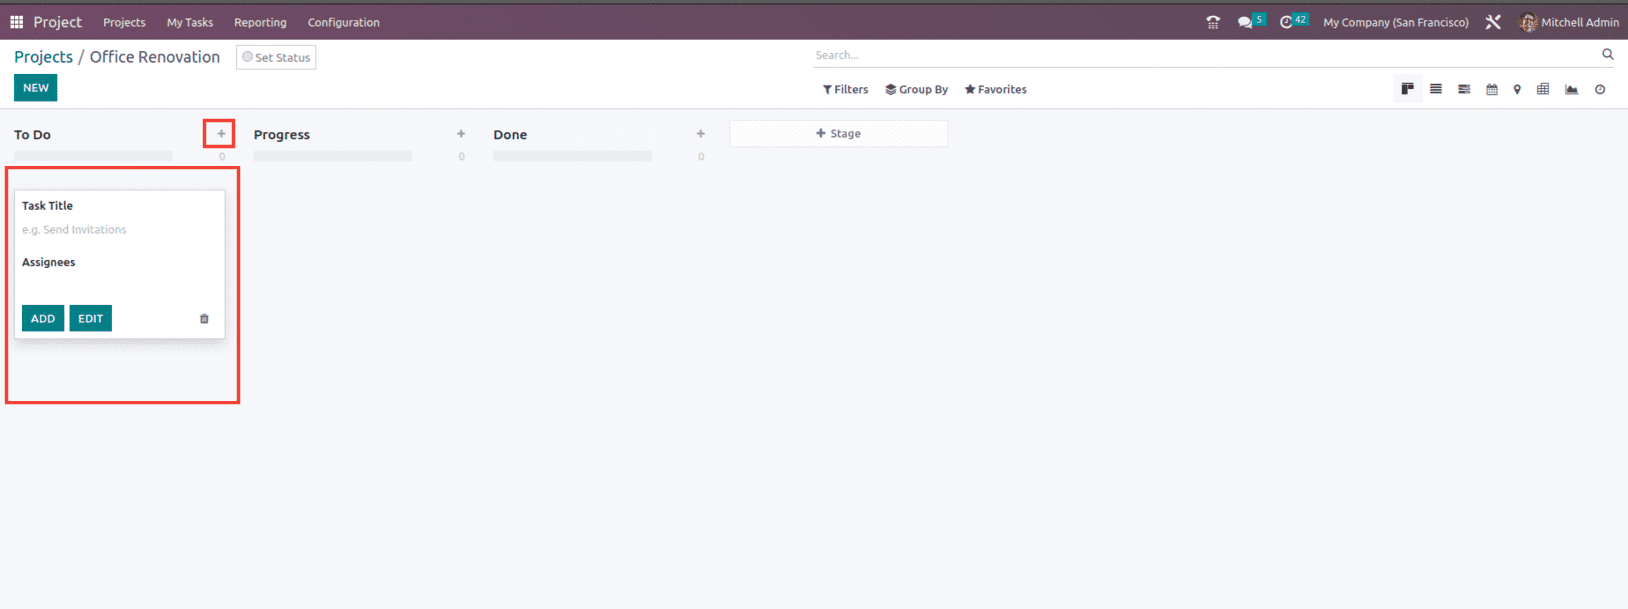
From here, one can create a new Task by providing the Task Title and Assignees and clicking the Add option. Afterward, click the created task and add the necessary information associated with the task, such as the customer, sales order item, and deadline. After selecting the customer, the sales order item is automatically assigned. In the Description box, you may enter a description for your assignment. Depending on your settings, other tabs, such as sub-tasks will be available. You can input the recorded time spent on the work in the timesheet tab. You may add the task's allocated hours, as well as all workers assigned to it, and customize the hours spent by each employee in the queue. After inputting the specifics, you can check the hours spent and the remaining hours for the work.
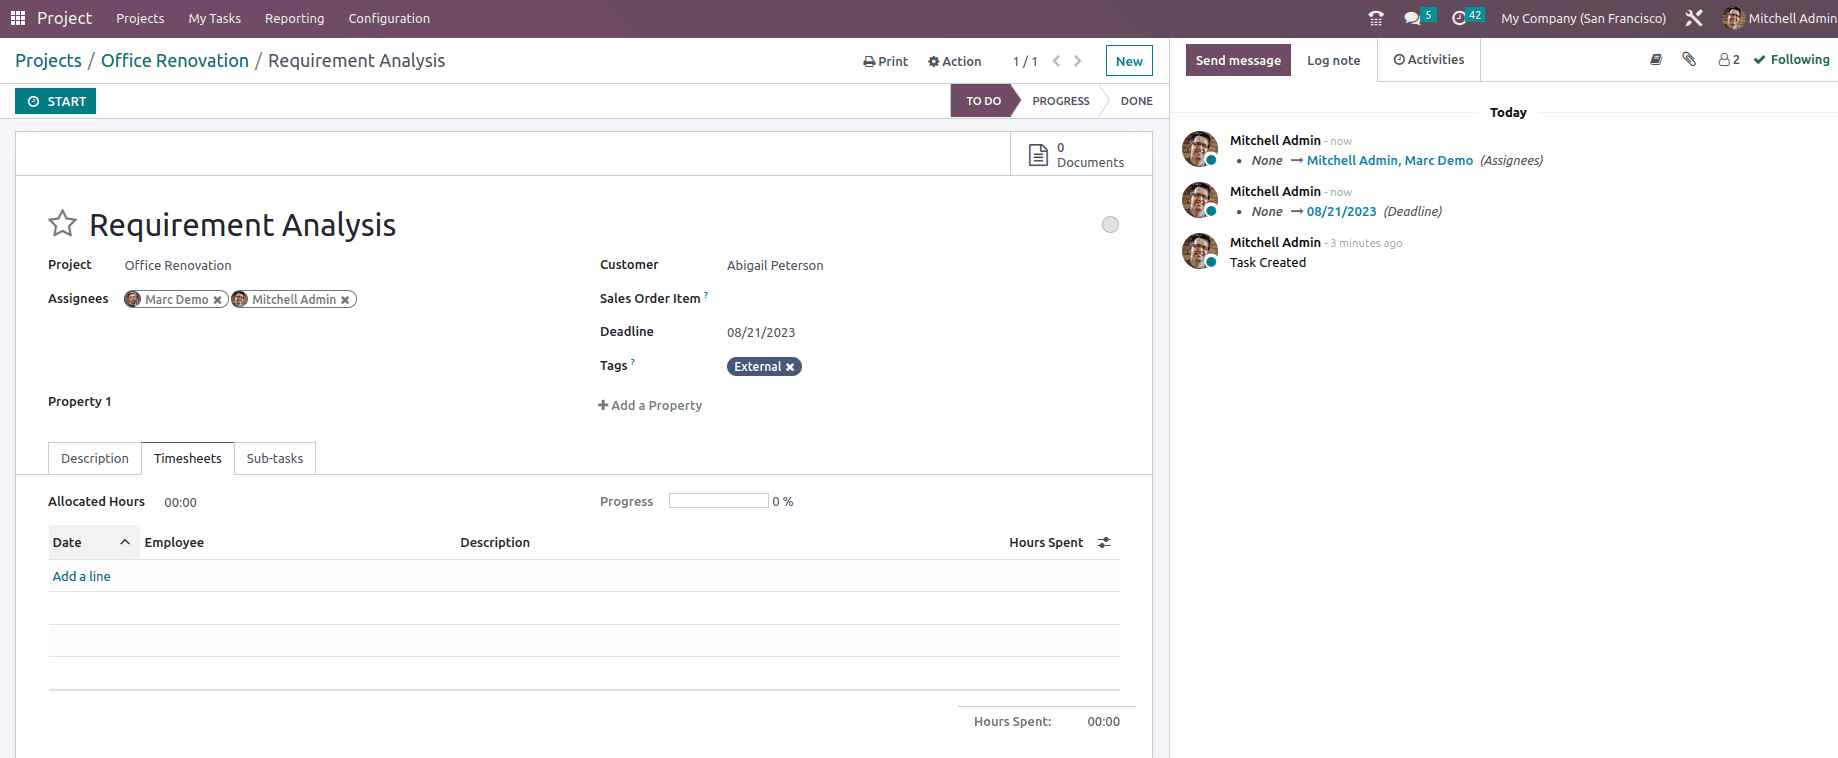
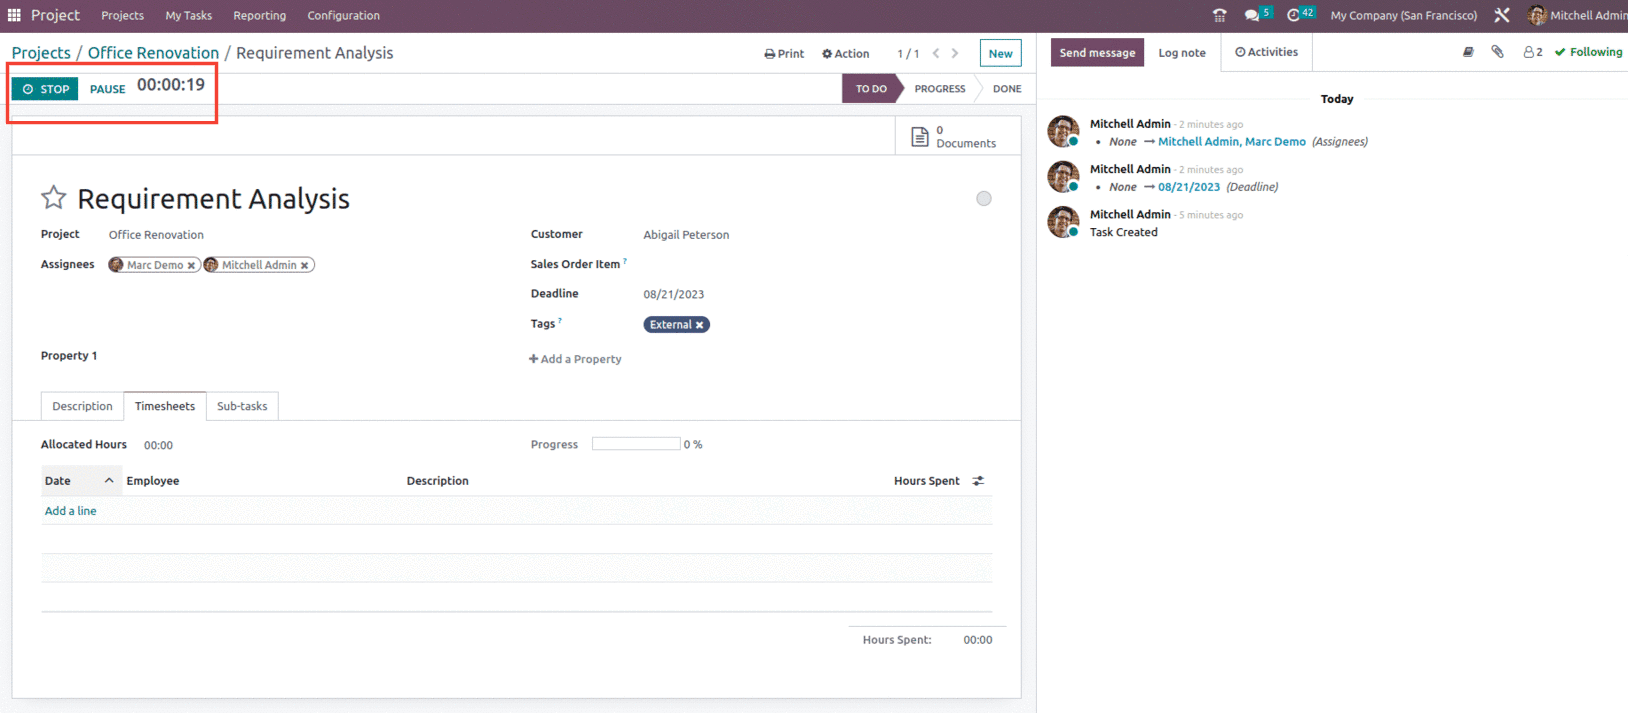
After you've entered these settings, you may start the task by clicking the Start button at the top. When the task is finished, you can also pause and stop it. When you click the stop button, you may input the time and description of your work. When you save it, it will be added to the timesheet and shown in the total hours remaining.
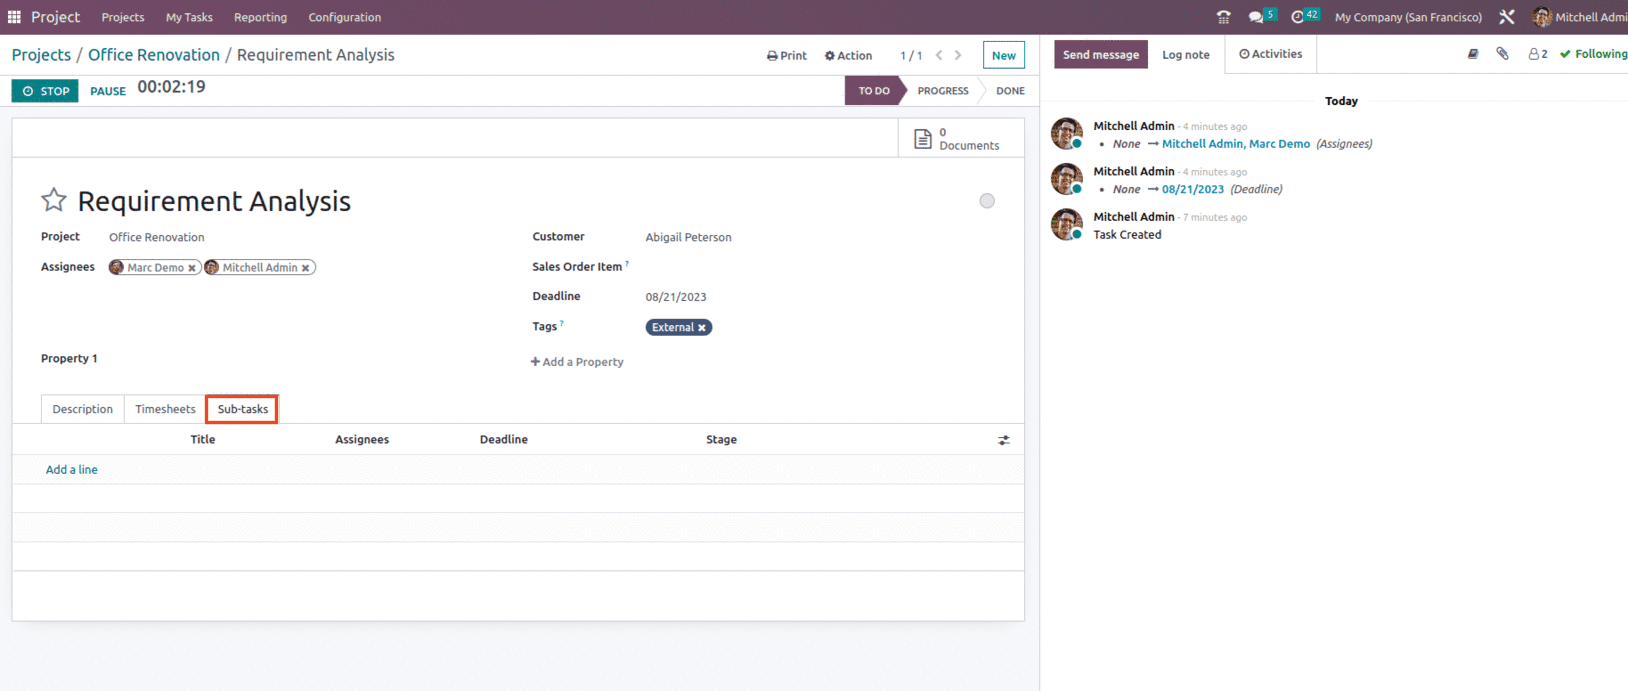
You may use sub-tasks to organize your activities in an organized way from the Sub Task tab of the task, as shown below.
When we choose the Add a Line option in the Subtask menu, a pop-up window will appear that will allow the user to create the New Sub task from the New button or to select the existing task if any, as shown below.
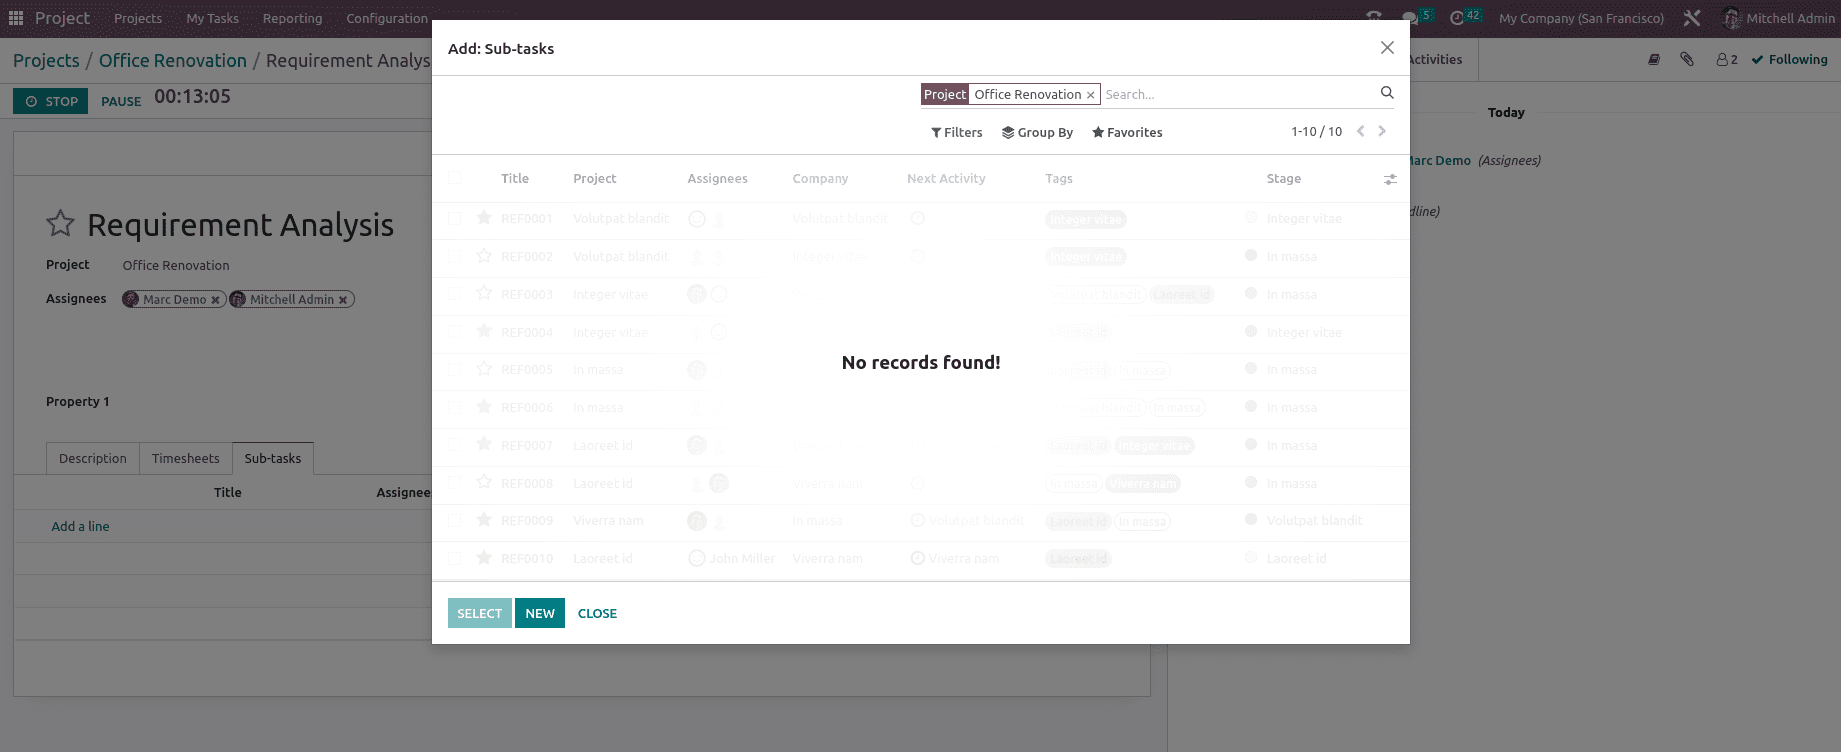
From the New button, the user can create a new Subtask with information such as Subtask title, Project, Assignees, Customer, Sales Order Item, Deadline, and Tags and can add description, timesheet, and subtasks along with this, the user can also view Parent task smart button as shown below.
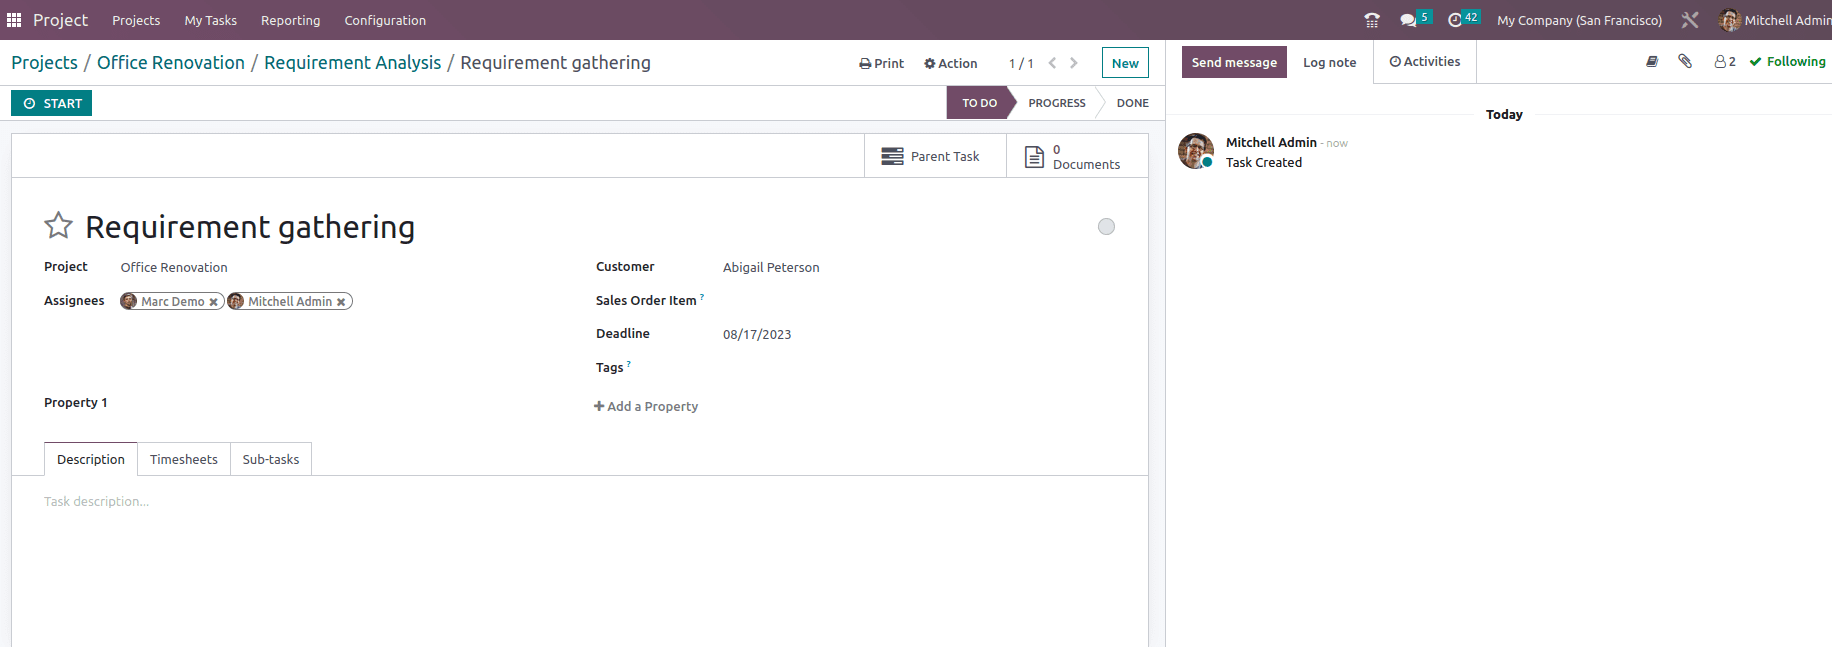
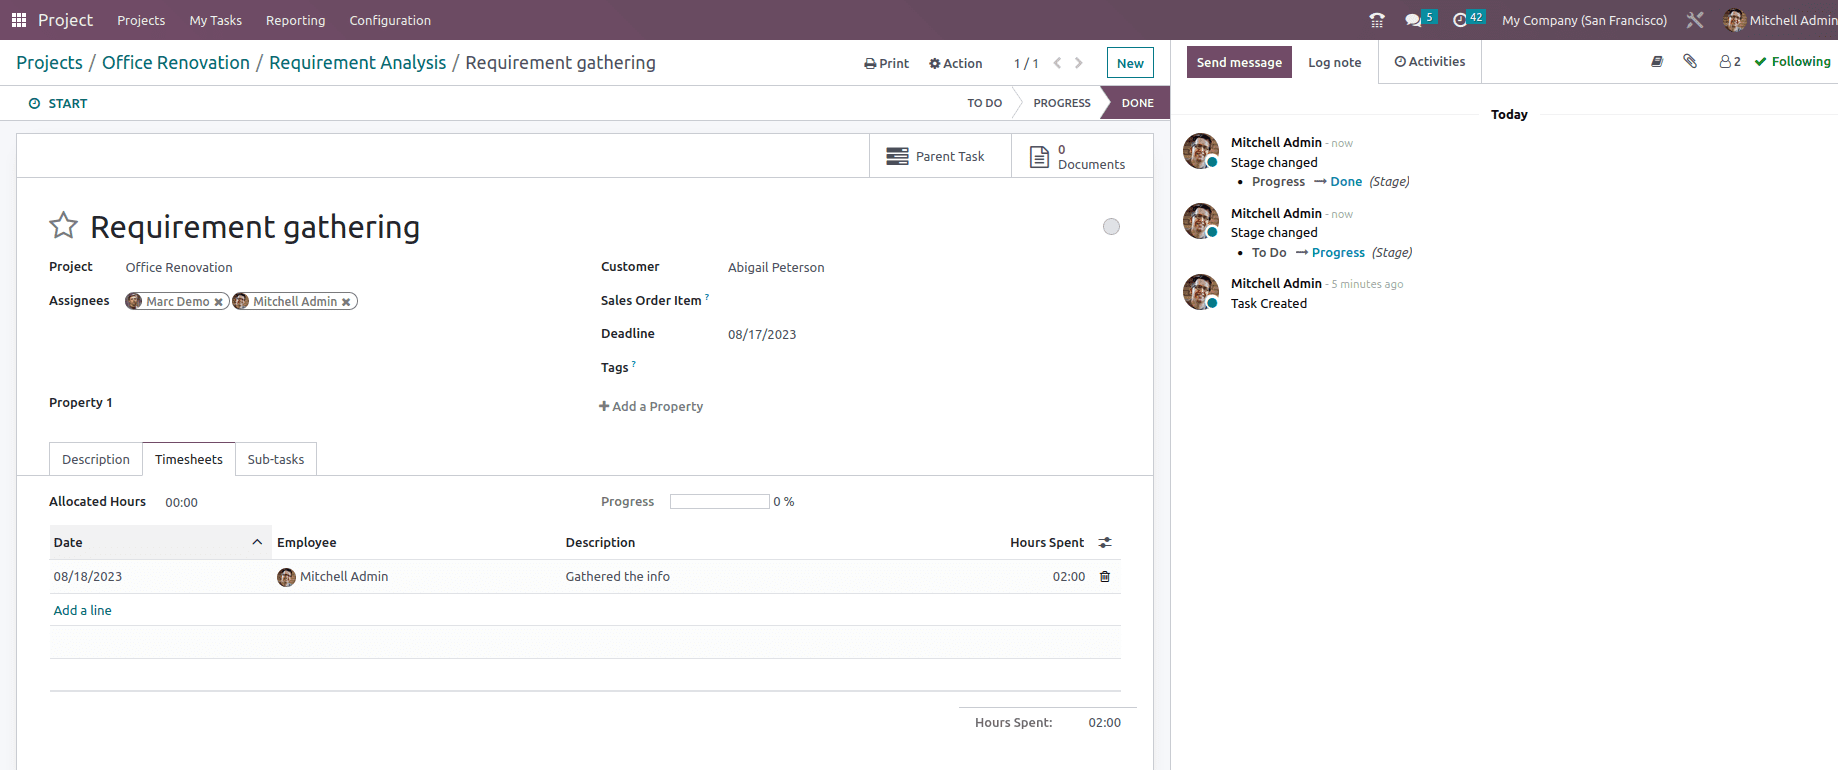
For Sub tasks, the user can start the Sub Task by clicking the Start button at the top. When the task is finished, you can also pause and stop it. When you click the stop button, you may input the time and description of your work. When you save it, it will be added to the timesheet and shown in the total hours remaining. and can mark the subtask as done once it is completed.
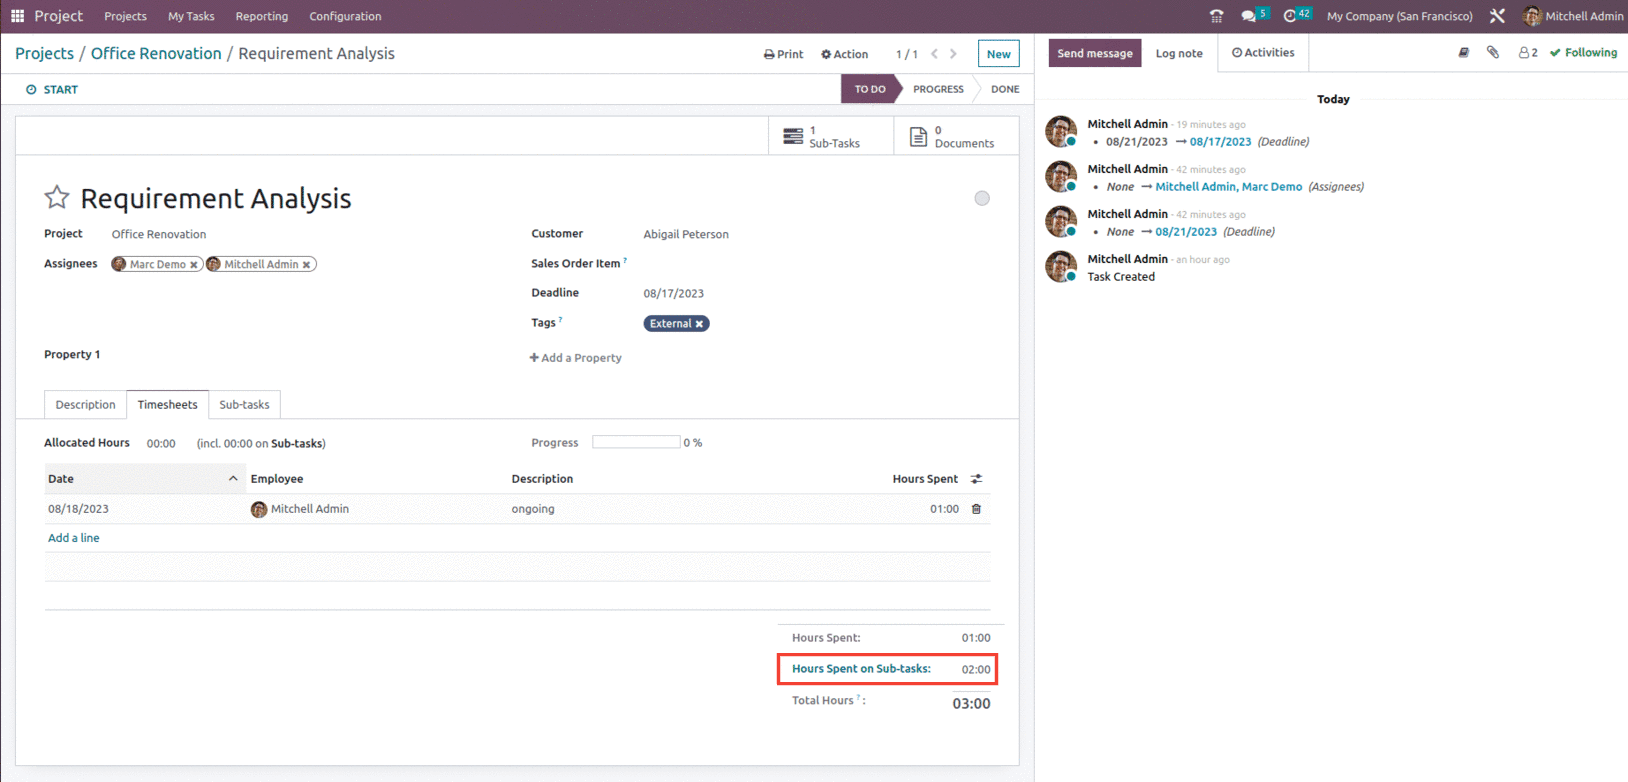
Let's go back to the main Task where one can view the Subtask smart button with count one since there is only one Subtask added for the Project, and if we check the timesheet of the main task we can see that the time spent on the subtask will also be added as shown below.
This is how Sub-tasks are managed in the Odoo 16 Project module.