The Odoo Point of Sale (PoS) Kiosk Mode feature lets you make the interface easier to use for self-service; it's best suited for settings like restaurants, retail stores, or any other location where customers can interact with the PoS system directly without help from a salesperson or cashier. Kiosk Mode simplifies the user experience by offering a condensed menu and assisting customers with the checkout process.
To enable the Kiosk Mode, first log into your Odoo account and navigate to the Point of Sale application. Once there, navigate to the Configuration menu's Settings section. You can usually find this menu by using the program menu bar.
To enable Kiosk Mode, also known as "Kiosk Mode" or "Self-Service Mode," go to the "Mobile self-order & Kiosk" tab section inside the Settings page. Click on it to launch the kiosk interface. You may alter the layout and design elements, add new features, choose which goods or categories to display, set up payment options, and more to make the interface exactly what you need.
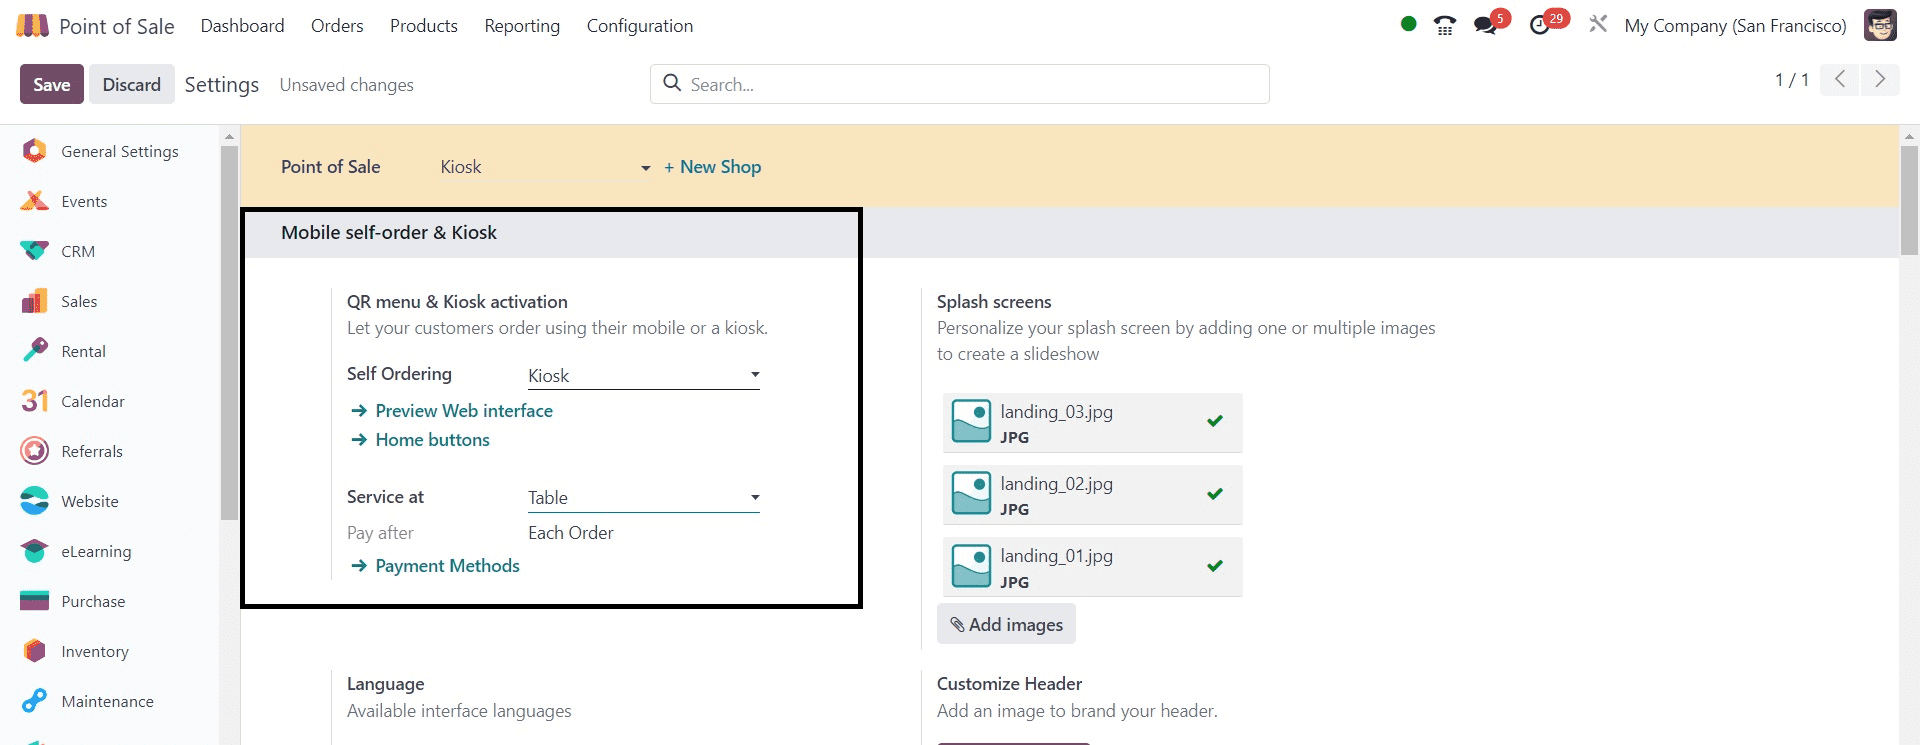
WEB INTERFACE PREVIEW
To see a preview of the Kiosk interface, click the Preview Web Interface link. You can then adjust the buttons within the Kiosk home window with the assistance of the Home buttons. When you click on the Home buttons link, the Kiosk window's dashboard with all of the buttons' Label, URL, Point of Sale, Style, and Preview will open, as you can see below.
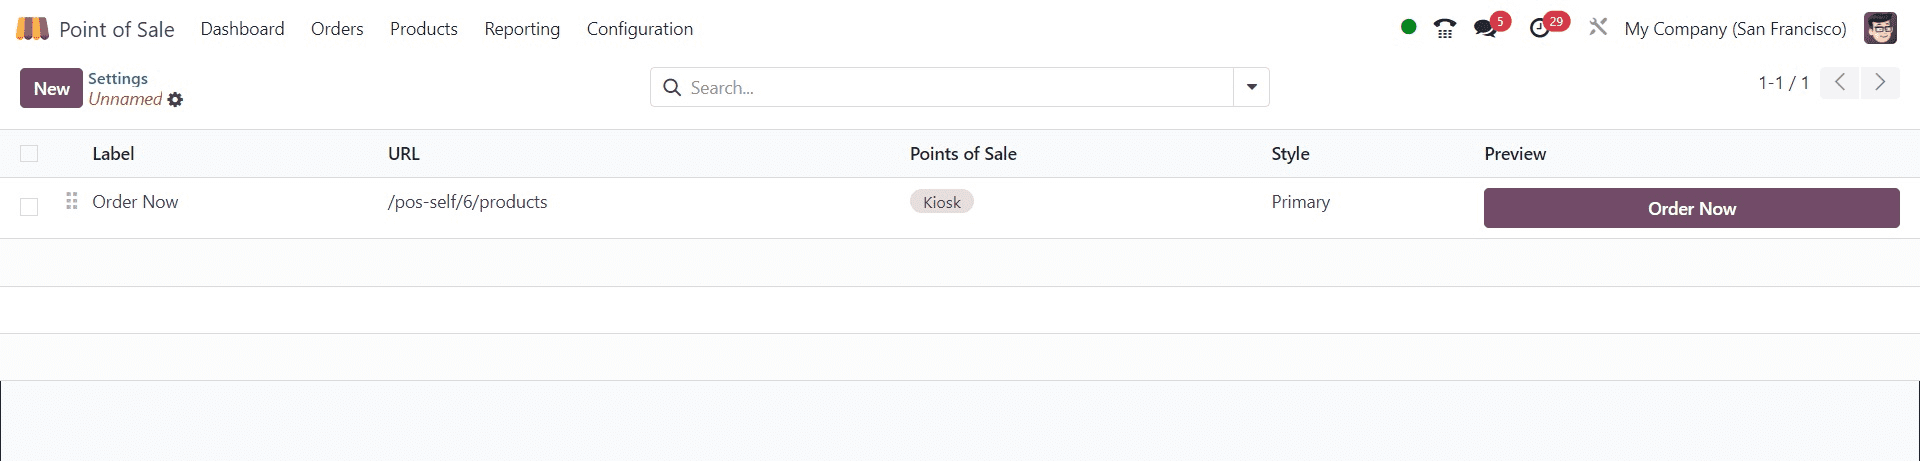
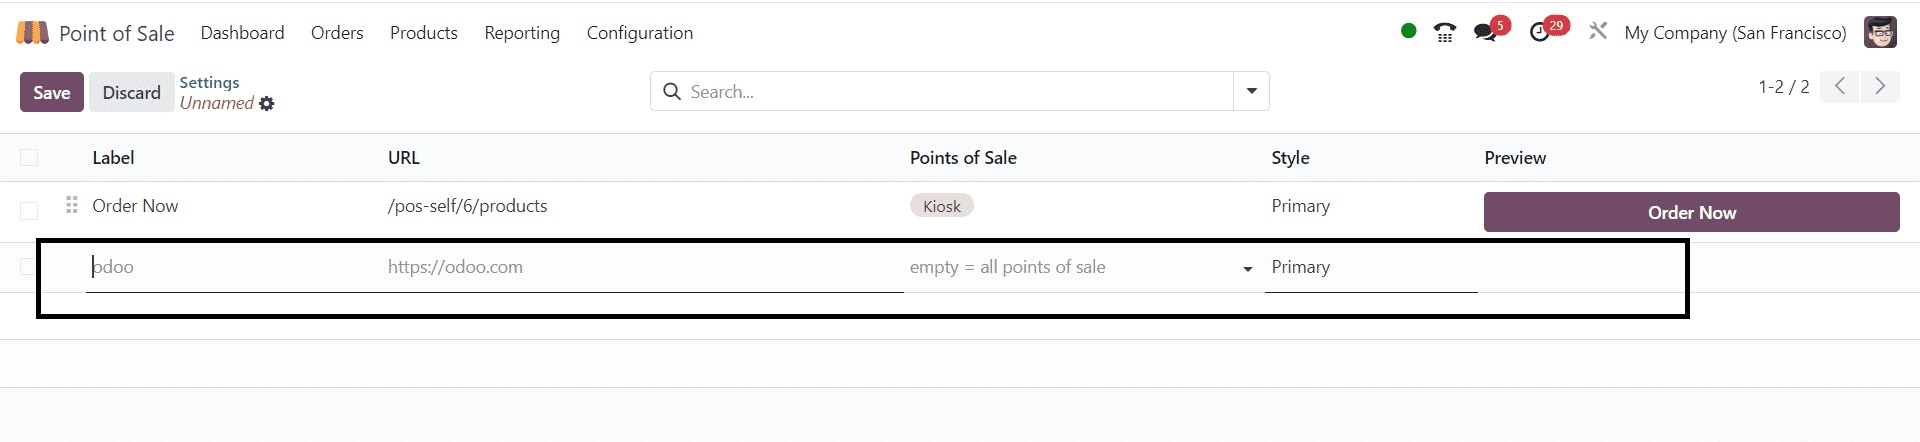
The 'New' button will then open a new editing line where you may add new Labels, URLs, and other specifications. Next, create a new window button. Next, use the Save option to save the data.
SPLASH SCREEN
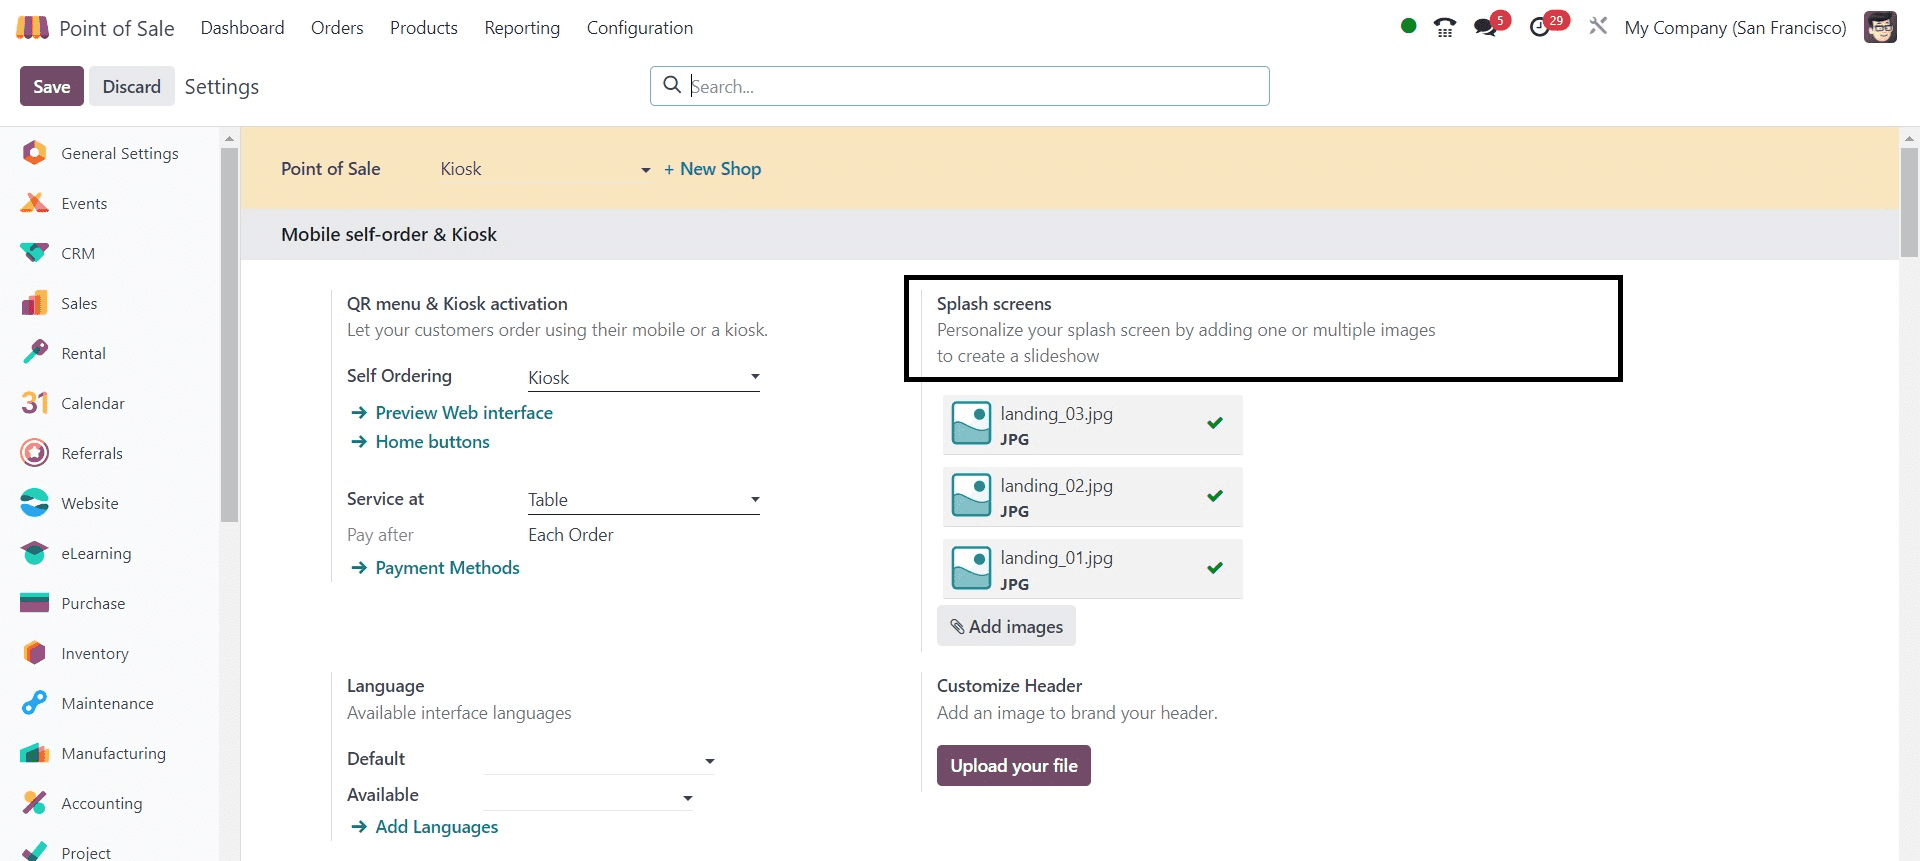
Splash screens provide consumers an idea of what features an app has to offer and are essential for branding and app loading. They establish the mood for the user experience, communicate the brand, provide helpful information, and build interest in the material to come.
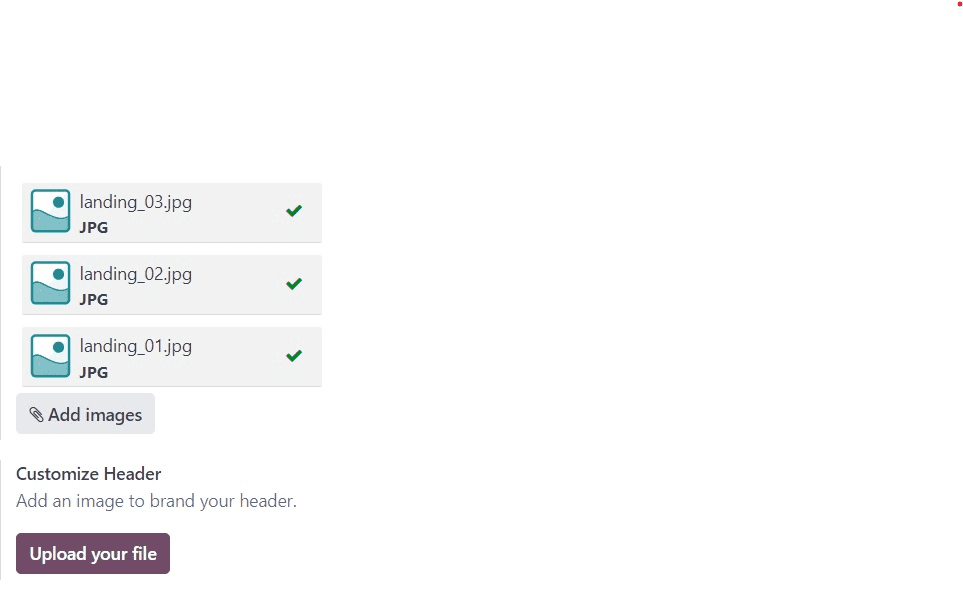
Click the "Add images" button located under the "Splash screens" part of the kiosk settings page to add custom splash screen images to your Kiosk interface.
Make sure you have customized photographs on your device to select from for the splash screen before proceeding. When you click the "Add images" button, the device's storage will open and you can select the appropriate images. Here, I'm choosing to use some sample photographs that I had obtained and then saved.
PAYMENT METHODS
To select the payment methods for ordering and billing, navigate to the 'Payment Methods' link found in the Kiosk settings section. The window that opens displays the options for the many payment methods that are available, as seen below.
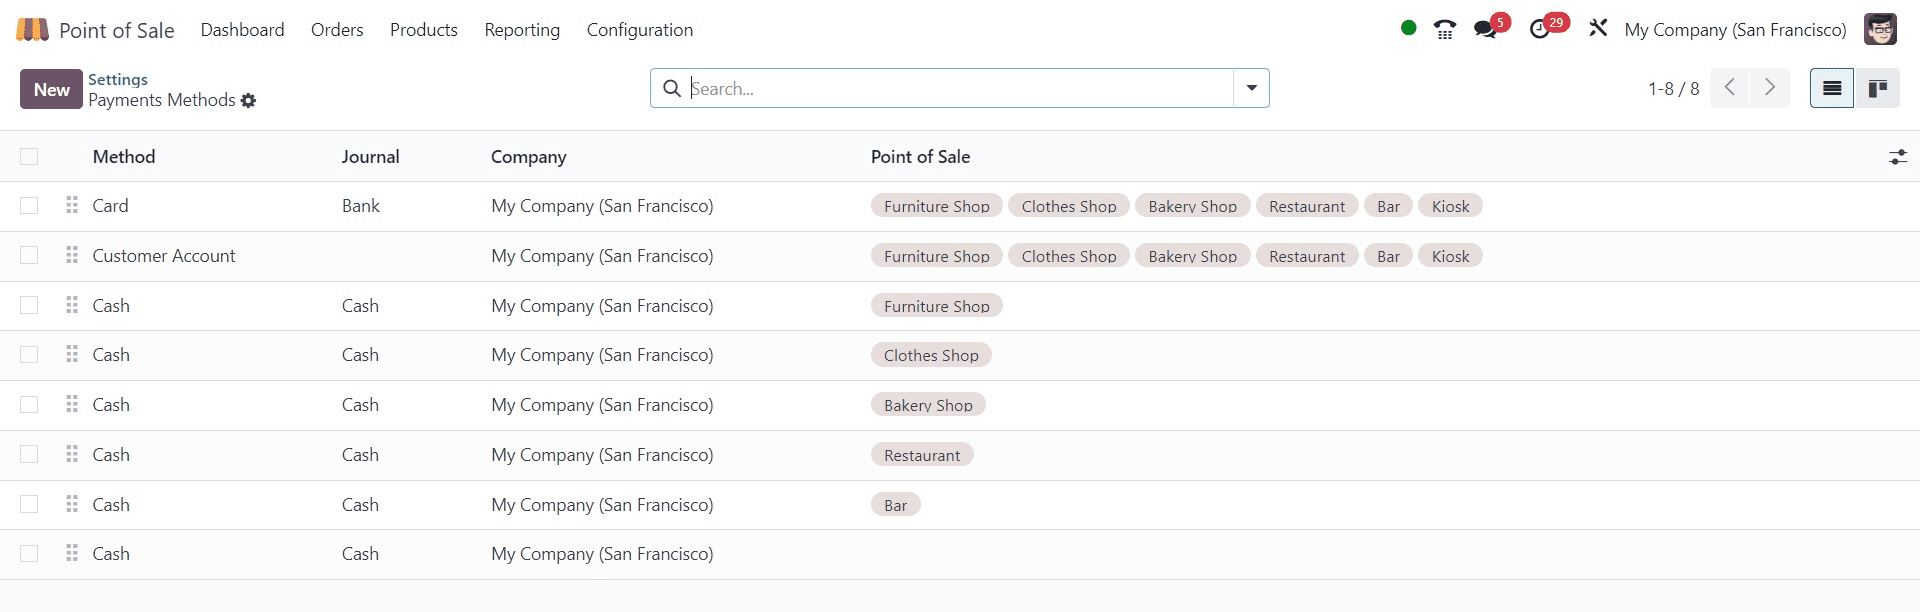
A brief synopsis of the Method, Journal, Company, and Point of Sale will be given on the dashboard. To add a new payment method, click the "New" button. As we can see, this point of sale has a few preconfigured payment options, including bank, cash, and customer account.
SETTINGS INTERFACE LANGUAGE
You can designate the language used in the Kiosk interface by choosing an appropriate language option from the "Language" section.
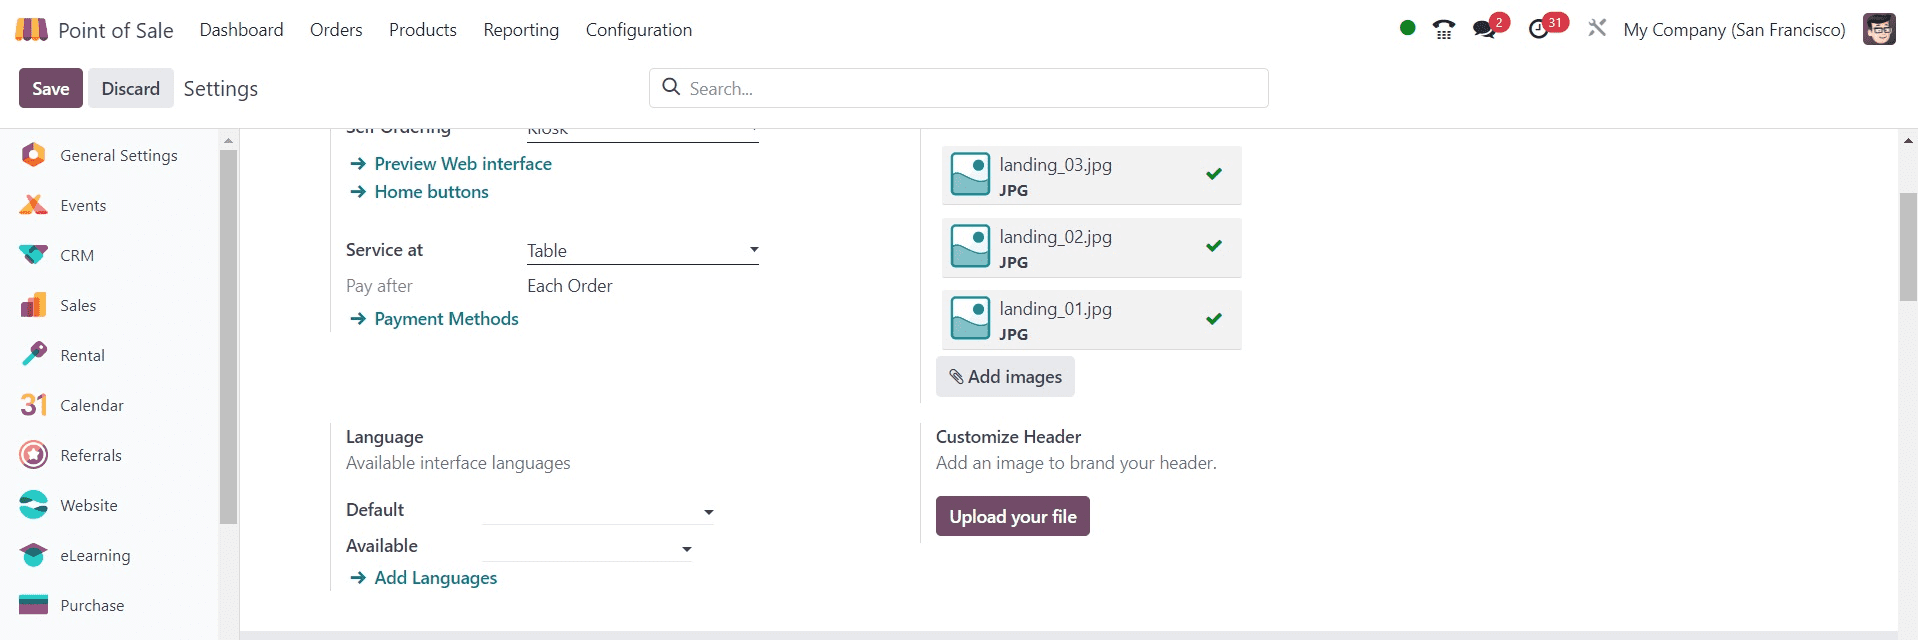
As seen in the screenshot above, you may select a default language as well as several other available languages in the corresponding functionalities.
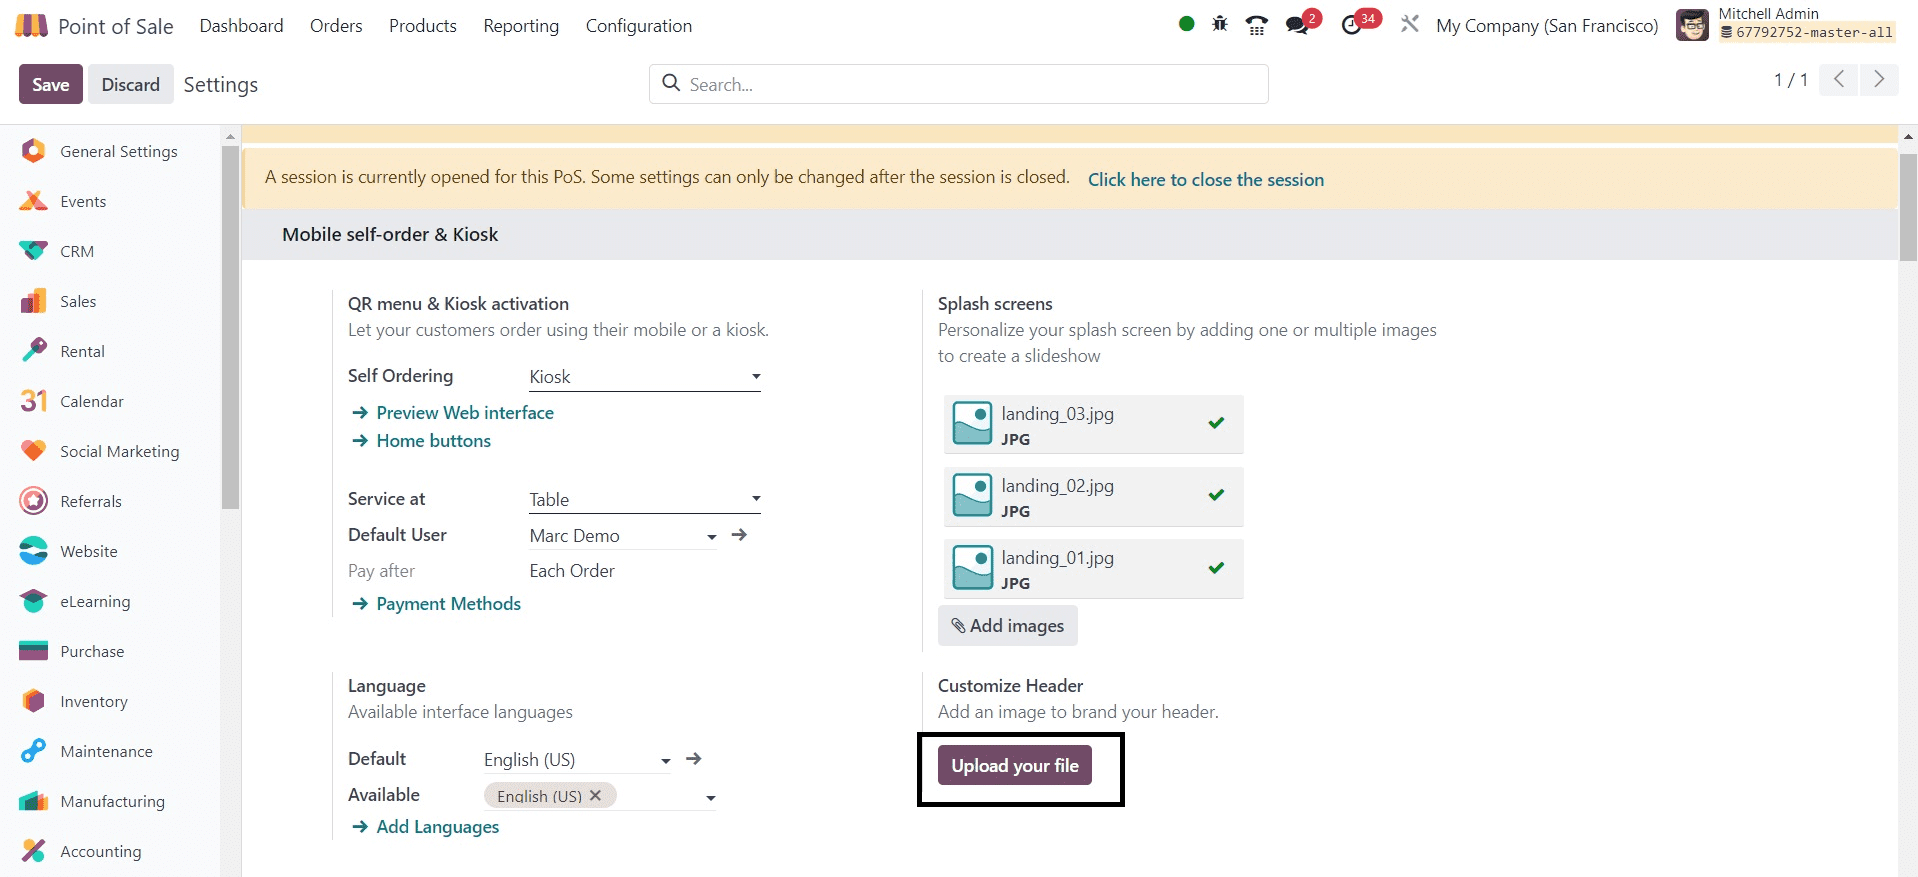
CUSTOMIZE HEADER
To add a personalized header image to your kiosk mode window, select the Customize Header option. Click "Upload your file" to add an image file from your device's storage to the header section of the kiosk mode window.
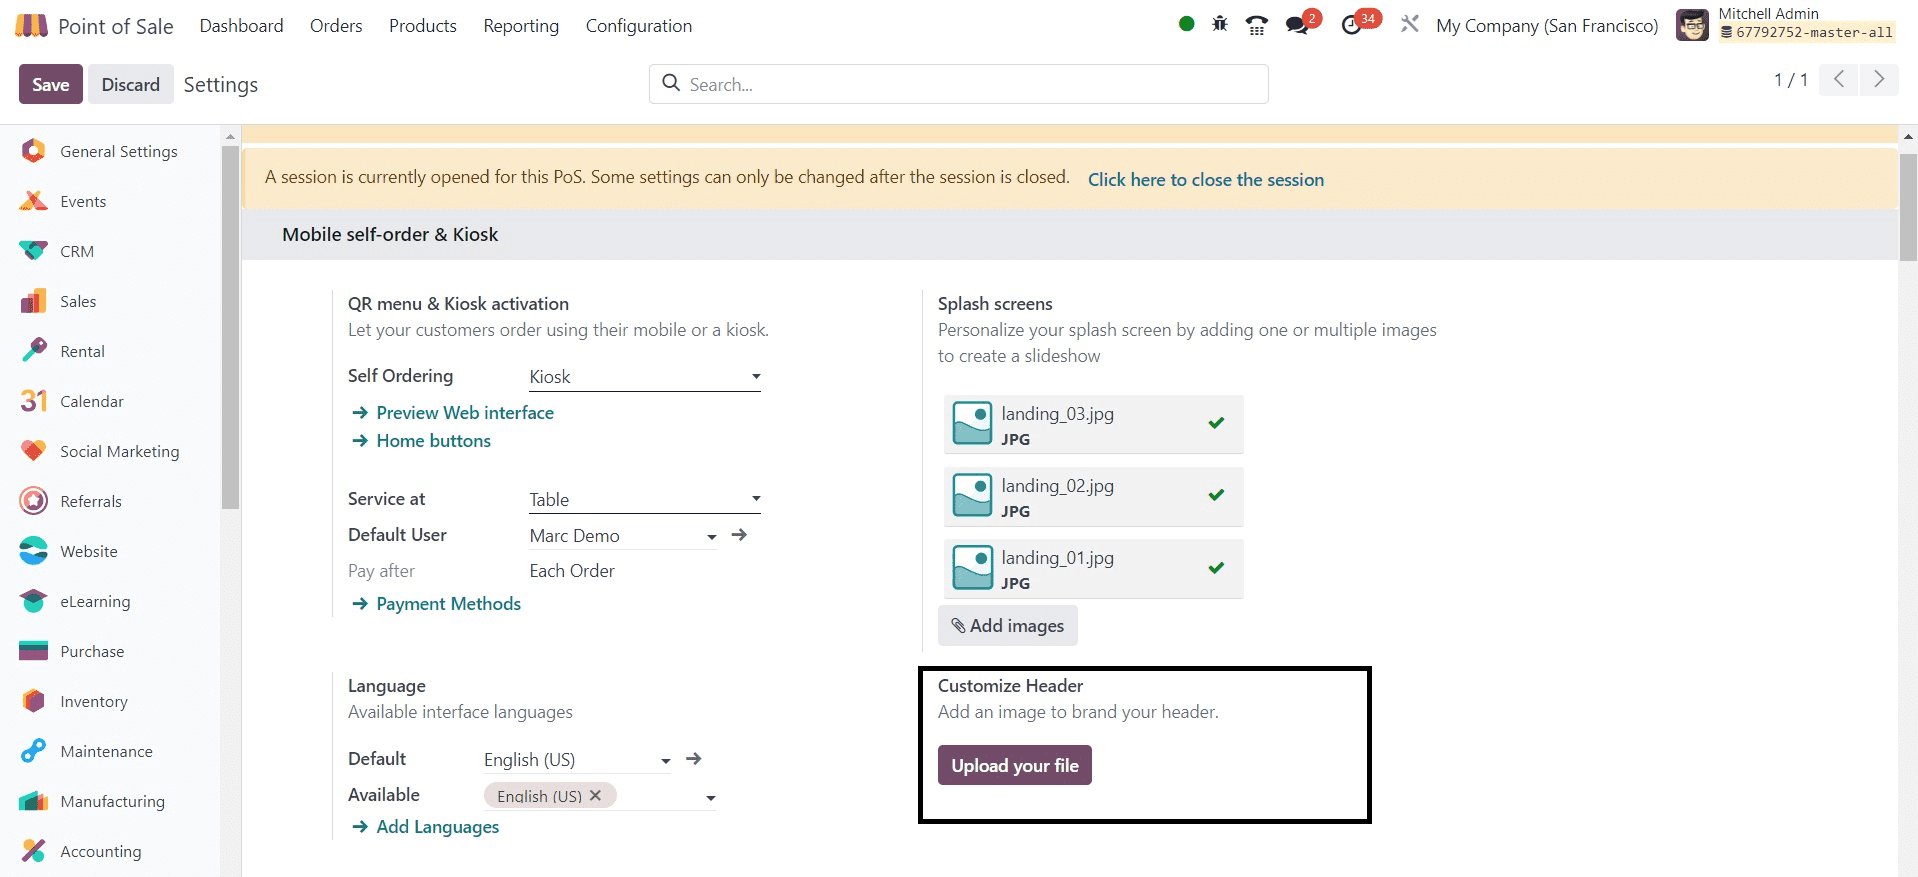
Once the "Upload Your File" button has been clicked, the device storage area will open. The picture file will be added to the Customer Header box as soon as you pick it, as you can see below.
Additionally, to avoid unauthorized changes and improve the self-service experience, think about putting limits within Kiosk Mode to restrict specific activities or capabilities, including turning off access to settings or administrative duties.
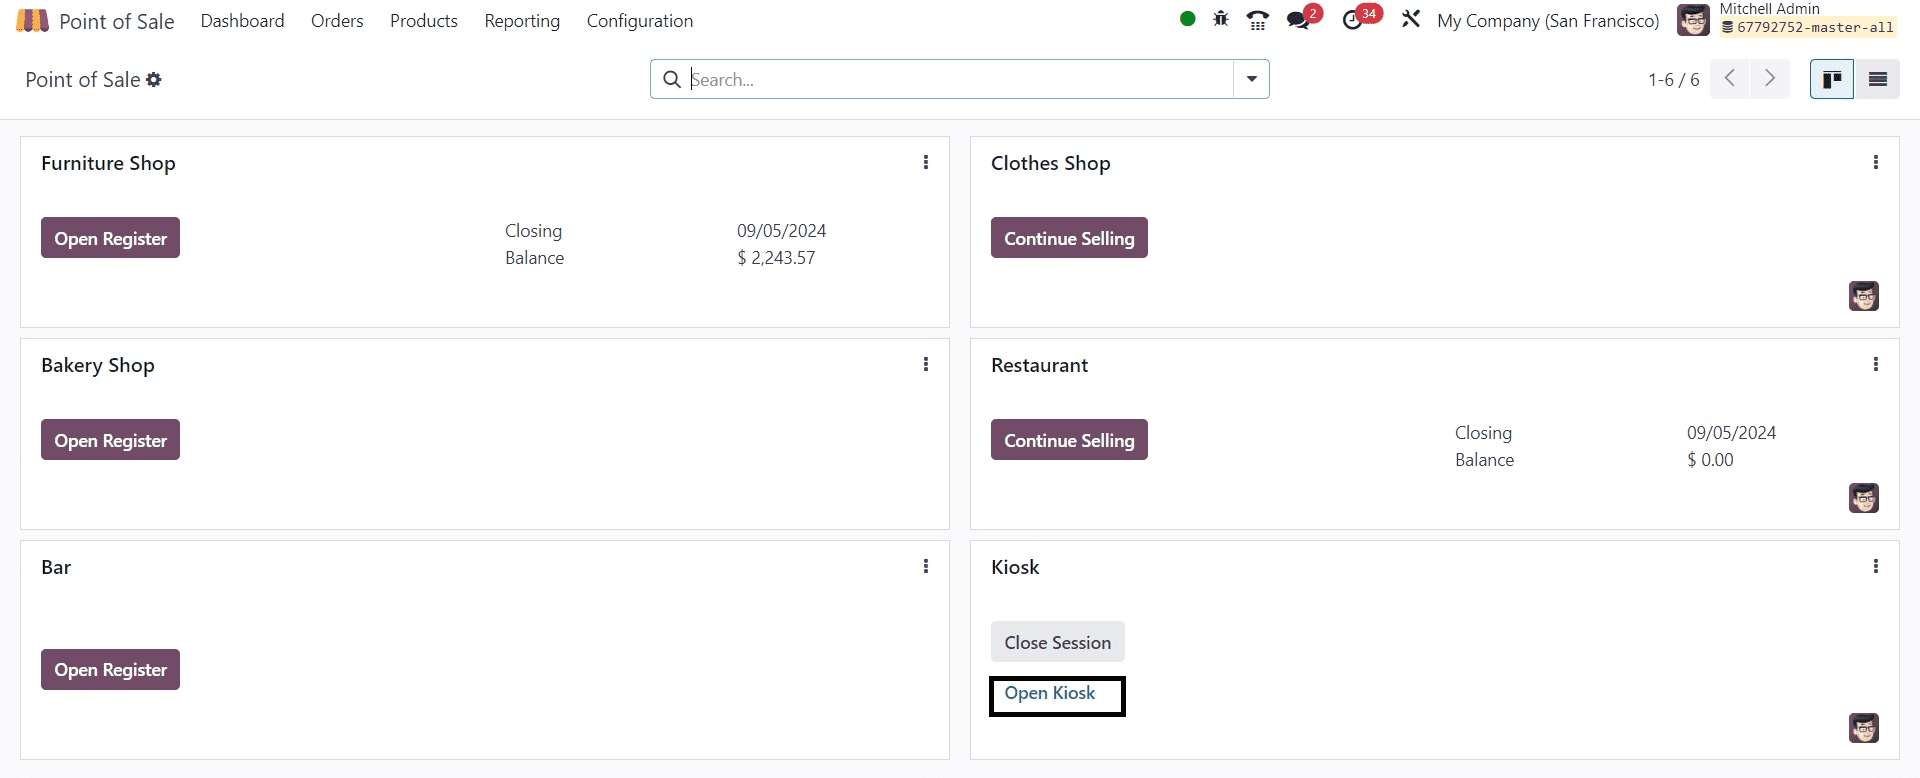
After saving the kiosk setup settings, go back to the Pos Module's Dashboard panel. You will see that the selected shop's kiosk interfaces are available. To enter or start the kiosk mode, press the "Start Kiosk" button, as seen below.
NEW KIOSK SESSION
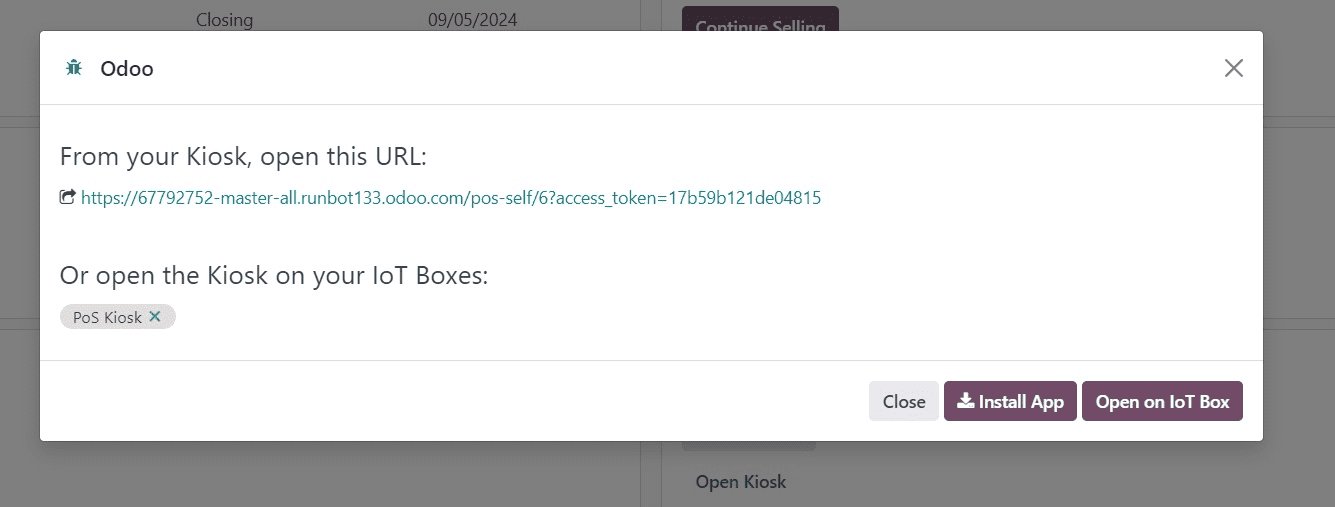
Click the "Open in New Tab" button as we are choosing the new tab option. The kiosk window with the configured images as flash screens will open as a result of this activity.
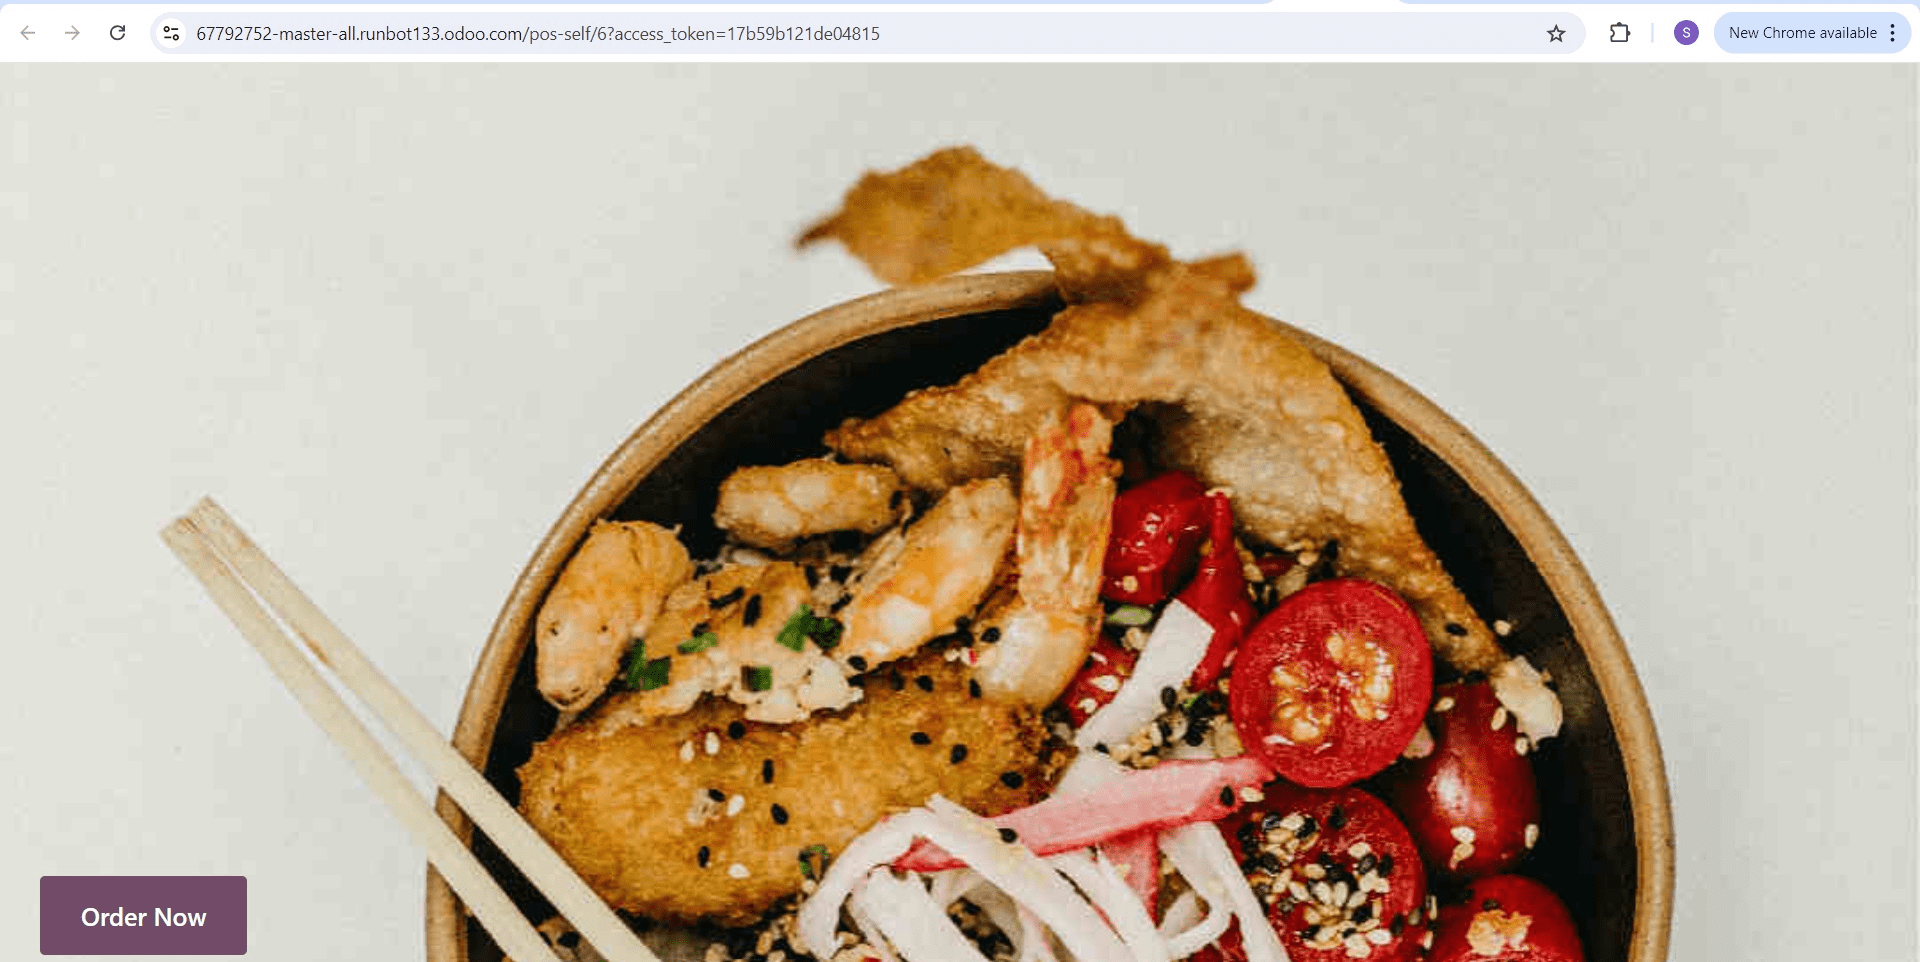
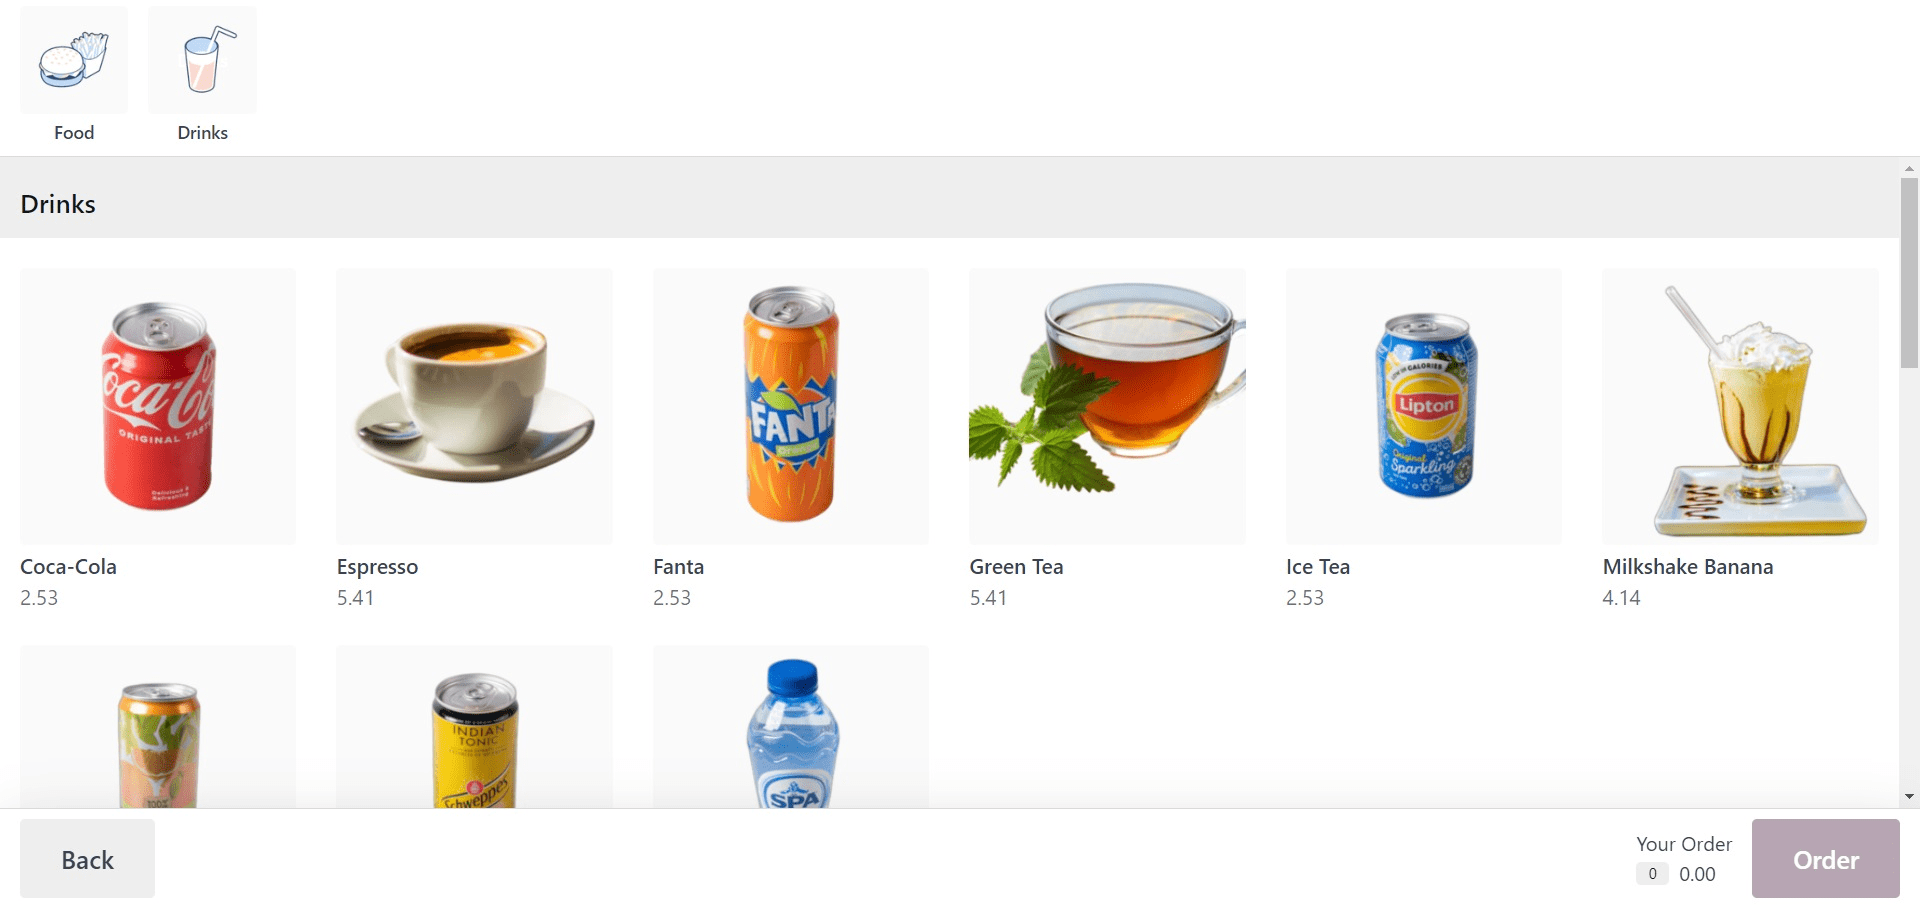
By taking this step, the product catalog will open and show the categories that are available, letting us choose the things we want. The entire quantity of the products you have chosen will show up on the page under the heading "Your Order," as the screenshot below shows.
Use the 'Order' button to confirm the order after selecting the products. This will cause the comprehensive product list to open.
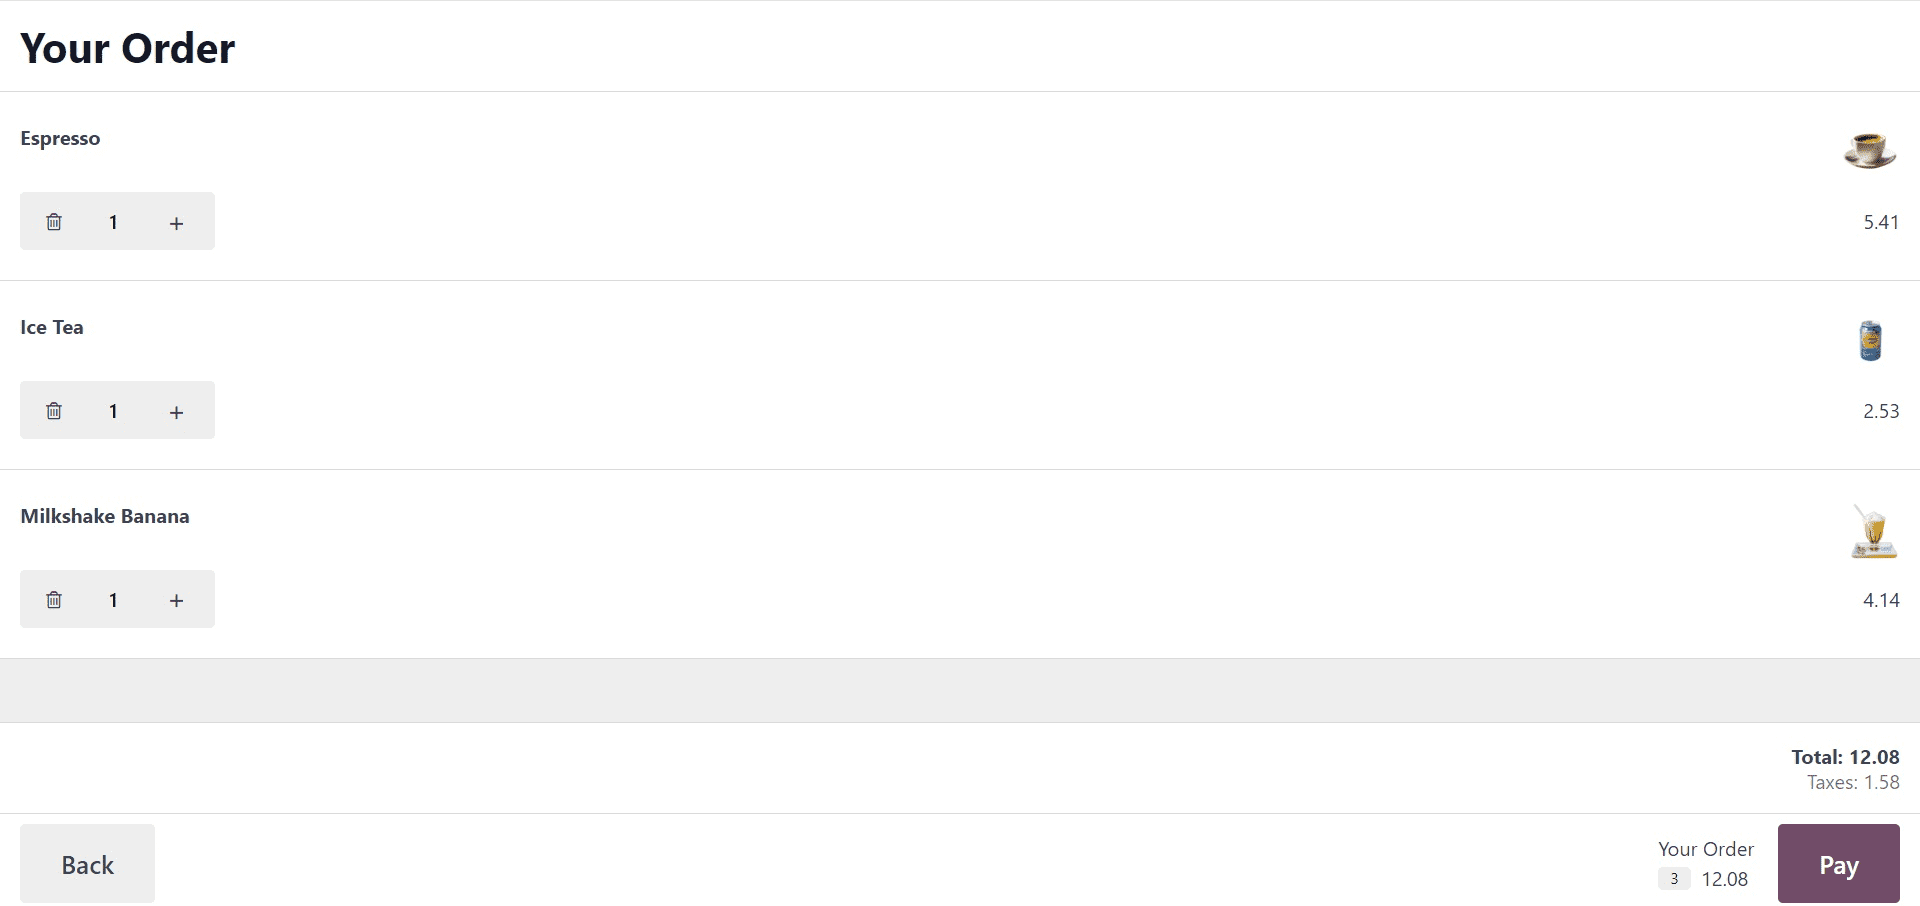
By selecting the 'Pay' button, we can move forward after verifying the order. This will cause a window to open, and in order to track the order, we must enter the table number.
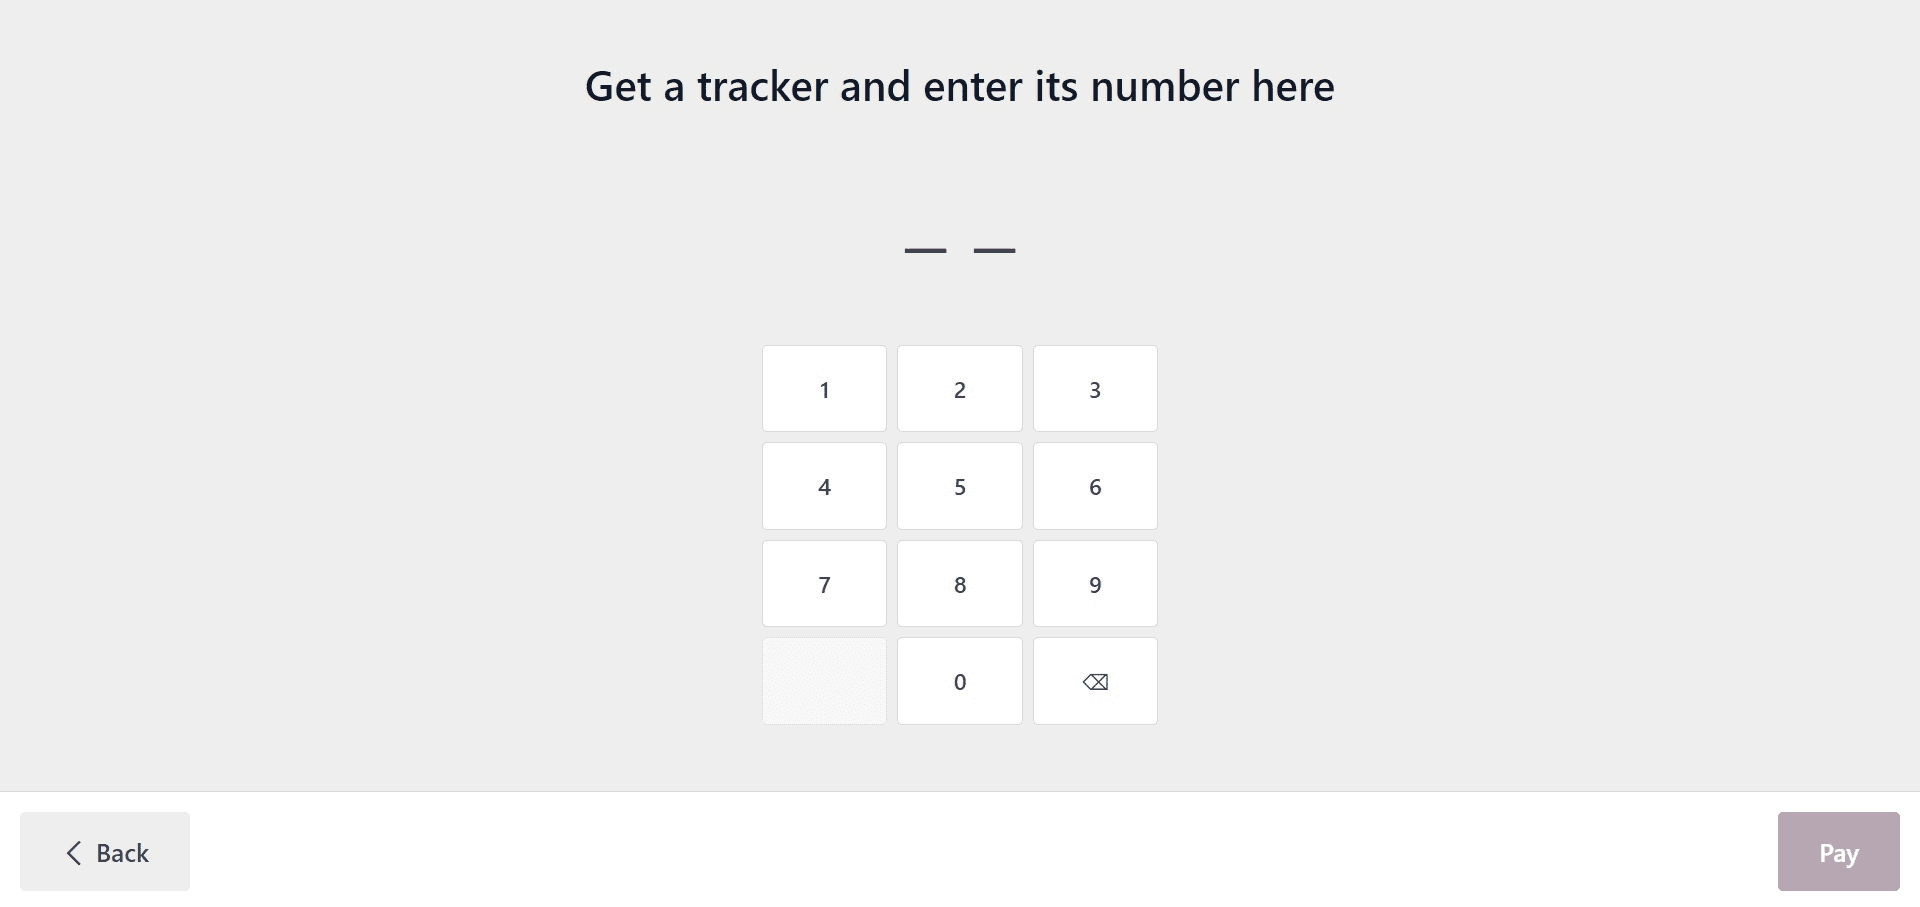
Press the 'Pay' button one more after entering the tracker number. After the ordering process is complete, you can wait for the products to be delivered to the specified table.
You will receive a message with the Order Number, Table Number, and Billing Amount as shown below after finishing the order procedure.
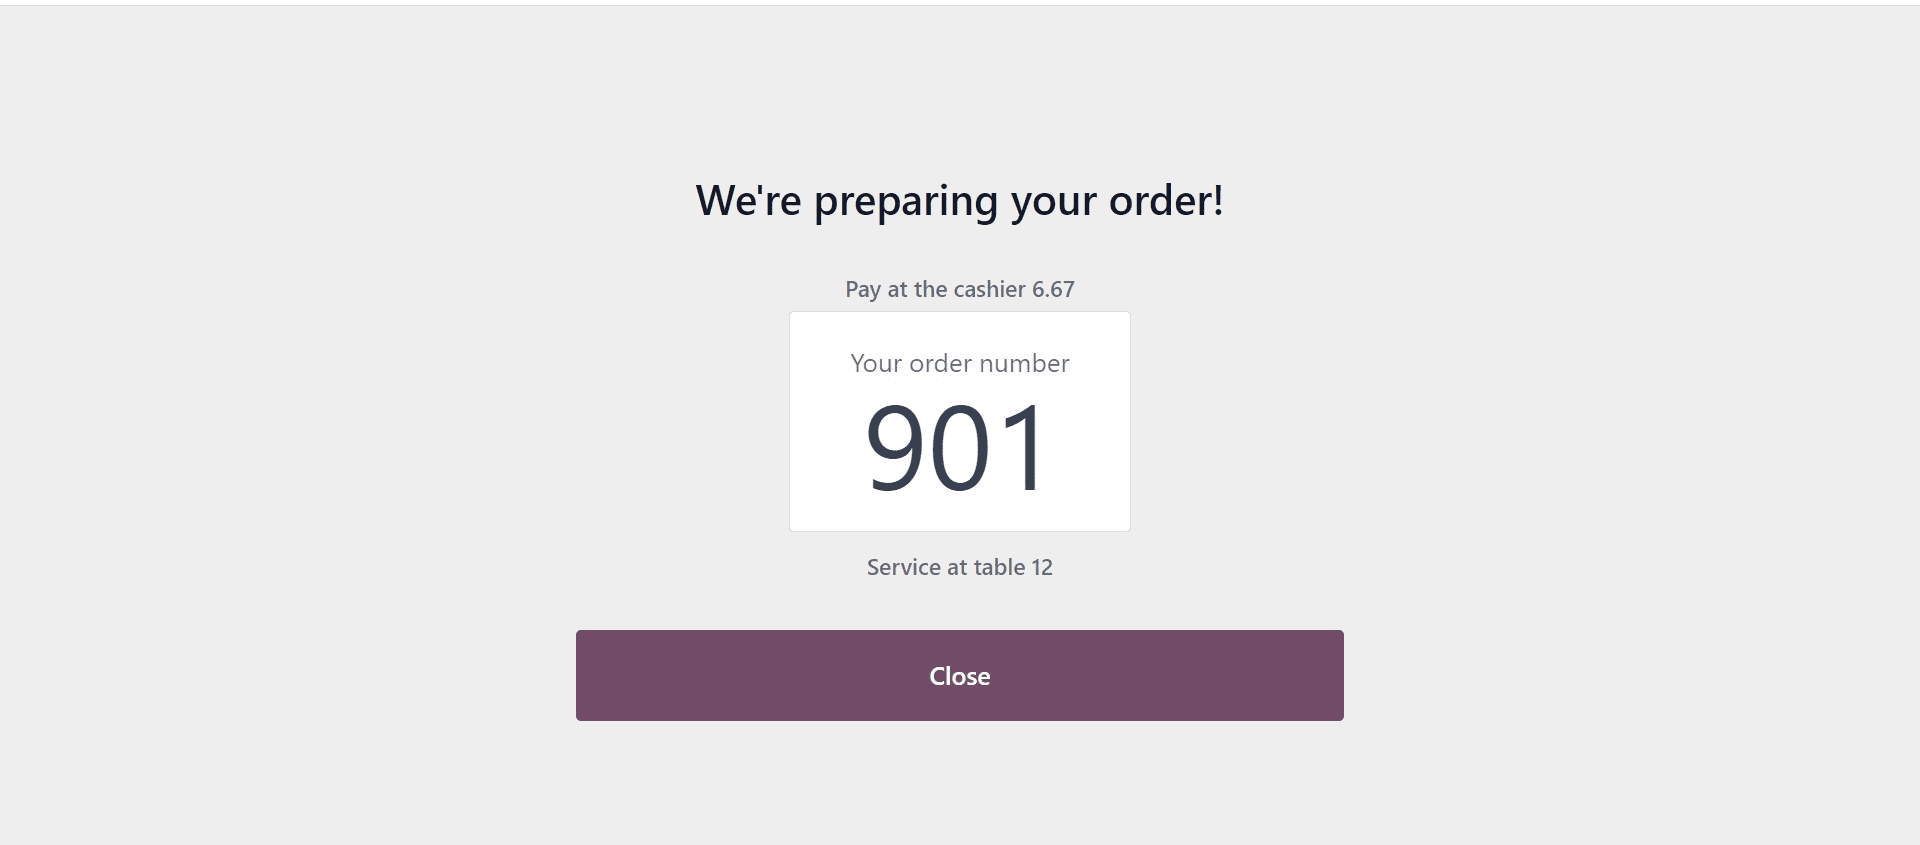
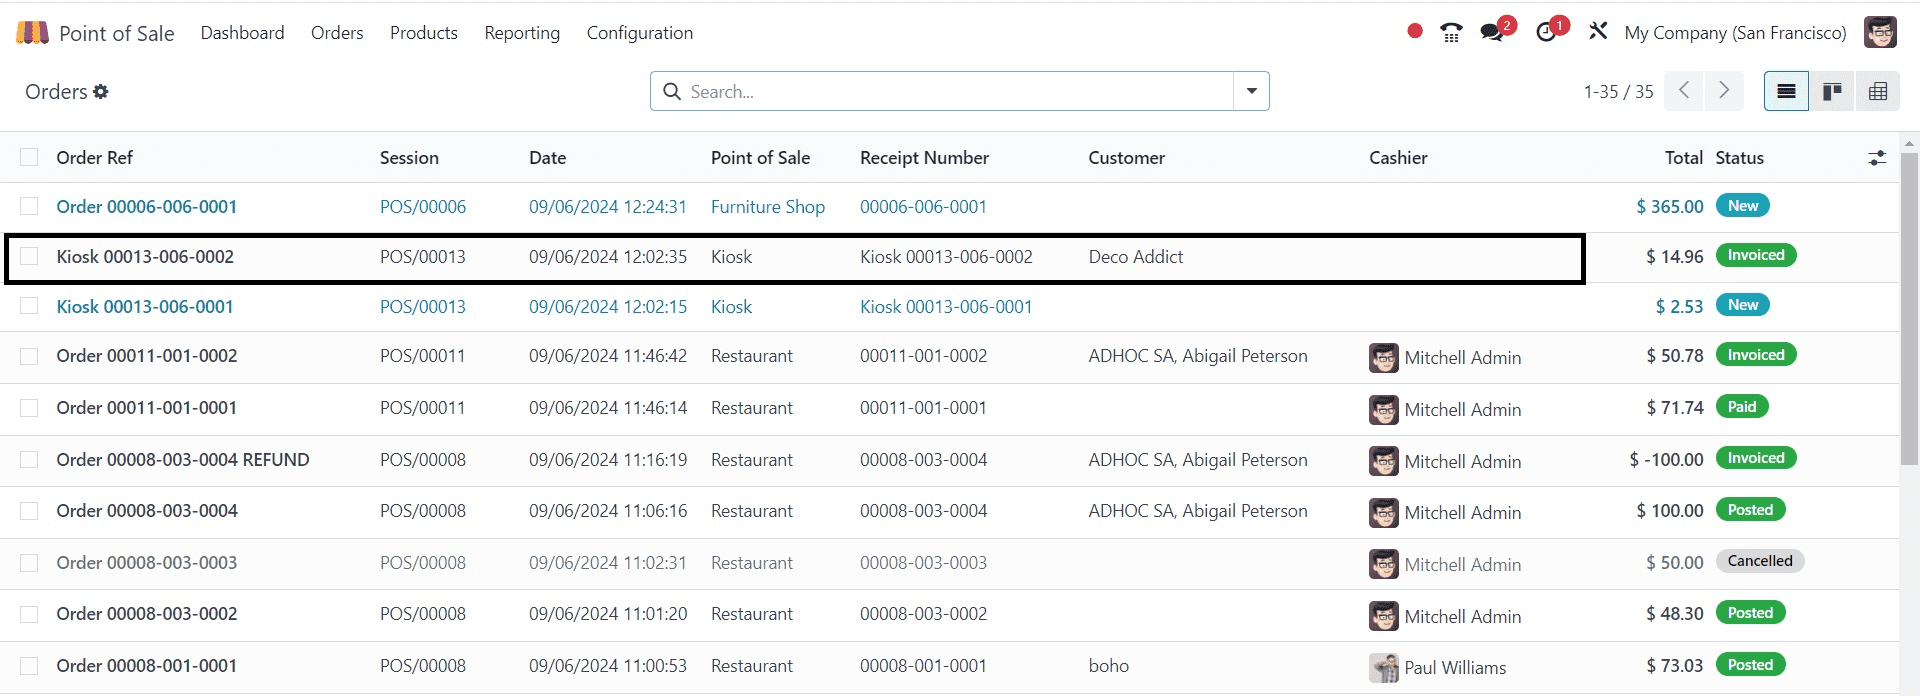
We can view this order information from the 'Orders' panel of the Orders menu after shutting the window.
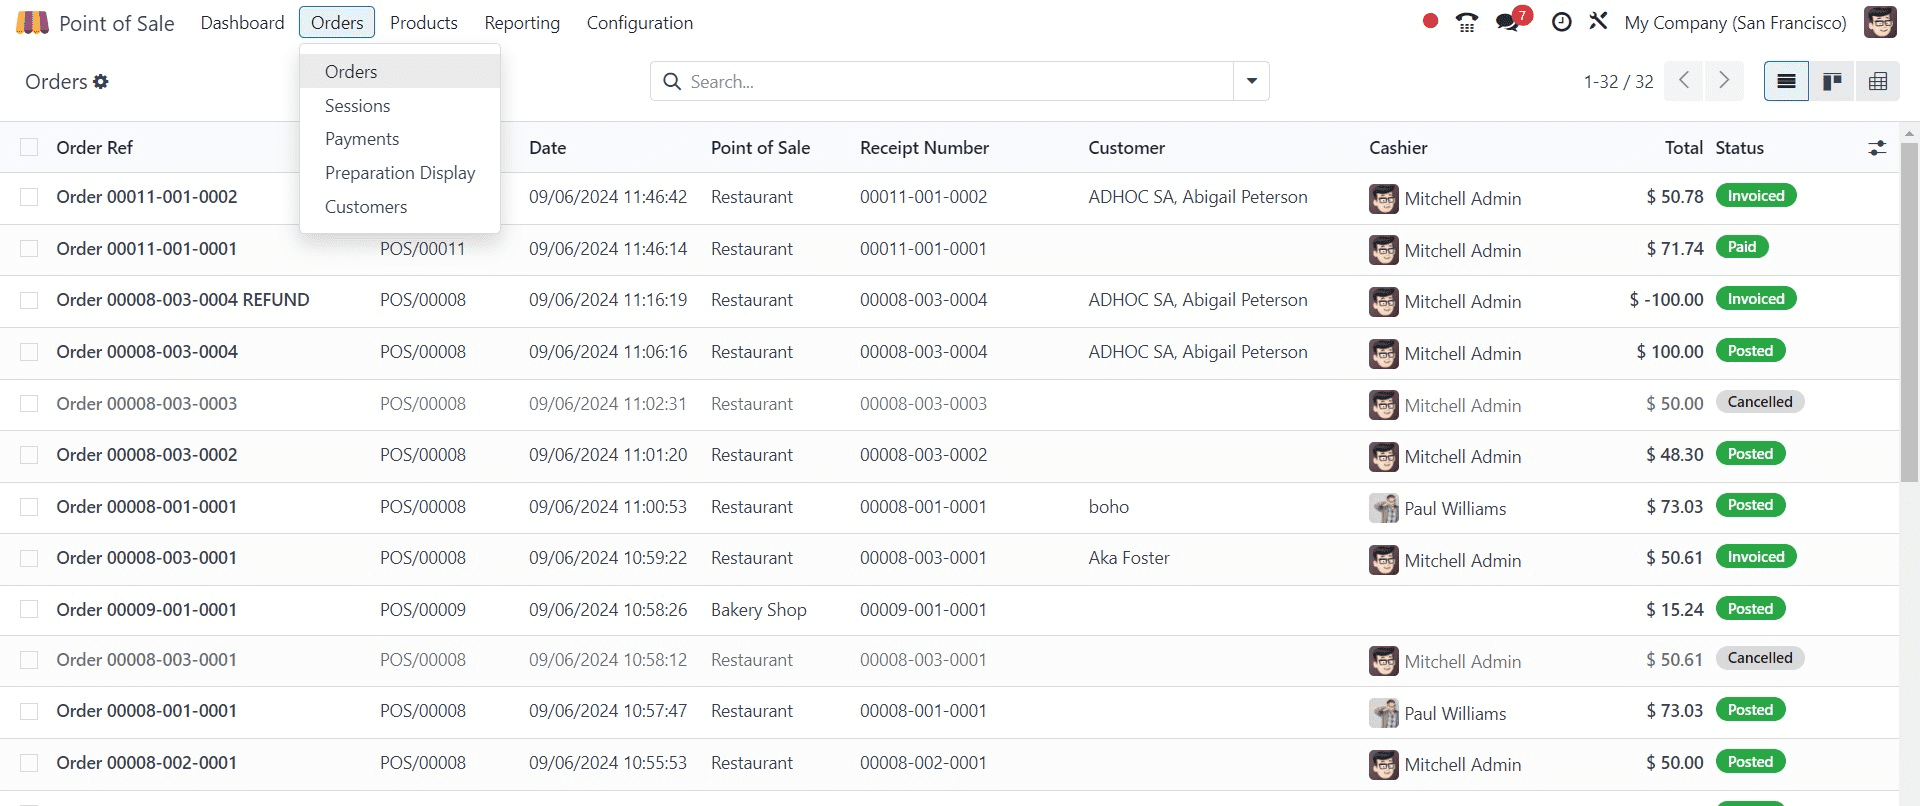
You can check the tax rates, additional data, and comprehensive order details once you've viewed the form view of this specific order.
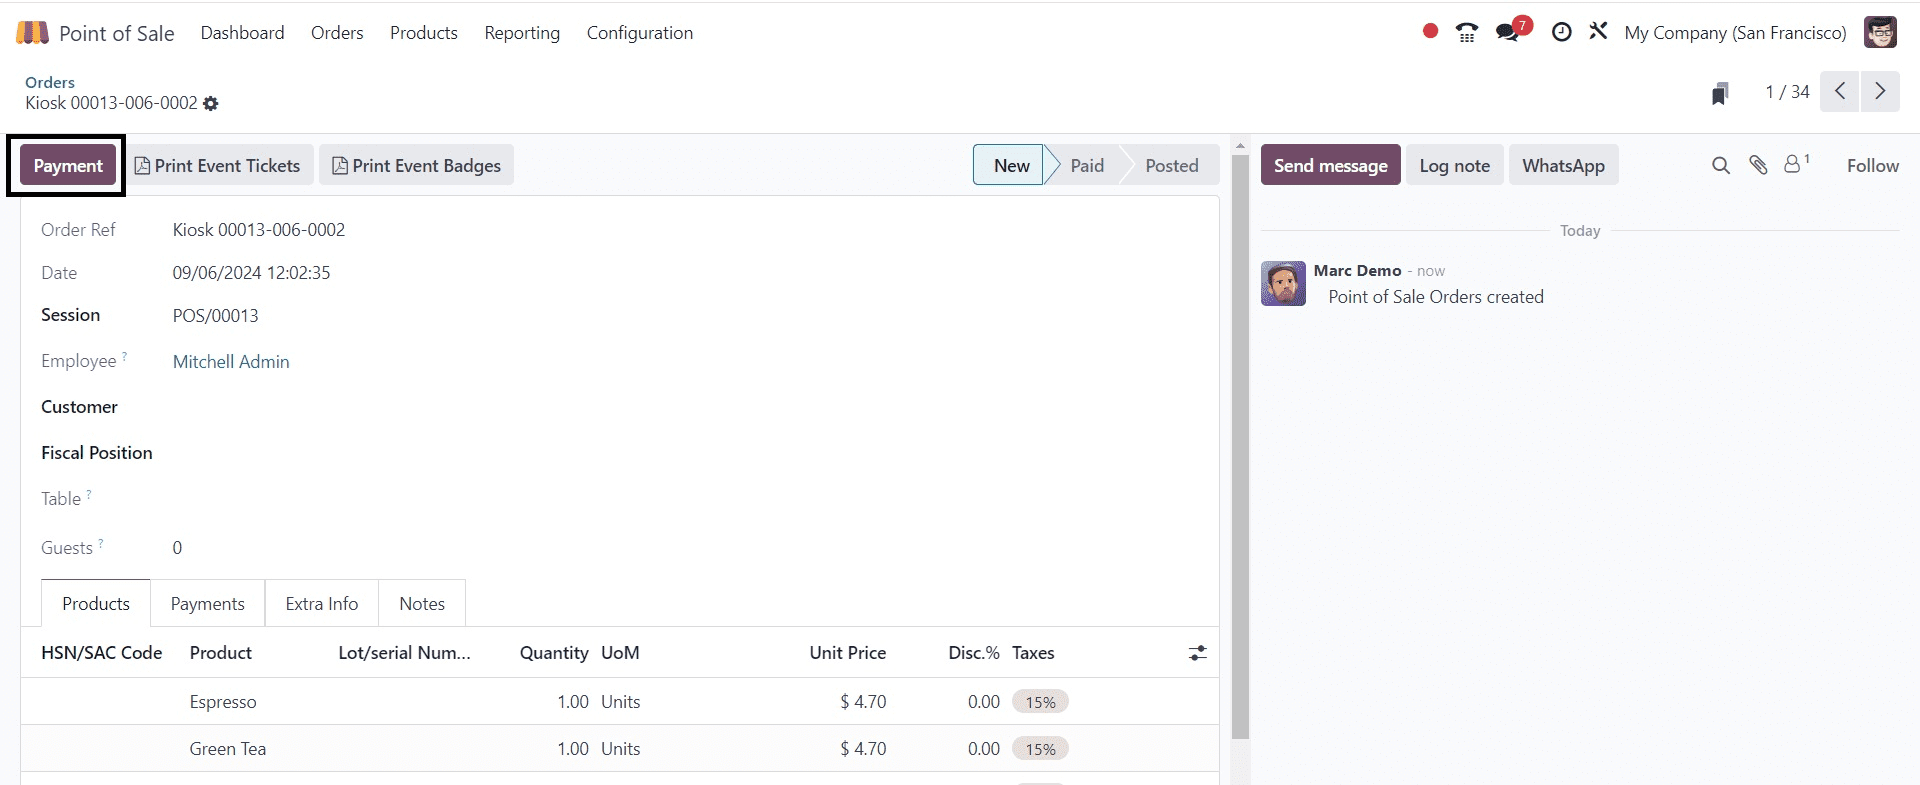
Using the Payments button located on the top left corner of the screen, we can enter the Customer Name and Fiscal Positions in the corresponding fields inside this form view. The Payment window, which displays the Payment Method, Amount, and Payment Reference as indicated below, will open when we press the Payments button.
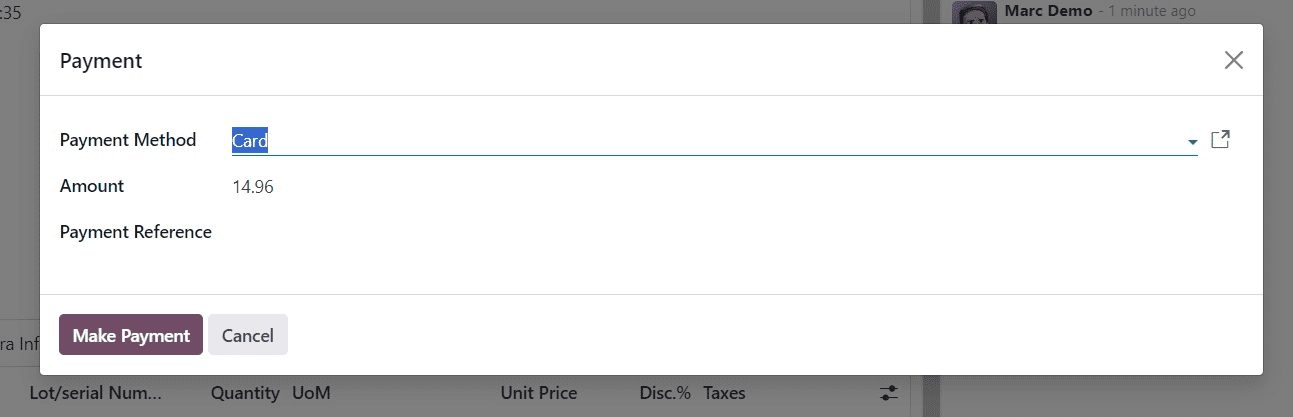
Verify the payment information, then click the "Make Payment" button. This will cause an Invoice button to appear.
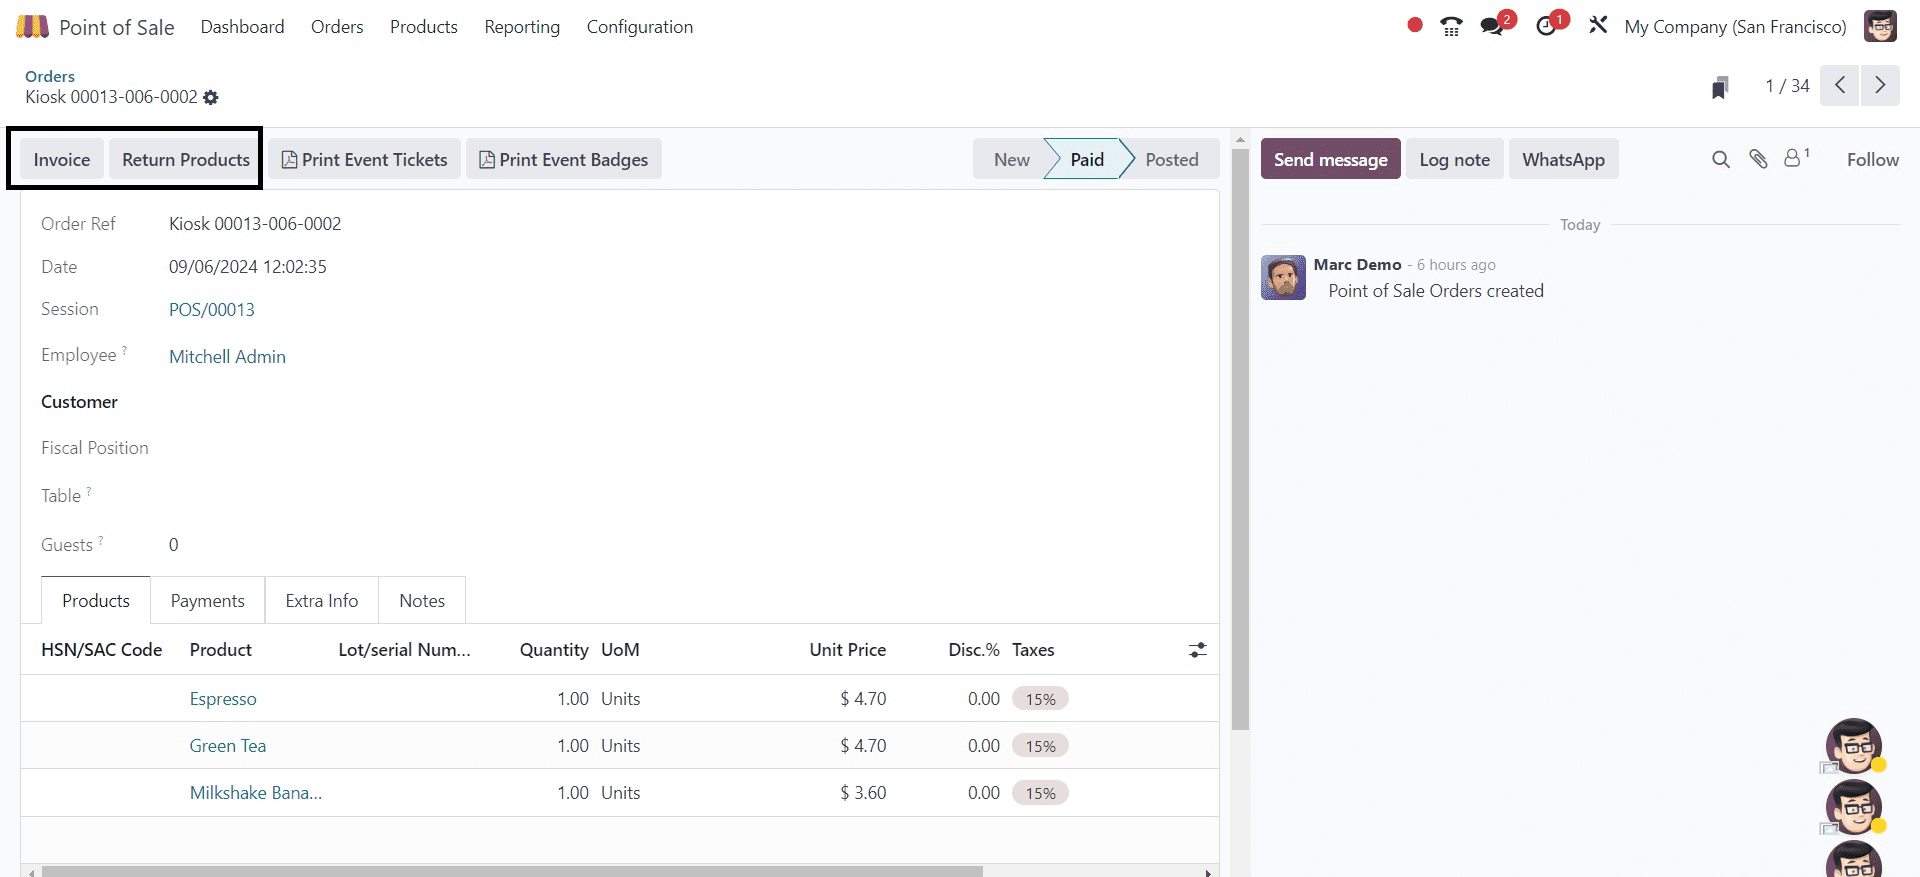
Before sending the customer an invoice, make sure to include their name and click the "Invoice" button. As indicated below, this will finalize the payment, generate the invoice, and show a PAID ribbon.
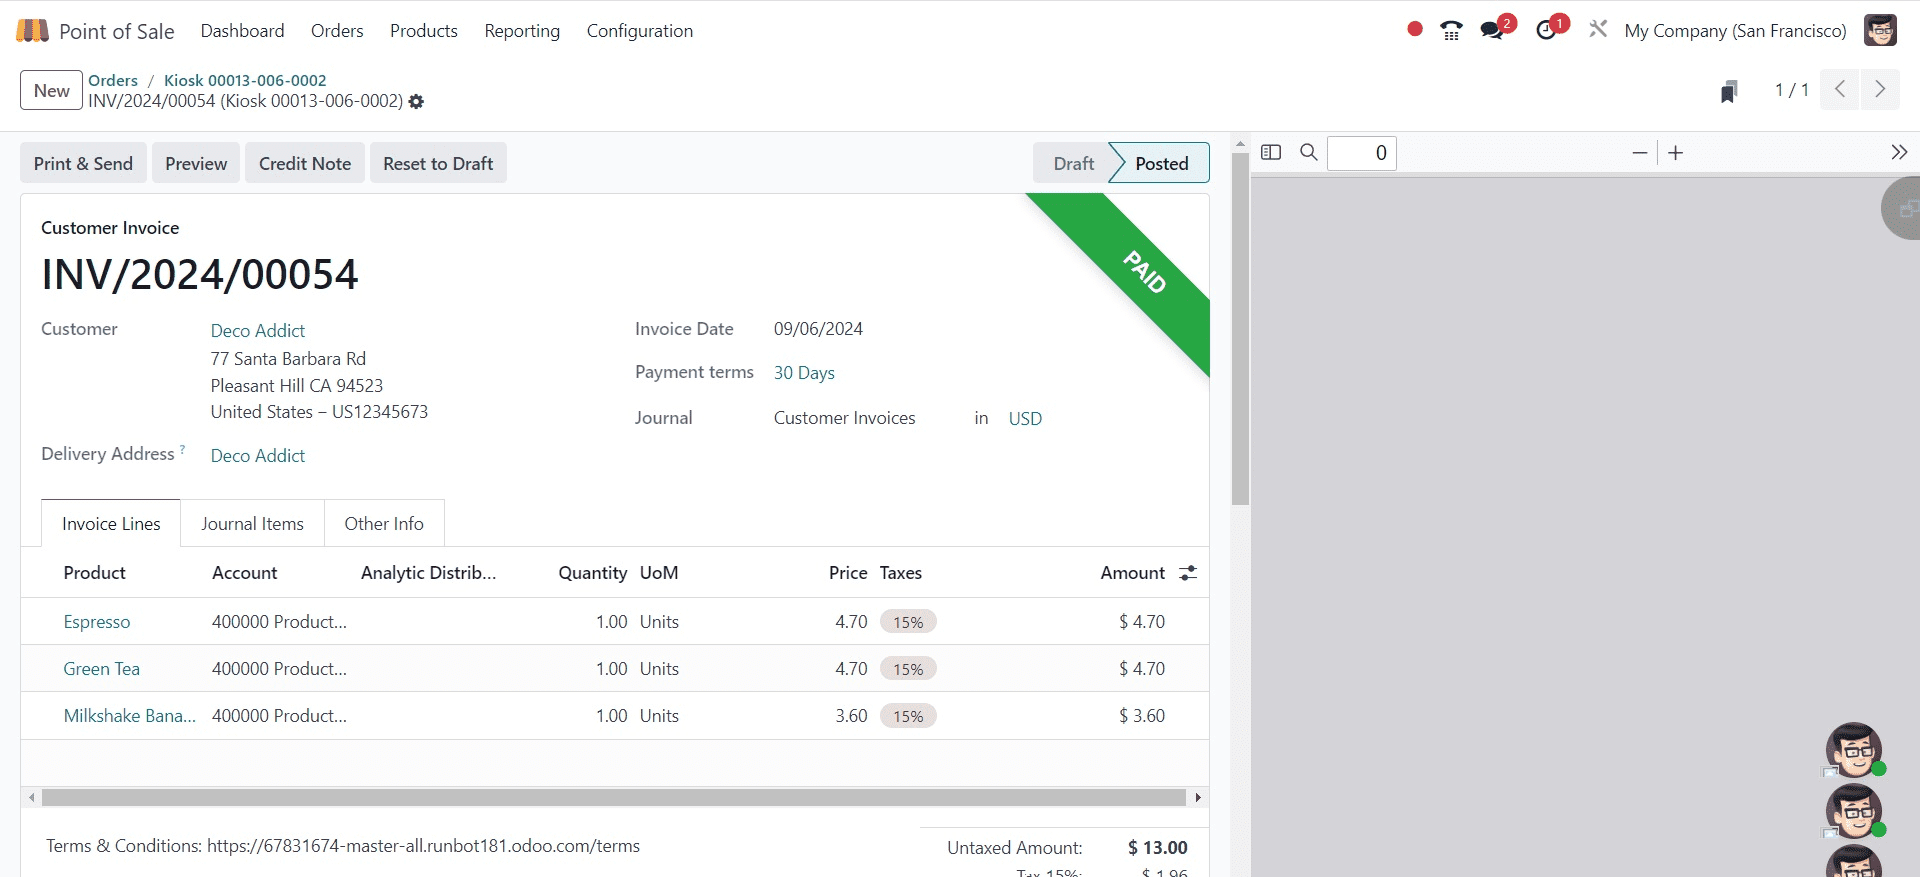
Subsequently, we can use the Send & Print, Preview, Credit Note, and Reset to Draft buttons, respectively, to send and print the invoice, examine the invoice preview, and write credit notes.
The Orders dashboard window indicates that this order will be invoiced once all payment and invoicing processes have been completed, as seen below.
These instructions will help you run a kiosk system in Odoo 18 Point of Sale efficiently while offering consumers a simple and easy self-service experience.
To read more about How to Manage Kiosk System in Odoo 17 POS, refer to our blog How to Manage Kiosk System in Odoo 17 POS.