Pandemic time makes it easy to access courses through electronic learning methods. Odoo ERP system provides an eLearning module suitable for students, trainees, and employees of a company. It assists you to organize content easily and raises a systematic learning environment. One of the essential parts of eLearning is the enrollment of attendees which leads to the course's success. Most candidates enroll in the courses based on the content necessary for their knowledge. It is possible to engage with a vast community through an eLearning course. Attendees can ask questions and post replies for any course. They can also rate the Courses from one to five stars and leave comments. Odoo 15 eLearning module helps you evaluate students' progress and create new courses and content.
This blog assists you in Contact Attendees and Publishing a Course in Odoo 15 eLearning.
Odoo 15 eLearning module is a platform that creates engaging content for each course and a great learning experience given to individuals. Several types of content such as videos, presentations, documents, quizzes, and more aspects are visible in the eLearning dashboard. You can also publish a course on a website through the eLearning module.
How to Contact Attendees for a Course?
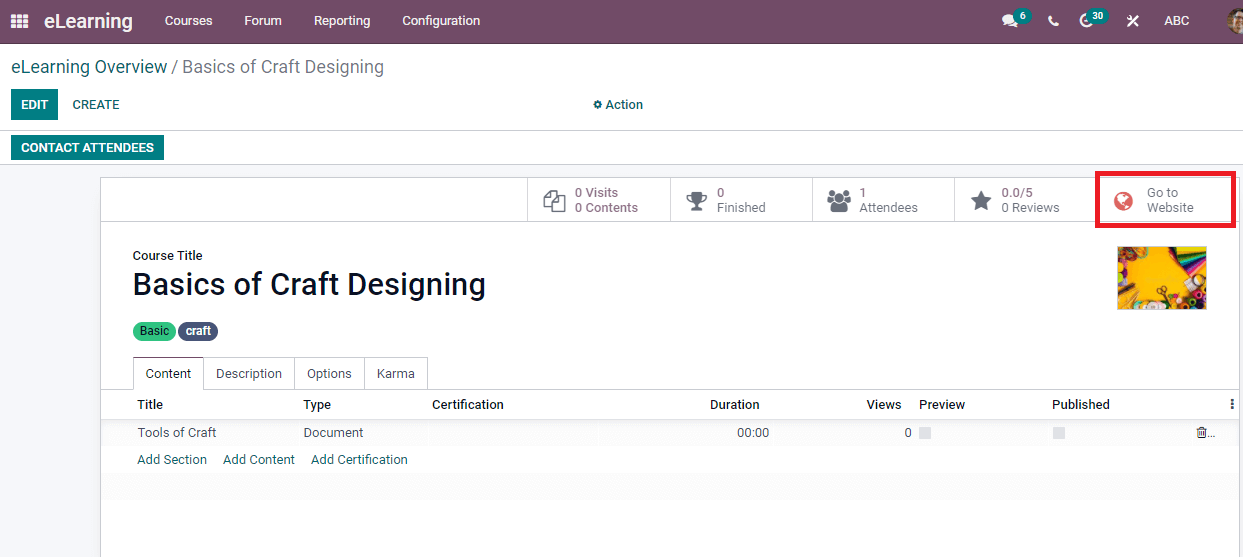
The eLearning Overview dashboard shows the Course name, Reviews, Duration, number of Attendees, and Contents. Select your courses from the eLearning Overview, and a new window opens before you.
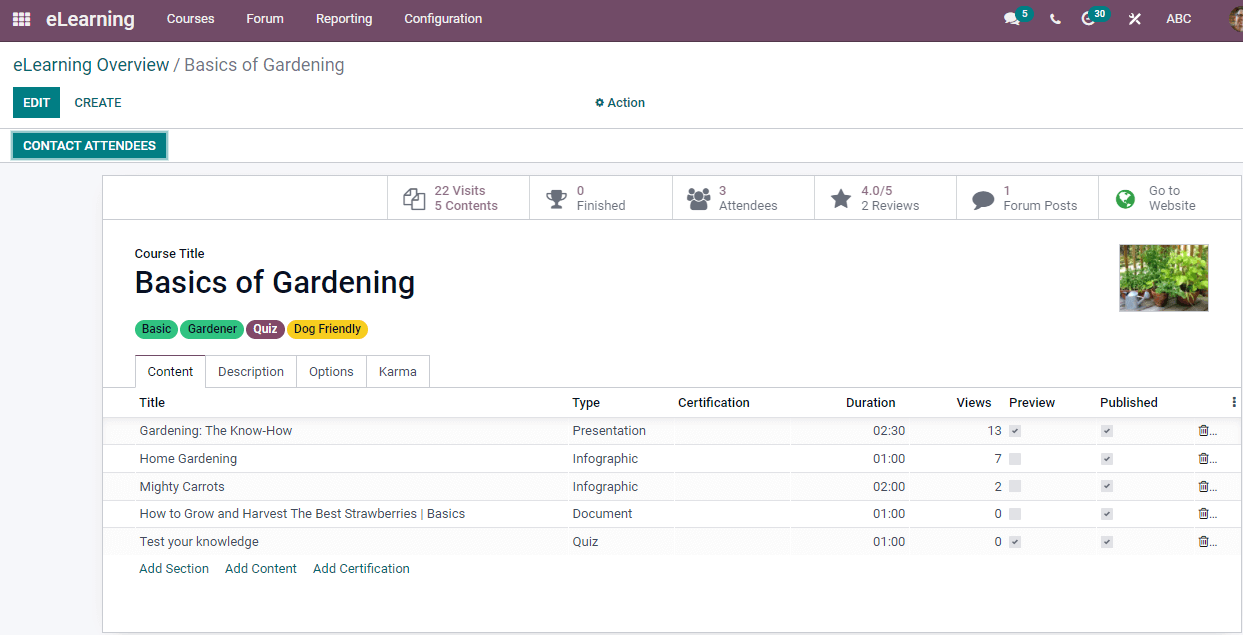
We can see details including Course Title, Tags, submenus such as Attendees, Visits, Reviews, Go to Website and Forum Posts. Moreover, you can view several tabs at the end of the window. It consists of Content, Options, Description and Karma. Inside the Content tab, the information regarding Title, Views, Certification, Type, and Published shows here. You can add course details below the Description tab portraits in the screenshot below.
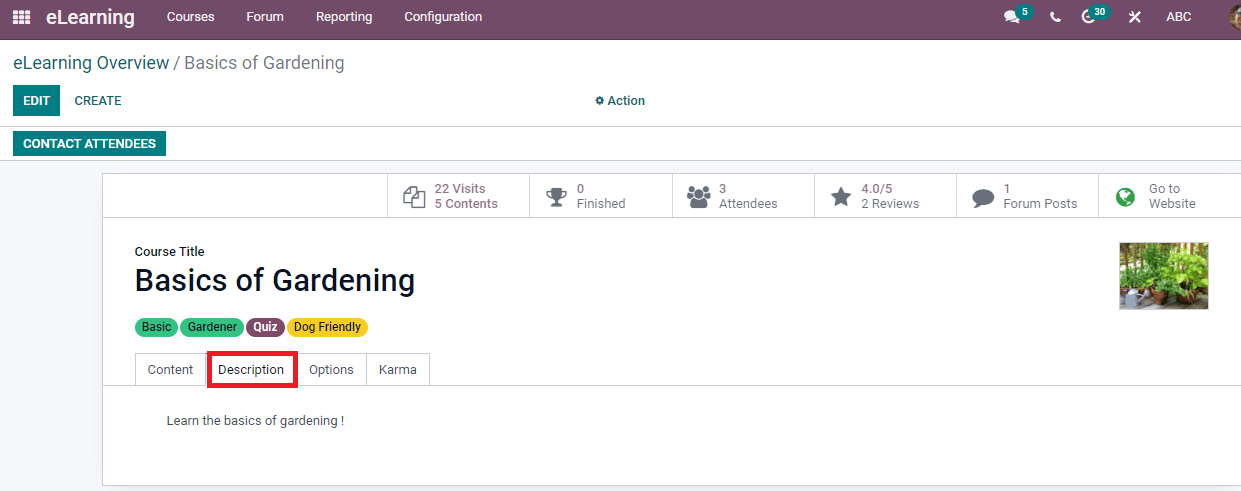
Users can access Display, Access Rights, Course, and Communication. The name of the Responsible person and website view in the Course Title. Enroll Policy is a condition to enroll everyone as On Payment, Public, and On invitation. Once new content is published, it is possible to add Forum name, Completion Email, and New Content Email enable. Completion Email is for Email attendees once they have finished their courses. Activating the Allow Rating option ensures members like content, post comments, and review a course. We can enable Display as Training/Documentation and Visibility for Members only/Public. The Visibility allows hiding channels and their content for non-members.
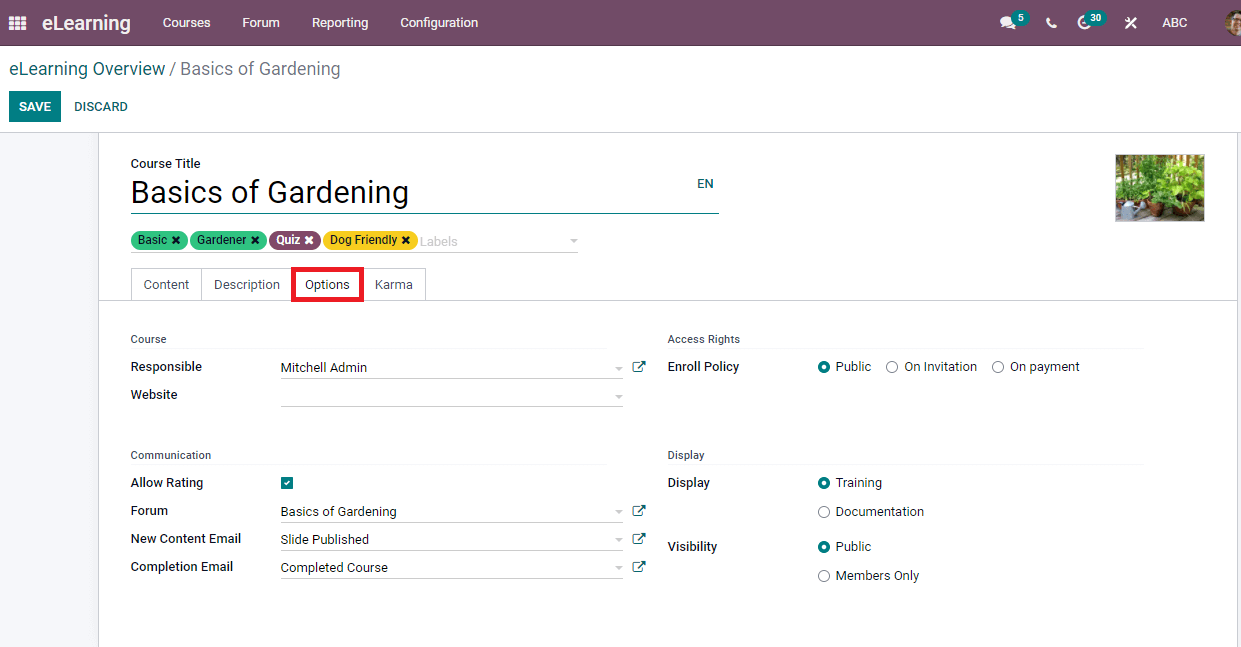
In the Karma tab, we can apply Rewards for each course and add some comments, reviews, or votes inside the Access Rights option depicted in the screenshot.
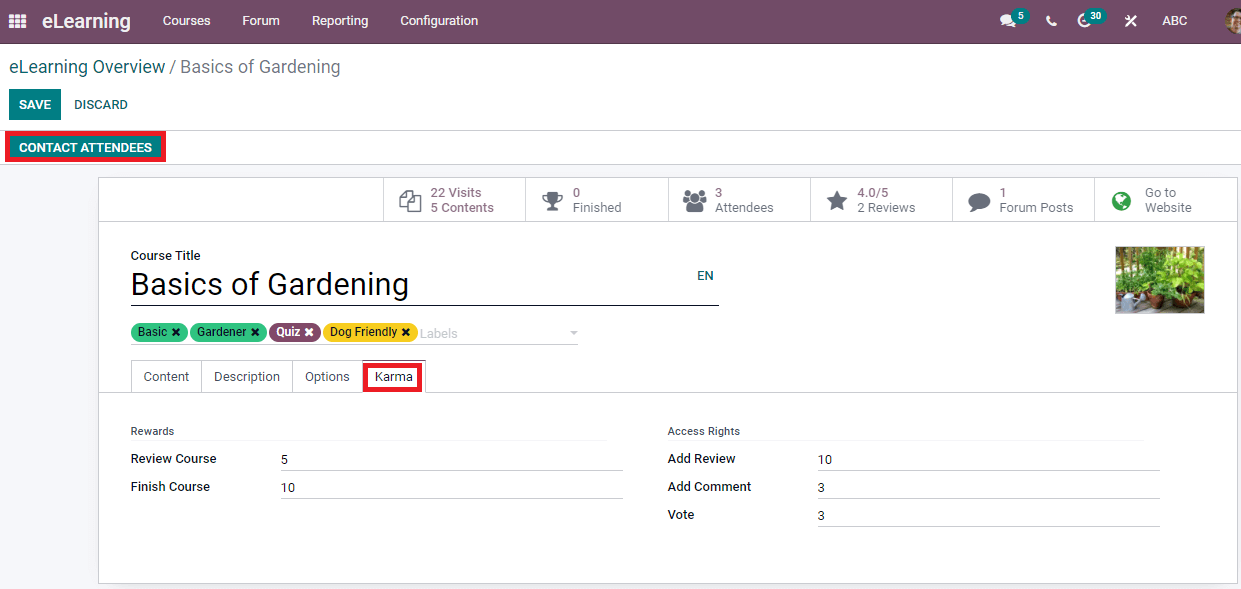
Now, let us look at how to Contact Attendees for your specific course. For that, Click on the Contact Attendees icon in the eLearning Course window. A new page of the Attendees window opens before the user. Here, you can enter the Subject for Email or SMS to attendees. For an email, recipients see the subject in their inbox. The internal title of a message is subject to the SMS Text Message. Moreover, Add the Recipients model from the drop-down menu and choose one of the Mailing templates shown in the screenshot below.
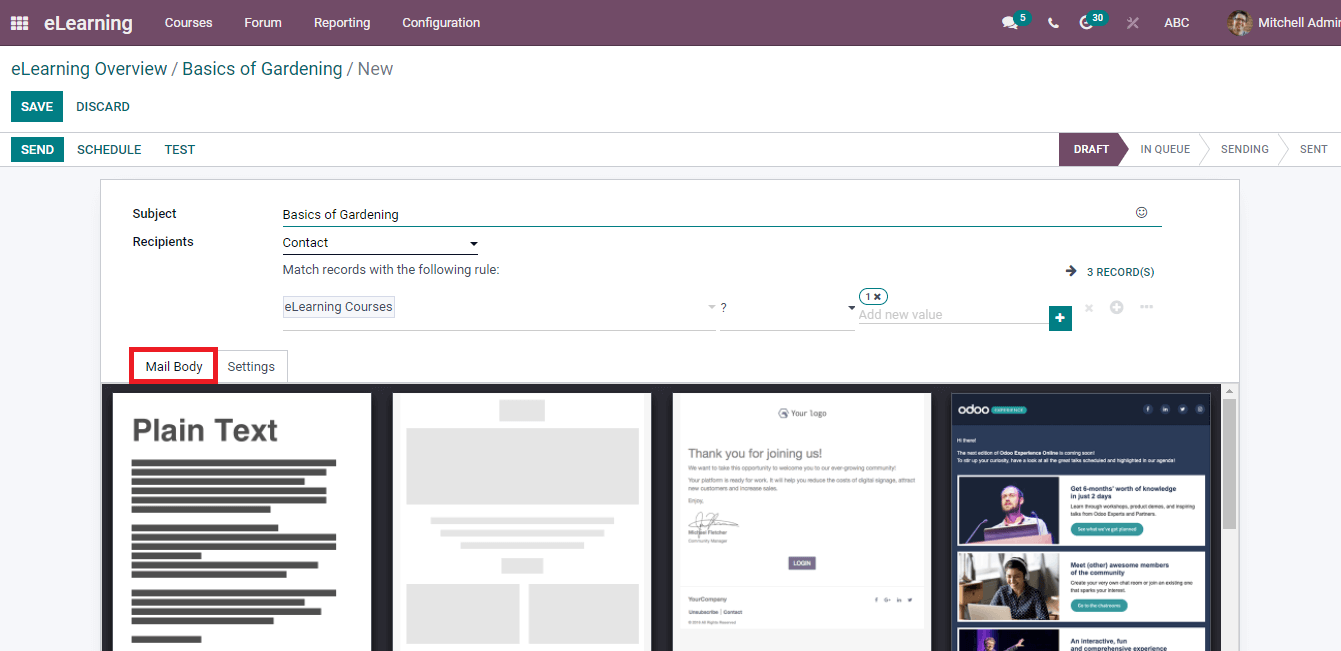
After selecting the Template, you can type the message inside the Mail Body. Inside the Settings tab, you can add catchy preview sentences that motivate receivers while opening the Email using the Preview Text option. It displays near to the subject in most inboxes and if you want to add your email content, keep it empty. After that, enter the Email address on Send From option and the responsible individual's name. Activate your preferred Replied To for Recipient Followers or a specific Email Address. We can attach a file regarding the course inside the Attachments option.
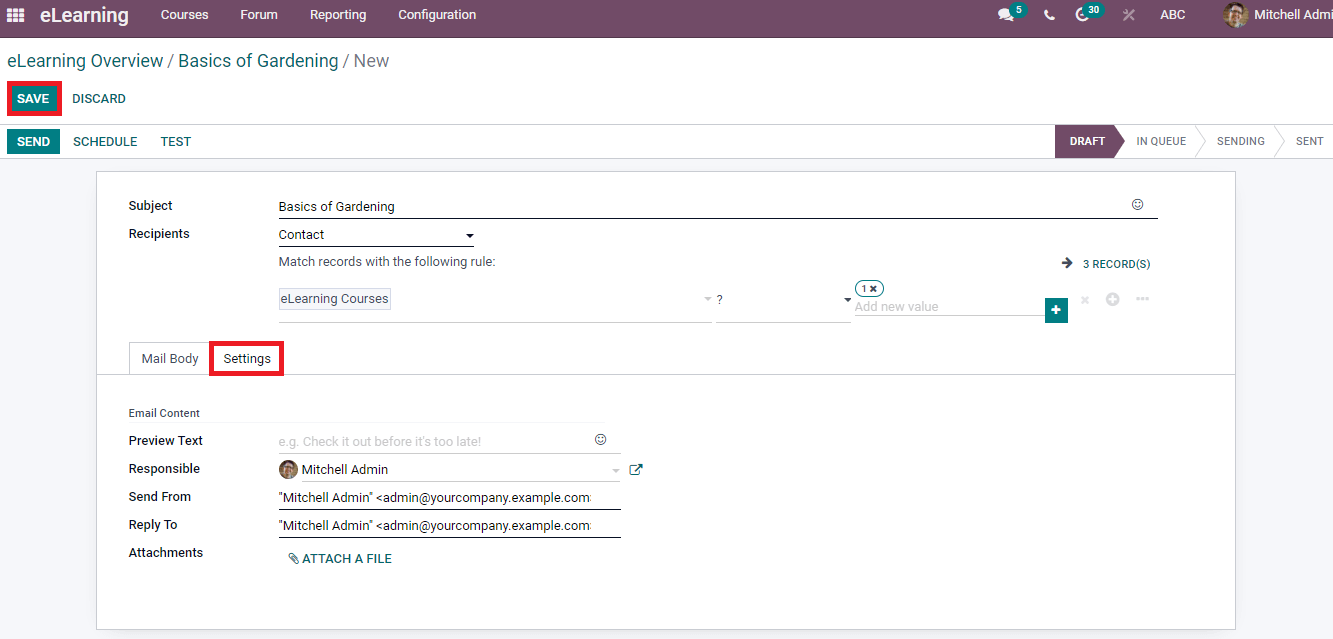
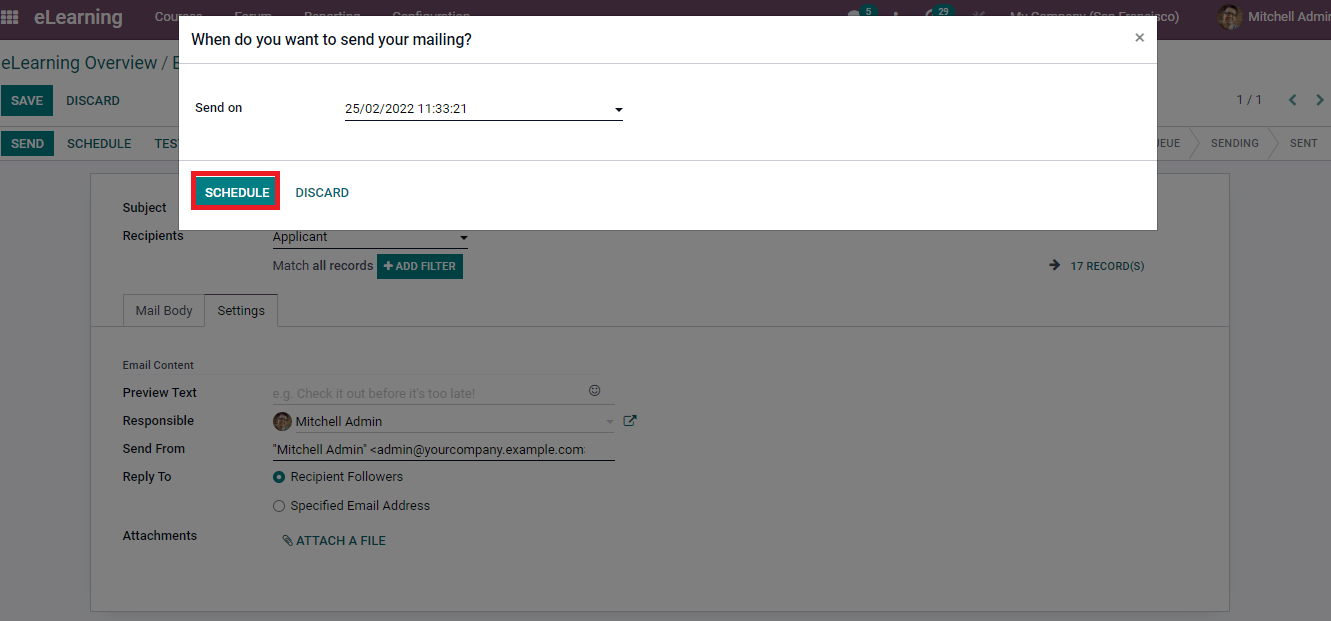
Click on the Save icon, and the SEND option ensures sending emails for your recipients. We can schedule a date to deliver the message for the receiver using the Schedule icon. Press the Schedule icon and select the Send On Date in a new window. After clicking on the Schedule icon, the Email will deliver automatically to recipients on the scheduled date.
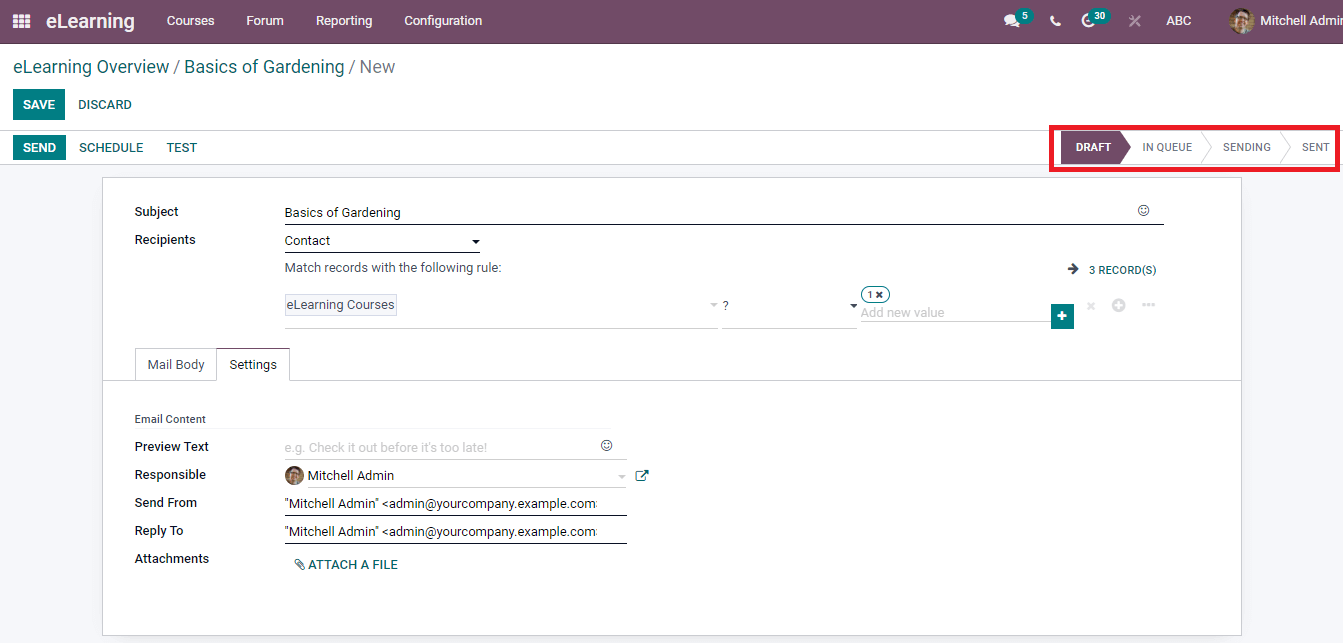
You can put the Email in different stages such as Sent, In Queue, Sending and Draft from the top right end of the window depicted in the screenshot below.
How to Publish a Course on a Website?
We can publish any courses on the website using the advanced feature of the Odoo 15 eLearning module. You can view a submenu in the Course window as Go to Website.
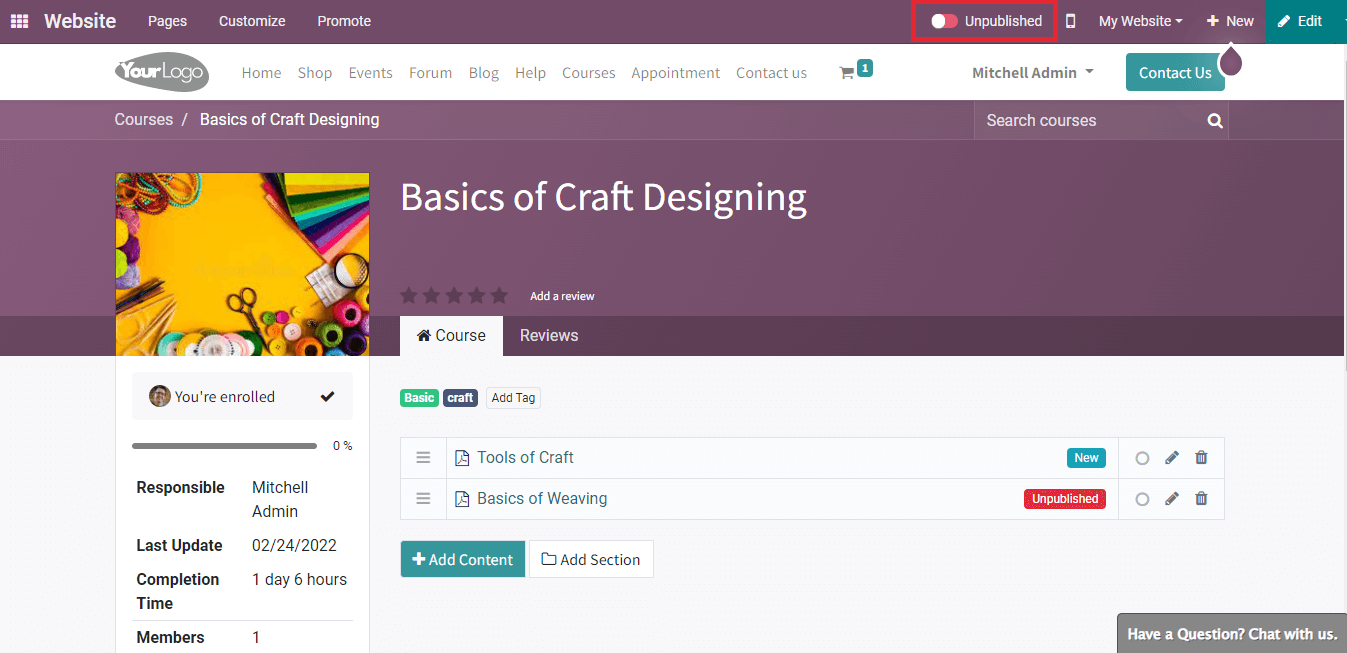
After pressing the Go to Website button, direct you to the front end page of the course on the website. We can see that the course is unpublished in that window, as shown in the screenshot below.
You can publish the course by pressing on the Unpublished icon, which denotes Published with a green mark. After the publishment, it is viewable to the audience from the front end of the website.
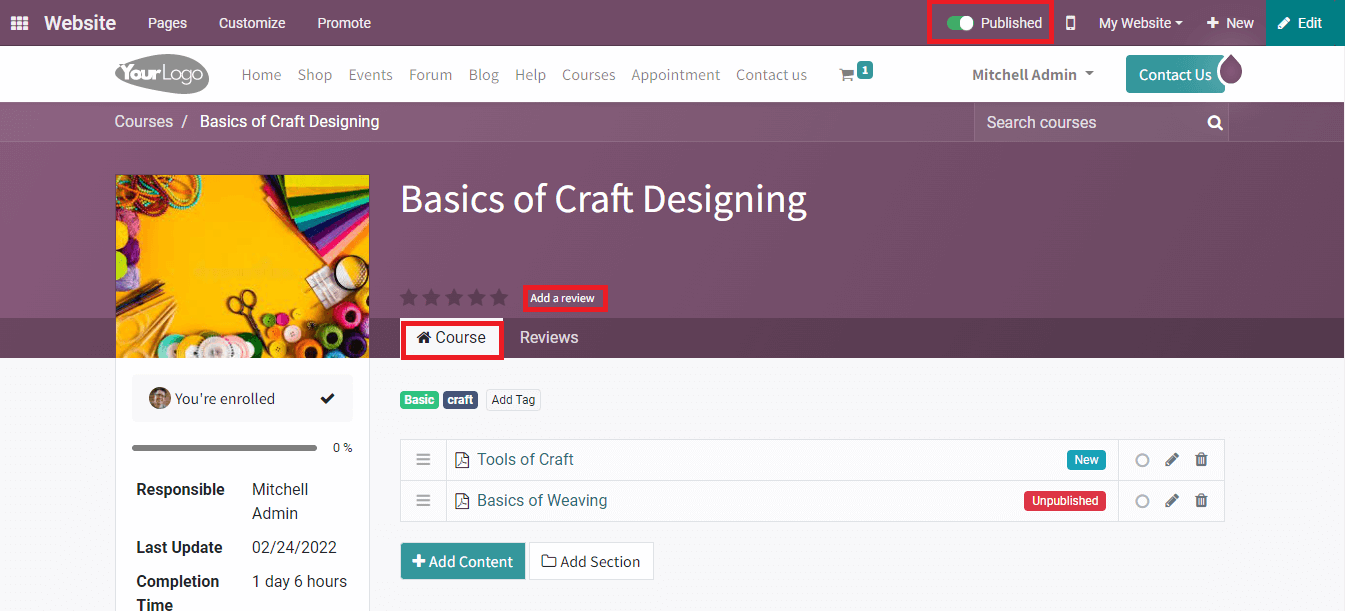
You can see the details of published and unpublished contents inside the Course tab in the website window. The left side of the window consists of the Last Update date, Members, Completion Time and Responsible person. Add a review icon to enable you to apply a review related to the course. You can view the details regarding reviews inside the Review tab.
Users can see three options: Add Quiz, Preview and New, while placing the cursor near the contents tag.
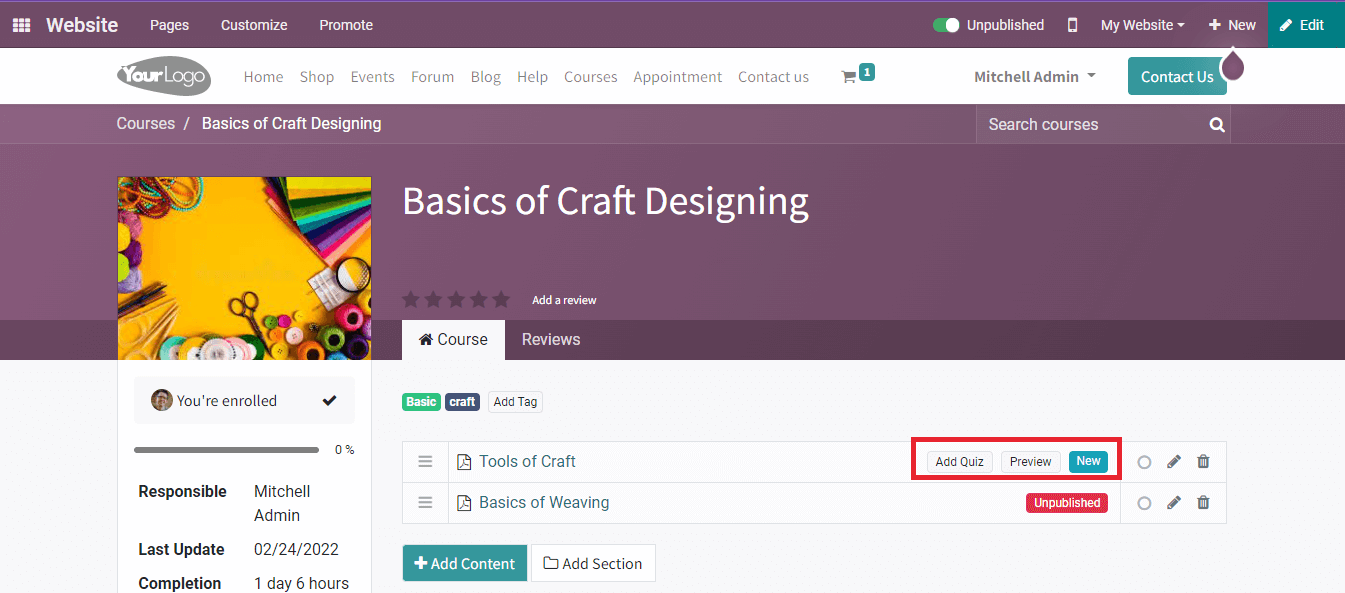
Click on the Add Quiz button to generate questions for participants. Enter the question and answers on the new Quiz page that opens before you.
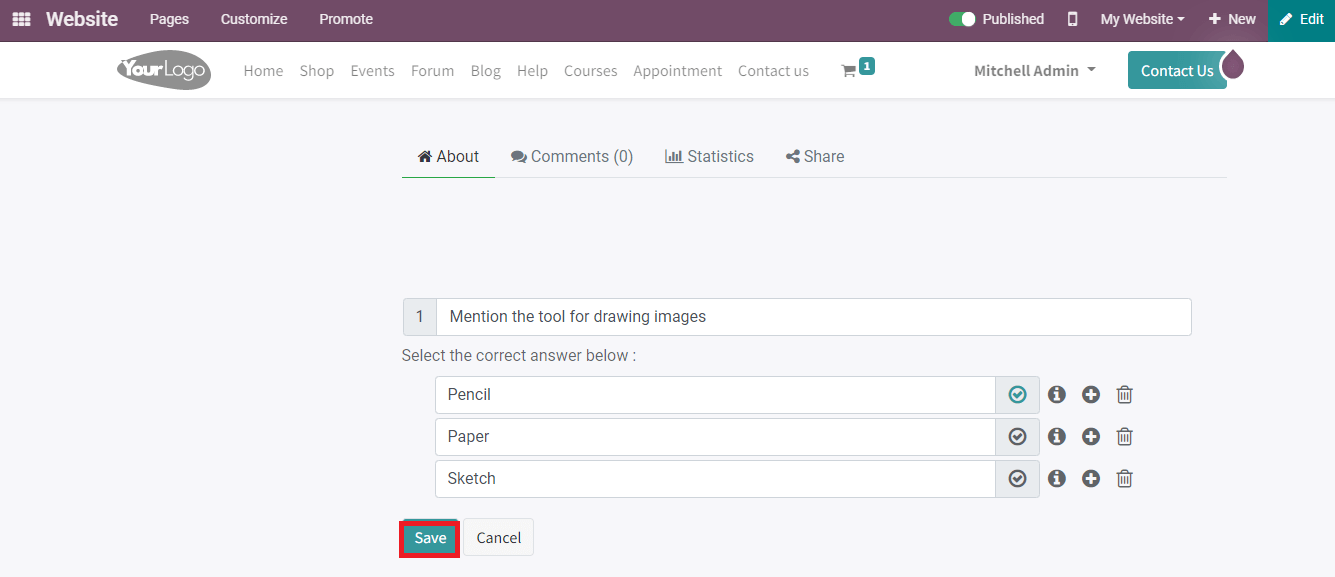
After that, press on Save button to create your Quiz, and the generated Quiz is visible under the course content.
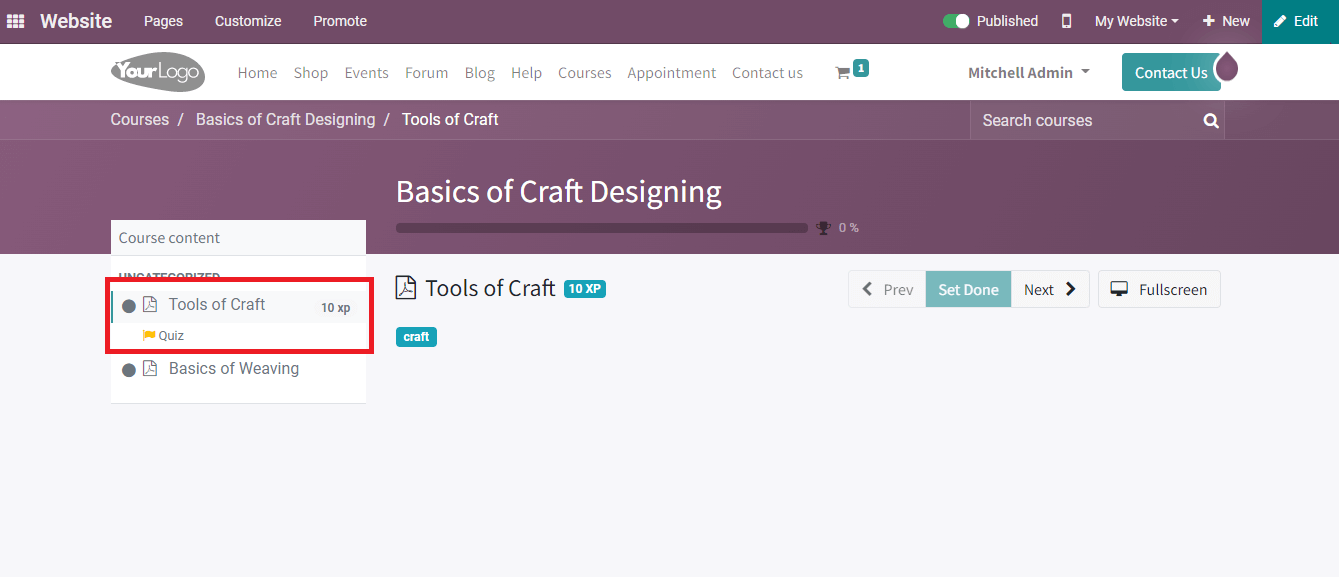
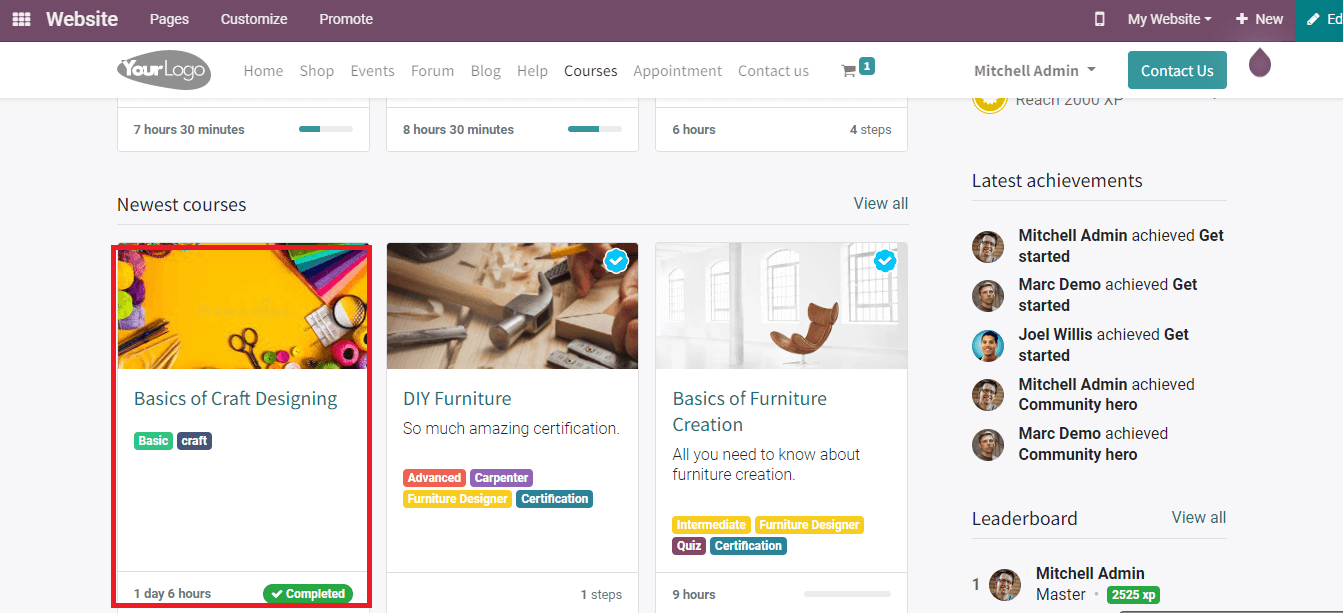
Attendees can attempt the Quiz by clicking the Quiz button and checking their answers. Courses list visible under the Courses tab of the website window. Select the Courses tab, and you can take your course inside it. It includes data such as Course Name, Time and Tags of each course.
We discussed publishing a course on a website and contacting attendees for a course here. Apart from these, the contents of a course attract most attendees, and Odoo 15 eLearning module assists to develop special sections in your course. The advanced features of the eLearning module enable you to generate a Forum, Reporting of Revenues, Courses, Configuration of Course Groups, and Content Tags.