Google Firebase stands as a versatile mobile and web development platform provided by Google. It offers an array of services and tools designed to streamline the development process, elevate app quality, and boost user engagement. Firebase encompasses features such as real-time databases, authentication, cloud functions, hosting, and analytics. Notably, Cloud Messaging within Firebase allows developers to seamlessly implement push notifications in their applications.
1. Firebase Project Setup:
Initiate the process by creating a Firebase project on the Firebase console. Register your app within the project to obtain vital configuration files.
2. Integrate Firebase SDK:
The inclusion of the Firebase SDK into your project involves adding the configuration
files and necessary dependencies.
Enable Cloud Messaging:
Activate Firebase Cloud Messaging (FCM) within your Firebase project to leverage
the push notification service.
Implement Token Generation:
Develop the code for generating a unique registration token for each device,
facilitating FCM to send notifications to specific devices.
Handle Notification Payloads:
Clearly define how your app should manage incoming notification payloads,encompassing data and display information.
Implement Token Registration:
Ensure that the app effectively registers the device's token with FCM, enabling the reception of push notifications.
Handle User Permissions:
Implement the necessary code for requesting and managing user permissions regarding push notifications on different platforms (iOS and Android).
Send Test Notifications:
Utilize the Firebase console or FCM API to dispatch test notifications, validating the proper functionality of the setup.
Handle Background and Foreground Notifications:
Develop logic to manage notifications differently based on whether the app is in the foreground or background.
Analytics and Monitoring:
Leverage Firebase Analytics to track user engagement with notifications.
Monitor FCM on the Firebase console for insights into delivery performance.
By adhering to these steps, developers can successfully configure push notifications in their applications using Google Firebase, enhancing user engagement and ensuring users stay informed about pertinent updates and events.
How to connect Google Firebase with Odoo?
To get started with the Push Notification From odoo ChatBox, install the ‘Push Notification From ChatBox’ app, which is an Odoo module that can be easily accessed through the Odoo Apps Store.
APP Link: https://apps.odoo.com/apps/modules/17.0/mail_push_notification/
1.) First, go to the Firebase console (https://console.firebase.google.com/) Create a Project if you don't have any project.
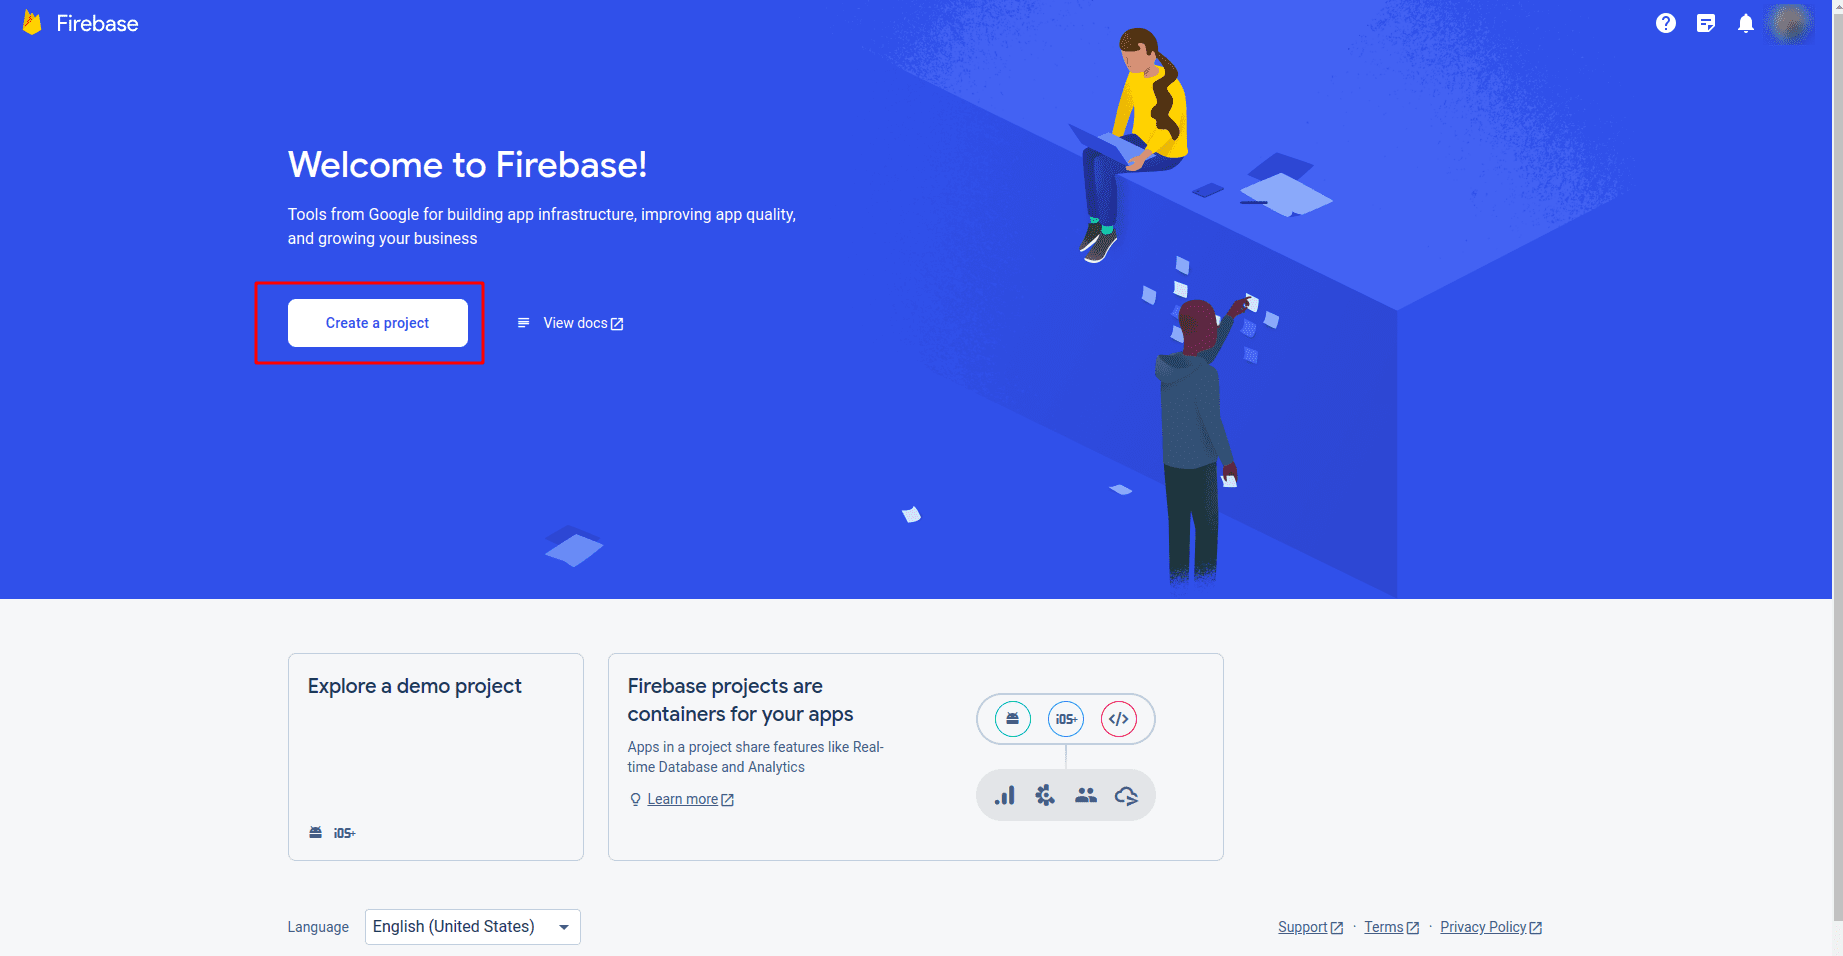
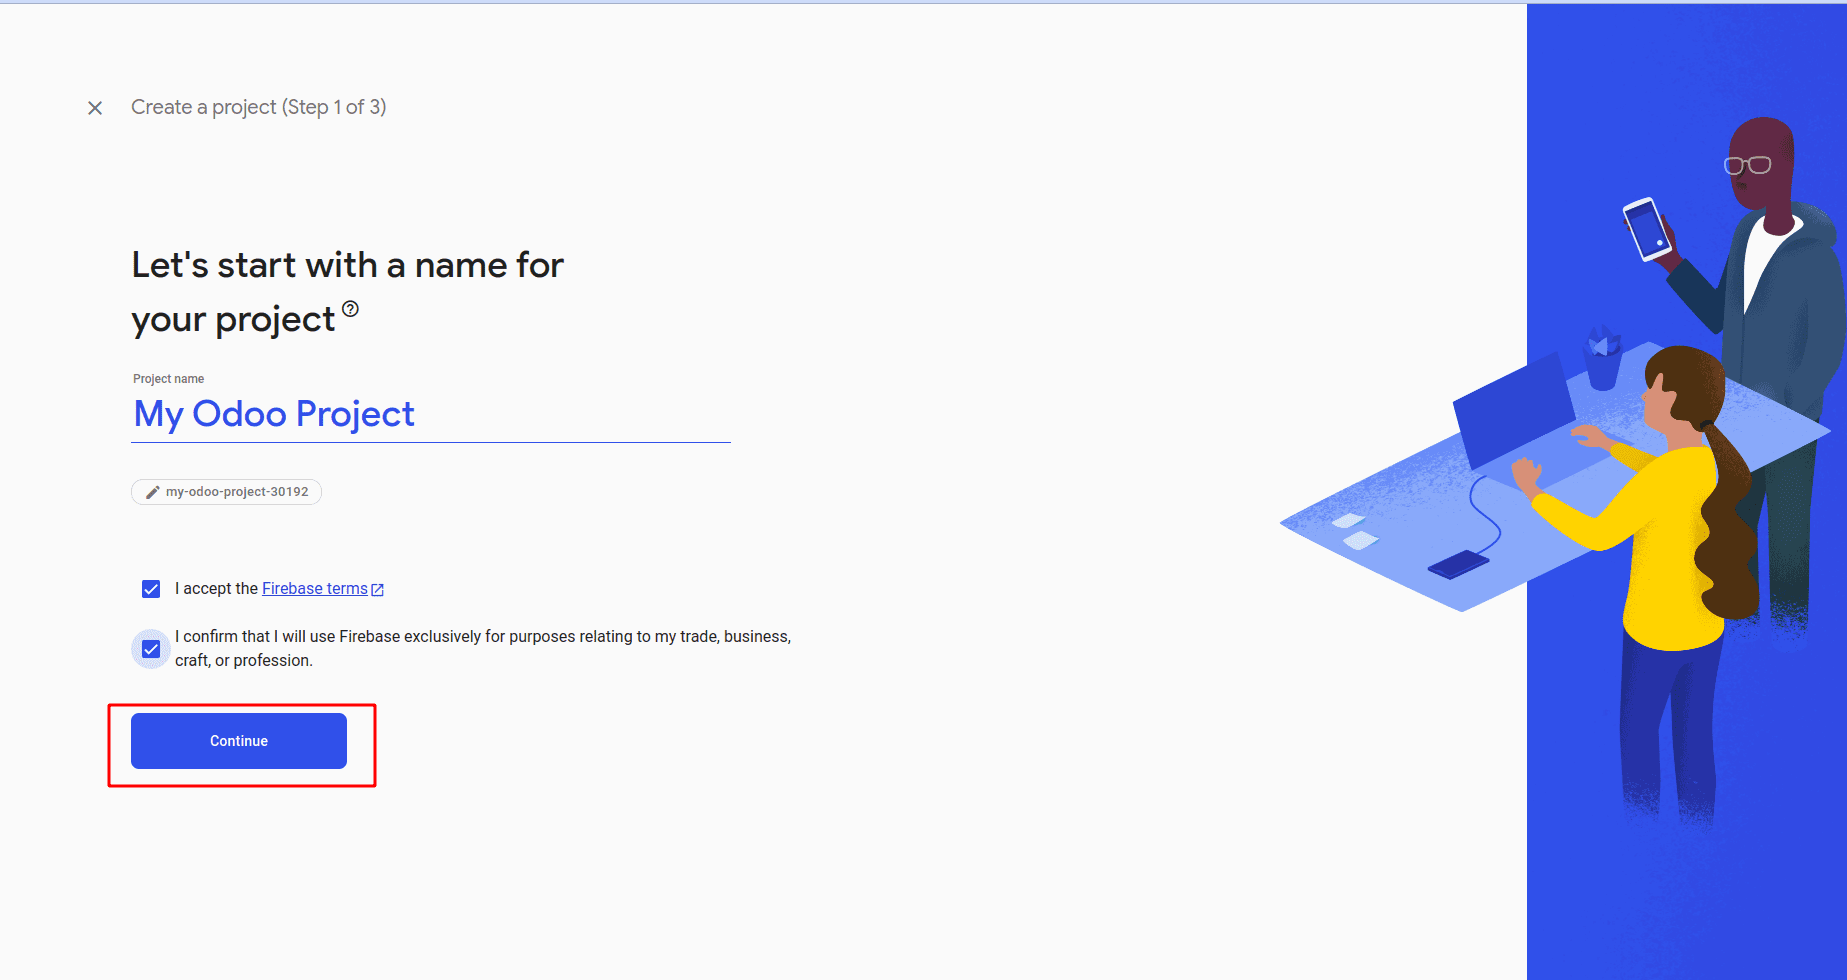
2.) Establish the project's name and proceed.
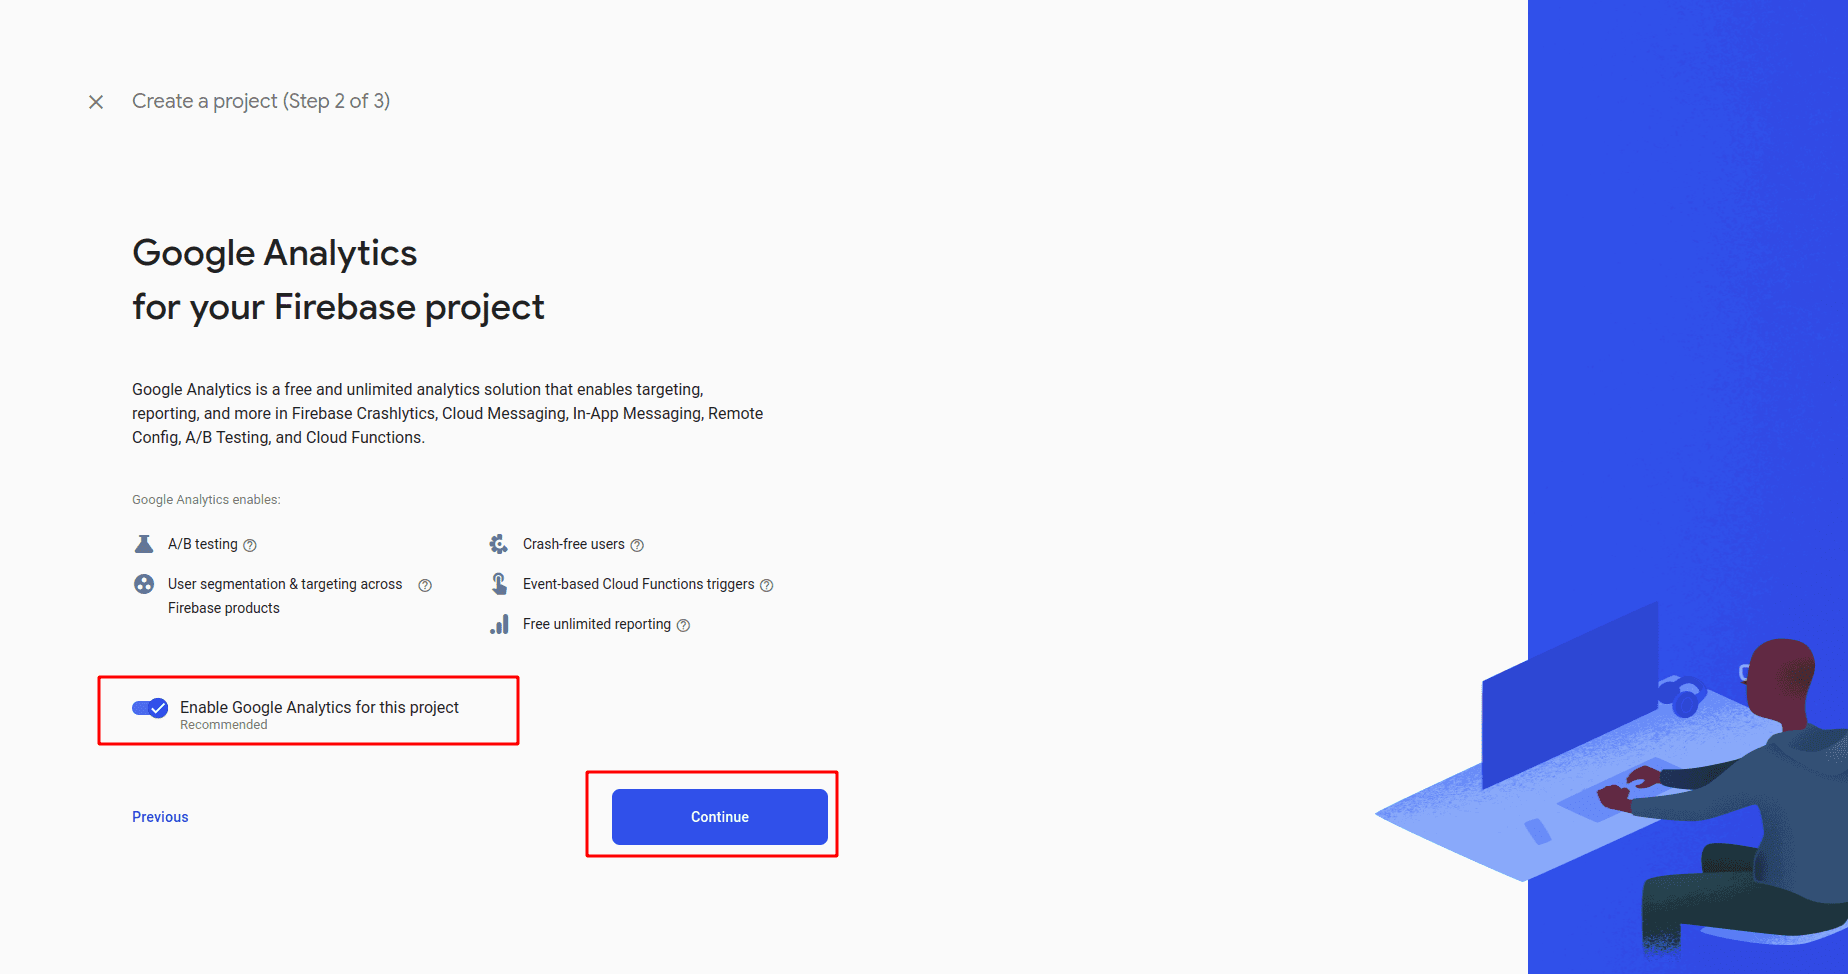
3.) Ensure that Google Analytics is activated for this project, then proceed to click Continue and create the project.
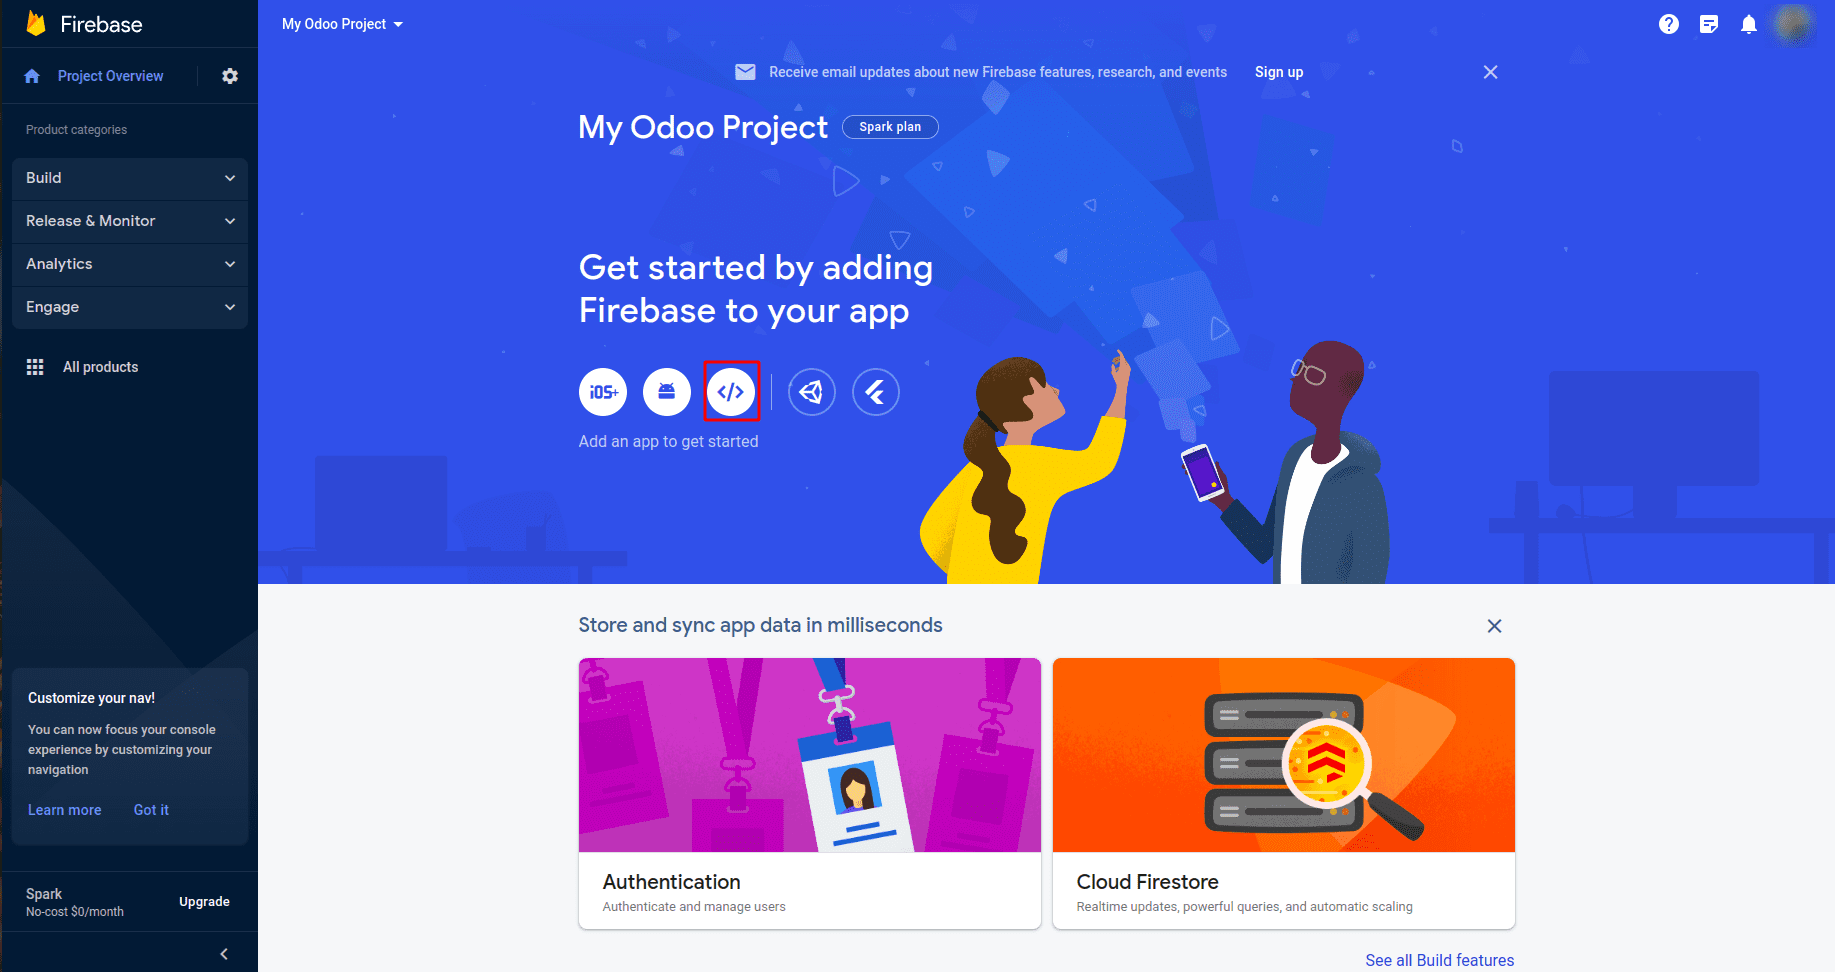
4.) Next, initiate the creation of a web app for the project by selecting the web app icon displayed below.
5.) Specify the app's name and complete the registration process for the app.
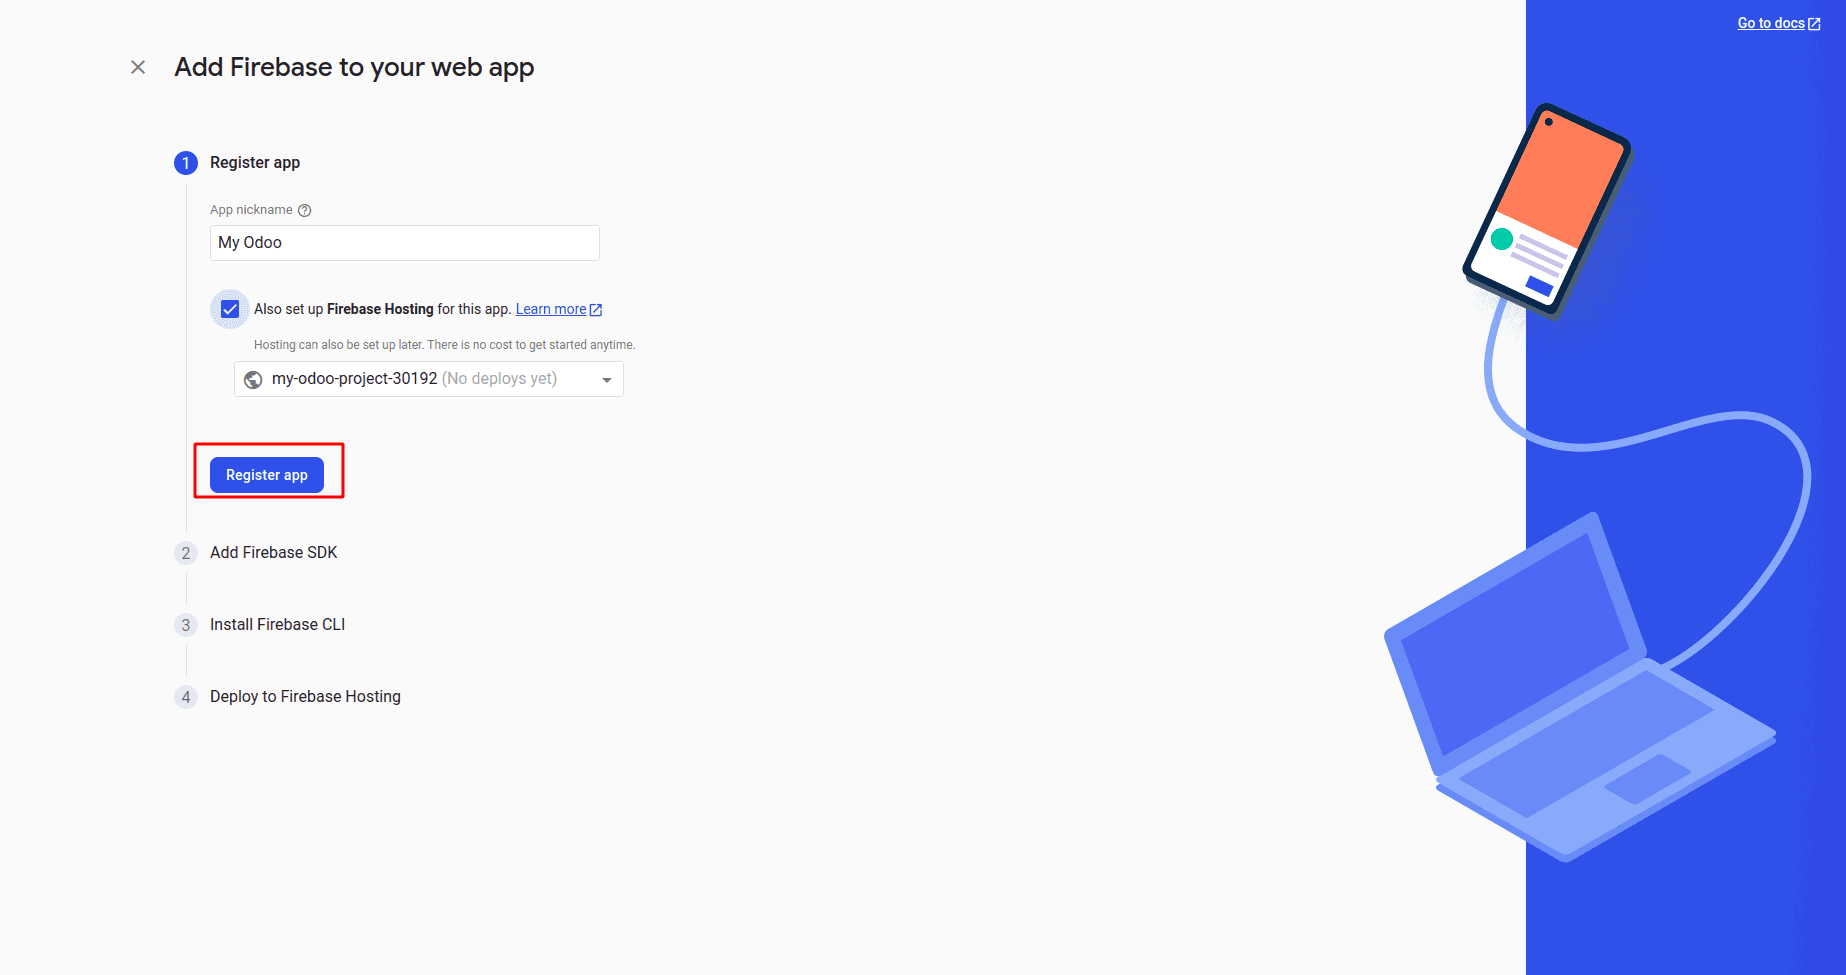
6.) Review the provided details, copy them, then opt for npm and proceed by clicking the Next button.
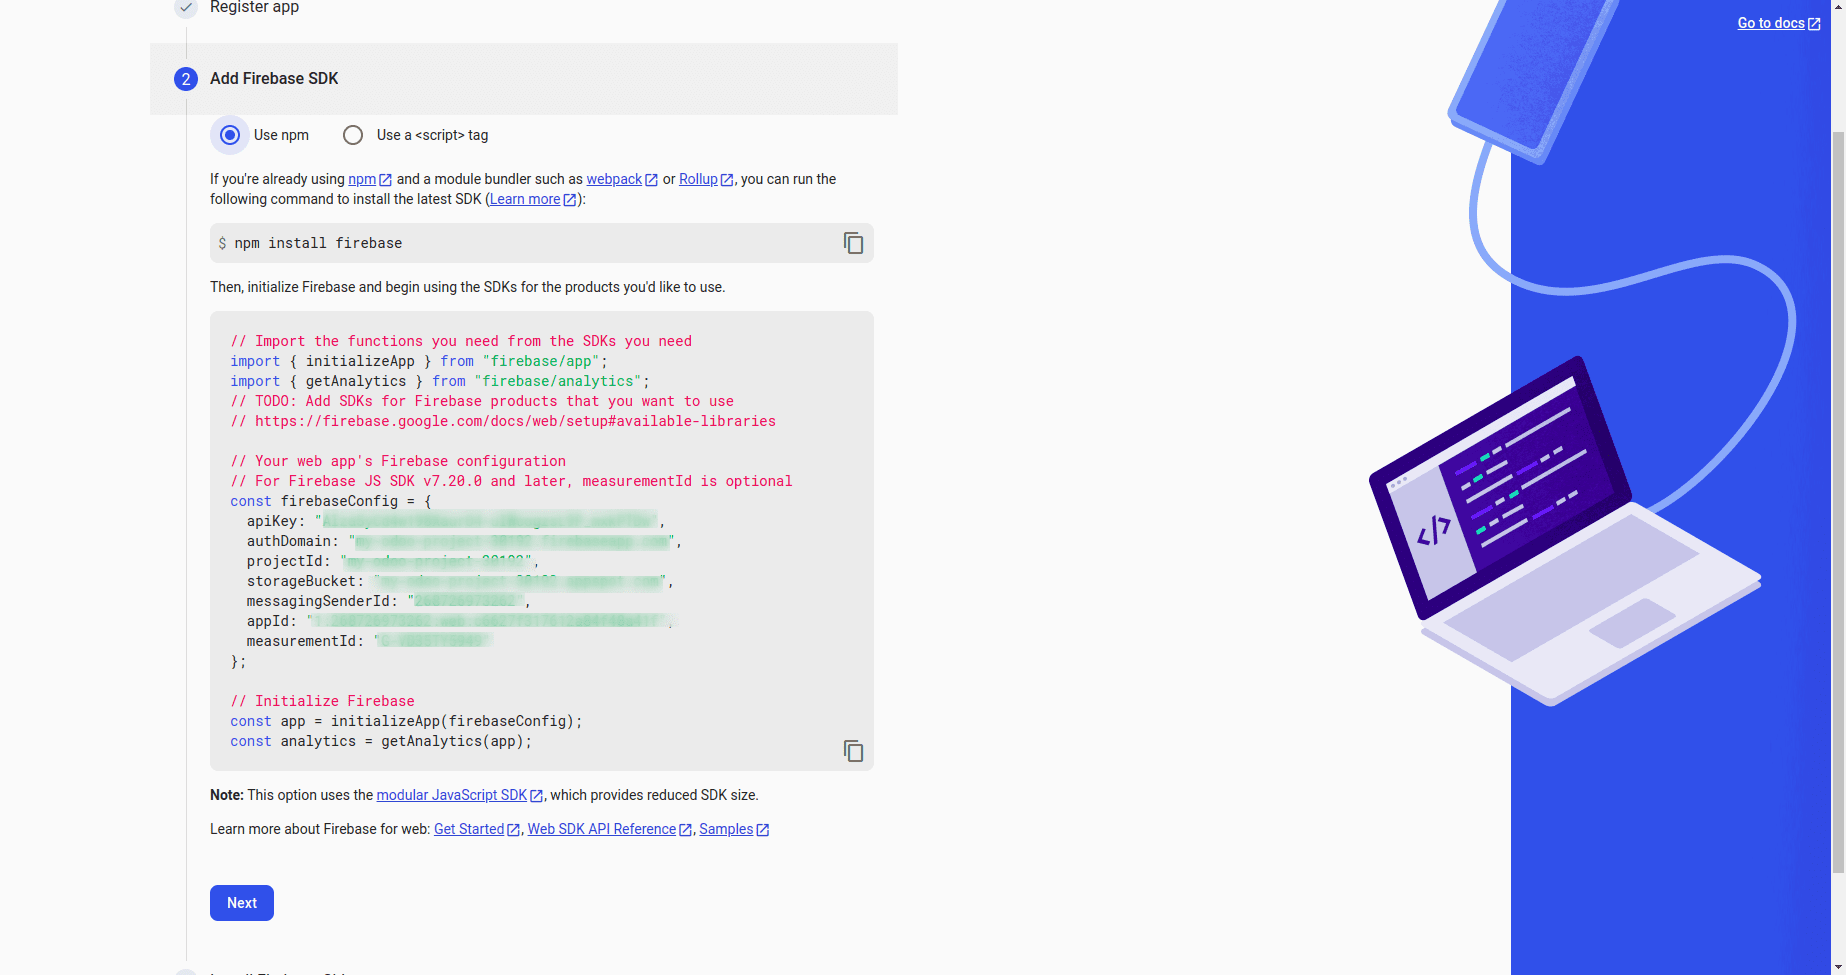
7.) Following that, press the 'Next' button to install the Firebase CLI.
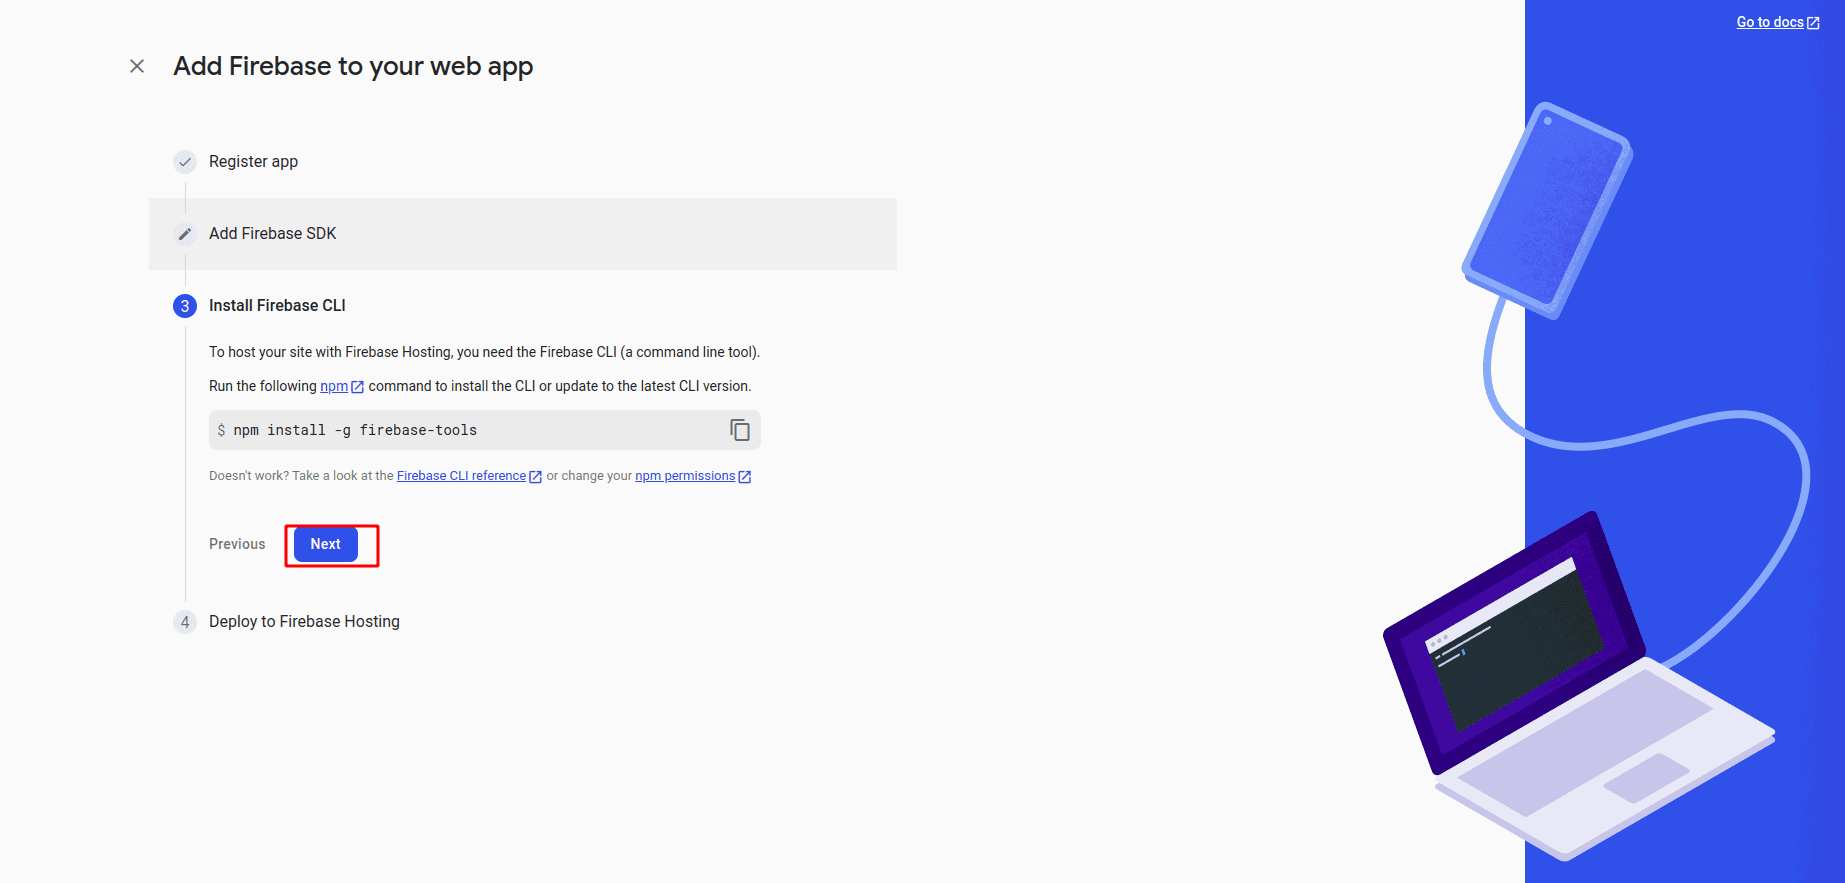
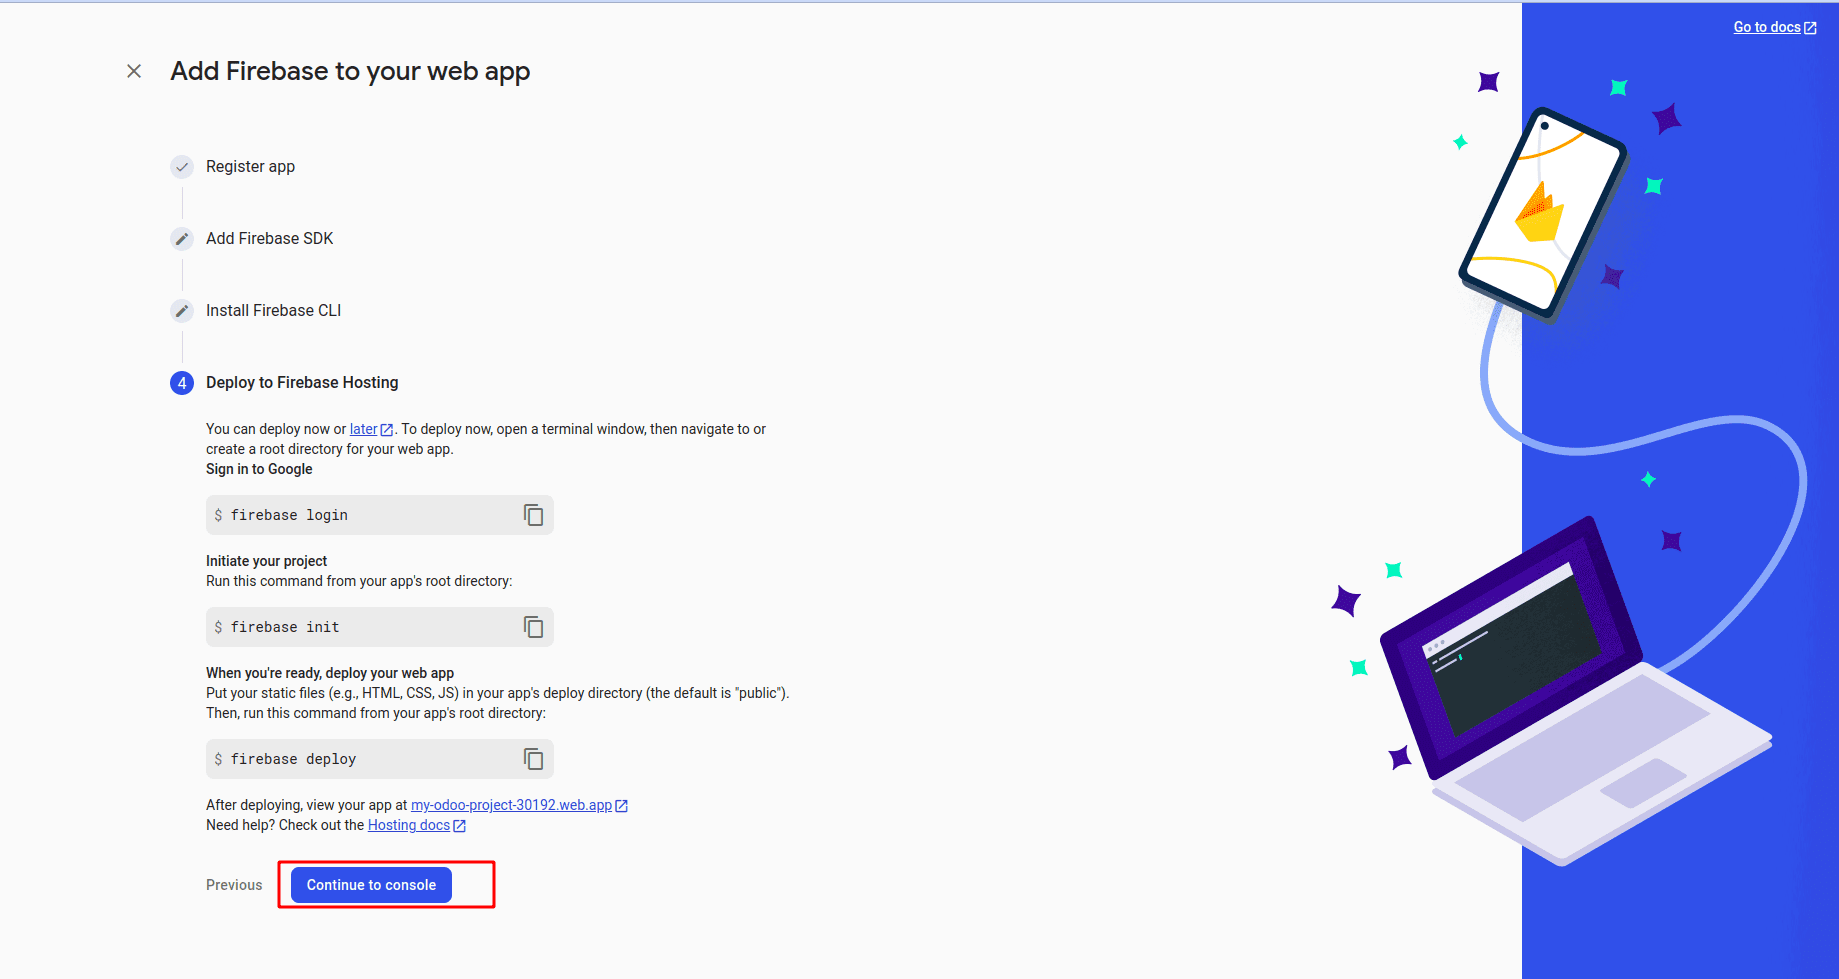
8.) Subsequently, proceed by clicking "Continue to Console."
9.) Following that, locate the app within the project and click on the settings icon of the app to access its details.
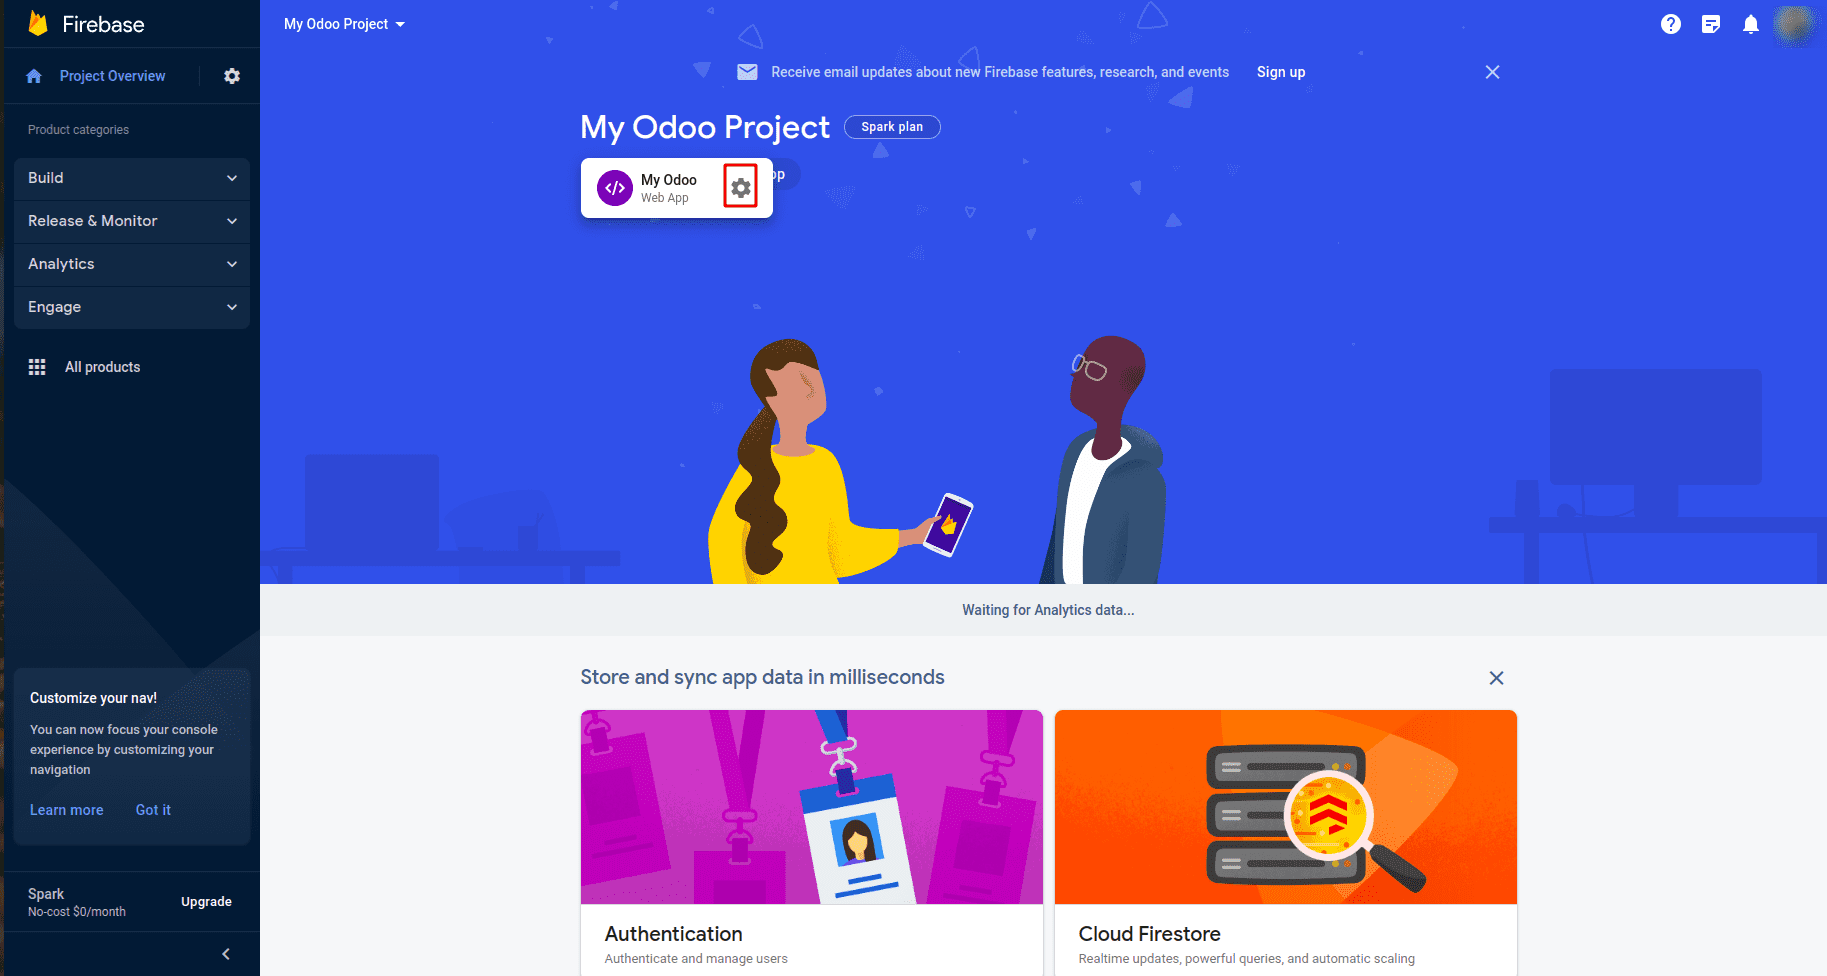
10.) The necessary credentials (excluding the server key and vapid) can be found in that section, which we will use in Odoo.
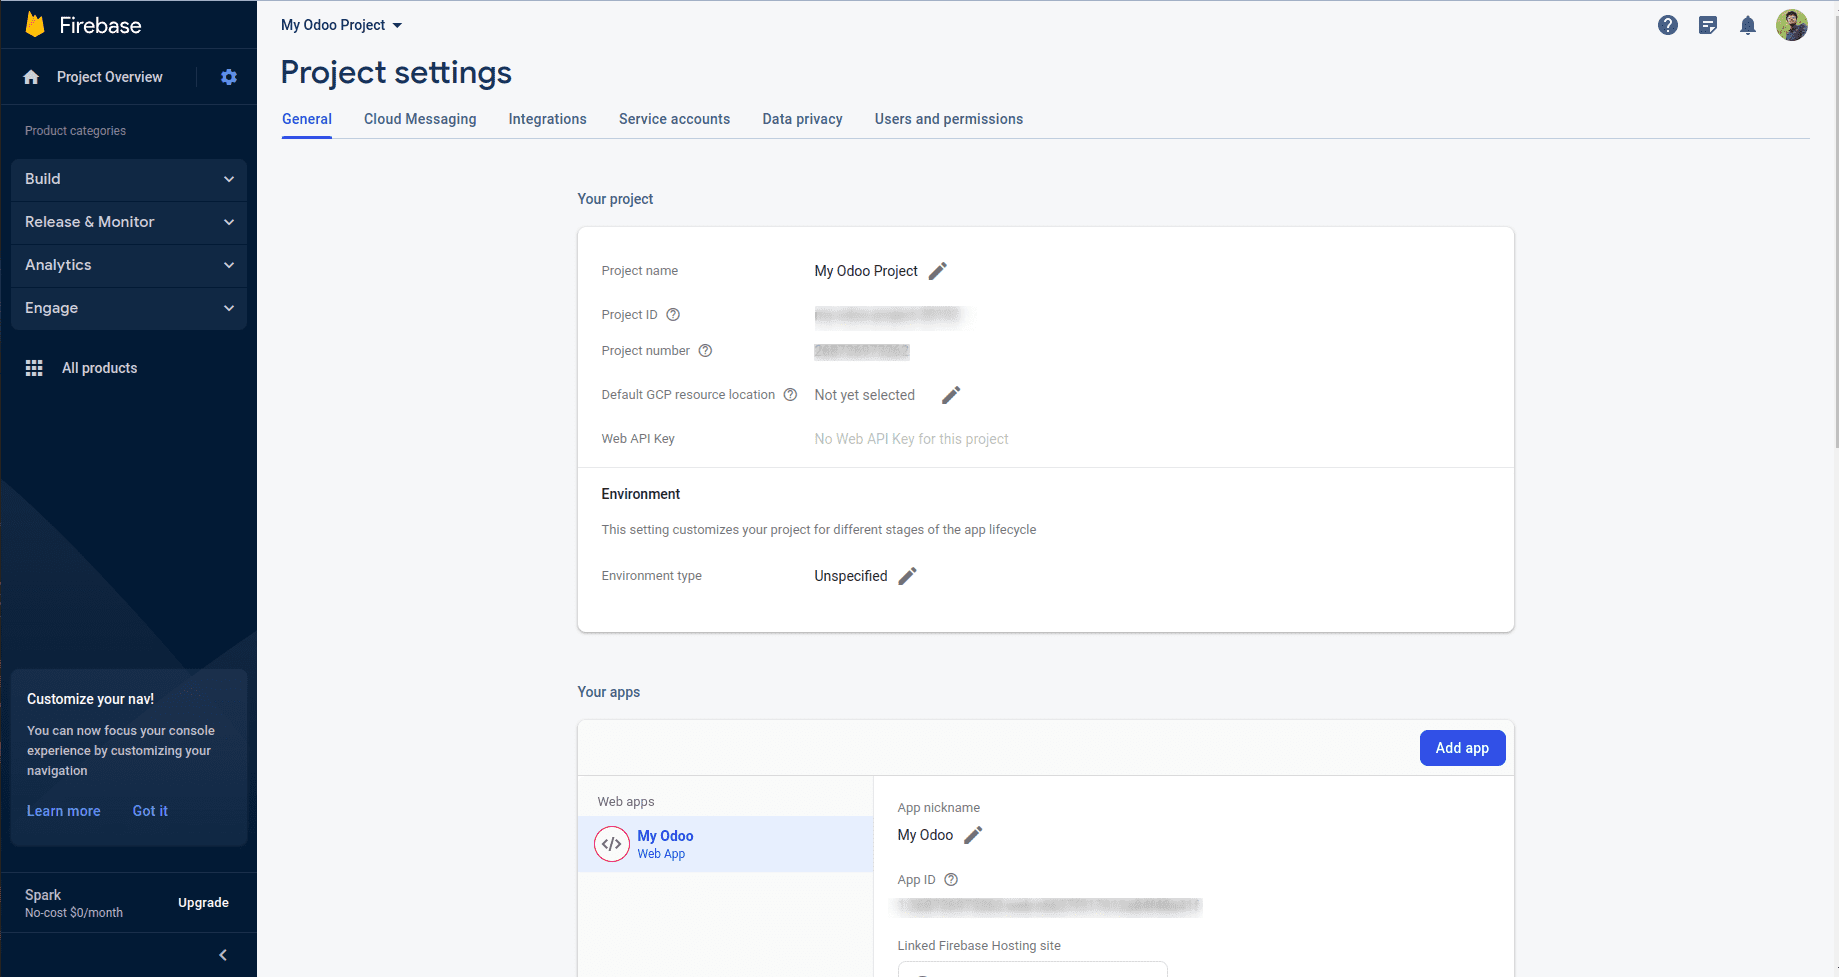
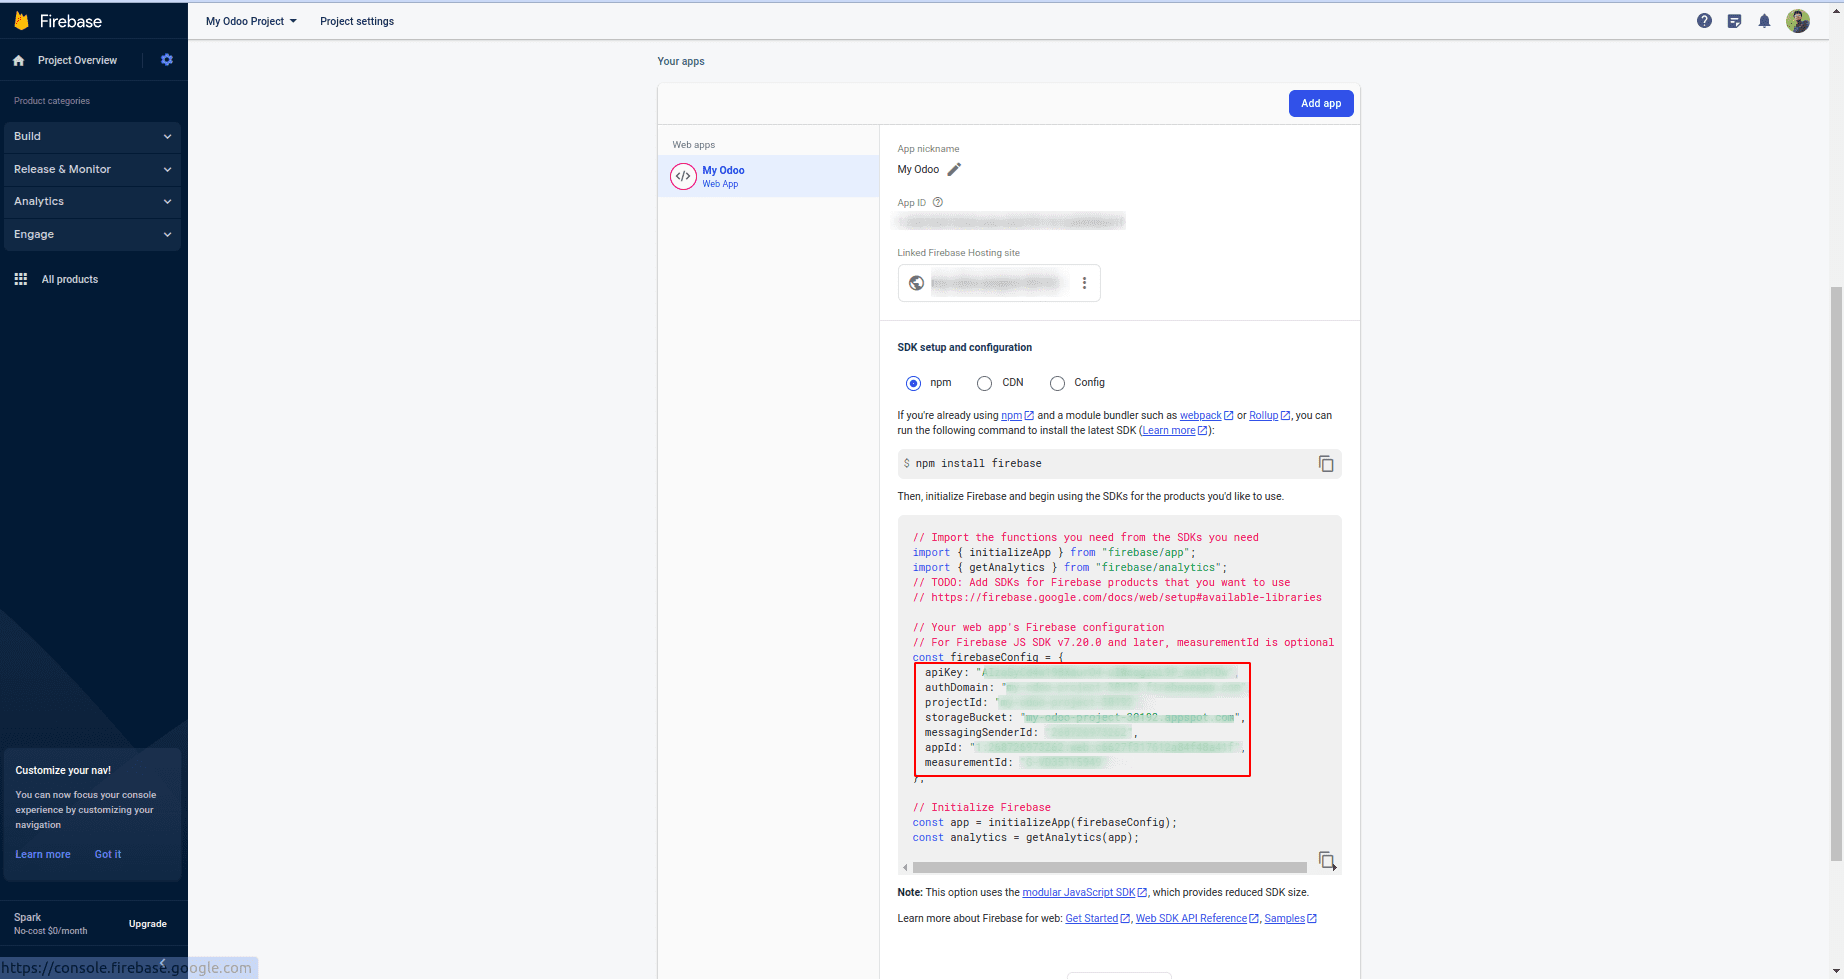
11.) To generate the required server key for Odoo, follow these steps:
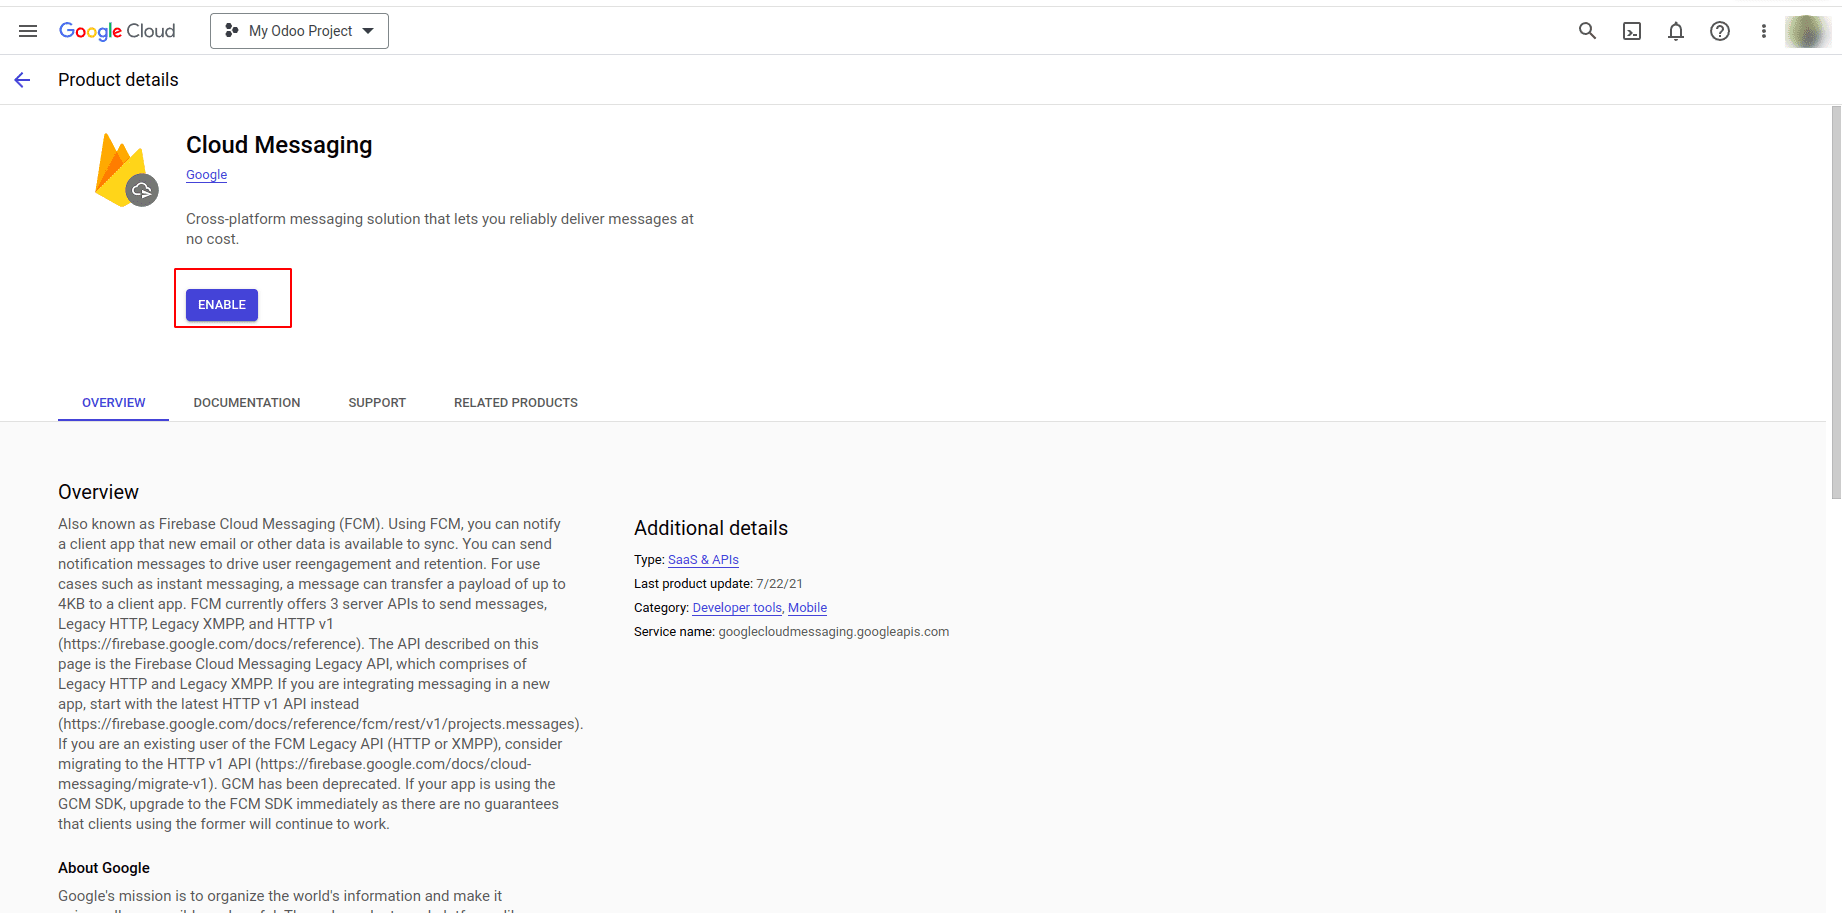
* Go to Cloud Messaging in Google Cloud Console.
* Navigate to Cloud Messaging API (Legacy).
* Click on the three dots and select "Manage API."
* Enable Cloud Messaging to proceed with the key creation.

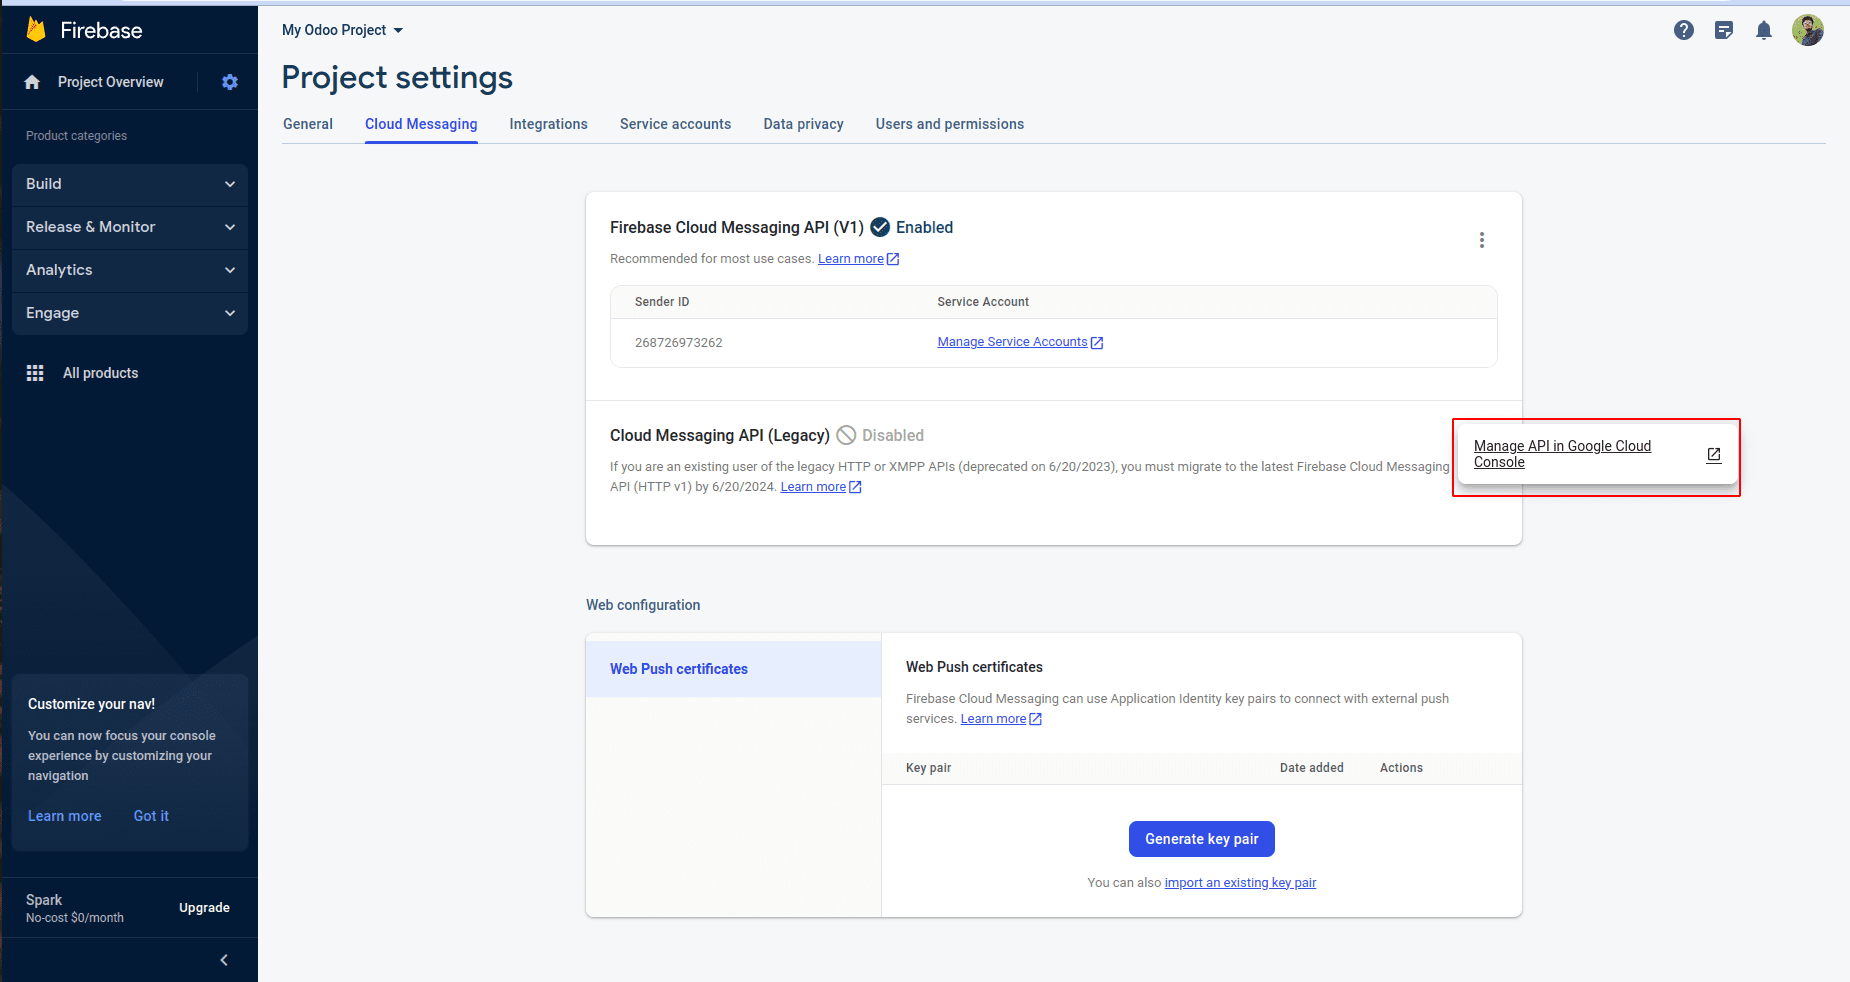
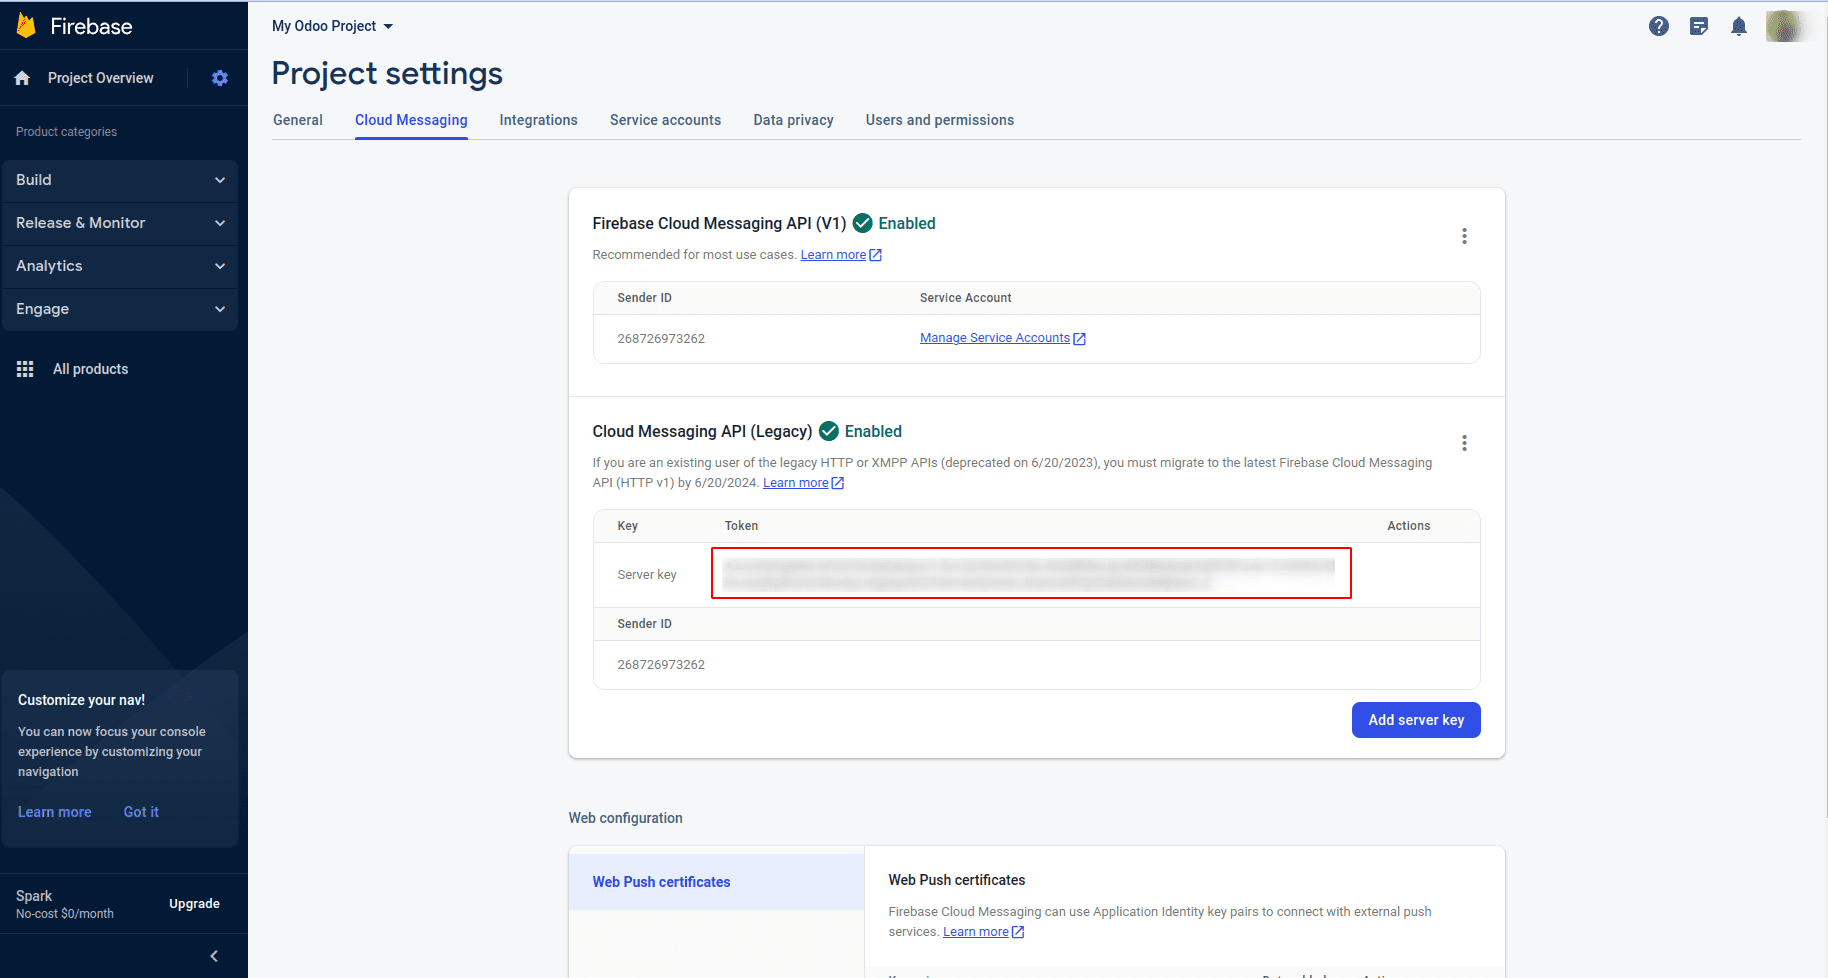
12.) Subsequently, you will find the Server key in the Cloud Messaging API (Legacy) section after completing the aforementioned steps.
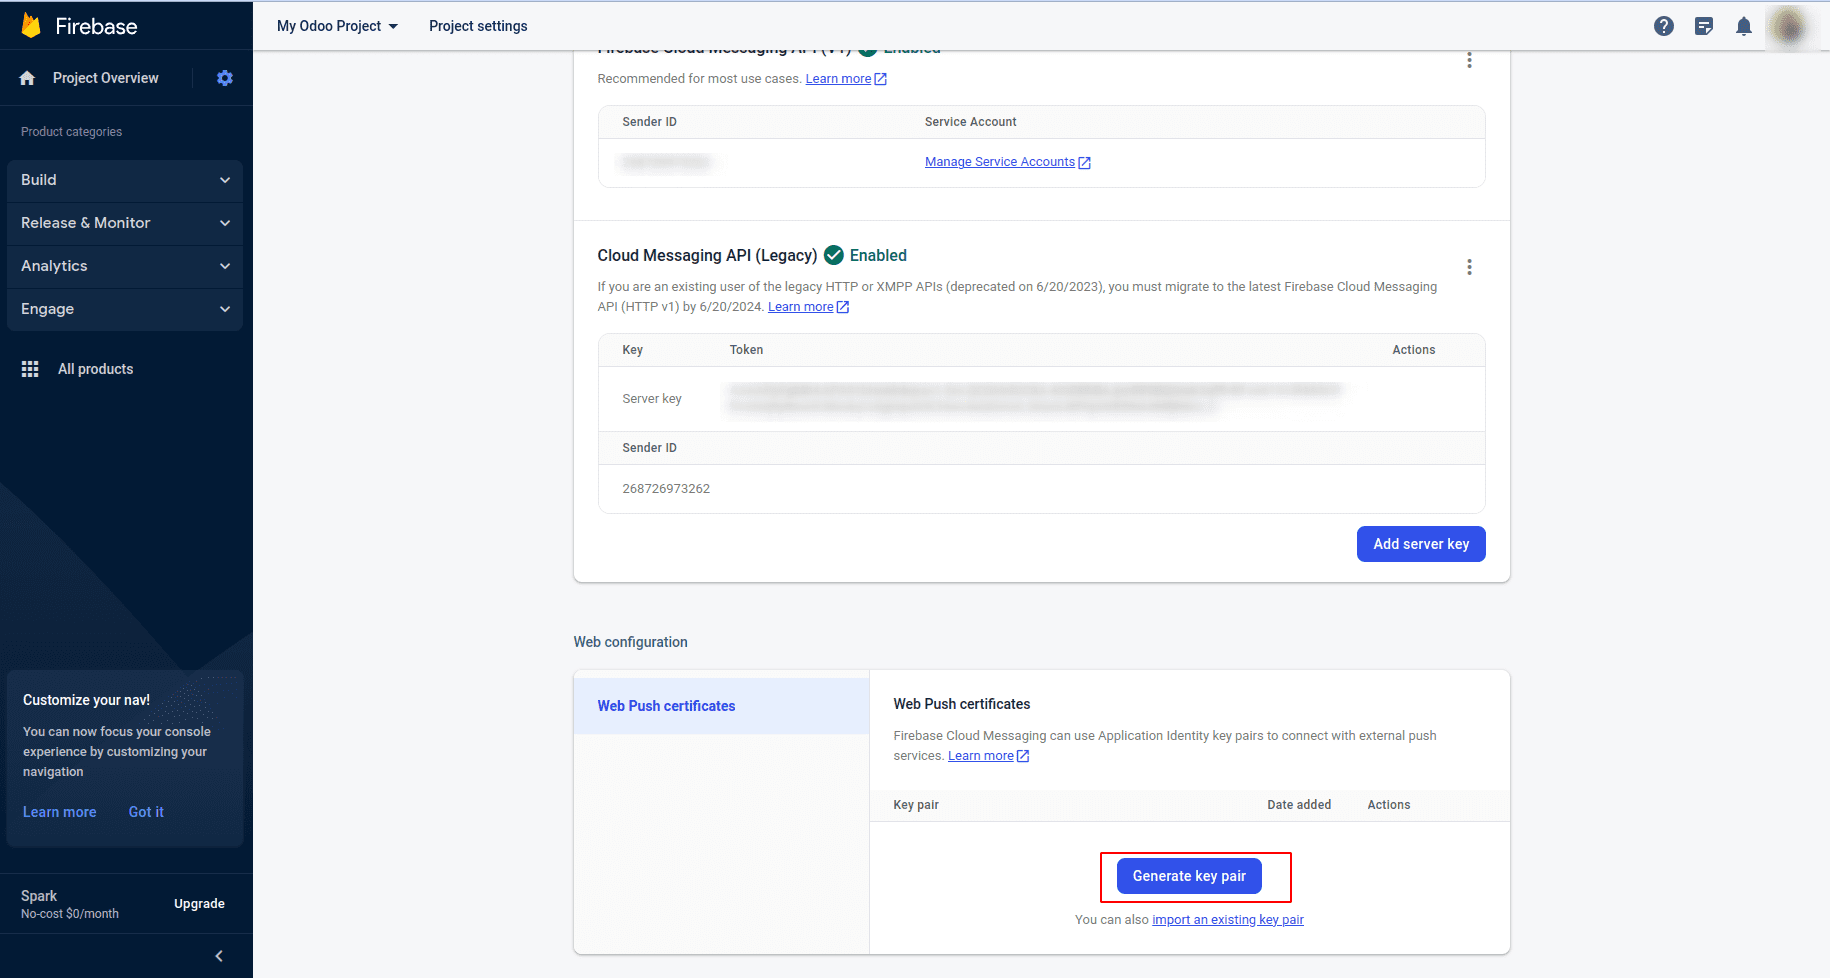
13.) To create a Vapid, follow these steps:
* Go to Cloud Messaging.
* Navigate to Web Configuration.
* Click on "Generate Key Pair" to create the necessary Vapid key pair
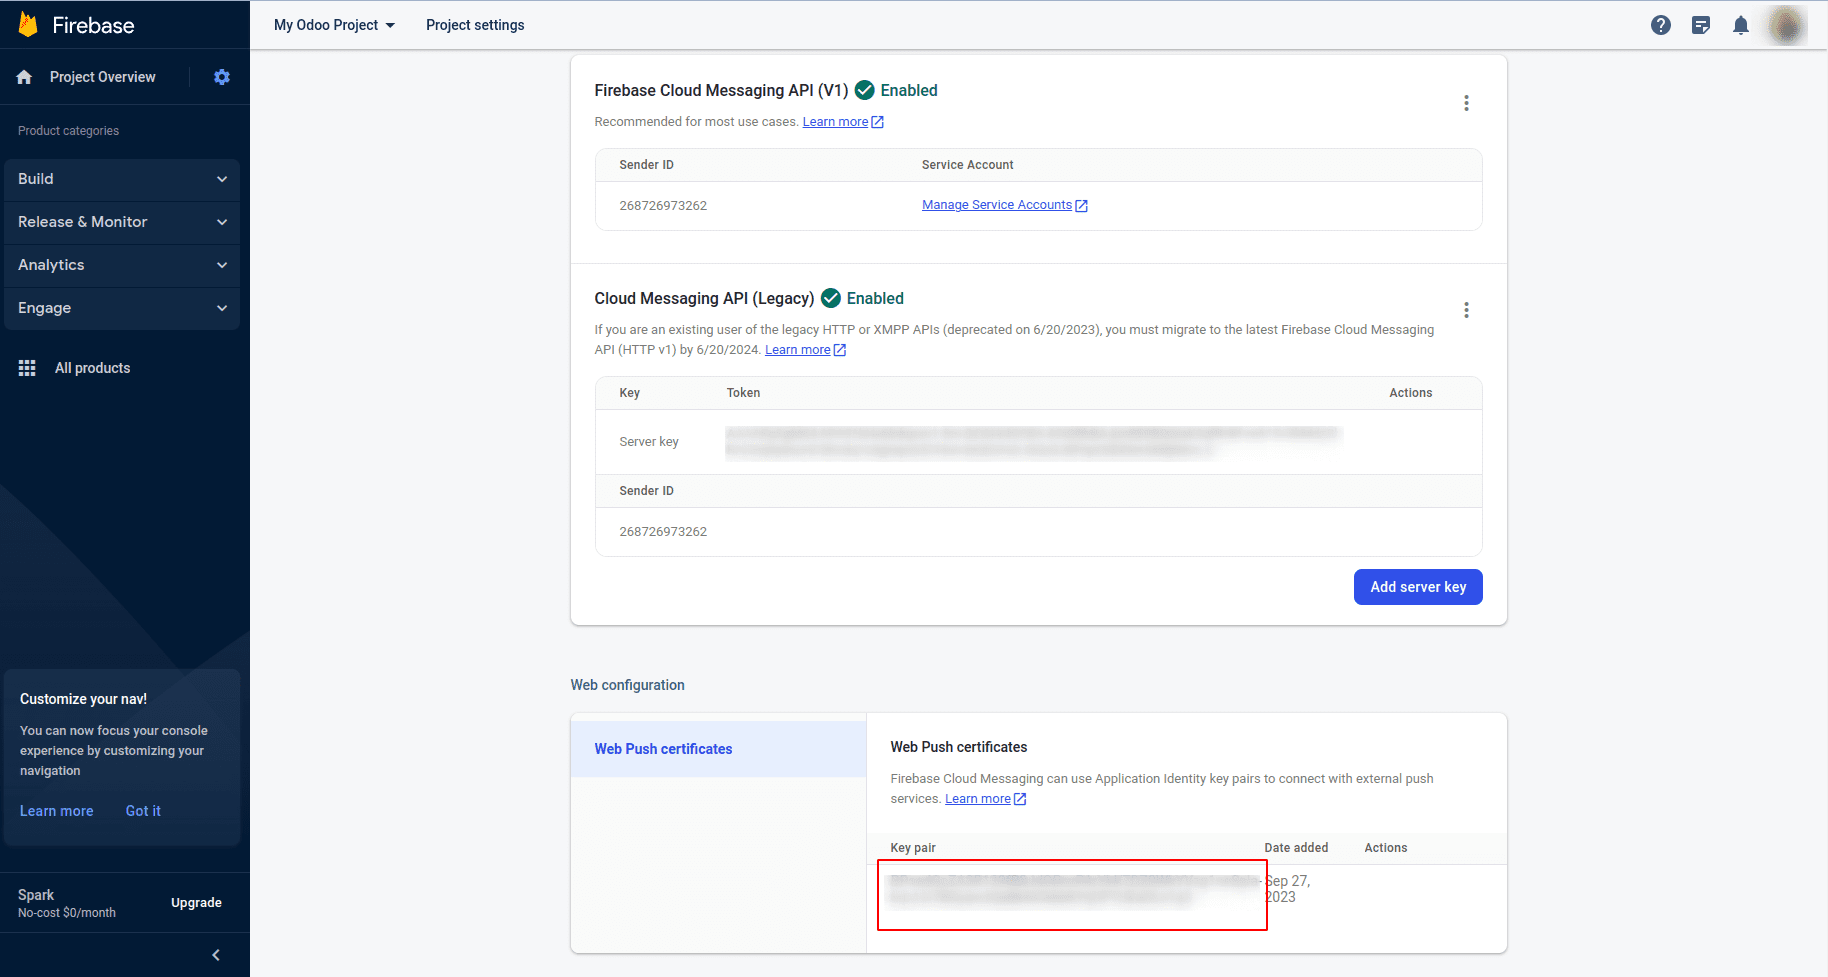
14.) Following the key pair generation, you can find the public key of the Vapid in Cloud Messaging under Web Configuration.
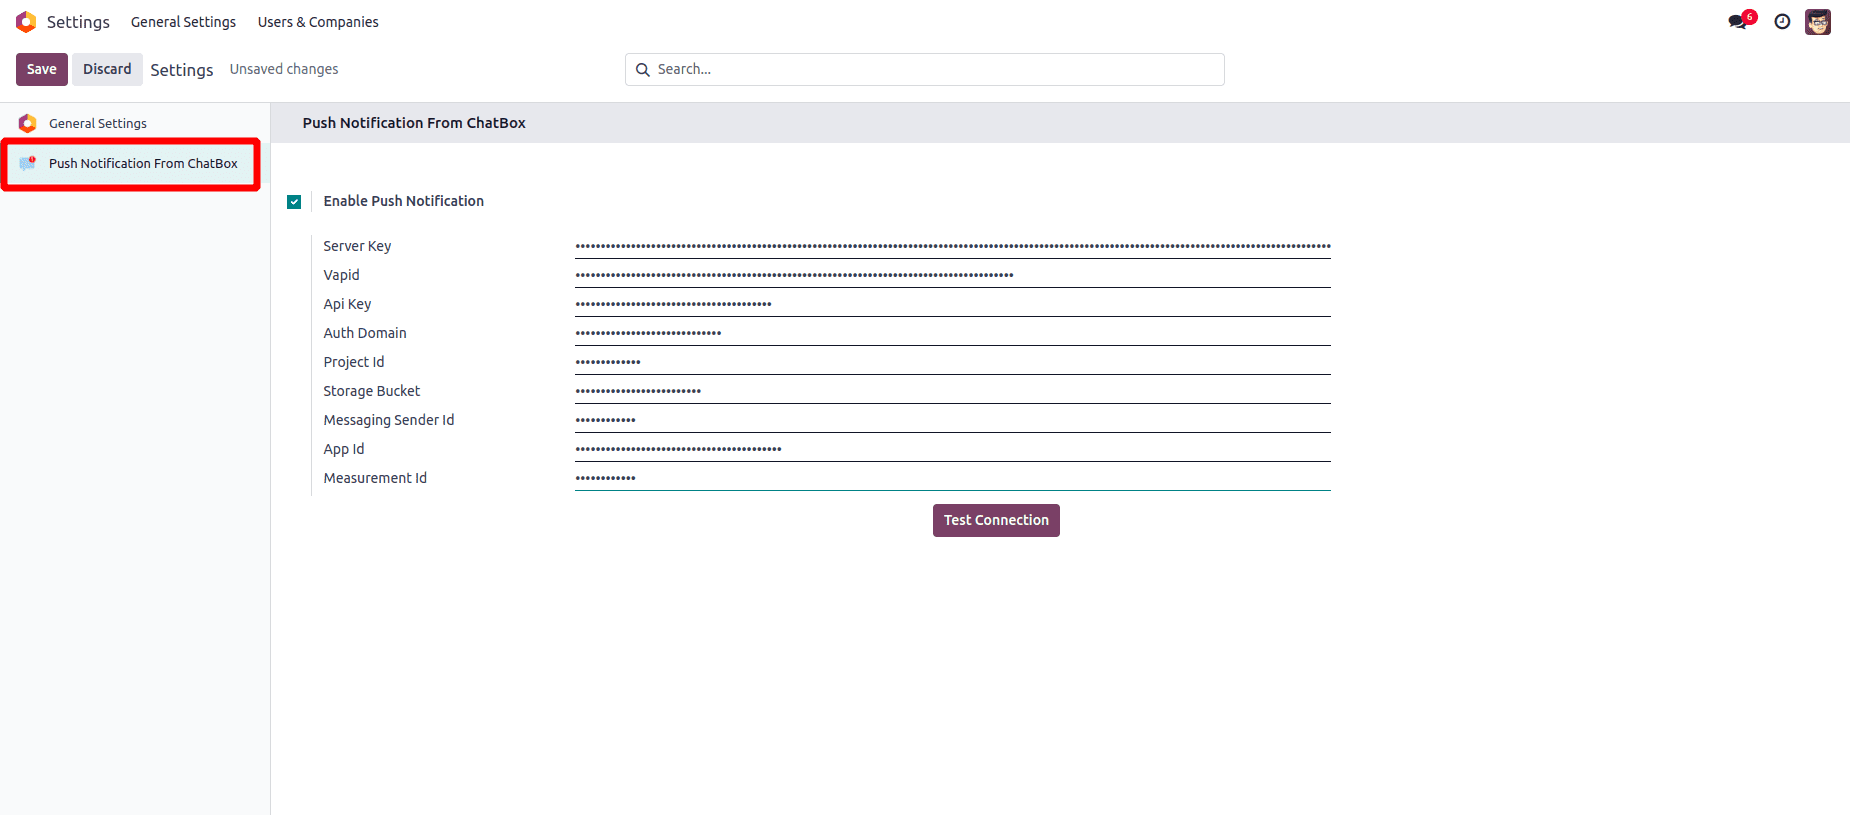
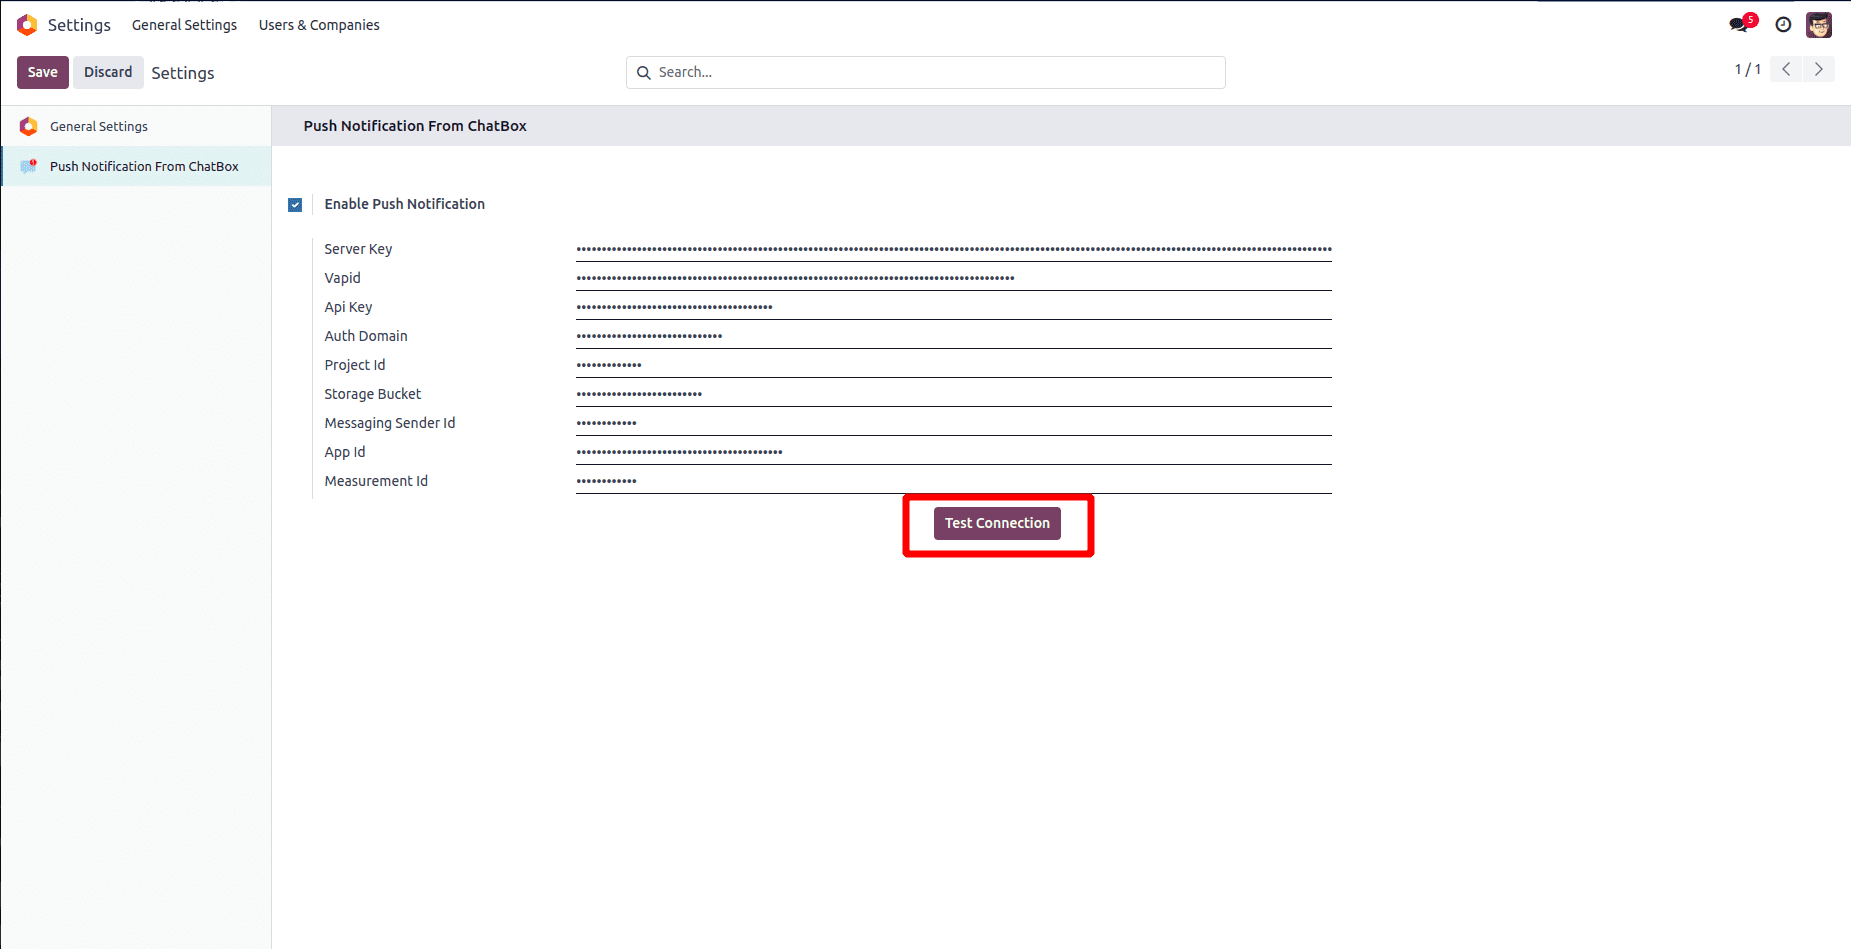
15.) Navigate to General Settings in your Odoo instance, then access Firebase Push Notification. Enable the 'Enable Push Notification' option, and proceed to set the credentials as needed.
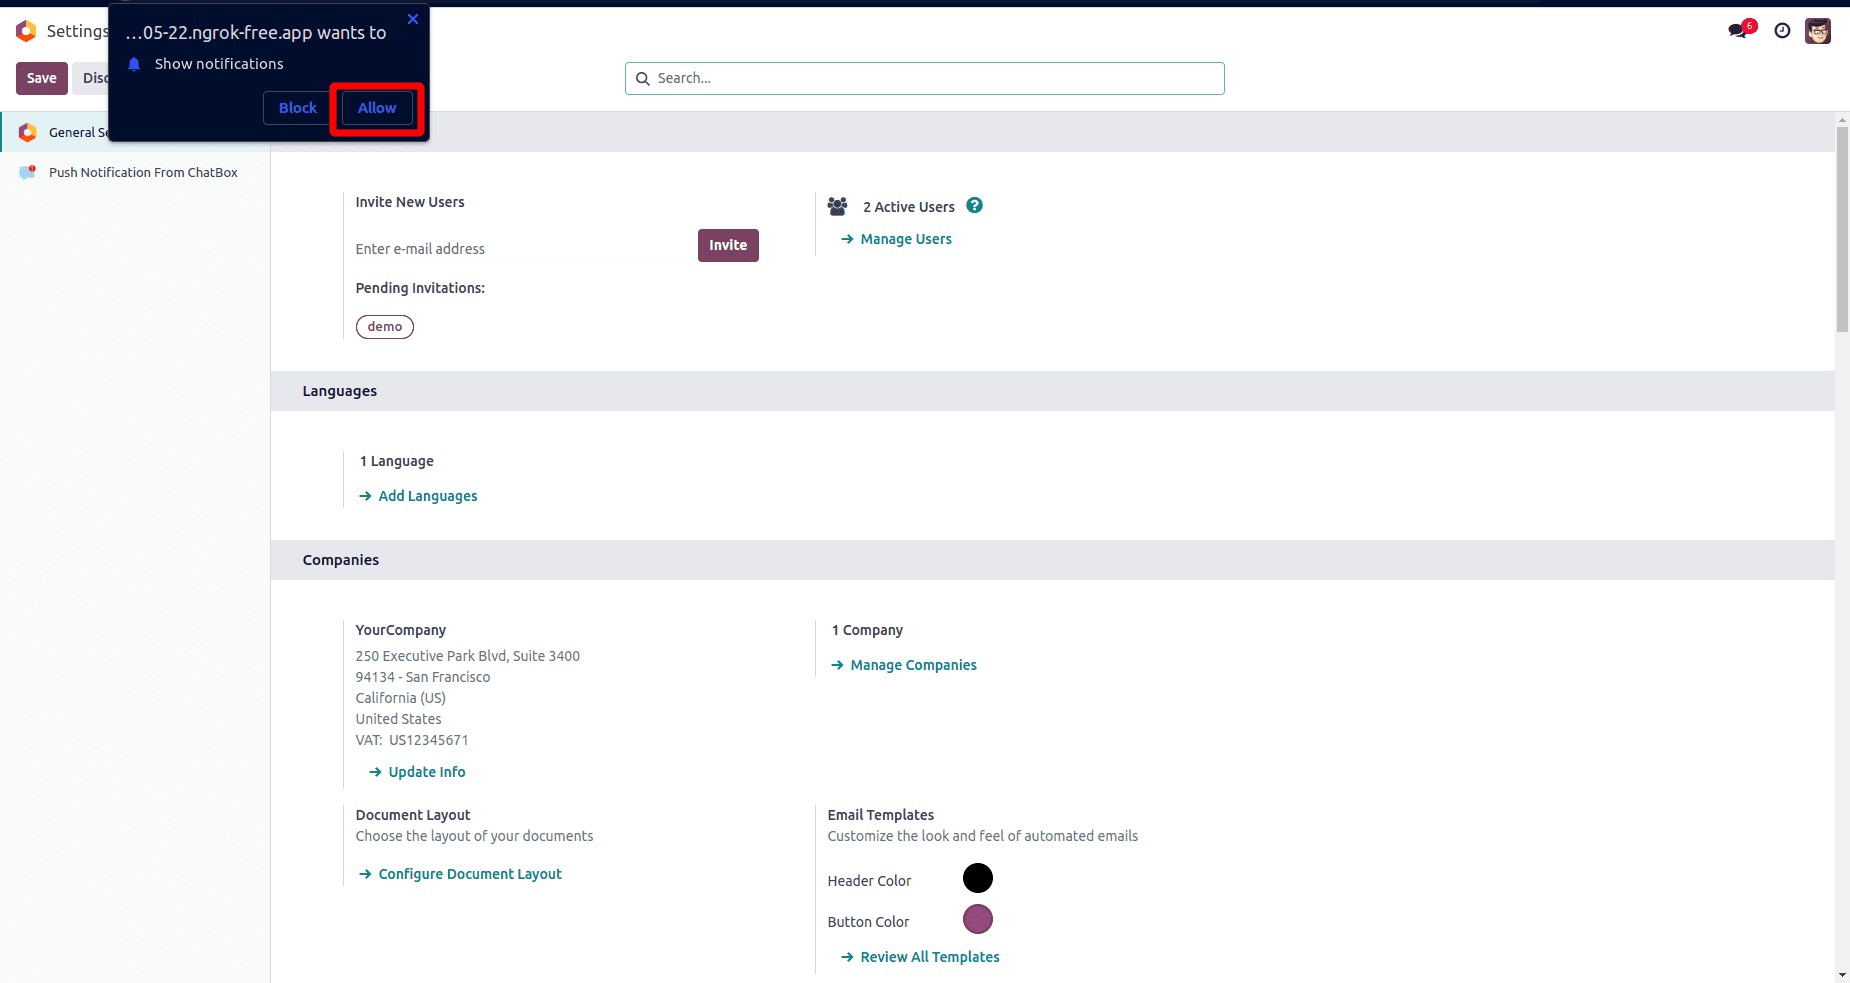
16.) Ensure to allow notifications in your web browser; this is a crucial step for the proper functioning of the notification system.
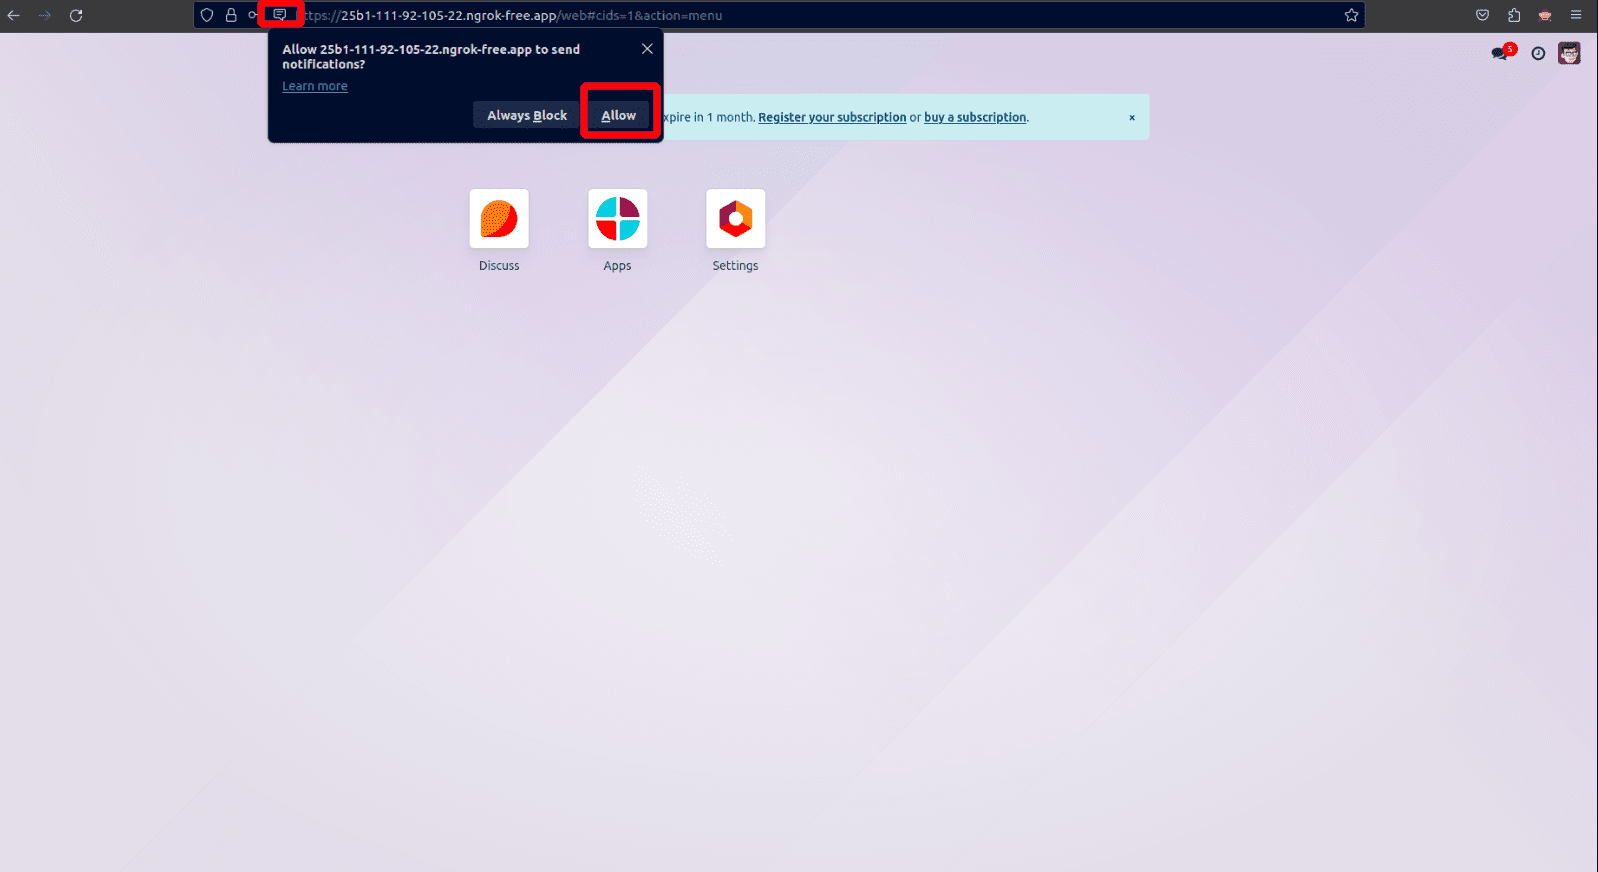
17.) If you are using the Firefox browser, click on the notification icon at the top of the browser and grant permission as illustrated in the image below.
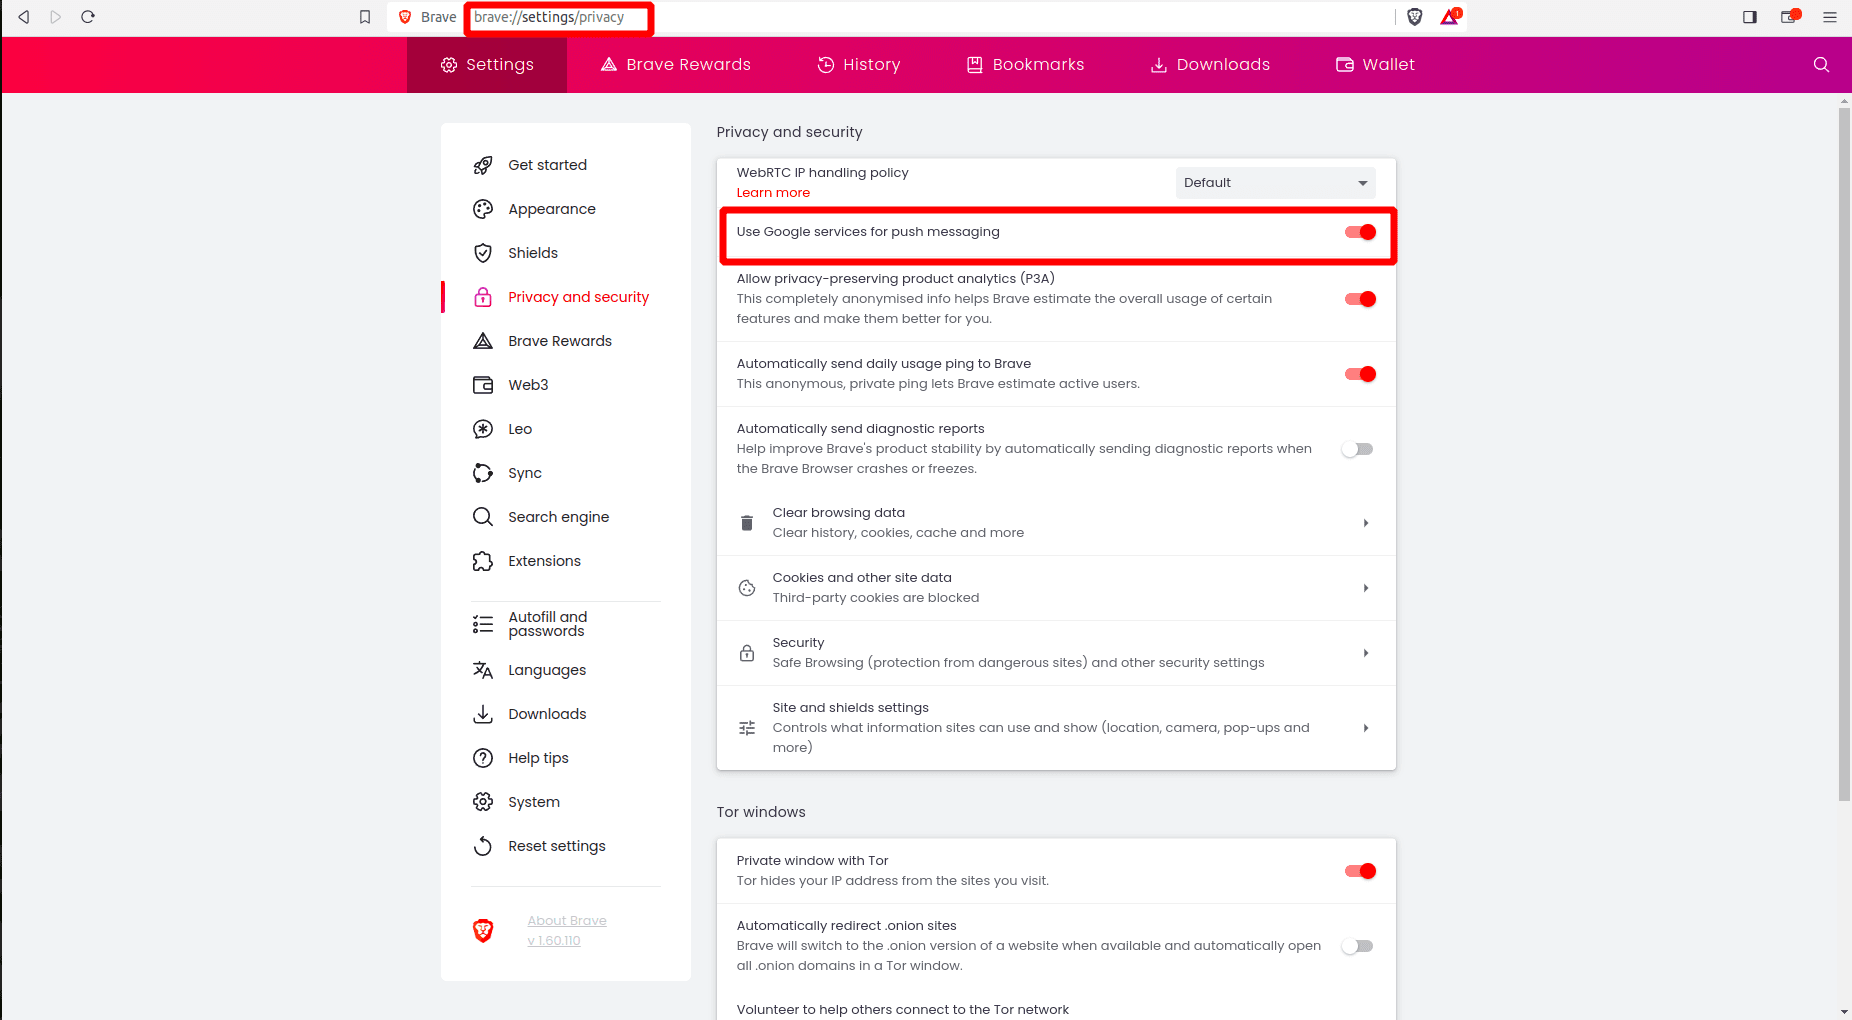
18.) If you are using the Brave browser, enable Google Services for push messaging by navigating to brave://settings/privacy. Then, enable 'Use Google services for push messaging' as depicted in the image below.
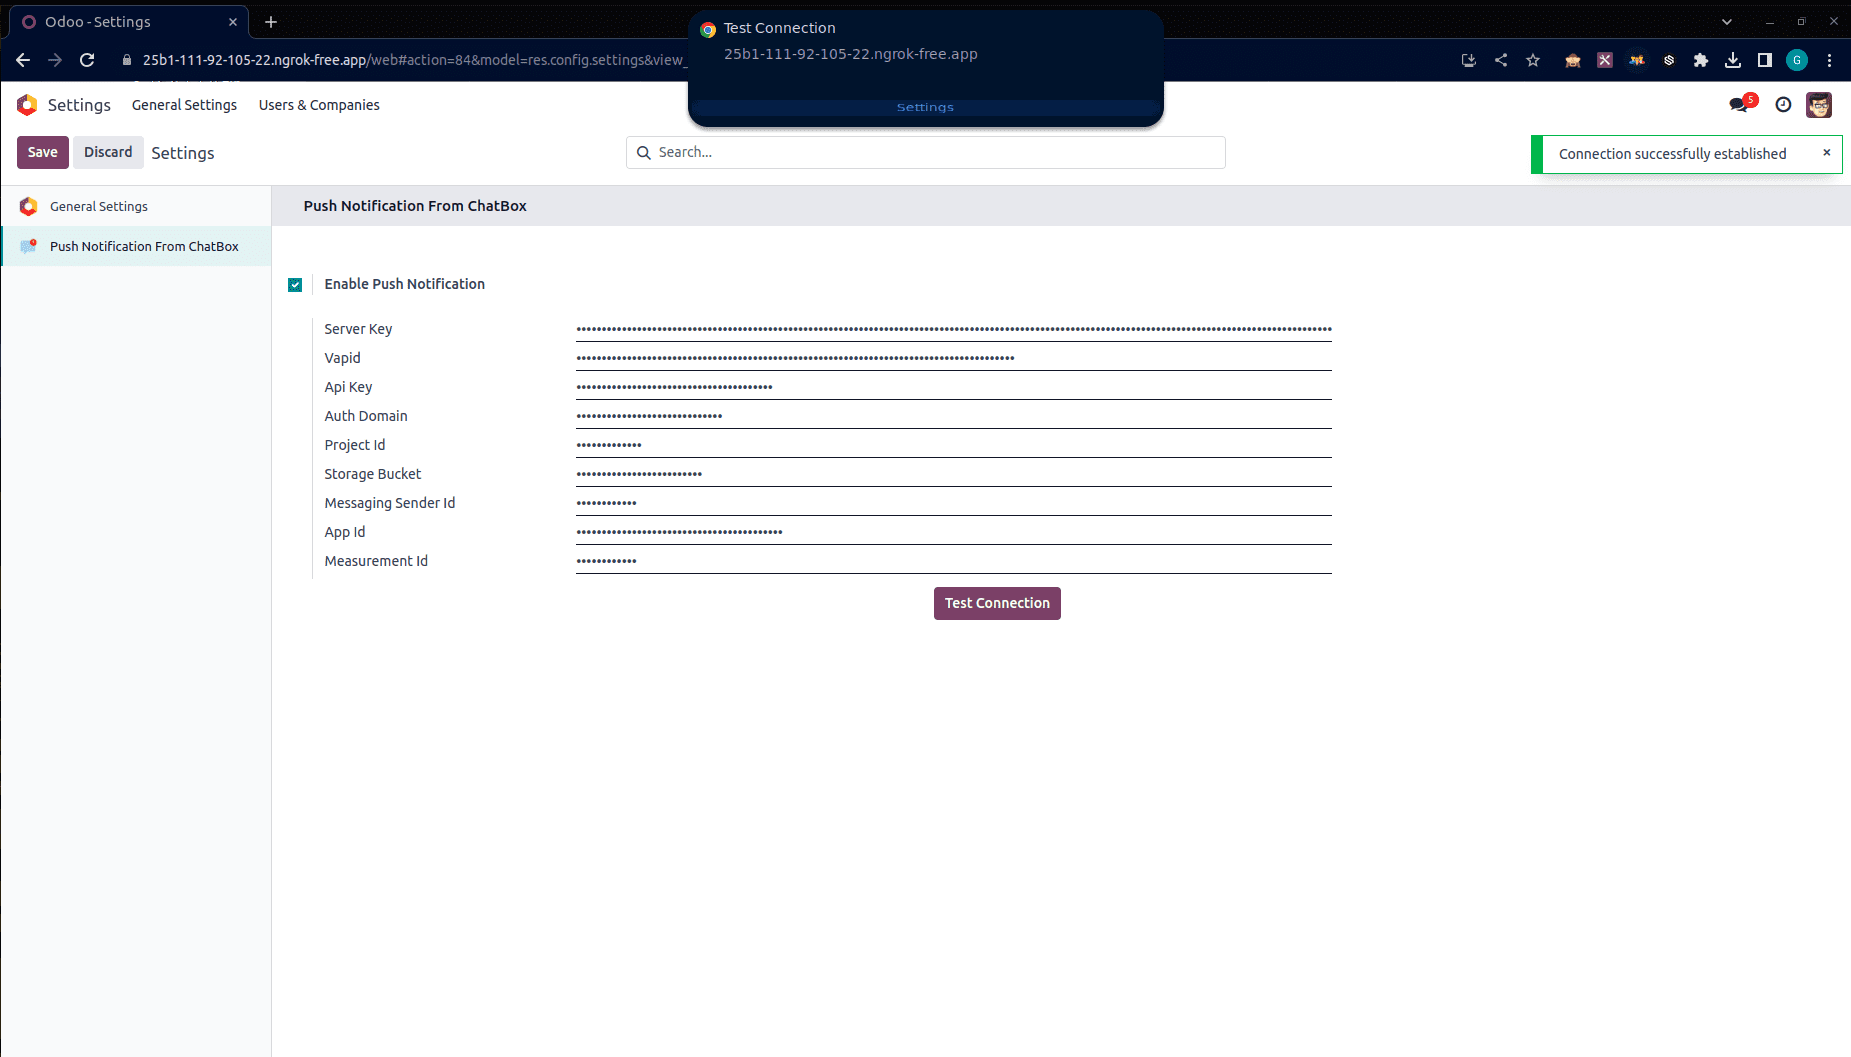
19.) Once you have granted notification access in the browser, proceed by clicking the "TEST CONNECTION" button.
20.) Following the "TEST CONNECTION," you should receive a notification on your system, and a green popup will confirm the successful connection.
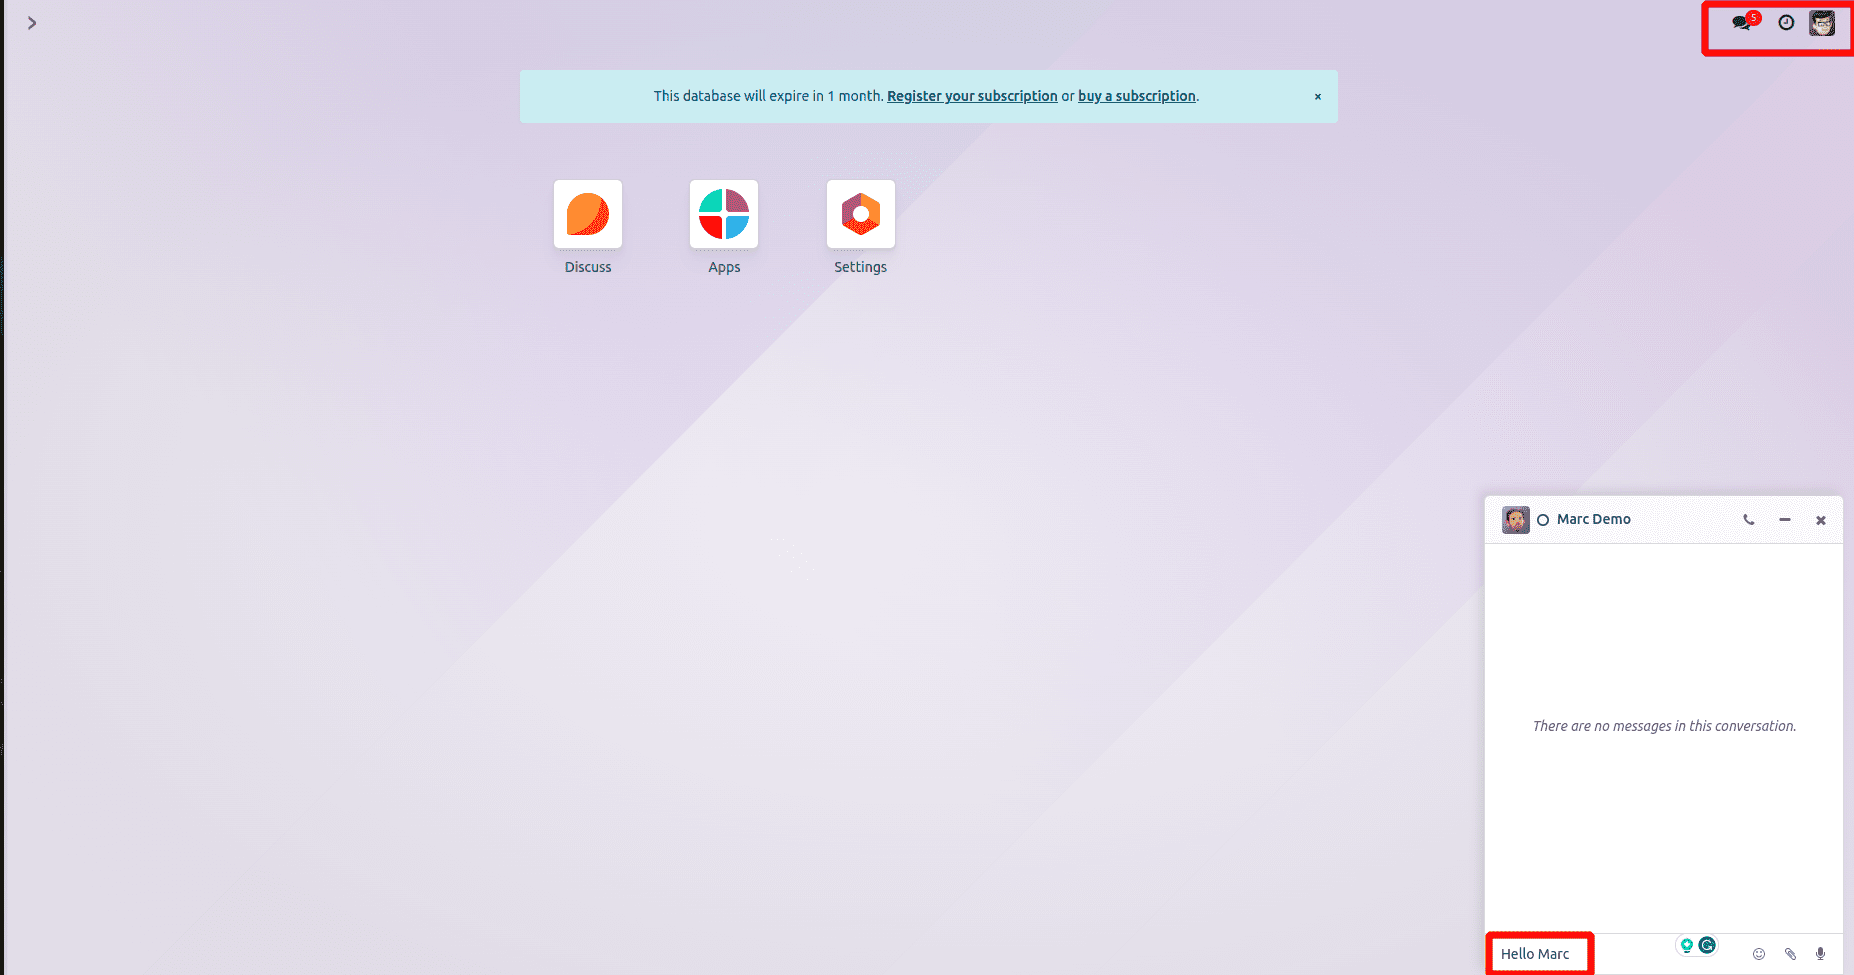
21.) Subsequently, you can send messages either from the chatBox module or within the Discuss module to test and utilize the notification functionality.
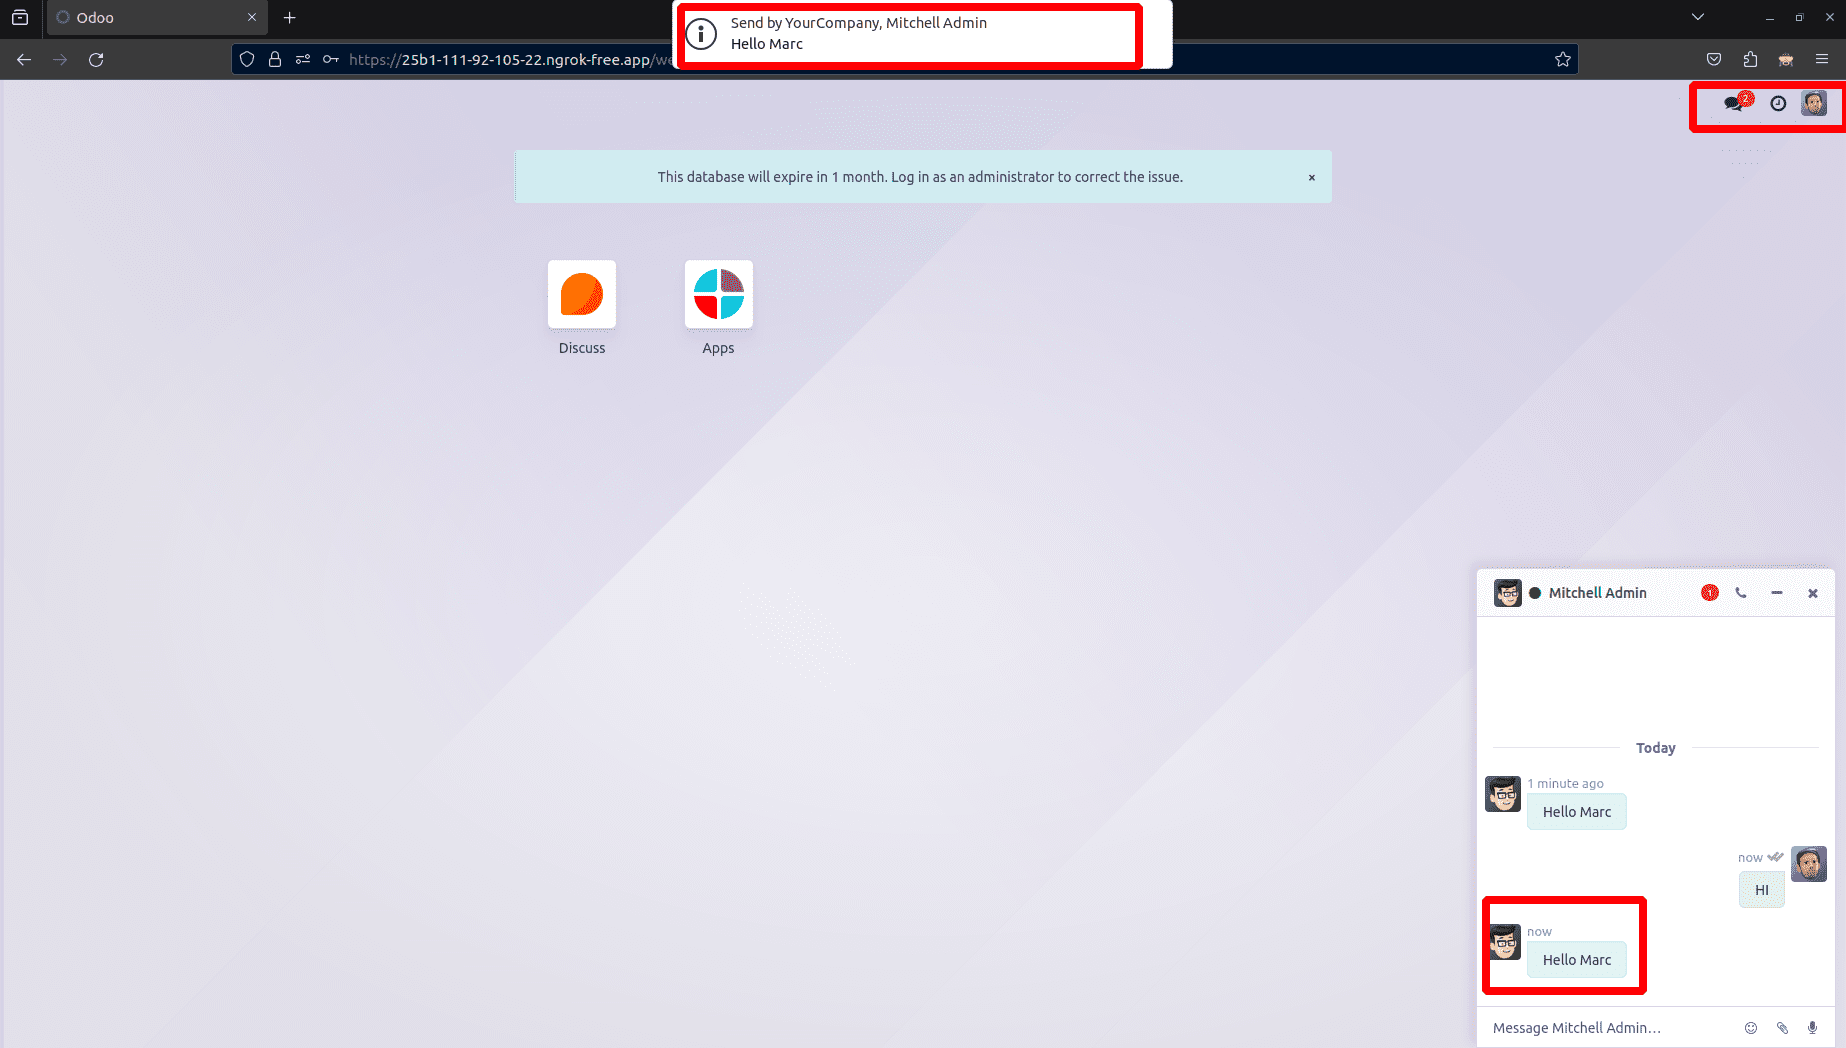
22.) Upon sending a message, a popup notification will appear for the other user. Clicking on the notification will redirect them to the Odoo instance.
In summary, the integration of Firebase into the Odoo module marks a pivotal advancement in amplifying communication and engagement for businesses. The feature allowing push notifications directly from the chatbox introduces a new level of real-time interaction, enabling users to stay instantly informed and connected.
By seamlessly incorporating Firebase, this integration ensures the swift delivery of notifications, cultivating a more responsive and dynamic communication environment. Whether disseminating crucial updates, personalized messages, or event alerts, the Odoo module equipped with Firebase empowers businesses to keep users in the loop with minimal effort. If you want to know more about Odoo integration with google, please refer to our previous blogs.