Keeping track of payment processors and methods is essential to operating a profitable website-based company. Odoo 17's robust website management features make this process easy. In this article, we'll look at how Odoo 17 helps you effectively manage payment providers and personalize payment options on your website. Odoo 17 gives you the freedom and control you need to improve customer experience and guarantee safe, secure transactions, whether you're trying to speed the checkout process, integrate with numerous payment gateways, or offer a variety of payment choices.
Configuring Payment Providers in the Odoo Website Module
Payment providers—also referred to as payment gateways or processors—allow businesses and customers to trade online by managing authorization, processing, and settlement, as well as facilitating payment acceptance through a variety of channels.
The Odoo 17 Website allows users to configure payment providers by accessing the Configuration menu. From the menu, we can choose the Payment Providers that we want to integrate into our website.
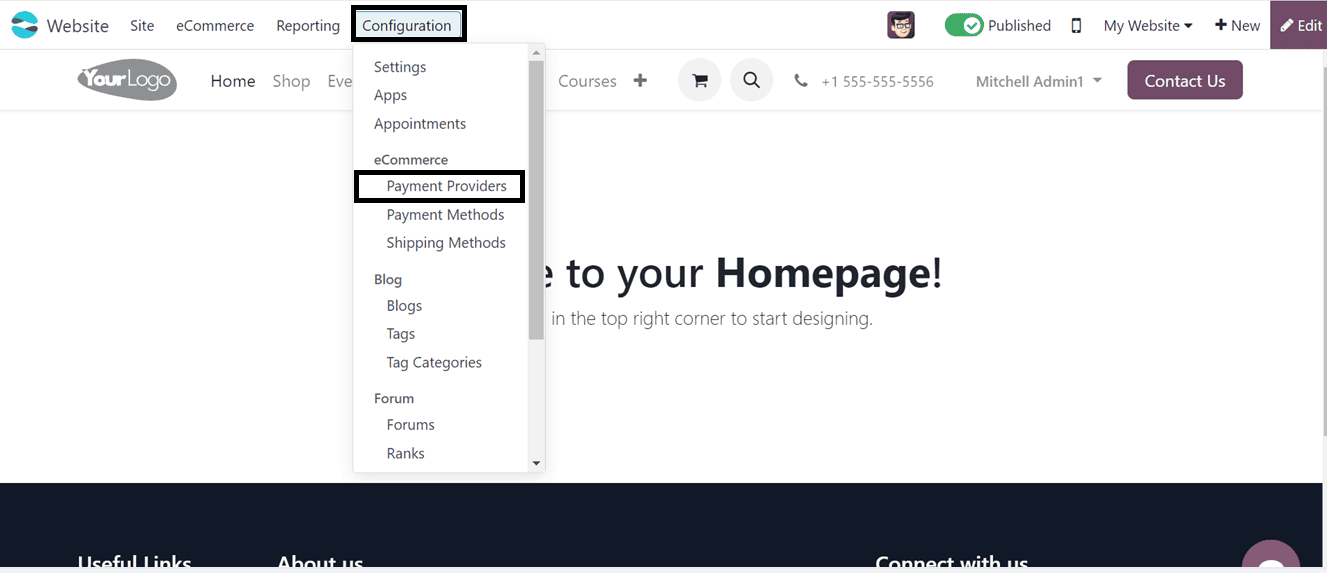
As seen in the screenshot below, Odoo supports a variety of payment providers, including well-known systems like PayPal, Stripe, Razorpay, Alipay, SEPA Direct Debit, Cash On Delivery, and so on.
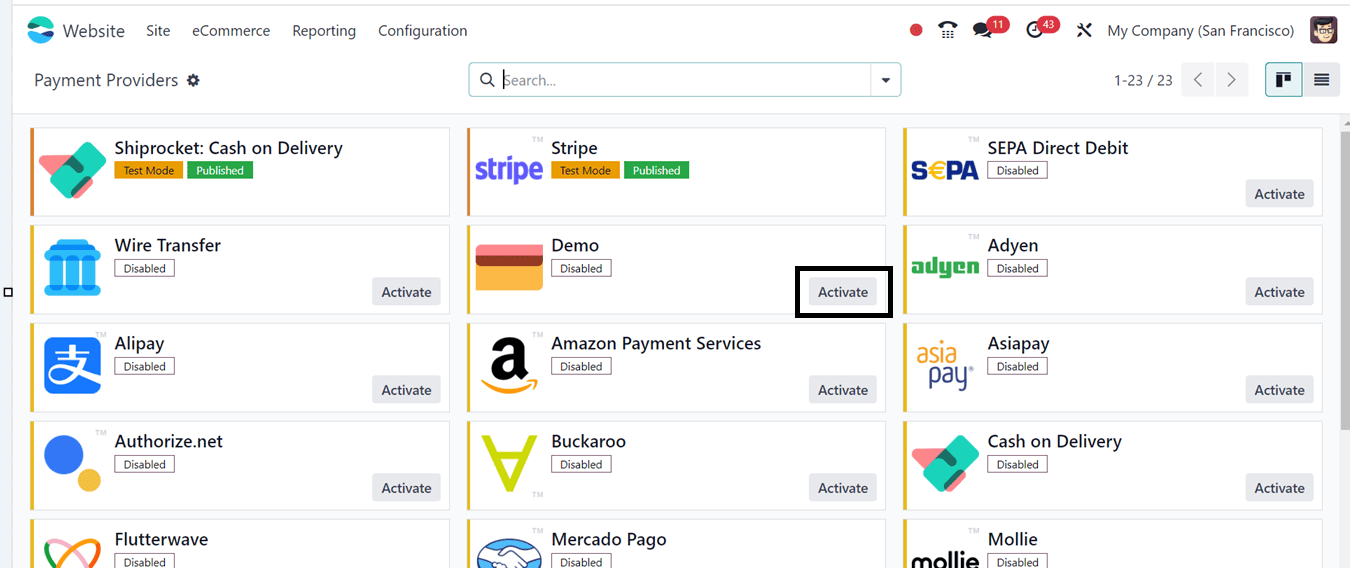
We're going to activate the payment provider "Demo" to demonstrate.
Simply click the "Activate" button next to the appropriate payment option on our website to activate the payment provider. It will open the configuration page right away, as seen in the screenshot below.
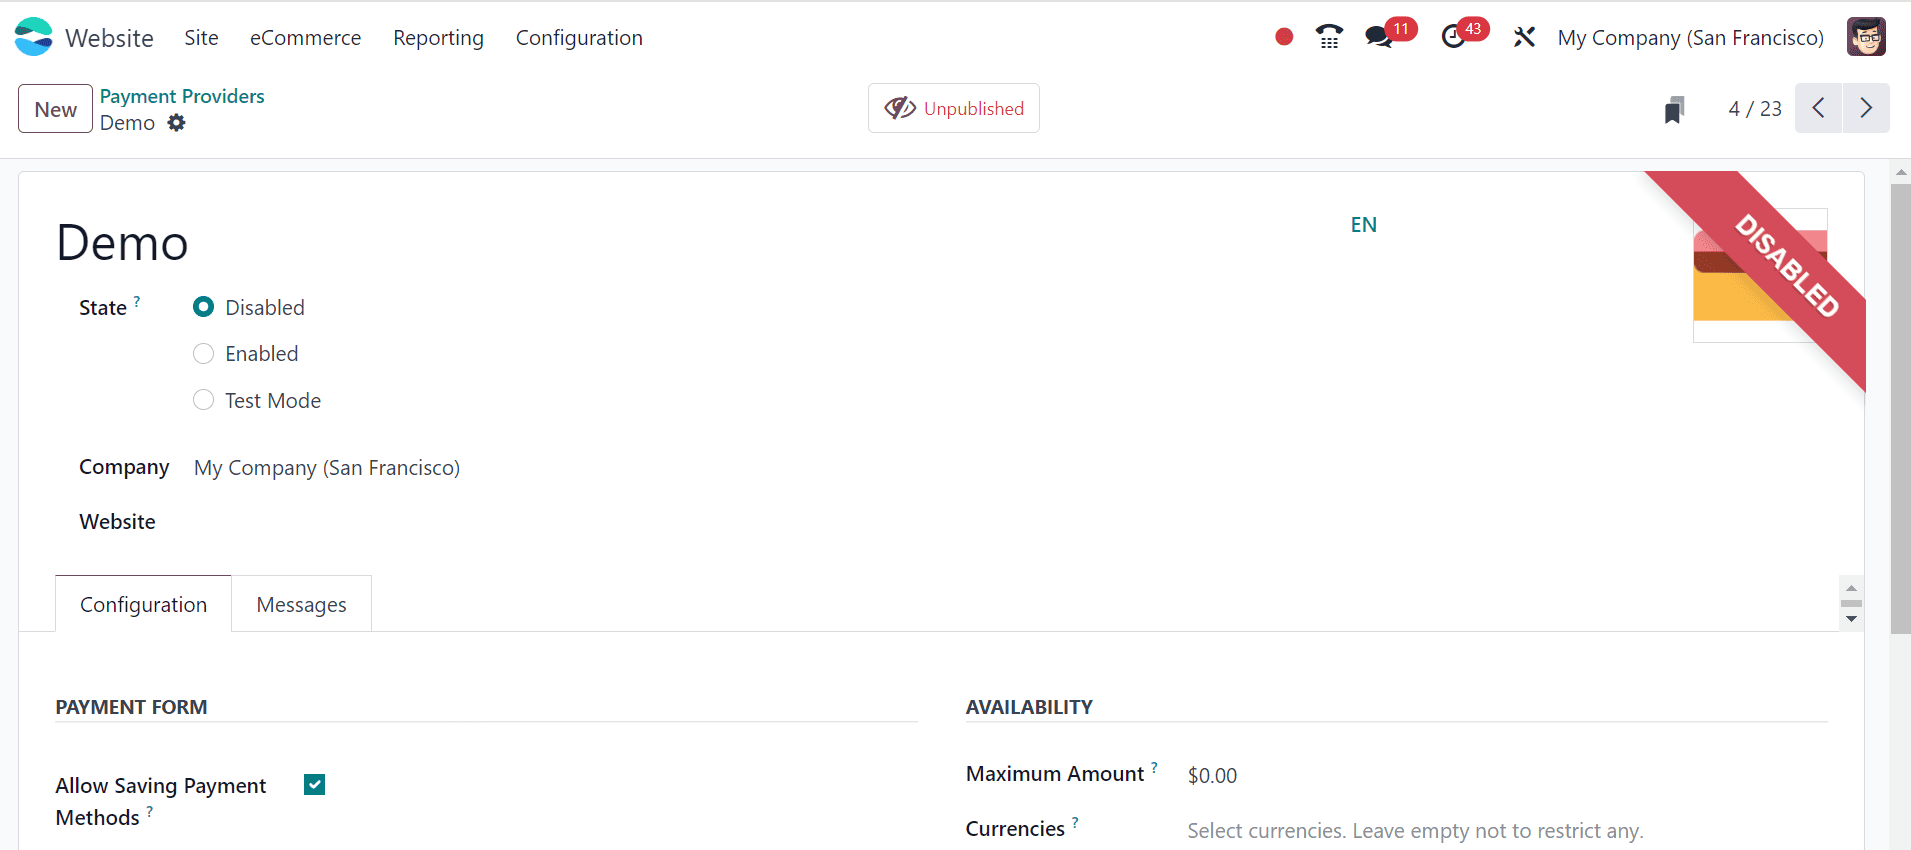

The payment provider configuration form features two tab sections, where users can also view the service status labeled as "Unpublished" in the upper right corner. We can adjust the payment provider's state by selecting options like Disabled, Enabled, or Test Mode. Additionally, Input the Company and Website link in the provided text fields and complete the necessary information in each section as outlined below.
Configuration Tab
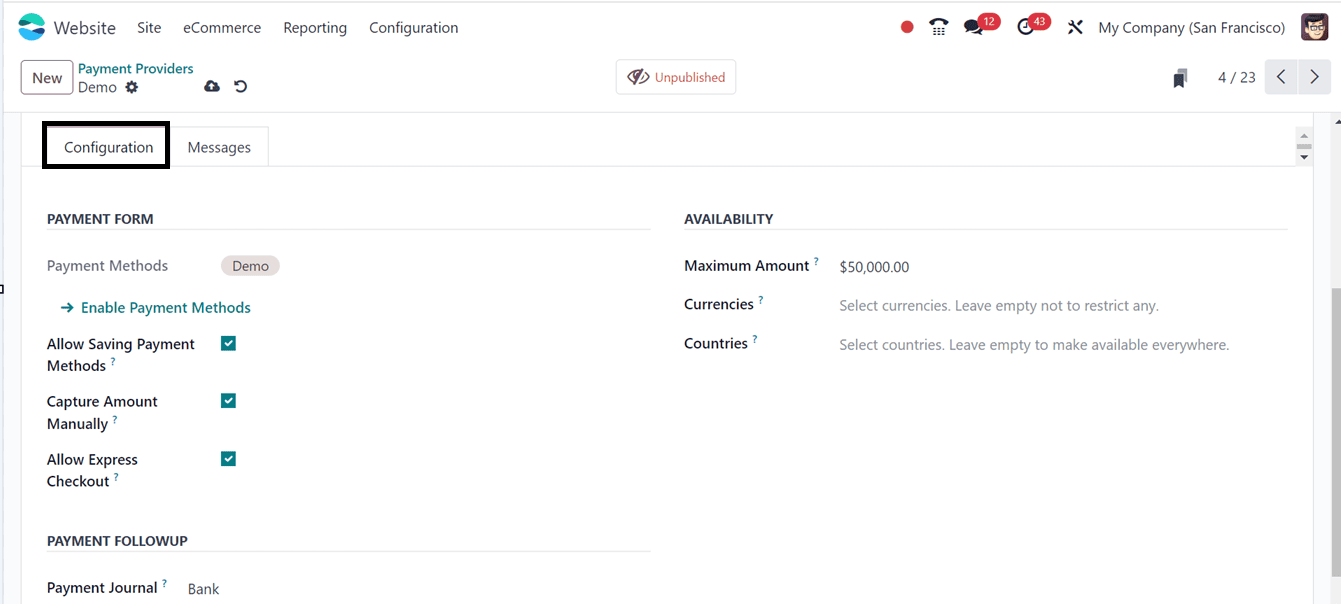
Complete this section with the payment information, including the PAYMENT FORM, AVAILABILITY, and PAYMENT FOLLOW-UP.
Allow saving Payment Methods: Enabling this feature will save the current payment provider as the all-time payment provider.
Capture Amount Manually: This feature allows the payment providers to capture the product amount immediately after confirming the payment option.
Allow Express Checkout: After activating the functionality, users can use this payment provider to swiftly complete the payment process without requiring additional confirmations.
Payment Journal: Issue the journal of payments.
Maximum Amount: This data entry allows user admins to specify the maximum amount that can be paid through this gateway.
Currencies: Currencies this payment service accepts.
Countries: Indicate which nations accept the payment.
Currencies and nations are entirely optional fields. Any restrictions won't apply if the fields are left unfilled. Users can carry out this action based on their company needs.
Messages Tab
You may set up several message templates in this tab that will show up on your website at different points in the payment process, such as;
* Help Message: Create a message requesting users to inquire about the payment process.
* Pending Message: Notifies users that payments are still being processed.
* Done Message: Notifies of completed payments.
* Canceled Message: Verifies that the payment transaction was canceled.
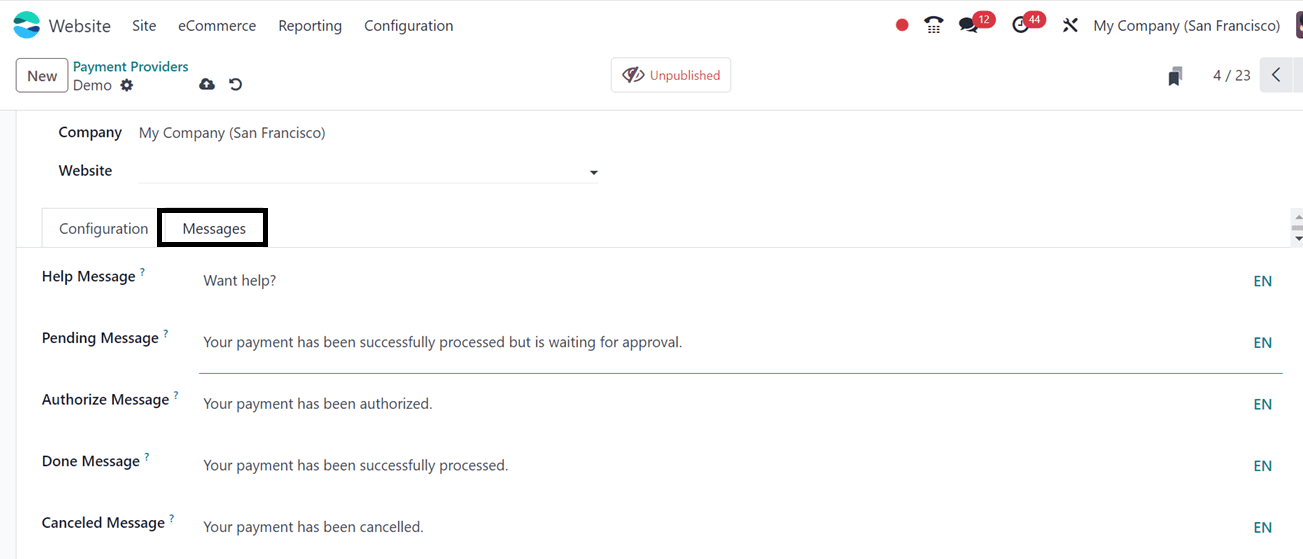
When all required fields have been filled out, save the data using the save icon. Then, click the "Unpublished" button on the form to publish or unpublish the payment provider.
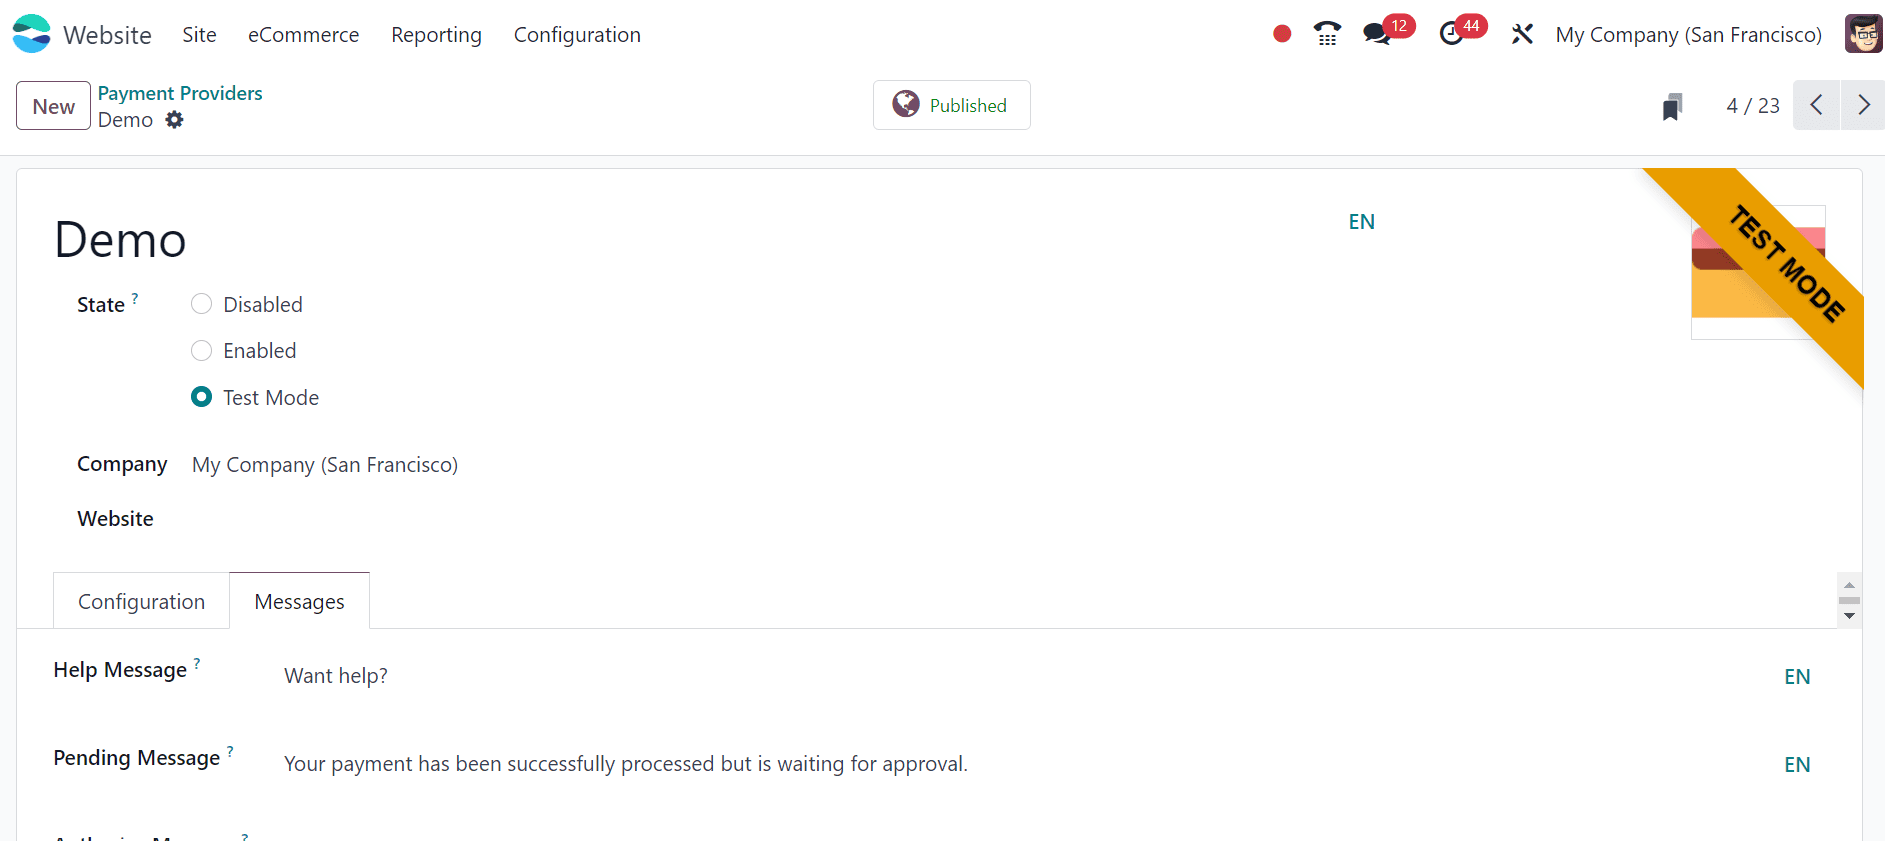
I have chosen "Test Mode" for this demonstration, but customers can set up the payment provider for live transactions by entering their actual bank account information and access credentials. Here, the payment provider is published and ready to be implemented. We can also see the ribbon showing the TEST MODE activation as shown below.
The payment provider's homepage will now display the "Demo" option, as you can see in the screenshot below after you've done all the above steps.
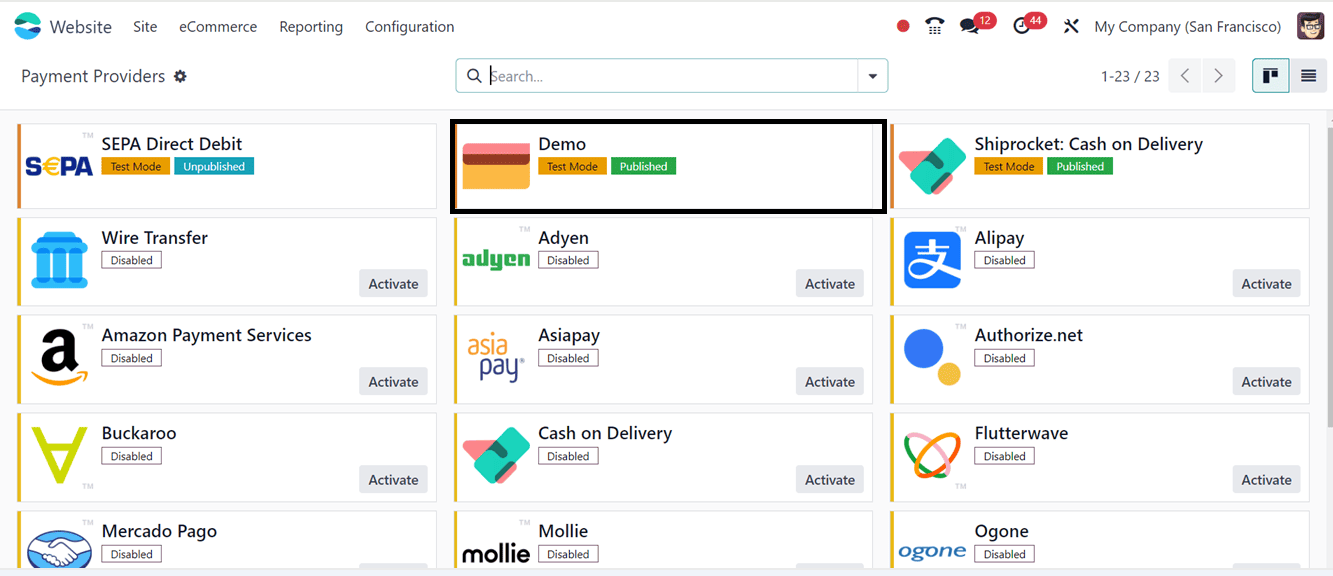
We can activate and deactivate the payment providers, just as we previously observed. All of the service providers listed on the Odoo Platform follow identical procedures.
Creating a new Payment
Now, we can test the Payment Provider functionality and application by placing a sample order. This can be done through the Shop menu of the website user interface as illustrated below.
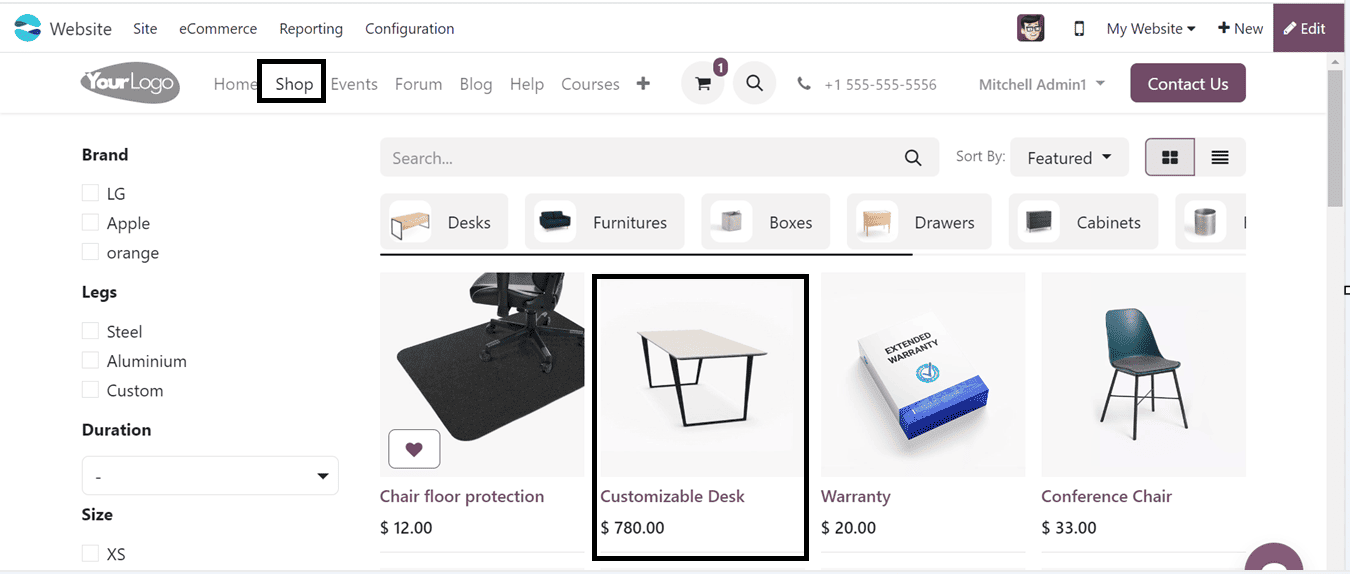
After selecting a product to shop, we can click on the product. This will open the products window as shown below.
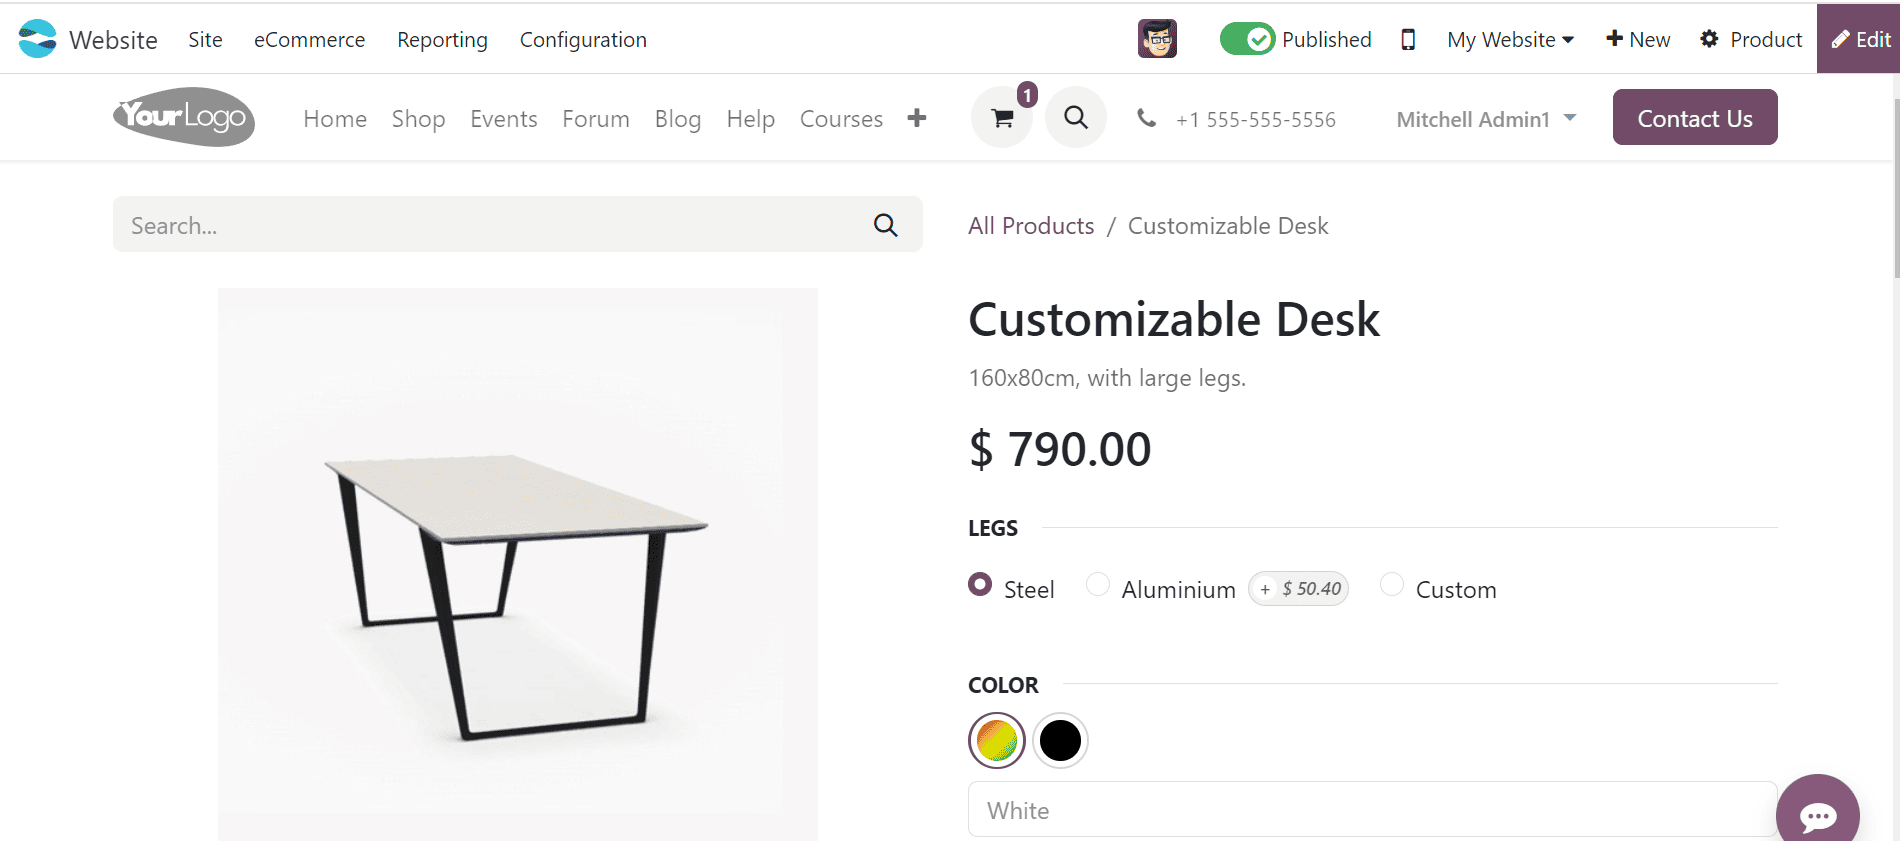

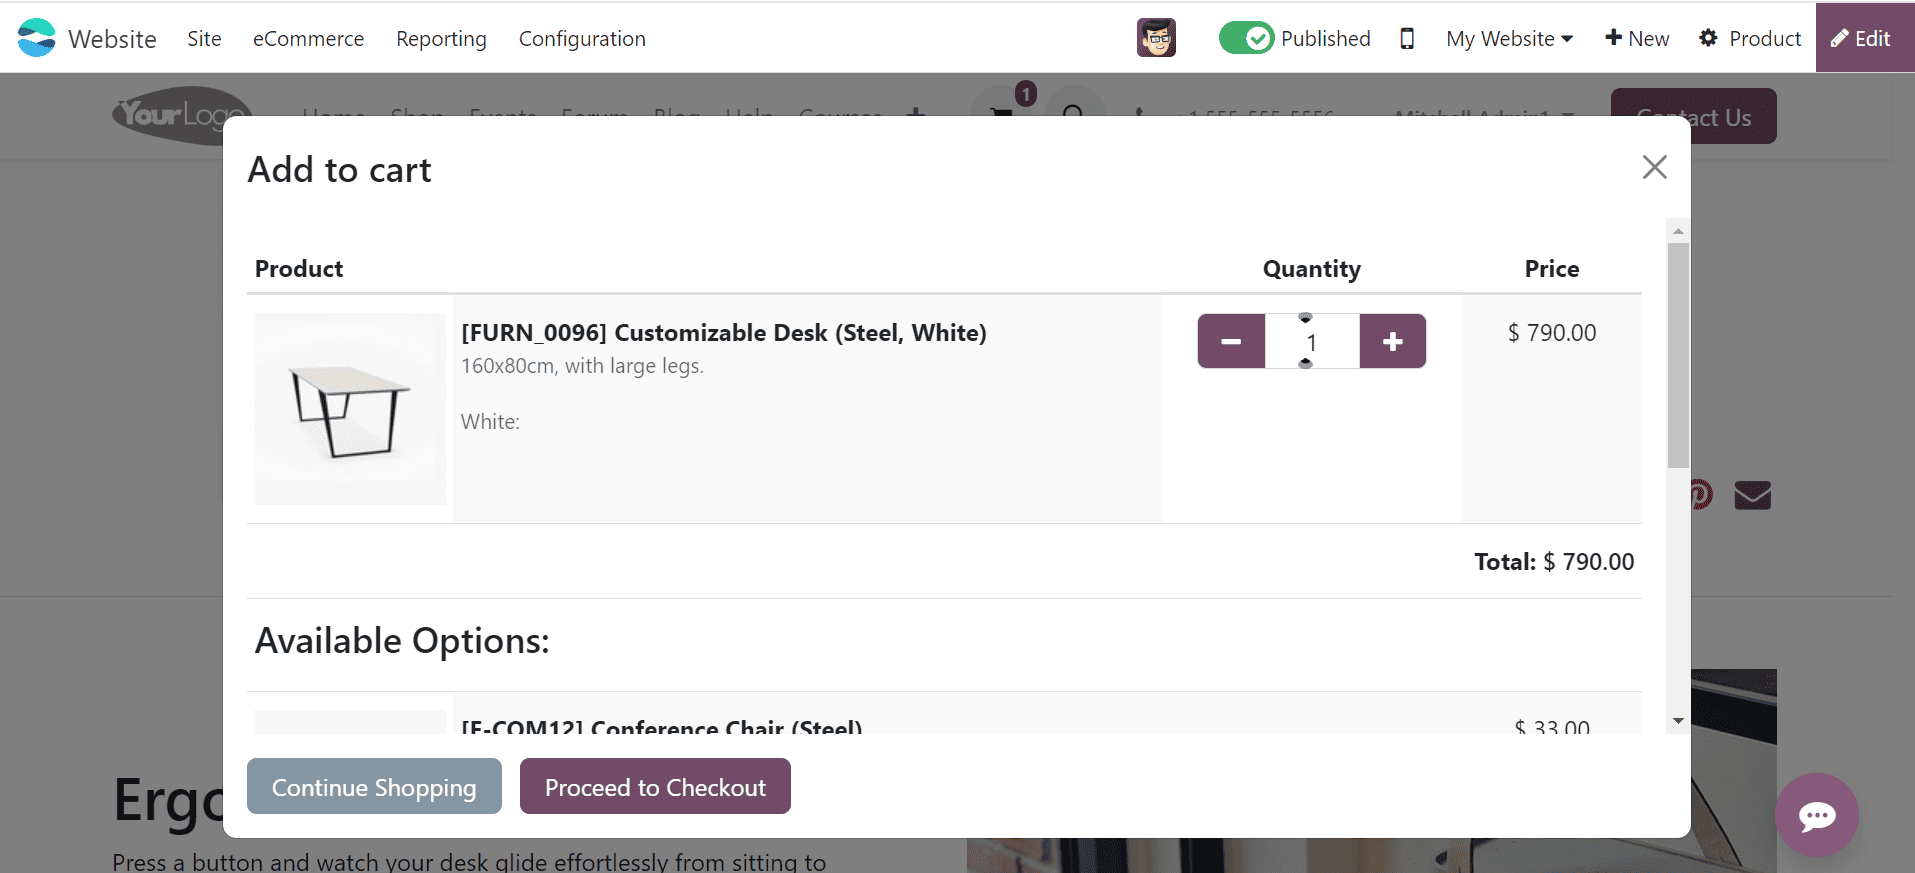
By selecting the "Add To Cart" option, we may carry on with the shopping procedure or proceed to the next step using the Continue Shopping or Proceed to Checkout buttons.
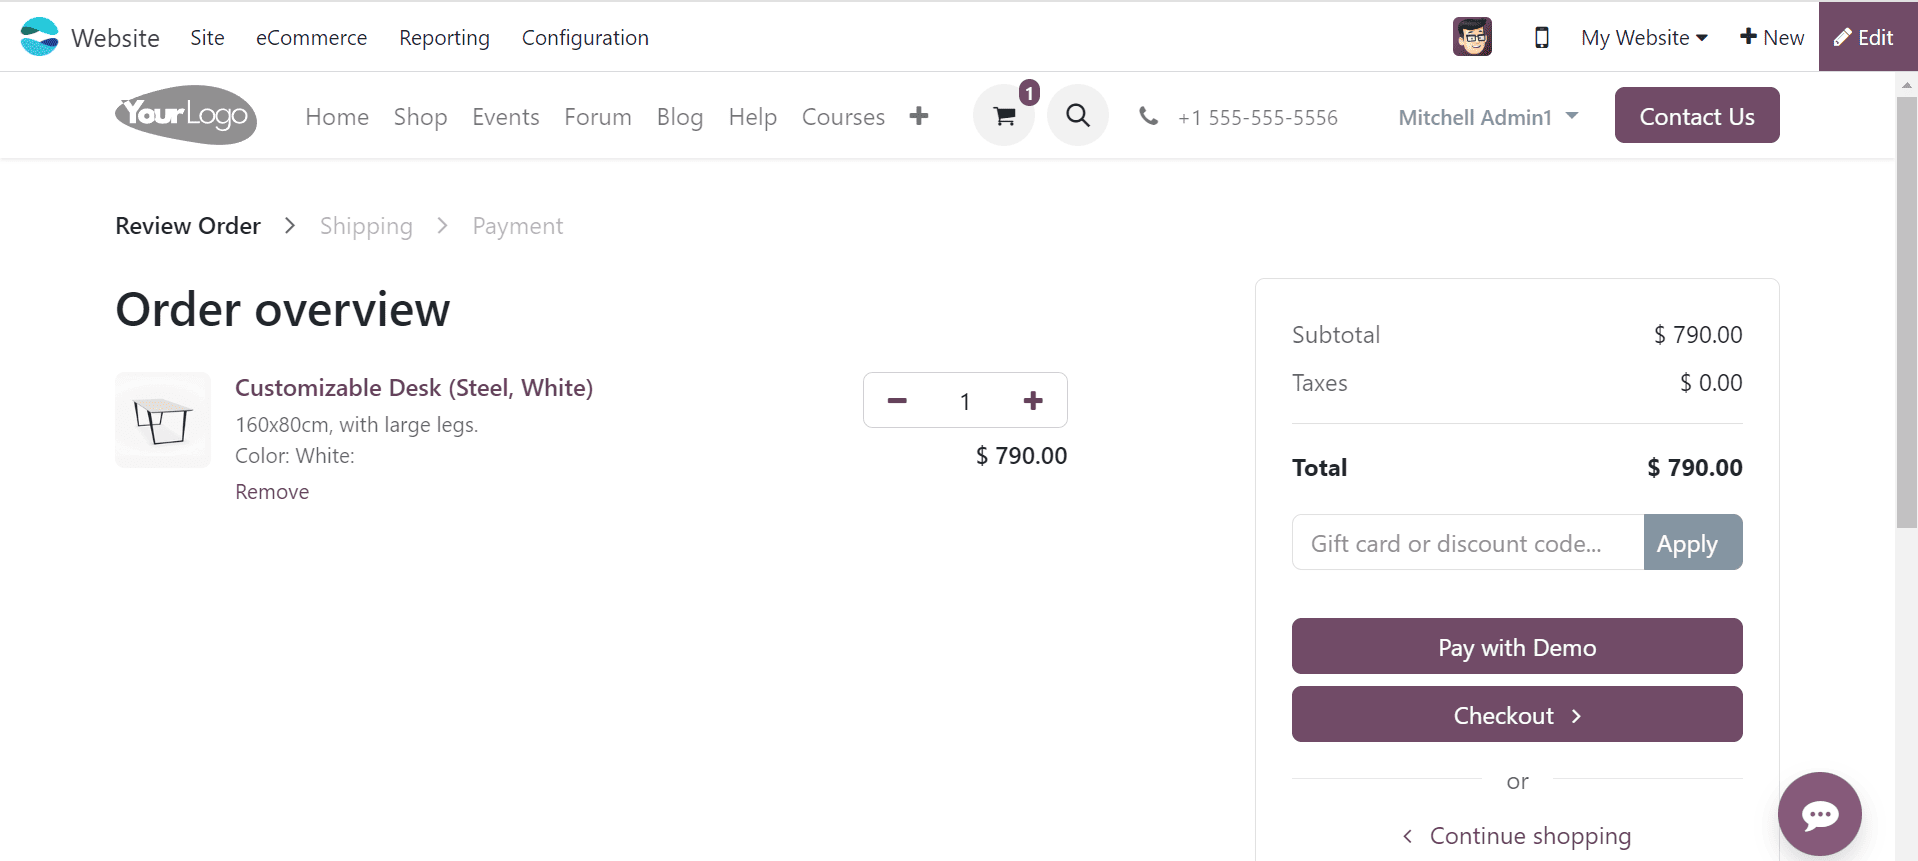
We are going to checkout. So, the next step is the payment process. We can see our new payment provider has been activated and is ready to process payments, as demonstrated in the screenshot below.
Here, we can see the Express checkout option has been activated thus, the Pay with Demo button has appeared which helps us to quickly complete the pyment checkout process.
So, we are moving to the payment section. Pressing the Pay with Demo button will open the Demo Express Checkout window as shown below.
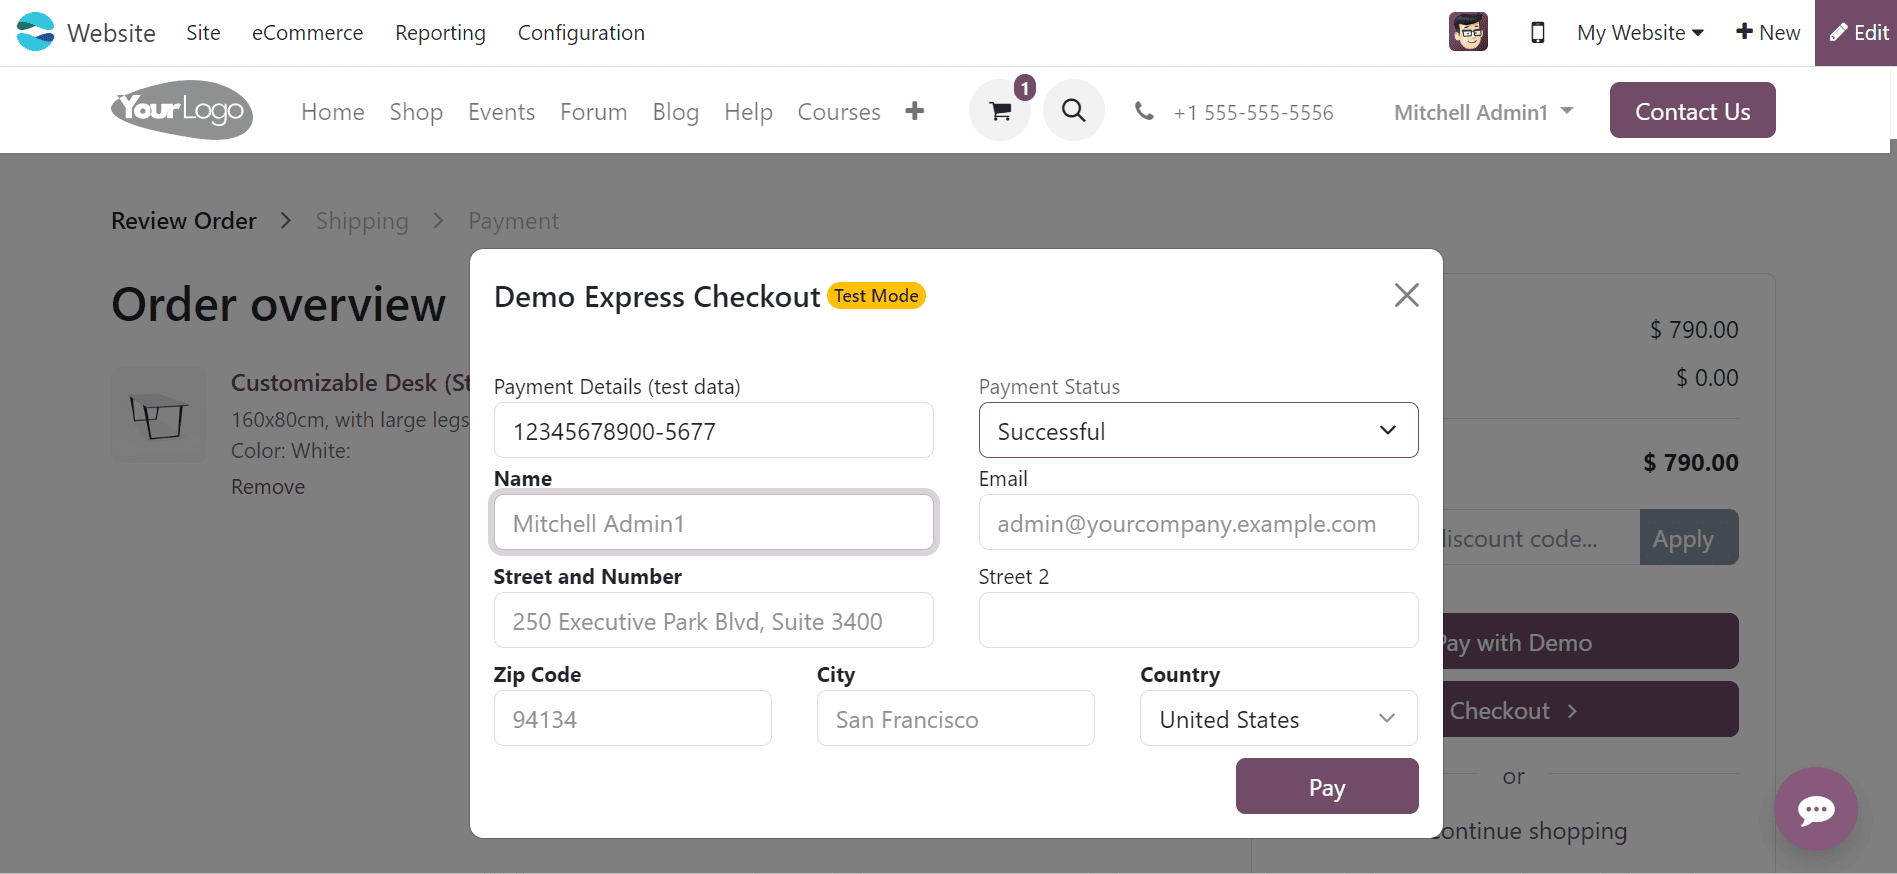
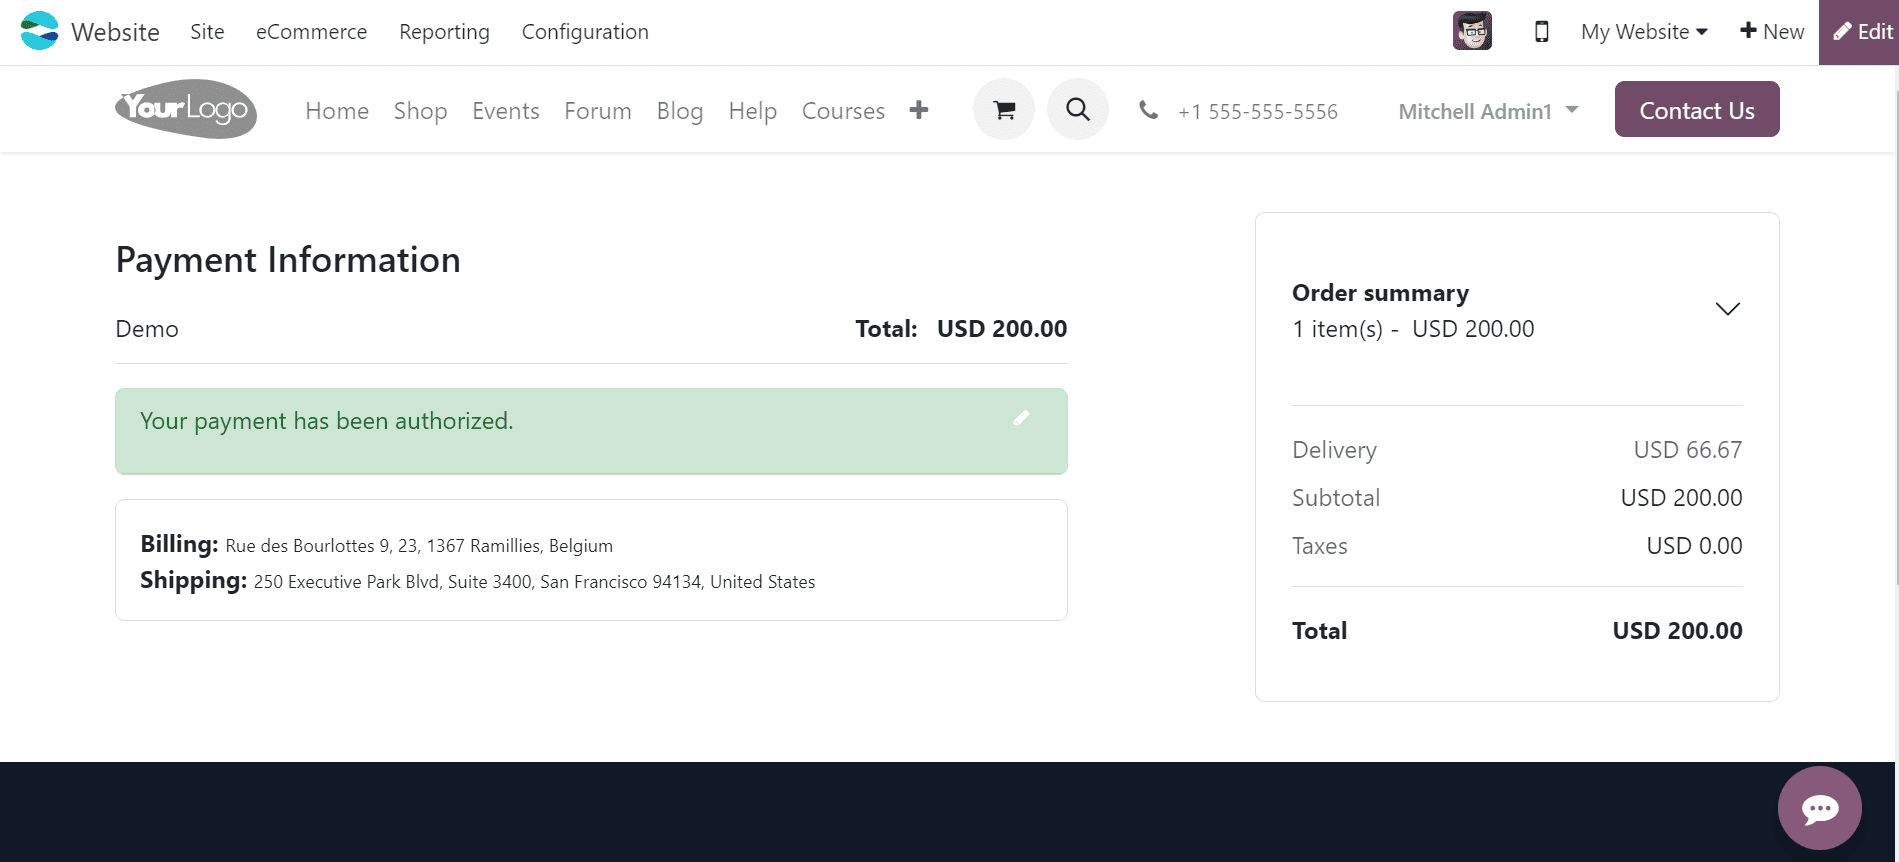
Check and fill in the payment details such as Name, Address, Zip Code, Email, and other details and press the Pay button. This will complete the payment and we will get a Payment Information notification and the Order summary as shown below.
Configuring Payment Methods in Odoo
Odoo 17's Website module offers various payment methods for customers to make purchases on an eCommerce website. These include credit and debit cards, digital wallets, bank transfers, cash on delivery (COD), and region-specific payment gateways. These options provide flexibility, convenience, and a seamless transaction experience.
We can manage and create new payment methods by selecting the Payment Methods option available in the Configuration menu. We can see the available options from the window as shown below.

We can activate or deactivate the payment options using the Active button provided on each side. Creating a new payment method is a smooth process by opening a new configuration form using the New button.
In the displayed form, provide the Payment Method name. Then, activate or deactivate the method using the Active button. For other payment methods, we can choose the Supported Countries and Supported Currencies options.
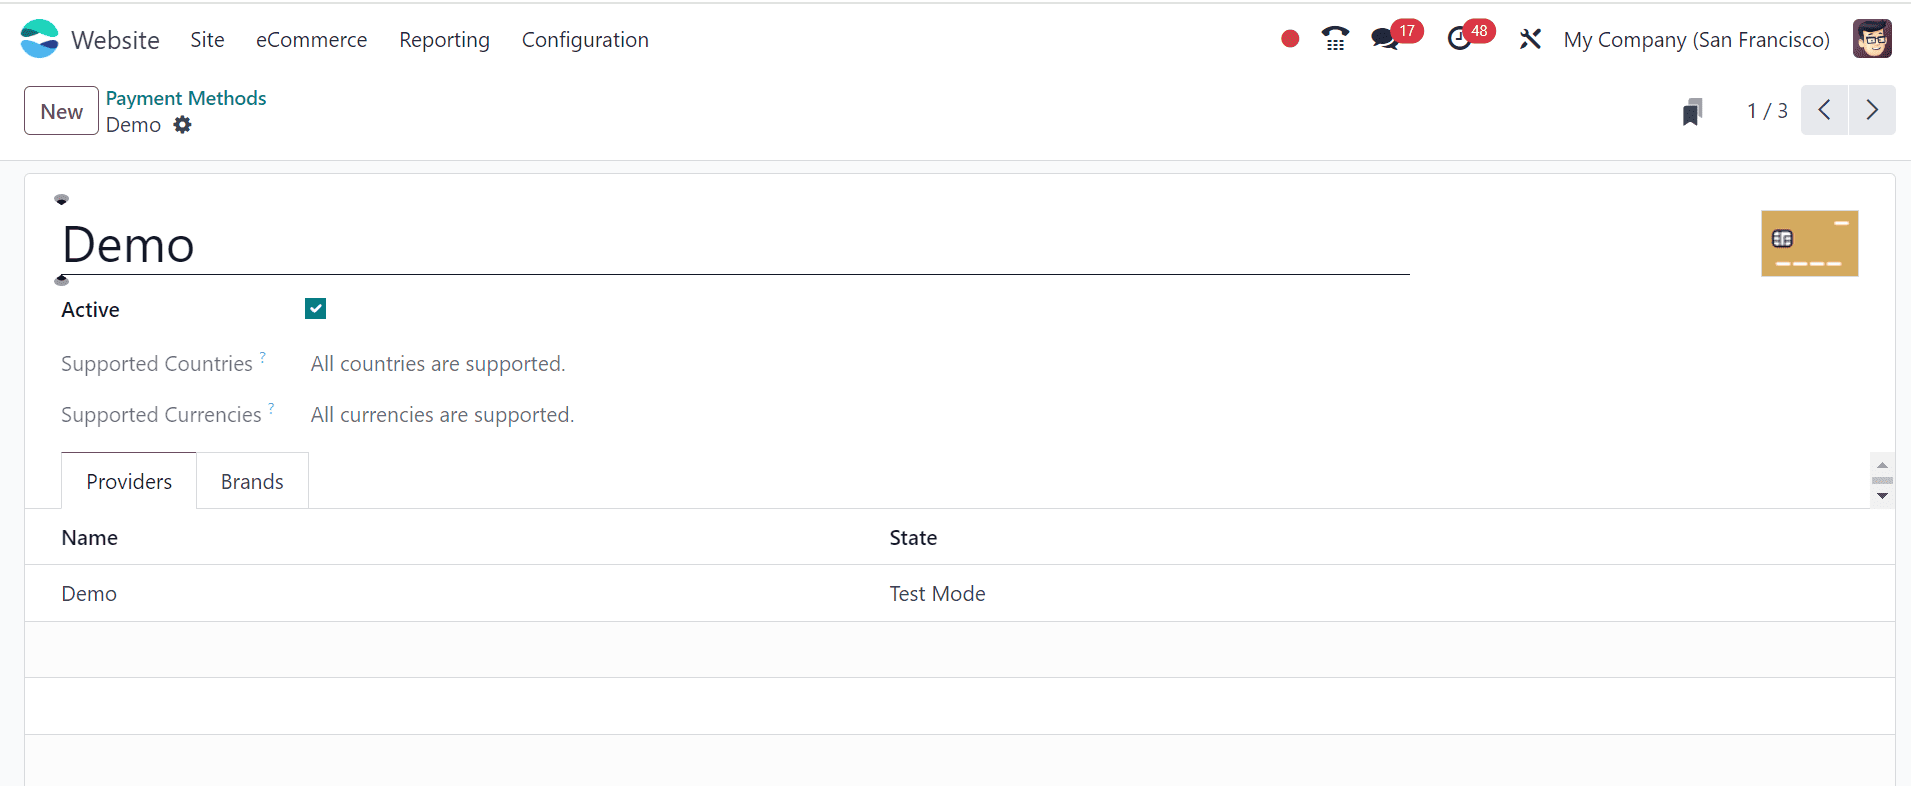
Providers Tab
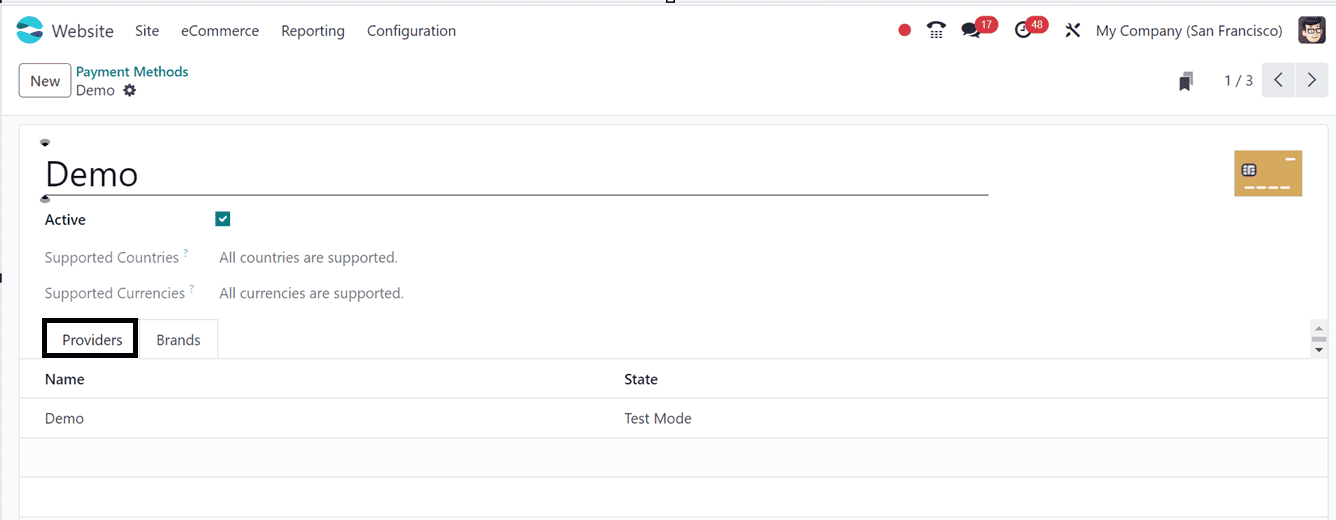
Using the Add a Line button, we can provide the Payment Providers that permit this Payment Method in this tab area along with their current Status.
Brands Tab
The feature allows you to list multiple payment brand options, For example; debit card brands like Visa, MasterCard, and Maestro, etc. This will enhance the user experience by providing clarity and flexibility in the payment process.
To check the functionality of the Payment Methods in a website interface, we can select a product, add it to the shopping cart, proceed to checkout, confirm payment, and fill in the shipping details. Finally, we can see the CHOOSE A PAYMENT METHOD option inside the Payment section of the website order as highlighted in the screenshot below.
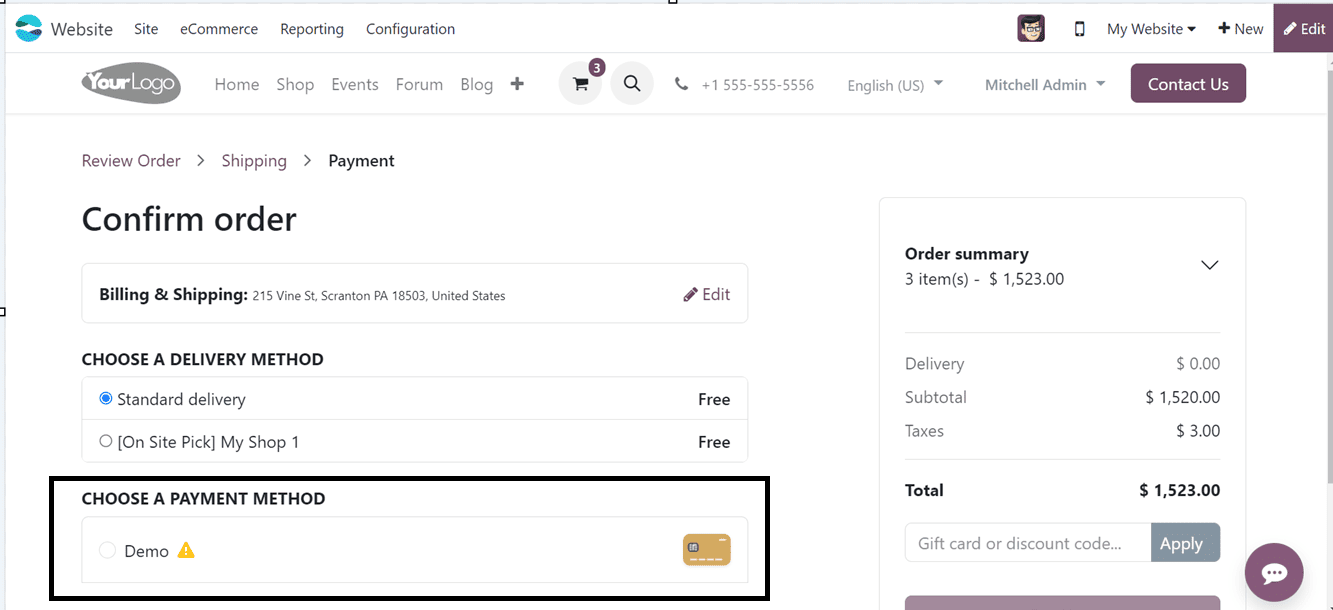
Using this method, we can create various payment methods as per the requirement.
Creating an easy-to-use eCommerce experience on the Odoo 17 website requires careful management of Payment Providers and Methods. In conclusion, Odoo 17 supports business growth by offering tools that make it simple to configure and integrate different payment alternatives, improving customer satisfaction, raising conversion rates, and expediting the payment process.
To read more about How to Manage Customer Accounts in Odoo 17 Website, refer to our blog How to Manage Customer Accounts in Odoo 17 Website.