Building a Windows executable (.exe) file is a key step for developers looking to distribute their software to Windows users. In this blog, we will walk through the process of building a Windows executable (.exe) file from your Flutter project.
First of all, you need to run flutter build windows, which will build the exe file, which is located below:
v Built build\windows\x64\runner\Release\blog.exe
Then download the Inno Setup Compiler (shown in the below image) from the provided link: https://jrsoftware.org/isdl.php

After installing Inno Setup, open the Inno Setup Compiler. A dialog will appear. Select the second file option, then click "Next."
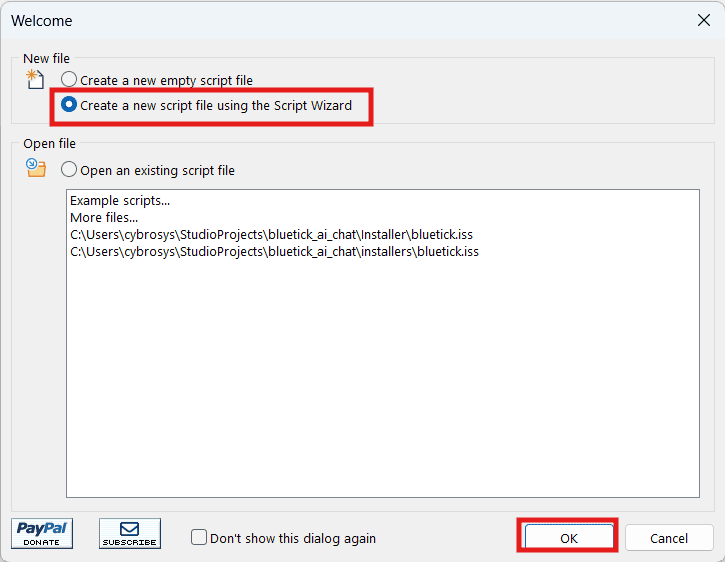
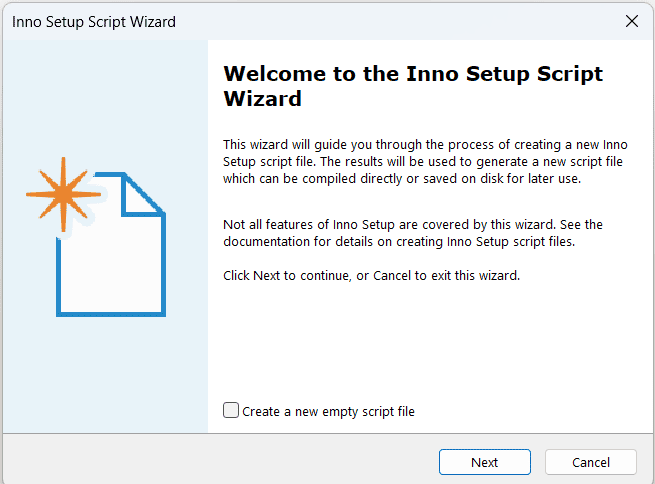
After clicking "OK," a page will appear, as shown below. Click "Next" to proceed.
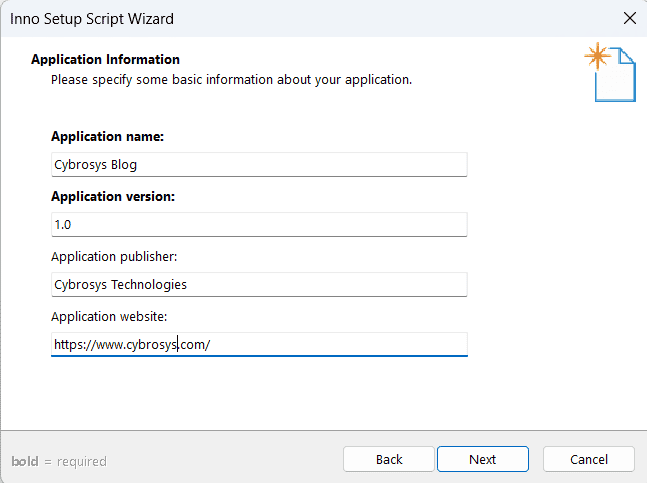
After clicking "Next," another wizard will appear where you can enter the application details, such as Application Name, Version, Publisher, and Website, as shown in the image below.
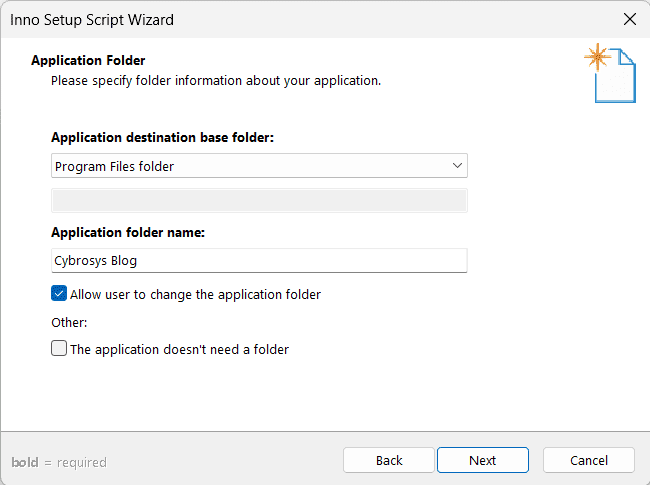
After providing all the application information, click "Next." You will be directed to the next wizard, where you can specify the folder details for your application, as shown below.
Clicking the "Next" button will take you to another wizard, where you need to provide all the files related to your application.
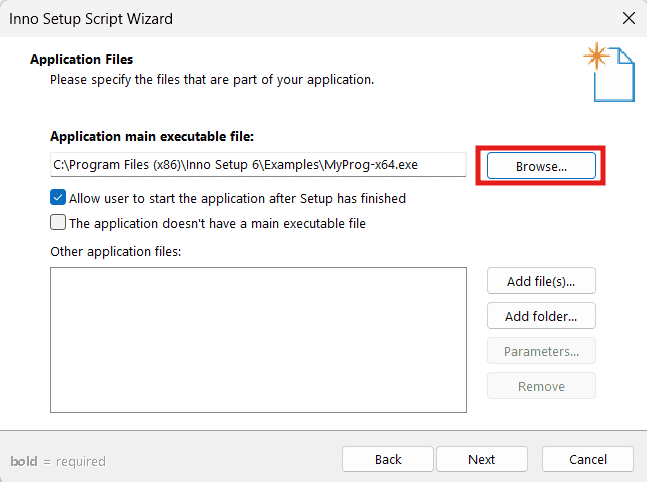
First, add the main executable file of your application, which is located in build\windows\x64\runner\Release\blog.exe. To do this, click the "Browse" button, which will open File Explorer. Select the main executable file, as shown in the image below.
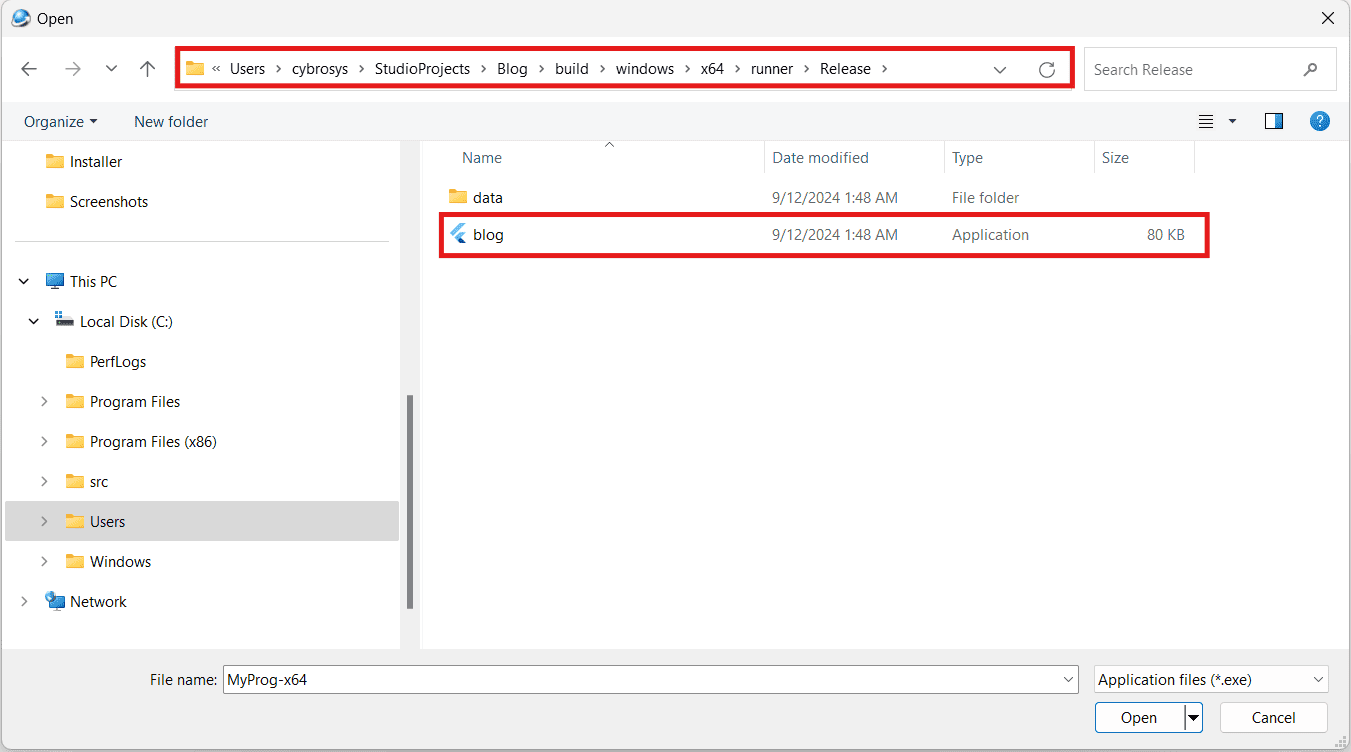
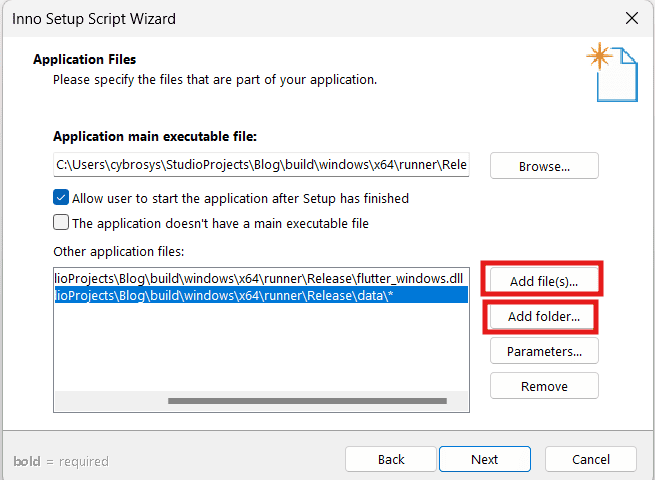
Next, you need to add the necessary DLL files and other required folders. To add the DLL files, click the "Add Files" button and select all the DLL files inside the Release folder. Additionally, to add the application-related folders, click the "Add Folder" button and select all relevant folders, as shown in the image below.
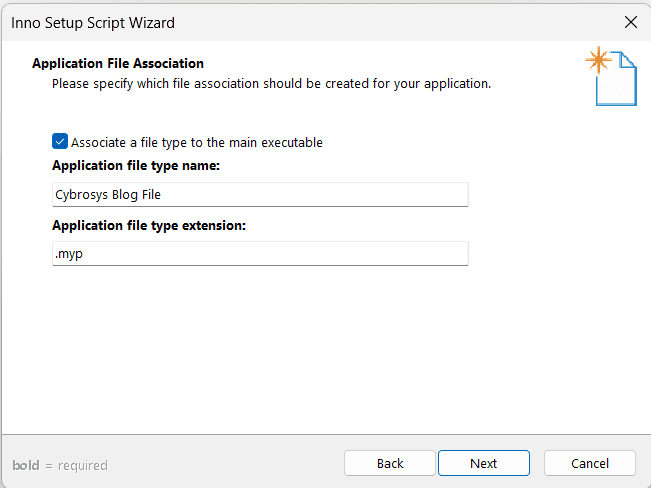
Then, click the "Next" button to proceed to another wizard, where you can provide the association details, as shown below.
Then, click the "Next" button to proceed to a page where you can specify the documentation files that will be displayed by the setup during installation.
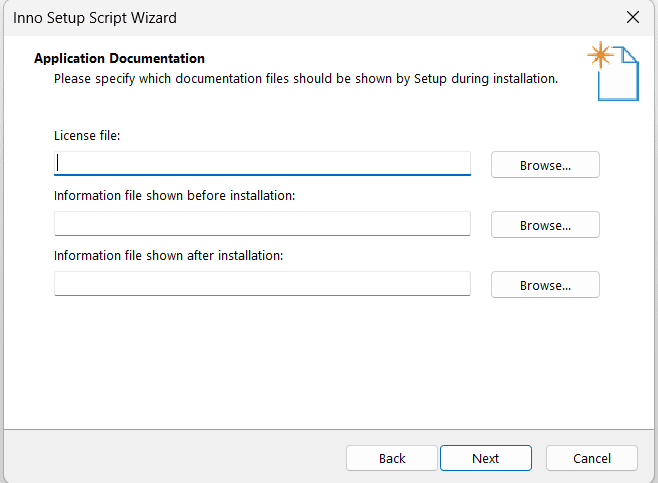
Then, click the "Next" button to proceed to a page where you can specify the installation mode, as shown in the image below.
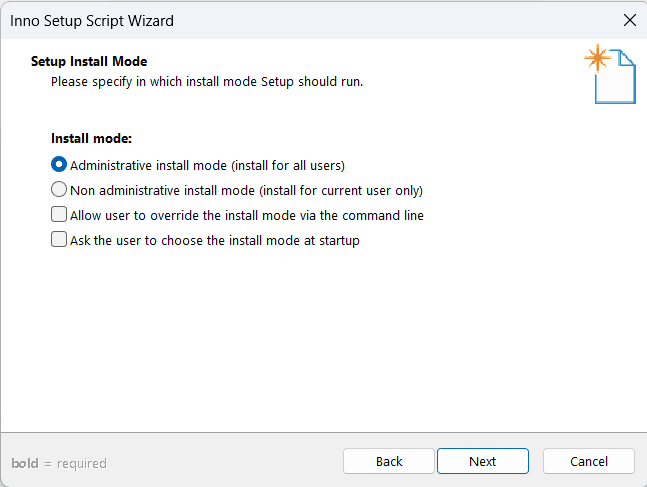
Click "Next" after choosing an option to proceed to the Compiler Settings wizard. Here, you can specify the Compiler output folder (create a new folder in your project for this purpose), the file name, the icon file, and the setup password, as shown in the image below.
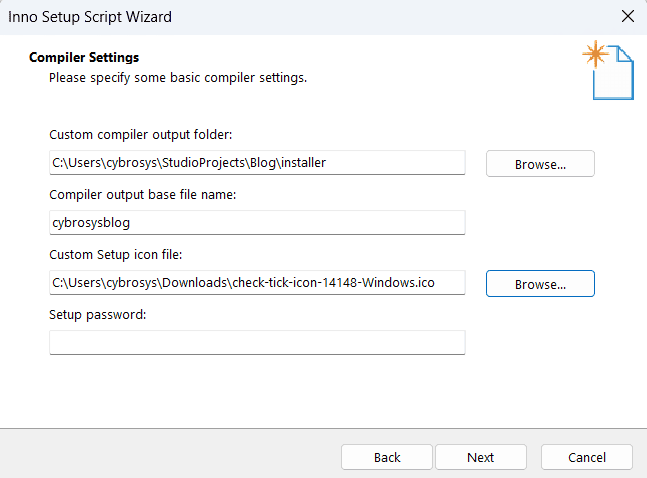
Click the "Next" button to proceed to another wizard, where you will see a "Finish" button, as shown in the image below.
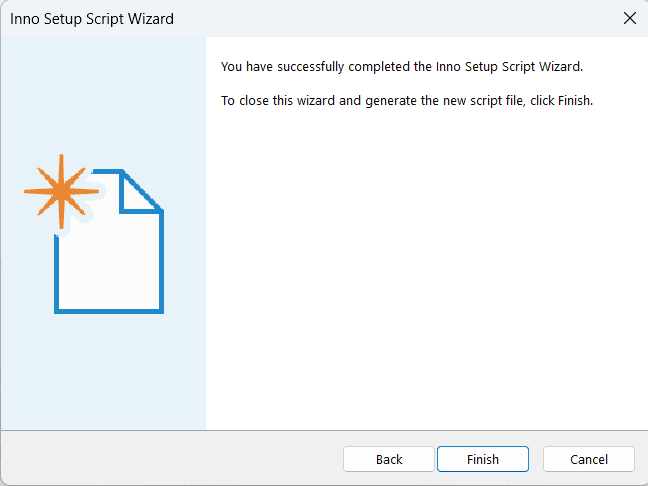
Clicking the "Finish" button will take you to a page as shown below:
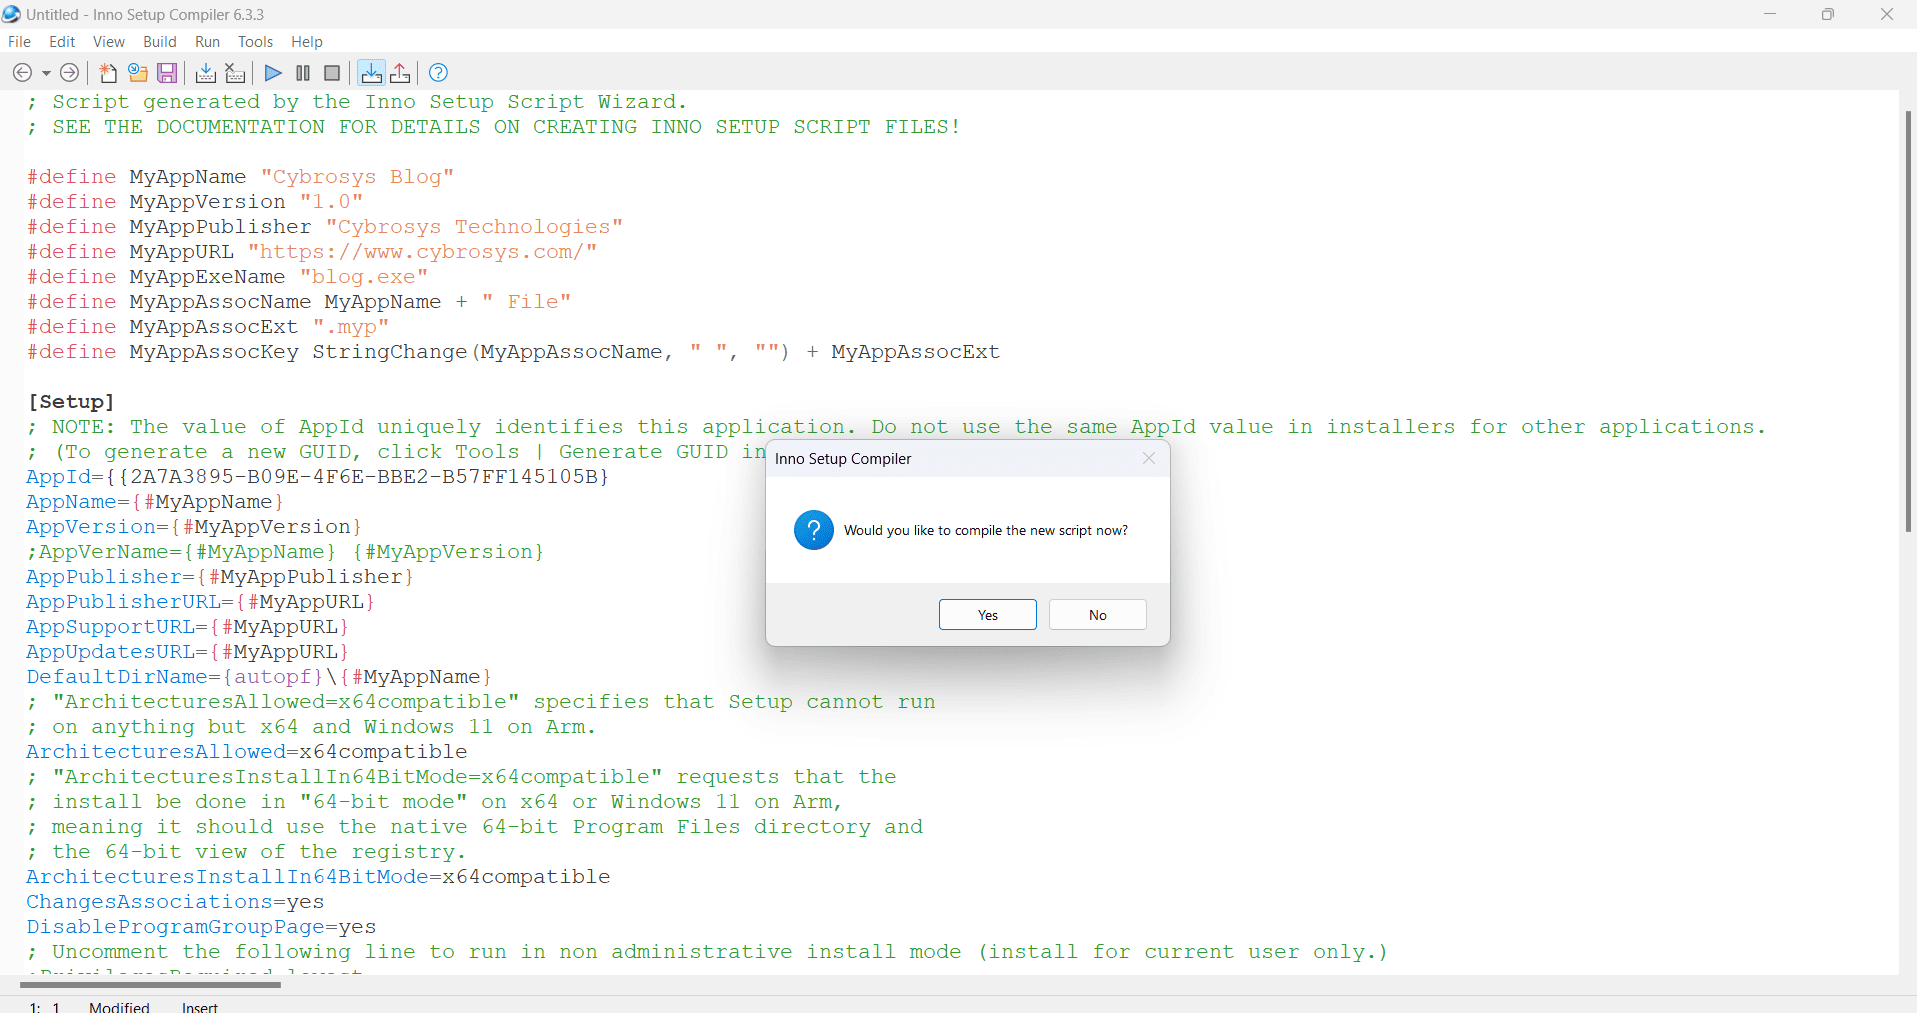
Click the "Yes" button. A confirmation prompt will appear, asking whether you wish to save the script. Click "Yes" on this prompt. This action will launch File Explorer. Navigate to the folder you created for output, choose a filename for the .iss file, and then click the "Save" button.
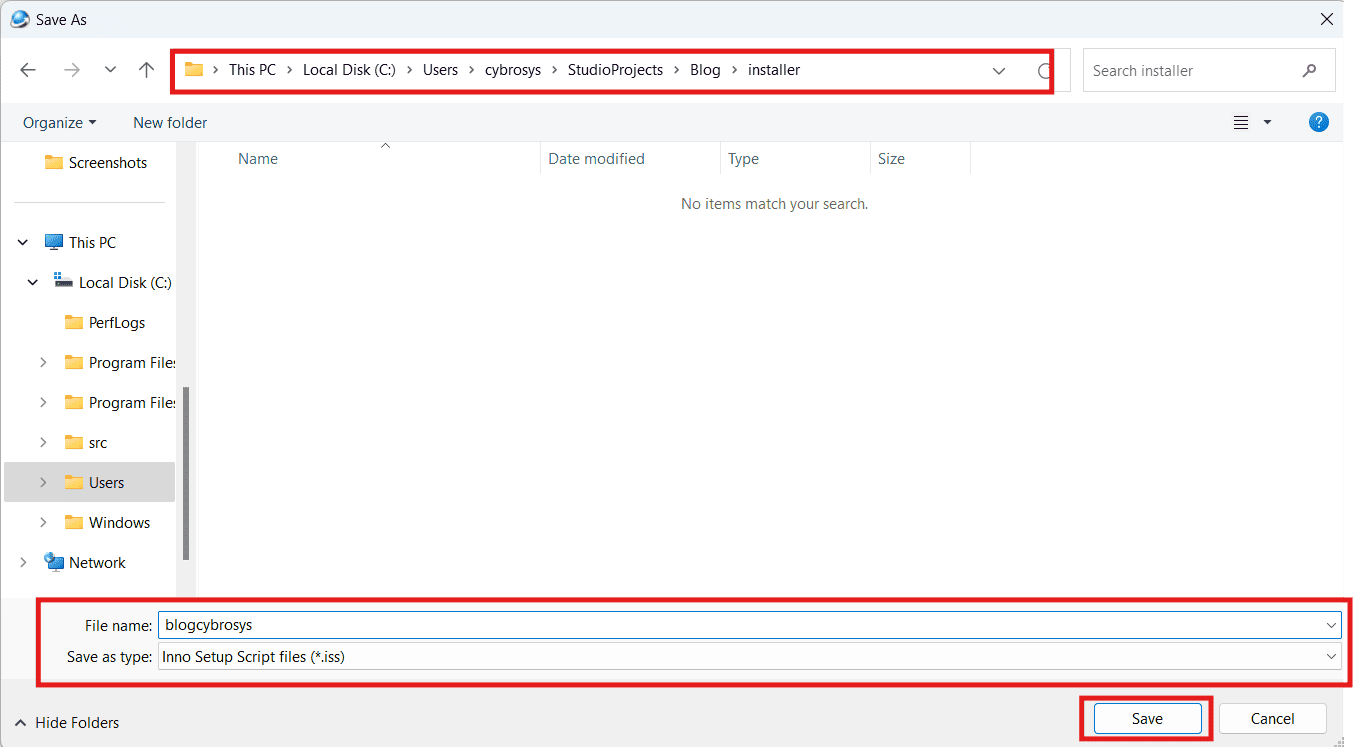
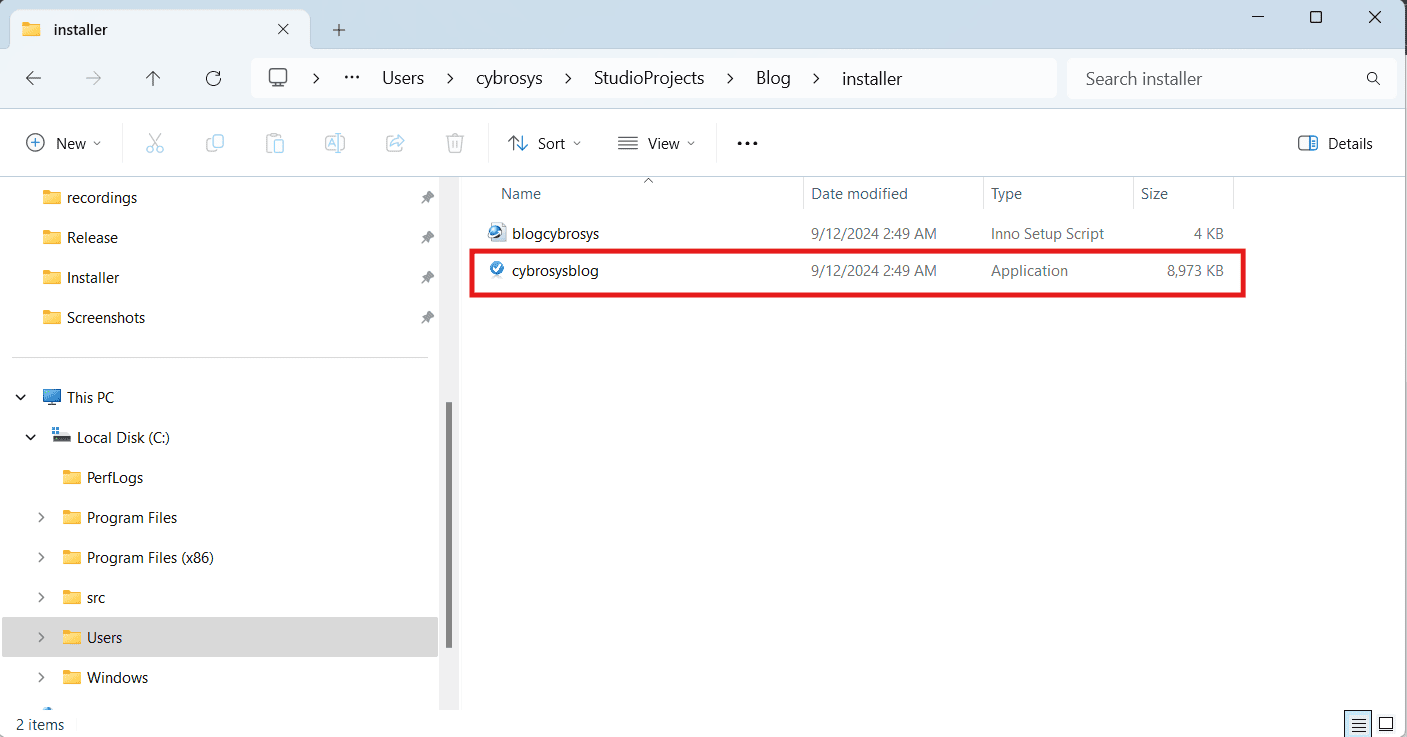
Click the Save button to create the application in .exe format. You can see the output file in the file output file you specified, as shown below.
Creating a Windows executable (.exe) file involves transforming your project into a binary format through compilation and, if desired, packaging it with an installer. By adhering to the outlined steps and utilizing the right tools, you can produce a polished and operational executable file suitable for distribution.
To read more about How to Create Bottom Bar Navigation in Flutter, refer to our blog How to Create Bottom Bar Navigation in Flutter.