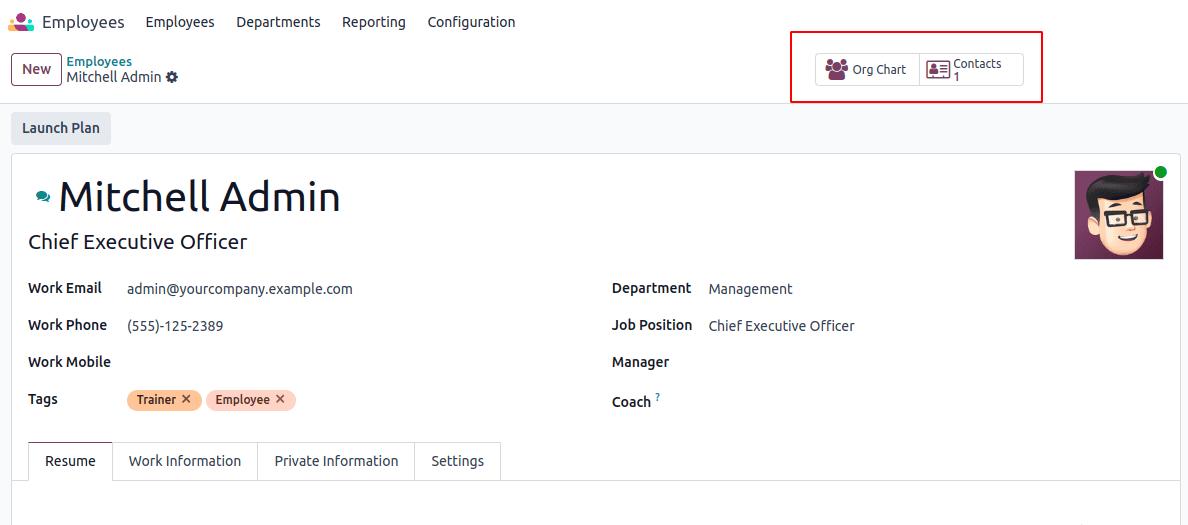
Smart buttons are a powerful feature in Odoo that allow users to easily access related records or perform specific actions directly from a model's form view. They provide quick access to important information and streamline workflows, enhancing the user experience. In this blog, we’ll explore how to add smart buttons in Odoo 18 step by step.
What Are Smart Buttons?
Smart buttons are visual indicators, usually represented as clickable icons or buttons, placed in the header of a form view. They can display counts of related records, such as the number of invoices linked to a customer or the number of tasks assigned to a project. When clicked, they navigate users to the corresponding records, making it easier to manage related data.

Adding smart button in the form view
To add a button alongside other smart buttons, you need to inherit the form view and place the button inside a <div> with the name 'button_box'.
<record id="view_partner_form" model="ir.ui.view">
        <field name="name">res.partner.form.inherit.my.blog</field>
        <field name="model">res.partner</field>
        <field name="inherit_id" ref="base.view_partner_form"/>
        <field name="arch" type="xml">
            <div name="button_box" position="inside">
                <button class="oe_stat_button"
                         type="object"
                         icon="fa-taxi"
                         name="action_get_vehicles_record">
                </button>
            </div>
        </field>
    </record>
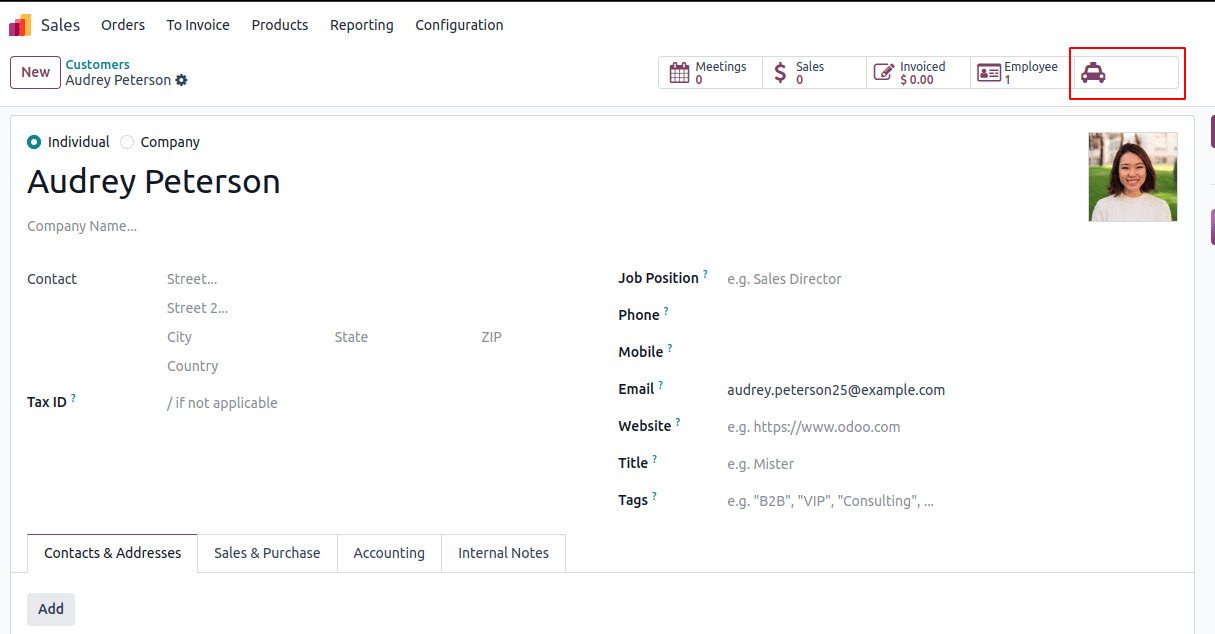
By including this record and the function action_get_vehicles_record in the res.partner class, you will create a new smart button in the partner form that features a taxi icon.

Adding Names and Data for the Smart Button
Next, you can specify the button's name and display counts of associated records. To achieve this, extend the res.partner model with an additional field and a compute function:
from odoo import models, fields
class ResPartner(models.Model):
    _inherit = "res.partner"

    vehicle_count = fields.Integer(string="Vehicles", compute='compute_vehicle_count', default=0)

    def compute_vehicle_count(self):
        for record in self:
            record.vehicle_count = self.env['fleet.vehicle'].search_count([('driver_id', '=', self.id)])
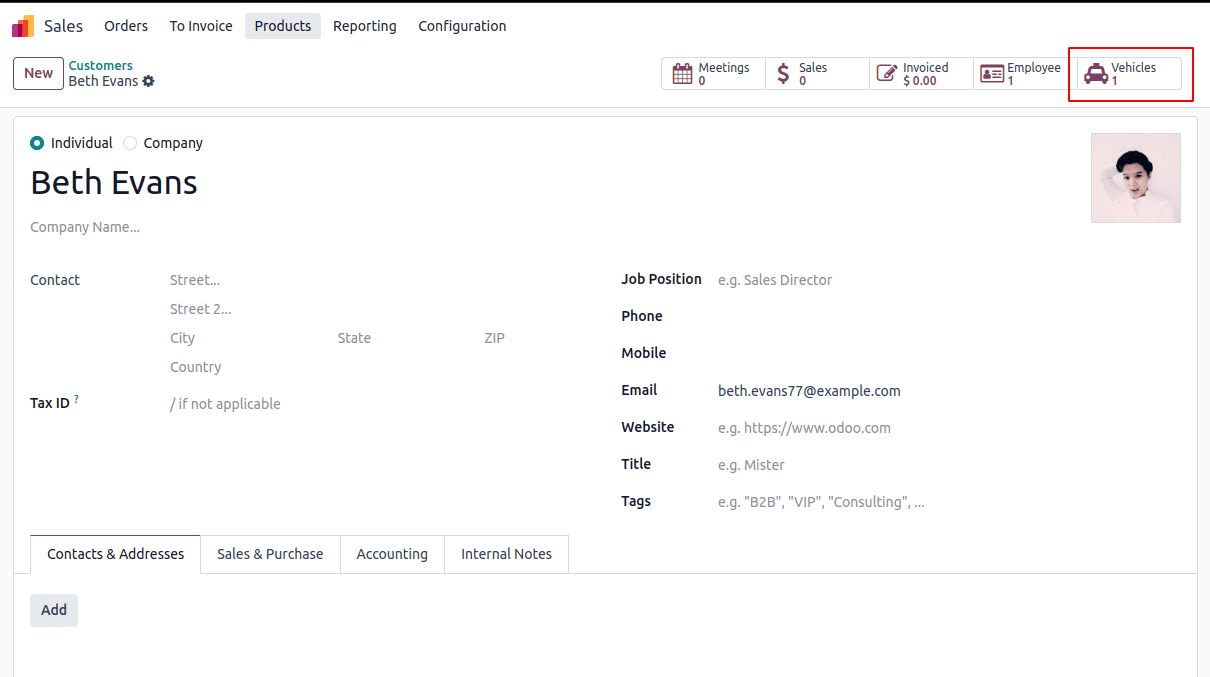
This setup allows the smart button to display the count of vehicles linked to the partner. Now, update your XML record to include the vehicle_count in the button definition:
<div name="button_box" position="inside">
    <button class="oe_stat_button" type="object" icon="fa-taxi"
            name="action_get_vehicles_record">
        <field string="Vehicles" name="vehicle_count" widget="statinfo"/>
    </button>
</div>
Next, define the action for the smart button by modifying the action_get_vehicles_record function. This function will filter the view to display the vehicles associated with the partner.
def action_get_vehicles_record(self):
    self.ensure_one()
    return {
        'type': 'ir.actions.act_window',
        'name': 'Vehicles',
        'view_mode': 'tree',
        'res_model': 'fleet.vehicle',
        'domain': [('driver_id', '=', self.id)],
        'context': "{'create': False}"
    }
After associating some vehicle drivers with the current partner in the Fleet module, clicking the smart button will present the relevant vehicle records.

By following these instructions, you can successfully integrate smart buttons into your Odoo 18 application, enhancing user interaction and facilitating easier data management. Smart buttons provide quick access to related records while keeping your interface streamlined and efficient.
To read more about How to Add Smart Buttons in Odoo 17, refer to our blog How to Add Smart Buttons in Odoo 17.