Odoo, the open-source ERP software, is highly customizable and offers a range of features to streamline business operations. One such feature is the onboarding panel for tree view. This guide will delve into the process of adding an onboarding panel to a tree view in Odoo 17.
Understanding Onboarding Panels in Odoo 17
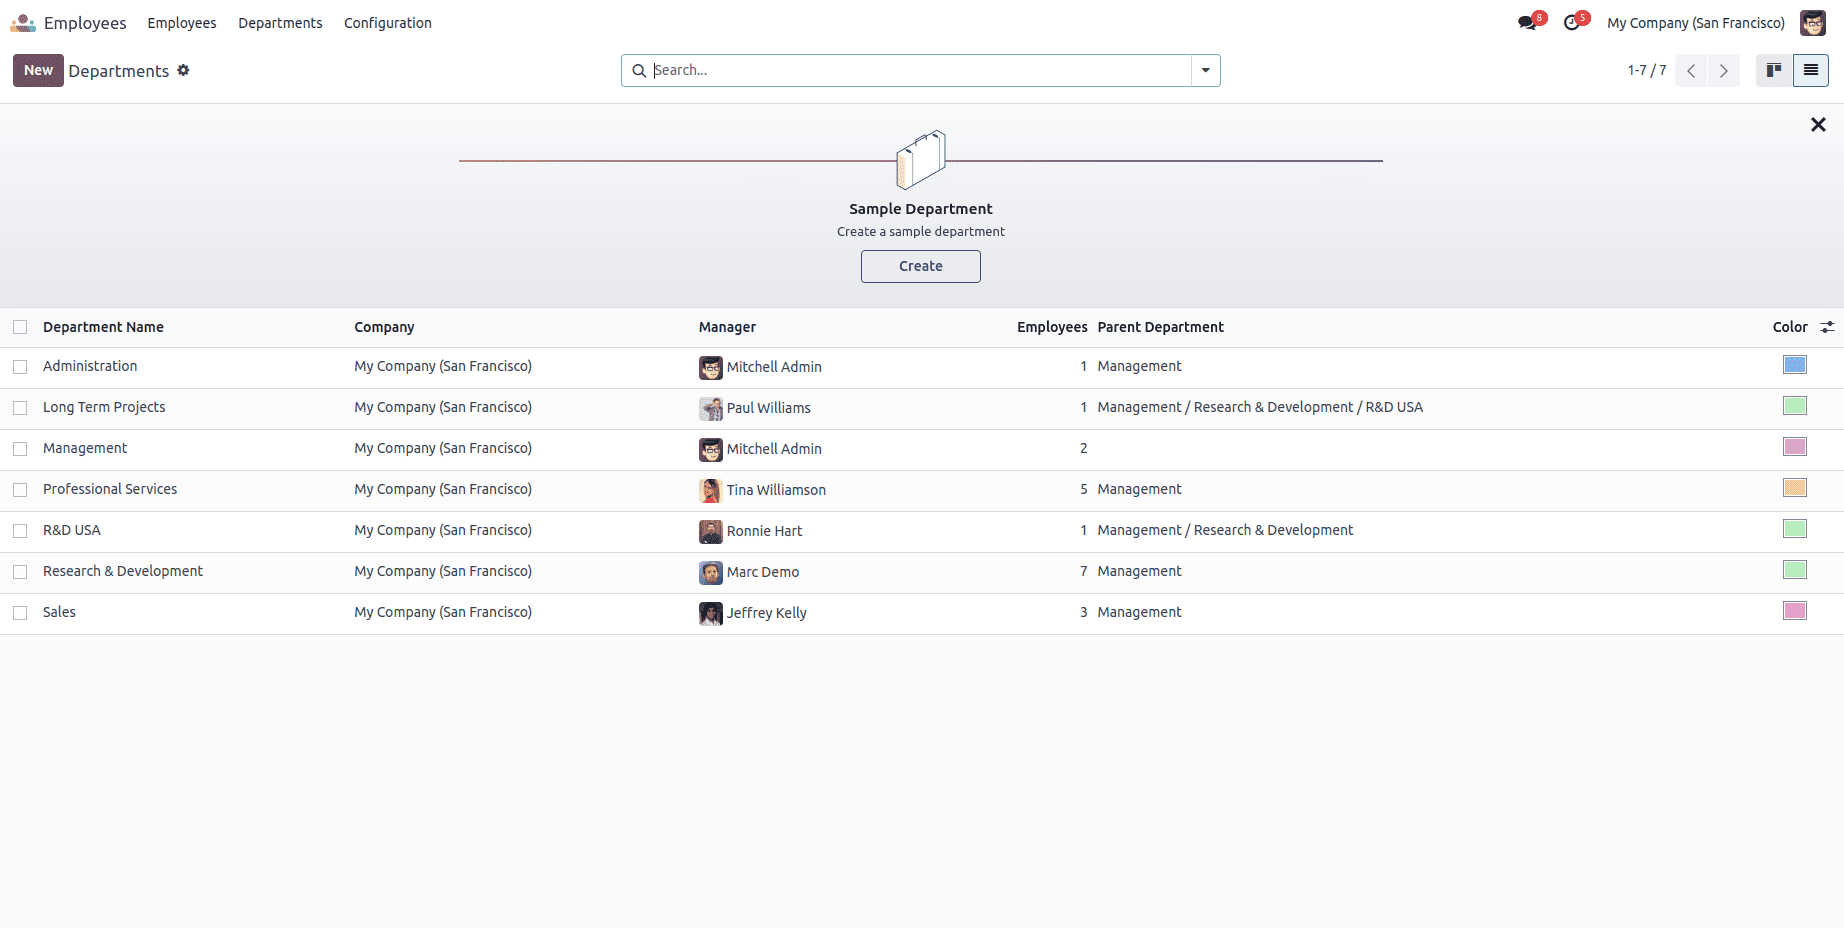
Onboarding panels are a handy feature in Odoo 17, designed to guide first-time users through various functionalities. They often appear in modules like Sales and Invoicing and can be customized to show on specific conditions.
Case Study: Adding an Onboarding Panel to the Employee Department Model
Let's consider a scenario where we need to add an onboarding panel to the Employee department model (hr.department) tree view.
Step 1: Create a New Module
The first step is to create a new module, let's call it banner_route. This module will contain subfolders such as data, models, views, etc.
In the models folder, we will add a new file to inherit the onboarding.onboarding and onboarding.onboarding.step models and introduce some functions. Remember to include this file in the init file inside the models' folder.
Step 2: Add Functions
Now we can add the functions to perform tasks from our panel.
from odoo import api, models


class Onboarding(models.Model):
     _inherit = 'onboarding.onboarding'

    @api.model
    def action_close_panel_account_invoice(self):
        self.action_close_panel('banner_route.action_close_panel_department')
The action_close_panel_account_invoice function in the Onboarding model is a method that closes a specific onboarding panel related to the department. It calls the action_close_panel method with a parameter identifying the panel to be closed, in this case, banner_route.action_close_panel_department'. This function ensures that the department onboarding panel is properly closed when this action is triggered.
from odoo import api, models


class OnboardingStep(models.Model):
    _inherit = 'onboarding.onboarding.step'

    @api.model
    def action_open_department_onboarding_sample_department(self):
        action = self.env['ir.actions.actions']._for_xml_id(
            'hr.hr_department_tree_action')
        action.update({
            'views': [[self.env.ref('hr.view_department_form').id, 'form']],
            'view_mode': 'form',
            'target': 'main',
        })
        return action
The action_open_department_onboarding_sample_department function in the OnboardingStep model is a method that opens a specific department onboarding view in Odoo. This method retrieves an action for the department tree view, updates the action to show the department form view, sets the view mode to form, and targets the main window for displaying the form. The function ensures that the department onboarding process navigates to the appropriate form view for further interaction.
Step 3: Define the Onboarding Panel
Next, define the views of the panel. Create a file inside the data folder and add the following code.
<?xml version="1.0" encoding="UTF-8" ?>
<odoo>
    <!--ONBOARDING STEPS -->
    <record id="banner_route_onboarding_sample_department_step"
            model="onboarding.onboarding.step">
        <field name="title">Sample Department</field>
        <field name="description">Create a sample department</field>
        <field name="button_text">Create</field>
        <field name="panel_step_open_action_name">
            action_open_department_onboarding_sample_department
        </field>
        <field name="step_image" type="base64"
               file="base/static/img/onboarding_sample.png"></field>
    </record>
    <record id="onboarding_onboarding_department" model="onboarding.onboarding">
        <field name="name">Department Onboarding</field>
        <field name="step_ids" eval="[
                Command.link(ref('banner_route.banner_route_onboarding_sample_department_step')),
            ]"/>
        <field name="route_name">department</field>
        <field name="panel_close_action_name">action_close_panel_department
        </field>
    </record>
</odoo>
Step 4: Add the Onboarding Panel to the Tree View
Finally, we need to add our onboarding panel to the Department's tree view. We'll inherit the existing tree view of the Department and add the panel.
<?xml version="1.0" encoding="UTF-8" ?>
<odoo>
    <record id="hr_department_view_tree_inherit_banner_route" model="ir.ui.view">
        <field name="name">hr.department.view.tree.inherit.banner.route</field>
        <field name="model">hr.department</field>
        <field name="inherit_id" ref="hr.view_department_tree"/>
        <field name="arch" type="xml">
            <xpath expr="//tree" position="attributes">
                <attribute name="banner_route">/onboarding/department</attribute>
            </xpath>
        </field>
    </record>
</odoo>
With all these steps, we can add a new onboarding panel with our custom steps for our views.
In conclusion, adding an onboarding panel to the tree view in Odoo 17 is a straightforward process that can significantly improve the user experience. Whether you're a developer working on customizing Odoo for your organization or a business owner looking to improve your team's productivity, this guide provides all the necessary steps and code to get you started.
To read more about How to Add an Onboarding Panel for Tree View in Odoo 16?, refer to our blog How to Add an Onboarding Panel for Tree View in Odoo 16?