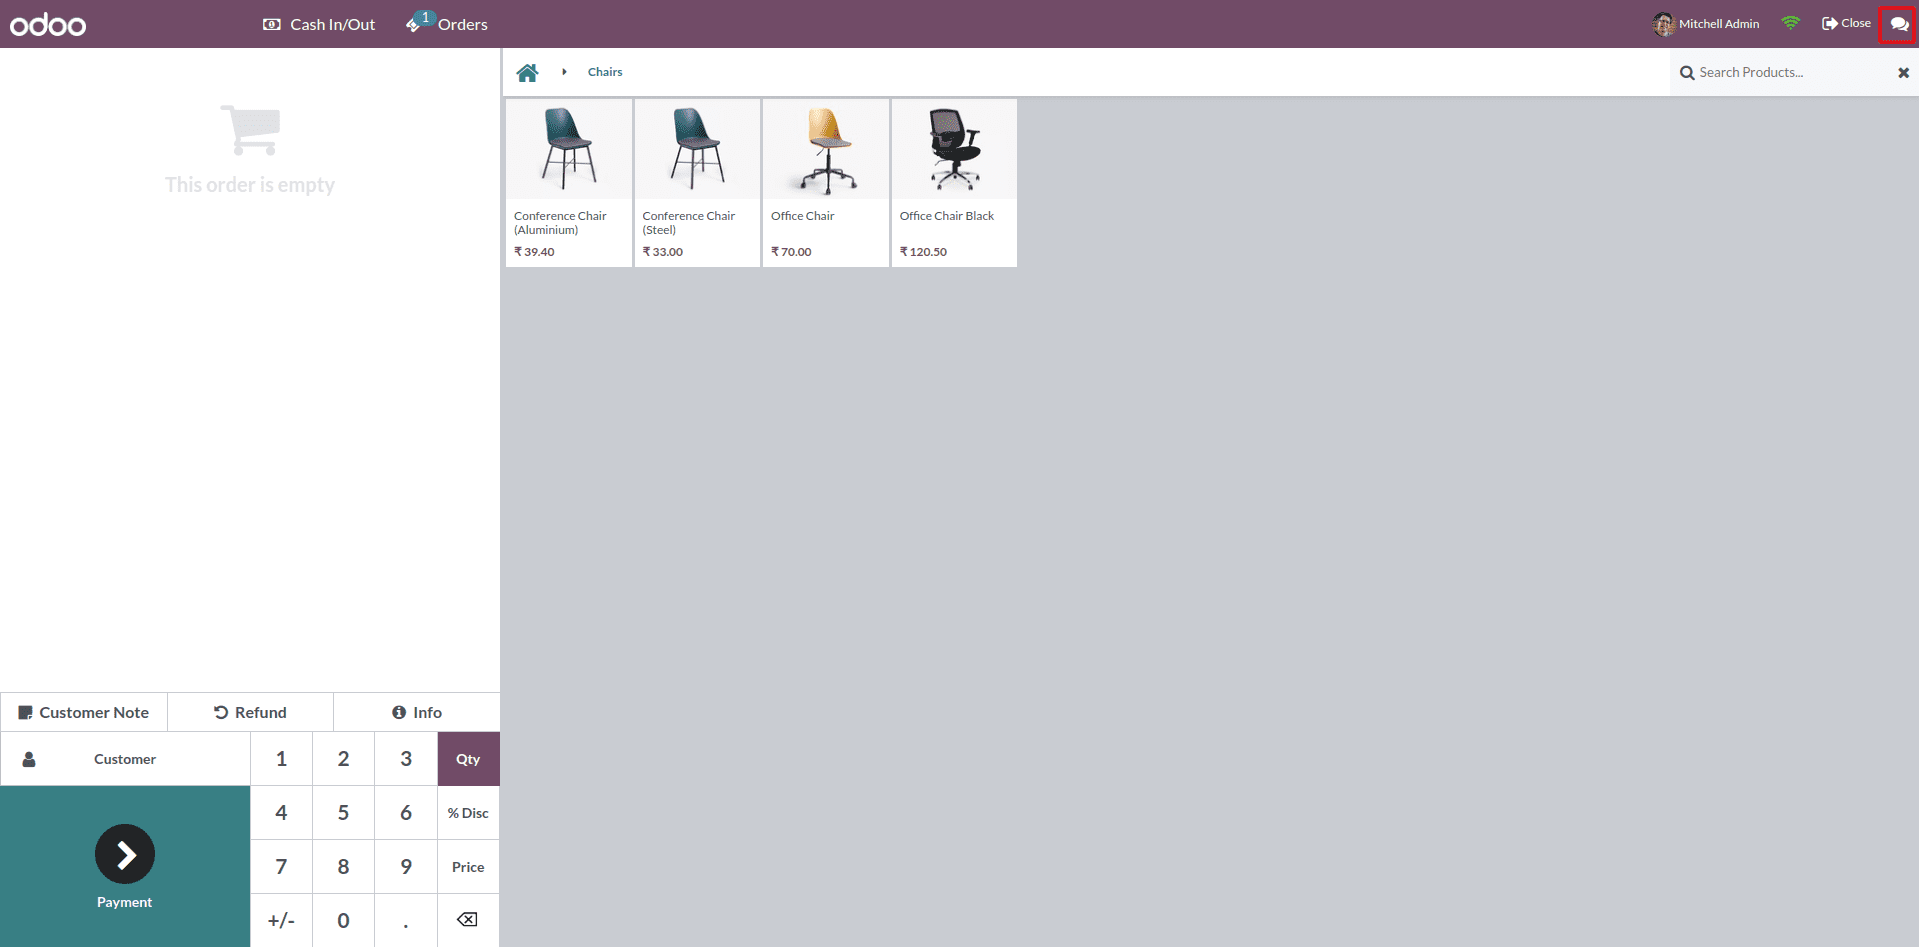
We use the systemtray icon in Odoo to easily access various functions such as logging in and out, notifications, switching jobs, and viewing current users. This icon is located on the right side of the Odoo interface.
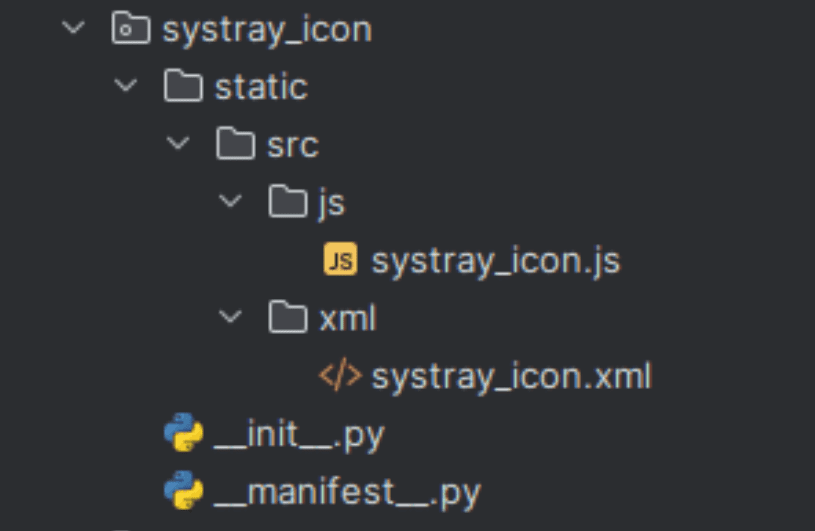
In this blog post, we will explore the process of creating an icon in the Point of sale systemtray. First, we need to set up a standard registry consisting of a "static" folder and a "src" folder. We need to add the "JS" and "XML" folders to the "src" folders as described below.

Next, we will create an XML view to display the characters in the tray. In the example below, we give the template name to be passed in the JS code when defining the function symbol. We also define the icon in the element to display the message icon.
<?xml version="1.0" encoding="UTF-8"?>
 <templates id="template" xml:space="preserve">
 <t t-name="PosSystray" owl="1">
<div class="ticket-button" id="pos_systray_chatter_icon" t-att-class="{ highlight: props.isTicketScreenShown }" t-on-click="onClick">
 <i class="fa fa-comments"/>
</div>
 </t>
 <t t-name="Chrome" t-inherit="point_of_sale.Chrome" t-inherit-mode="extension" owl="1">
<xpath expr="//div[hasclass('status-buttons')]" position="inside">
<PosSystray isTicketScreenShown="isTicketScreenShown"/>
</xpath>
</t>
</templates>
This XML inherits the point_of_sale.Chrome for adding icons in the POS and template creates a messenger icon in the Odoo 16 POS systray. We can use fa sizes like fa-2xs, fa-xs fa-xl and, etc., to give a size for the messenger icon, like <i class=”fa fa-comments fa-2xs”/>.
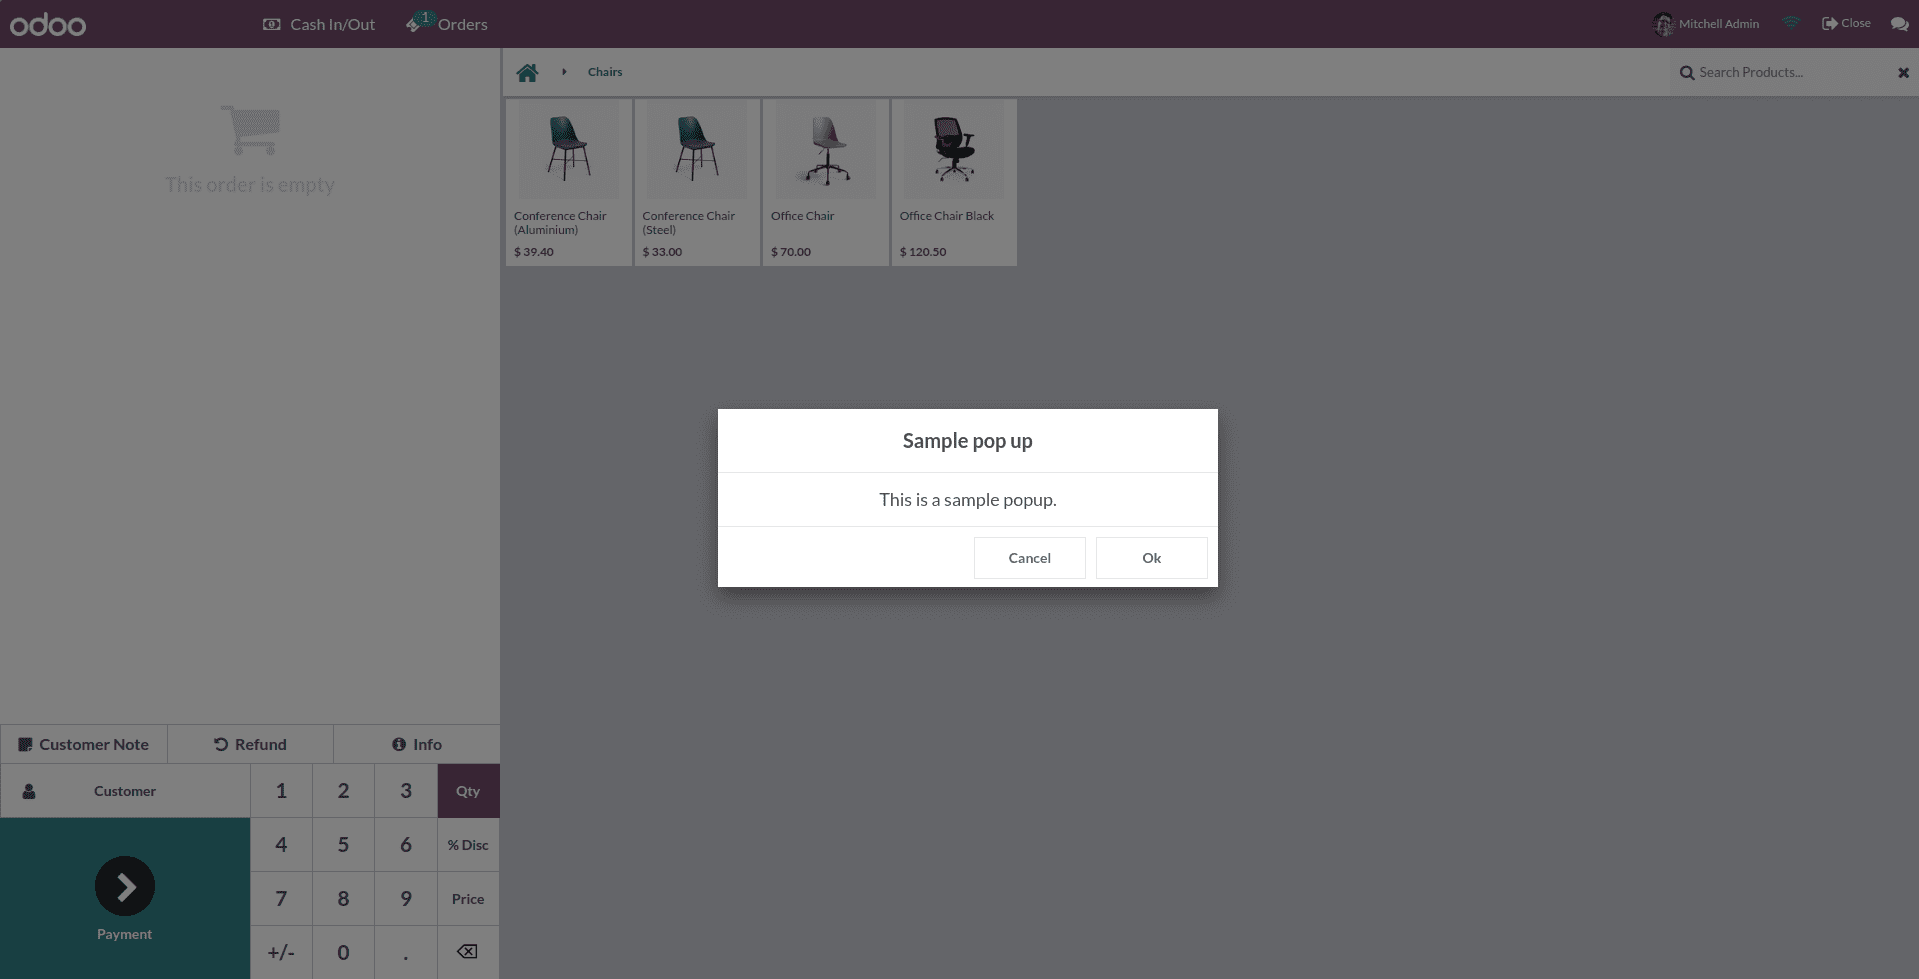
Next, we need to add an action for the systray icon using the javascript code. This javascript code will help to show a popup while clicking on the POS systray icon.
/** @odoo-module **/
import PosComponent from 'point_of_sale.PosComponent';
import Registries from 'point_of_sale.Registries';
class PosSystray extends PosComponent {
   setup(){
       super.setup(...arguments);
   }
   onClick(ev) {
       this.showPopup('ConfirmPopup', {
           'title': ('Sample pop up'),
           'body': ('This is a sample popup.'),
       });
   }
}
PosSystray.template = 'PosSystray';
Registries.Component.add(PosSystray);
return PosSystray;
To add an action for the systray icon, need to import PosComponent and Registries classes. Here we import those classes from point_of_sale and we can access all the functionalities of the original class in the new class. Here we created a new class called PosSystray and set a template for this class by giving the xml t-name in the js as PosSystray.template = PosSystray and add the new class in to the Registries by Registries.Component.add(PosSystray).
After creating the files with these xml and js, define them in the manifest as shown below.
'assets': {
   'point_of_sale.assets': [
       '/pos_systray_icon/static/src/xml/pos_systray_icon.xml',
       '/pos_systray_icon/static/src/js/pos_systray_icon.js',
   ],
},
Here, the Pos_systray_icon is the module name. After defining js and xml files in the manifest, install the module and go to the POS. There, you can see the message icon in the systray.

While clicking on this message icon, a popup will appear, as shown in the below image.

Adding an icon to the Point of Sale (POS) systemtray in Odoo 16 can greatly enhance the user experience and provide quick access to important functions. To achieve this, you need to set up the necessary folder structure, create XML templates for displaying the icon, and define the action for the systray icon using js.
By following the steps outlined in this article, you can customize the systray icon to your specific requirements. The example provided demonstrates how to create a messenger icon in the POS systray, which, when clicked, triggers a pop-up message. This can be a useful addition to notifications or quick actions within the POS interface.
Overall, enhancing the systray with custom icons and actions can make Odoo more user-friendly and efficient, improving the overall point-of-sale experience for both customers and employees.