The well-known open-source ERP and business management software Odoo allows users to tailor it in many ways to suit their unique needs. This blog post will go over how to add a custom field to the Odoo user login screen. Businesses may improve user management, bolster security, and facilitate more individualized interactions by expanding the default login feature, which enables them to gather more data from users throughout the login process. By following this tutorial's steps, you'll have the skills and knowledge necessary to effectively customize your login page. Now let's get particular and explore how enhancing your user login page with a new field might work.
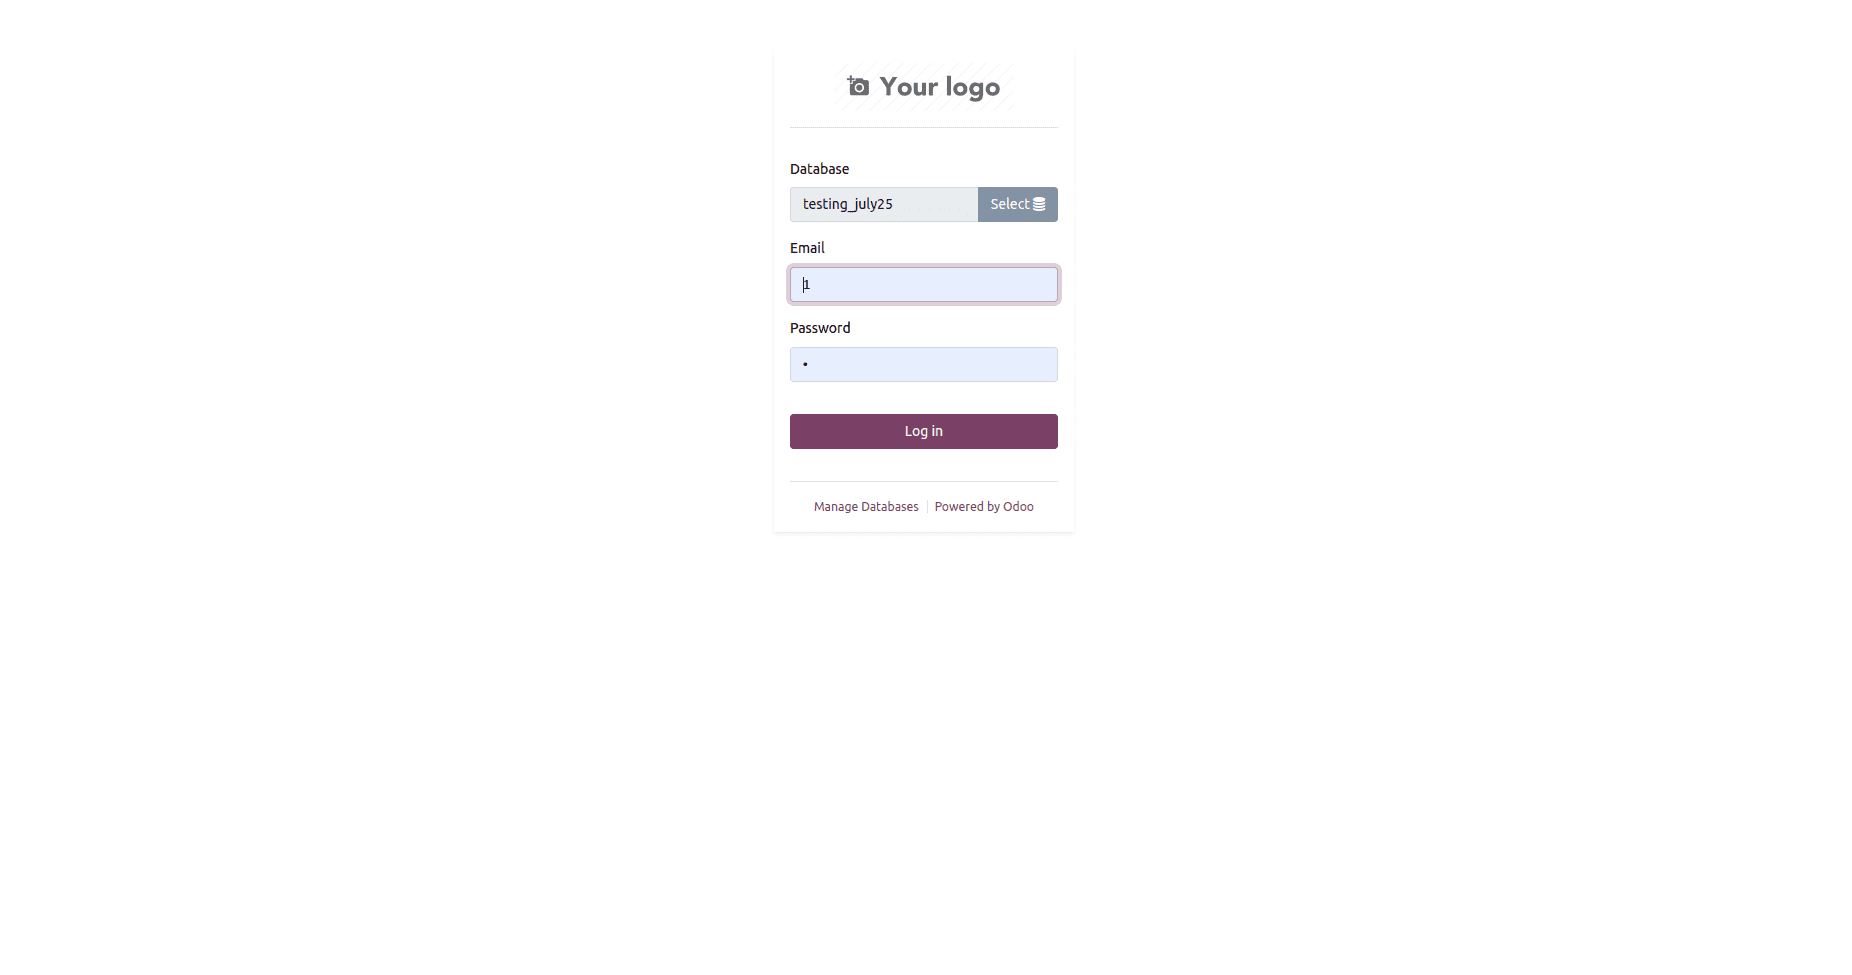
By default, the Odoo User login page looks like this:
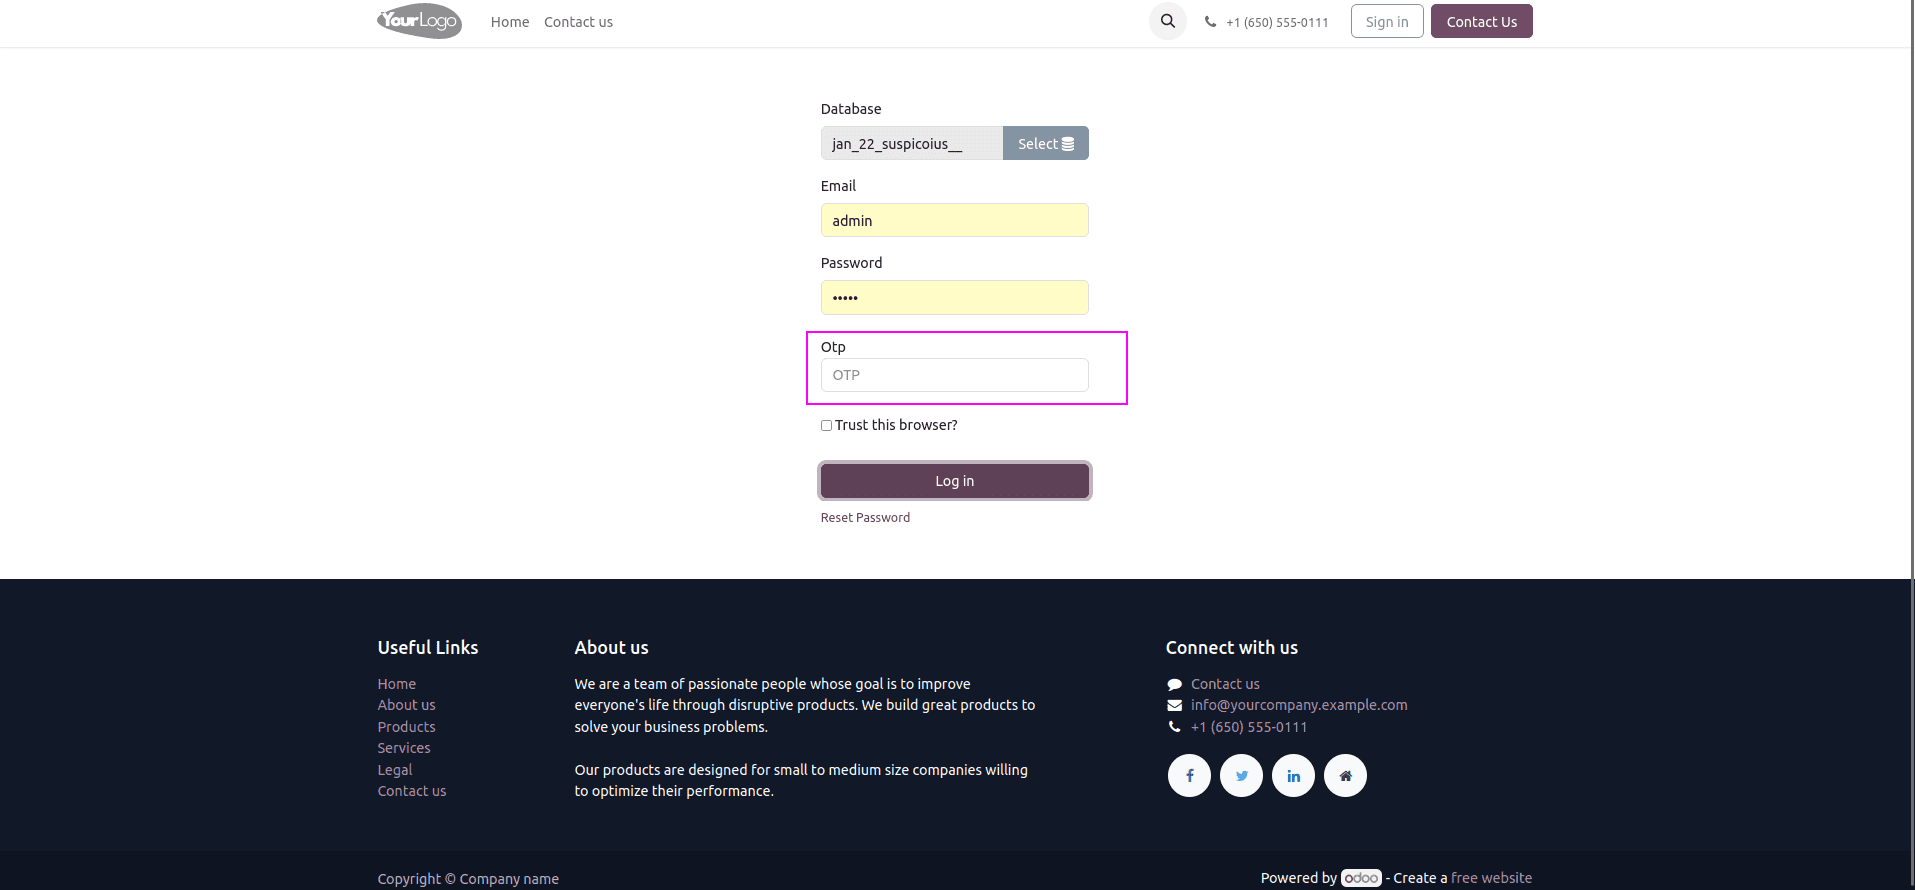
The user login page may now have an OTP box. The security and user authentication of the login page can be greatly enhanced by including an OTP (One-Time Password) field function. Users can log in using an OTP by entering a special temporary code they get via email or their registered mobile device into the OTP box. By adding an OTP field feature, businesses may enhance their login processes, reduce the likelihood of unauthorized access attempts, and offer an extra degree of security to user accounts.
To add an OTP field to the Odoo login page, you need to modify the login template, the login controller, and add the necessary backend code. To enable more secure logins for your users, we'll guide you through the process of adding an OTP field to the Odoo login page. You may take advantage of this helpful functionality and prevent unwanted access attempts to your Odoo application by following these procedures.
Create a Controller directory and include an OTP generation function.
def generate_otp():
   """Generate a 6-digit OTP (One-Time Password)."""
   digits = "0123456789"
   otp = ""
   for i in range(6):
       otp += digits[int(math.floor(random.random() * 10))]
   return otp
Add the OTP field in res.users model
class ResUsers(models.Model):
   _inherit = 'res.users'
   otp = fields.Char(string='Otp', help="Login Otp")
Also, include Class Suspicious (Home) so that the user can receive an OTP for login. It returns True if the login and password are correct; it returns False otherwise.
class Suspicious(Home):
   @http.route('/web/login/send_otp', type="json", auth="public")
   def send_otp(self, vals):
       try:
           db = request.session.db
           uid = request.session.authenticate(db, vals['login'],
                                              vals['password'])
           user = request.env['res.users'].browse(uid).sudo()
           otp = user.otp = generate_otp()
           template = request.env.ref(
               'suspicious_login.suspicious_email_template')
           context = {
               'user': user,
               'otp': otp
           }
           company = user.company_id
           mail_body = request.env['ir.qweb']._render(template.id, context)
           mail_values = {
               'subject': f'{company.name}: New OTP for login',
               'email_from': f'{company.email_formatted}',
               'author_id': user.partner_id.id,
               'email_to': user.partner_id.email,
               'body_html': mail_body,
           }
           http.request.env['mail.mail'].sudo().create(mail_values).send()
           request.session.logout()
           request.session.db = db
           return True
       except AccessDenied:
           user = request.env['res.users'].sudo().search(
               [('login', '=', vals['login'])])
           if user:
               request.env['res.users.login.attempt'].sudo().create({
                   'user_id': user.id,
                   'login_time': fields.Datetime.now(),
                   'failed_reason': 'Wrong Login or Password',
                   'status': 'failed',
                   'ip_address': vals['ip_address'],
                   'location': vals['location'],
                   'timezone': vals['timezone'],
                   'platform': vals['platform'],
                   'browser': vals['browser'],
               })
           return False
Include JS to continue modifying the login template.
/** @odoo-module **/
import publicWidget from "@web/legacy/js/public/public_widget";
import { jsonrpc } from "@web/core/network/rpc_service";
var otpFieldAdded = false;
publicWidget.registry.suspicious = publicWidget.Widget.extend({
   selector: '.oe_login_form',
   events: {
       'click button[type="submit"]': '_onLogIn',
   },
   _onLogIn: async function (ev) {
       ev.preventDefault();
       var $login = this.$el.find('#login');
       var $password = this.$el.find('#password');
       var $otp = this.$el.find('#otp');
       var uuid = sessionStorage.getItem('uuid');
       var ip, user_location, time_zone;
       // Get the user's IP address using a third-party API
       await $.getJSON('https://api.ipify.org?format=json', (data) => {
           ip = data.ip;
       });
       await $.getJSON(`https://ipapi.co/${ip}/json/`, (data) => {
           user_location = `${data.city}, ${data.region}, ${data.country_name}`;
           time_zone = `${data.timezone} (UTC${data.utc_offset})`;
       });
       if ($password.val() && $login.val()) {
           var vals = {
               login: $login.val(),
               password: $password.val(),
               otp: $otp.val() || false,
               uuid: uuid,
               platform: navigator.platform,
               browser: this.getBrowser(navigator.userAgent),
               ip_address: ip,
               location: user_location,
               timezone: time_zone,
               redirect: location.hash
           };
           if (!uuid && !$otp.val()) {
               await this.sendOtp(vals, $otp);
           } else if ($otp.val()) {
               await this.checkOtp(vals);
           } else if (uuid) {
               await this.checkUuid(vals);
           }
       } else if (!$login.val()) {
           $login.focus();
       } else if (!$password.val()) {
           $password.focus();
       }
   },
   sendOtp: function (vals, $otp) {
       if (!$otp || $otp.length == 0) {
           if (!otpFieldAdded) {
               jsonrpc('/web/login/send_otp', { 'vals':vals }).then((result) => {
                   if (result) {
                       this.$el.find('.alert-danger').remove();
                       this.$el.find('.field-otp').remove();
                       const otpDiv = document.createElement('div');
                       otpDiv.innerHTML = `<br><label for="otp">Otp</label><br><input type="password" placeholder="OTP" name="password" id="otp" class="form-control" required="required" maxlength="6"><br>`;
                       const checkboxDiv = document.createElement('div');
                       const passwordField = this.$el.find('#password');
                       otpFieldAdded = true;
                       passwordField[0].insertAdjacentElement('afterend', checkboxDiv);
                       passwordField[0].insertAdjacentElement('afterend', otpDiv);
                   } else {
                       this.$el.find('.alert-danger').remove();
                       this.$el.find('#password').after(`
                           <p class="alert alert-danger" role="alert">
                               Wrong Login/Password
                           </p>
                       `);
                   }
               });
           } else {
               this.$el.find('.alert-danger').remove();
               this.$el.find('#otp').after(`
                   <p class="alert alert-danger" role="alert">
                       Please enter the OTP
                   </p>
               `);
               this.$el.find('#otp').focus();
           }
       }
   },
The end result will be:
Remember that in addition to creating the OTP field, you also need to create a template for sending the OTP by email. The user can complete the authentication process at login by using this template. You can use it to create a one-time password and send it to the user's email address that they have on file.
By following the guidelines in this blog post, you can quickly add this feature to your Odoo instance and protect your system from efforts to gain unauthorized access. Proceed to fortify the security of your Odoo application by utilizing the guidelines provided in this blog post to incorporate the OTP field into your login page and generate the necessary email template.
To read more about How to Add a Field in User Login Page in Odoo 16, refer to our blog How to Add a Field in User Login Page in Odoo 16.