Email marketing is the act of sending advertisements or any type of commercial message across a group of people, either the potential or current customer using email. Email Marketing revolves around enhancing the merchant's relationship, encouraging customer loyalty and repeat business in the most advanced format. It helps in a great way in persuading the fresh customers and retain the current customers to share a third party ad or in otherwise immediately take any purchase action.
Email Marketing one of the prominent tool in the current business circle as it paves a great way to improve the business and take them to the next level. It is considered an effective tool for growing the business in a more faster and effective way. Odoo, as we know is a comprehensive tool that dilutes to every industrial domain, efficiently managing the business verticals of any domain. This blog helps you to understand the role of Odoo ERP in marketing field via Email Marketing Application.
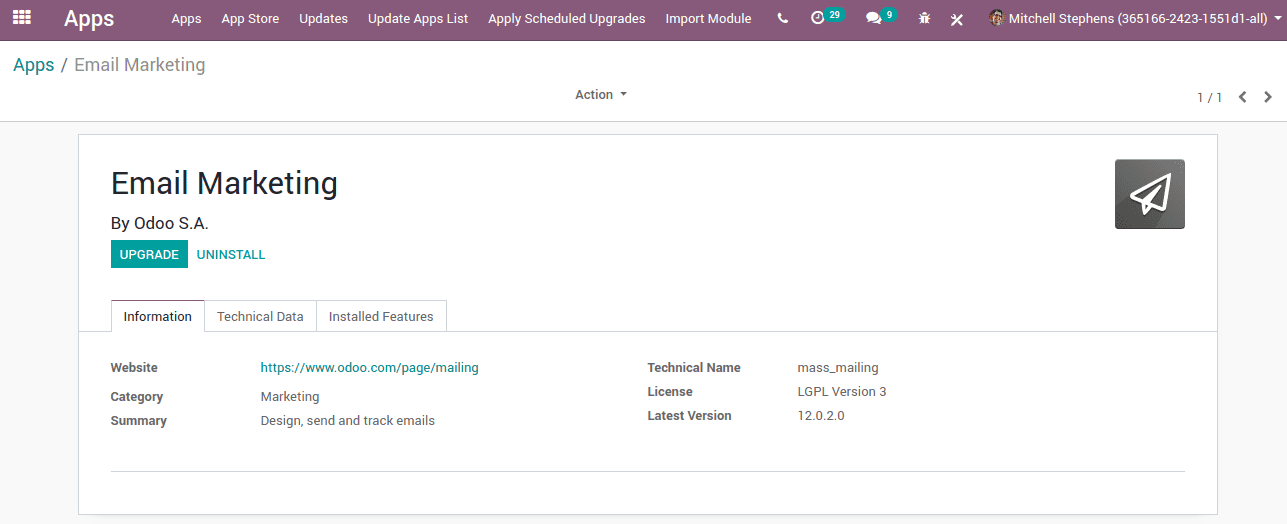
To start with, firstly install the ModuleEmail marketing from Odoo App list.

Soon after the installation, one can see the App icon in the Odoo home.
And when you go to the Application, this is the user interface you are encountered with.
Now we can create a new mailing click on Create button.
> Subject: Name of the mailing
> Recipients
> We have a different choice for this.
> Mailing List
> Quotation
> Lead/Opportunity
> Attendee etc
> When we select the recipients, followingly we can select the related records. If it is a quotation, we can select the customer etc depending upon our selection of the recipient. We can add filters for our records.
> We can choose the template depending upon our choice.
> From the Go to Options tab, one can set- from address, the preferred reply to an email address and also attach any files if any.
> After saving the necessary details, one can send the emails or can schedule for a later date if you want. This action can be executed via clicking on the Schedule Button, where you are left with the option of dates for sending your commercial messages.
After that one can directly review the status of their mail. Every detail like the count of Emails sent, how many emails opened or how many reviewed or replied are featured.
Since we are selected recipient, as Quotation we can see the Quotations and Invoice Info directly from the mailing form.
> We can create the mailing list for mass mailing. Go to Email Marketing -> Mailing Lists -> Create a New Mailing List
When we tick the option, Is public the mailing list is accessible by the recipient in the unsubscription page to allows him to update his subscription preferences.
> When we create the mailing list we can add recipients to that mailing list.
Suppose a contact in the mailing list need not want to receive any type of mail we can set it in the recipient form ie by ticking the checkbox Opt Out. When we enabled this the particular contact will not receive any mail sending to this mailing list.
Apart from that, you can blacklist a contact. For that go to Email marketing -> Configuration -> Blacklist. Add an email address in the blacklist. Email addresses that are blacklisted refer to that state where the recipient does not receive any more mass mailing.
You can also see reports in different Aspects.
When we go to Email Marketing -> Configuration -> Settings
We can manage Mass mailing campaigns, website Popups etc.