E-Learning module in Odoo ERP provides an opportunity for creating courses online, further enabling the visitors to join and complete their course in accordance with the rules configured while creating the course.
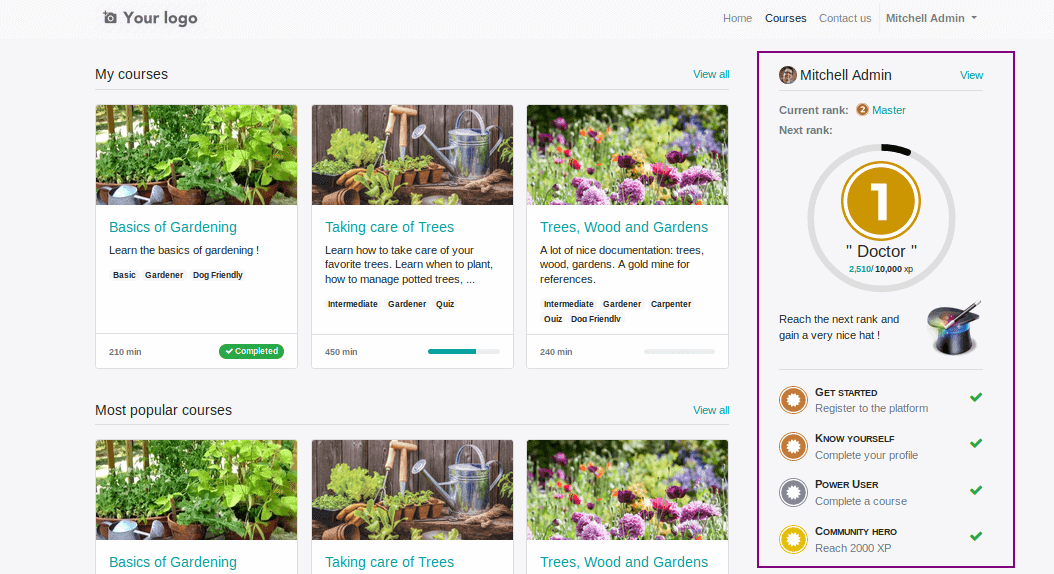
This module also provides an interesting dashboard for the user who is currently logged into the website, showing several details such as status of the courses which he joined, badges he acquired, rank and other profile information.
One can install the E-learning module from the apps.
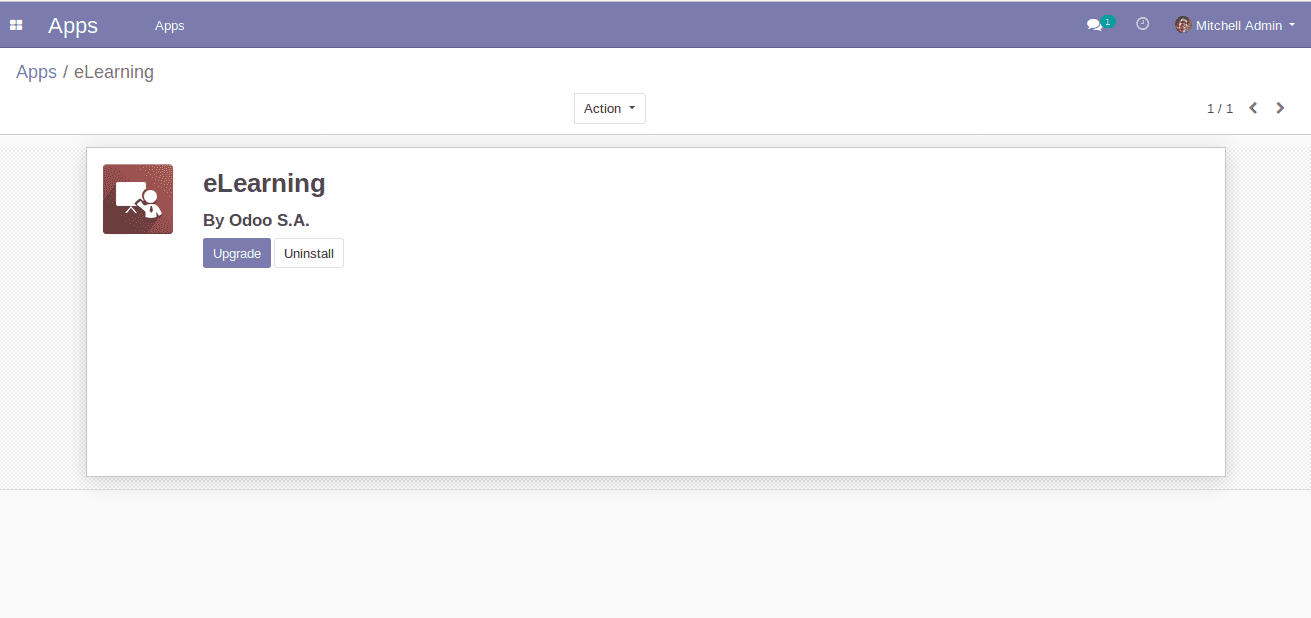
Post installation, go to the menu Website -> Configuration.
Here the end user can find the menu for configuring Channels, Categories, Tags, Channel Tags, and Channel Tag Groups.
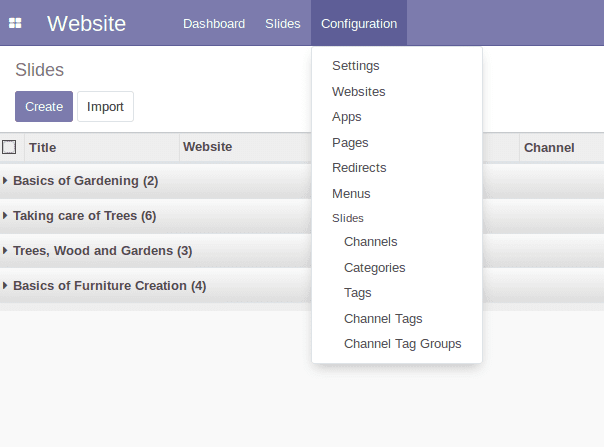
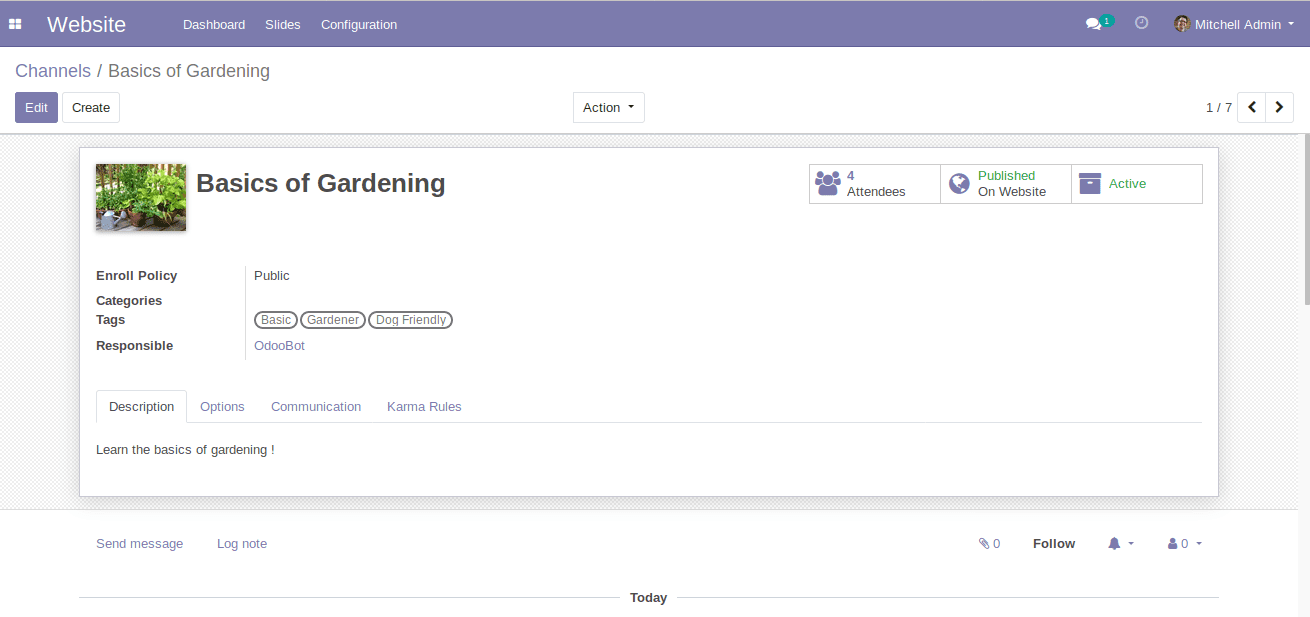
By clicking on Channels, one can see the already created channels and a CREATE button for further creating and configuring new channels.

This is the basic form of creating a channel.
While moving further to the options tab of the form, the end user gets the option to configure the channel options such as Course Types and Featuring Policy.

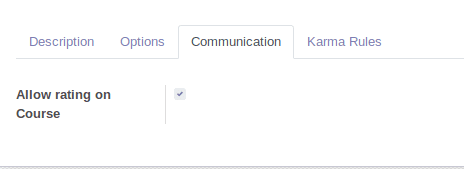
The following tab is communication. Utilizing this one can enable/disable the rating of their course.
And the last comes the tab titled “Karma Rules”. Using this tab, one can set rules and points for acquiring karma to those individuals who join and attend the course.

By selecting the menu “Categories” one can create and configure the categories of the course.
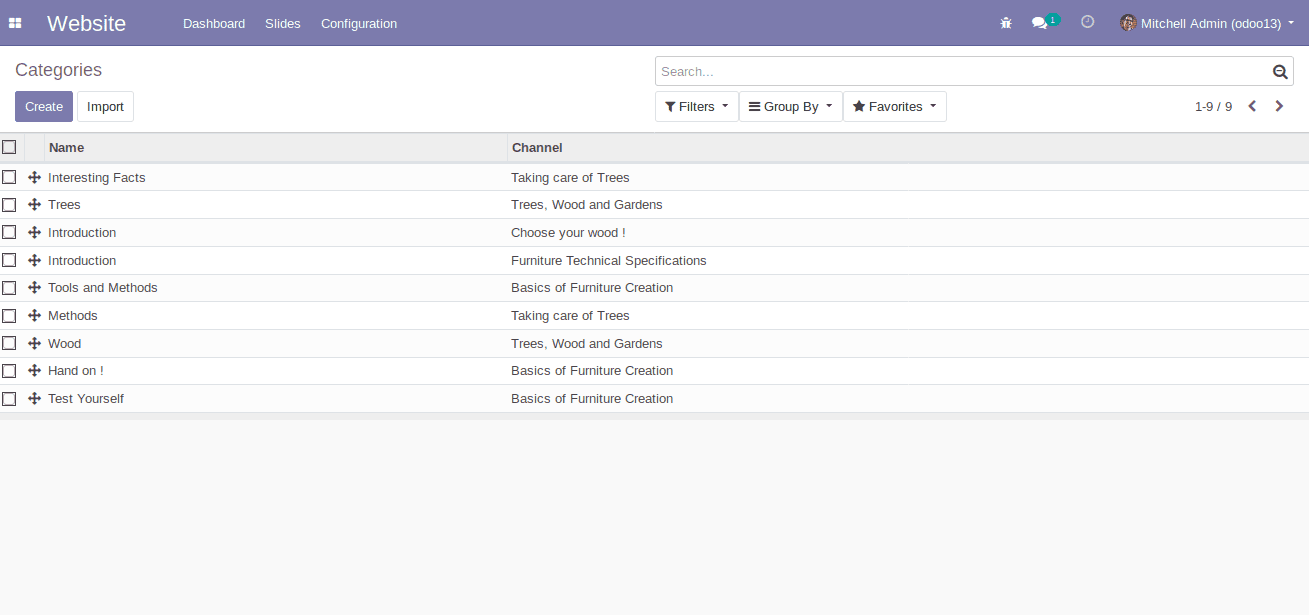
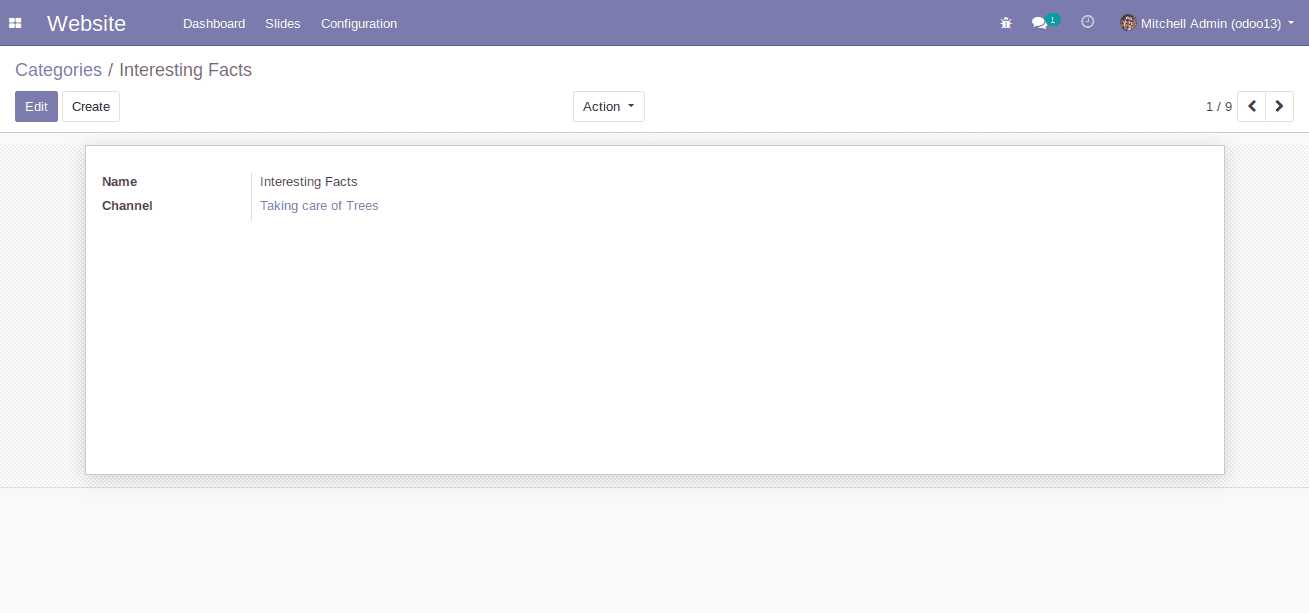
While configuring the “Categories” one can specify the name of the category and the channel of the category.
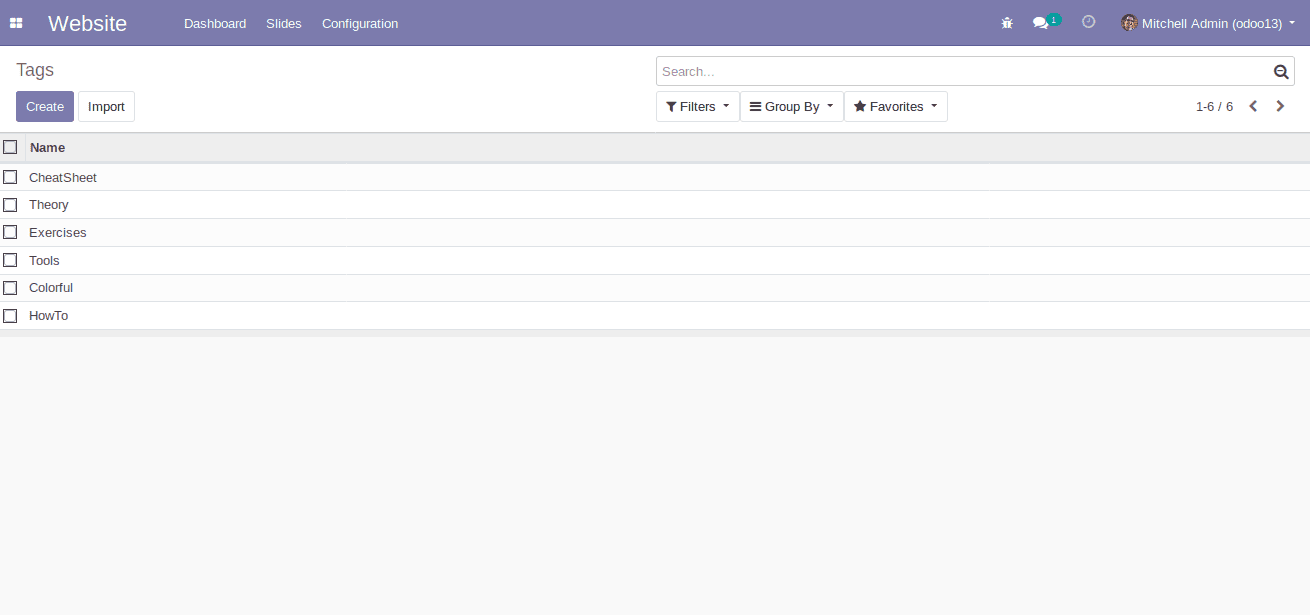
By selecting the next menu “Tags”, one can create different types of tags from here.
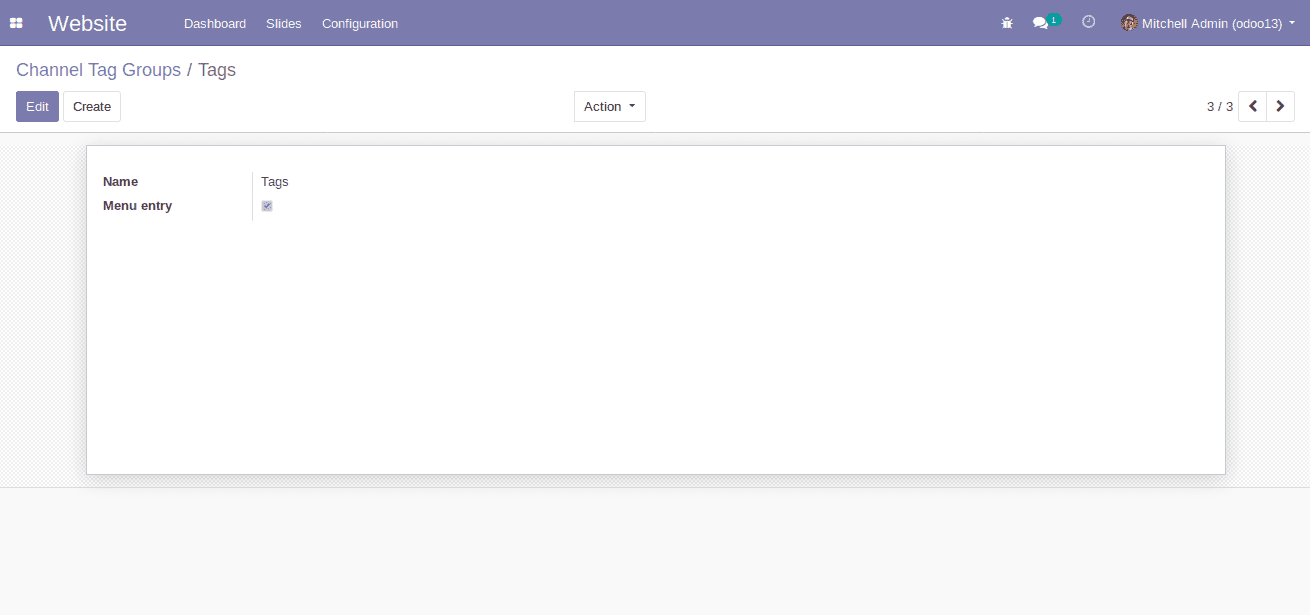
The next menu is “Channel Tag Group”, Here one has to create the tags group with its name and whether it is a menu entry or not.
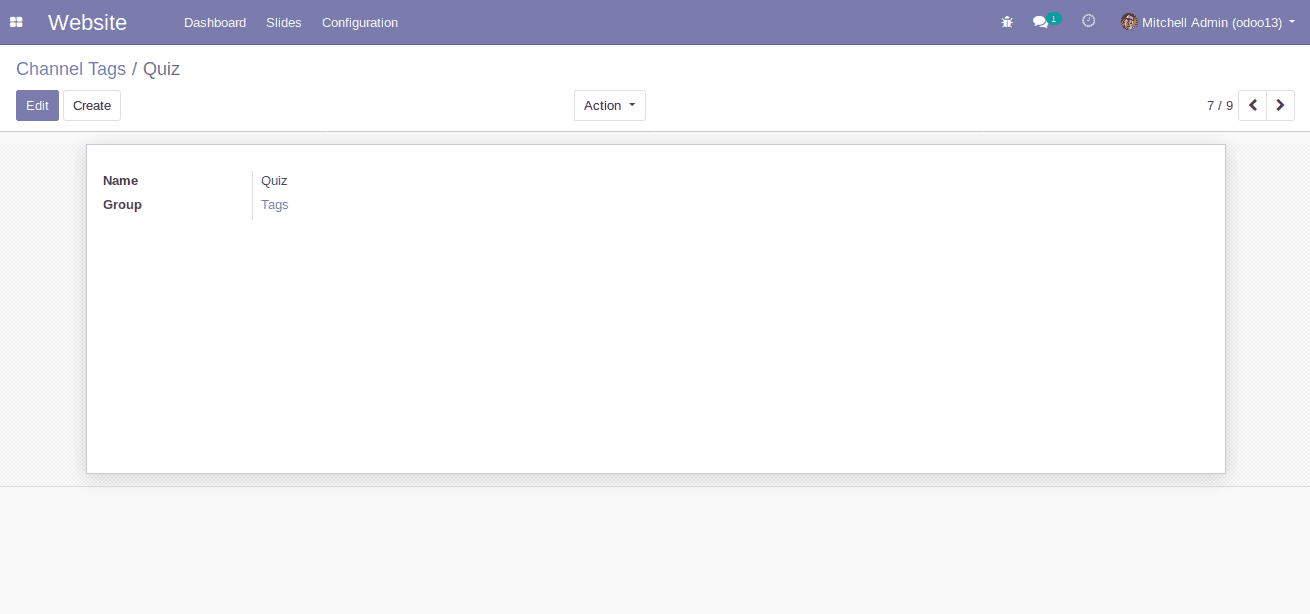
Next one can configure the channel tags via configuring the name of the channel tag and the group of the tag to which the tag belongs to.
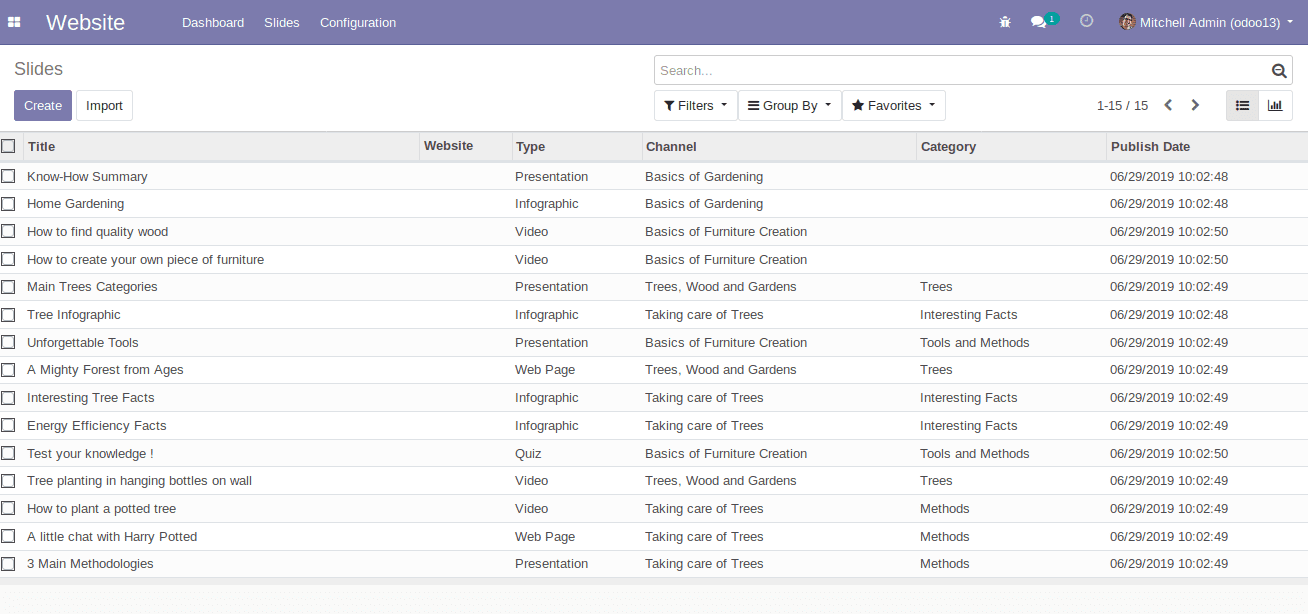
Now we can configure the Slides which we want to publish on the website. By clicking on the menu “Slides” one can see the created slides and the option for creating and configuring new slides.
While configuring the Course,
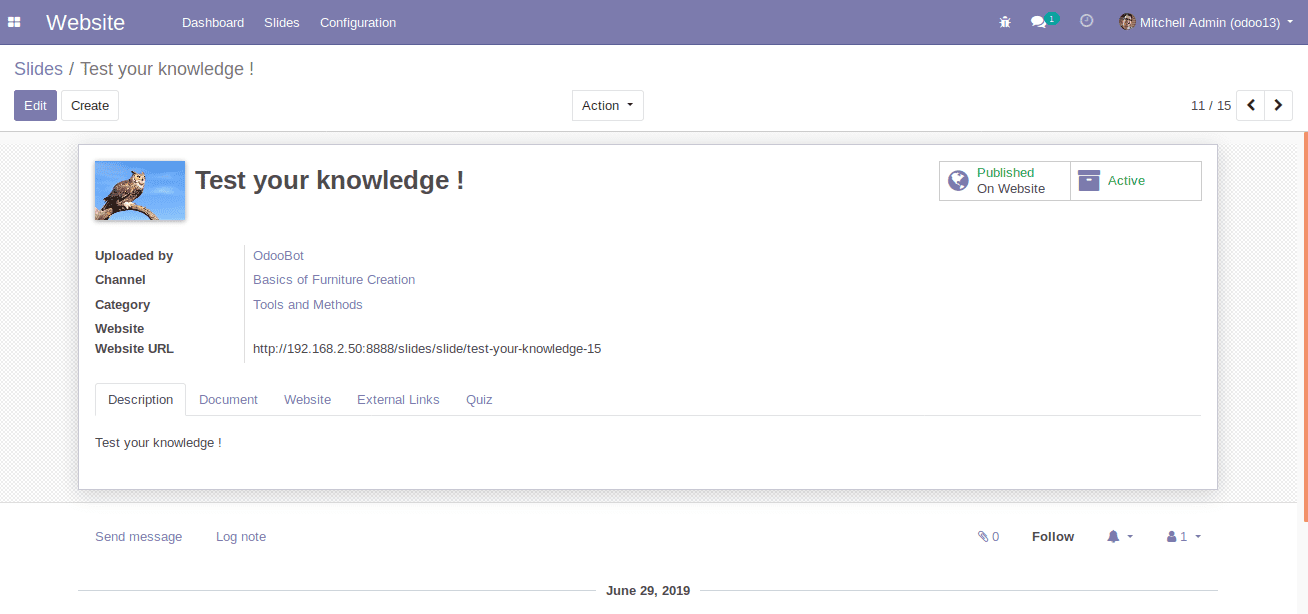
One has to specify
1. The name of the course.
2. The tags of the course.
3. The person who uploads the course.
4. The website and website URL.
5. The status of the course.ie, it is published on the website and it is active/inactive.
6. In the description, the tab provides a short description of the course.
The next tab is “Document”

Here in the document tab, one has to specify the course type. Also can attach the files related to the course.
Next comes the “Website tab”, from where the end user can see the course status which they got published on the website i.e. the views, likes, dislikes and more.

Followingly comes the “External Links”, from where one can add the titles and the external links related to the course.

The final tab is “Quiz”. Utilizing this one can configure the rules, the marks, the questions and the correct answers for the quiz.

Now one can check the courses on the website. The end user can view the courses via clicking on the menu “Courses” in the website.
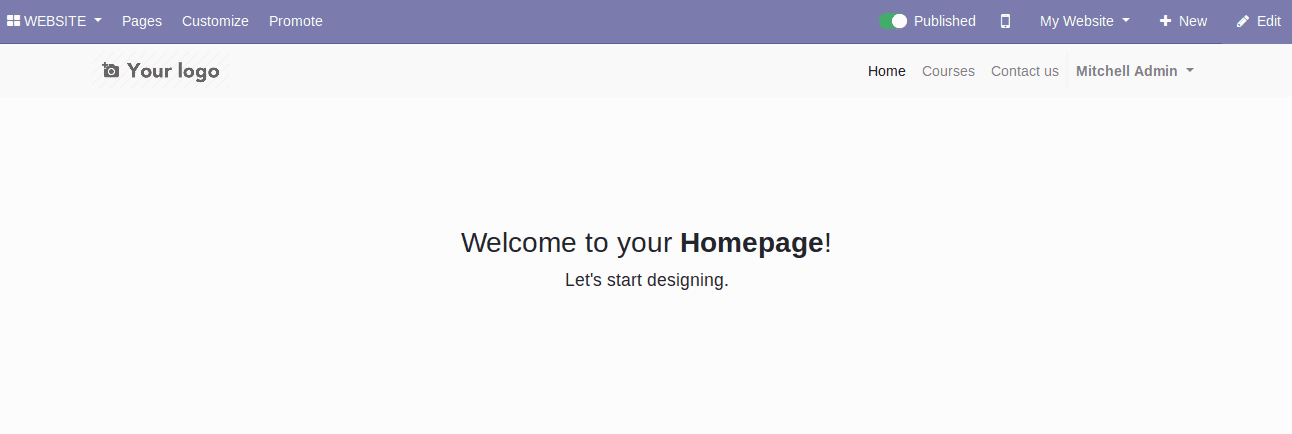
Later the end user will be redirected to the Course. Then Click on the button “Pick a Courses” to view and join the course.

Here, one can view, filter and search the courses that they want.
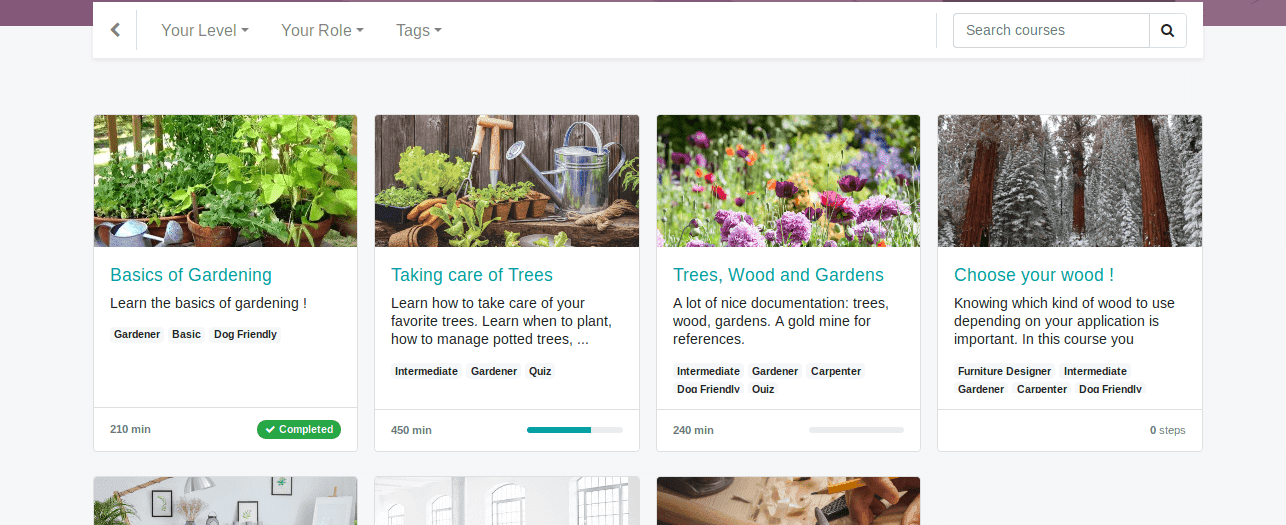
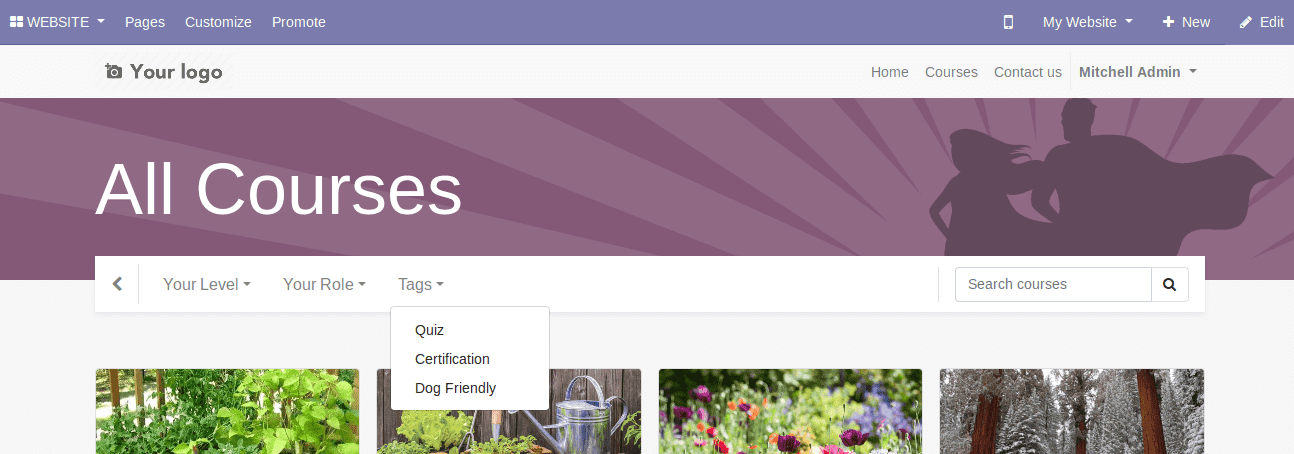
One can filter the courses by
1. Your Level
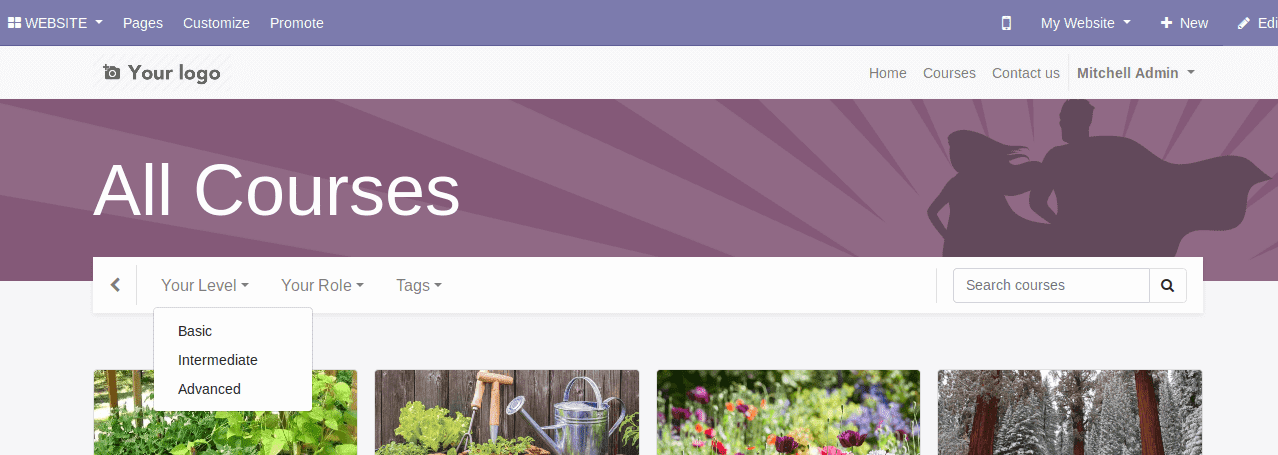
2. Your Role

3. Tags
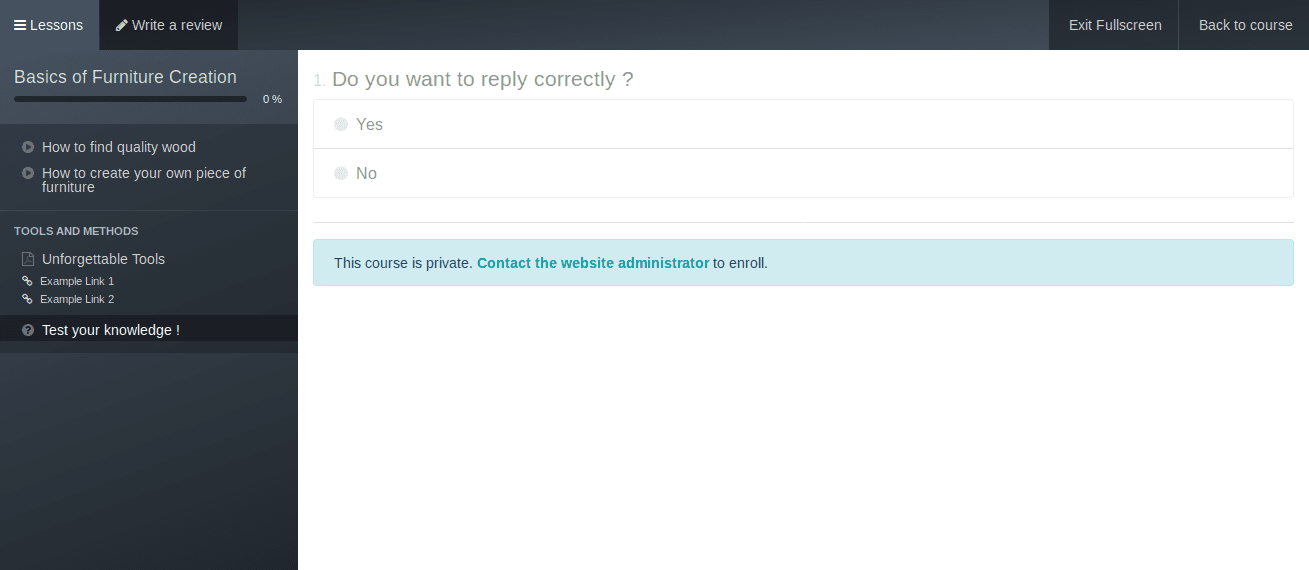
By selecting the course, one can use them the way it is configured. For example, let’s check the course titled “Basics Of Furniture Creation”.
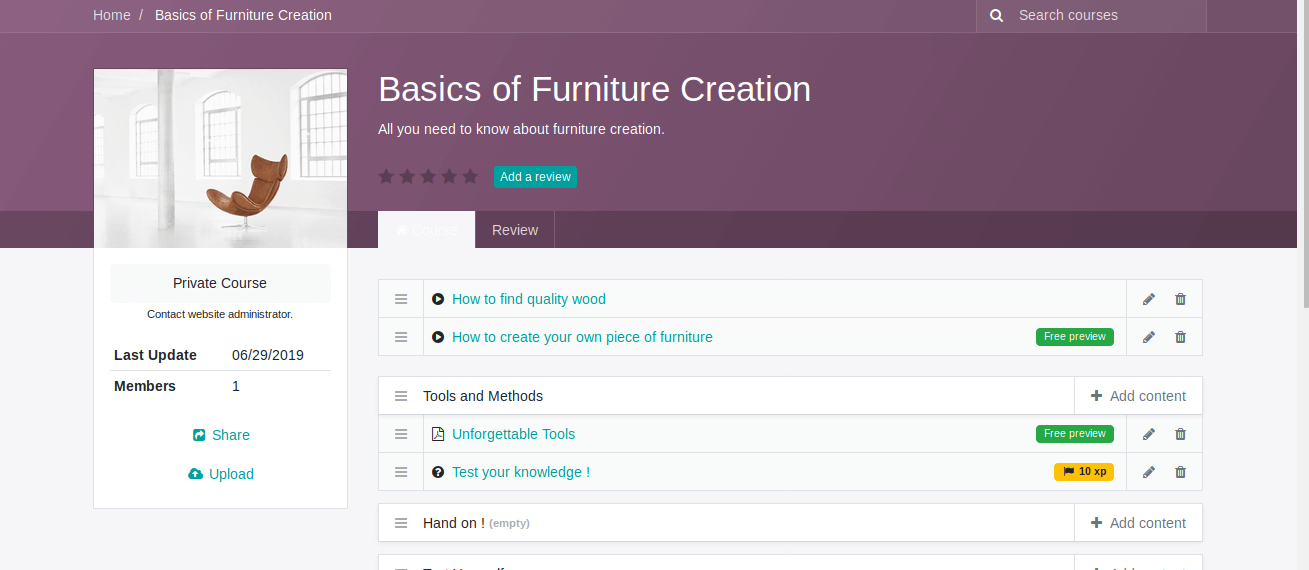
Firstly, go for the contents prescribed in the course. The below image includes one of the contents which is moreover a quiz model.
Under the home tab of the courses, the end user can see a dashboard containing activity status of the user which are currently logged in including rank, badges gained, etc.
By clicking on the “View” one can see the courses and the percentage of the courses which the user is joined.
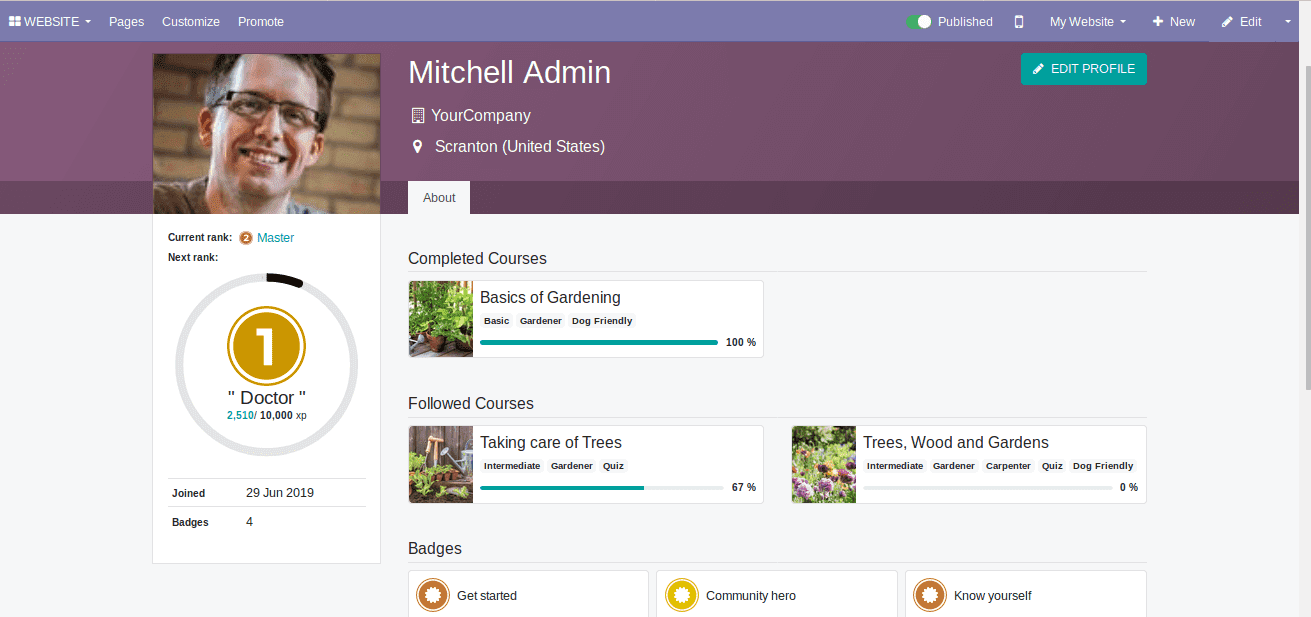
The rank of the user can be improved by gaining karma through joining multiple courses and completing them successfully.
Learn more from Odoo 13 Documentation