Employee expenses are fees that employees incur while carrying out their job responsibilities and for which their employer reimburses them. These costs may cover things like transportation, food, lodging, and supplies. Companies often set precise cost rules and guidelines, describing which expenses are acceptable for reimbursement and the supporting documentation needed for each claim, in order to manage employee expenses effectively.
When working on a project, an employee may occasionally incur costs, such as travel costs. It's crucial in these situations to invoice the consumer for such costs. In just a few simple steps, Odoo 16 allows you to assign employee expenses to a particular project. First, make sure the Project Management and Employee Expenses modules are installed. Then, establish a record of the employee's expenses, including a note about the project in the expense details. By choosing the right document from a dropdown menu while filling out the expenditure report, Odoo enables you to link expenses to projects. It will be simple to track project-related expenses after the expense has been submitted and approved because it will instantly be linked to your chosen project.
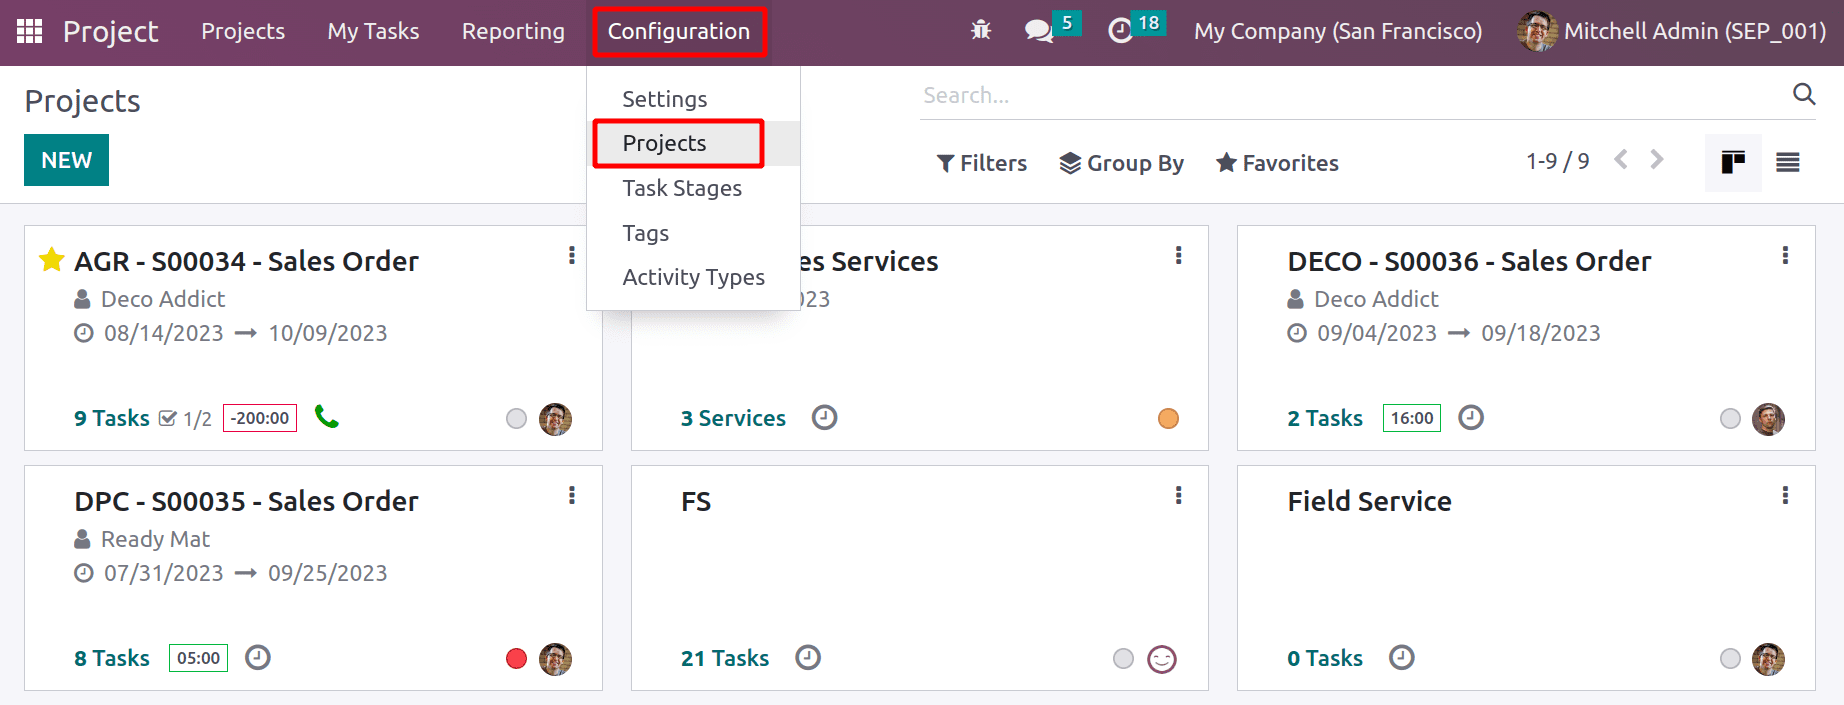
So let's create a project first. For that, move to the Project module in Odoo16. The project module dashboard contains a list of previously configured projects. The user can either create a new project from the dashboard or go to Configuration, and from there, choose the Projects.
: Configuration > Projects > New
Here, the Admin creates a new project for the employee. So click on the New button. The created project name is Field Service. Which is for the customer named Lumber Inc. The details like the Project Manager's name, Planned Date, Tag, Company name, and Allocated Hours are updated. For adding more settings, click on the settings tab. Then, after adding changes, save the project.
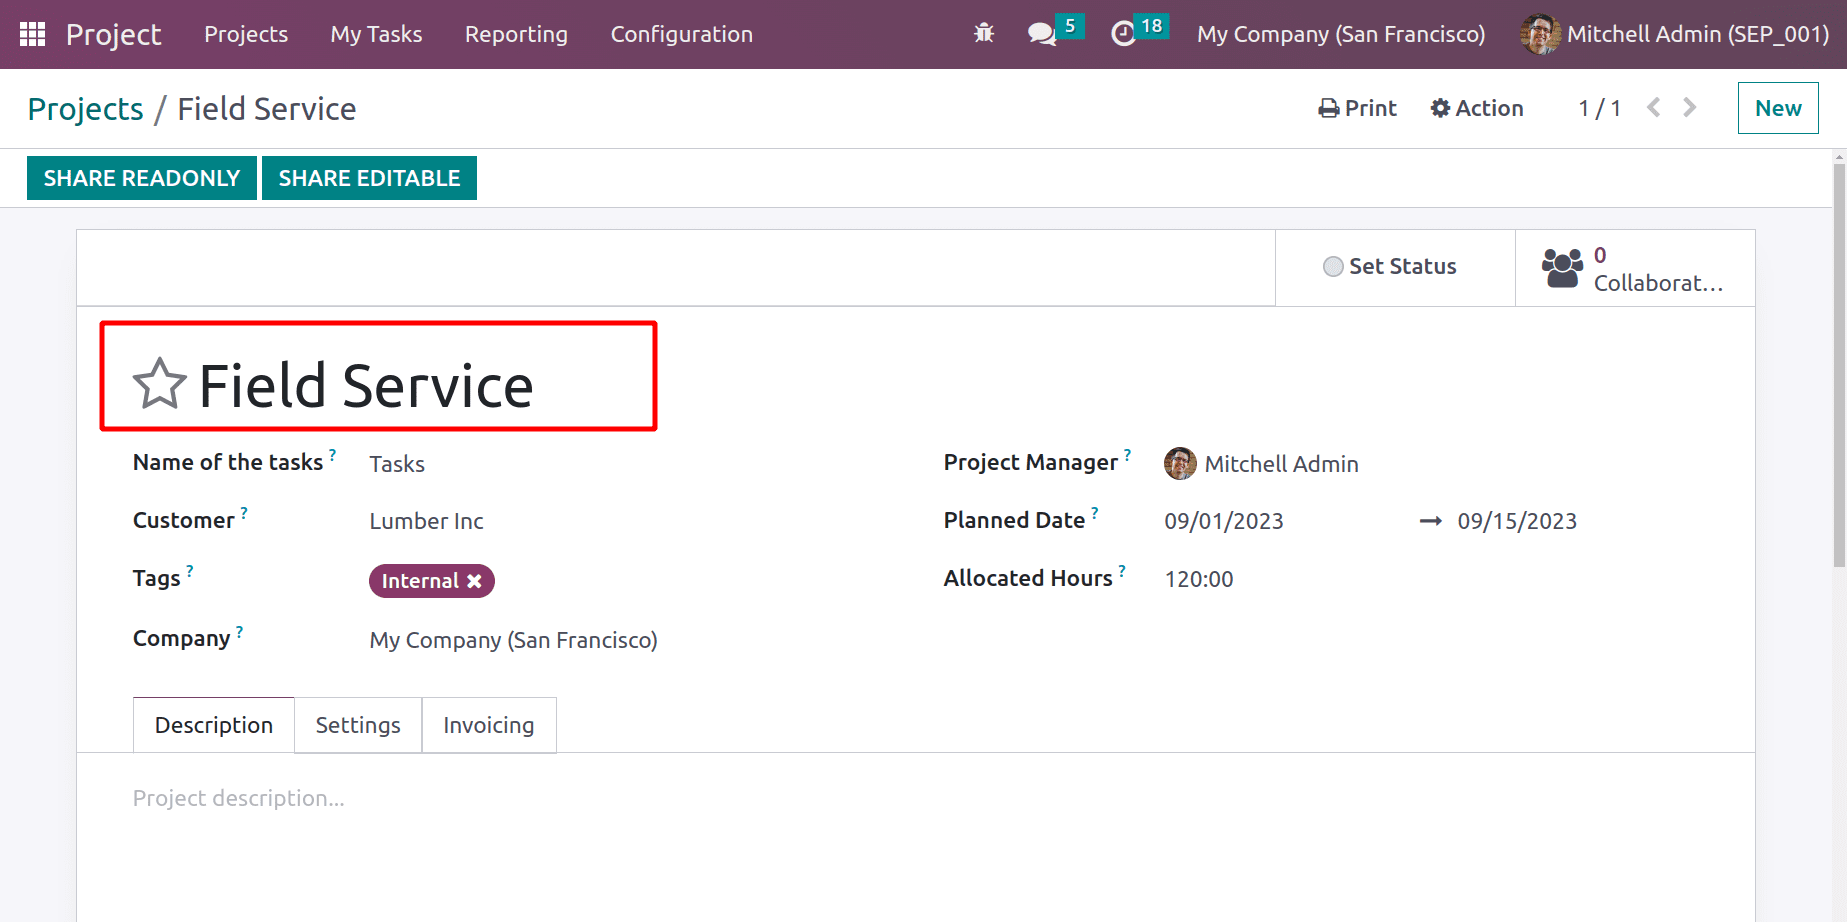
The project Field Service is assigned to an employee. Marc Demo. so the employee can add a timesheet to the project. If any expense is taken to complete the task, it's possible to add that expense to the customer invoice.
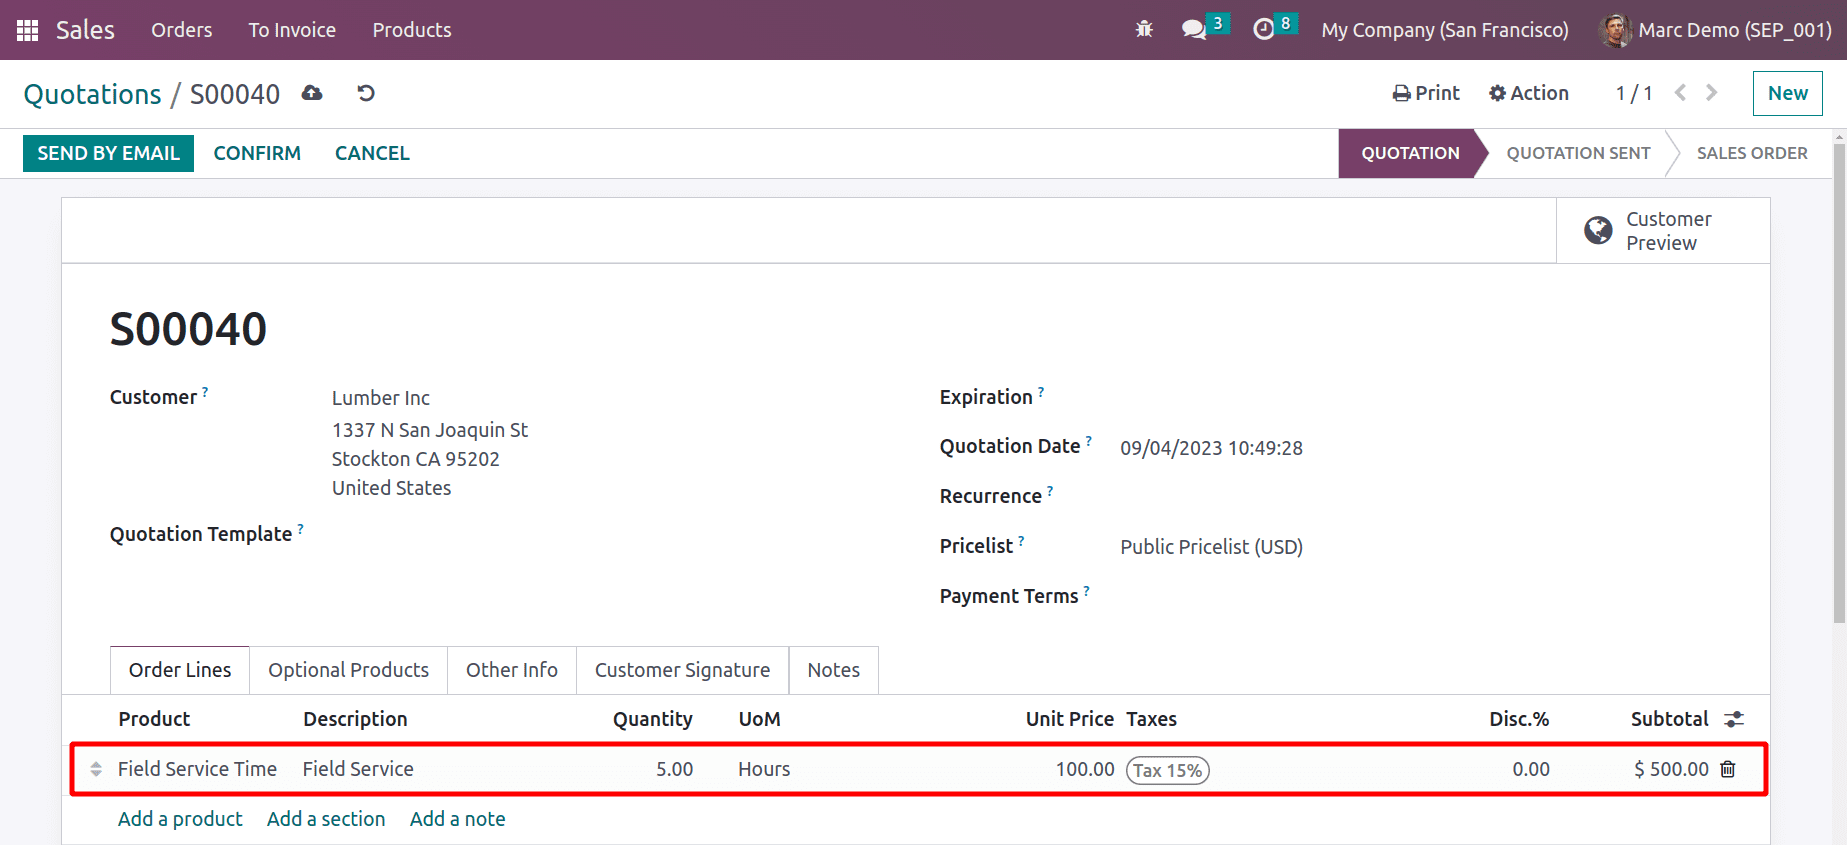
So log in as Marc Demo. So, a sale order is created for the customer. Here a product ‘Field Service Time’ is added because the employee needs to invoice both the spent time and Expense in the same invoice. Product quantity added as five hours.
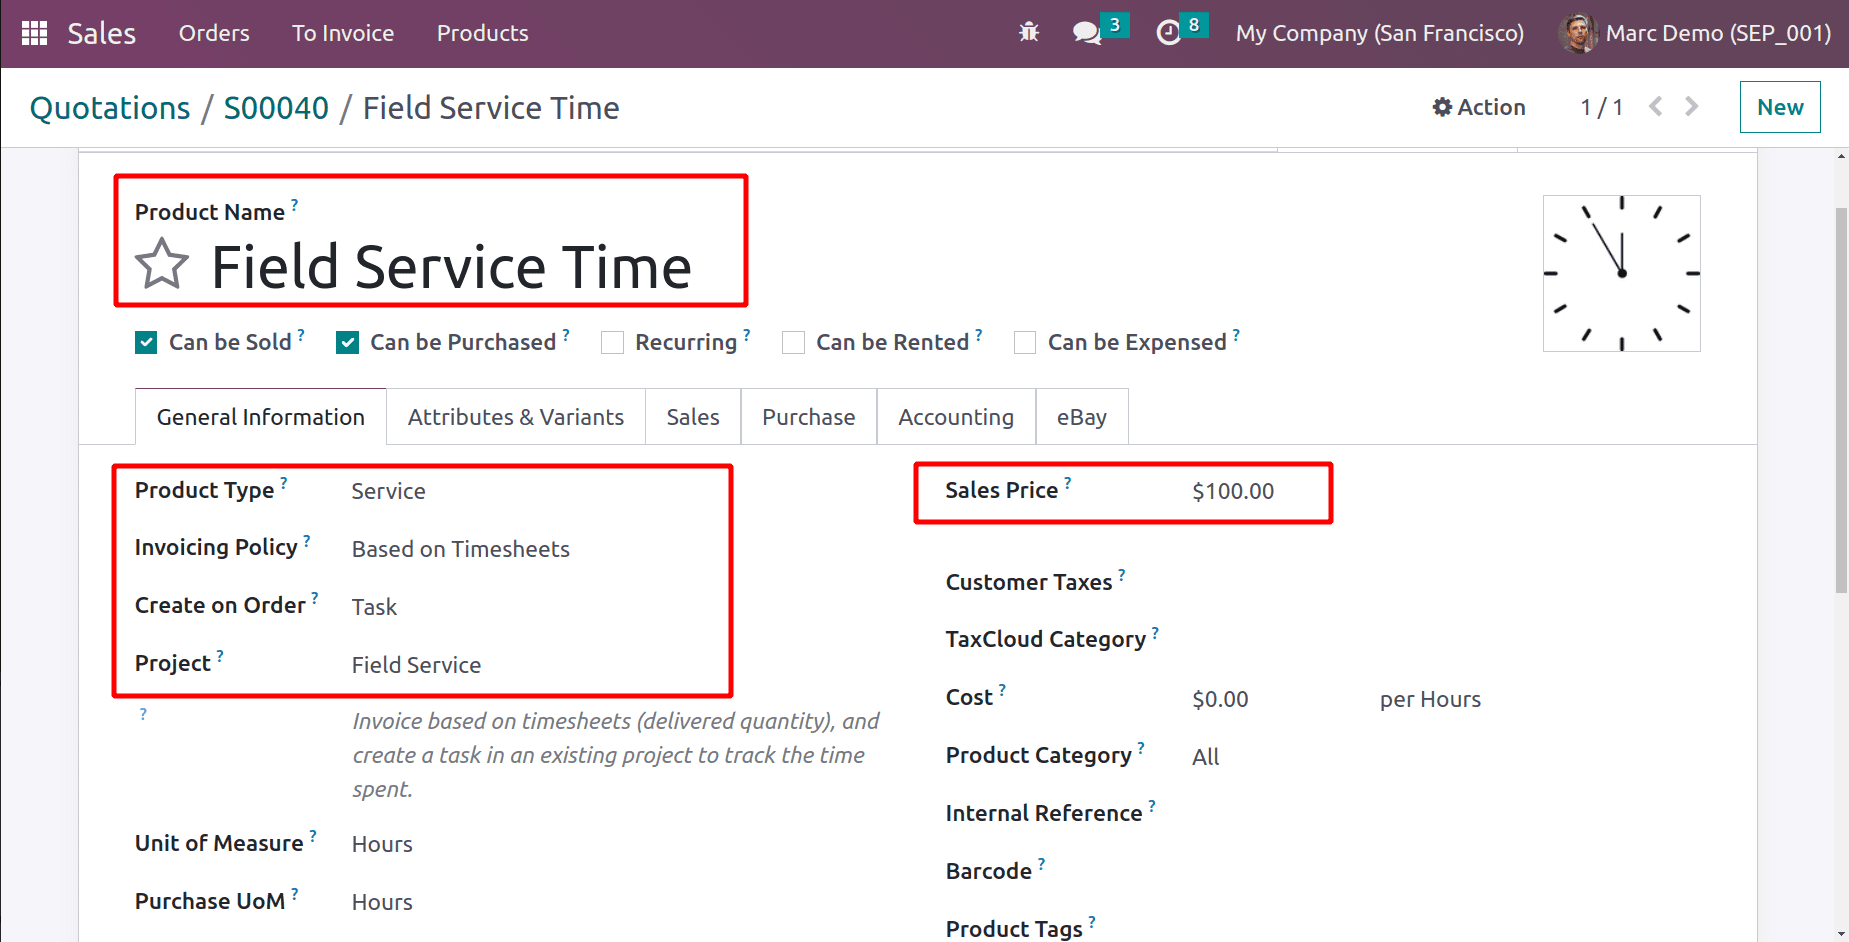
To check the product, open the product through an external link. The product type is Service and Invoicing policy is Based on Timesheet. The product sales price is set as $100, which means that if the employee added a one-hour timesheet, then the amount invoice is $100. This product will create a Task on the project named Field Service after confirming the sale order.
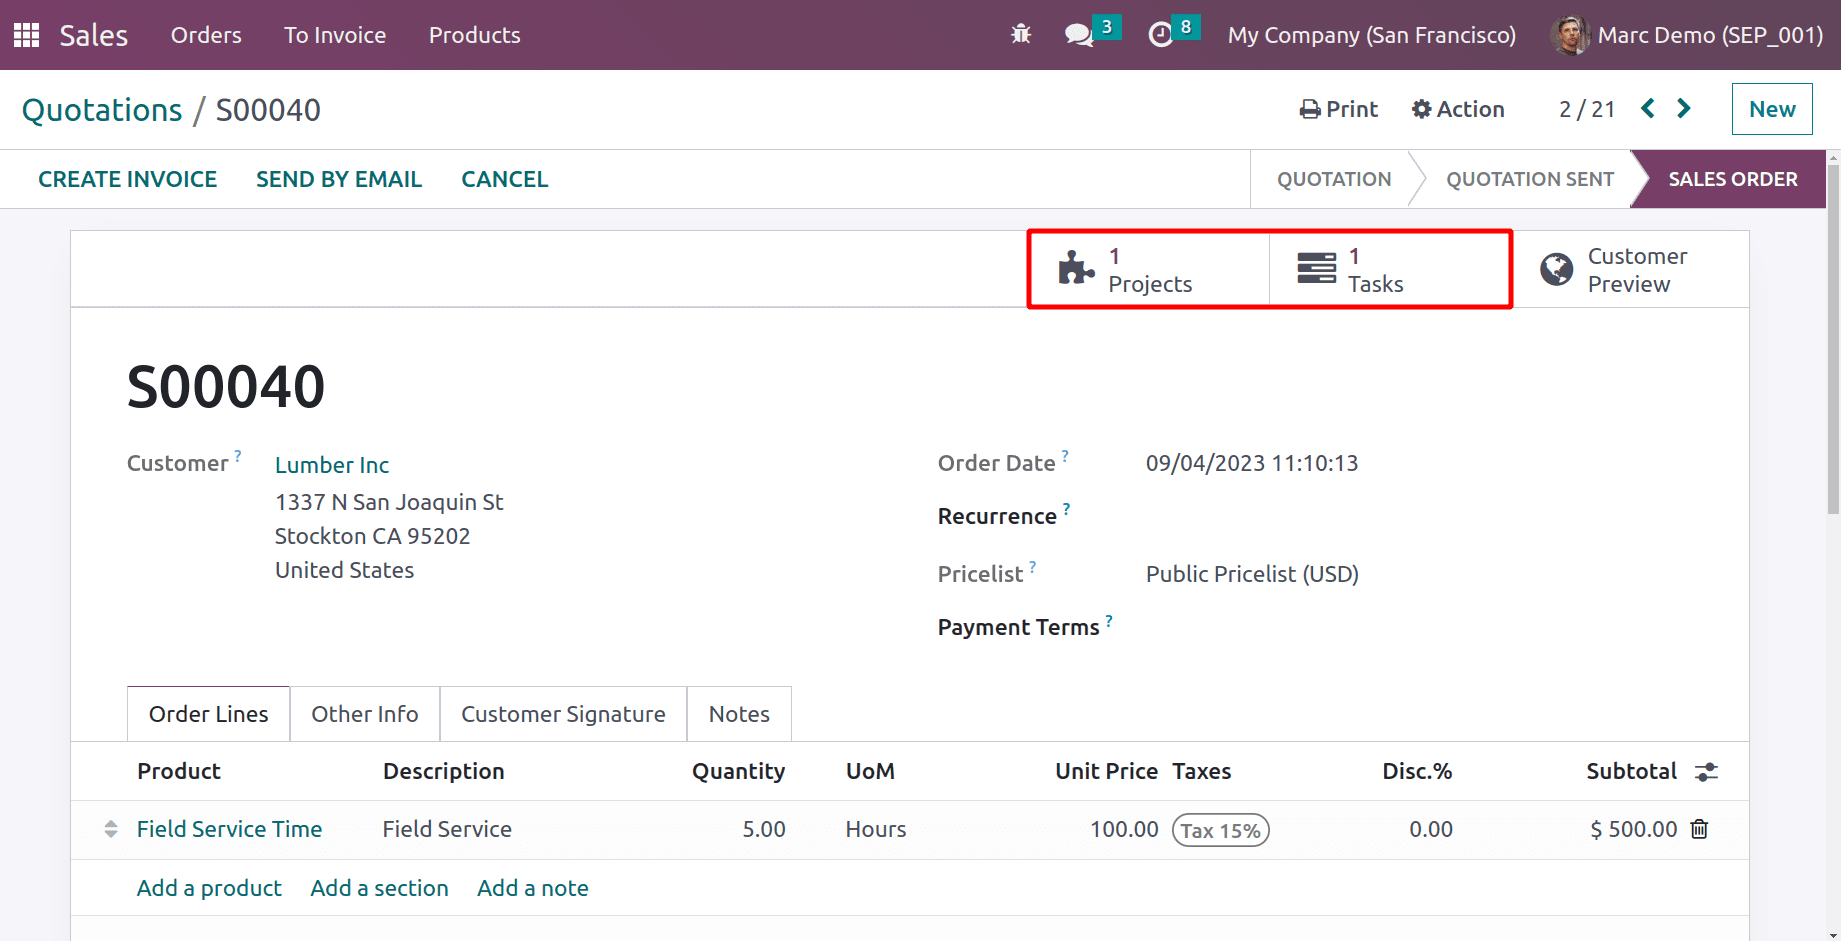
Confirm the Sale order. Instead of delivery, two smart tabs were created there. One is Project and the second one is Tasks. These smart tabs ‘Projects’ will lead the user to the same product created by the admin. The smart tab ‘Tasks’ implies that a new task is added to the Project.
The employee travels to the Field, he takes four hours to complete the task. So the time he spends to complete the task can be added inside the task. So Open the smart tab Tasks. The task name is S00040 - Field Service. The project name, customer name, and order item are added automatically. The Assigned person is Marc Demo.
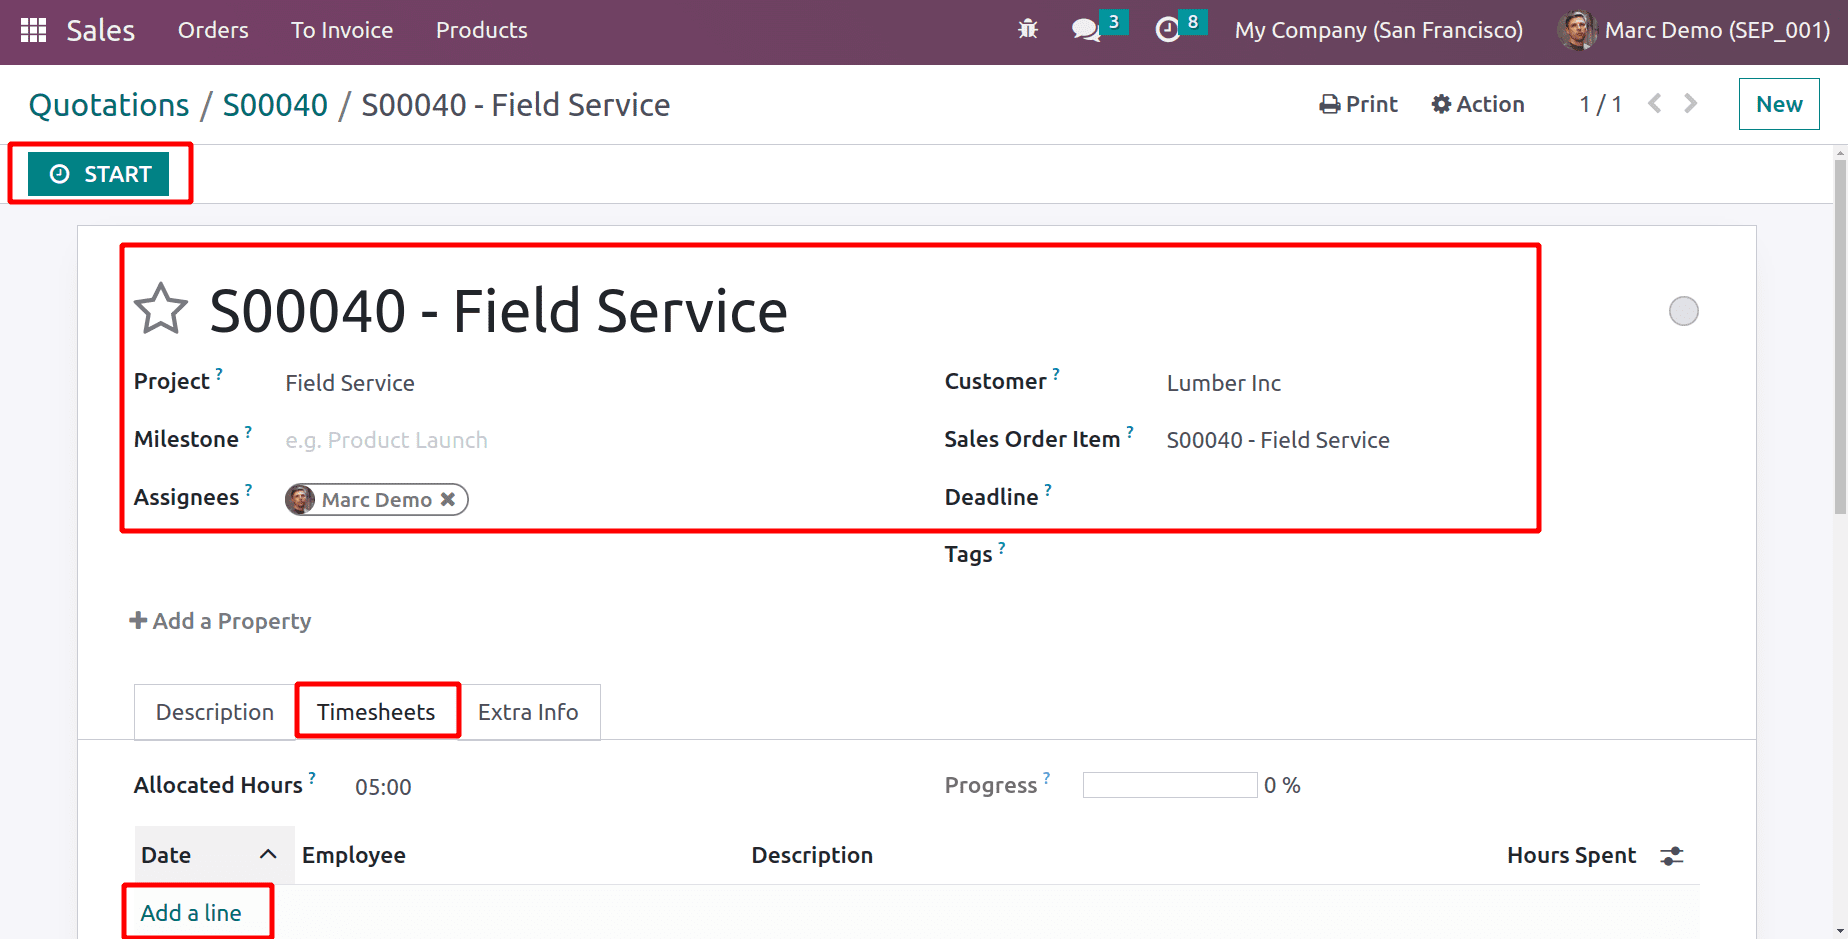
The assignee can add a timesheet in two ways. One is by clicking on the START button placed at the top left corner. The second is using the Add a Line option inside the Timesheet tab.
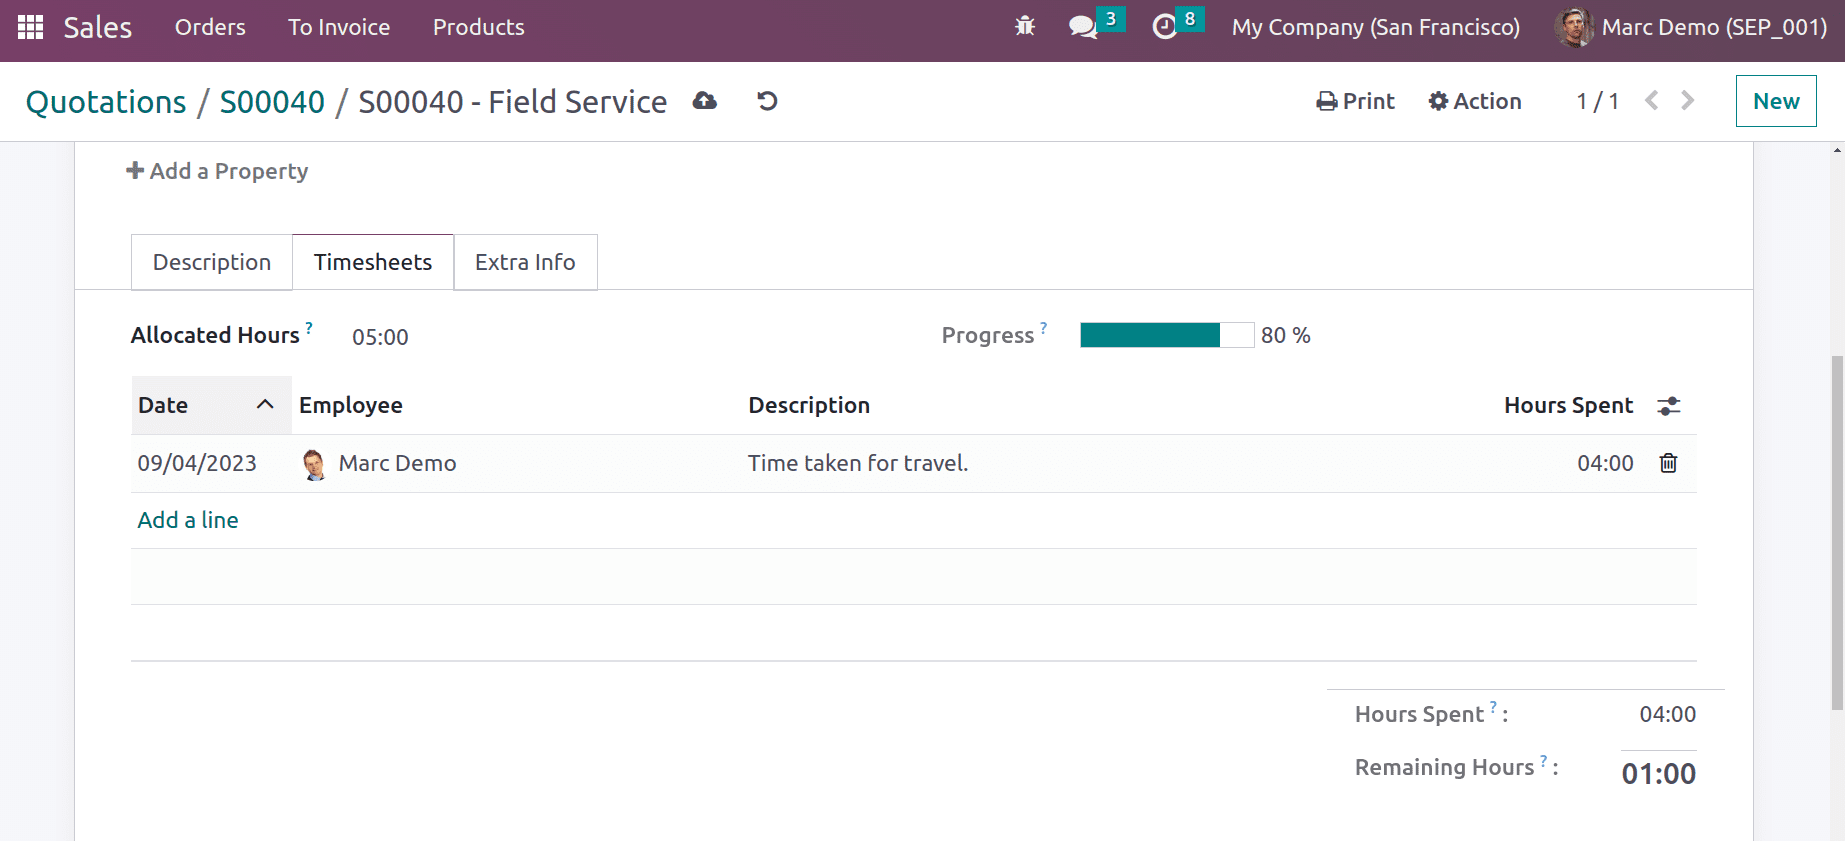
The employee added four hours of time for traveling. Then go back to the sale order. There, the time is automatically updated. And a new smart tab named ‘4 hours Recorded’ is added.
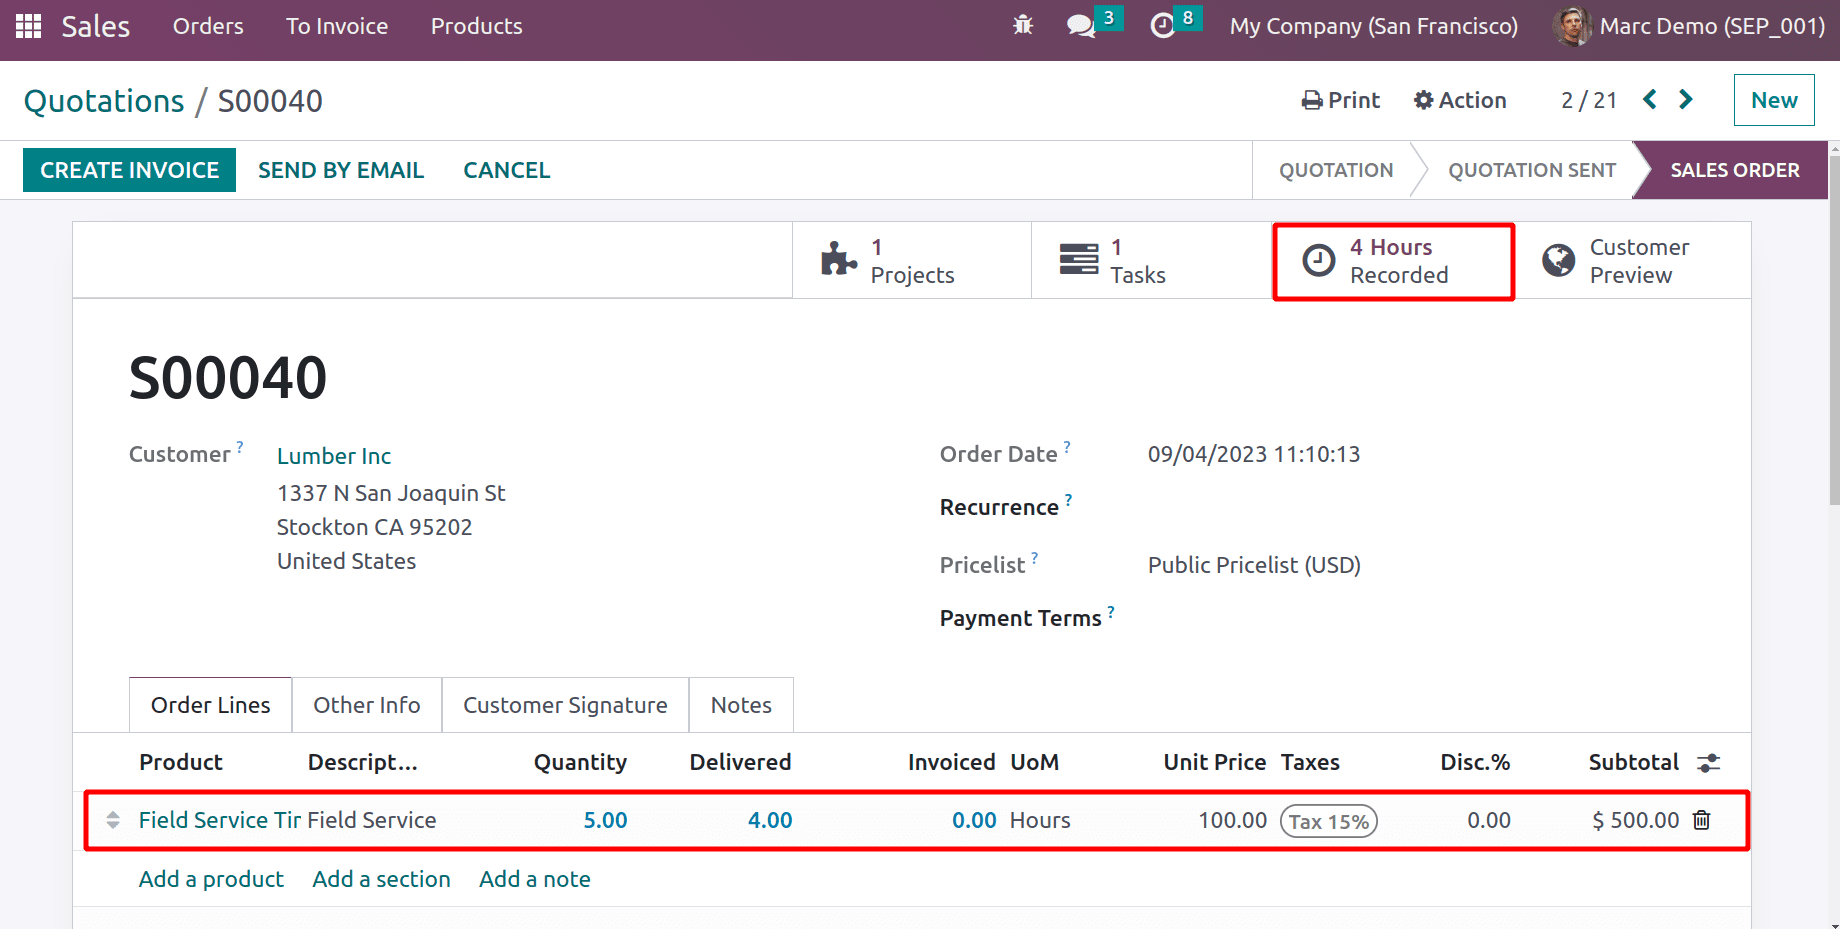
So the employee takes some expense to complete the task, those are the travel expenses. So the employee can add the expense to the same sales order. Let's see how it works. For that, the employee first needs to add his expenses to the system.
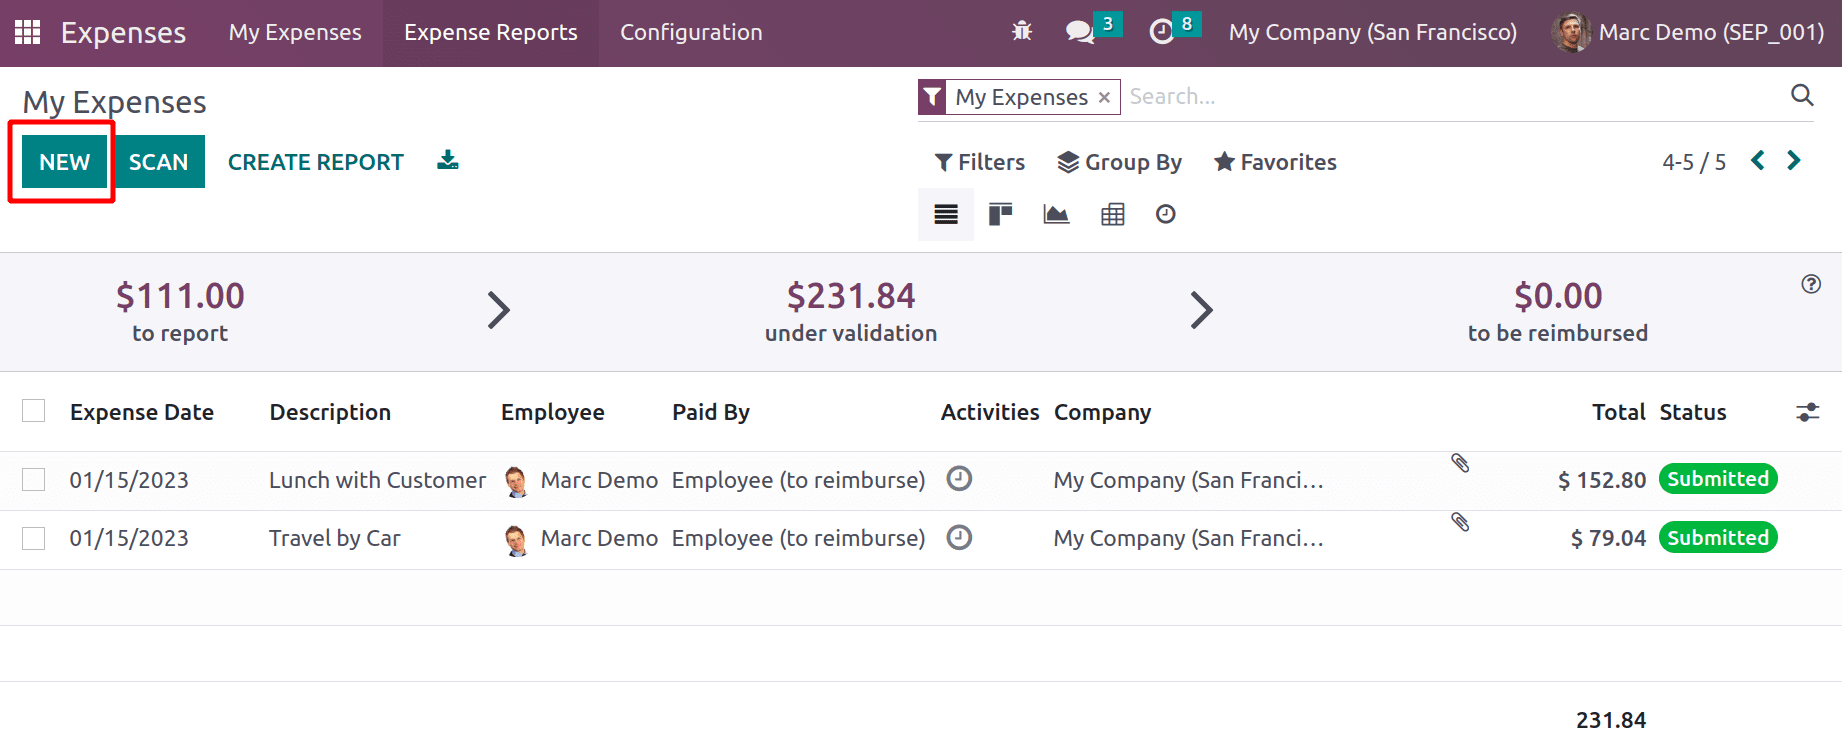
Which can be possible from the Expense module. The dashboard shows all the expenses created for the employee Marc Demo. so click on the New button to add a new one.
An expense was created with a description as ‘Travel for Field Service project’. The category chosen is Travel & Accommodation and the total added is $299. Inside the Customer to Re Invoice field choose the created sales order number.
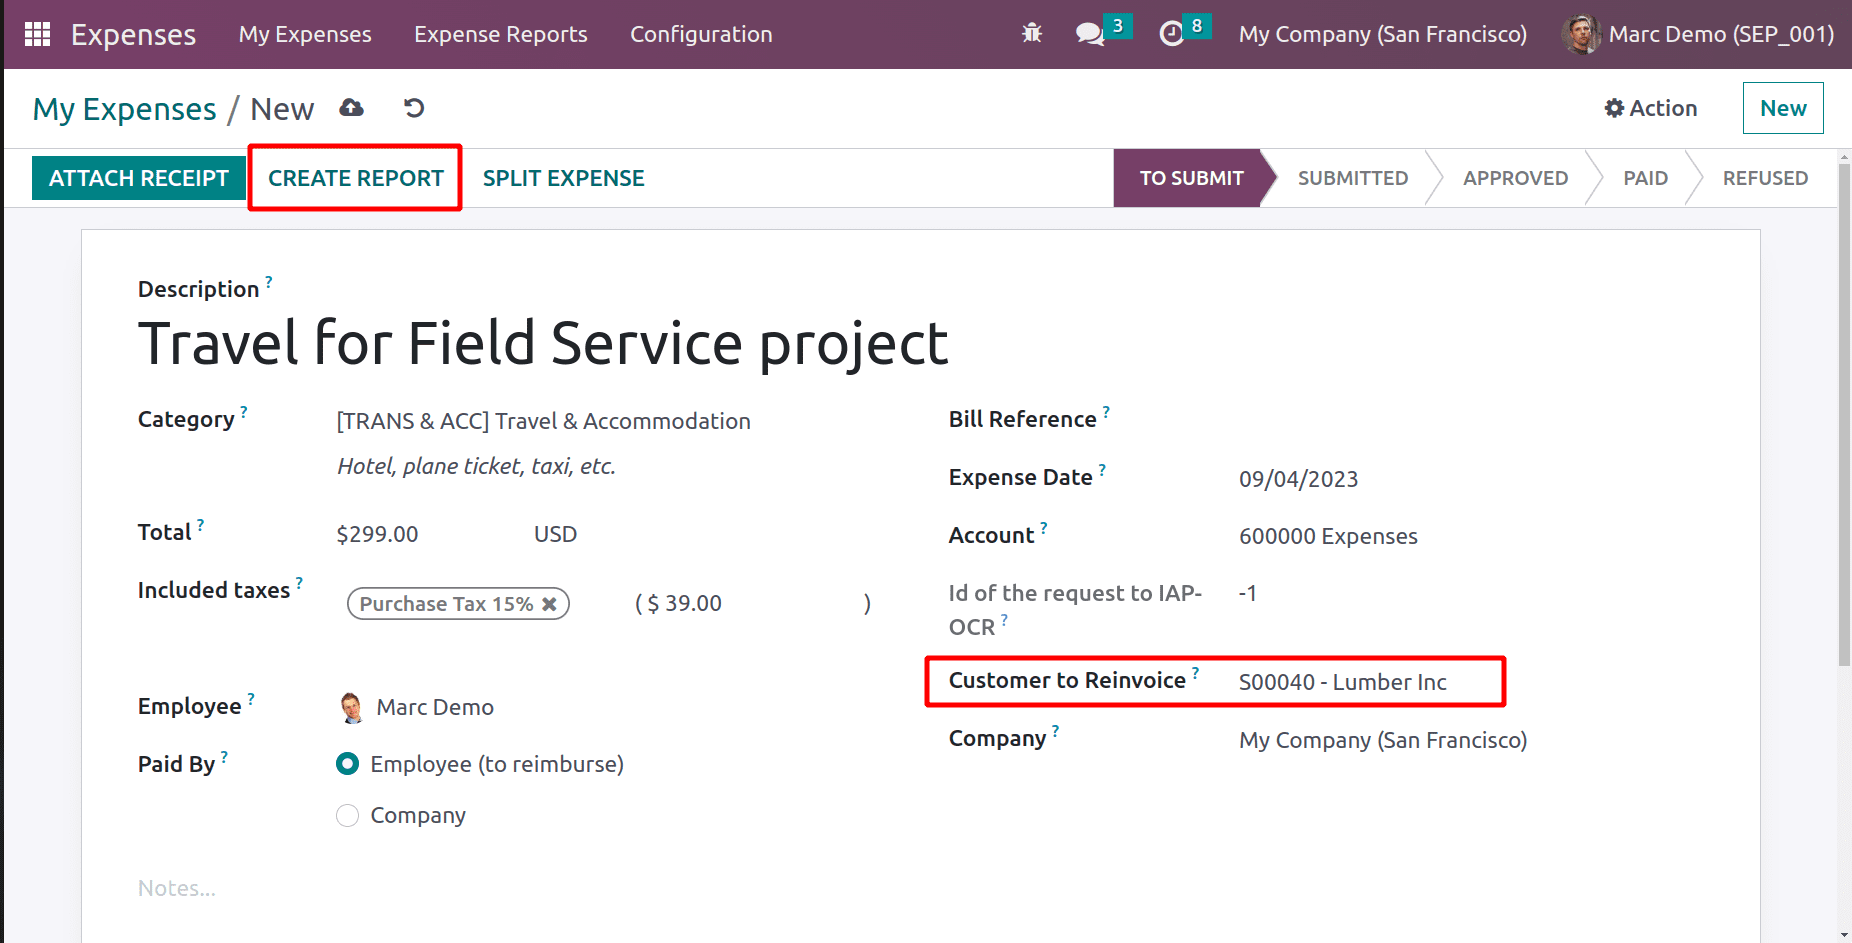
The employee can attach any receipt or bill to this expense by clicking on the ATTACH RECIPT button. Then Create an expense report.
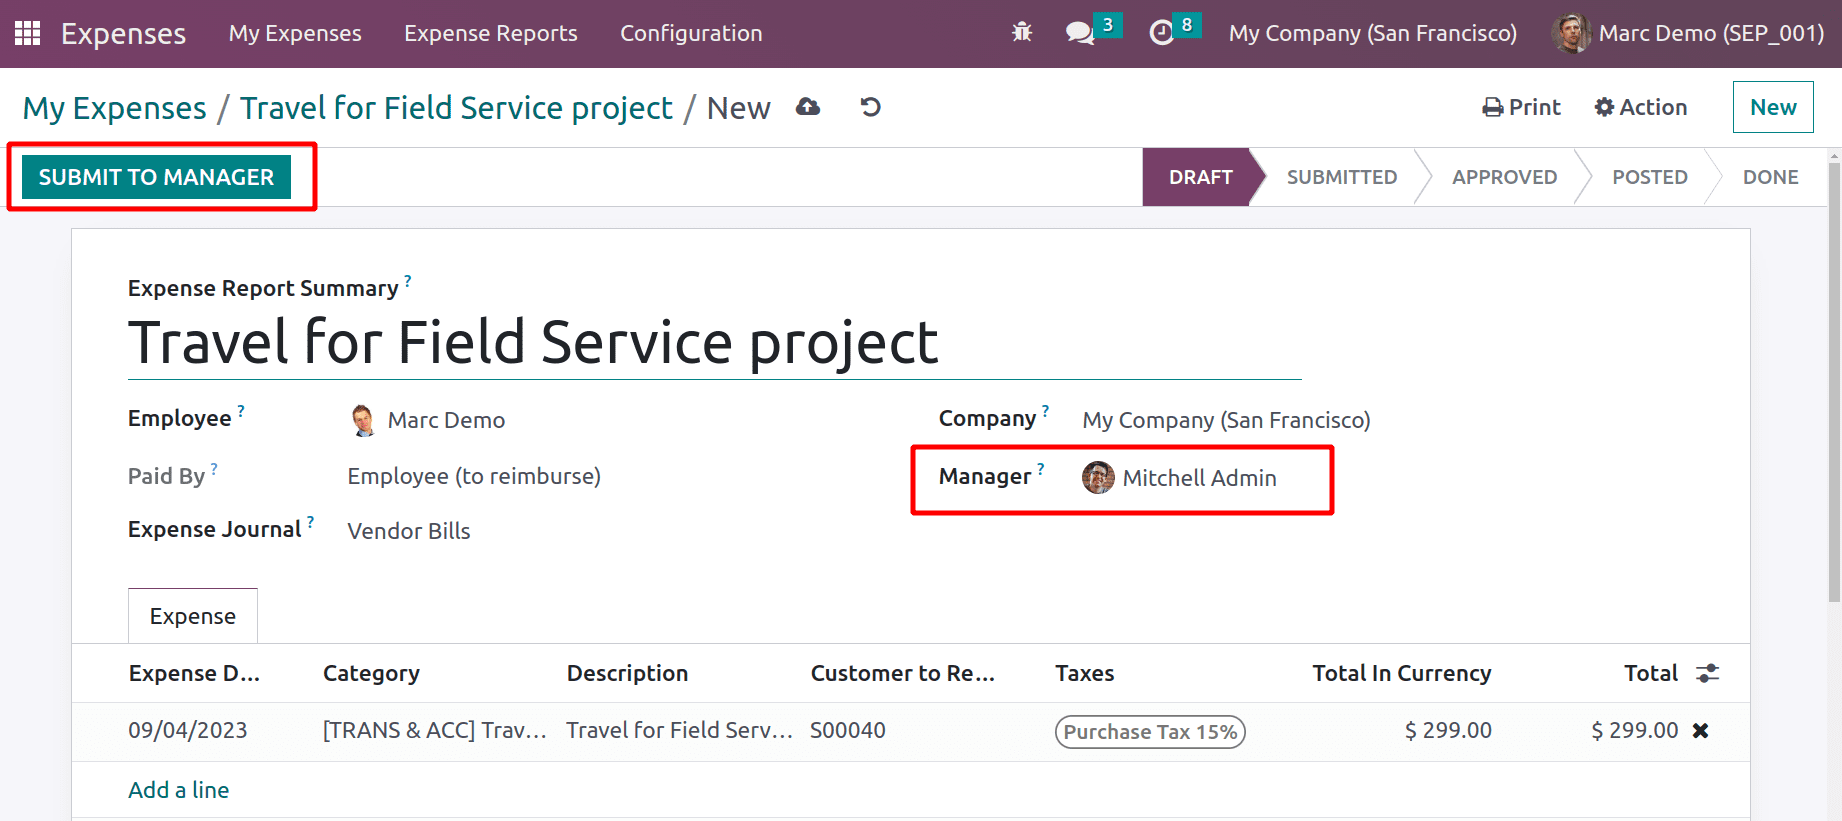
The expense report contains all the details of the expense. The employee needs to submit the report to his manager for approval. So the SUBMIT TO MANAGER button can be used for submitting reports. The manager is Mitchell Admin here. Then the stage changed to Submitted from Draft.
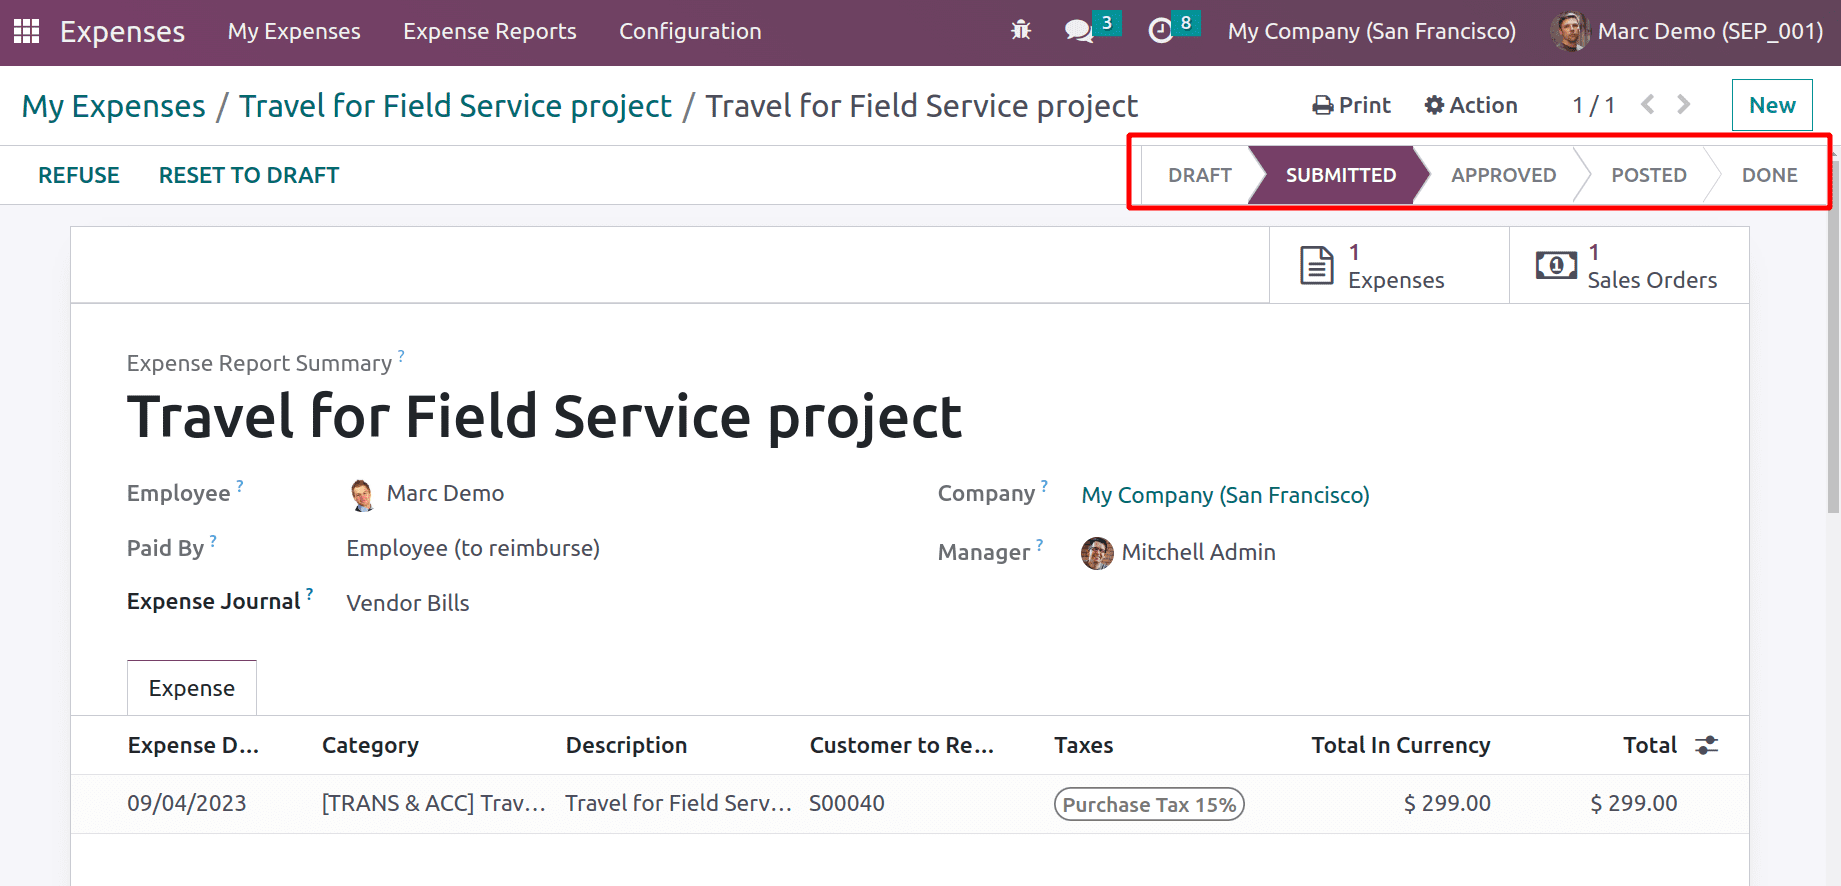
Then the expense report is changed to the Submitted stage and waiting for the manager's approval.
Log in as Mitchell Admin, and click on the Expense module. The submitted report can be accessed from the Expense Report. Click on it and open the corresponding expense report submitted.
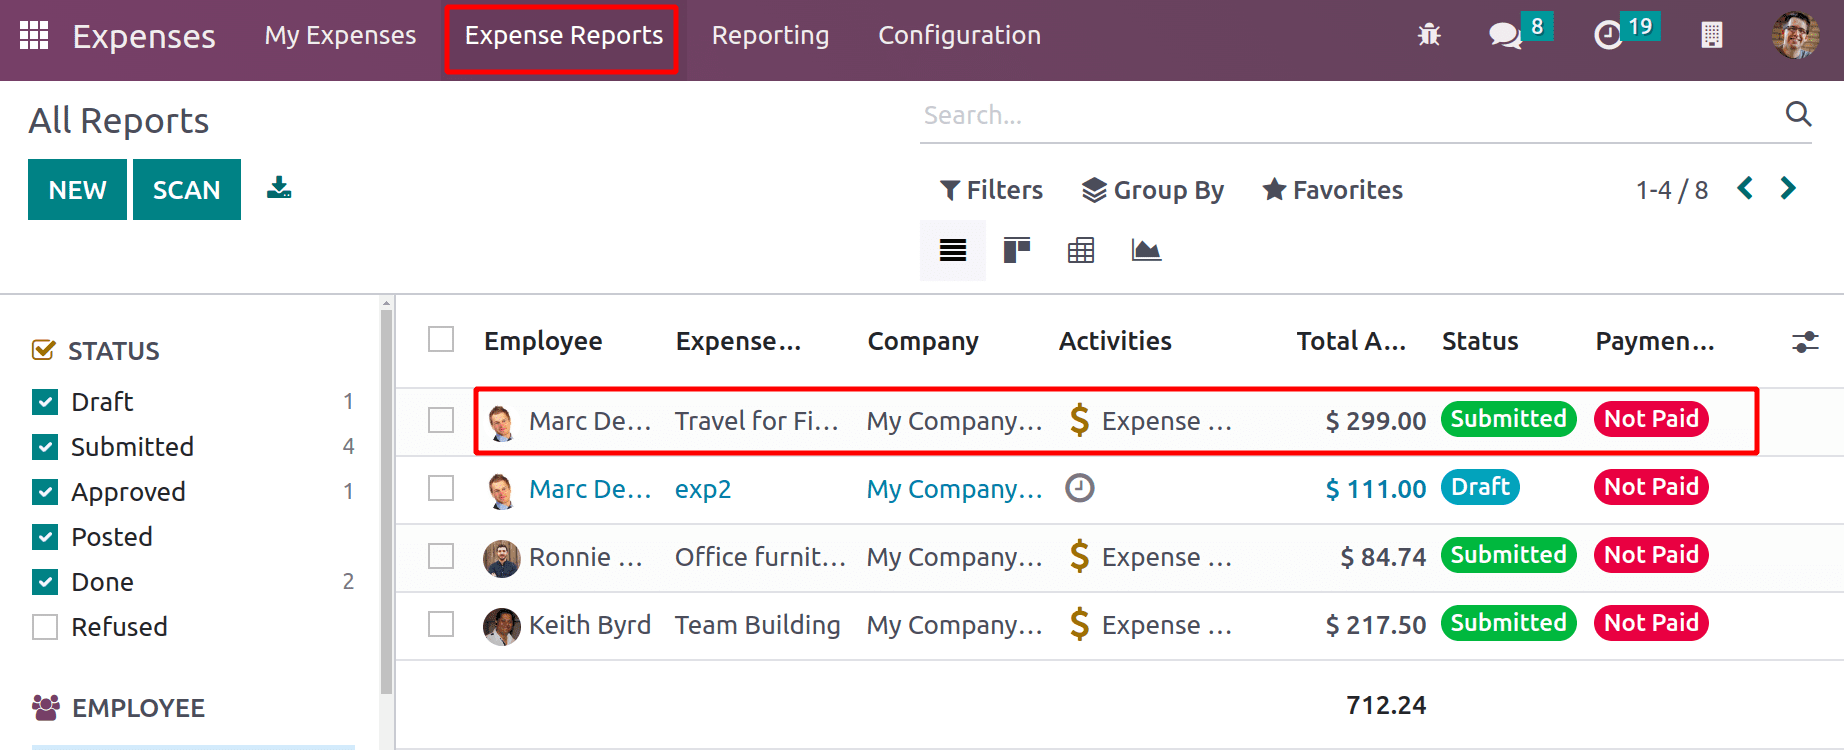
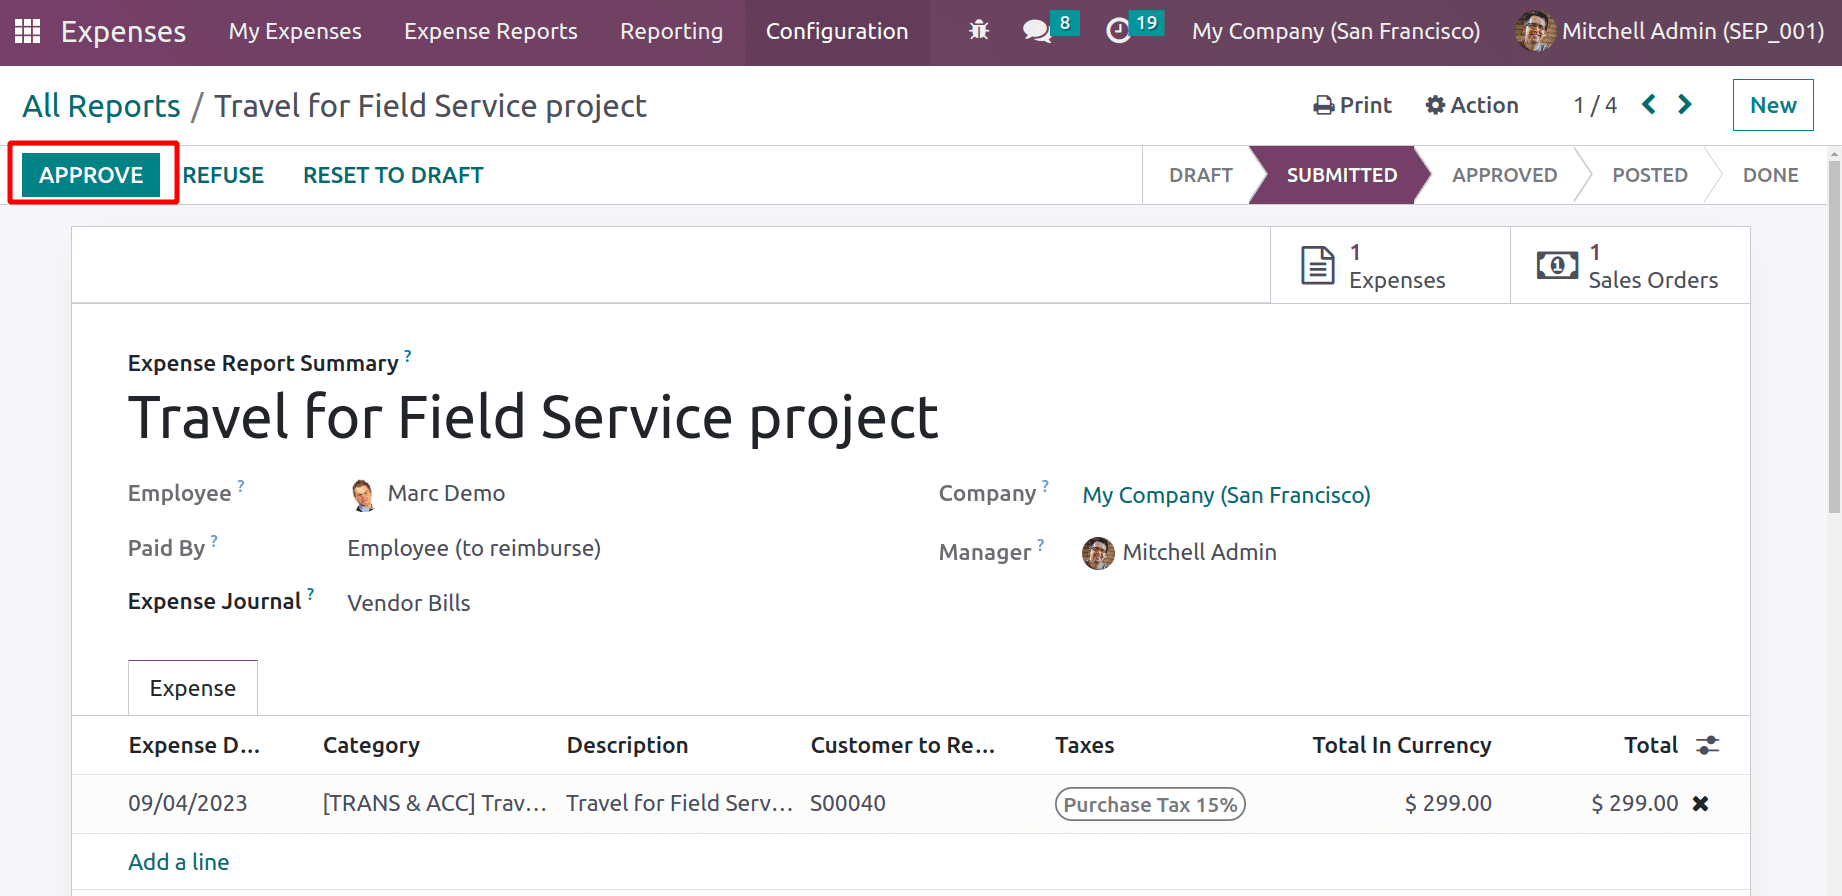
Then the Admin can approve the expense report in a single click after confirming it. Click on the APPROVE button placed on the left side.
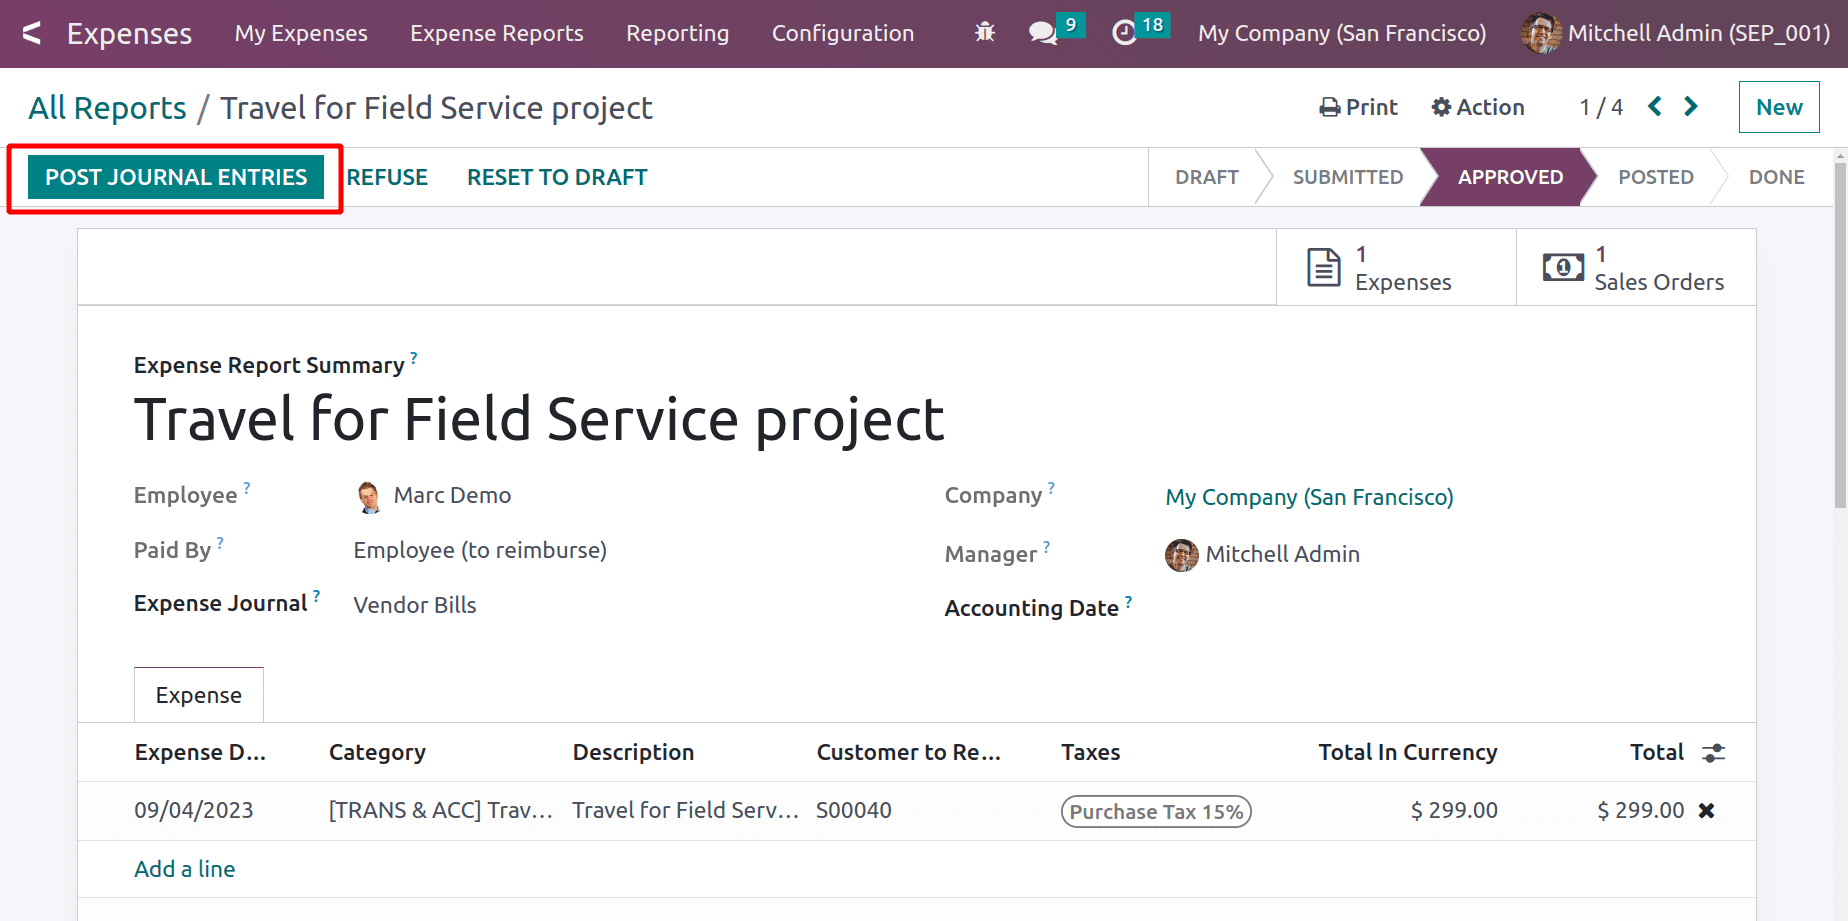
Then the journal entries can be posted by clicking the POST JOURNAL ENTRIES button.
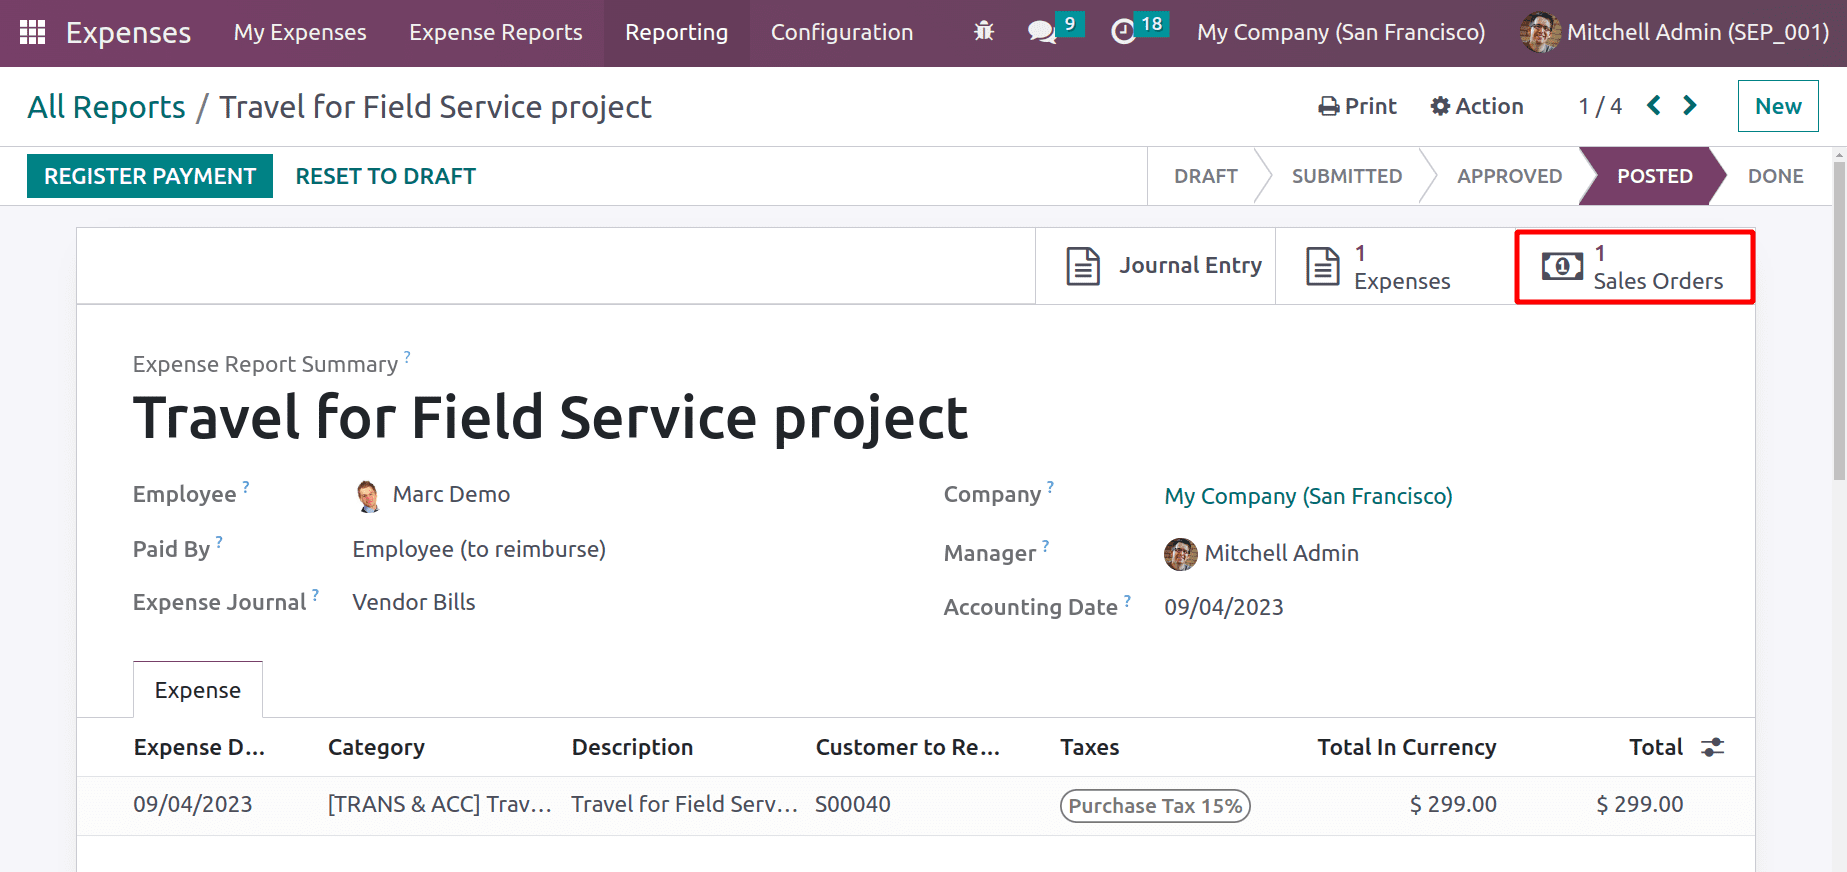
Then, open the smart tab named Sale Orders to check the created sale order.
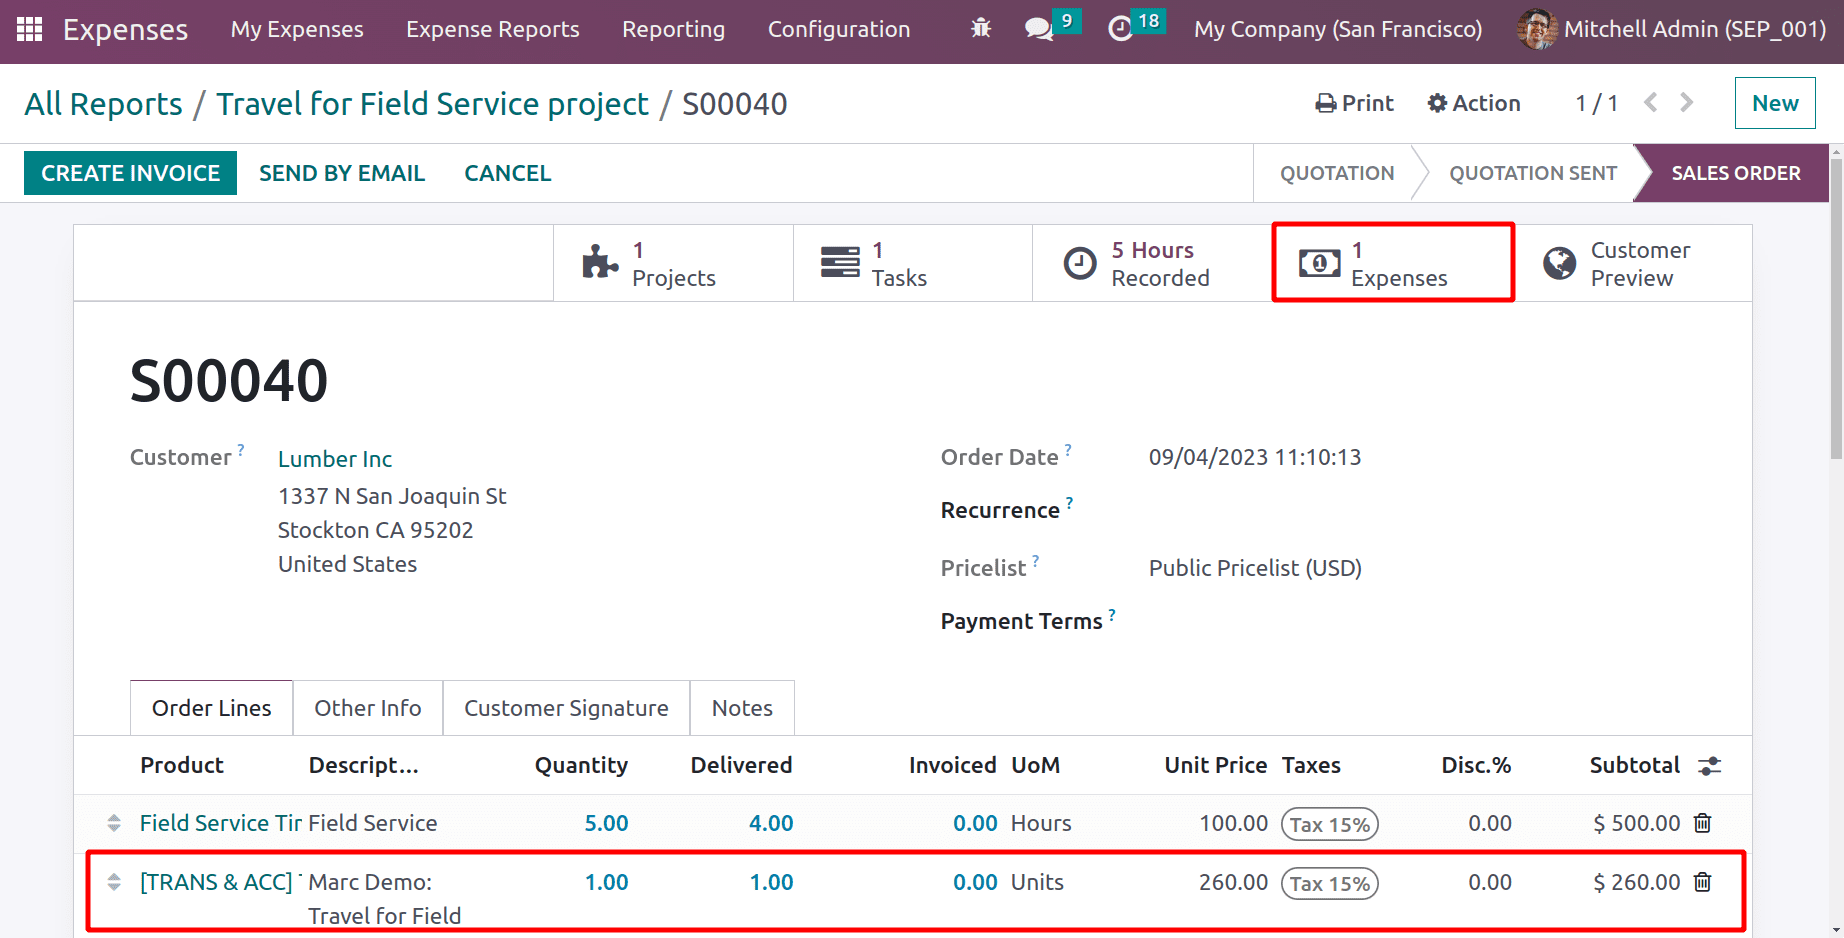
Two changes are made to the sale order. The first one is, there is a new smart tab named Expenses. The second change is that the expense product is added inside the borderline with quantity and sales price. Now it is possible to create an invoice by clicking on the CREATE INVOICE button.
From the popup choose a regular invoice, and click on CRETAE AND VIEW INVOICE BUTTON.

Then the invoice will open. Confirm the invoice and register payment from the customer.
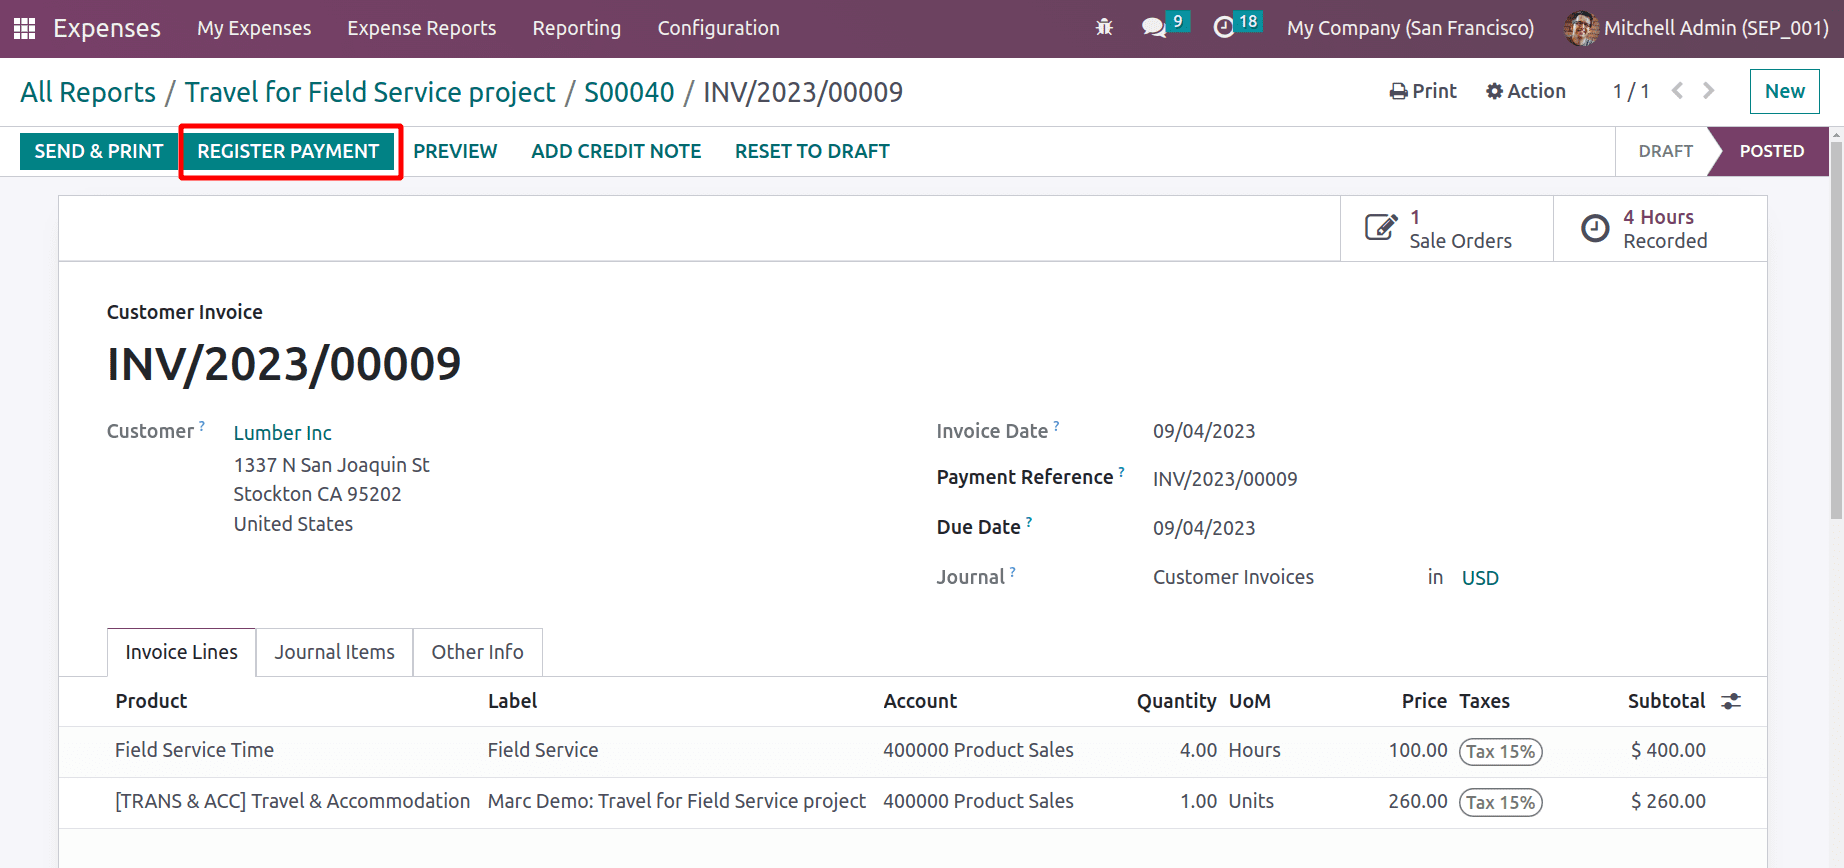
The customer paid for both the added timesheet and the added expense.
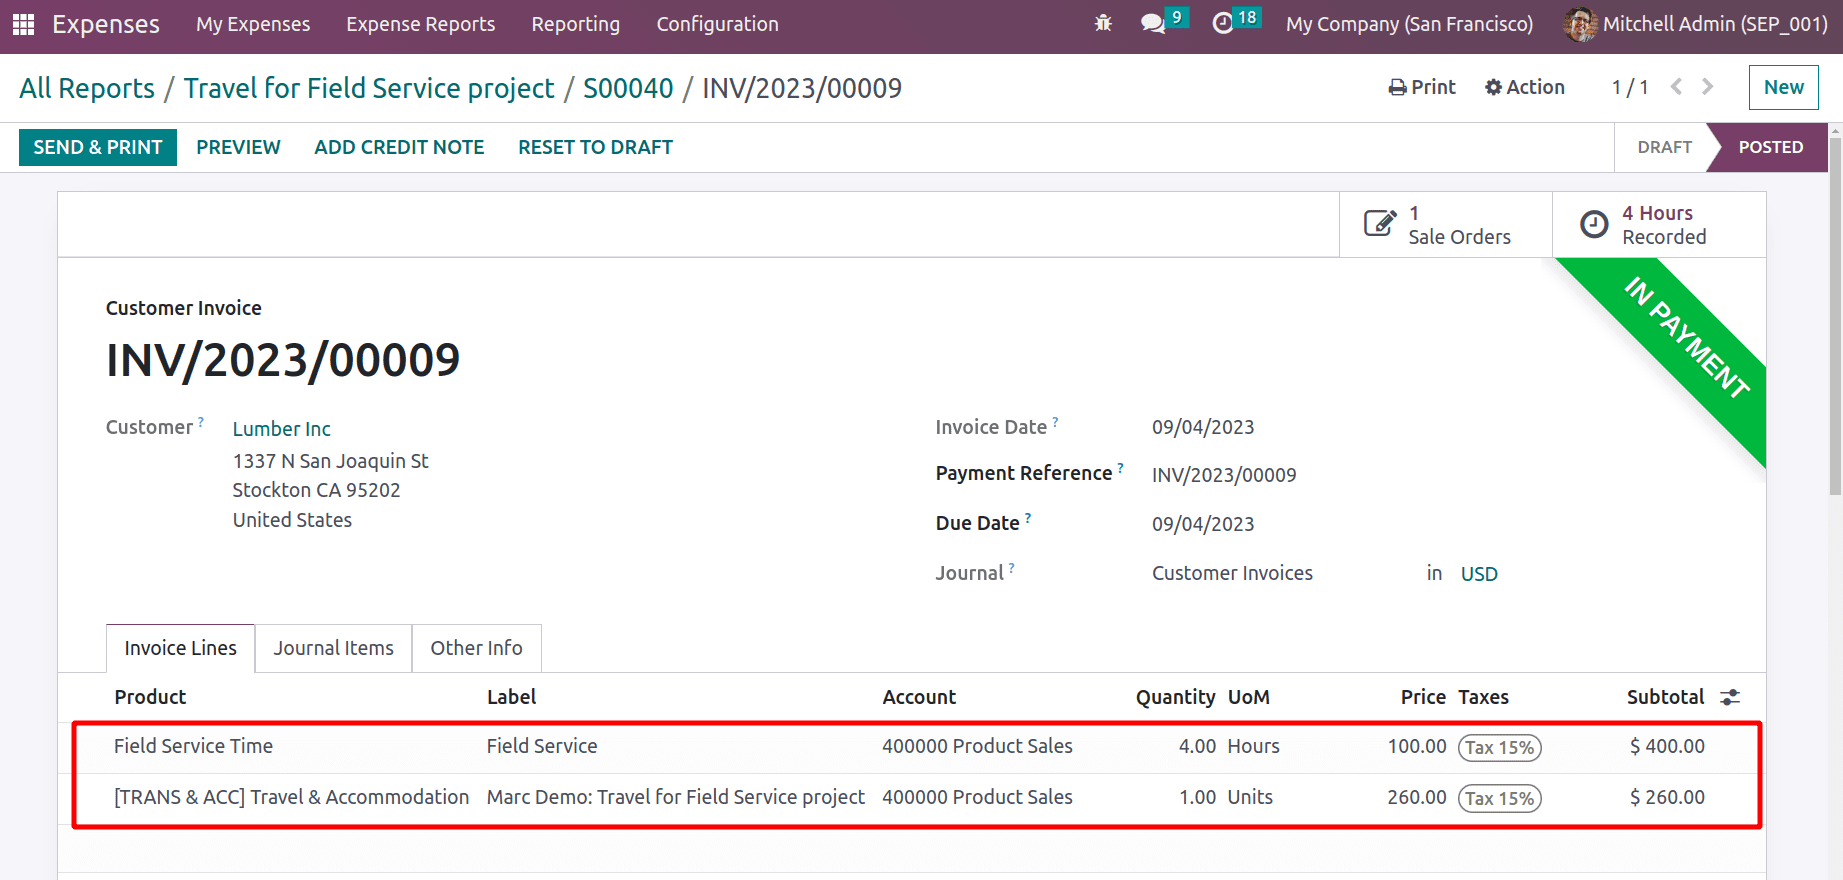
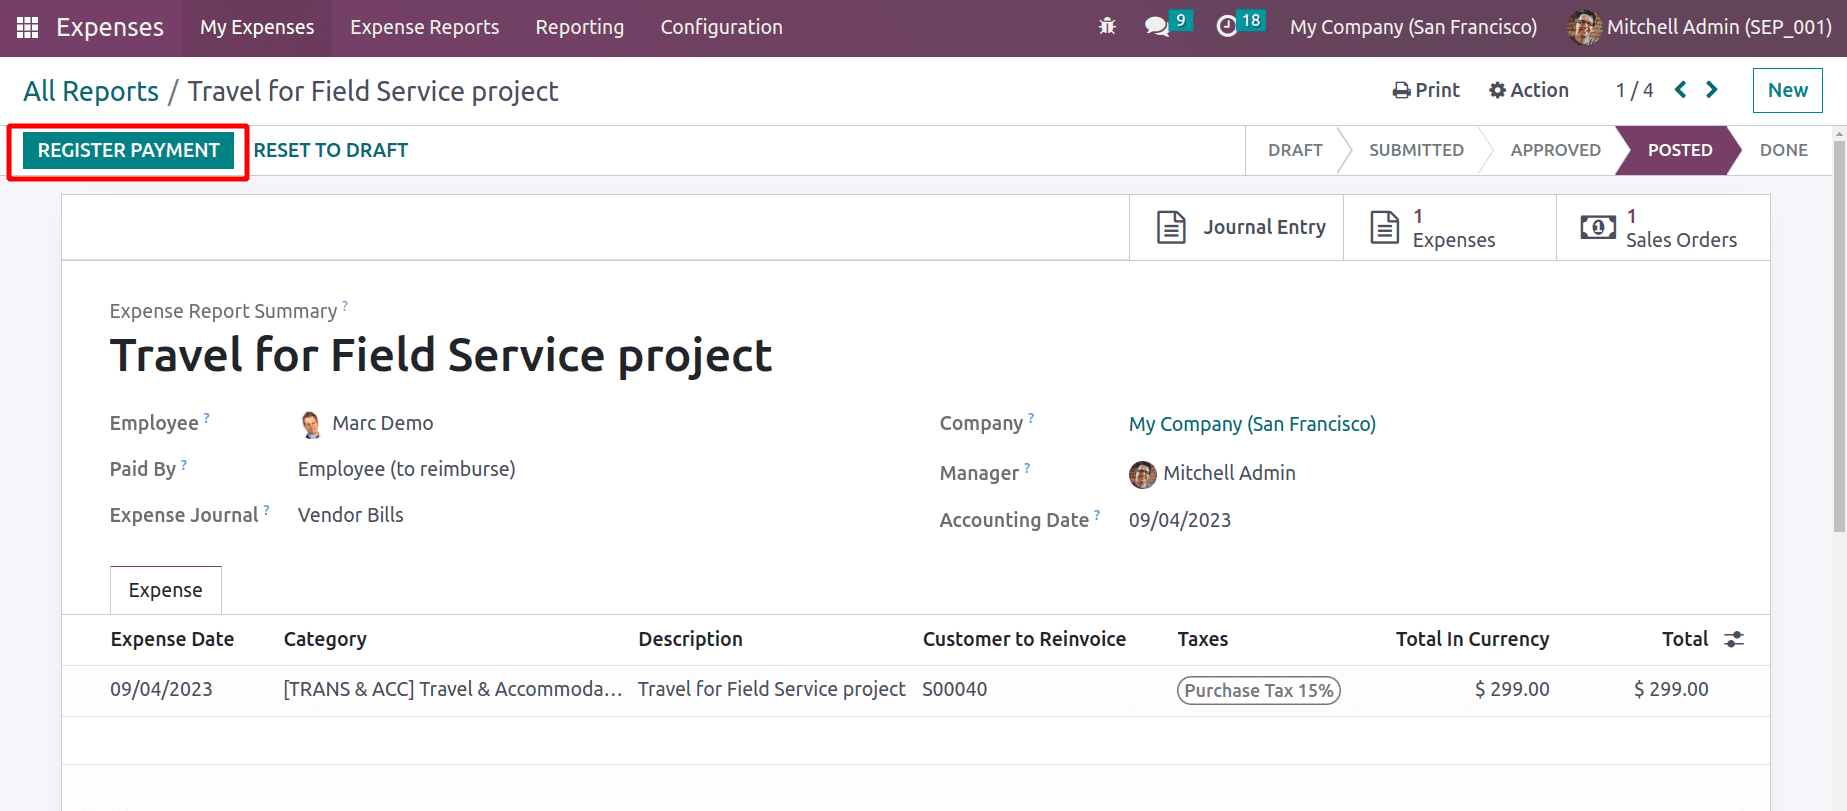
So go back to the created expense report. The expense can be now re invoiced to the employee by clicking on the REGISTER PAYMENT button.
Then another popup to register payment will appear. The payment details like Journal, payment method, amount payment date, etc. are shown. The description added in the expense will updated as a memo here. Click on the CRATE PAYMENT button.

The expense added a ribbon IN PAYMENT. Click on the smart tab Journal Entry.
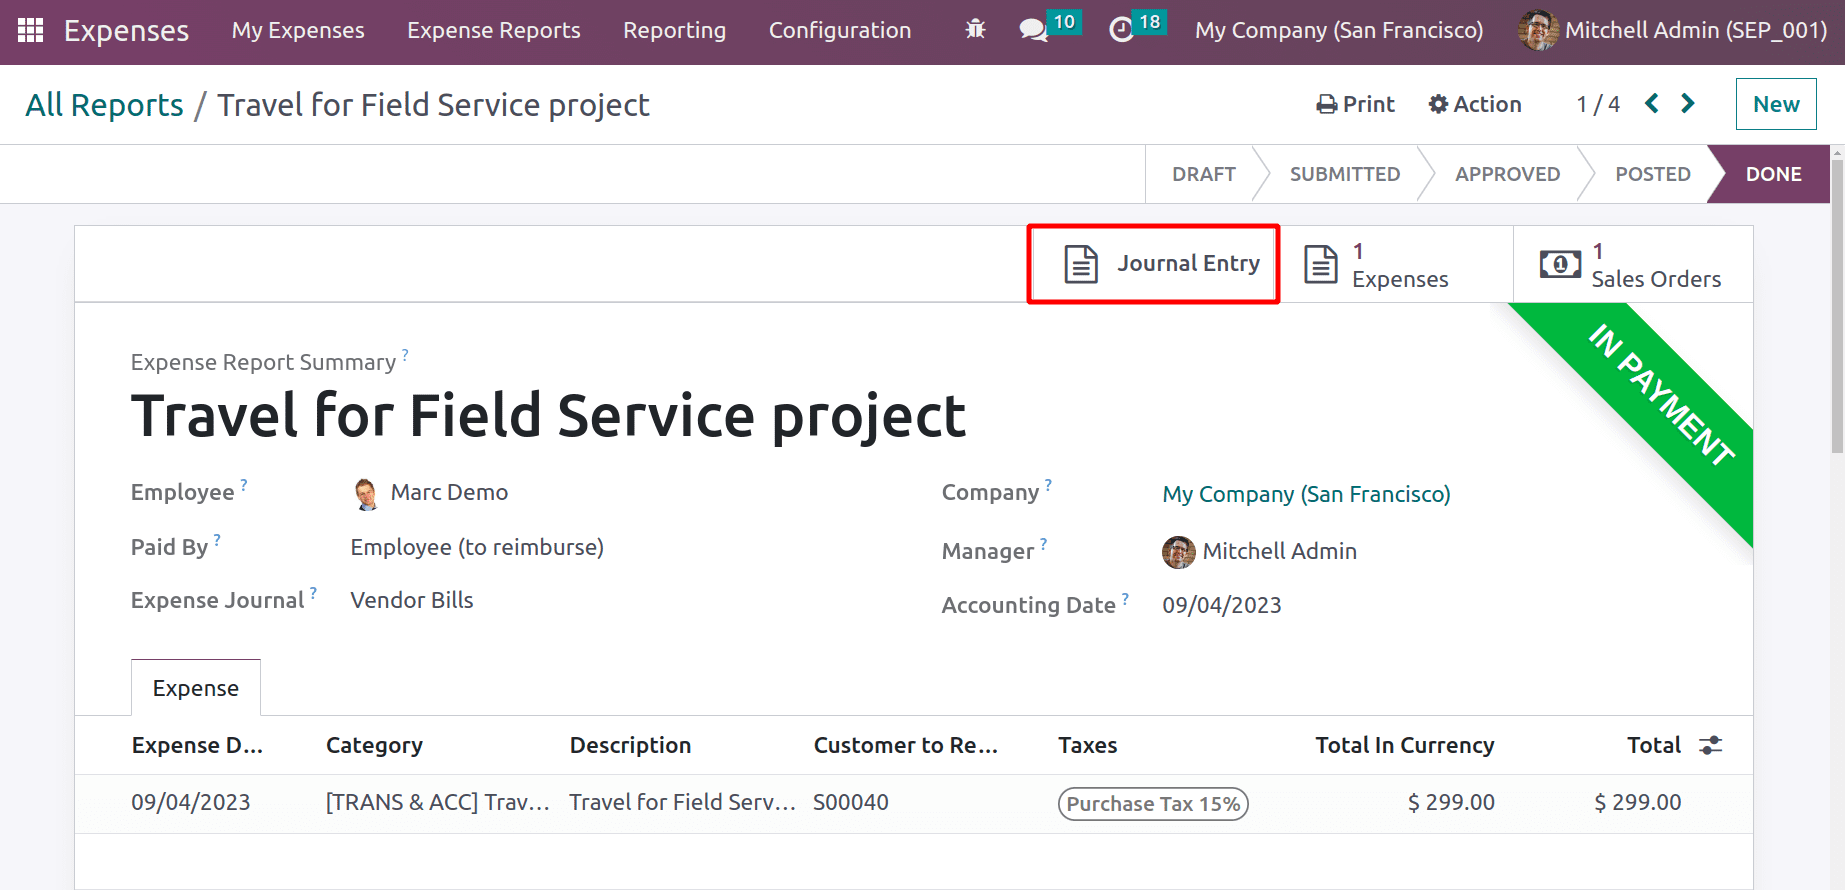
The smart tab Journal Entry contains a bill to the employee Marc Demo, which is IN PAYMENT.
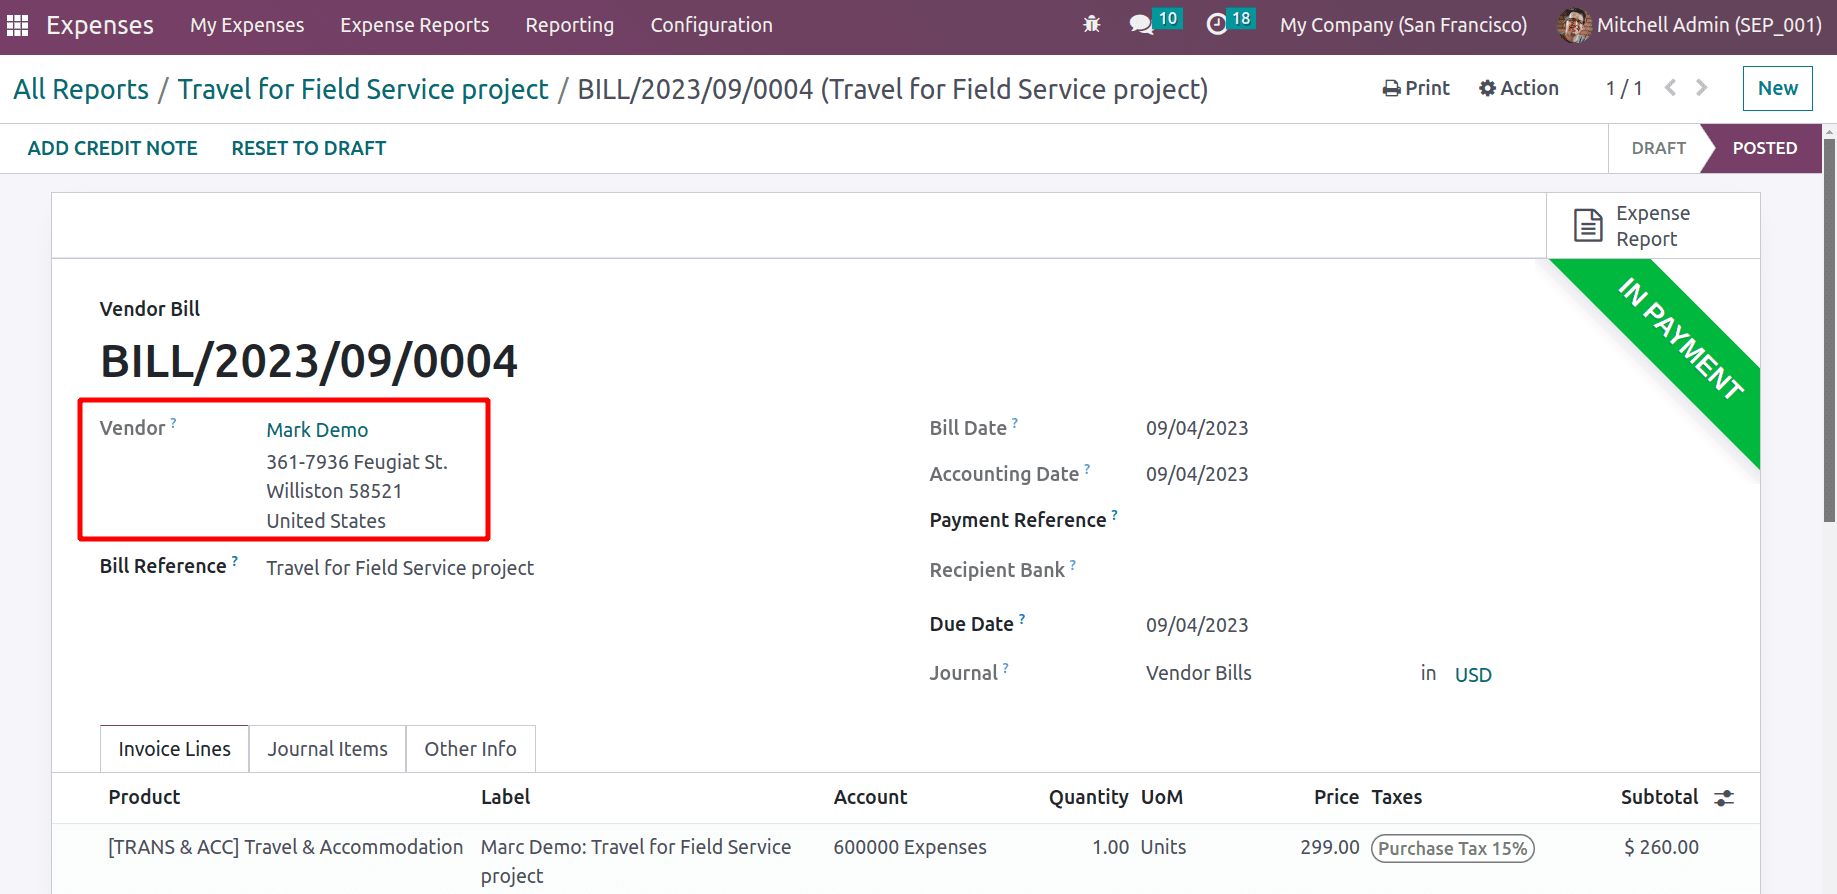
So here the employee added an expense to the system, which is spent by the employee as a part of completing the task. So the expense is added to the customer invoice. After the customer completes the payment of the expense, which will reinvoiced to the employee back.
To read more about An Overview of Re-Invoicing Expenses in Odoo 17, refer to our blog An Overview of Re-Invoicing Expenses in Odoo 17.